Spot Lamp Replacement ImpalaRPO 7X6, 7X7
Removal Procedure
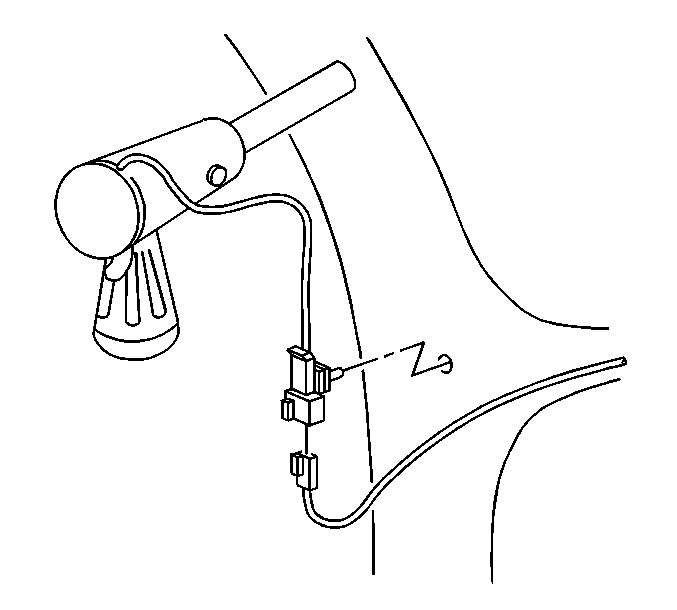
- Remove the spot lamp wiring harness push-in retainer from the windshield garnish molding, using a small flat bladed tool.
- Disconnect the electrical connector.
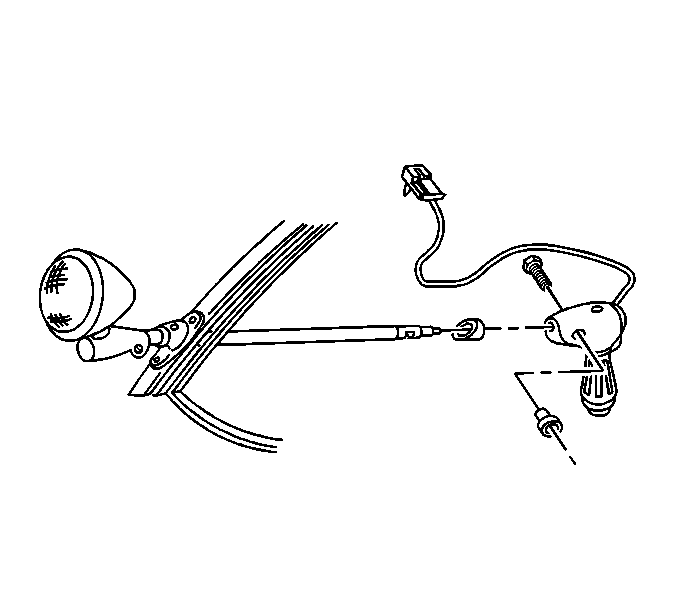
- Remove the spot lamp handle wedge key screw from the spot lamp handle.
- Remove the spot lamp handle from the outer tube shaft.
- Remove the rubber grommet from the outer tube shaft.
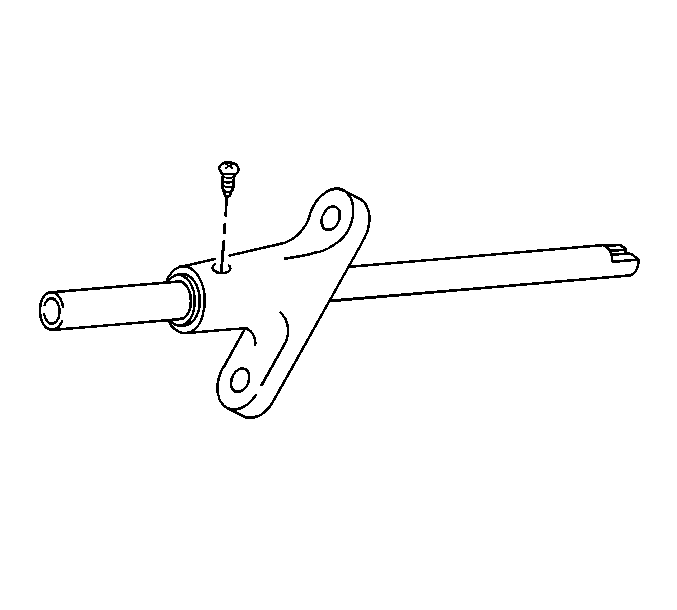
- Loosen the spot lamp bracket set screw.
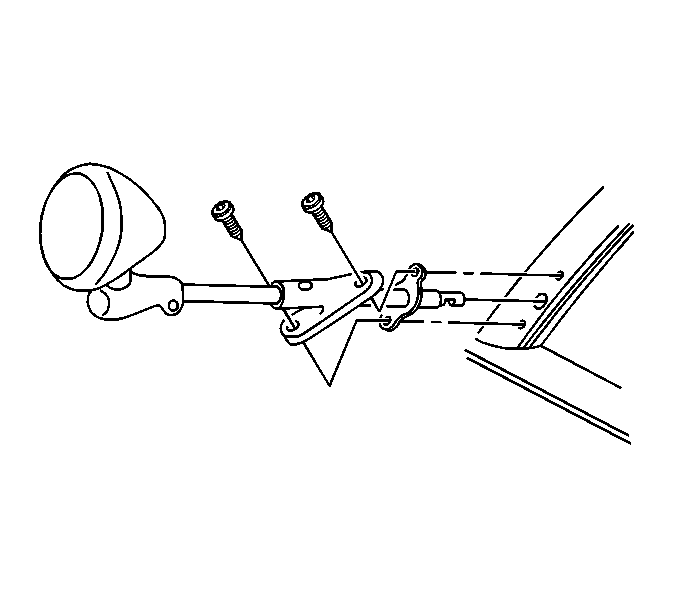
- Pull the spot lamp with the outer tube shaft out of the spot lamp mounting bracket and set aside.
- Remove the spot lamp mounting bracket screws.
- Remove the mounting bracket and the gasket from the windshield pillar.
- Clean the mounting surface of the windshield pillar.


Loosen the wedge key screw a few turns then with a light tap with a suitable hammer to the wedge key screw will loosen it from the spot lamp outer tube shaft.


Installation Procedure
- Install the mounting bracket and the gasket on to the spot lamp outer tube shaft.
- Apply a small amount of RTV sealer GM P/N 12345336 or Canadian P/N 12346286 or equivalent to the screw holes on the windshield pillar.
- Install the mounting bracket , the gasket and the spot lamp outer tube shaft through the windshield pillar.
- Install the spot lamp mounting bracket screws.
- Rotate the spot lamp to the upright position.
- Tighten the spot lamp mounting bracket set screw just enough in order to firmly hold the spot lamp in the upright position.
- Install the rubber grommet to the outer tube shaft.
- Install the spot lamp handle onto the outer tube shaft in the vertical down position until the handle bottoms out, and the flat detent on the outer tube shaft is exposed through the wedge key screw hole.
- Install the spot lamp wedge key screw.
- Connect the electrical connector.
- Install the spot lamp wiring harness push-in retainer to the windshield garnish molding, pressing in until fully seated.
- Inspect the spot lamp for proper operation.
- If spot lamp adjustment and/or electrical diagnosis are required, refer to the following procedures.
Important: This method of installation will stop the chance of any alignment and binding problems.

Notice: Use the correct fastener in the correct location. Replacement fasteners must be the correct part number for that application. Fasteners requiring replacement or fasteners requiring the use of thread locking compound or sealant are identified in the service procedure. Do not use paints, lubricants, or corrosion inhibitors on fasteners or fastener joint surfaces unless specified. These coatings affect fastener torque and joint clamping force and may damage the fastener. Use the correct tightening sequence and specifications when installing fasteners in order to avoid damage to parts and systems.
Tighten
Tighten the spot lamp mounting bracket screws to 3.5 N·m (31 lb in).

Point the spot lamp forward.

Tighten
Tighten the spot lamp wedge key screw to 7.5 N·m (66 lb in).

| • | The handle must rotate the spotlamp approximately 90 degrees about the spot lamp shaft axis from the parked position to the vertical position. |
| • | The spot lamp head must rotate 360 degrees about its axis. |
| • | The spot lamp must able to be turned ON/OFF independent of the ignition switch. |
| • | For spot lamp travel adjustment, refer to Spot Lamp Travel Adjustment . |
| • | For electrical diagnosis, refer to Power Distribution Schematics . |
