For 1990-2009 cars only
Rear Seat Back Cushion Cover Replacement Non Folding
Removal Procedure
- Remove the rear seat back. Refer to Rear Seat Back Replacement .
- Remove the rear seat armrest, if equipped. Refer to Rear Seat Armrest Replacement .
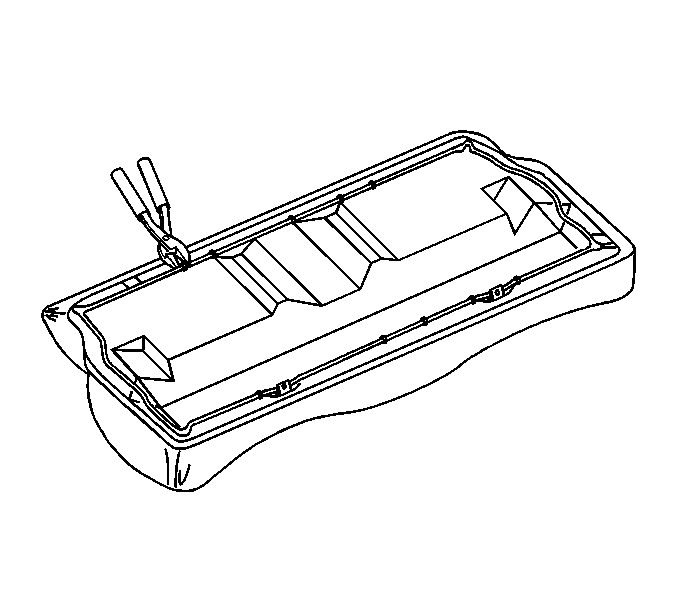
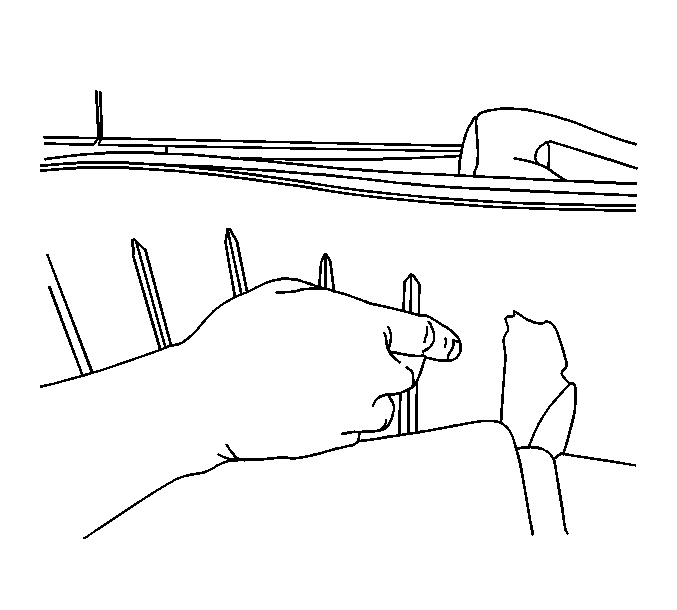
- Remove the hog rings from the rear seat back cover.
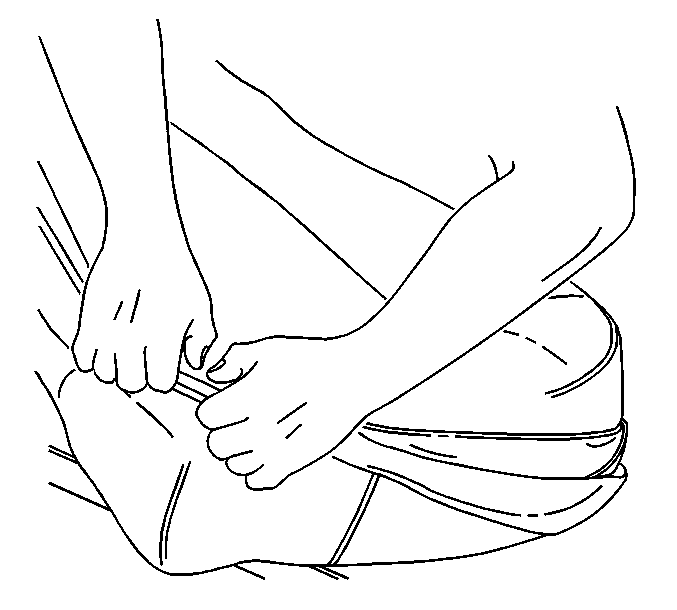
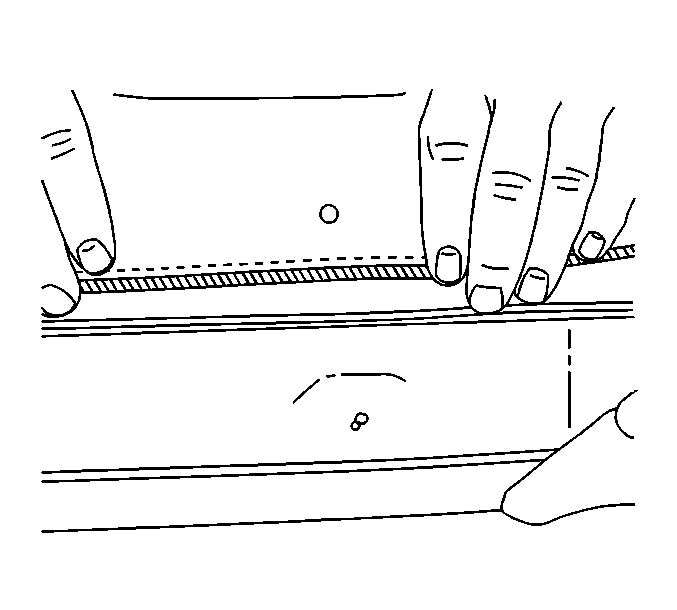
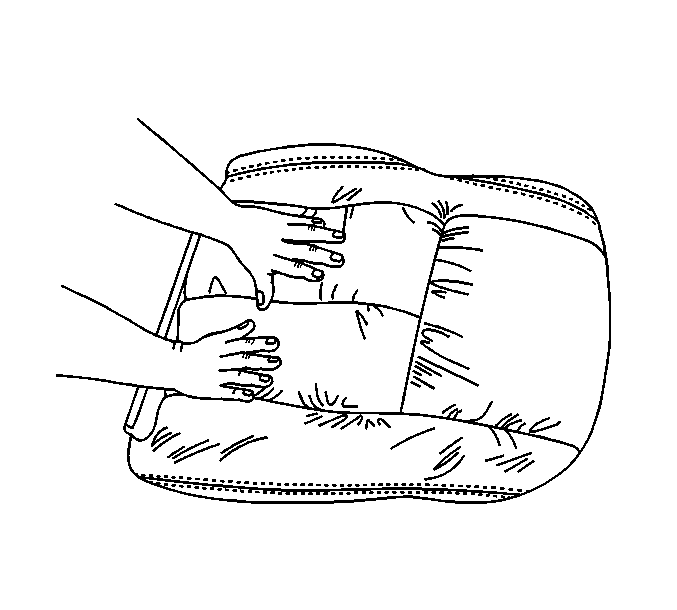
- Reach inside of the rear seat back cover in order to unfasten the hook and the loop retainers securingthe rear seat back cover to the pad.
- Remove the rear seat back cover from the pad.
Installation Procedure
- Position the rear seat back cover to the pad.
- Align the alignment marks on the rear seat back cover to the alignment marks on the pad.
- Pull the rear seat back cover over the pad while alining the hook and the loop retainers.
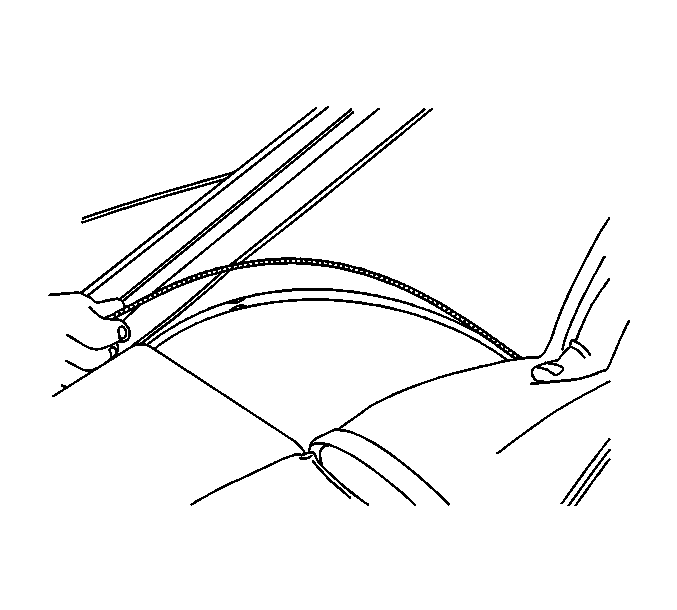
- Pull the rear seat back cover over the pad and pull over and under the edge.
- Use firm hand pressure in order to fasten the hook and the loop retainers, securing the rear seat back cover to the pad.
- Align the alignment marks on the rear seat back cover to the alignment marks on the pad, on the back side.
- Install the hog rings to the rear seat back cover.
- Install the rear seat armrest, if equipped. Refer to Rear Seat Armrest Replacement .
- Install the rear seat back. Refer to Rear Seat Back Replacement .
Rear Seat Back Cushion Cover Replacement Folding
Removal Procedure
- Remove the rear seat back. Refer to Rear Seat Back Replacement .
- Remove the rear seat back bolsters. Refer to Rear Split Folding Seat Back Bolster Replacement .
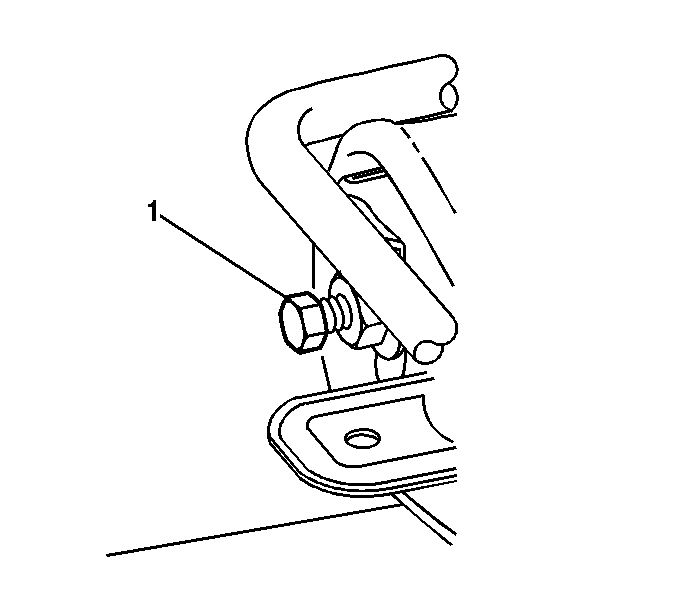
- Remove the seat back frame pivot bolts (1).
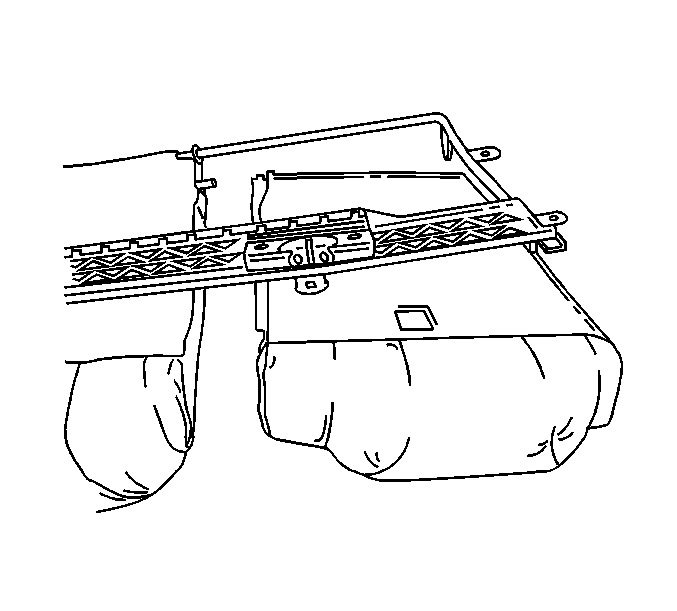
- Remove the left seat back from the seat back frame.
- Remove the right seat back from the seat back frame.
- Unhook the J-hook retainers at the bottom of the seat back.
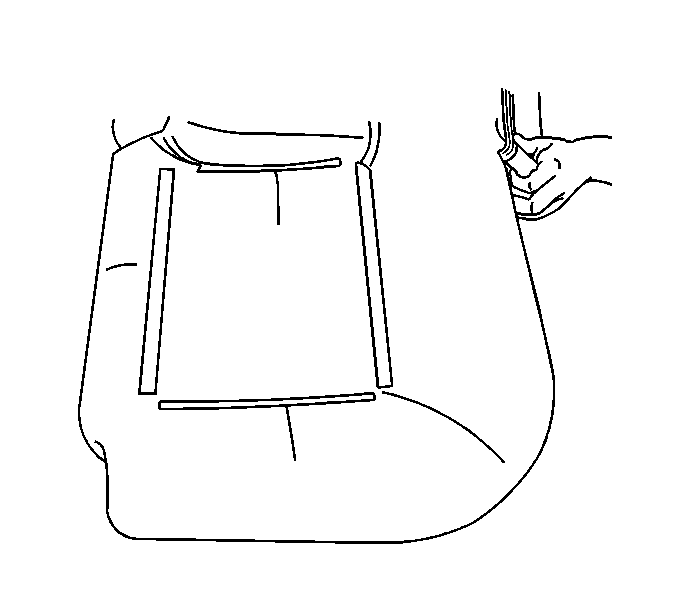
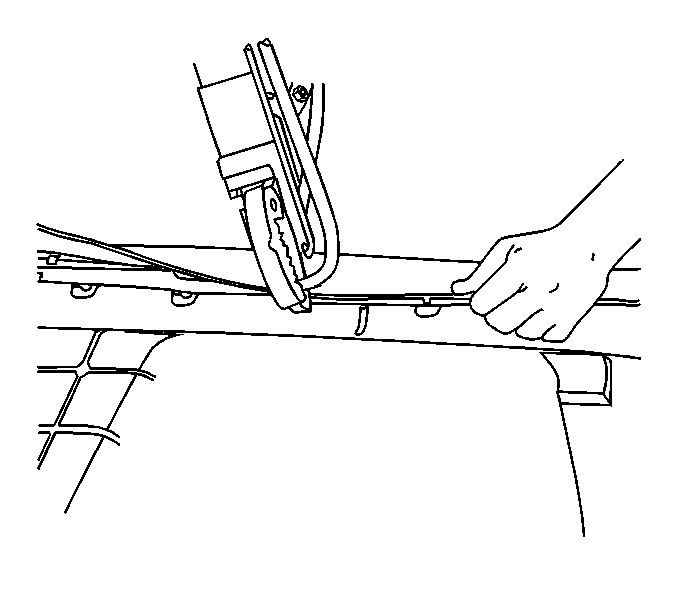
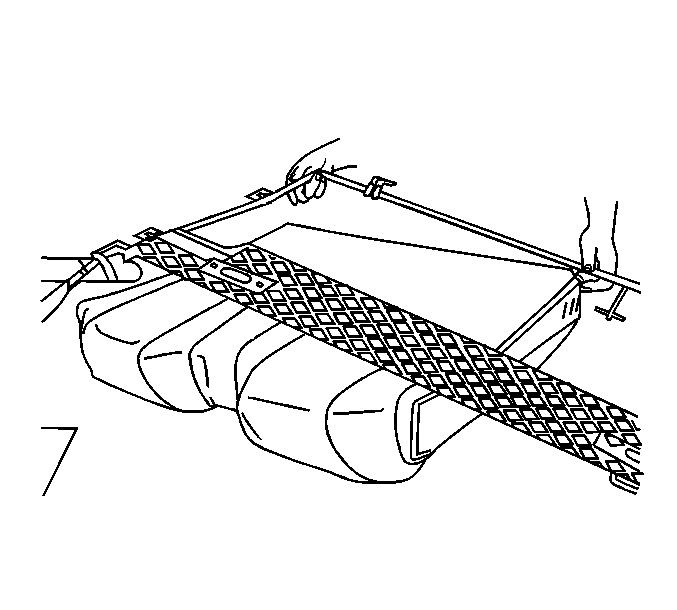
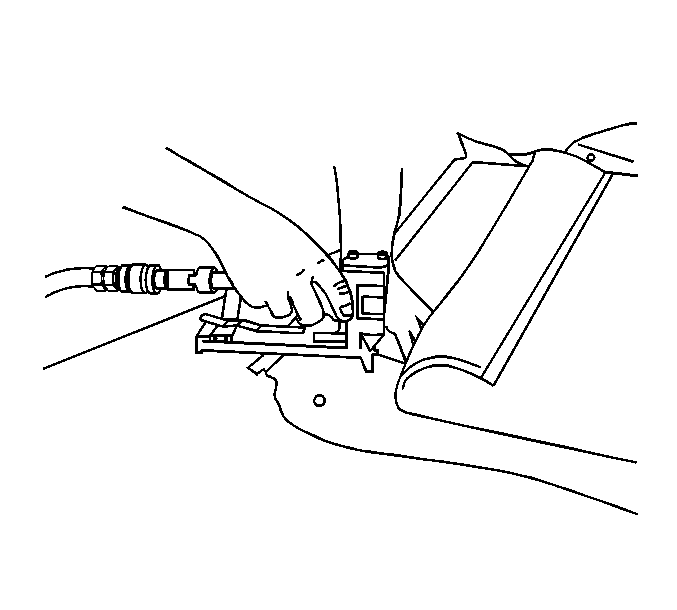
- Pull back the carpet in order to expose the seat trim flaps. Remove the staples.
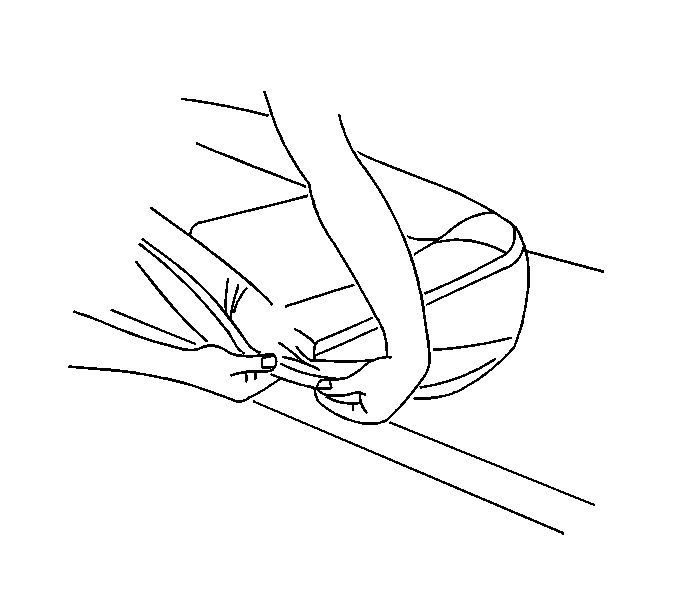
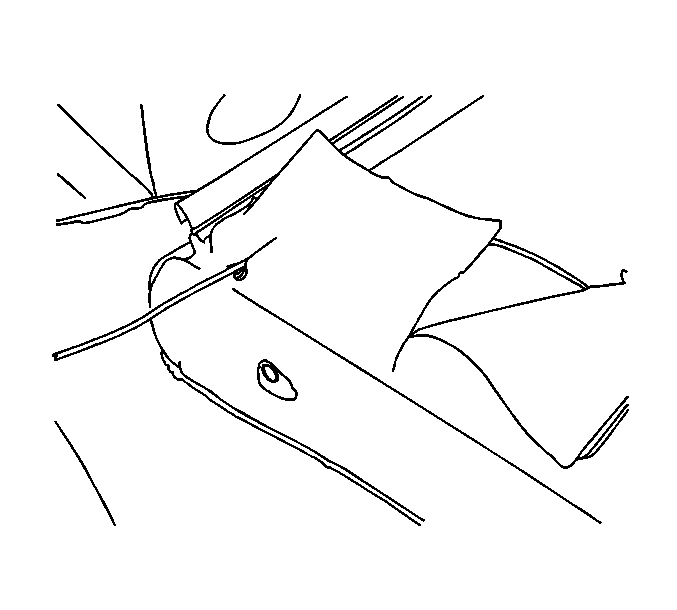
- Reach inside of the seat back cover in order to unfasten the hook and loop retainers that secure the seat back cover to the pad.
- Remove the folding armrest, if equipped. Refer to Rear Seat Armrest Replacement .
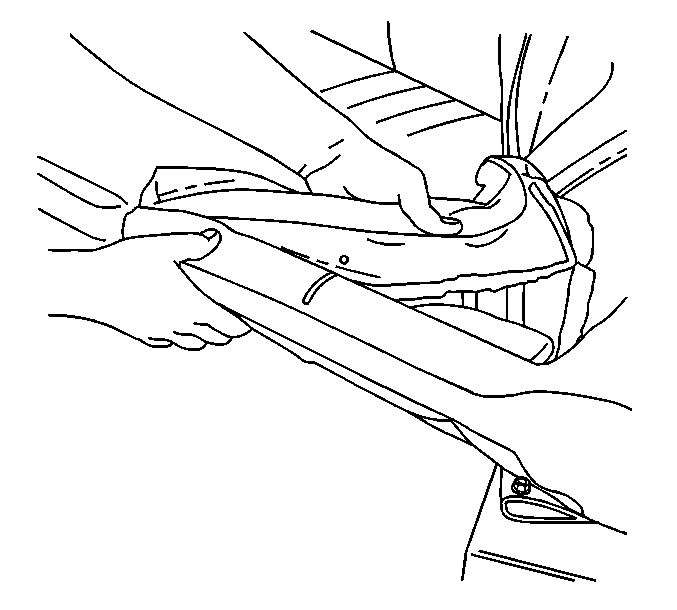
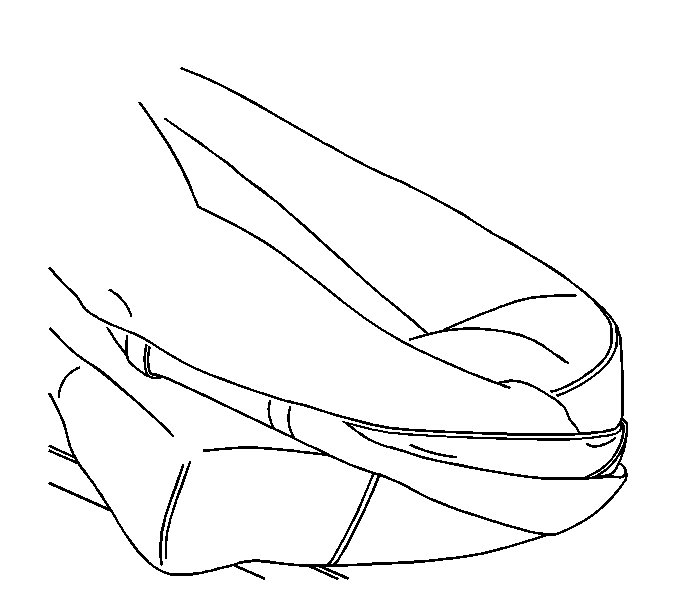
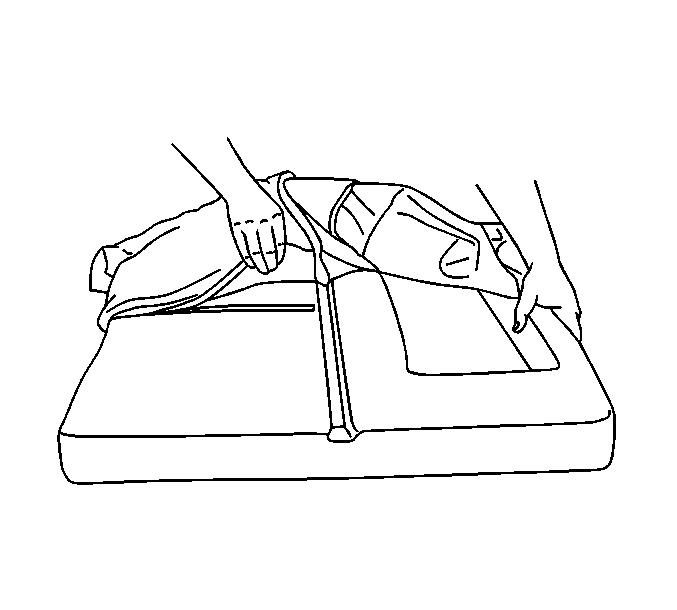
- Remove the seat back cover by pulling the cover up and over the pad.

Installation Procedure
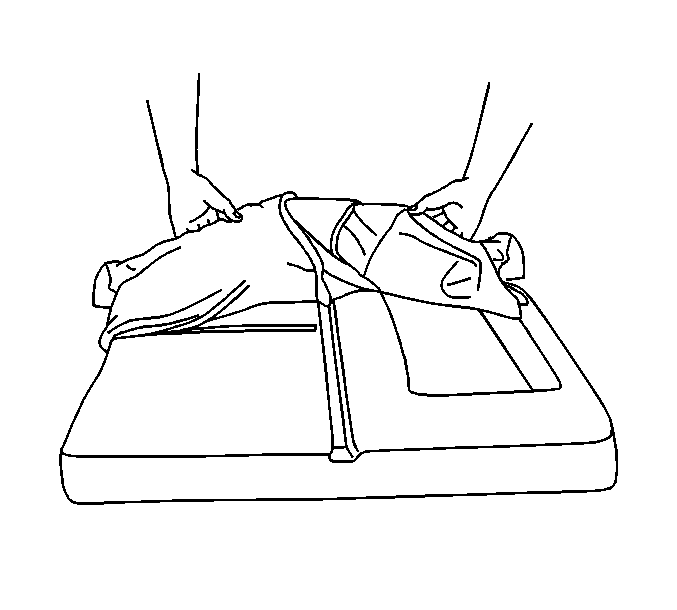
- Install the rear seat back cover by pulling the cover down and over the pad.
- Reach inside of the right seat back cover and reposition the release pullstrap through the cover.
- Align the hook and the loop retainers.
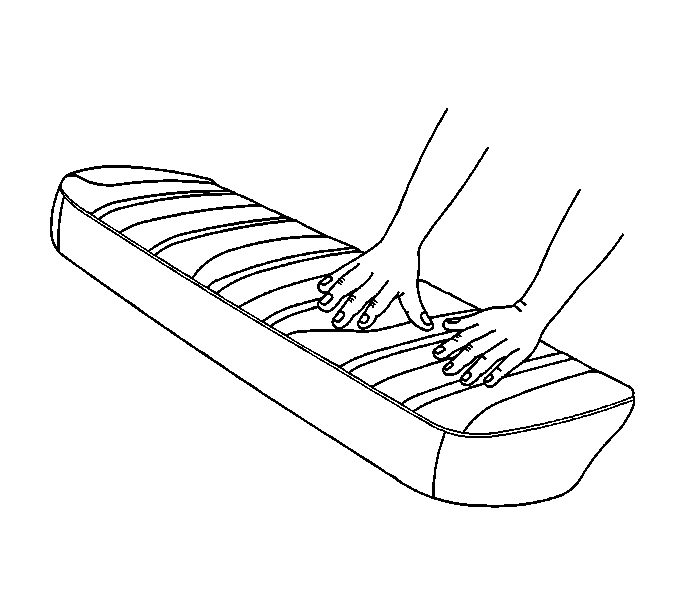
- Use firm hand pressure in order to fasten the hook and loop retainers, securing the seat back cover to the pad.
- Install the folding armrest, if equipped. Refer to Rear Seat Armrest Replacement .
- Reposition the seat back cable on the right seat back.
- Reposition the seat trim flaps.
- Install new staples to the seat trim flaps.
- Fasten the J-hook retainer at the bottom of the seat back.
- Install the left seat back to the seat back frame.
- Install the right seat back to the seat back frame.
- Install the seat back frame pivot bolts (1).
- Install the rear seat back bolsters. Refer to Rear Split Folding Seat Back Bolster Replacement .
- Install the seat back. Refer to Rear Seat Back Replacement .


Notice: Use the correct fastener in the correct location. Replacement fasteners must be the correct part number for that application. Fasteners requiring replacement or fasteners requiring the use of thread locking compound or sealant are identified in the service procedure. Do not use paints, lubricants, or corrosion inhibitors on fasteners or fastener joint surfaces unless specified. These coatings affect fastener torque and joint clamping force and may damage the fastener. Use the correct tightening sequence and specifications when installing fasteners in order to avoid damage to parts and systems.
Tighten
Tighten the bolts to 10 N·m (89 lb in).
