For 1990-2009 cars only
Rear Compartment Lid Weatherstrip Replacement Impala
Removal Procedure
- Open the rear compartment.
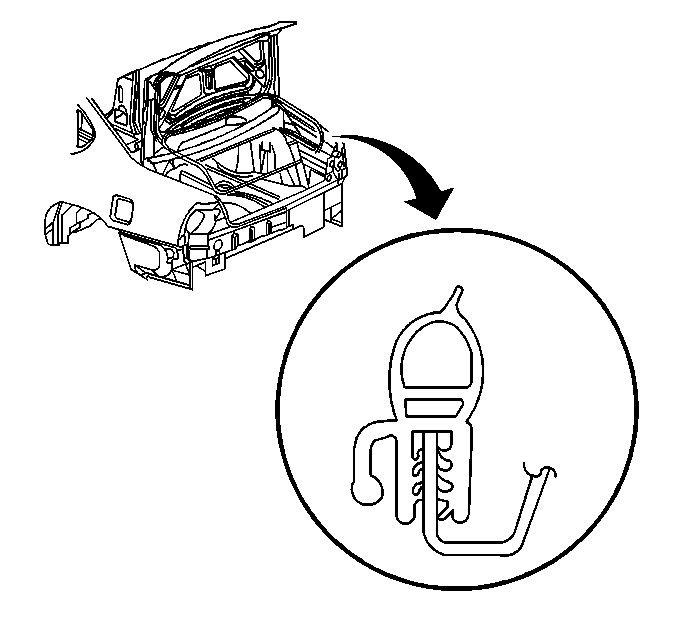
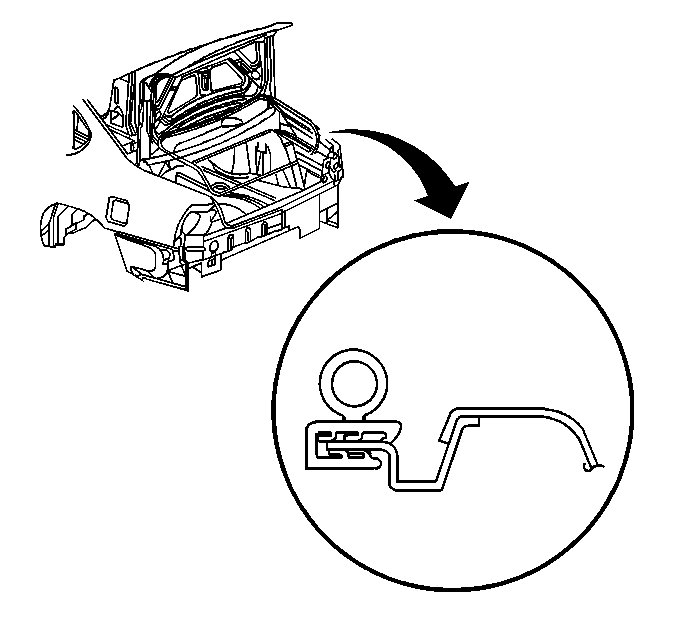
- Remove the rear compartment weatherstrip from the pinch-weld flange.

Installation Procedure
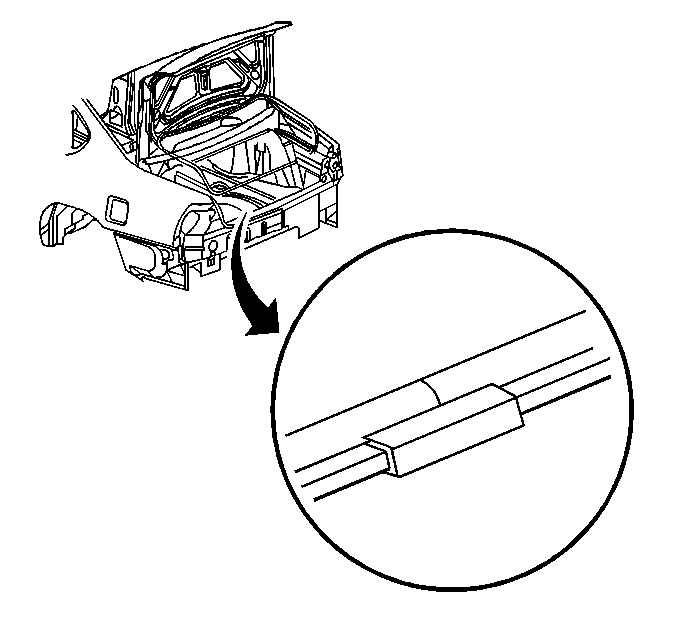
- Align the metal joint of the weatherstrip to the center of the rear compartment lid striker.
- Install the rear compartment weatherstrip onto the pinch-weld flange, starting at the top center of the lid opening and working toward the bottom center. Use a rubber mallet in order to ensure that the weatherstrip is fully engaged to the pinch-weld flange.
- Close the rear compartment.


Important: In order to minimize bulging conditions, avoid stretching the weatherstrip around the corners.
Rear Compartment Lid Weatherstrip Replacement Monte Carlo
Removal Procedure
- Open the rear compartment.
- Remove the rear compartment weatherstrip from the pinch-weld flange.

Installation Procedure
- Align the rear compartment weatherstrip metal joint to the center of the striker on the rear compartment lid.
- Install the rear compartment weatherstrip onto the pinch-weld flange, starting at the top center of the lid opening and working toward the bottom center. Use a rubber mallet in order to ensure the full engagement of the rear compartment weatherstrip to the pinch-weld flange.
- Close the rear compartment.


Important: In order to minimize bulging conditions, avoid stretching the weatherstrip around the corners.
