For 1990-2009 cars only
Removal Procedure
- Raise and support the vehicle. Refer to Lifting and Jacking the Vehicle .
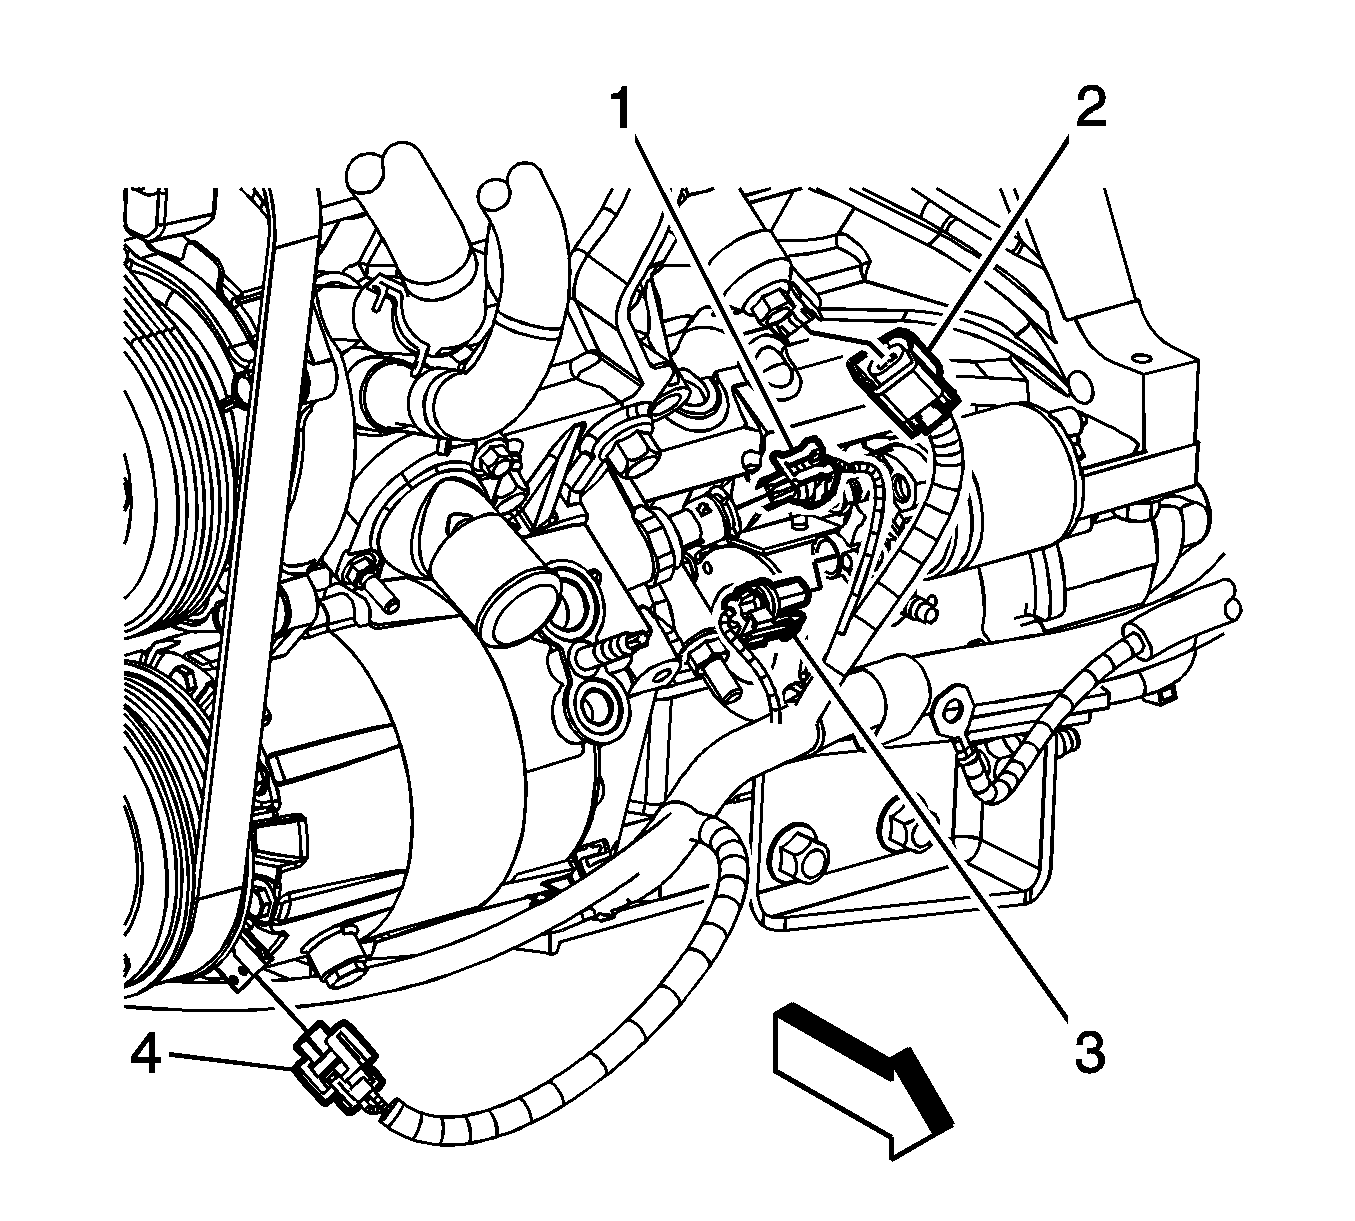
- Disconnect the oil pressure sensor electrical connector (1).
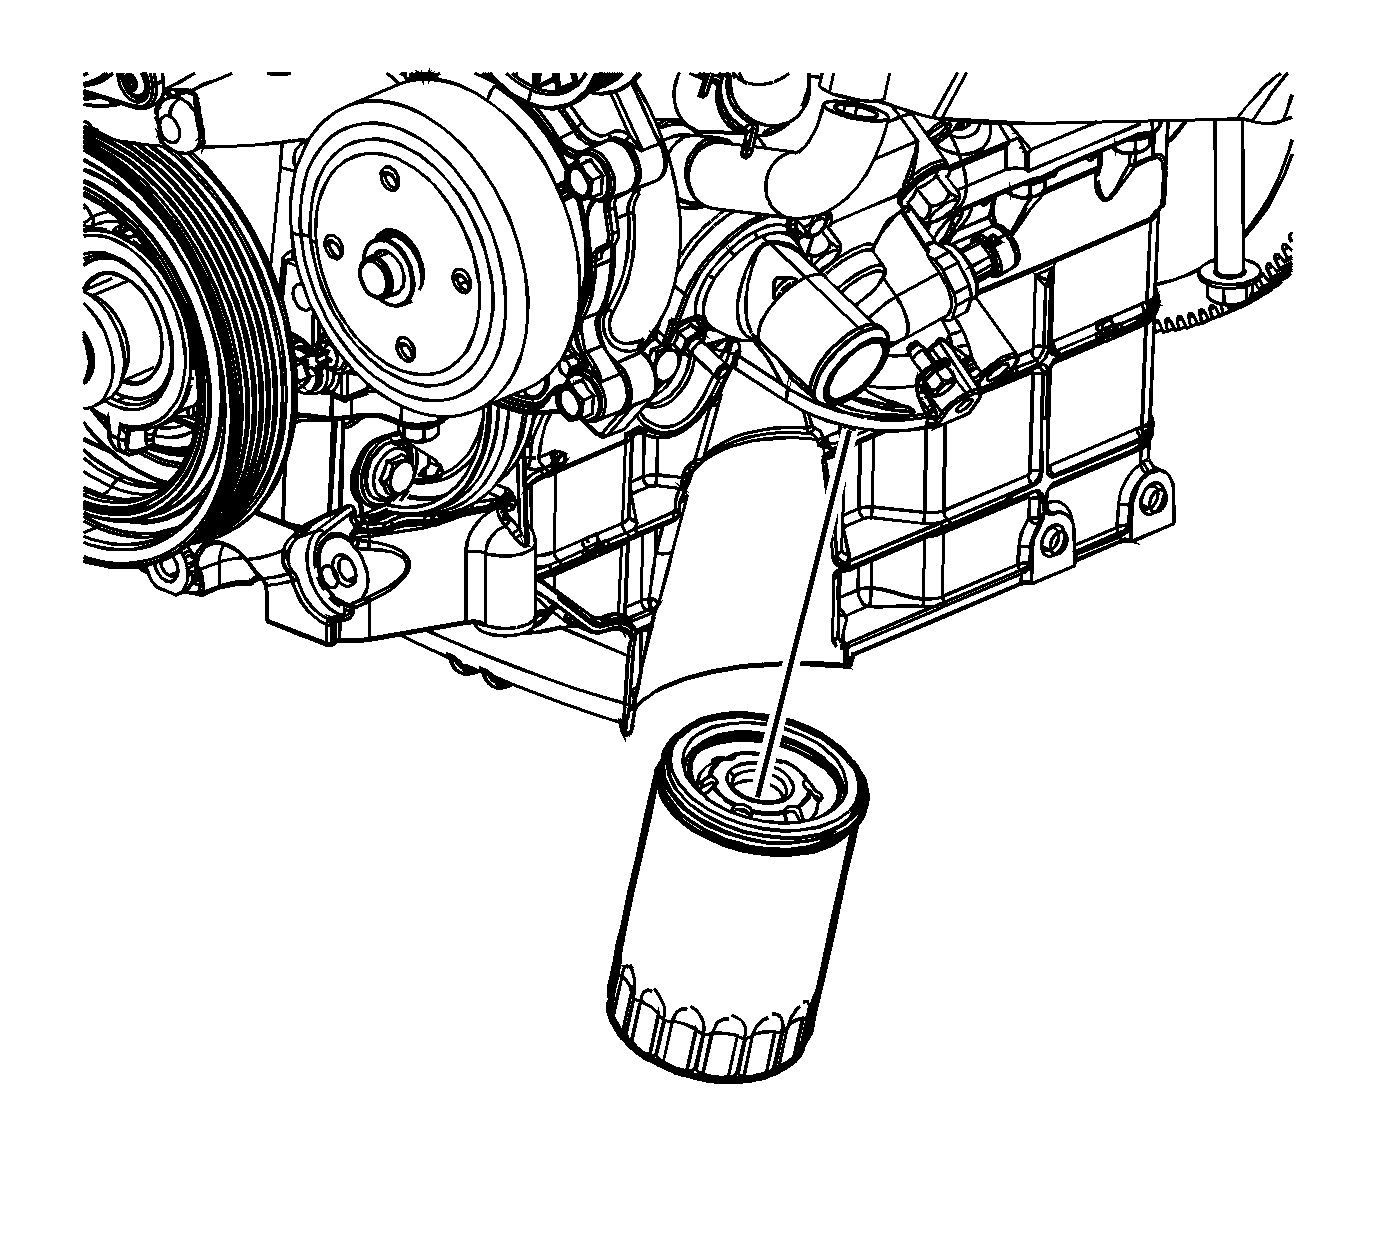
- Remove the oil filter.
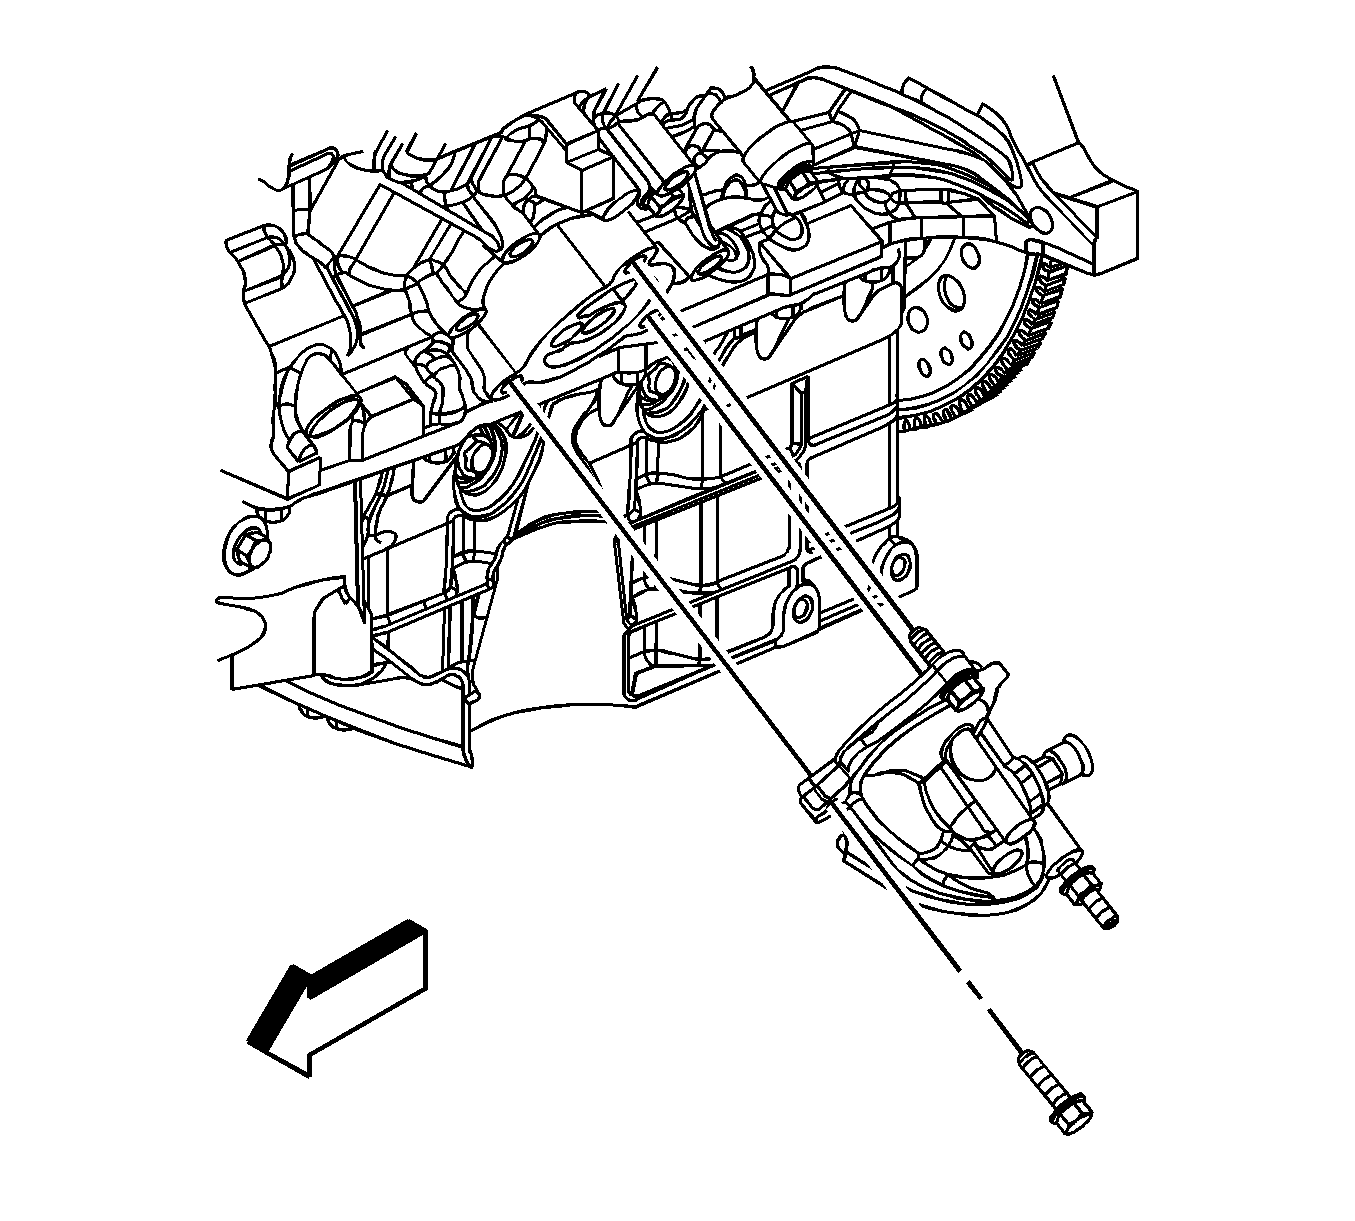
- Remove the oil filter adapter bolts and stud.
- Remove the oil filter adapter and gasket.
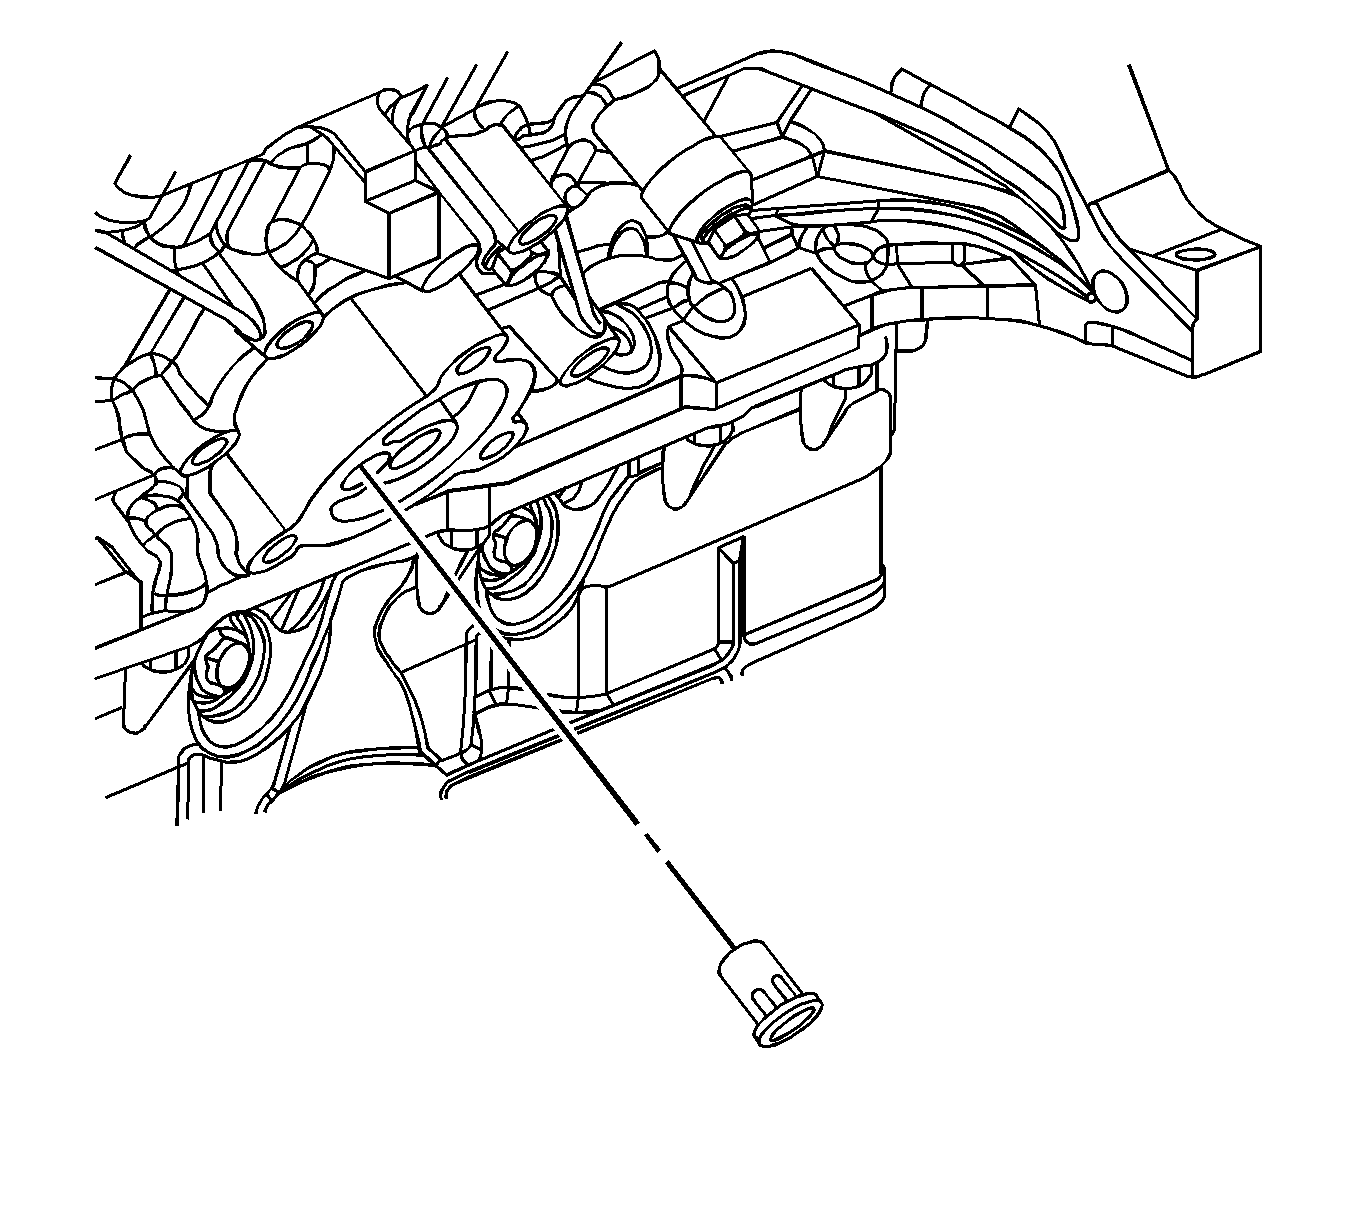
- Insert a flat-bladed tool into the oil filter bypass hole and remove the oil filter bypass valve.


Installation Procedure
Notice: Maximum gasket performance is achieved when using new fasteners, which contain a thread-locking patch. If the fasteners are not replaced, a thread locking chemical must be applied to the fastener threads. Failure to replace the fasteners or apply a thread-locking chemical MAY reduce gasket sealing capability.
- Install the oil filter bypass valve. Seat the valve fully below the bypass valve hole chamfer.
- Position the oil filter adapter and gasket to the engine.
- Apply threadlock to the bolt/stud threads, if required. Refer to Adhesives, Fluids, Lubricants, and Sealers .
- Install the oil filter adapter bolts and stud.
- Install the oil filter.
- Disconnect the oil pressure sensor electrical connector (1).
- Lower the vehicle.
- Check and fill the crankcase, if necessary.


Notice: Refer to Fastener Notice in the Preface section.
Tighten
Tighten the bolts and stud to 25 N·m (18 lb ft).

Tighten
Tighten the filter to 30 N·m (22 lb ft).

