Tail Lamp Replacement Monte Carlo
Removal Procedure
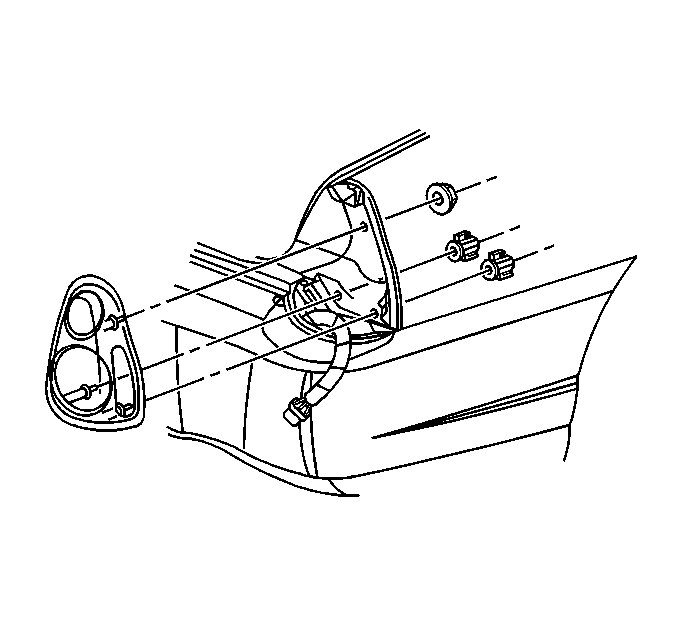
- Open the rear compartment.
- Remove the upper wingnut from the tail lamp.
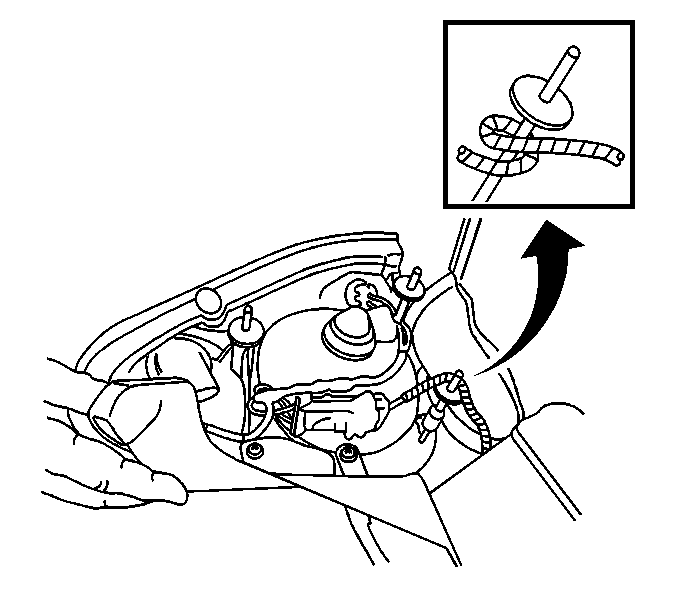
- Pull back the rear compartment trim panel from the tail lamp.
- Remove the lower wingnuts from the tail lamp.
- Remove the tail lamp from the rear body panel.
- Disconnect the electrical connector to the tail lamp.
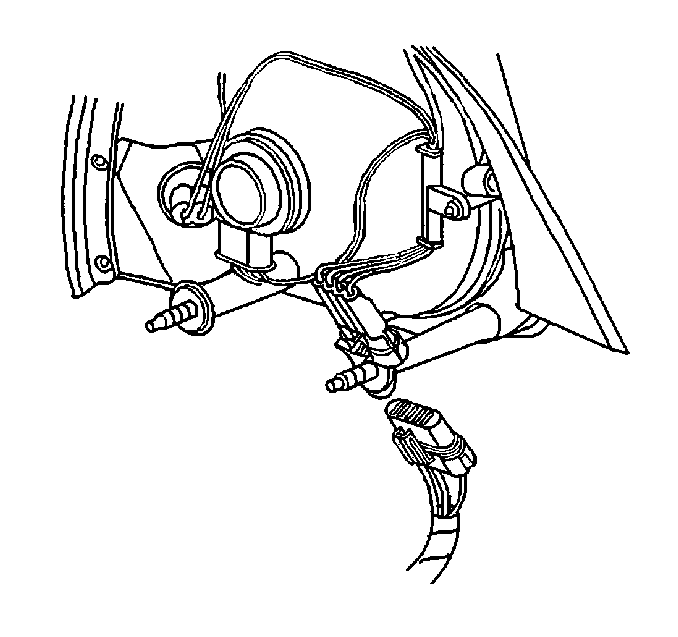
- Disconnect the electrical connector from the tail lamp.
- Remove the tail lamp socket, turning counterclockwise.
- Remove the bulb from the tail lamp socket.
- Remove the sidemarker lamp socket, turning counterclockwise.
- Remove the bulb from the sidemarker lamp socket.


Notice: Note the correct routing of the electrical wiring. Failure to reinstall the wiring properly could result in damage to the wiring.
Installation Procedure
- Install the bulb to the tail lamp socket.
- Install the bulb to the sidemarker lamp socket.
- Install the sidemarker lamp socket, turning clockwise.
- Install the tail lamp socket, turning clockwise.
- Connect the electrical connector to the tail lamp.
- Install the tail lamp to the rear body panel
- Install the lower wingnuts to the tail lamp.
- Pull back the rear compartment trim panel to the tail lamp.
- Install the upper wingnut to the tail lamp.
- Close the rear compartment.

Notice: Note the correct routing of the electrical wiring. Failure to reinstall the wiring properly could result in damage to the wiring.


Tail Lamp Replacement Impala

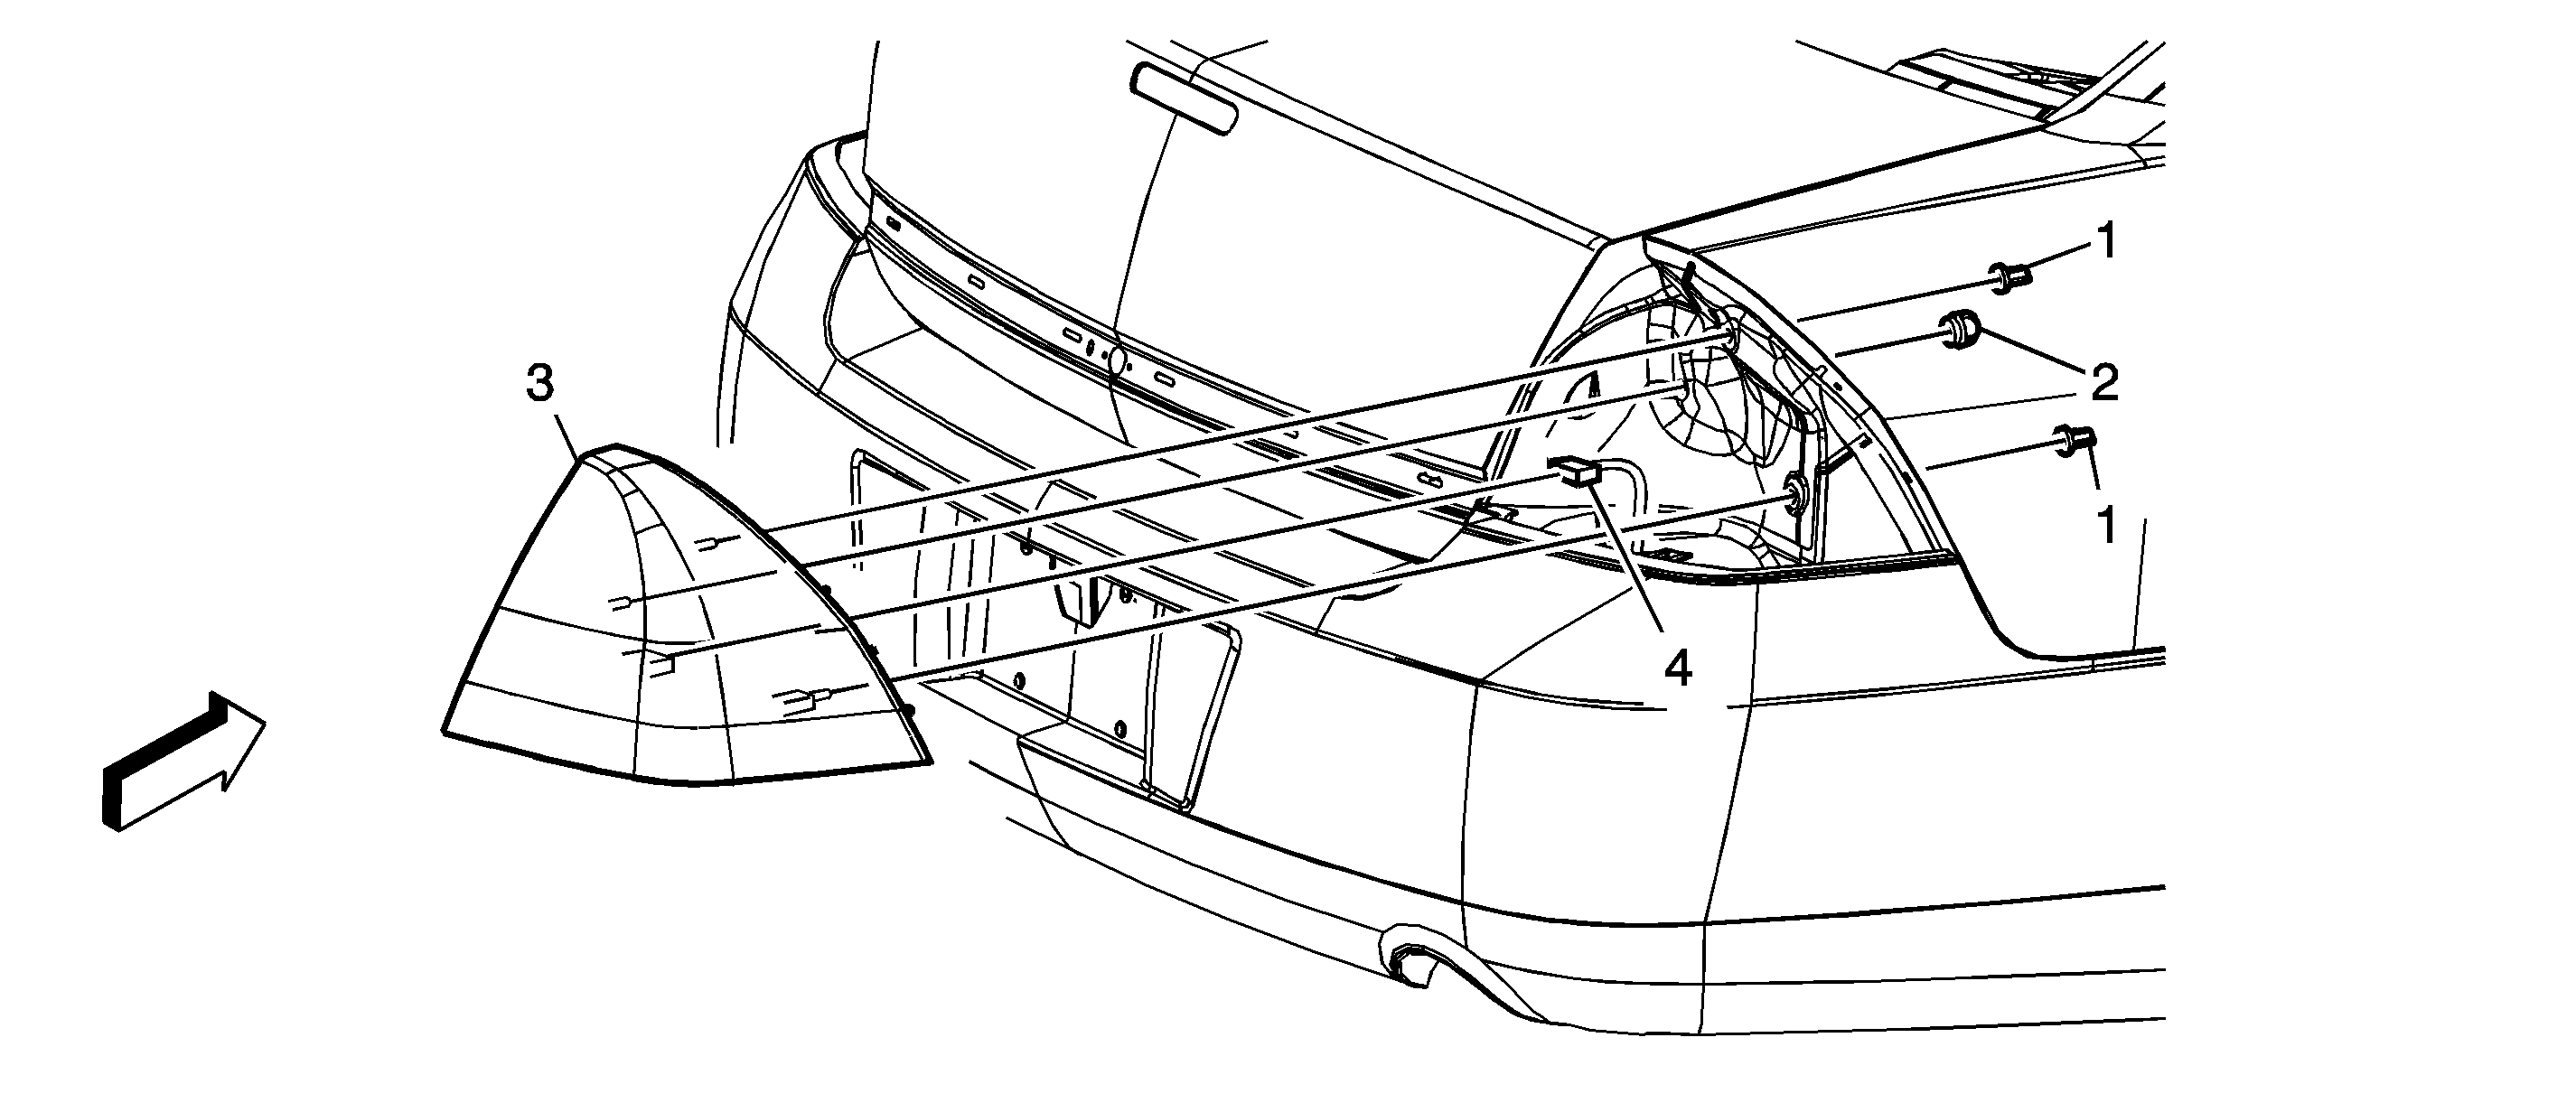
Callout | Component Name |
|---|---|
|
Notice: Refer to Fastener Notice in the Preface section. Fastener Tightening Specifications: Refer to Fastener Tightening Specifications . Preliminary Procedures
| |
1 | Nuts, Tail Lamp Assembly (Qty: 2) Tighten |
2 | Nut, Trunk Trim Liner Tip |
3 | Lamp Assembly, Tail Tip |
4 | Connector, Rear Lamp Harness Ensure to connect the lamp harness connector before securing the lamp to the rear body panel. |
