For 1990-2009 cars only
Removal Procedure
- Before you service any fuel system connection, relieve the fuel system pressure. Refer to the Metal Collar Quick Connect Fitting Service.
- Disconnect the negative battery cable. Refer to Battery Negative Cable Disconnection and Connection.
- Disconnect the fuel and evaporative emission (EVAP) lines at the engine compartment. Refer to Fuel Hose/Pipes Replacement - Engine Compartment.
- Remove the engine. Refer to Engine Replacement.
- Disconnect the fuel and EVAP lines at the fuel tank. Refer to Fuel Tank Replacement.
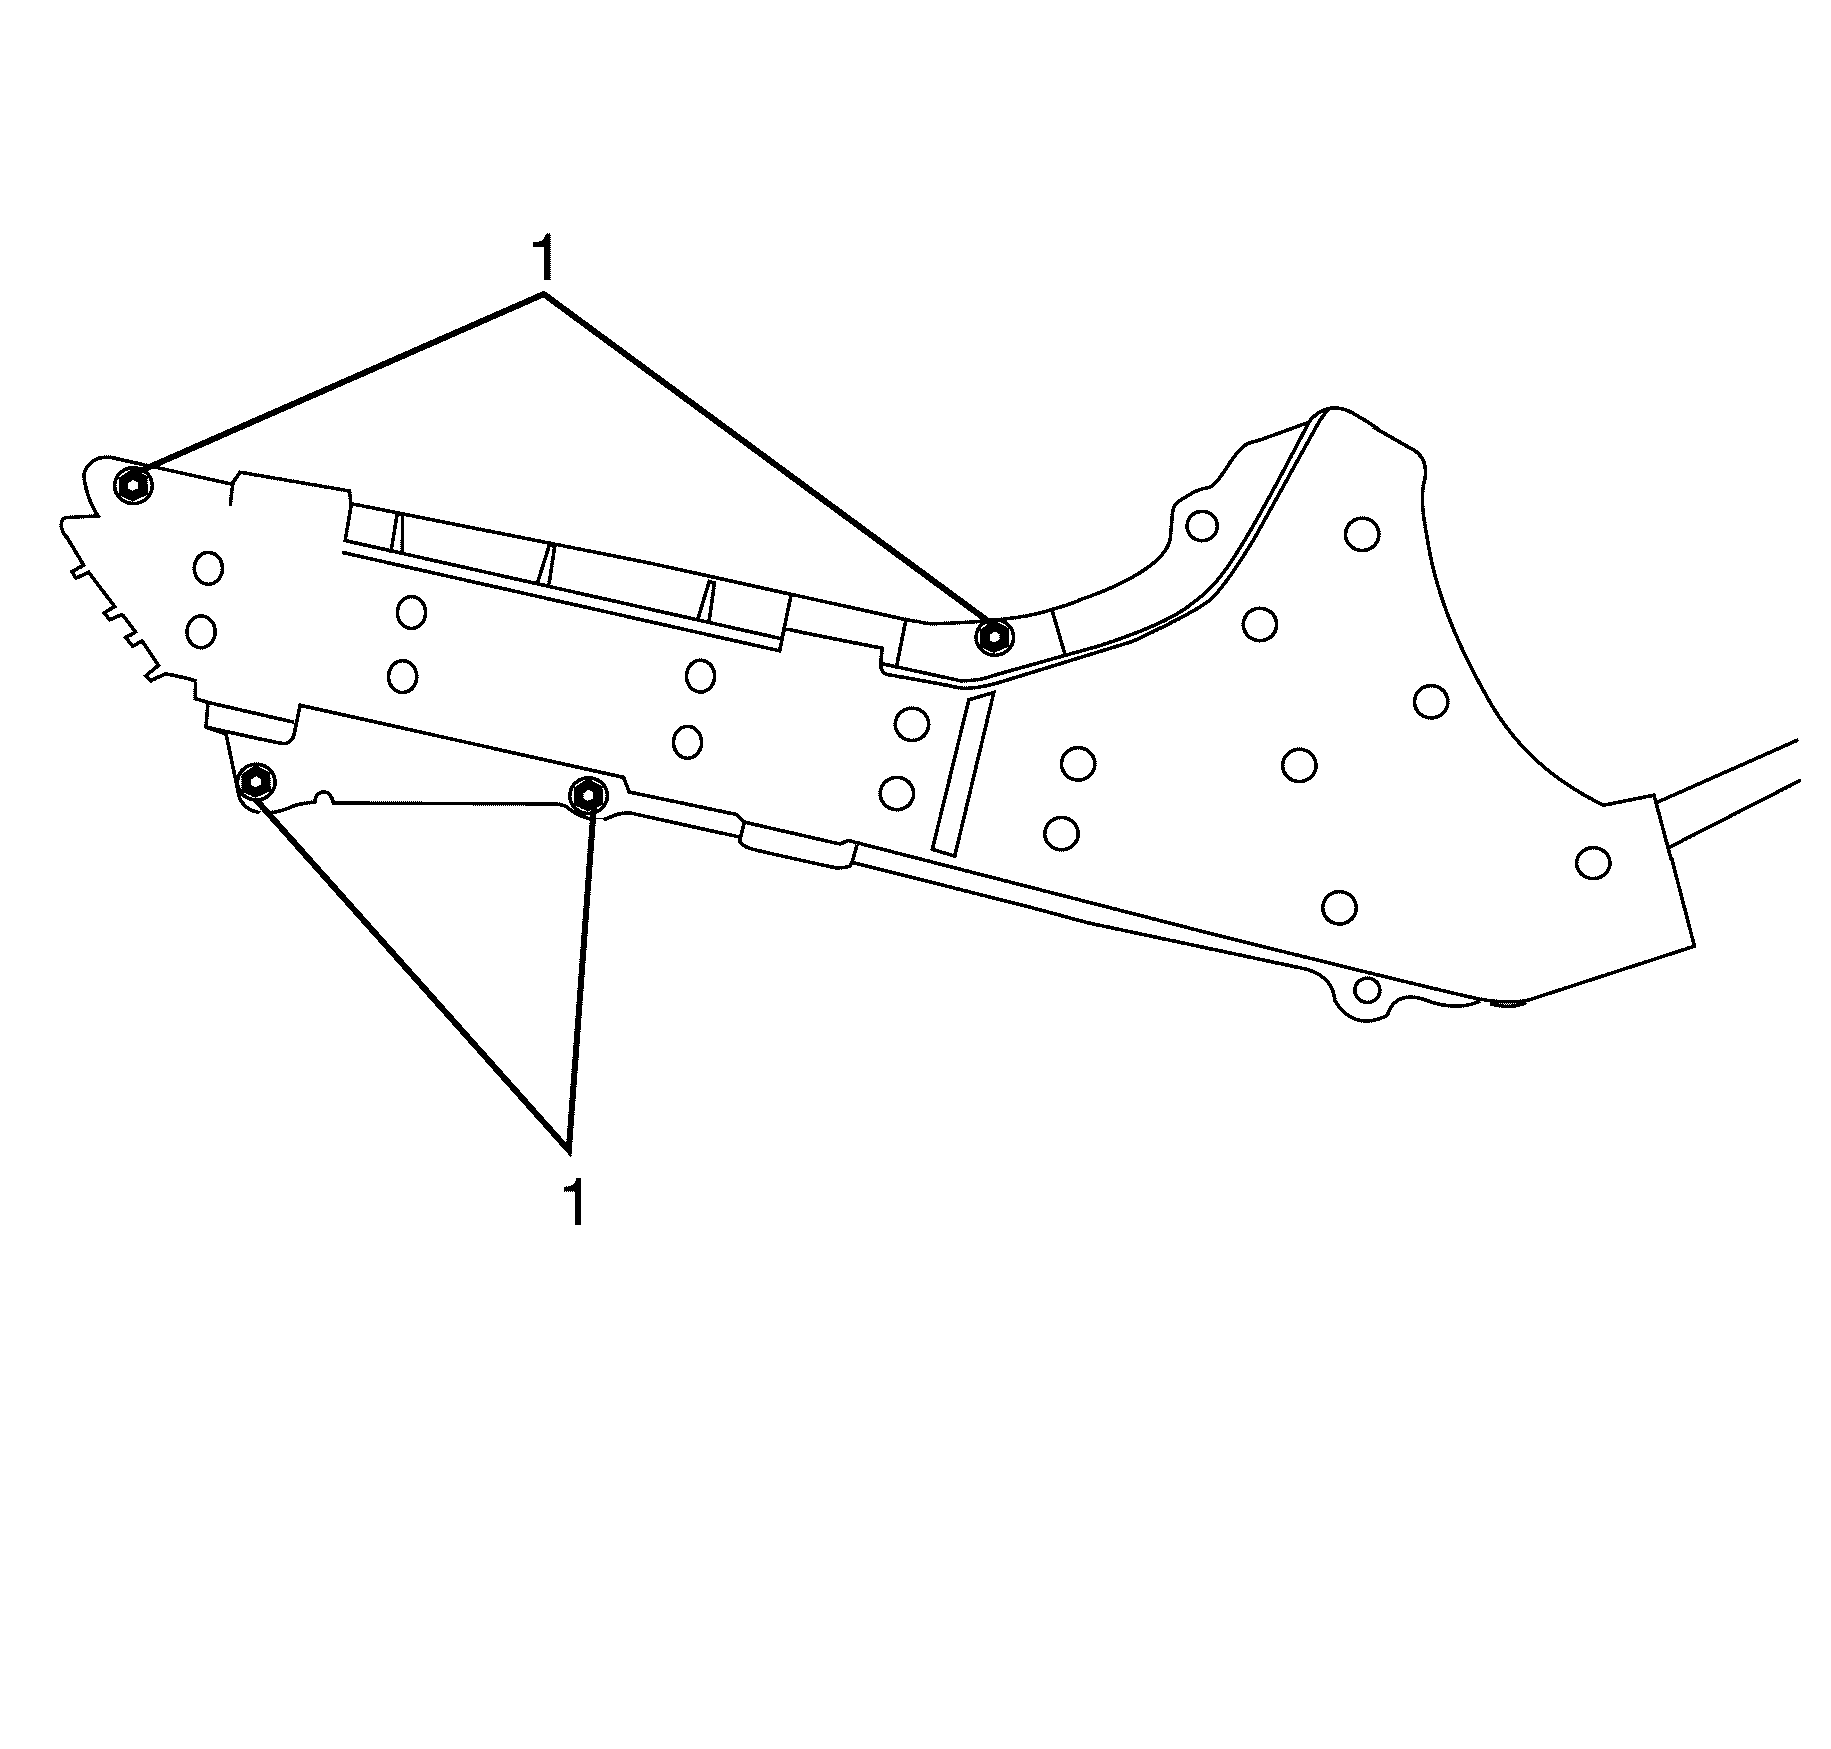
- Remove the stone guard to under body retaining nuts (1).
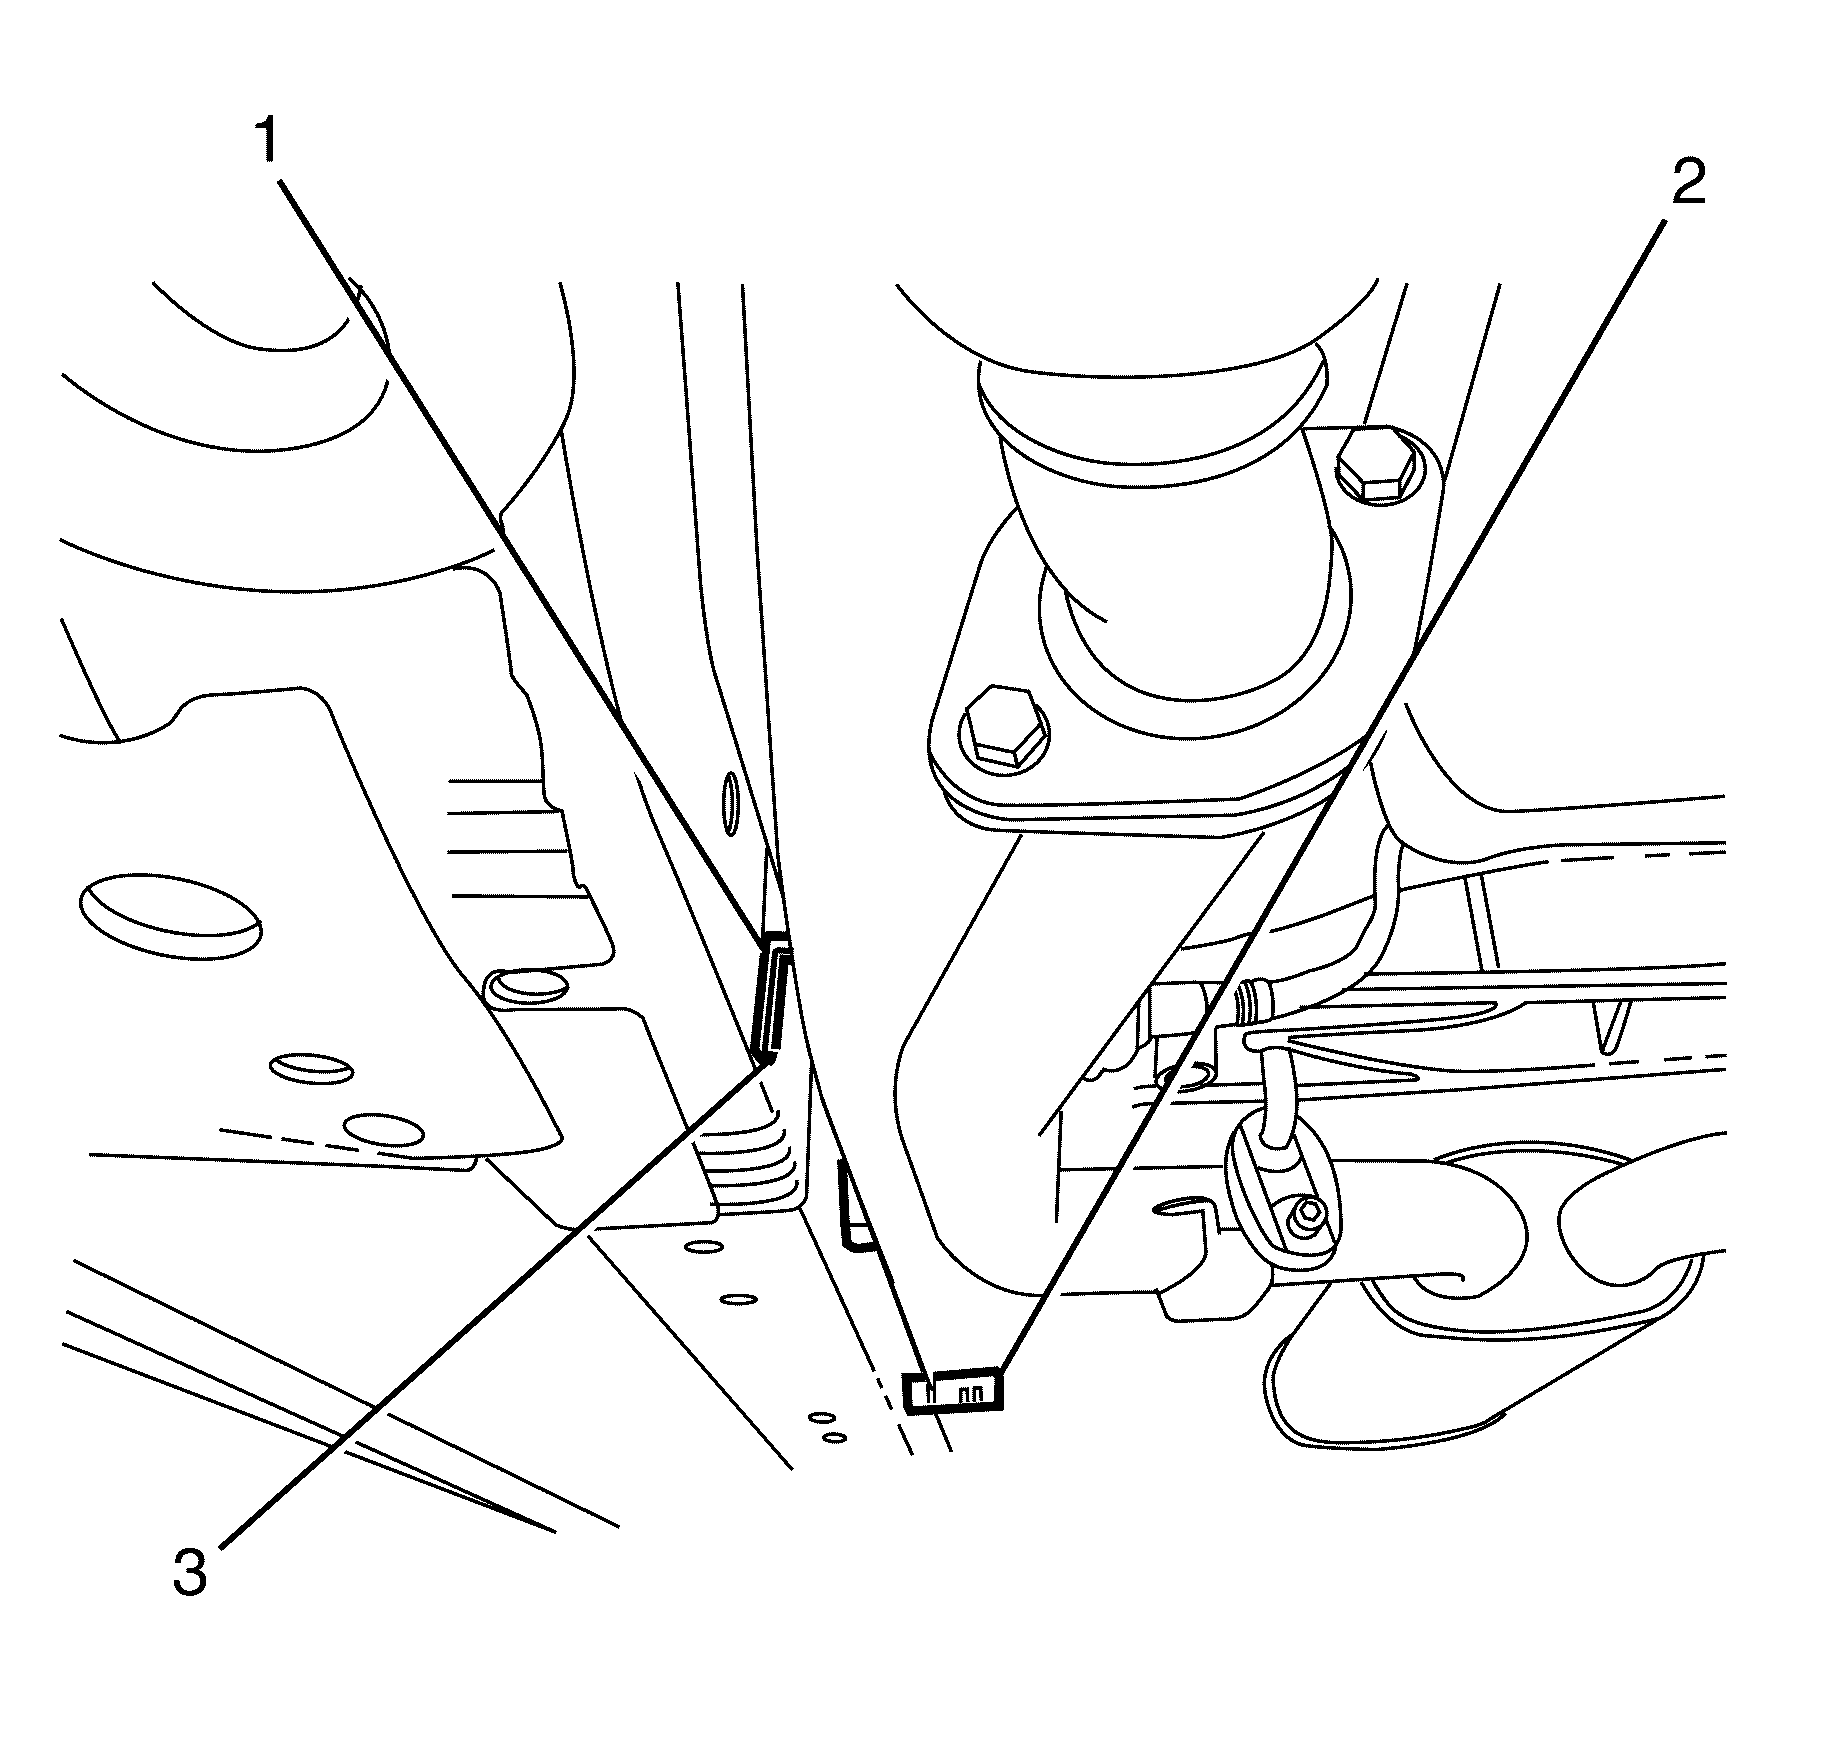
- Remove the fuel line bracket to under body pop rivet retainer (1) and discard.
- Remove the fuel line insulators (2 and 3) from the chassis fuel lines.
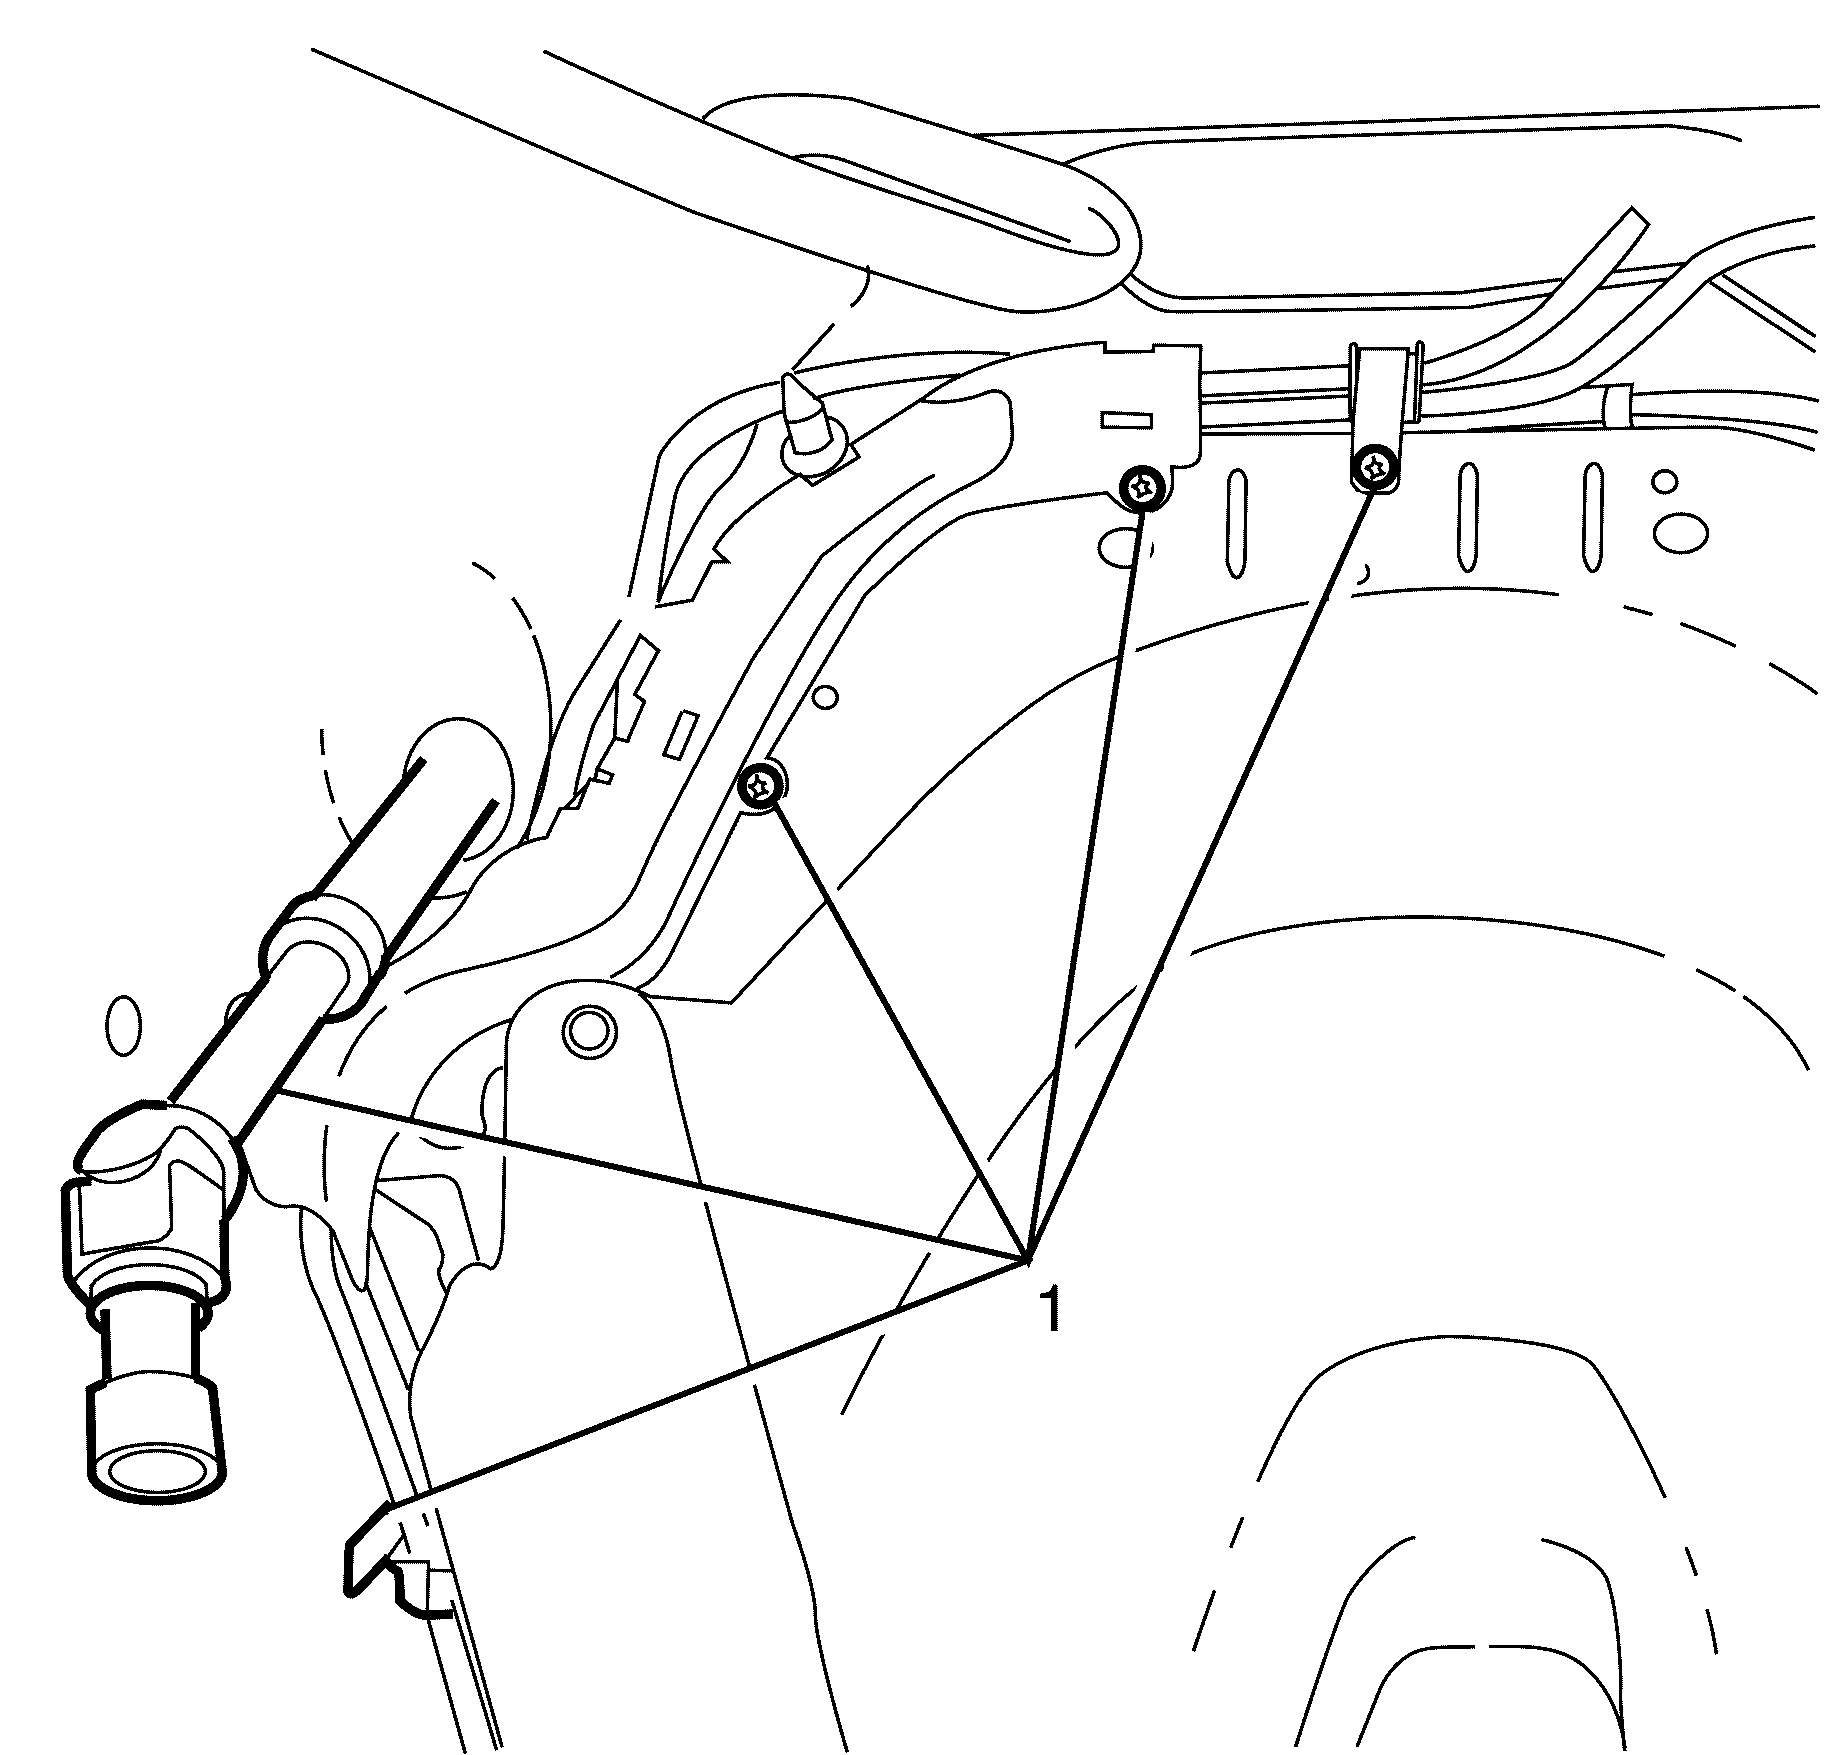
- Remove the fuel line brackets to engine bay pop rivet retainers (1) and discard.
- Remove the fuel line insulators from the engine bay fuel lines.
- Remove the fuel and EVAP lines from the vehicle.


Discard the pop rivet.

Discard the pop rivet.
Installation Procedure
- Install the fuel and EVAP lines to the vehicle.
- Install the fuel line insulators to the engine bay fuel lines.
- Install the fuel line brackets to the engine bay.
- Install the NEW fuel line brackets to engine bay pop rivet retainers (1).
- Install the fuel line insulators (2 and 3) to the chassis fuel lines.
- Install the NEW fuel line retaining bracket to under body pop rivet retainer (1).
- Install the fuel line stone guard to under body retaining nuts (1).
- Install the fuel and EVAP lines at the fuel tank. Refer to Fuel Hose/Pipes Replacement - Engine Compartment.
- Install the engine. Refer to Engine Replacement.
- Install the fuel and EVAP lines at the engine compartment. Refer to Fuel Tank Replacement.
- Connect the battery ground cable. Refer to Battery Negative Cable Disconnection and Connection.
- If re-programming is required. Refer to Control Module References.


Tighten
Tighten the bolts to 5 N·m (44 lb in).
| 12.1. | Turn ON the ignition for 2 seconds. |
| 12.2. | Turn OFF the ignition for 2 seconds. |
| 12.3. | Turn ON the ignition. |
| 12.4. | Inspect for fuel leaks. |
