For 1990-2009 cars only
Removal Procedure
- Separate the hood release cable from the hood latch release handle.
- Carefully remove the knee bolster trim panel by pulling until the retaining clips are free from the slots in the instrument panel.
- Remove the knee bolster. Refer to Knee Bolster Replacement in Instrument Panel, Gages, and Console.
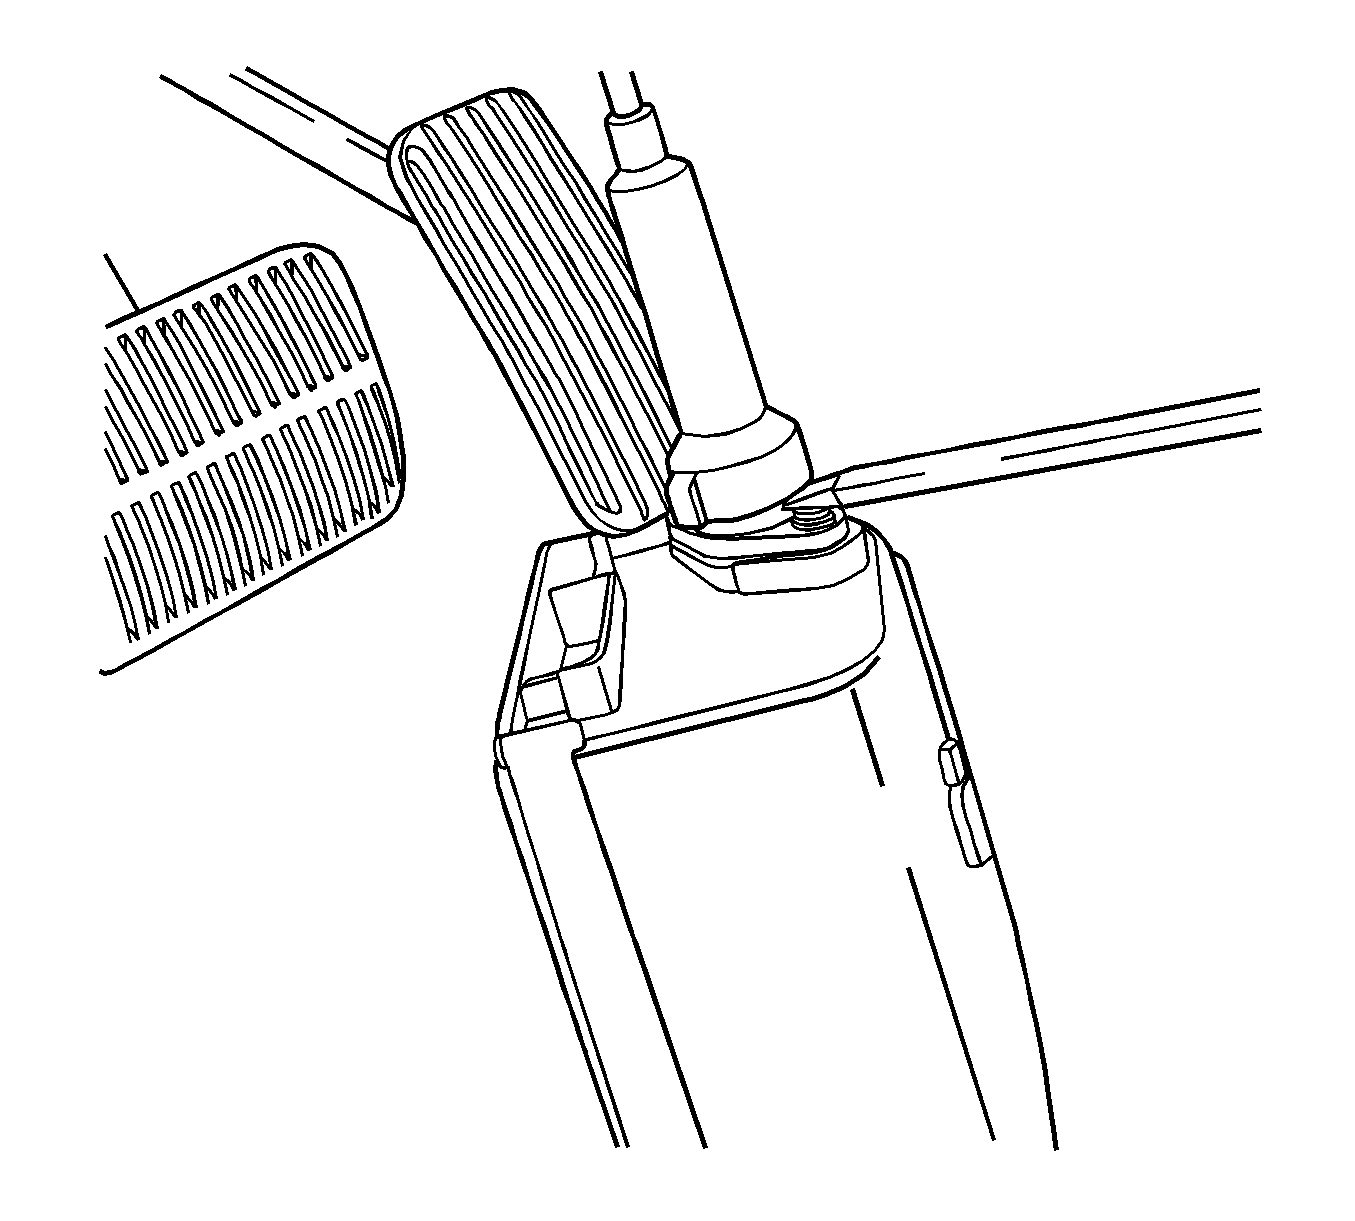
- Press the release button on the cable adjuster and push the cable toward the adjuster until the spring is compressed.
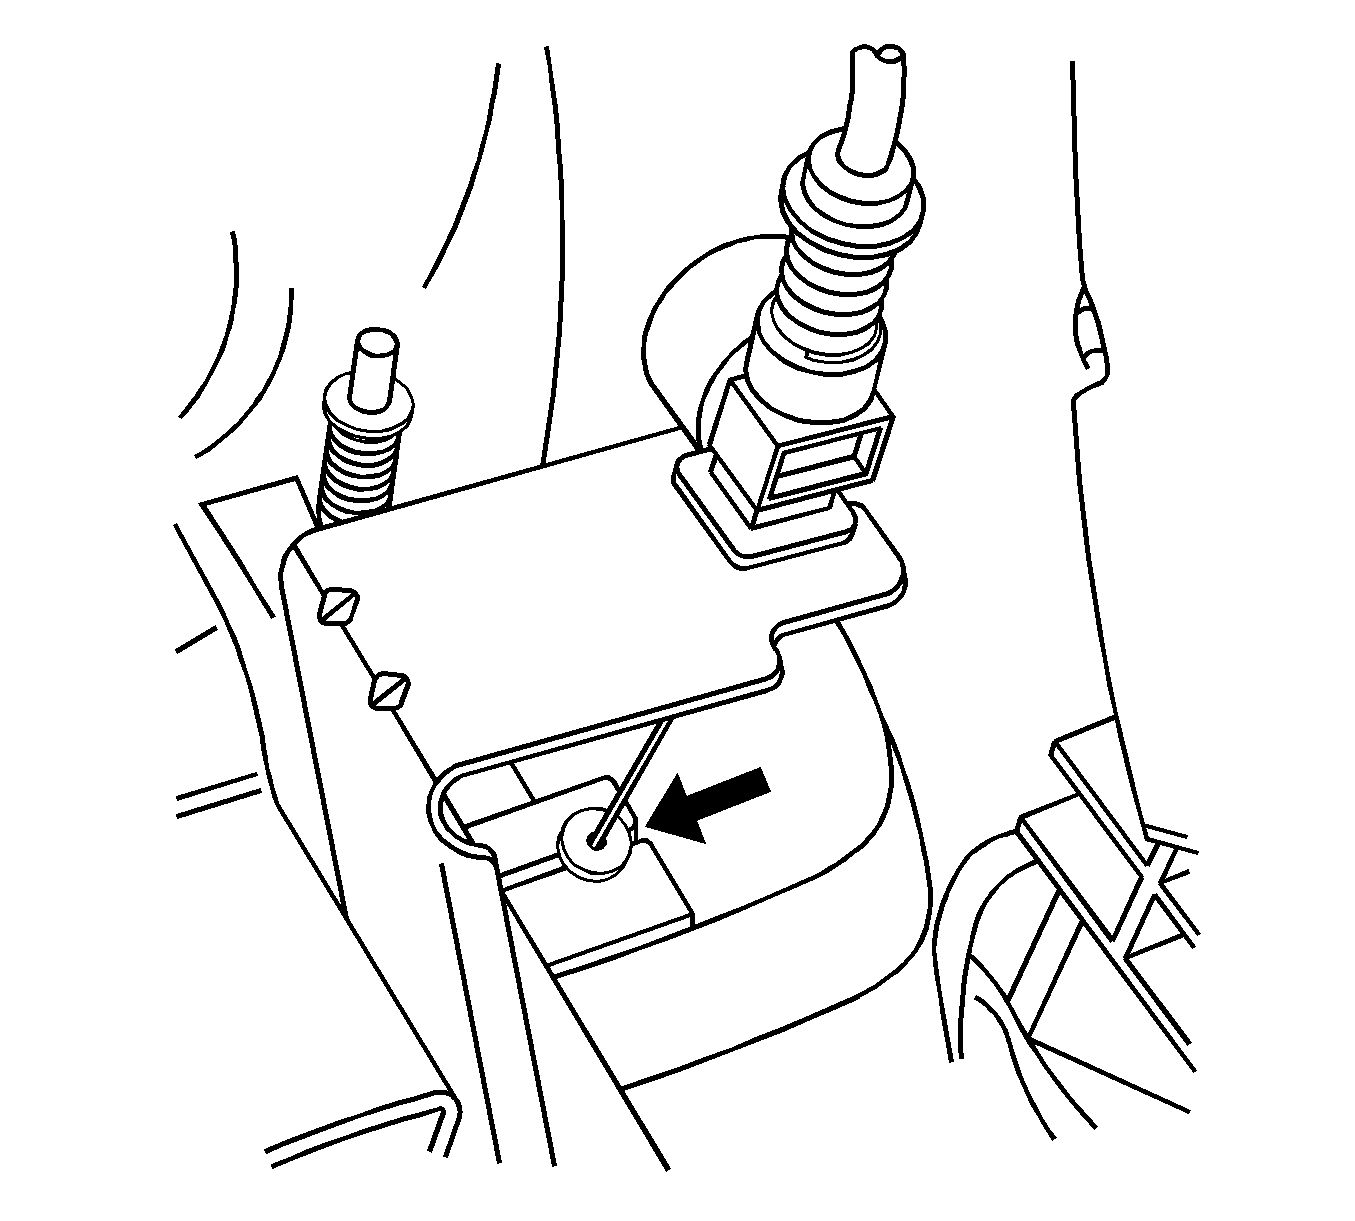
- Remove the cable bushing from the accelerator assembly.
- Press the retaining tabs of the cable adjuster and remove the adjuster from the mounting bracket.
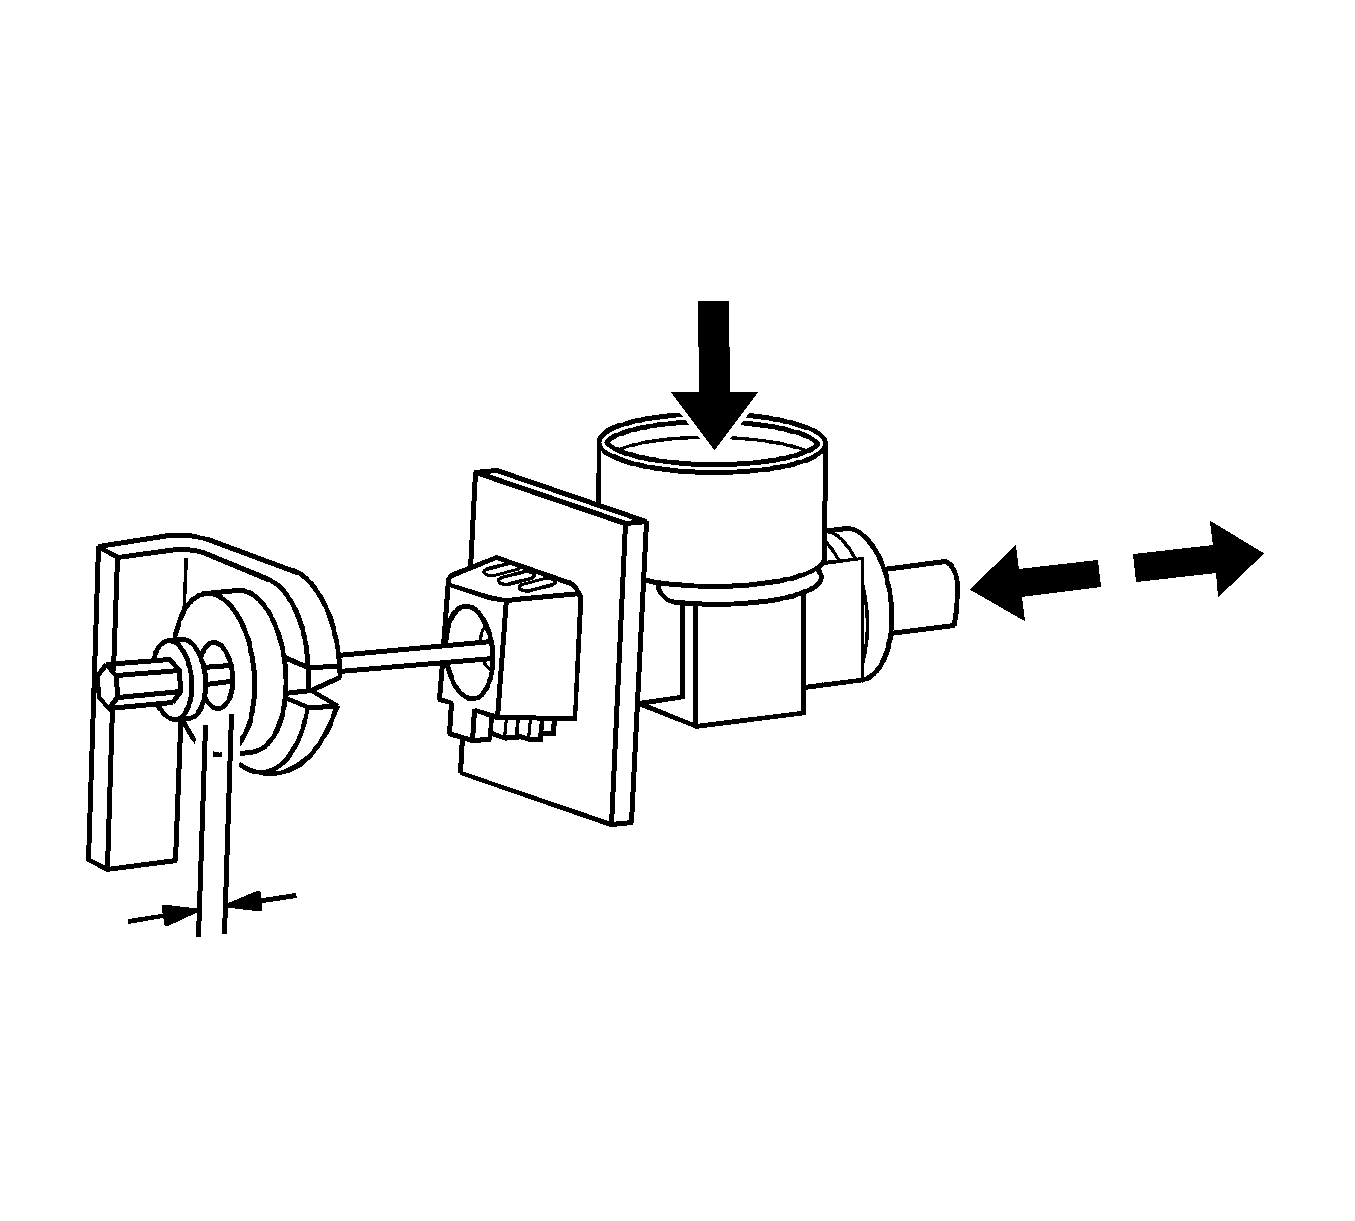
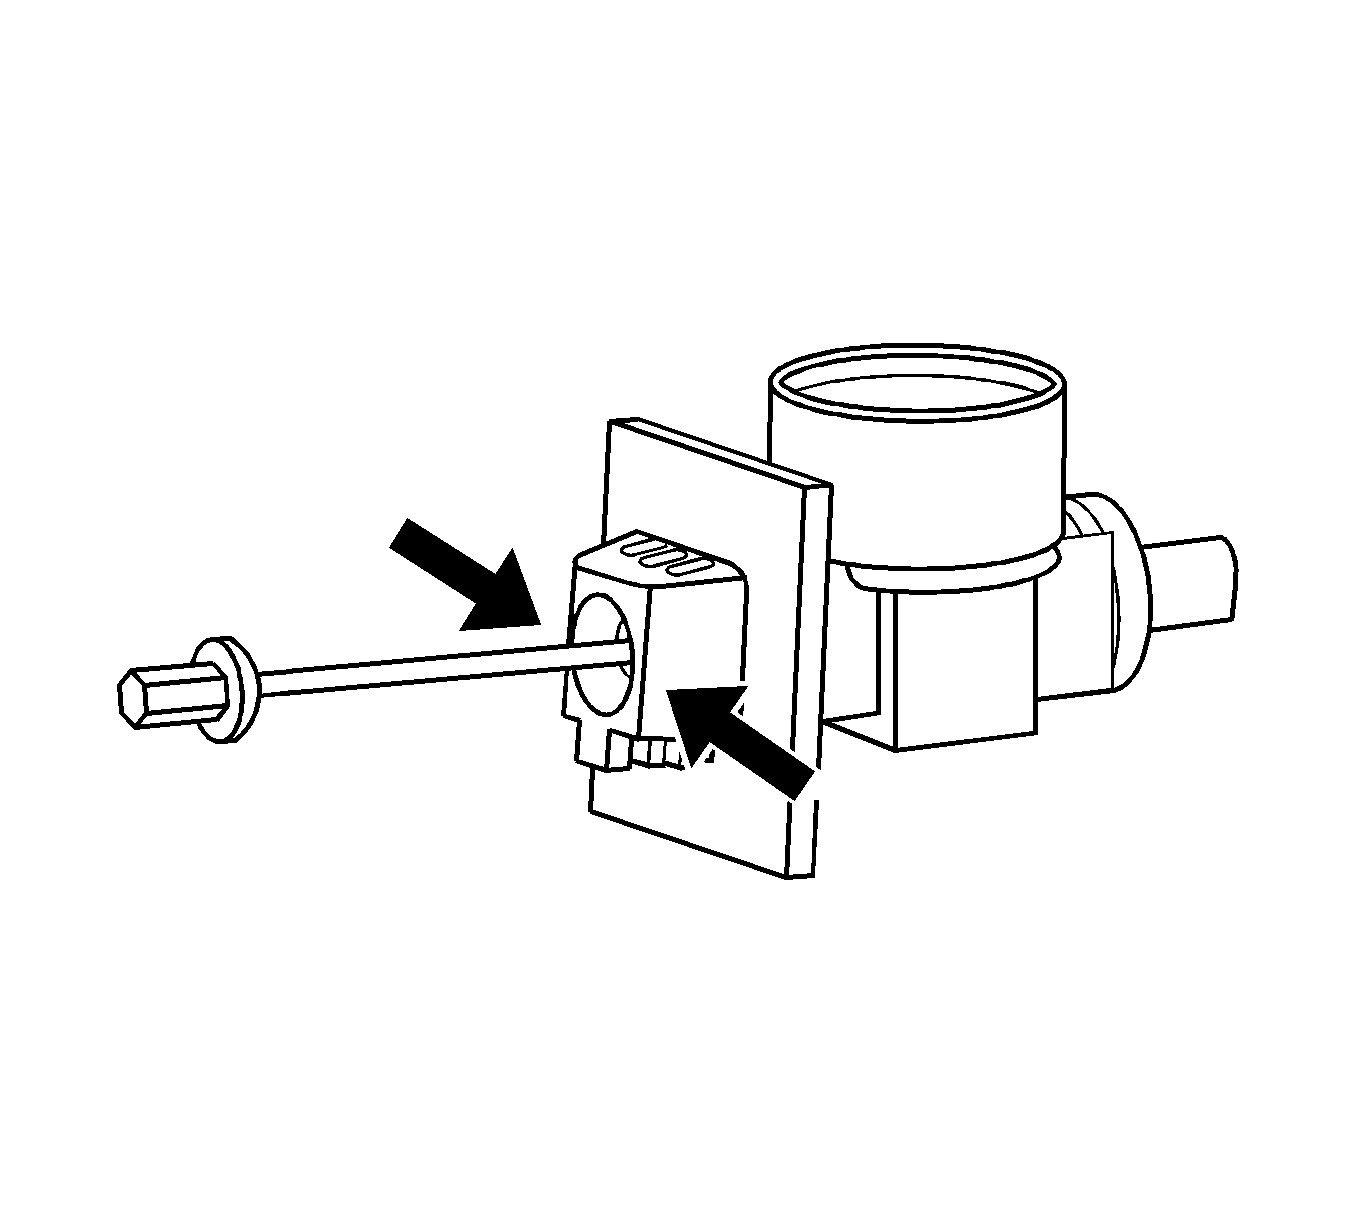
- Tilt the cable housing and insert a flat-blade screwdriver into one of the slots in the actuator.
- Tilt the cable housing toward the screwdriver. The cable housing retainers will release.
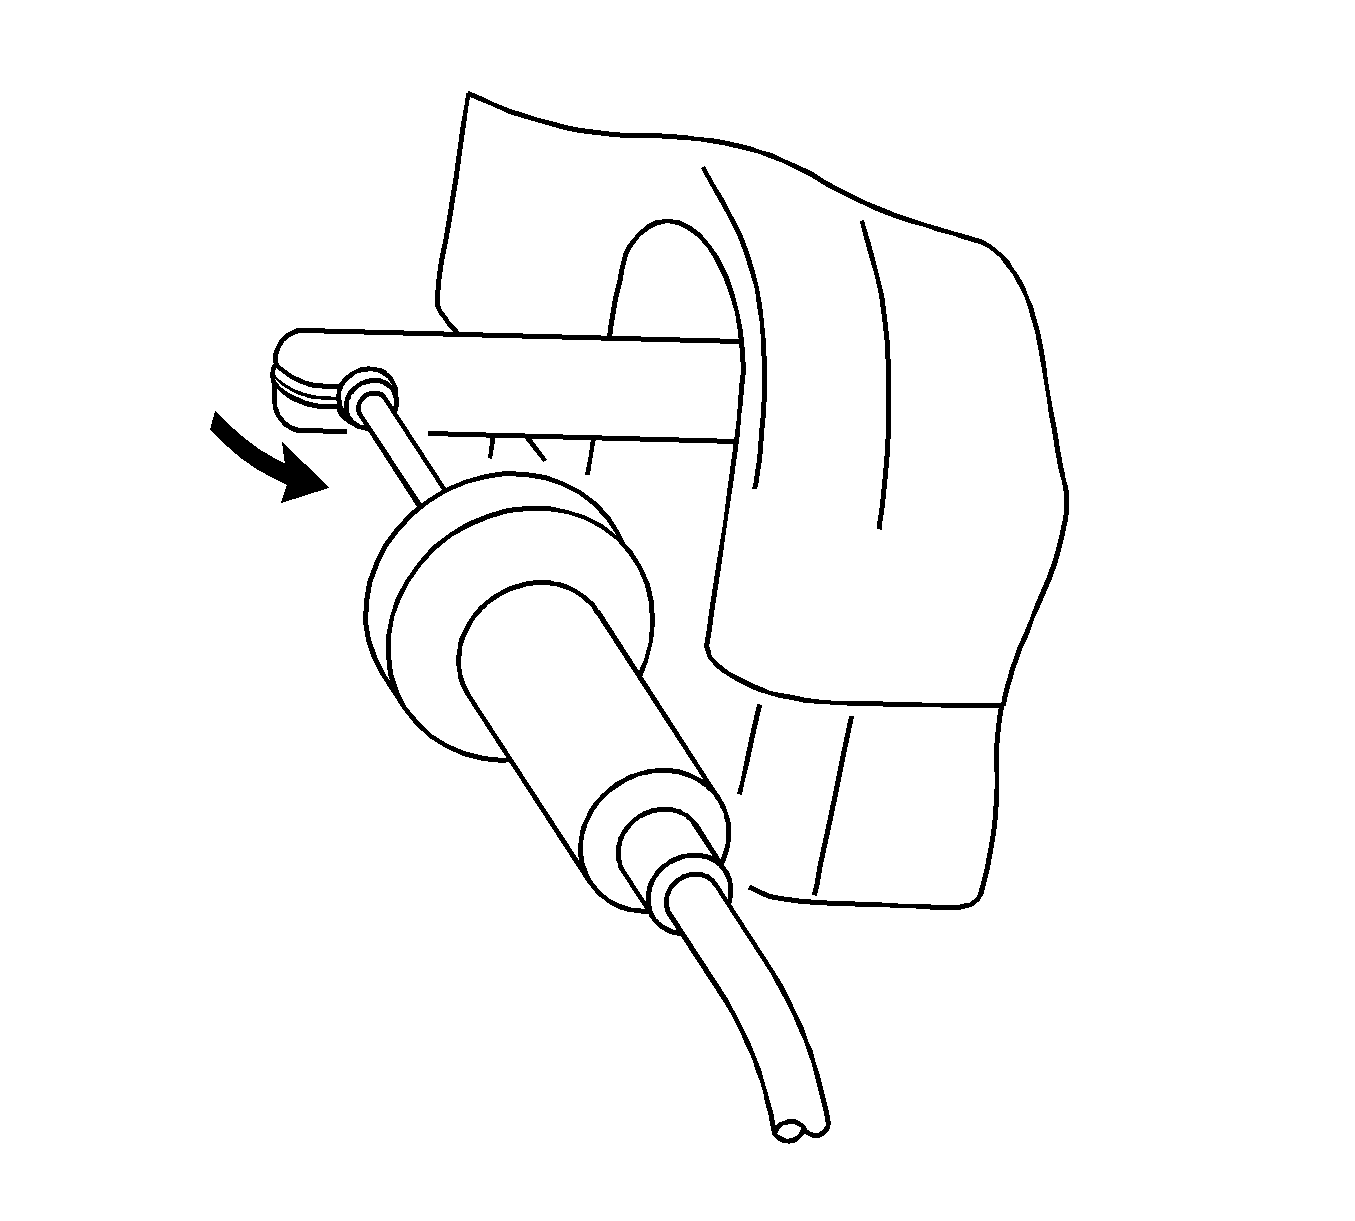
- Pull the guide sleeve and the cable out of the actuator and turn the cable 90 degrees to the axis of the guide sleeve.
- Remove the actuator from the cable.
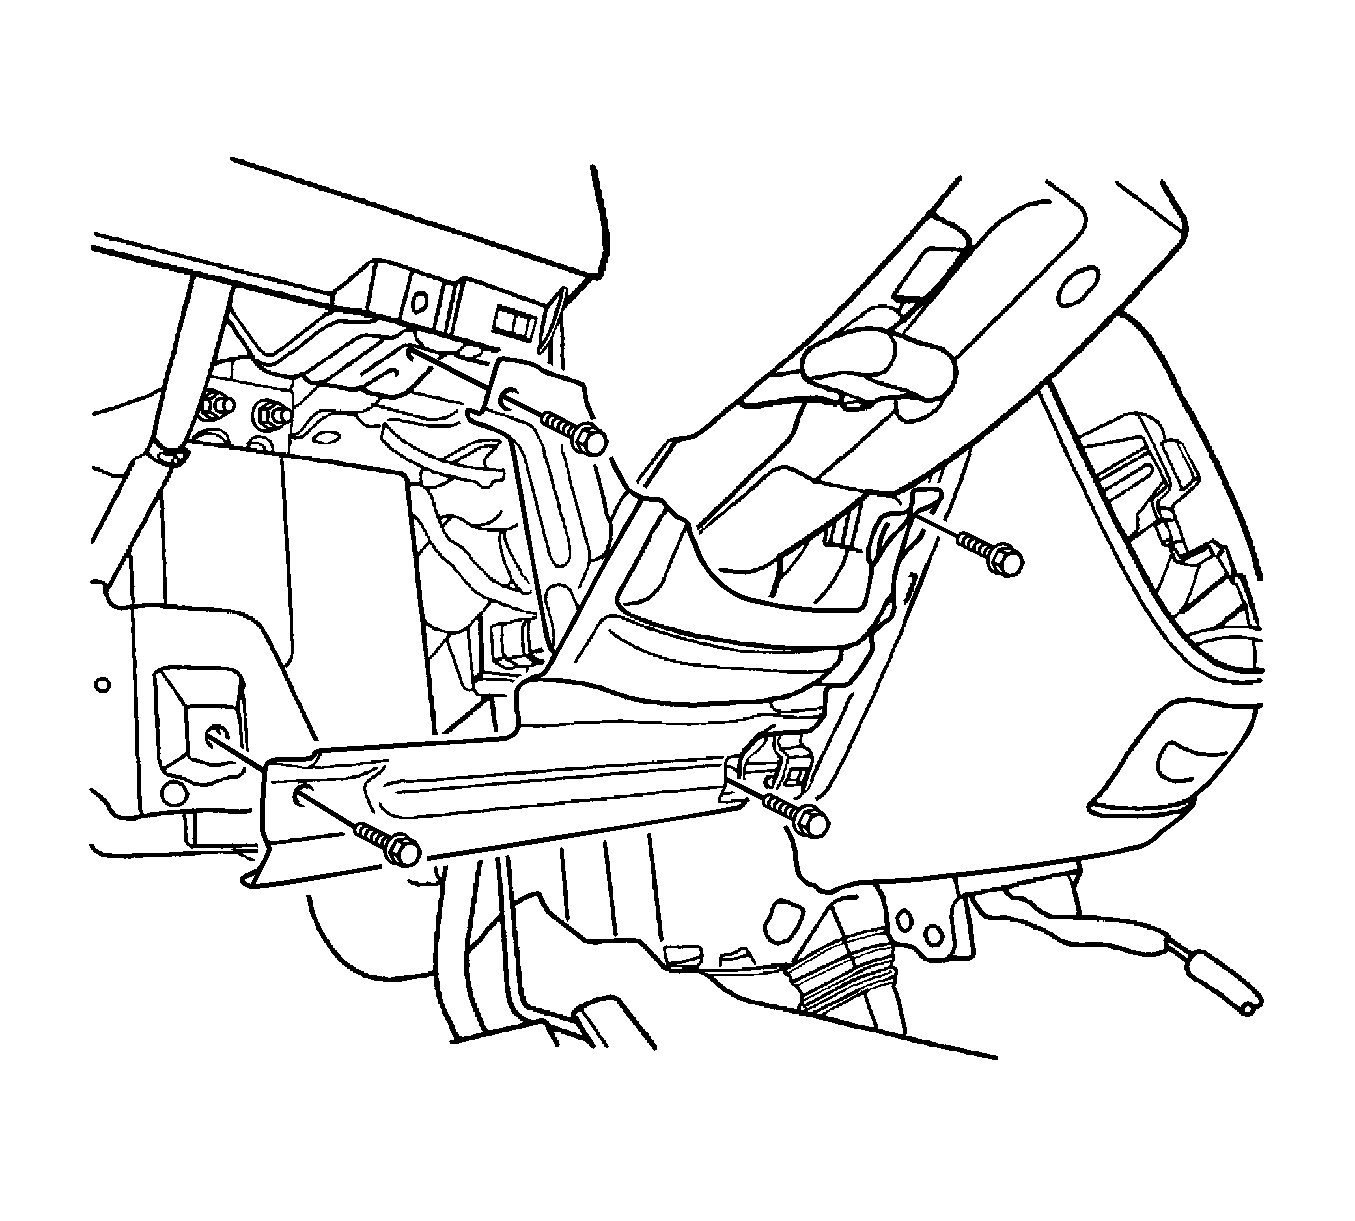
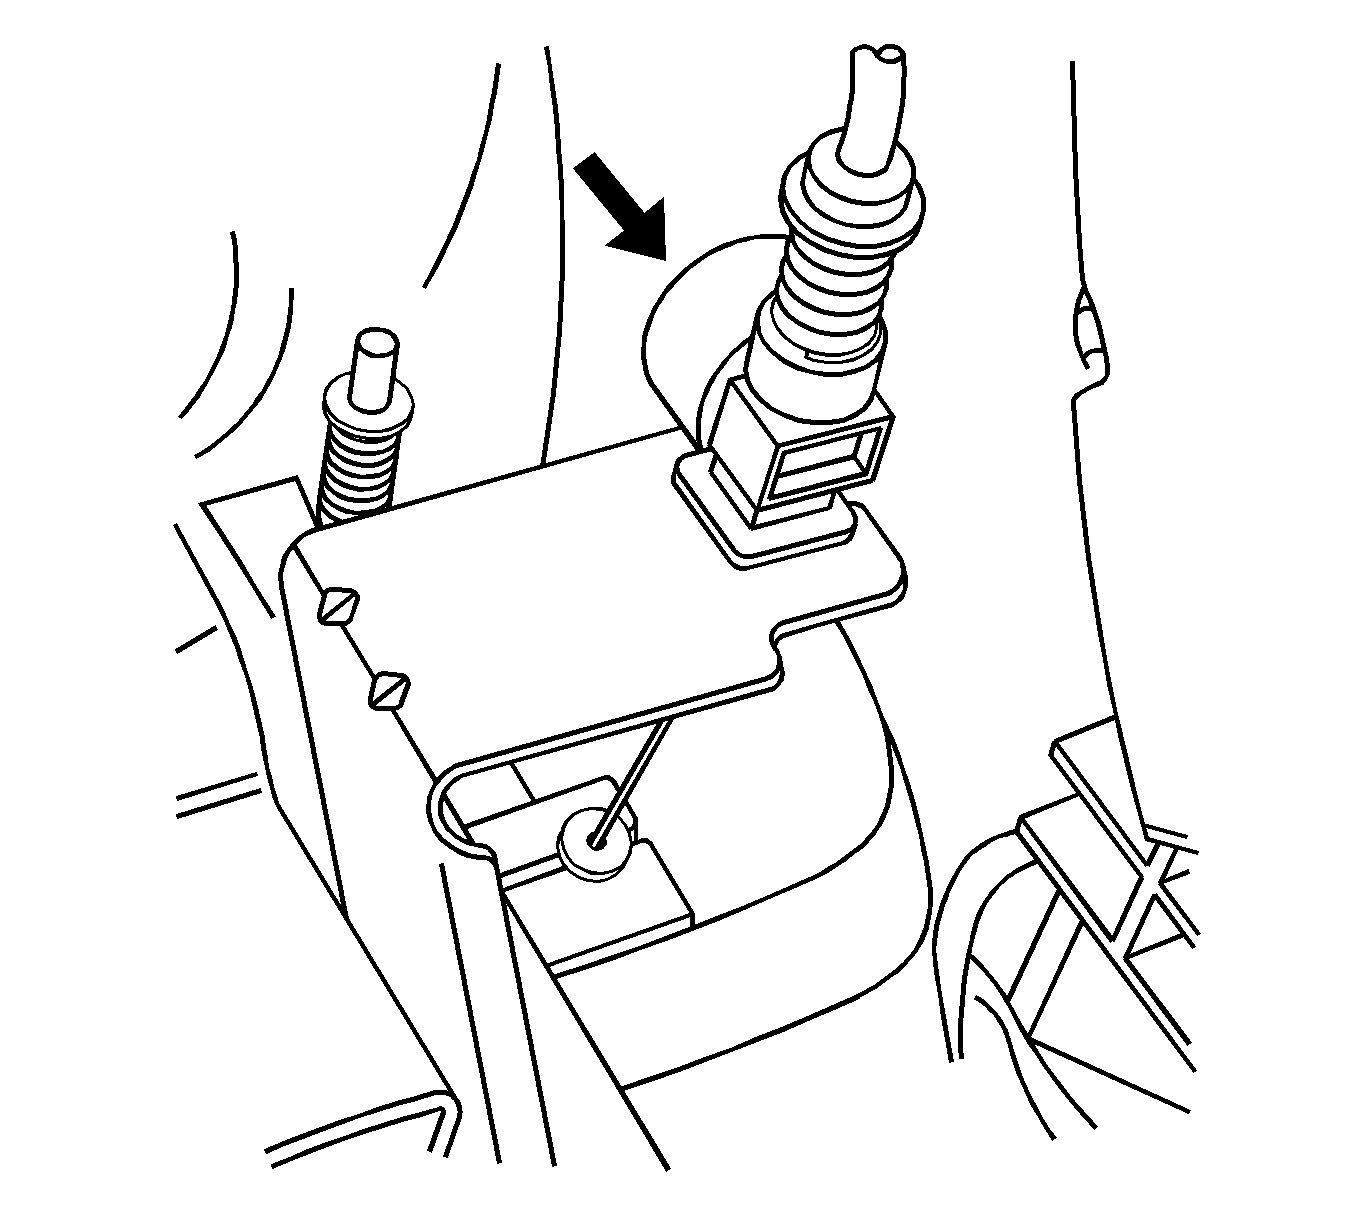
Important: When the adjuster button is pressed, do not allow the adjuster spring to expand to a length of more than 2 cm (3/4 in) or the adjuster rack will come out of the adjuster, and it will have to be reinserted. To keep the adjuster in one piece during adjustment, hold the cable when the adjuster button is pressed.
Installation Procedure
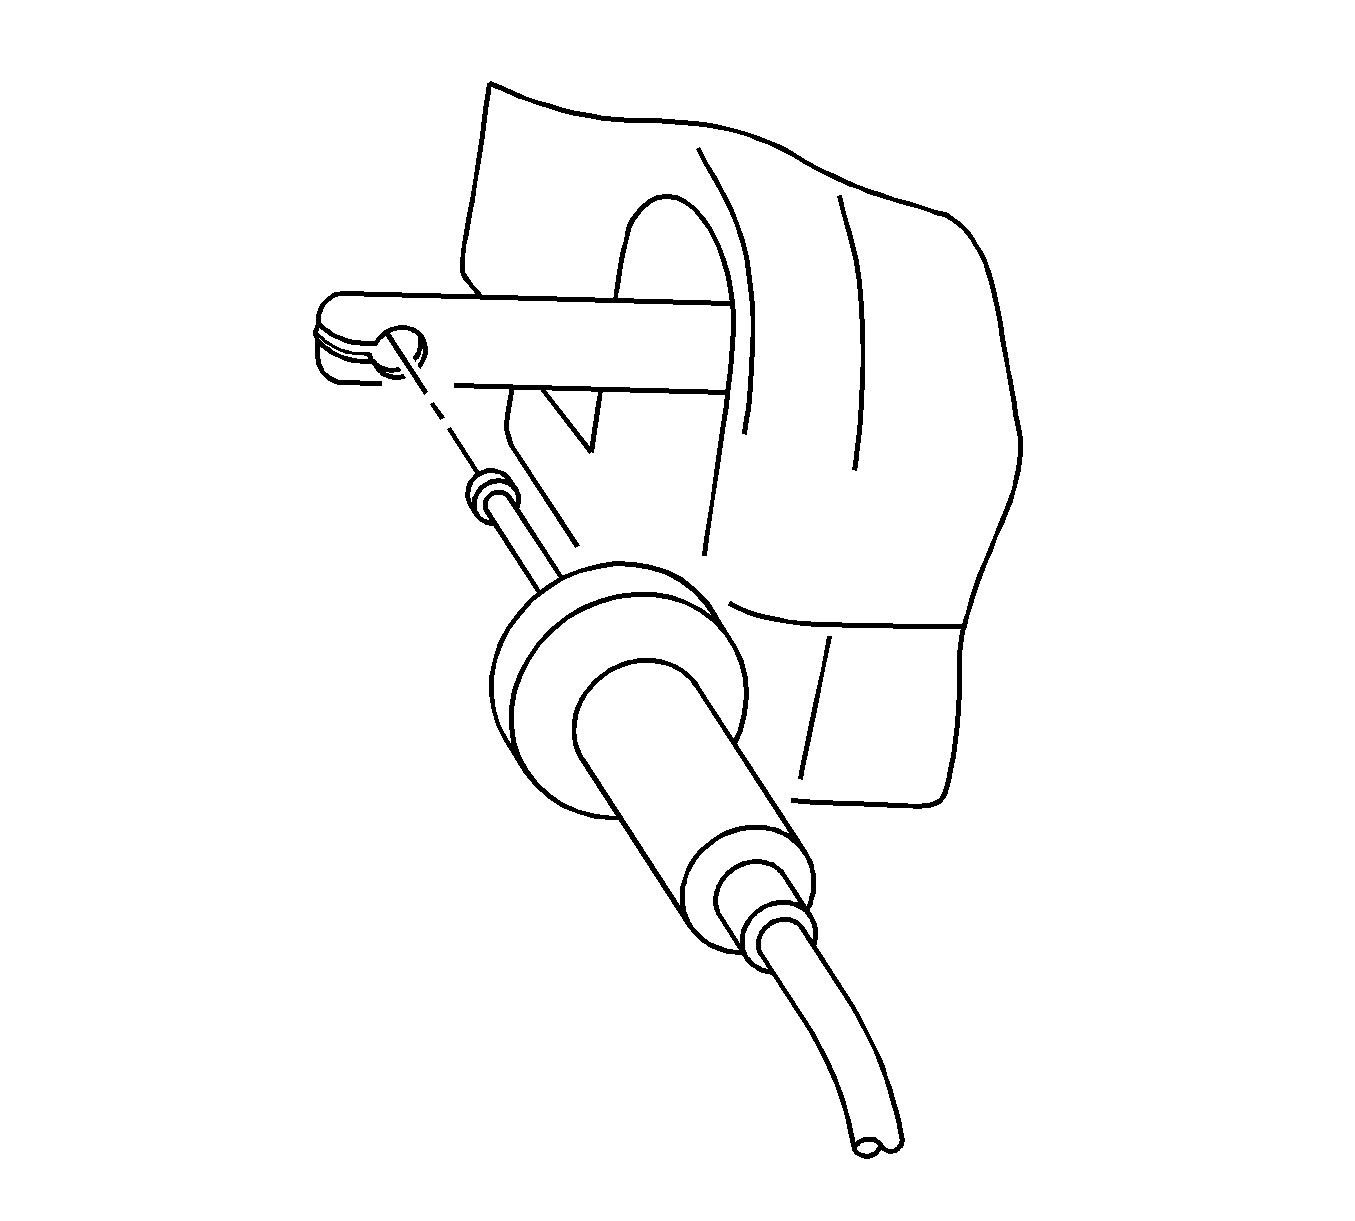
- Insert the ball of the cable assembly into the slot in the actuator rod and then rotate the cable 90 degrees.
- Push the guide sleeve onto the actuator rod and press the cable housing onto the actuator until it is locked in place by the retainers.
- Clip the cable adjuster into the bracket of the pedal mount assembly.
- Press the cable release button and slide the cable into the adjuster until the spring is fully compressed.
- Install the cable bushing into the pedal assembly.
- Press the cable release button and adjust the cable to achieve a gap of 0.5 mm (0.2 in) between the bushing and the nipple of the ball.
- Install the knee bolster. Refer to Knee Bolster Replacement in Instrument Panel, Gages, and Console.
- Align the instrument panel under cover and press the retaining clips into the slots in the instrument panel.
- Install the hood release handle.
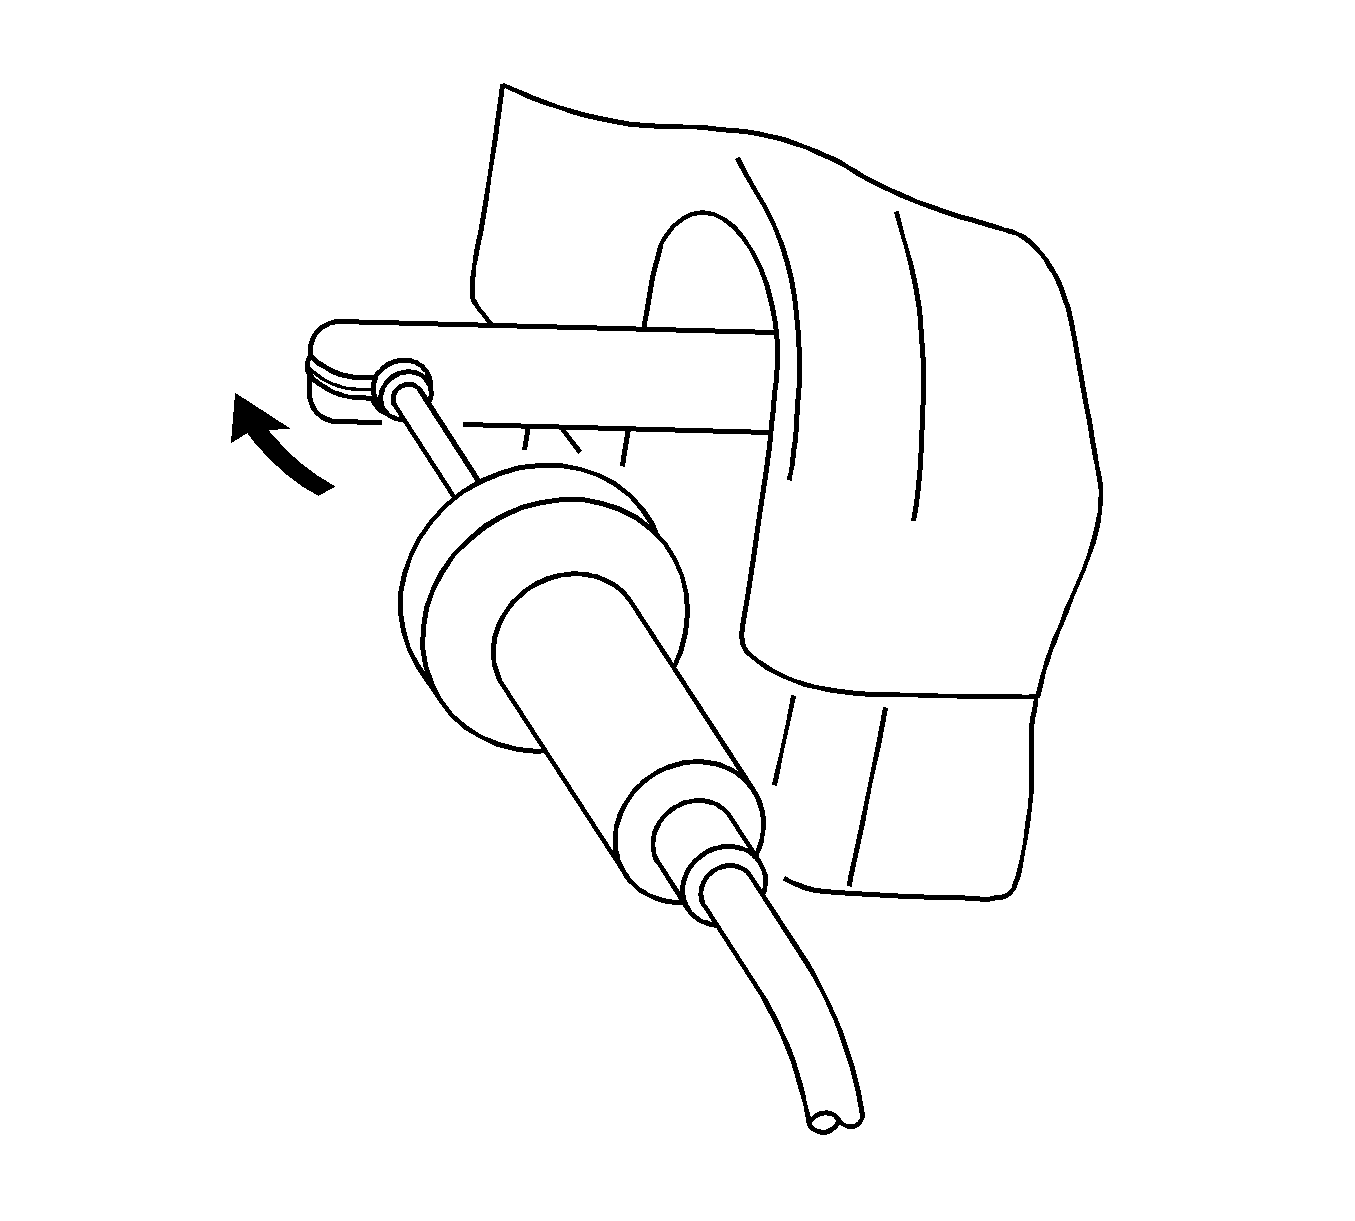
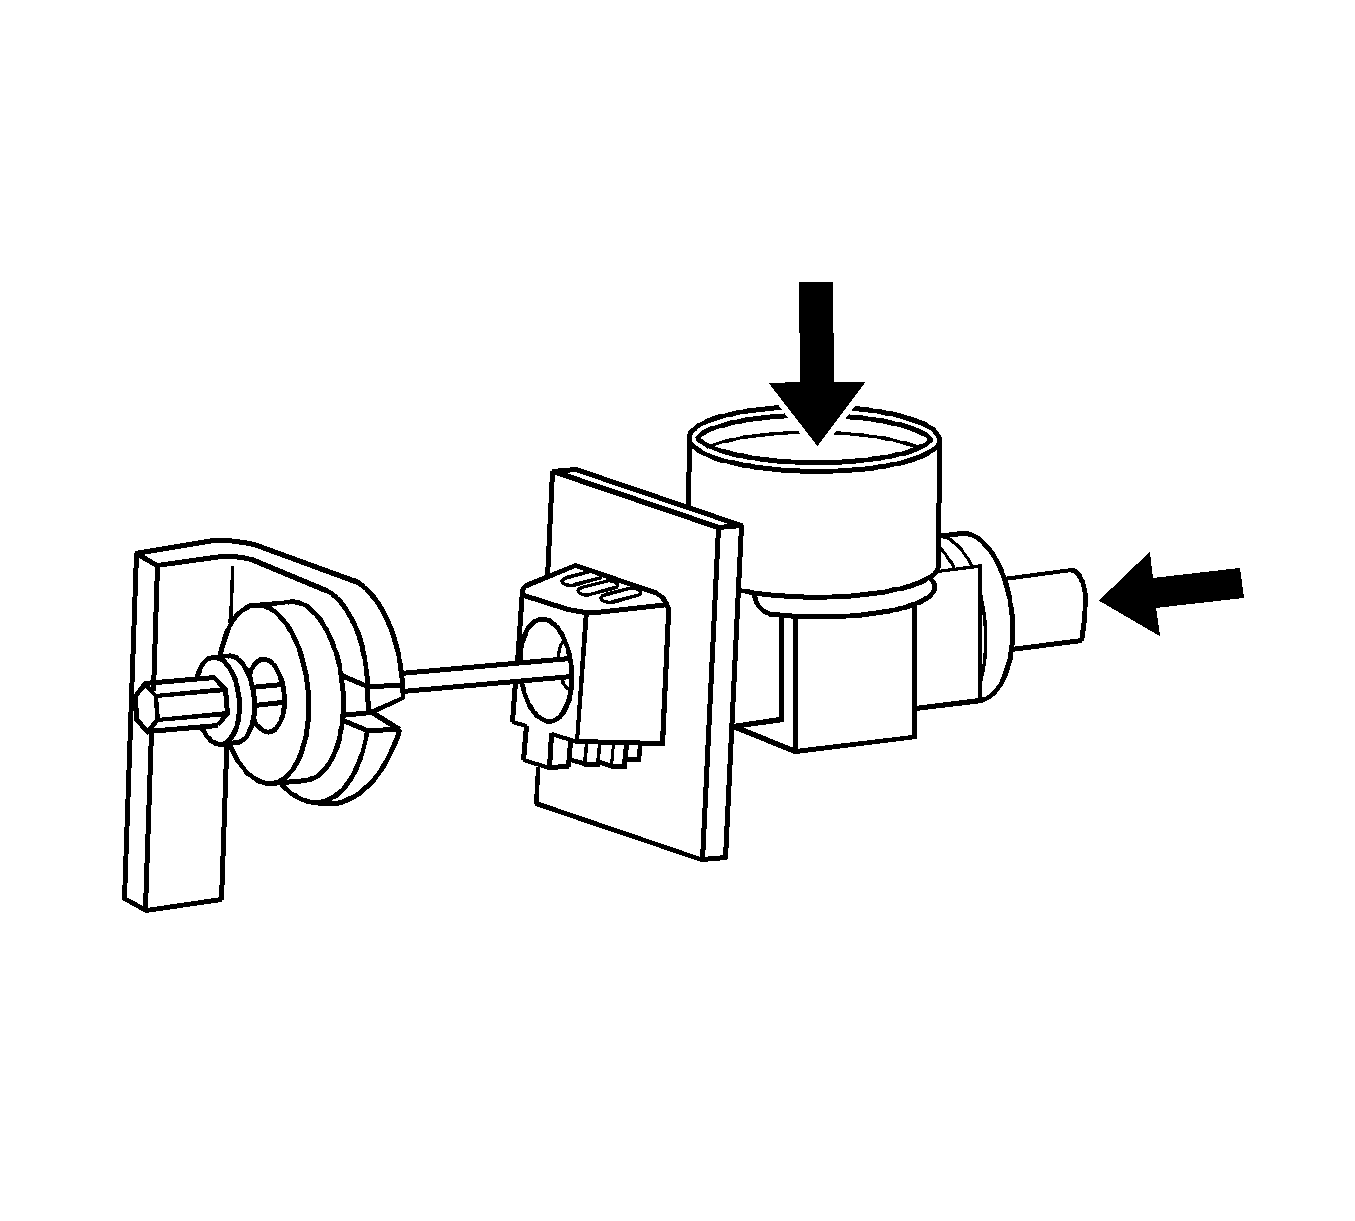
Important: When the adjuster button is pressed, do not allow the adjuster spring to expand to a length of more than 2 cm (3/4 in) or the adjuster rack will come out of the adjuster, and it will have to be reinserted. To keep the adjuster in one piece during adjustment, hold the cable when the adjuster button is pressed.
