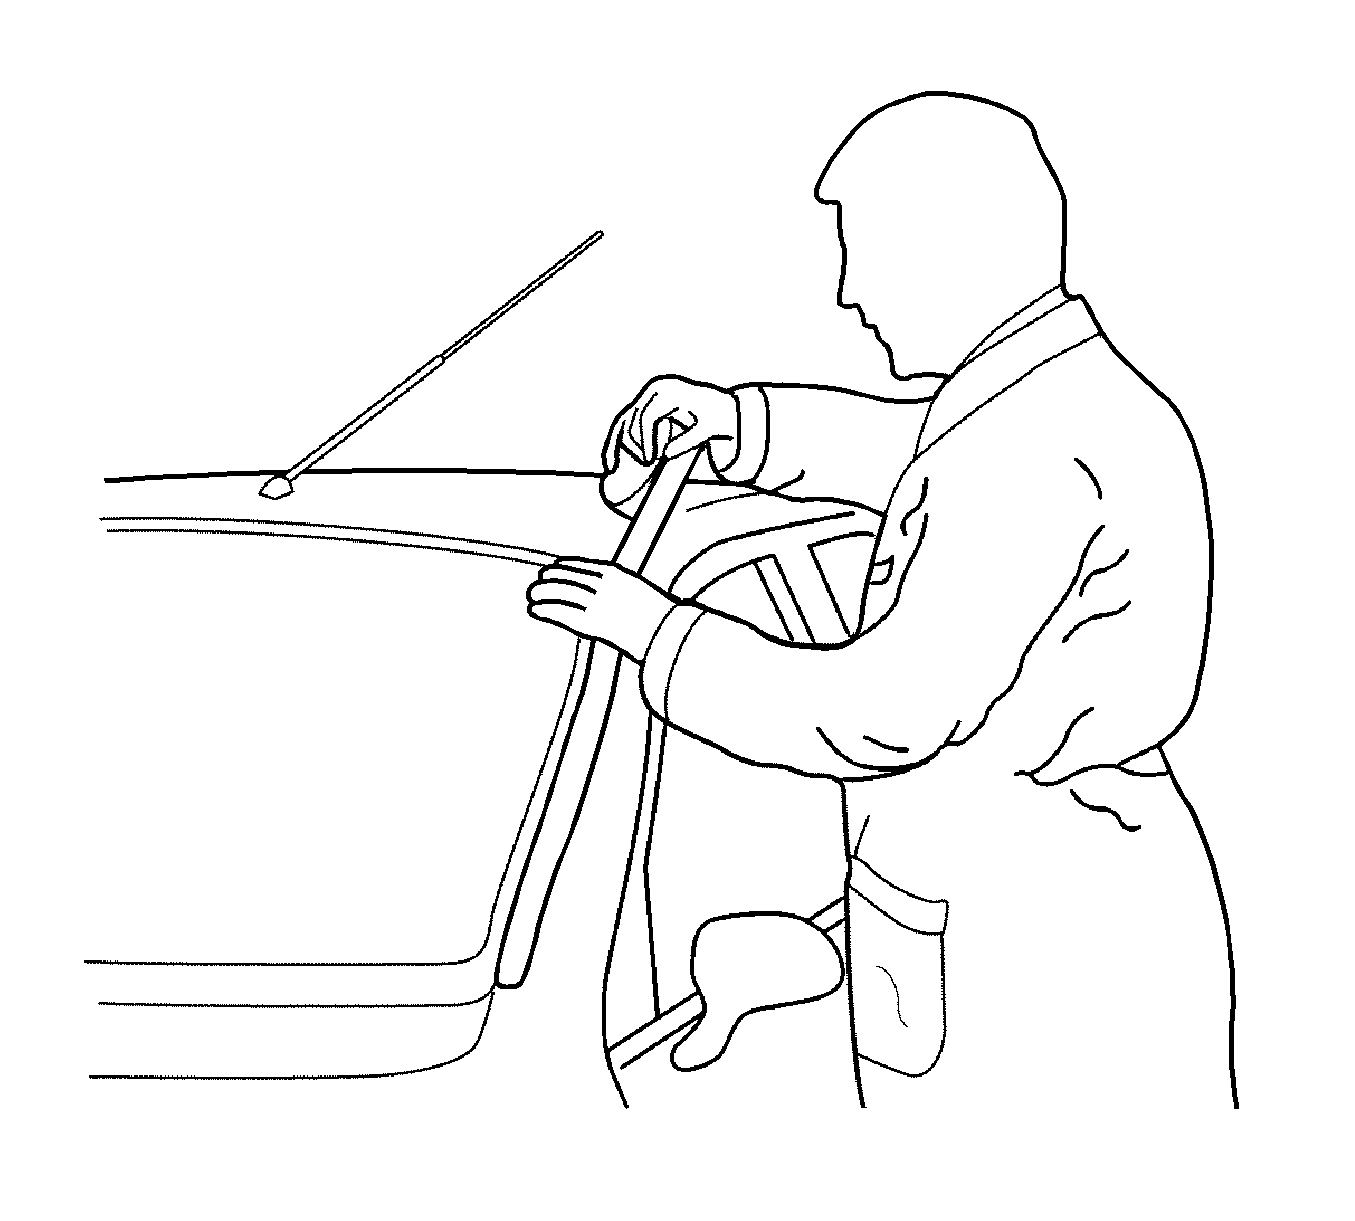
Caution: An assistant should drive the vehicle while the technician checks for
the location of the reported condition. Otherwise, personal injury could result.
A test drive in the vehicle is necessary to accurately determine the location
of the windnoise. Often there is a primary leak and secondary leads. Failure to repair
all leaks will only reduce the windnoise, not eliminate it.
During the test drive the technician should bring the following items to aid
in determining the location of the windnoise.
| • | A mechanics stethoscope or vacuum hose |
Perform the following steps in order to conduct the road test:
- Choose a route that includes smooth straight streets that run North, South,
East and West.
- Choose streets with little traffic or noise that would interfere with
the test.
- Drive the vehicle at the speeds at which the noise was noticed by the
customer or until the noise is produced. Do not exceed legal speed limits.
- The windnoise is external if any of the following conditions occur:
| • | The windnoise is caused by the wind. |
| • | The windnoise can be heard with the door glass lowered and while the vehicle
is being driven. |
| • | The windnoise is eliminated when tape is placed over various moldings
and gaps. |
- Internal windnoise is air leaving the vehicle and should be repaired in
the following manner:
| • | In order to locate the leak, tape off the body lock pillar pressure relief
valves. This will cause air pressure to build up inside the vehicle and enhance the
windnoise. |
| • | Use a stethoscope or a vacuum hose to locate the leak. |
| • | Temporarily repair the leak with masking tape. |

| • | Continue testing in order to determine if the noise has been eliminated or if
other leaks exist. |
| • | When all leaks have been found, return to the shop and make permanent
repairs with the proper alignment techniques and sealing materials. |

