For 1990-2009 cars only
Tools Required
| • | J 3289-20 (KM-113-2) Holding Fixture |
| • | J 36633 Snap Ring Retainer |
| • | KM-334 Installer Sleeve |
| • | KM-552 Fixture |
| • | KM-554 Installer |
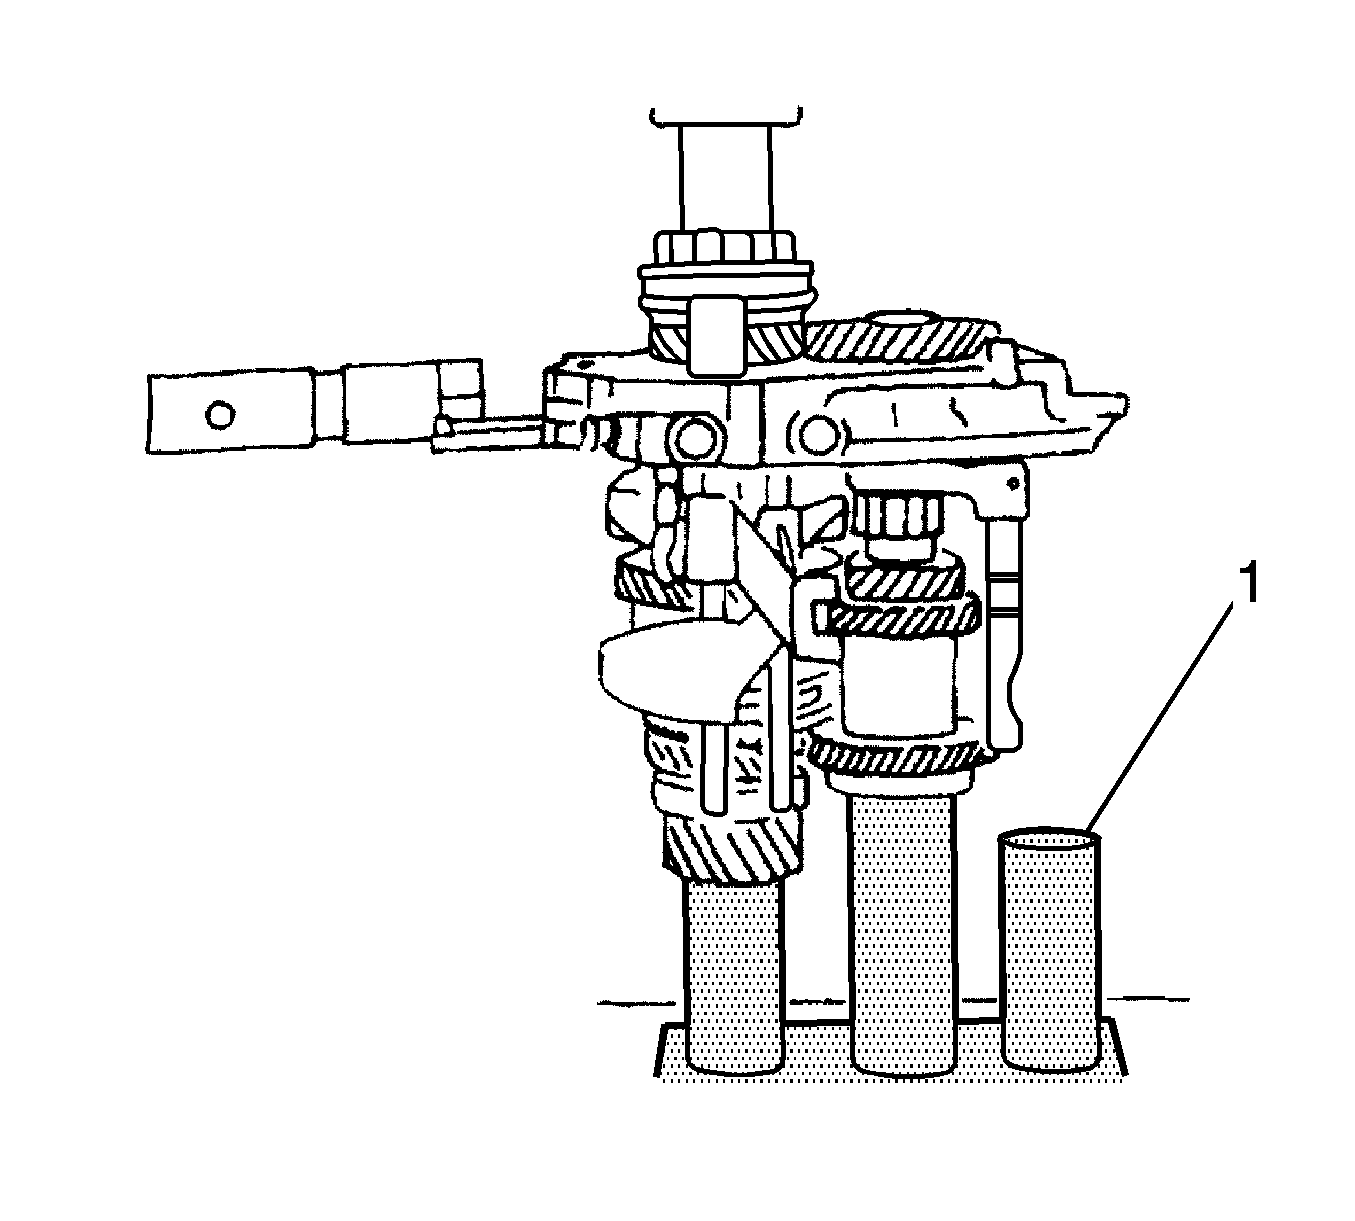
- Join the mainshaft and the input shaft.
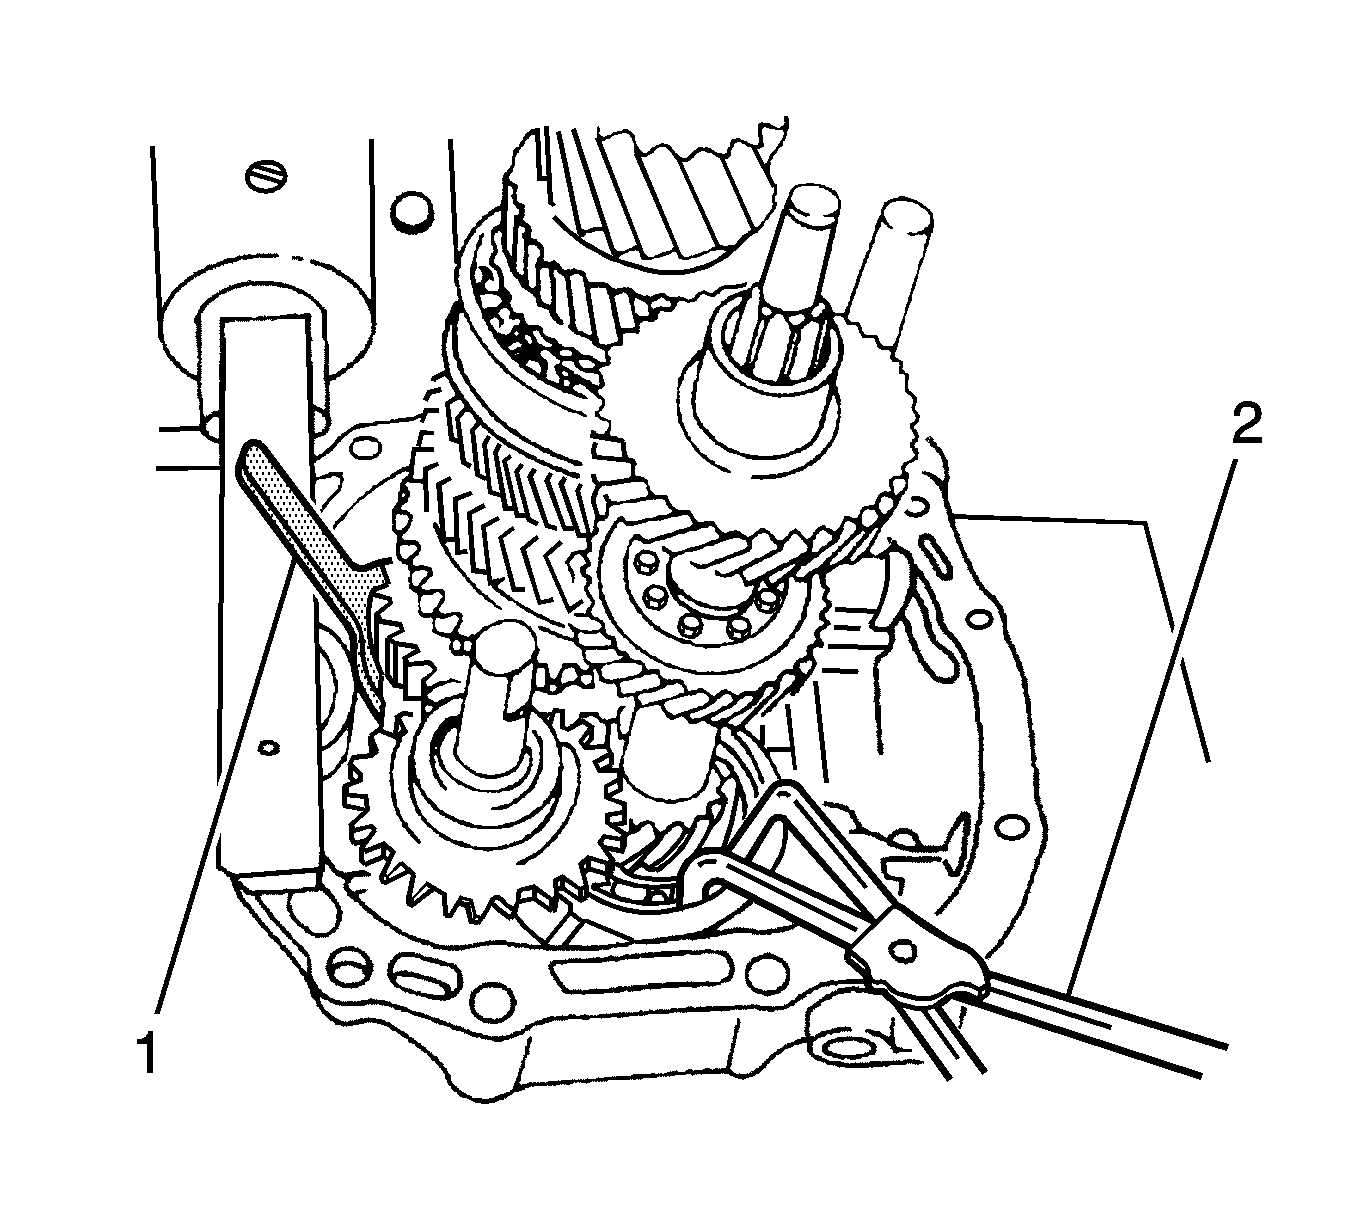
- Compress the snap ring at the base of the mainshaft and hold with the J 36633 (1).
- Hold the snap ring at the base of the input driveshaft with the snap ring pliers.
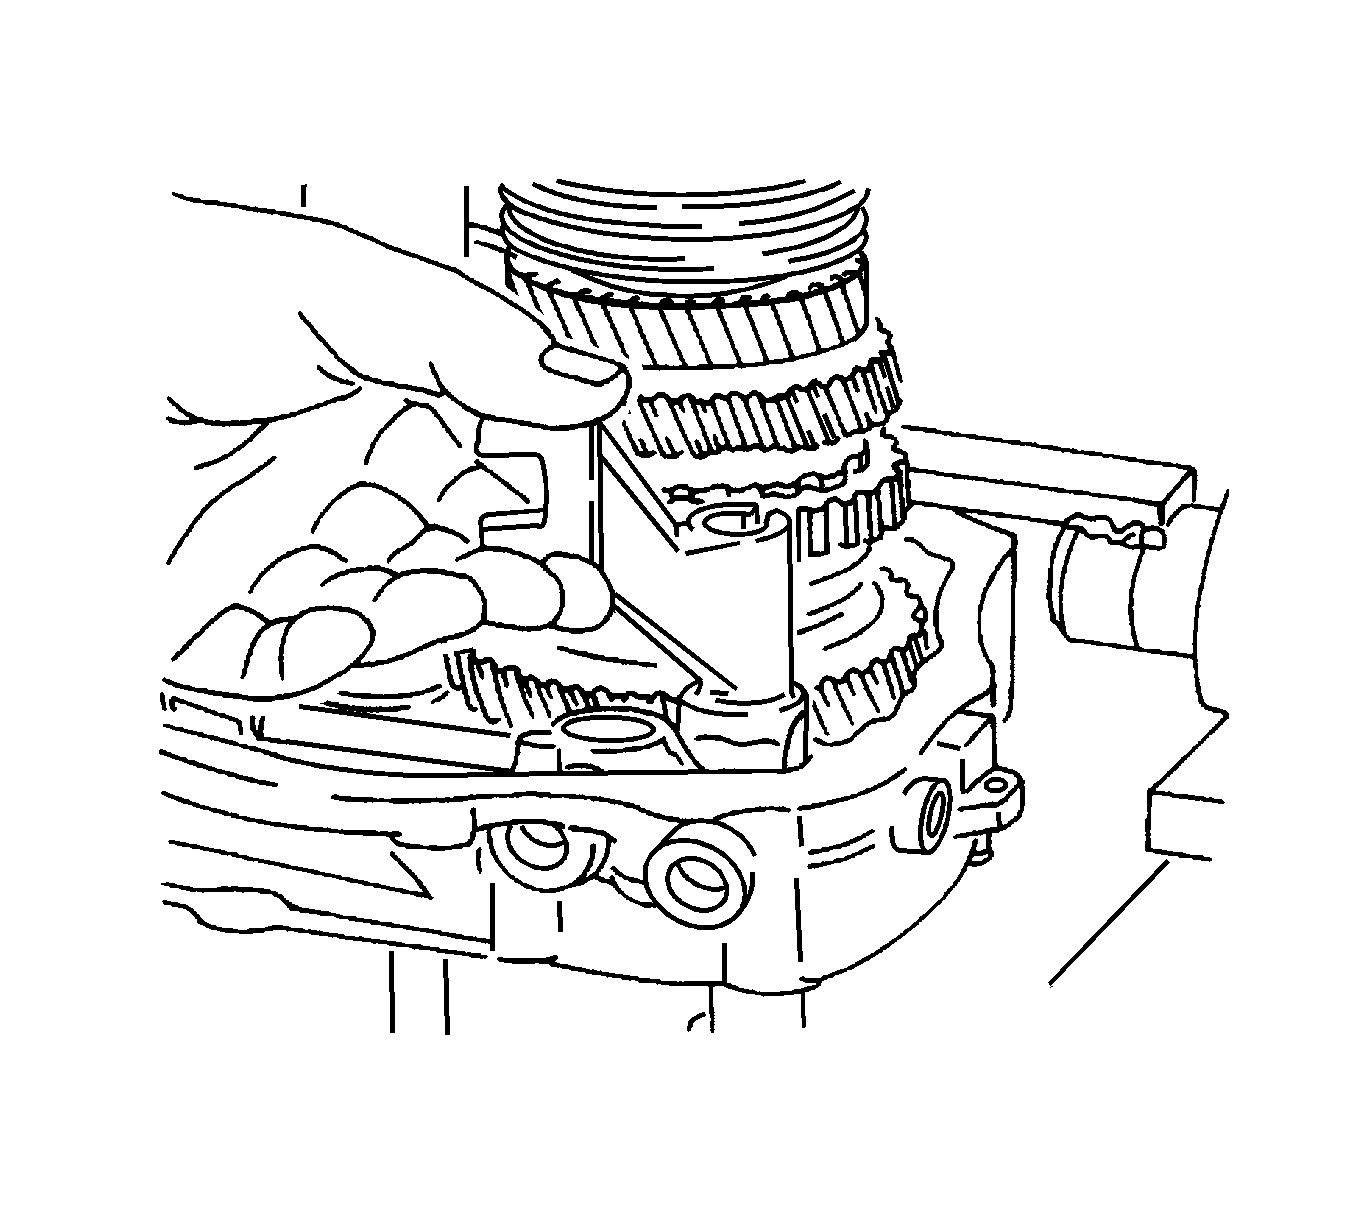
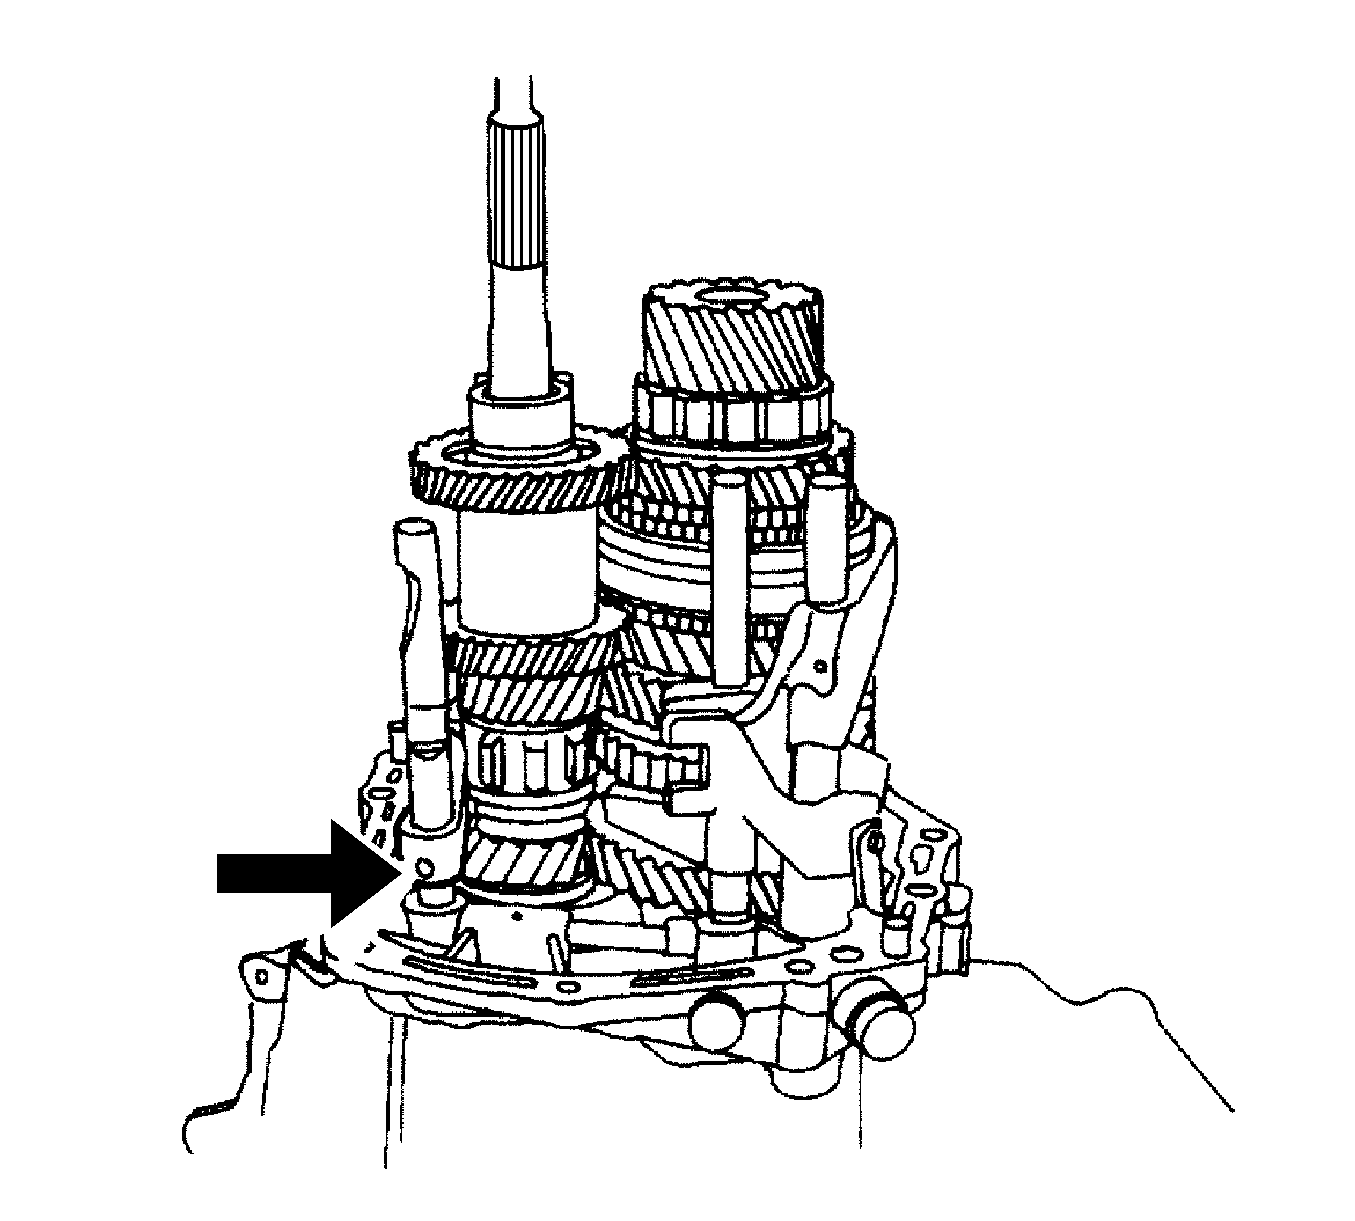
- Install the mainshaft/input shaft assembly onto the bearing plate.
- Release the mainshaft snap ring and the input shaft snap ring.
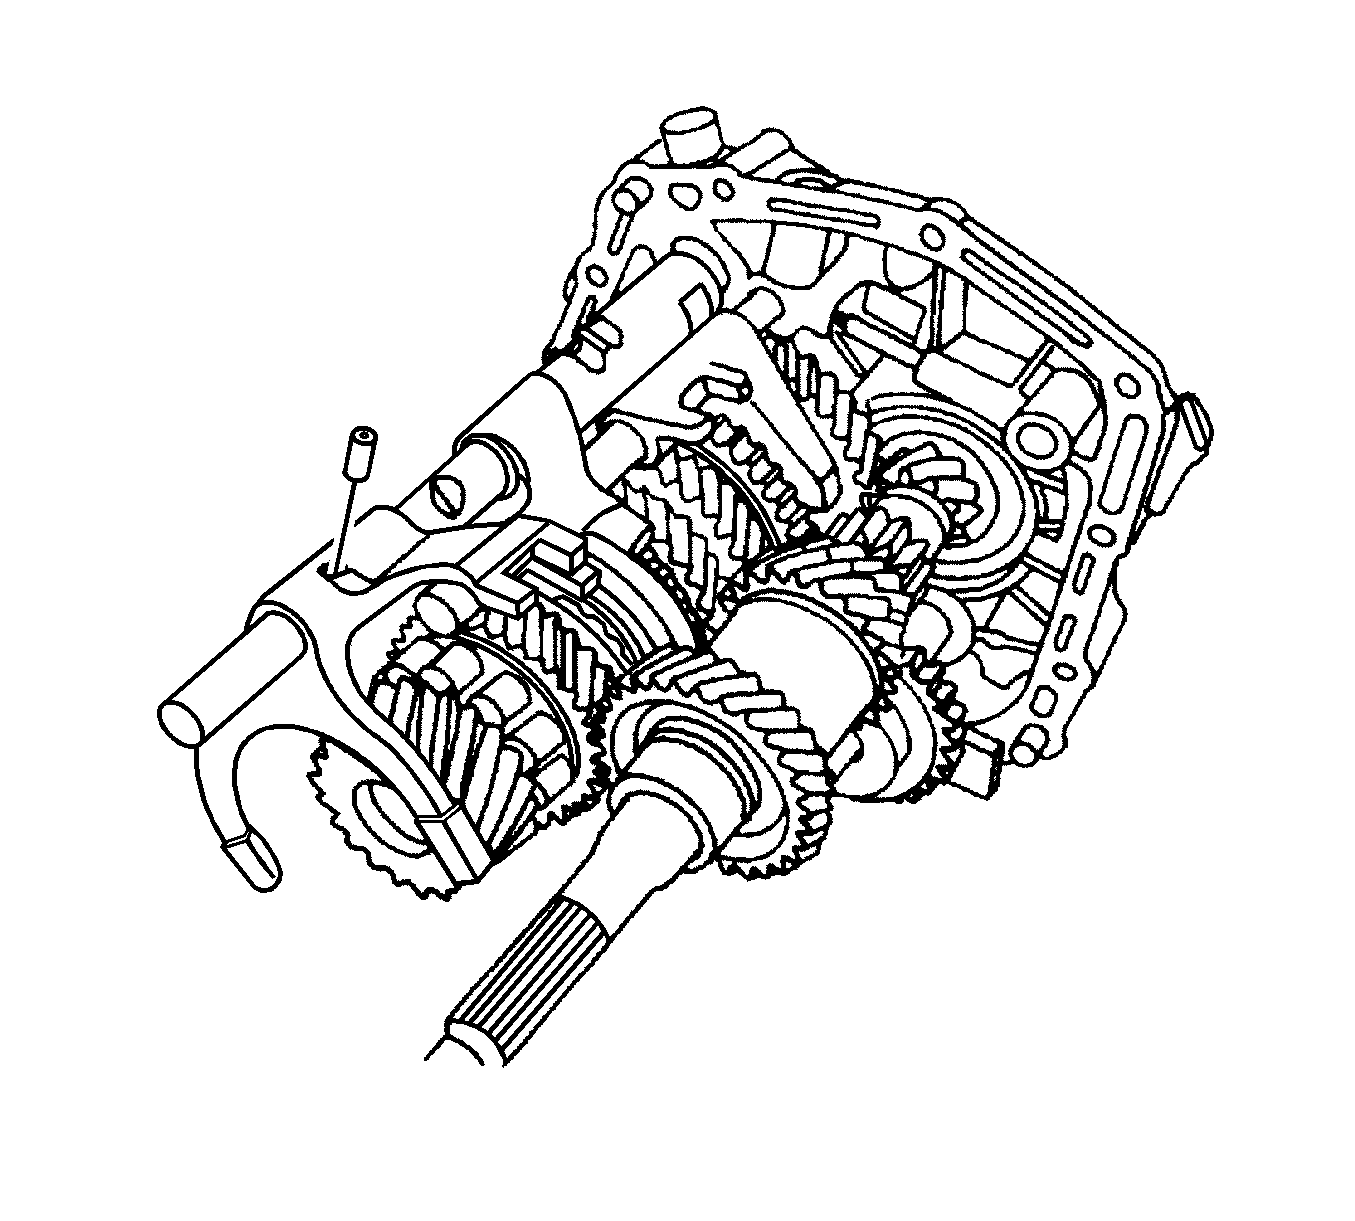
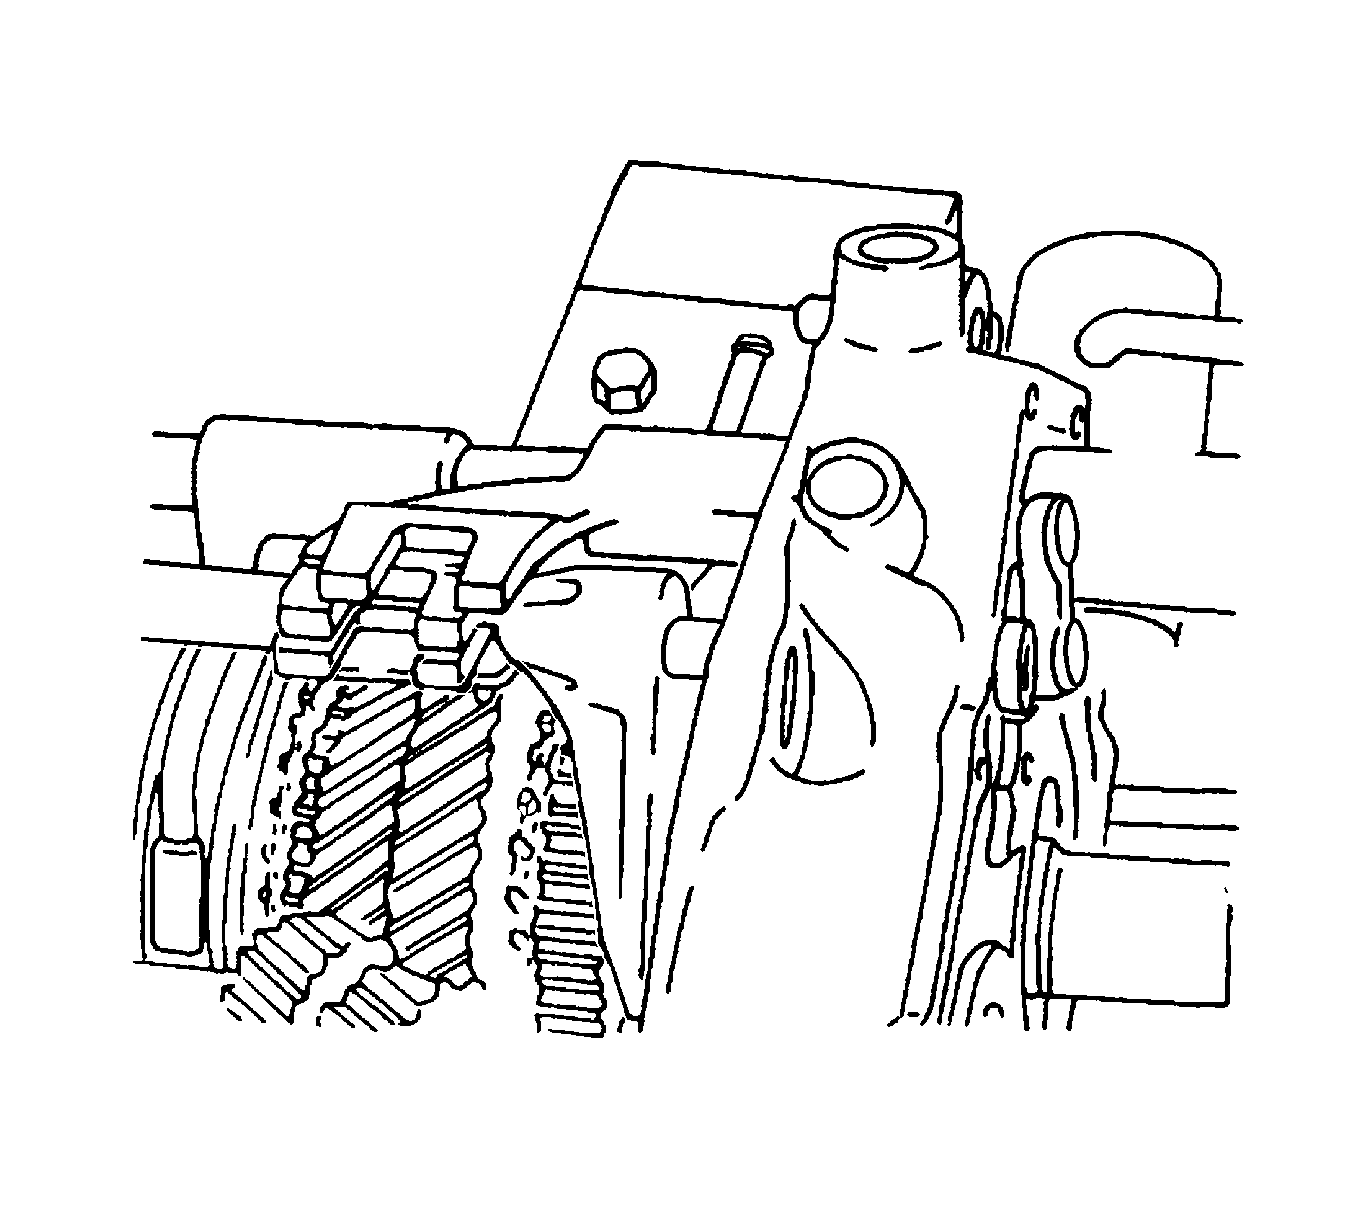
- Position the 1st-2nd gearshift fork.
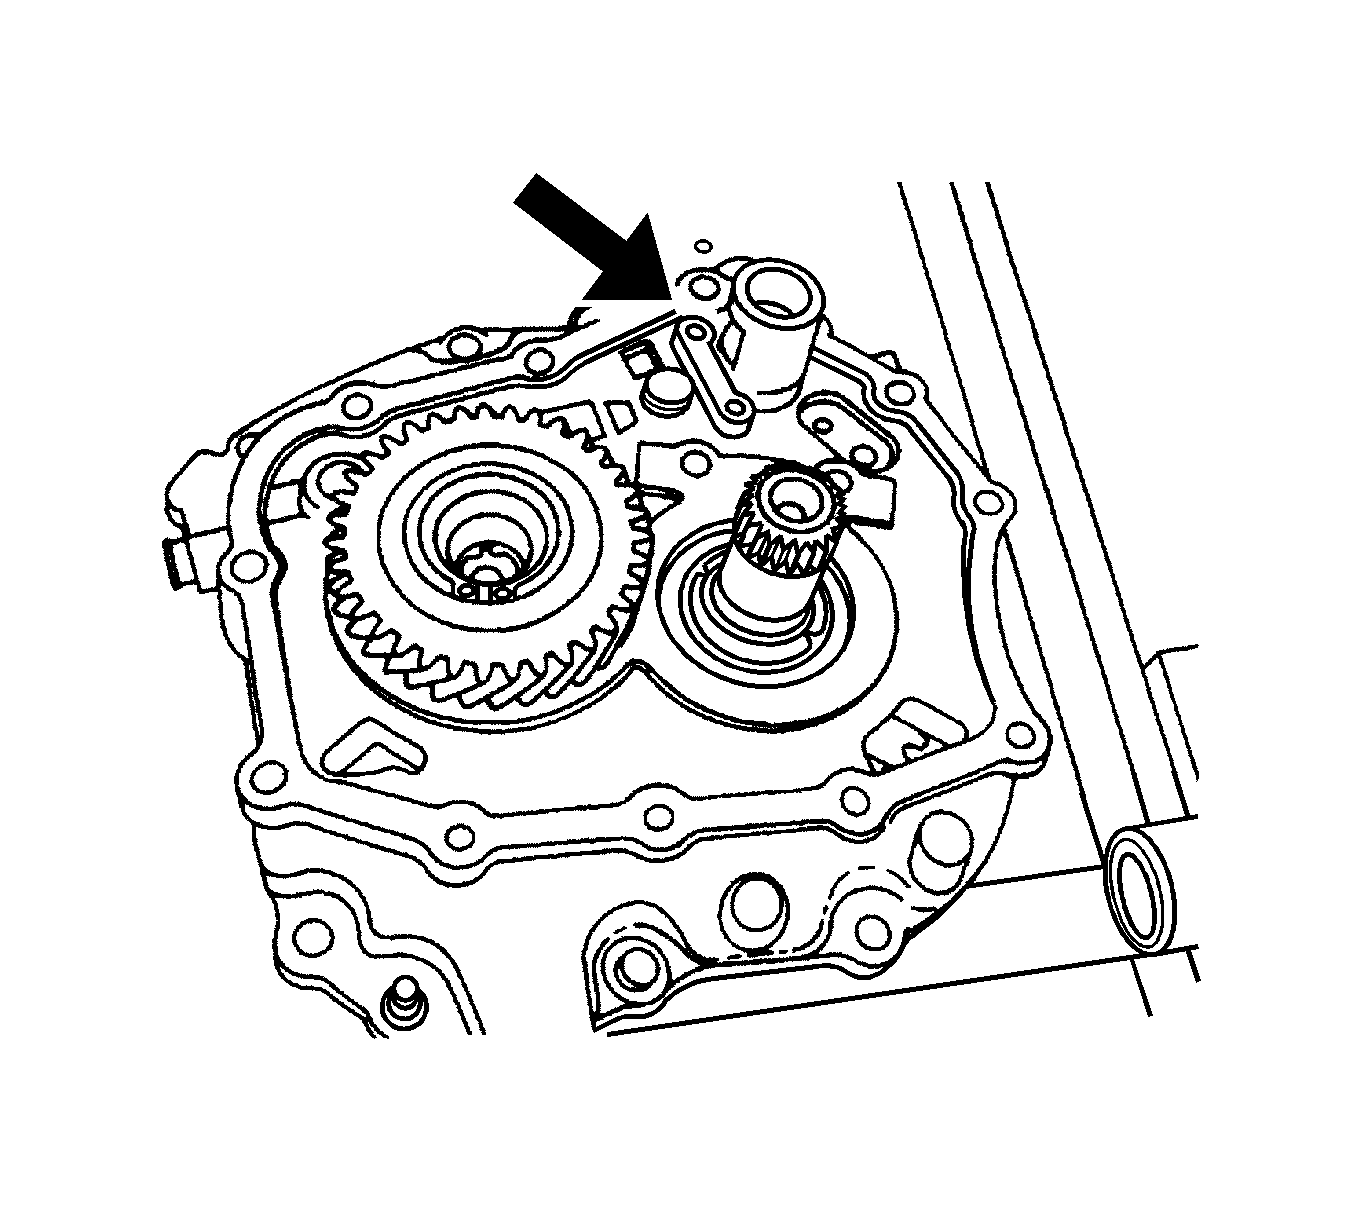
- Install the 5th gearshift lever into the bearing plate.
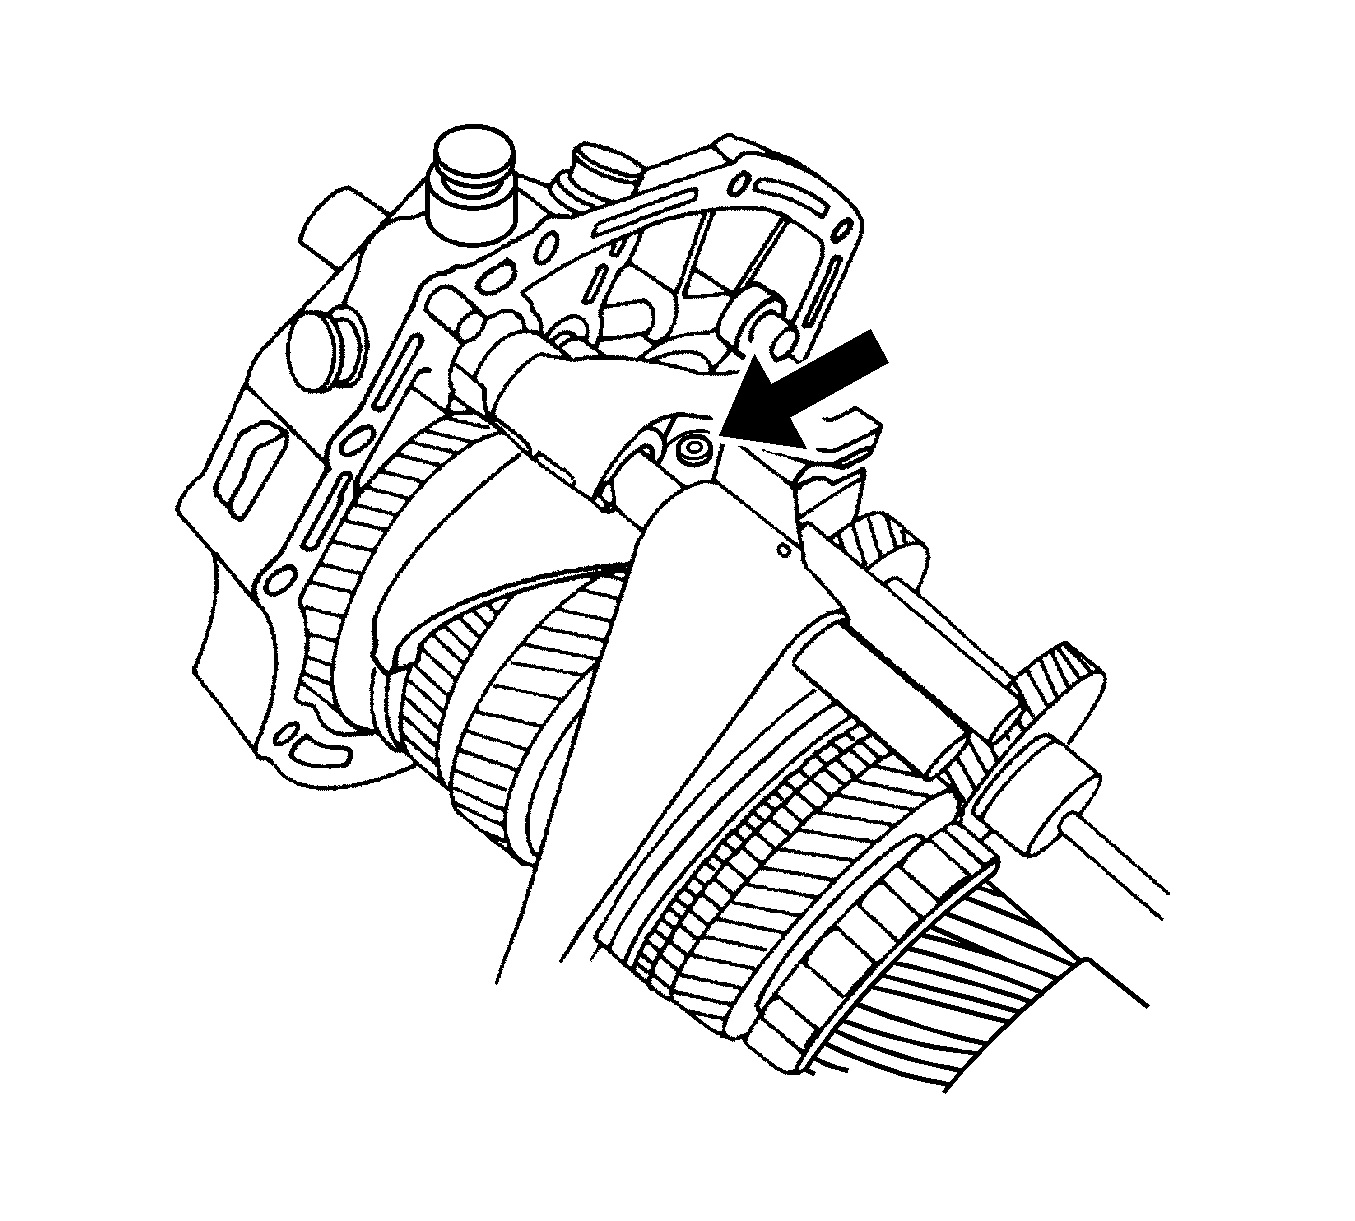
- Install the 3rd-4th gearshift rod/fork holding pin.
- Install the support bracket onto the bearing plate.
- Install the 1st-2nd gearshift rod/fork onto the bearing plate.
- Install the 1st-2nd gearshift fork holding pin.
- Using the KM-552 , install the support bracket bolts.
- Install the reverse gearshift rod/fork onto the bearing plate.
- Install the reverse gearshift rod/fork holding pin.
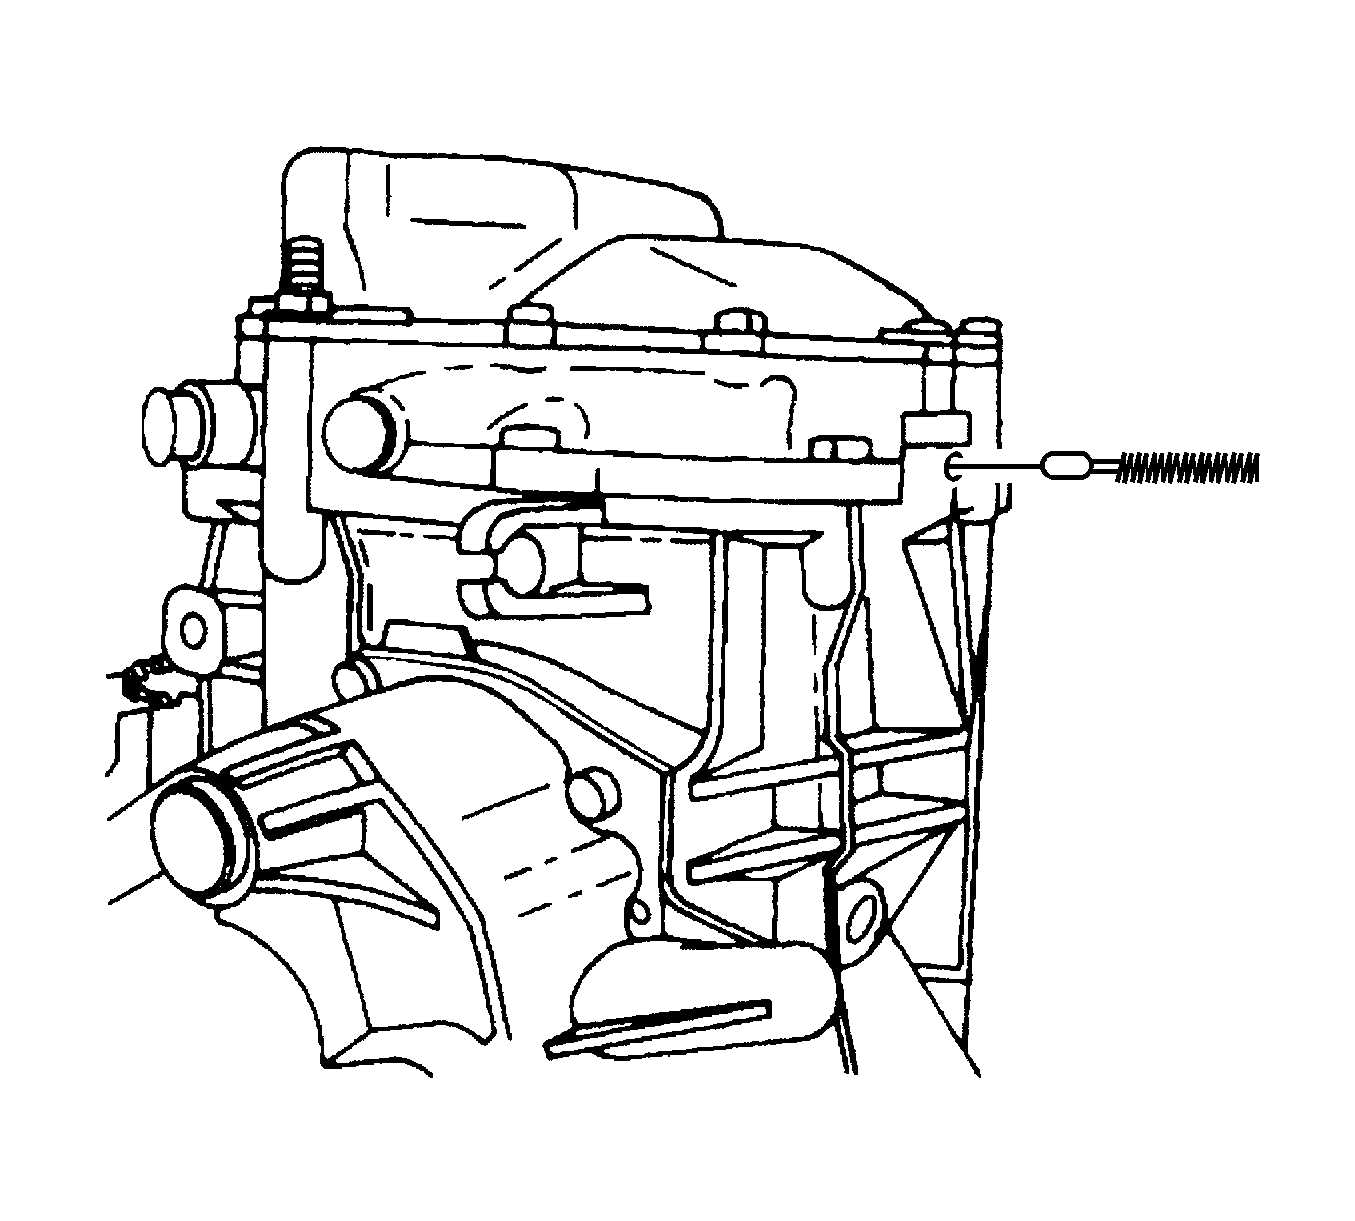
- Install the rod lock pin and spring into the small plug hole.
- Install the 4th-gearshift rod plugs.
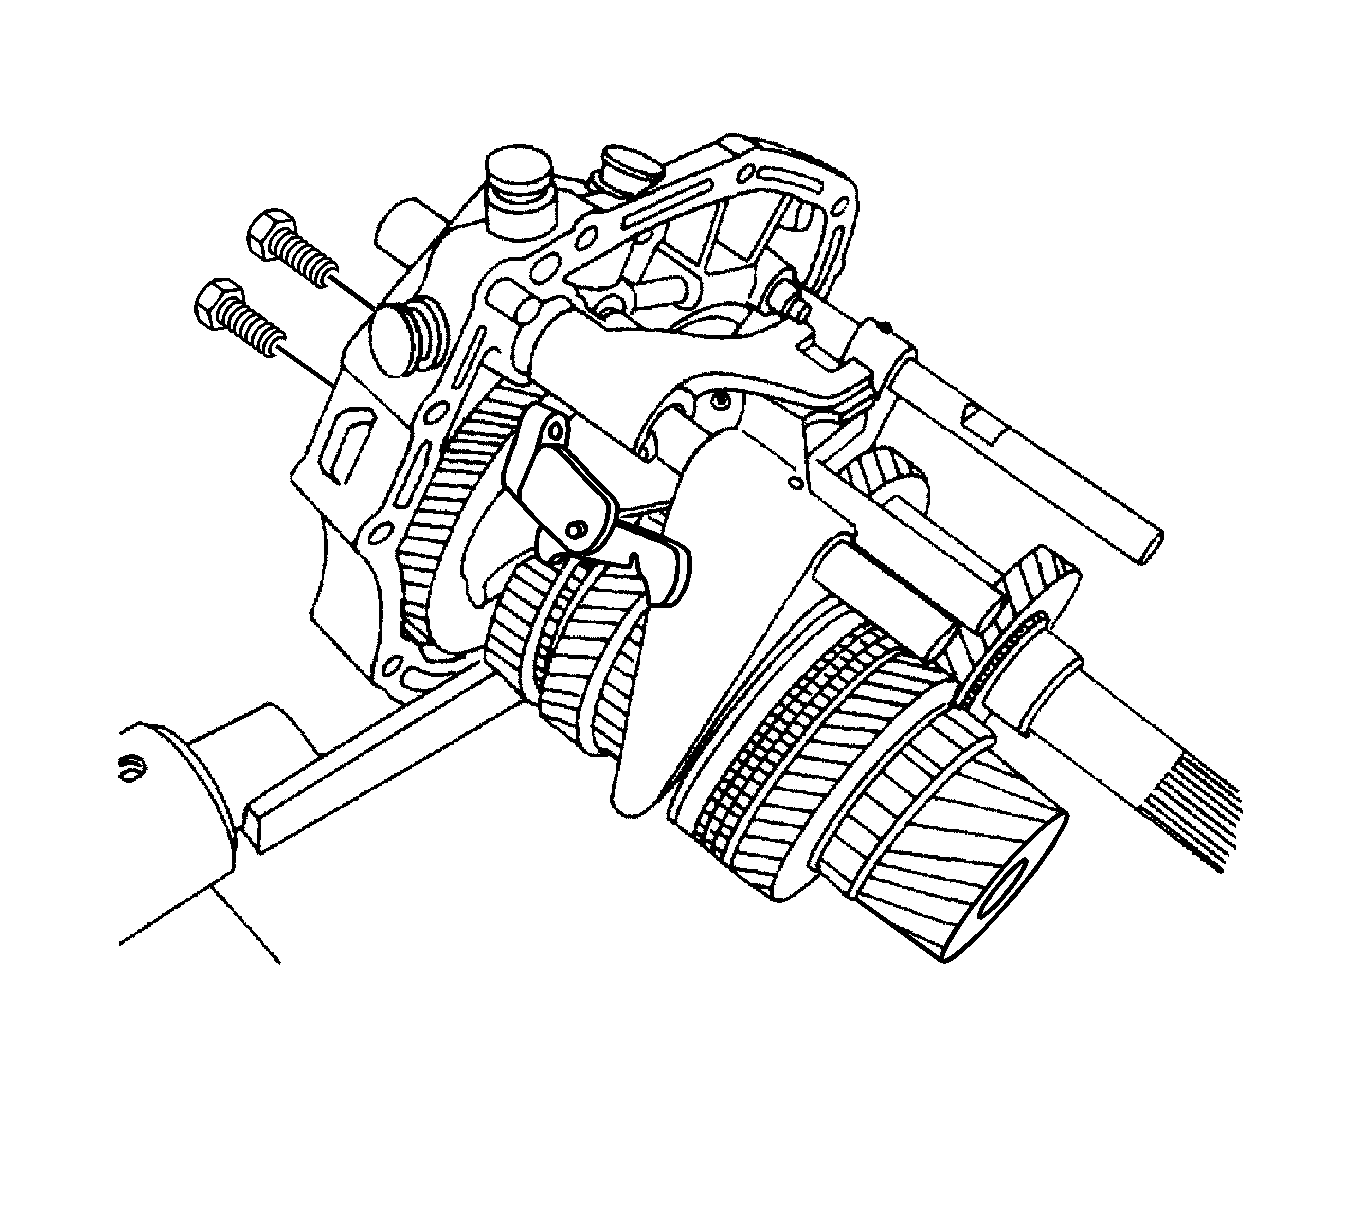
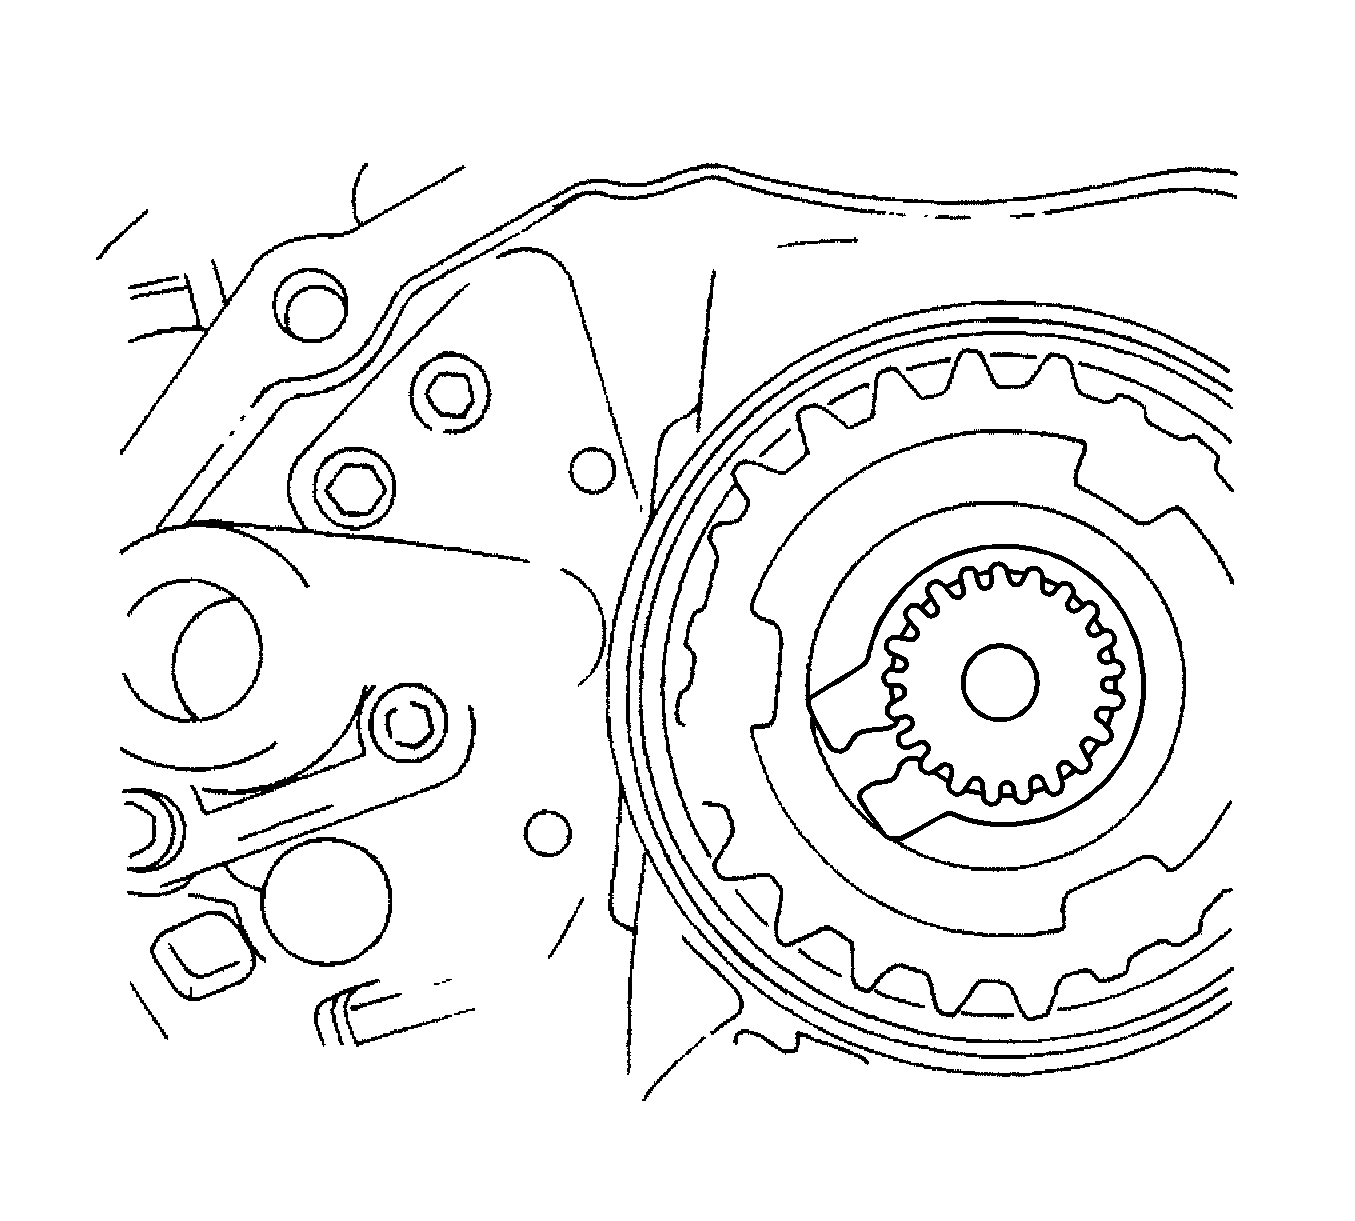
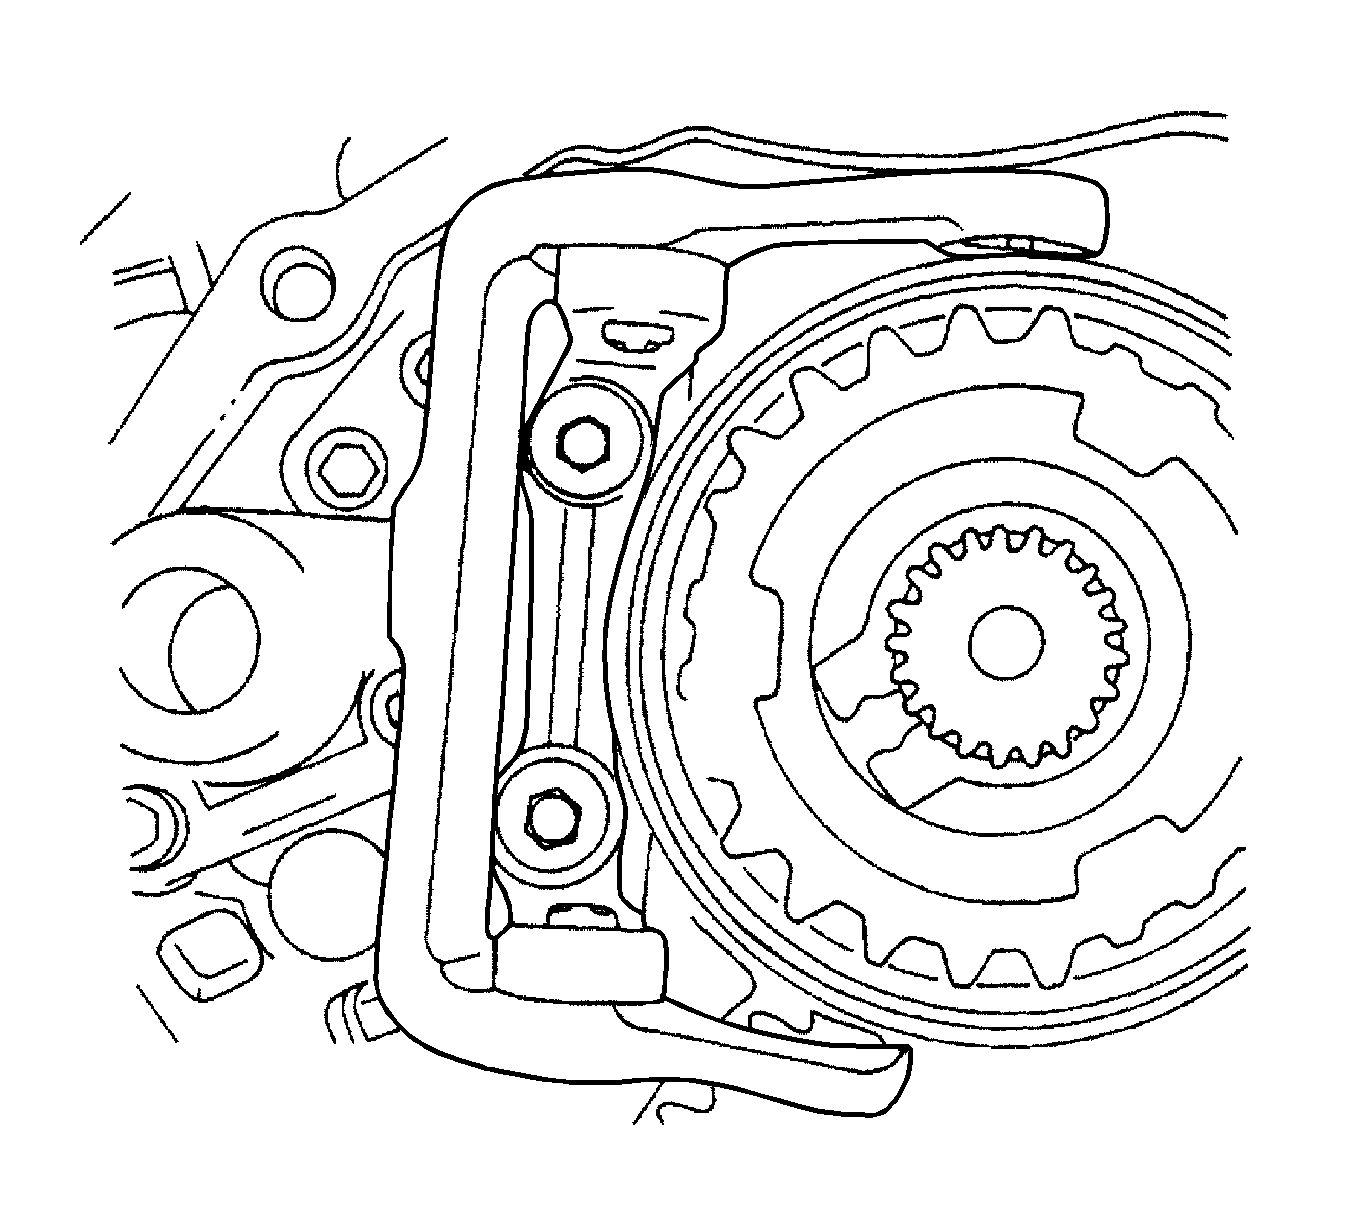
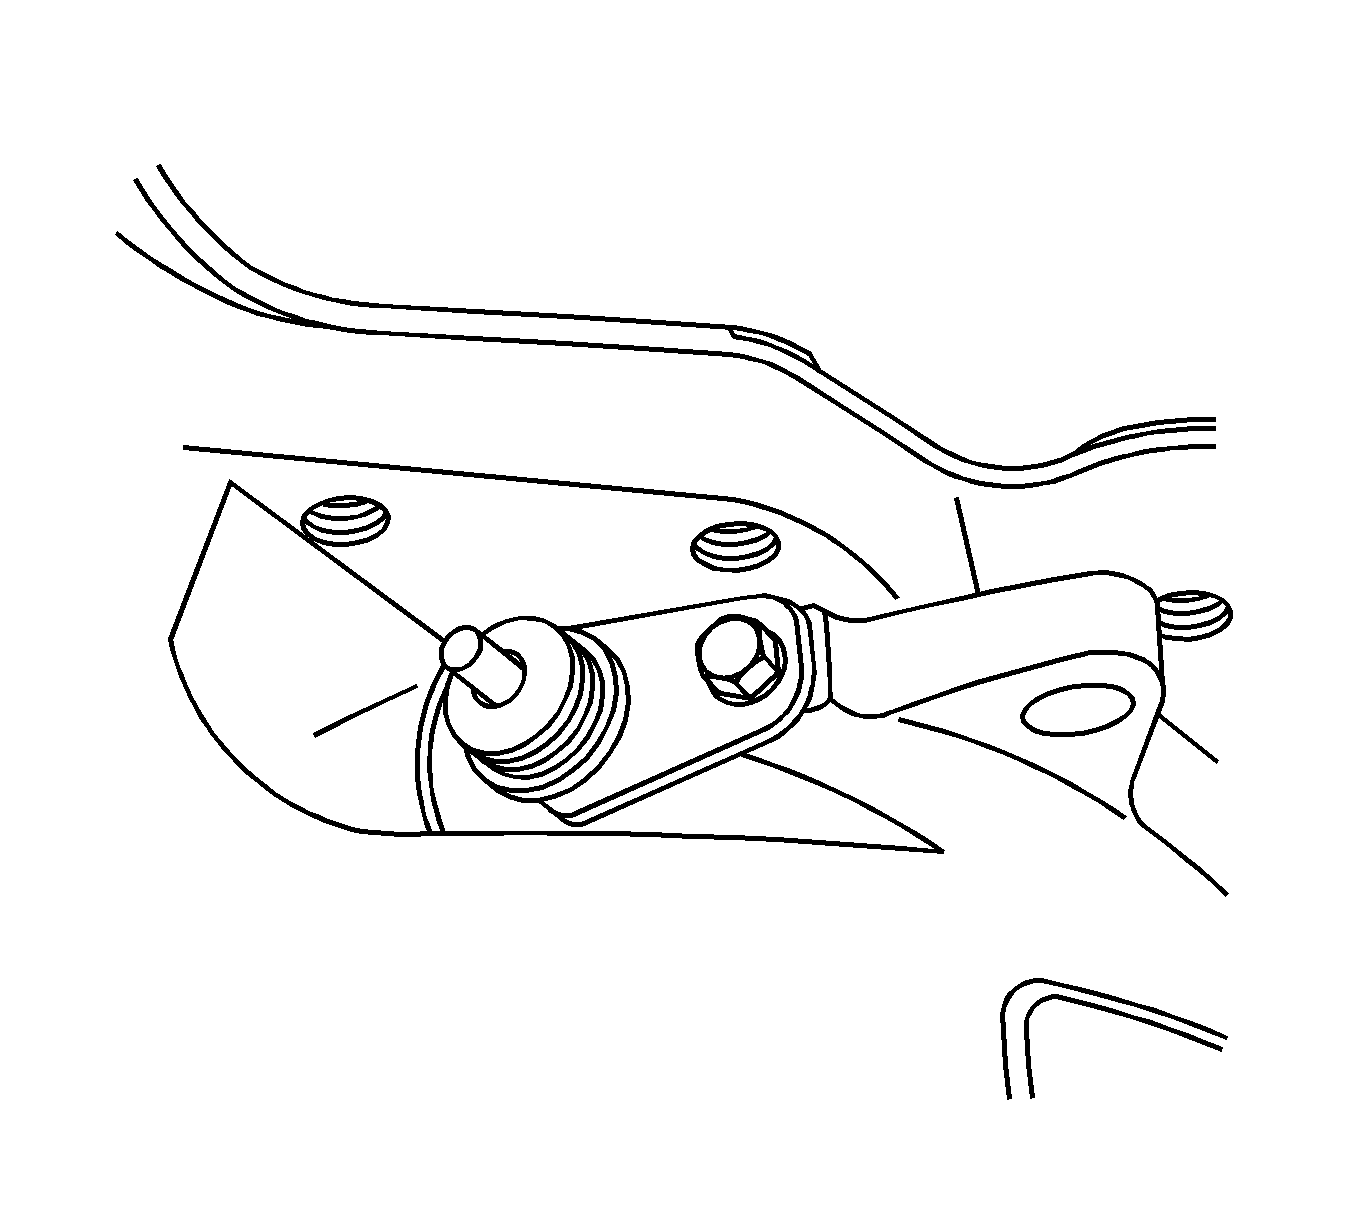
- Install the bolts and the 5th-gearshift connector onto the bearing plate, using the pawl.
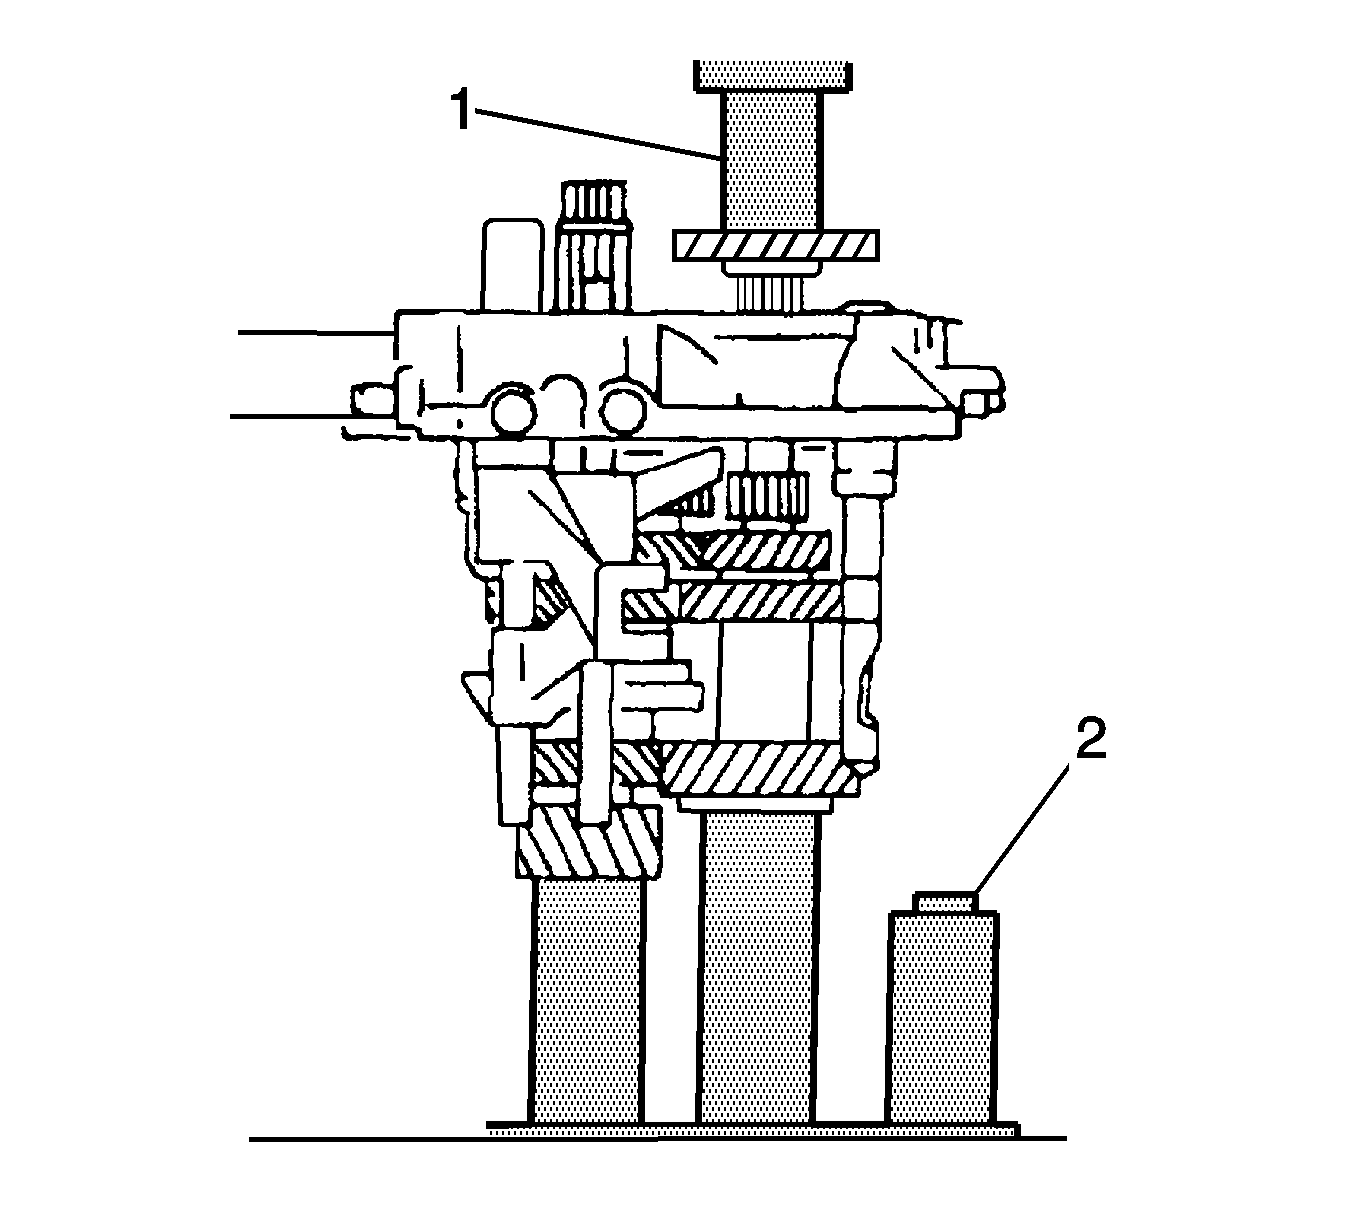
- Using the KM-554 (2) and the KM-334 (1), install the input drive 5th gear.
- Install the snap rings securing the 5th drive gear.
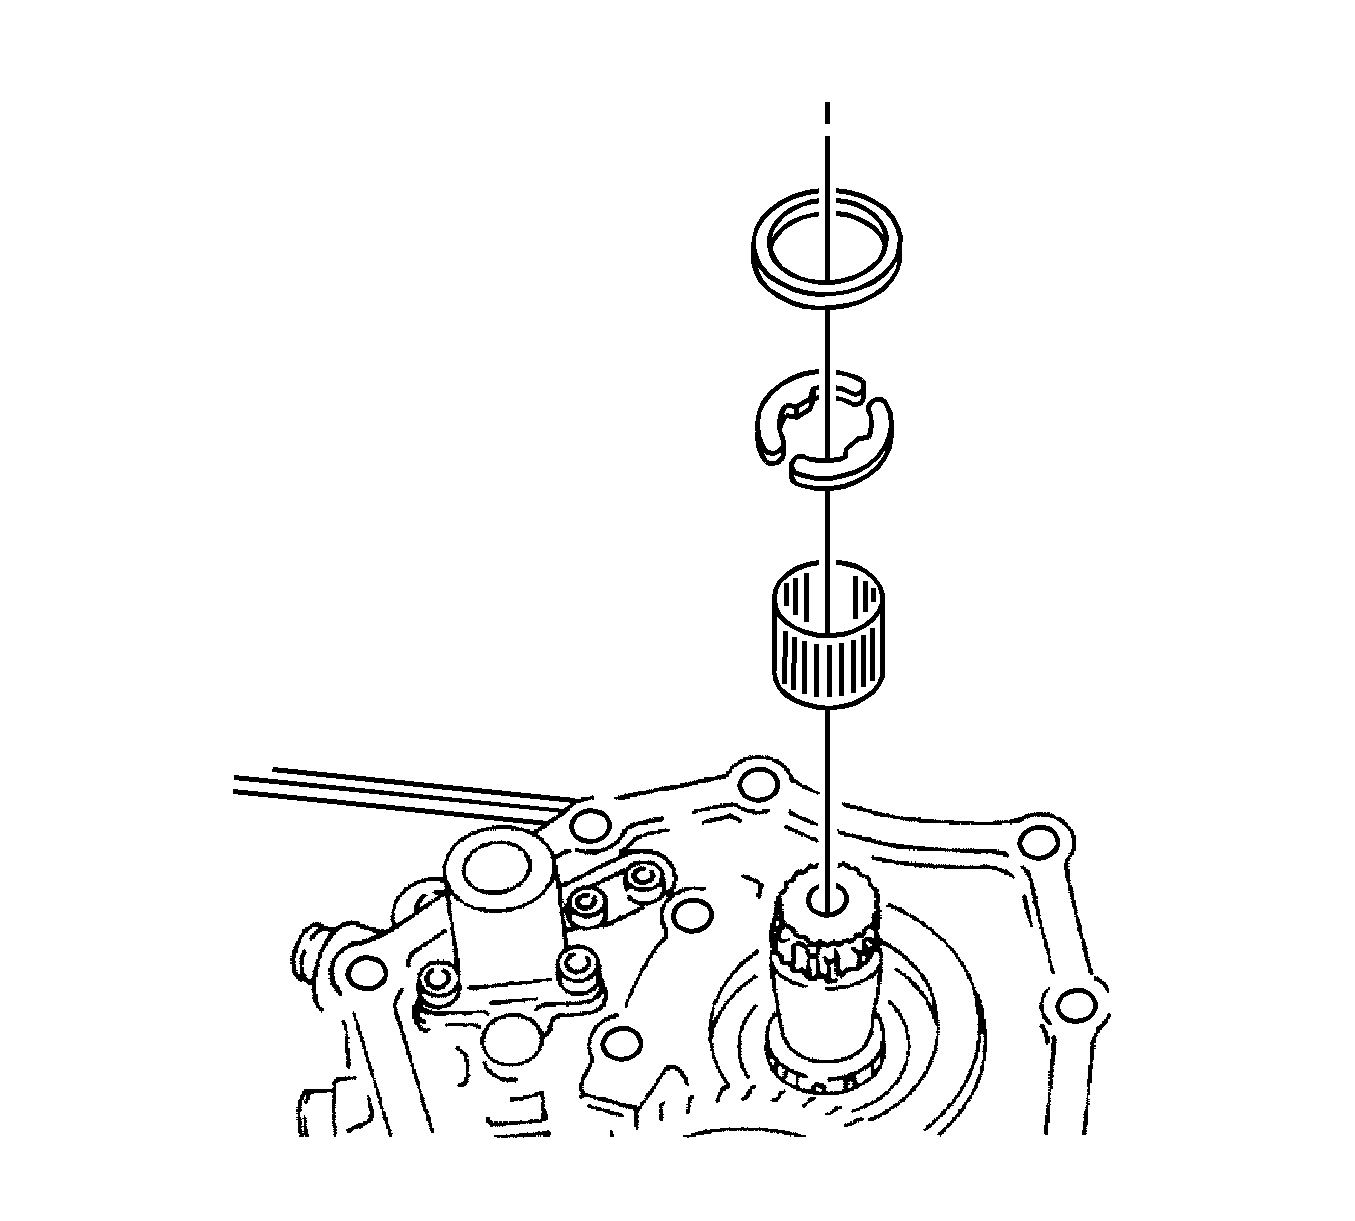
- Install the thrust washers, the retaining ring, and the needle bearing into the mainshaft-driven 5th-gear assembly.
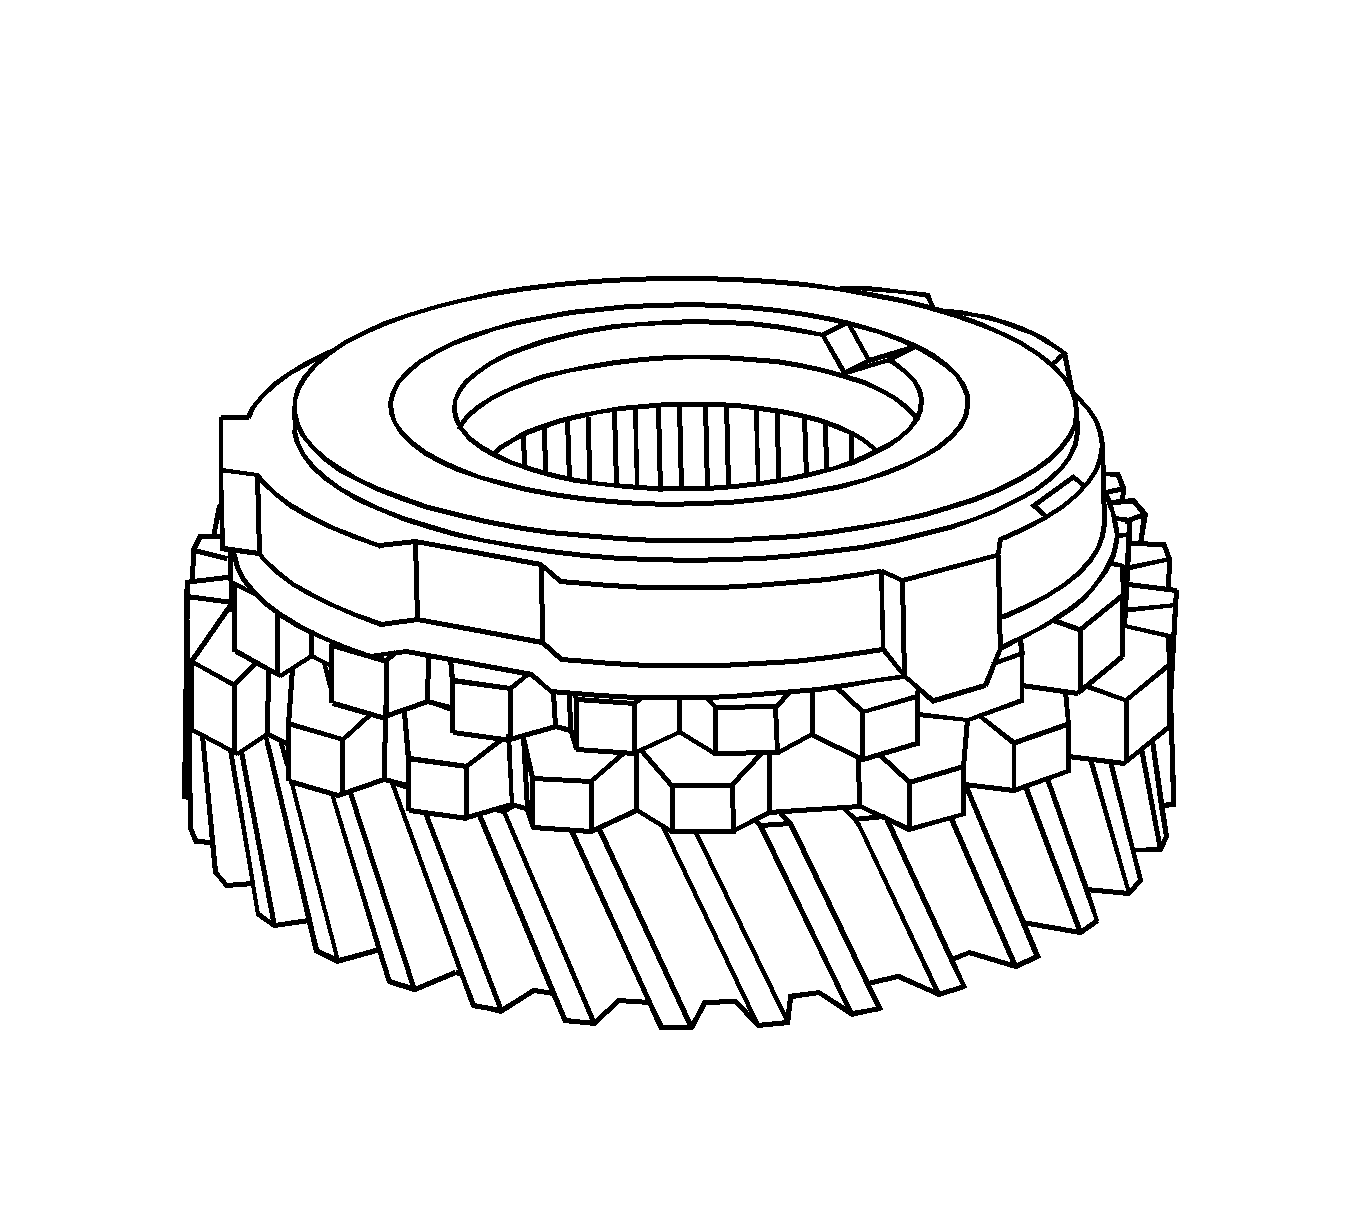
- Install the brass synchronizer ring onto the mainshaft- driven 5th-gear assembly.
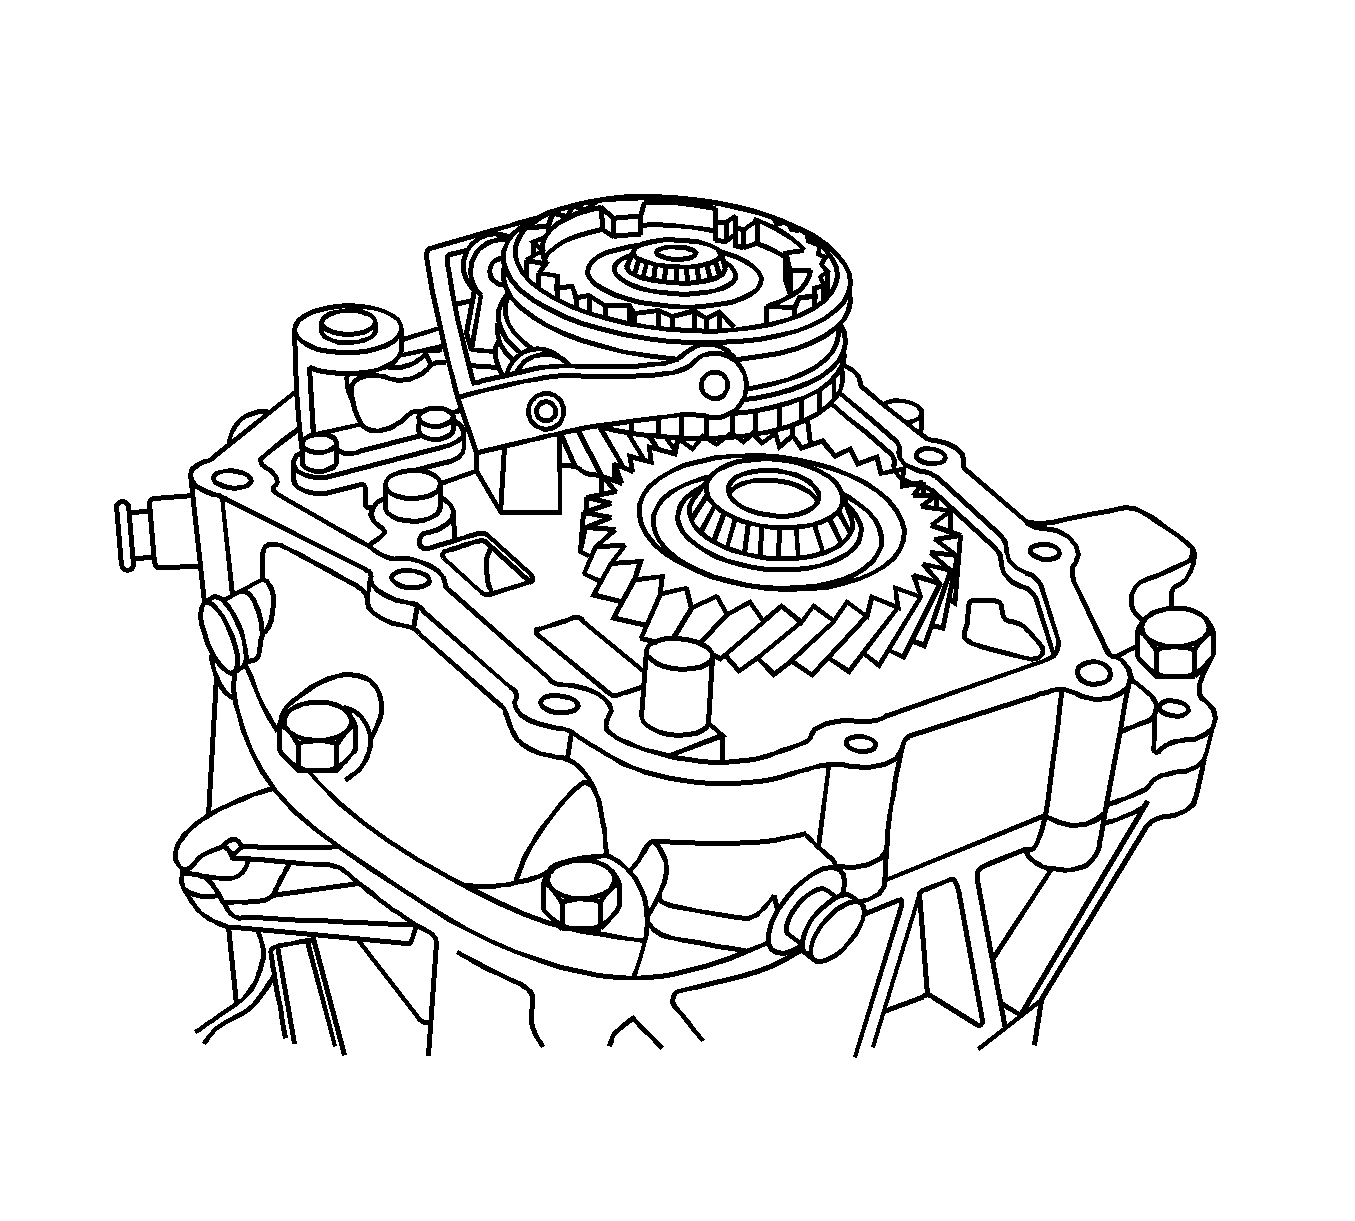
- Install the mainshaft-driven 5th-gear assembly.
- Install the 5th-drive gear synchronizer gear and the synchronizer sleeve using the KM-554 (1).
- Install the snap ring holding the 5th speed-driven assembly.
- Install the bolts and the 5th-gear fork onto the bearing plate.
- Remove the bearing plate from the fixture.
- Shift the transaxle into 2nd gear.
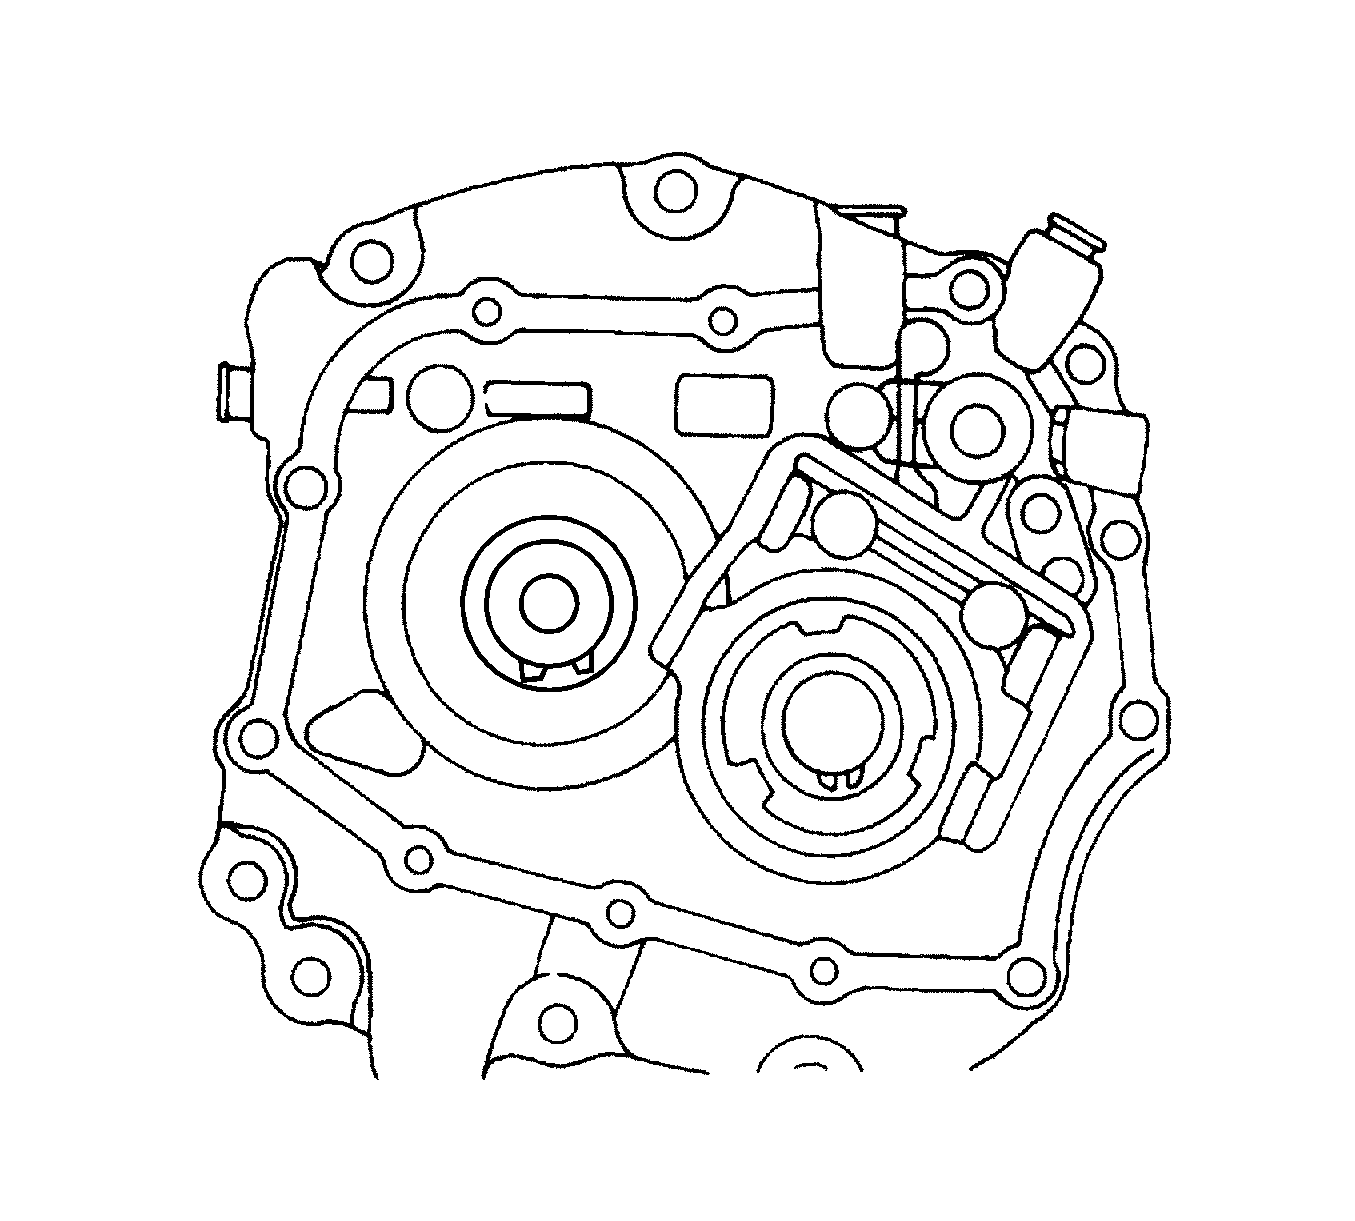
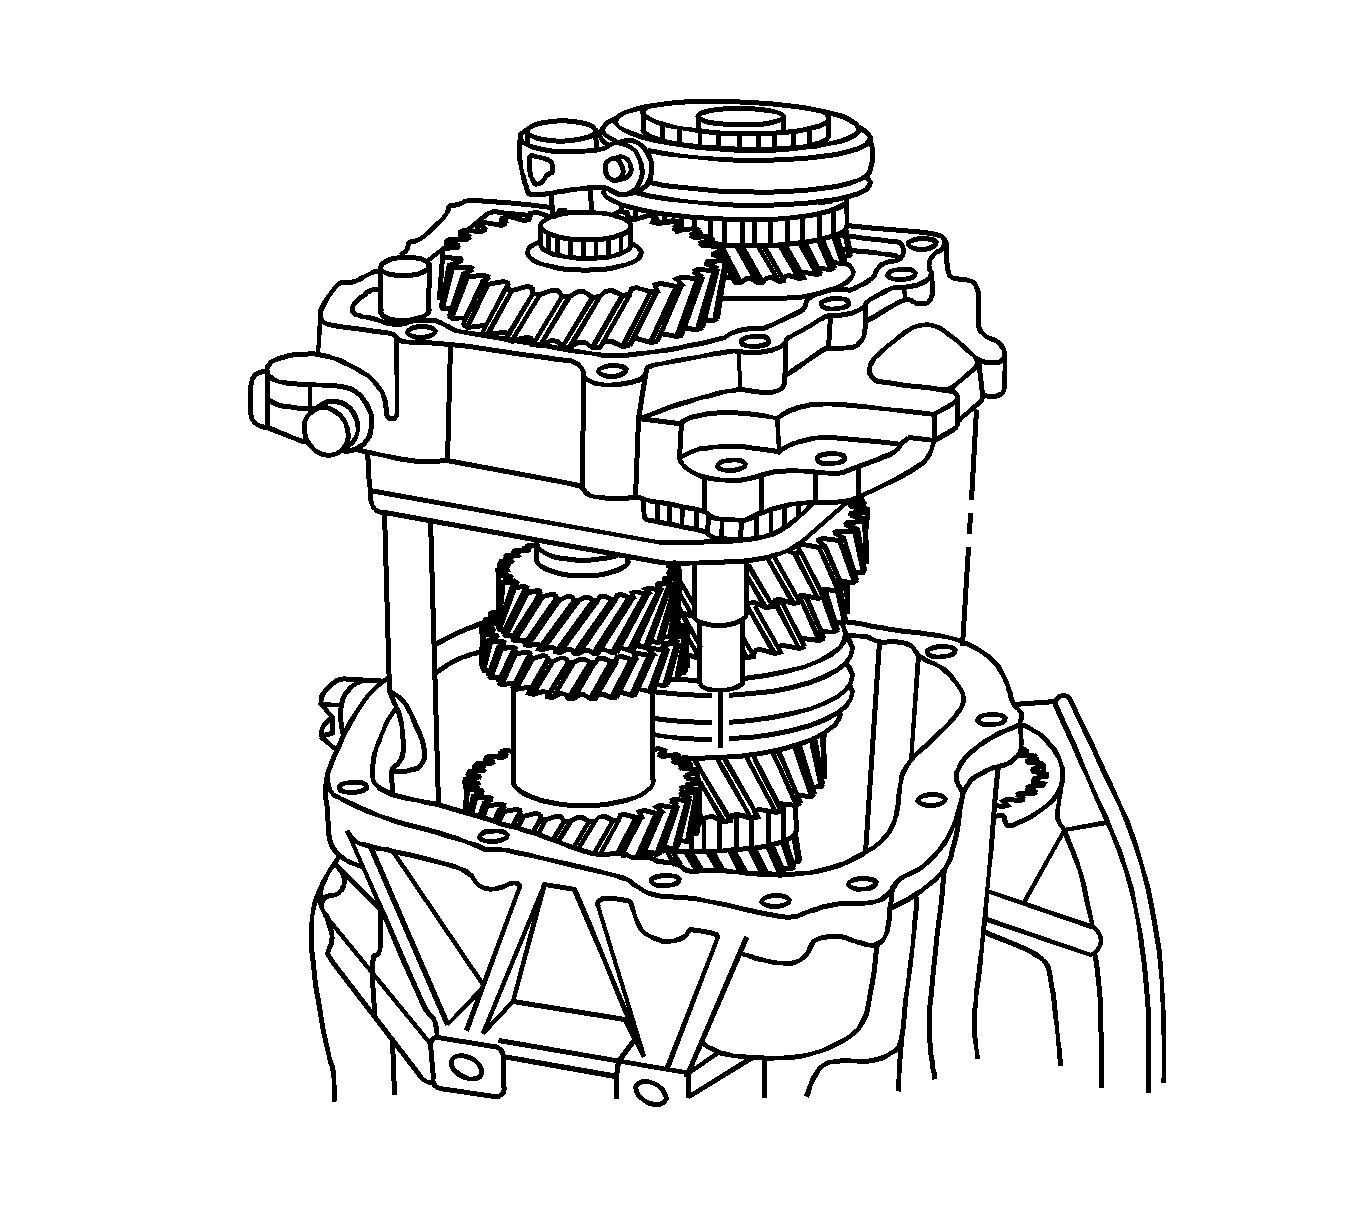
- Install the bearing plate, with the shafts attached, into the case.
- Install the bearing plate bolts.
- Install the speedometer-driven gear and the speedometer-housing retaining bolt into the transaxle housing.
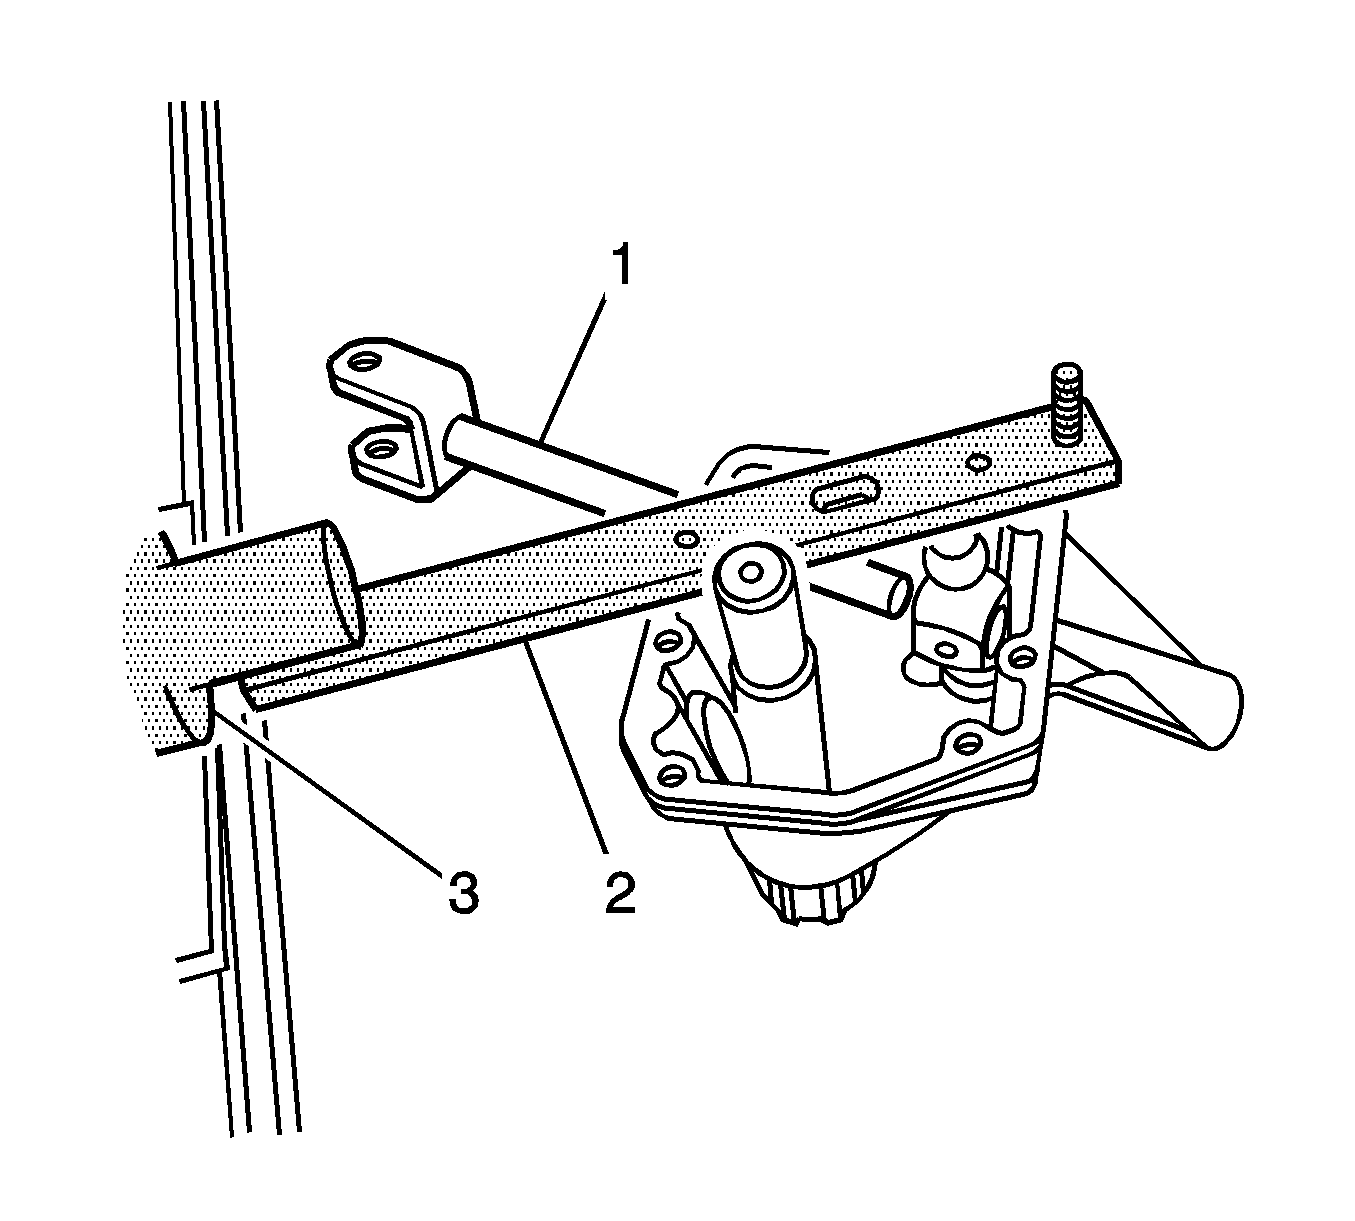
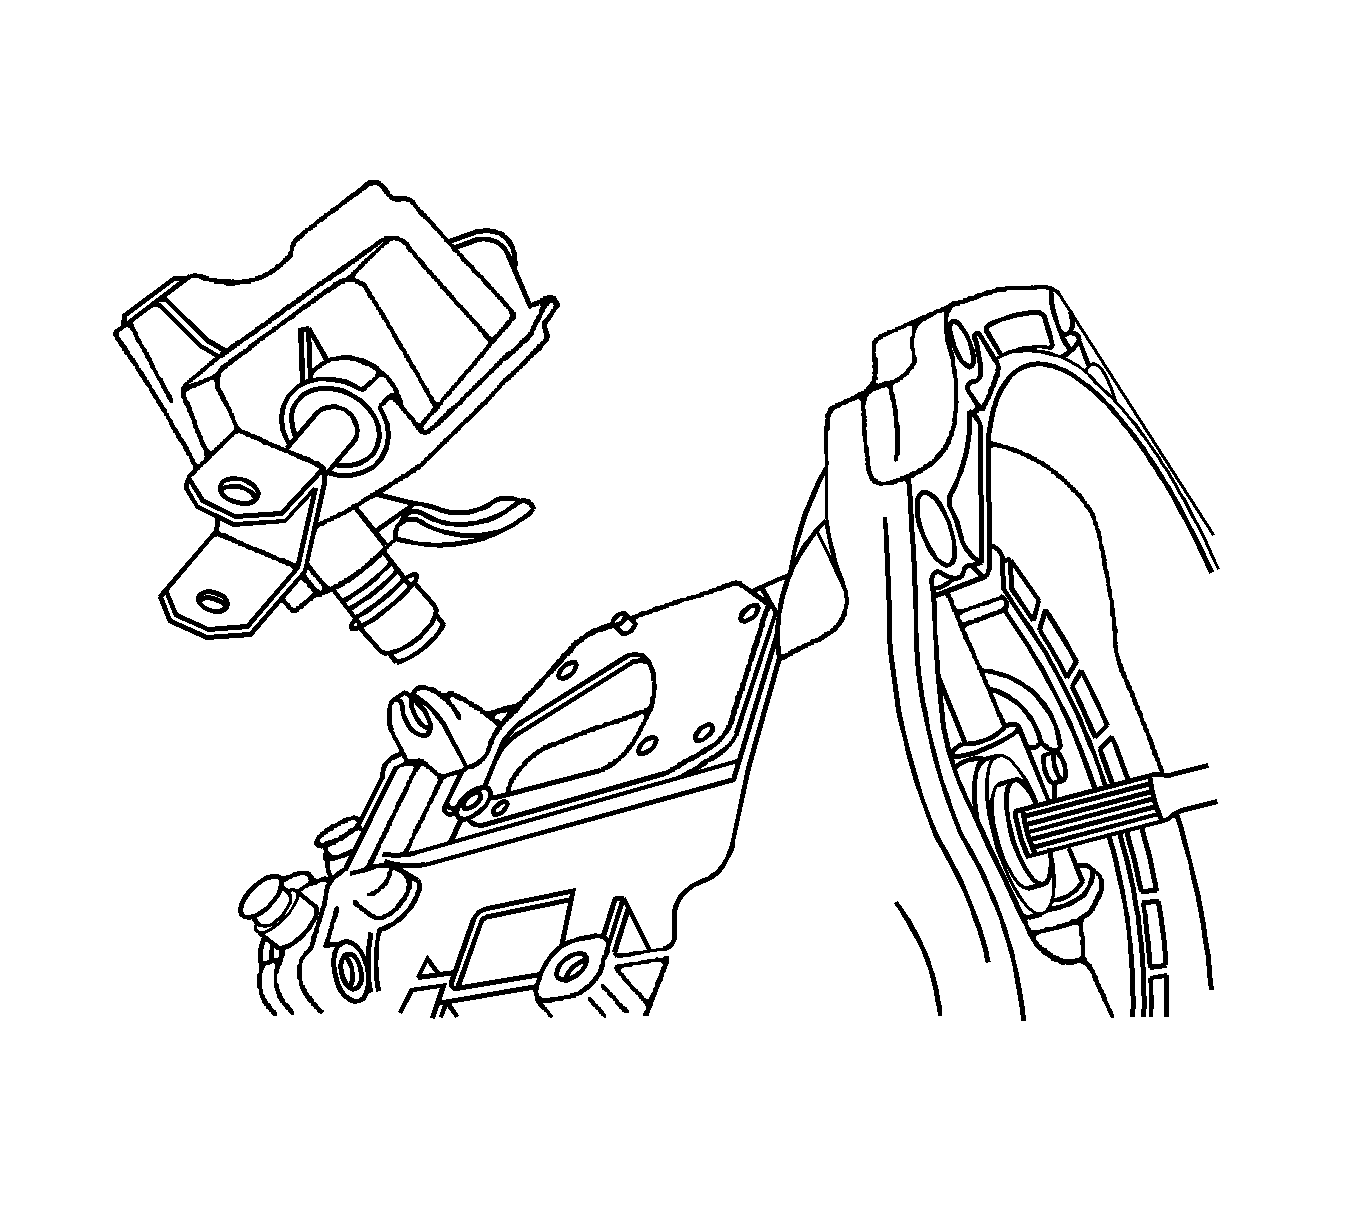
- Bolt the gearshift lever cover to the KM-552 (2).
- Position the KM-552 (1) into the J 3289-20 (3).
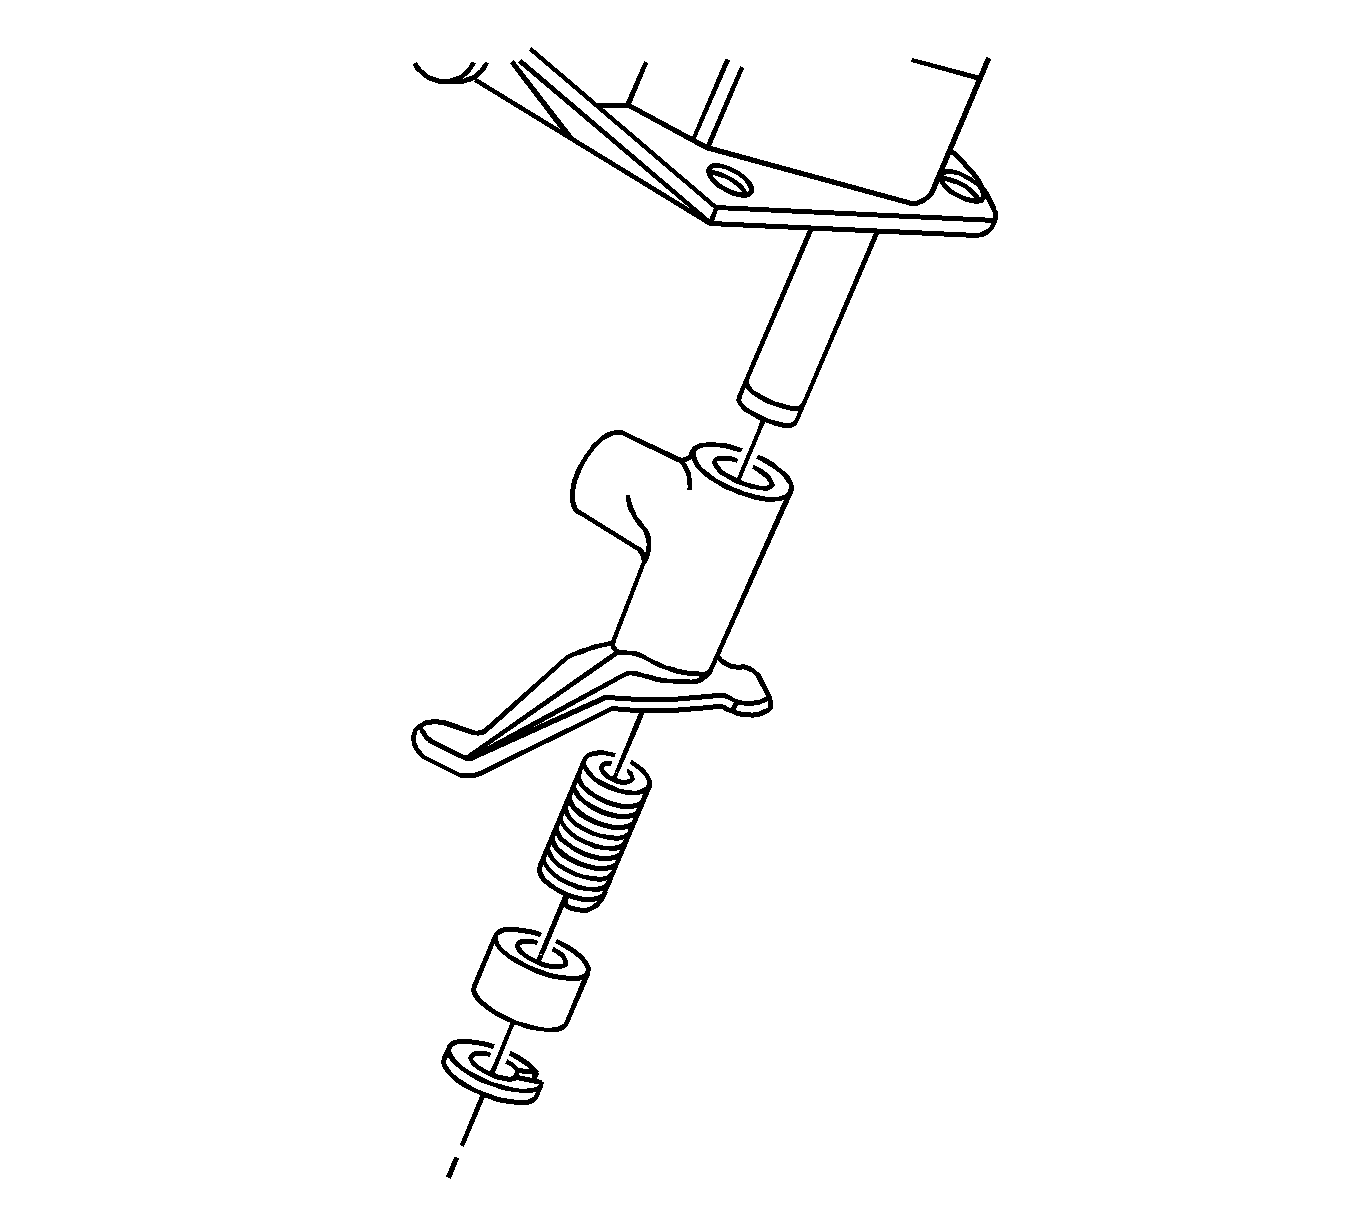
- Install the gearshift rod (1), the shift finger lever, and the gearshift lever pin.
- Install the snap ring, the spring, the intermediate lever, and the adjusting pin.
- Remove the gearshift lever cover from the J 3289-20 and the KM-552 .
- Shift the transaxle into NEUTRAL.
- Install the gearshift lever cover and the gearshift lever cover bolts.
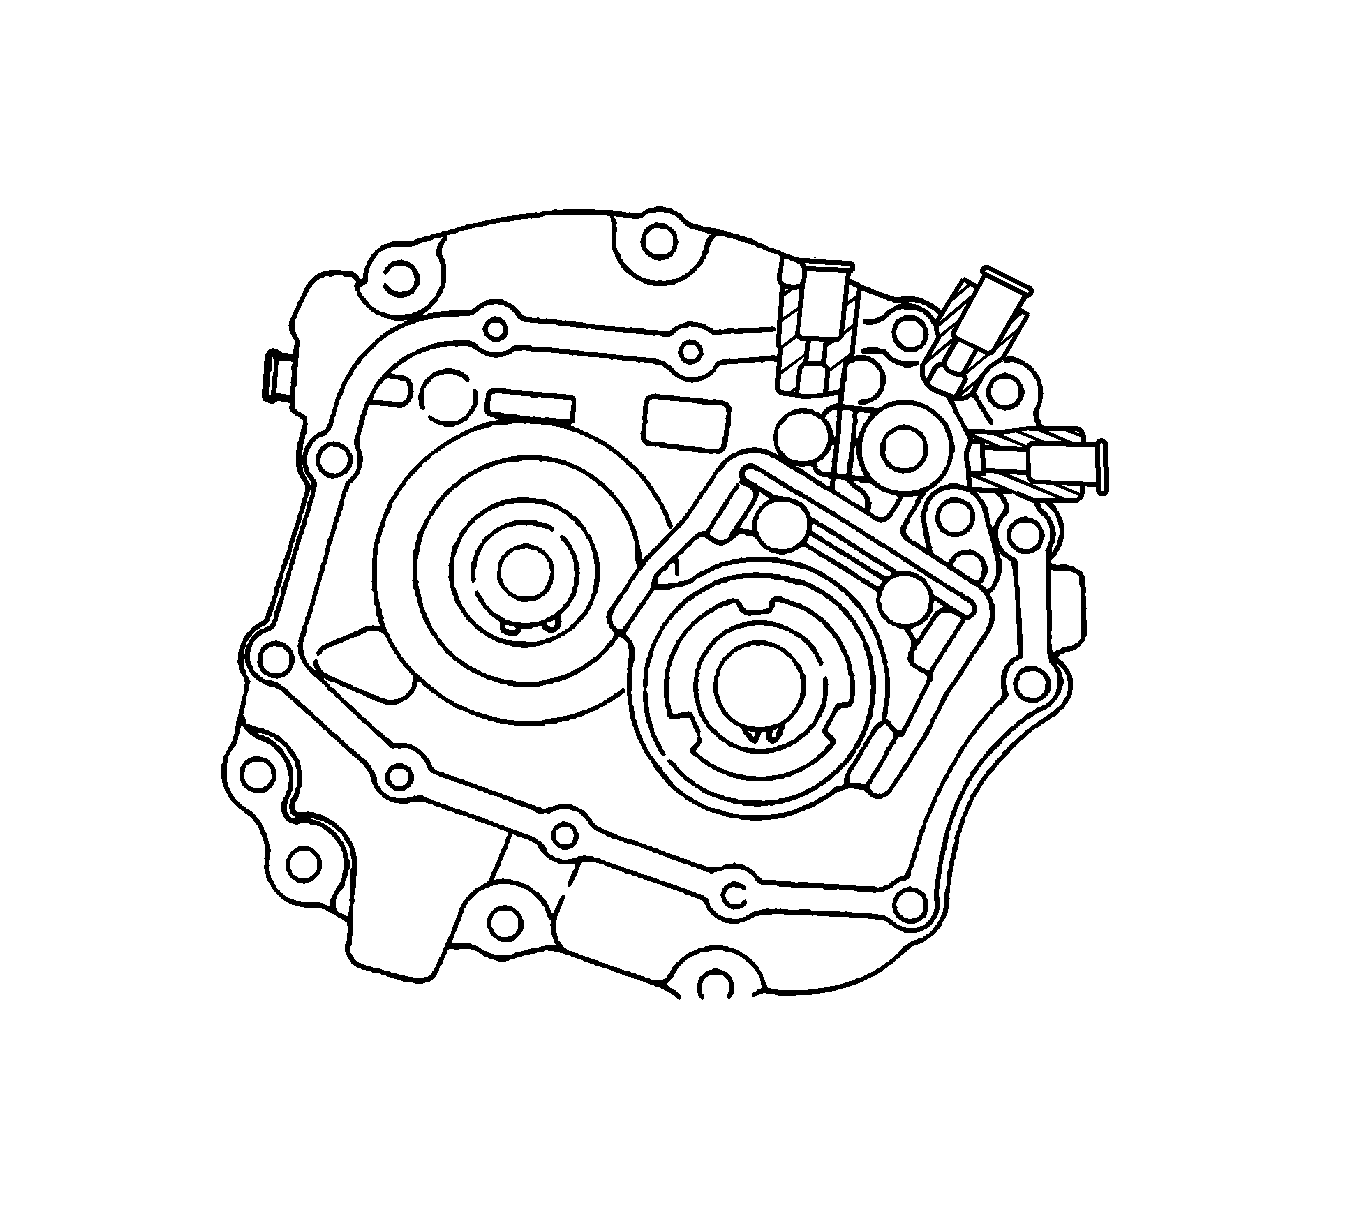
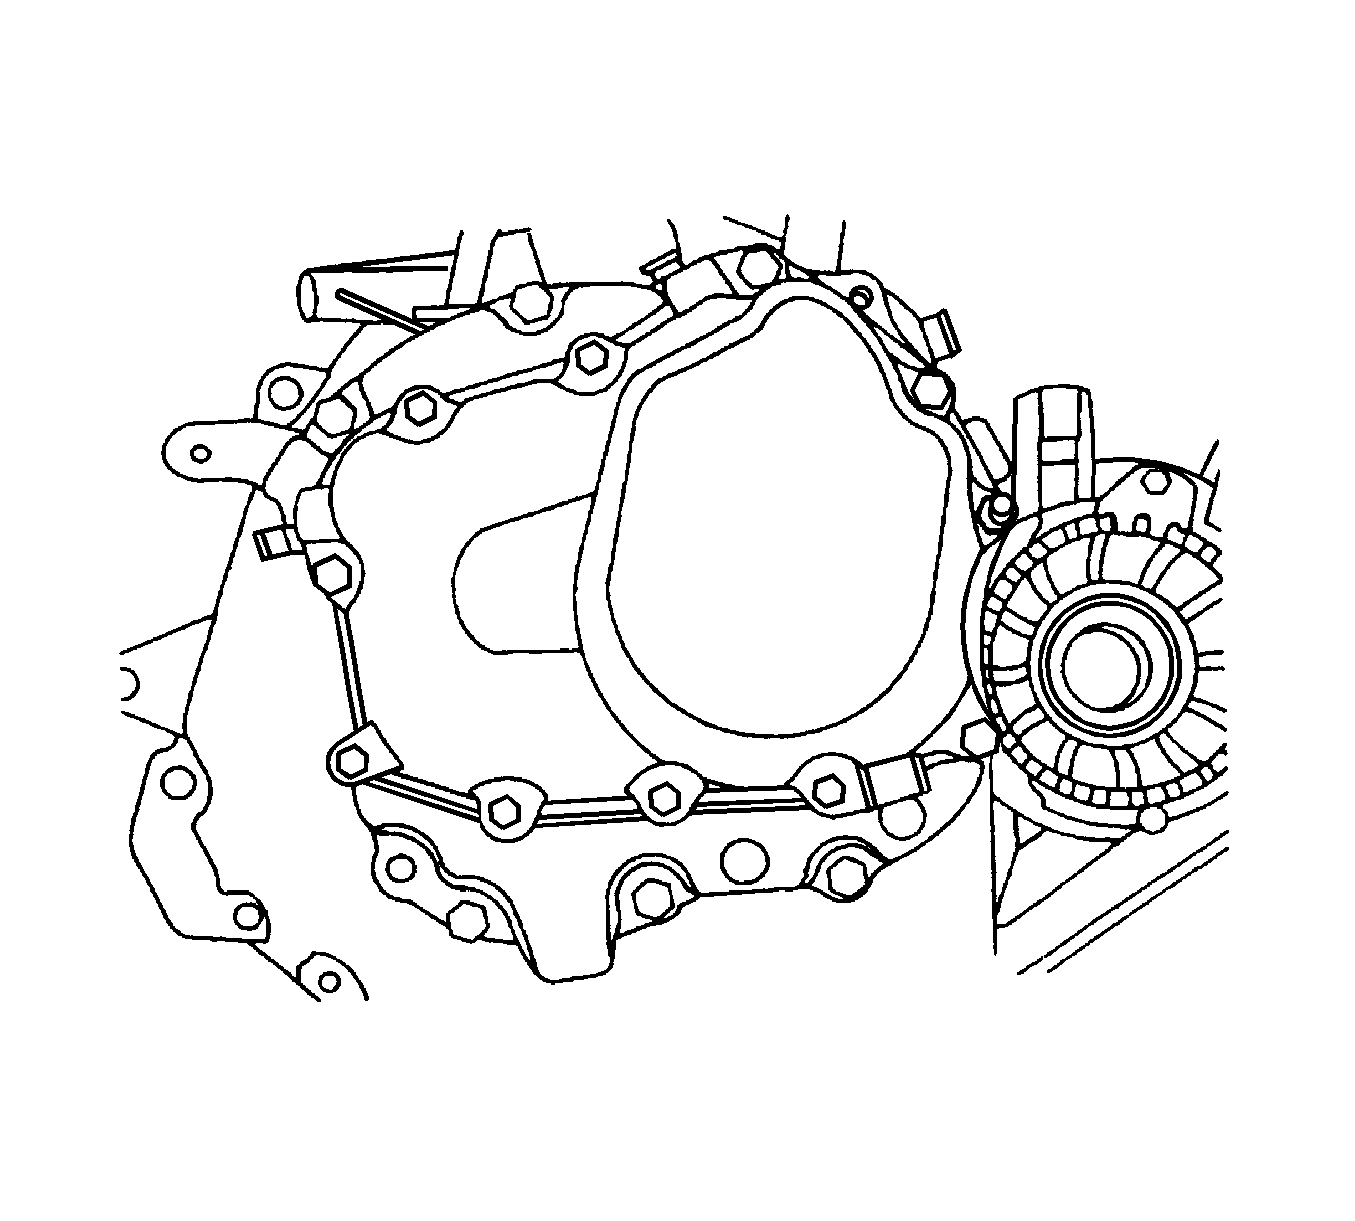
- Install the transaxle cover and the transaxle cover bolts.
- Install the transaxle into the vehicle. Refer to Transmission Replacement .
Notice: Refer to Fastener Notice in the Preface section.
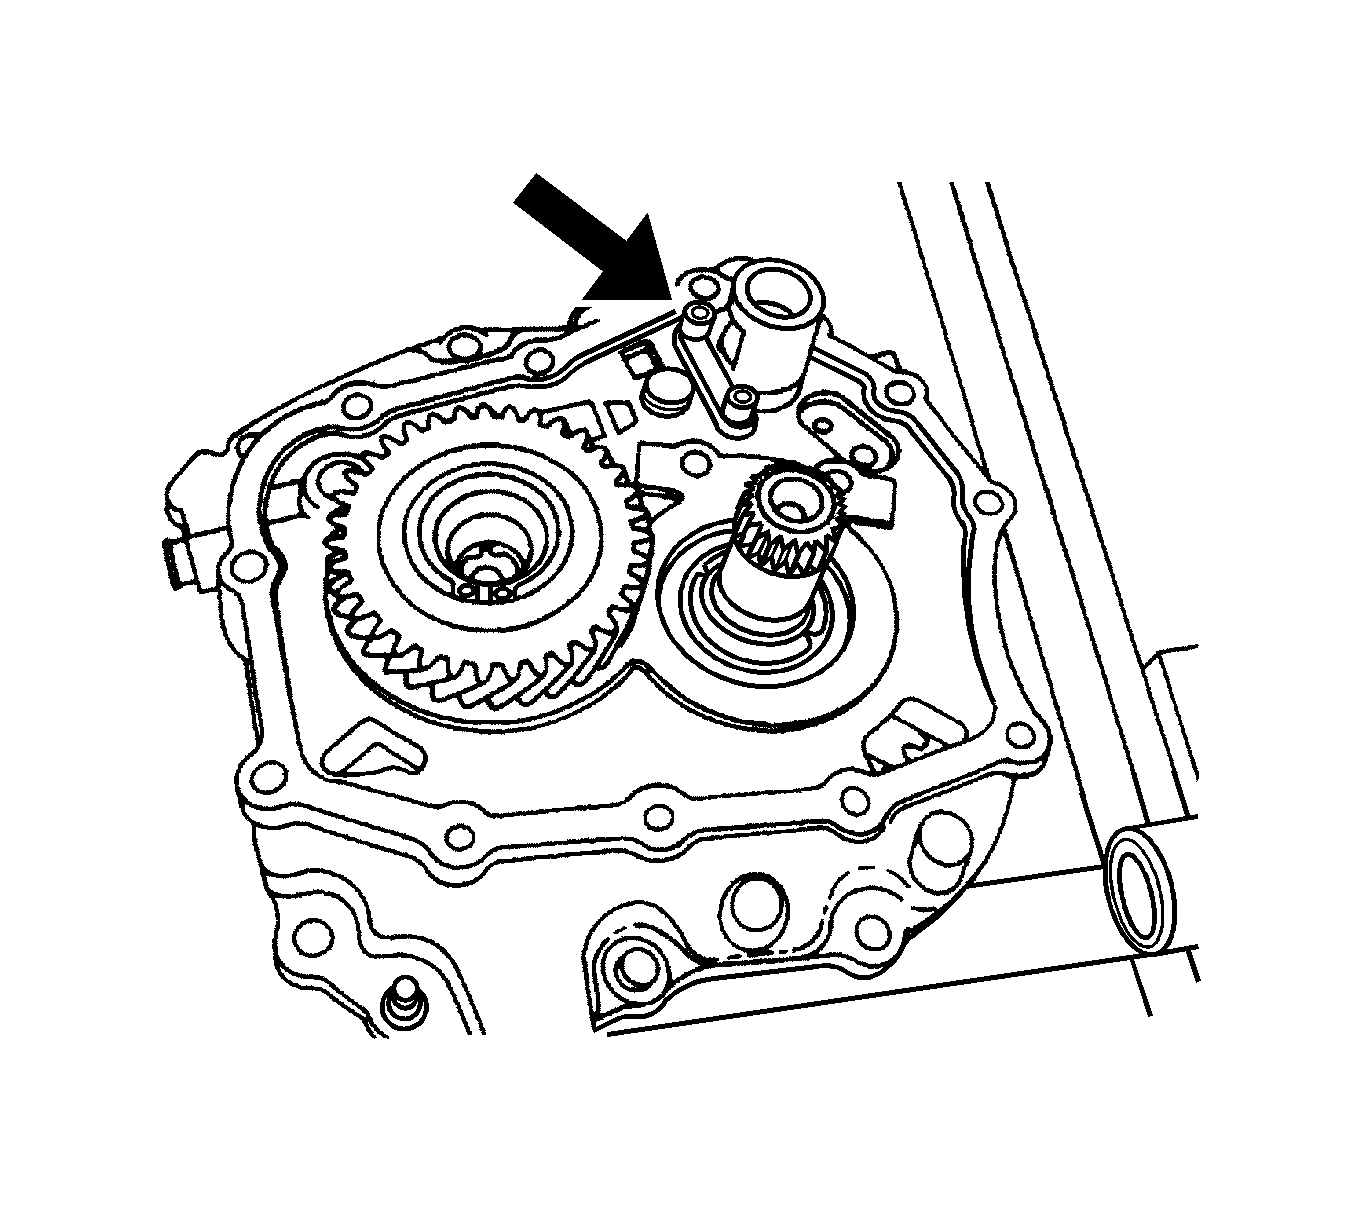
Tighten
Tighten the bolts to 7 N·m (62 lb in).
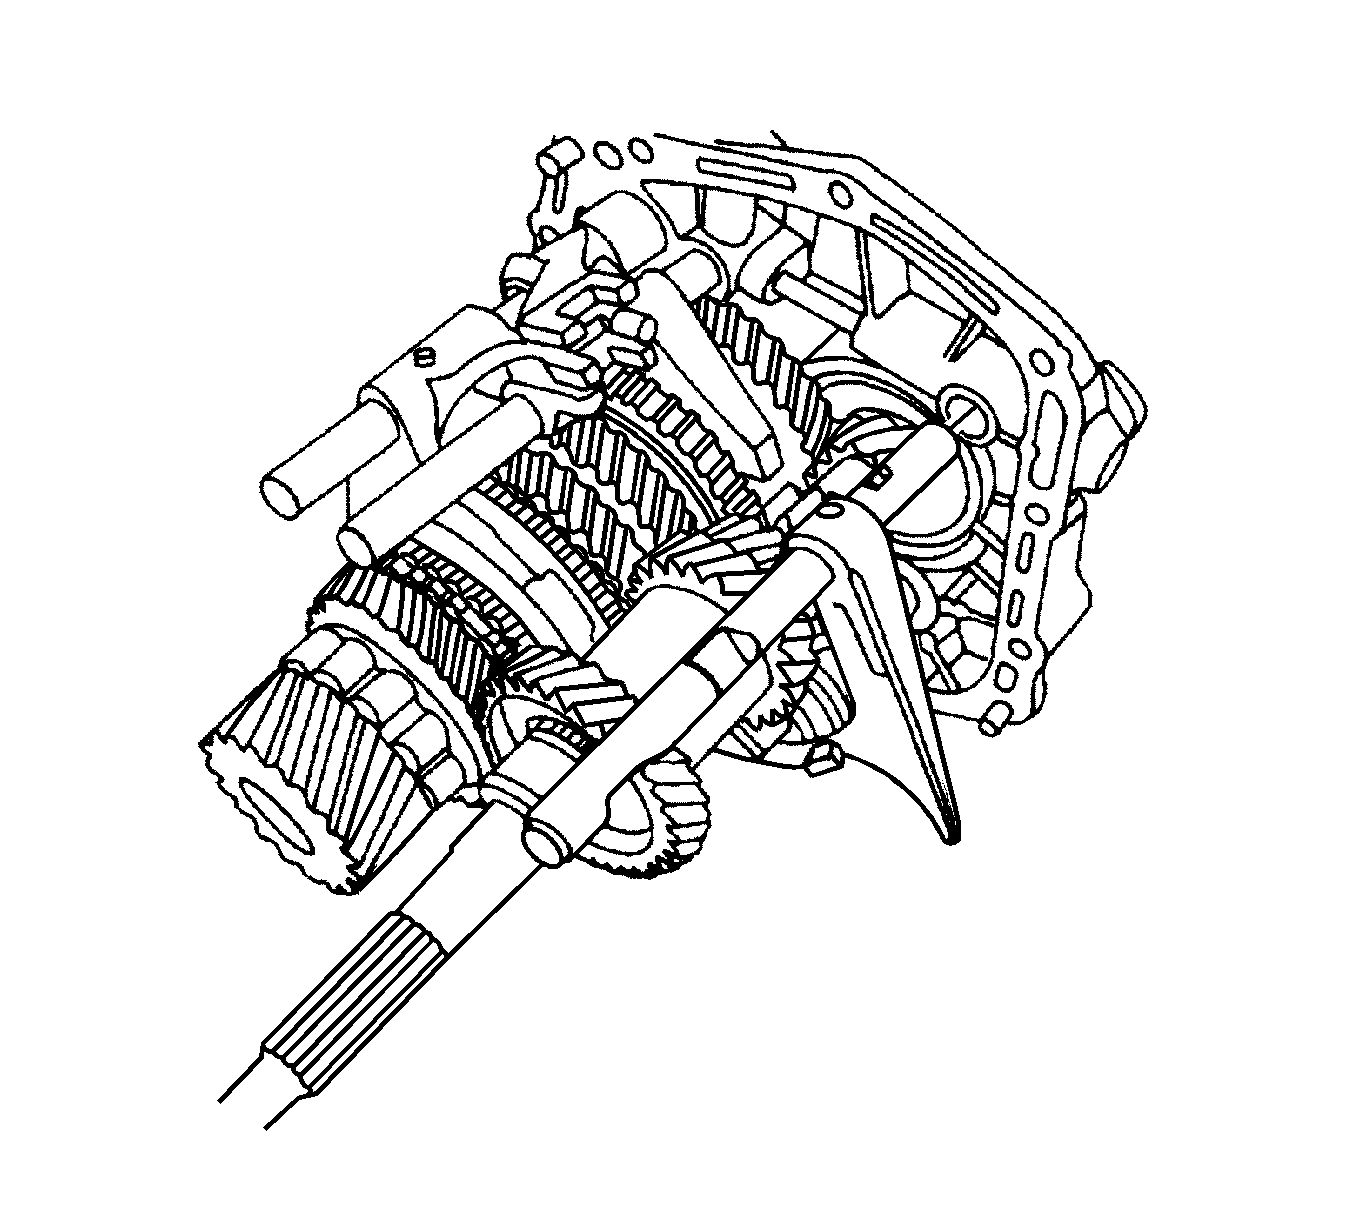
Tighten
Tighten the bolts to 7 N·m (62 lb in).
Tighten
Tighten the bolts to 22 N·m (16 lb ft).
Tighten
Tighten the bolts to 22 N·m (16 lb ft).
Tighten
Tighten the bolt to 4 N·m (35 lb in).
Tighten
Tighten the bolts to 22 N·m (16 lb ft).
Tighten
| • | Tighten the bigger transaxle cover bolts to 20 N·m (15 lb ft). |
| • | Tighten the smaller transaxle cover bolts to 15 N·m (11 lb ft). |
