Refrigerant Tubes Replacement Diesel Engine
Removal Procedure
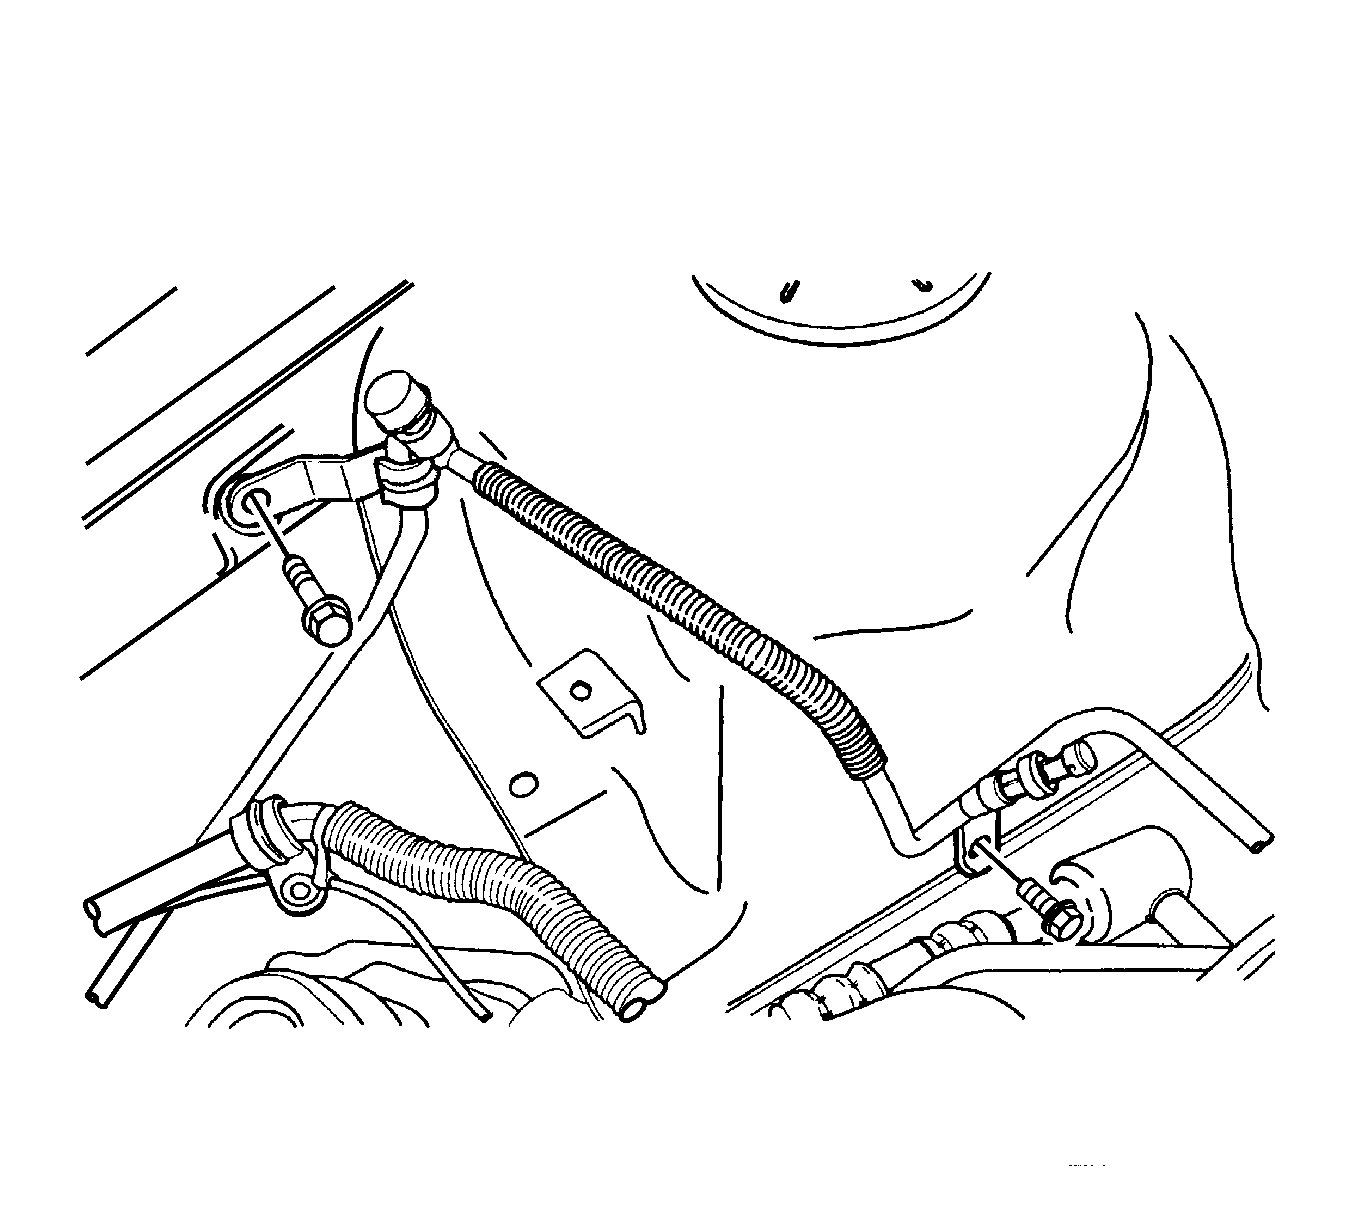
Important: The Left-Hand Drive is Shown. The Right-Hand Drive is Similiar
- Disconnect the negative battery cable.
- Recover the refrigerant. Refer to Refrigerant Recovery and Recharging .
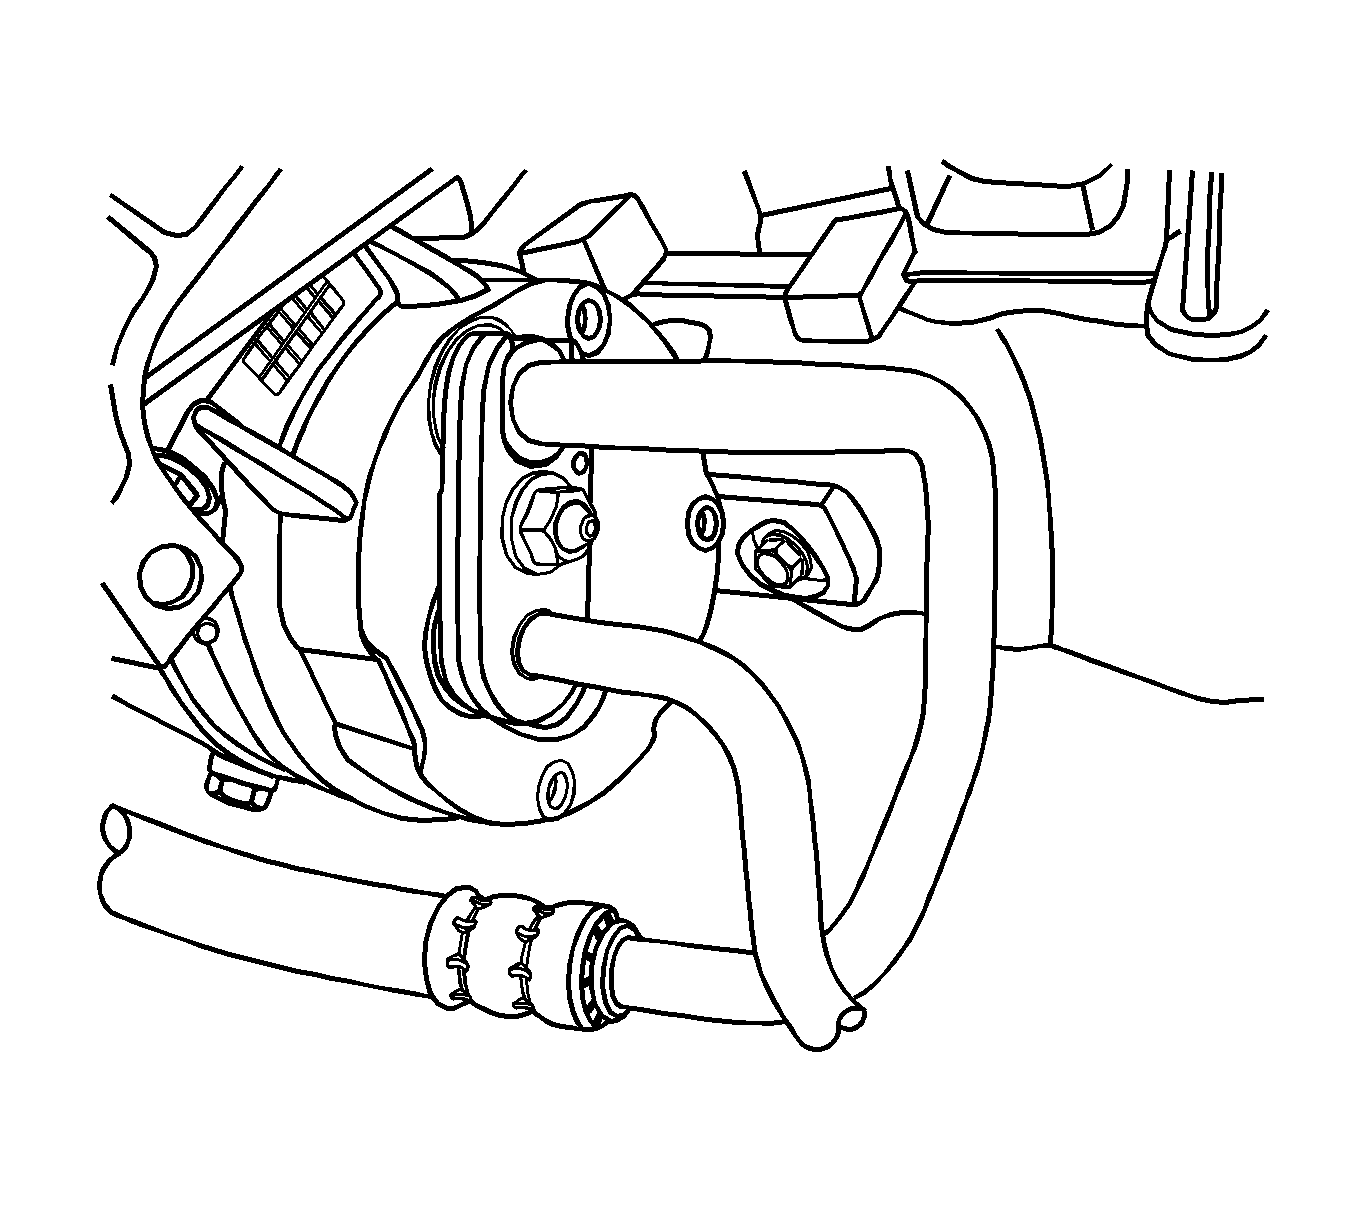
- Remove the nut at the discharge hose block connected to the compressor.
- Remove the headlamp housing at the left-hand side. Refer to Headlamp Replacement .
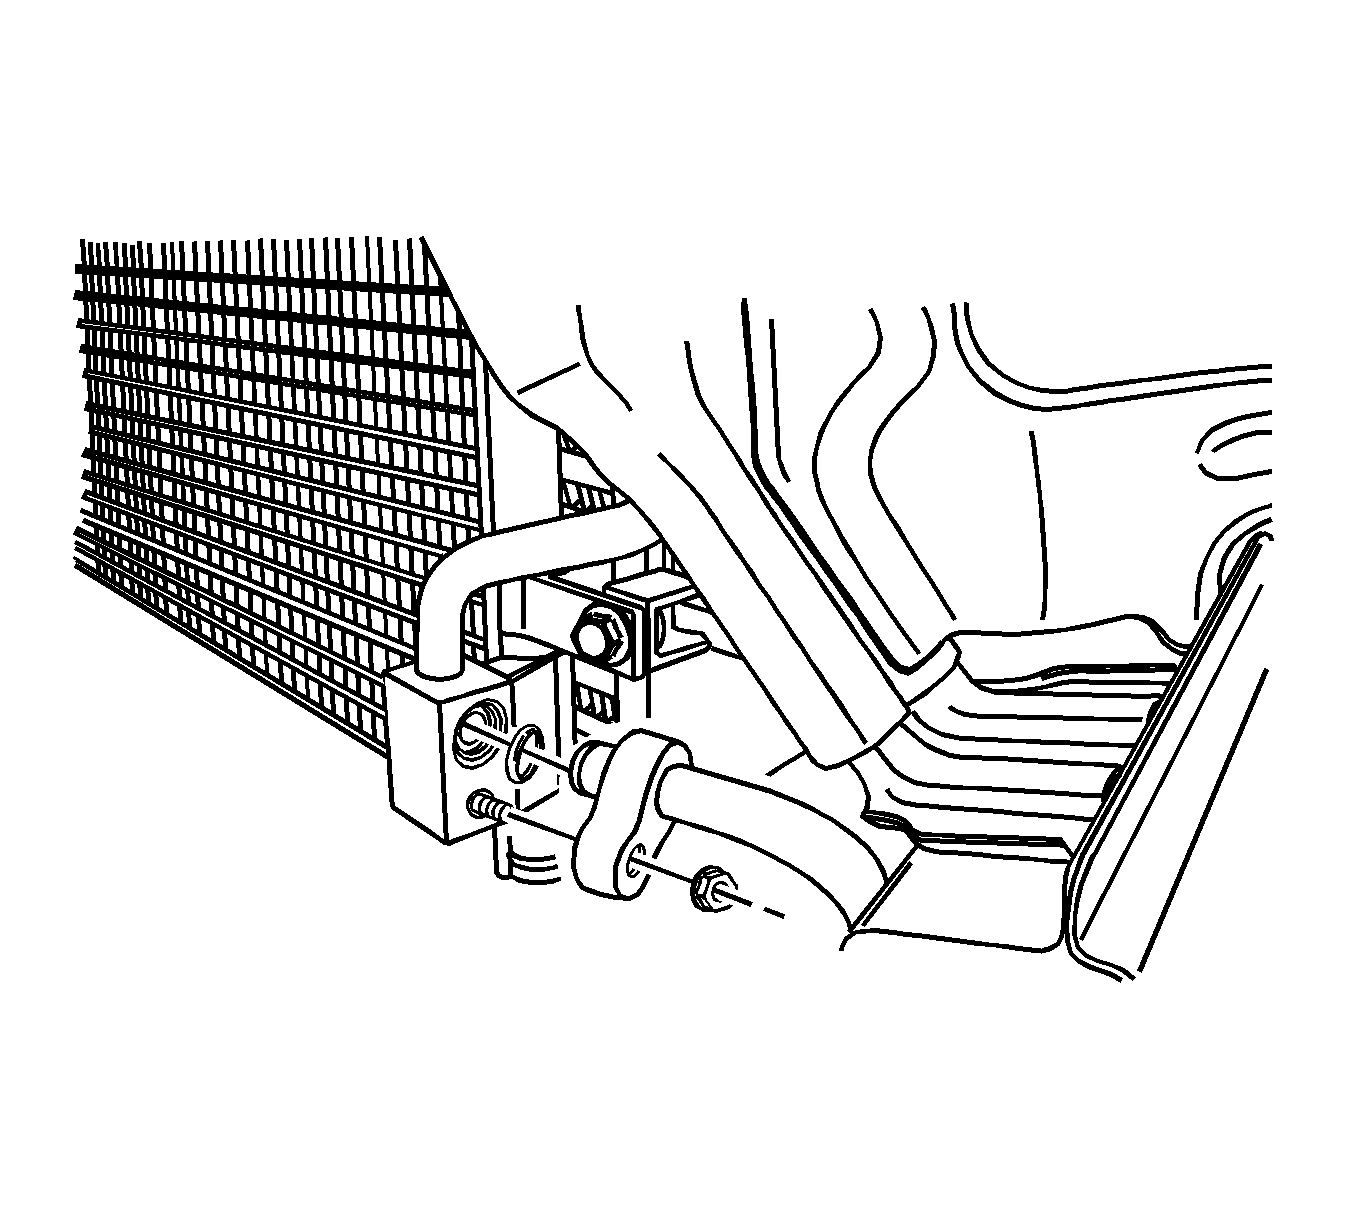
- Remove the nut at the condenser connecting block.
- Remove the refrigerant discharge hose.
- Remove the air cleaner housing bolts and the air filter housing assembly.
- Disconnect the electrical connector at the pressure transducer.
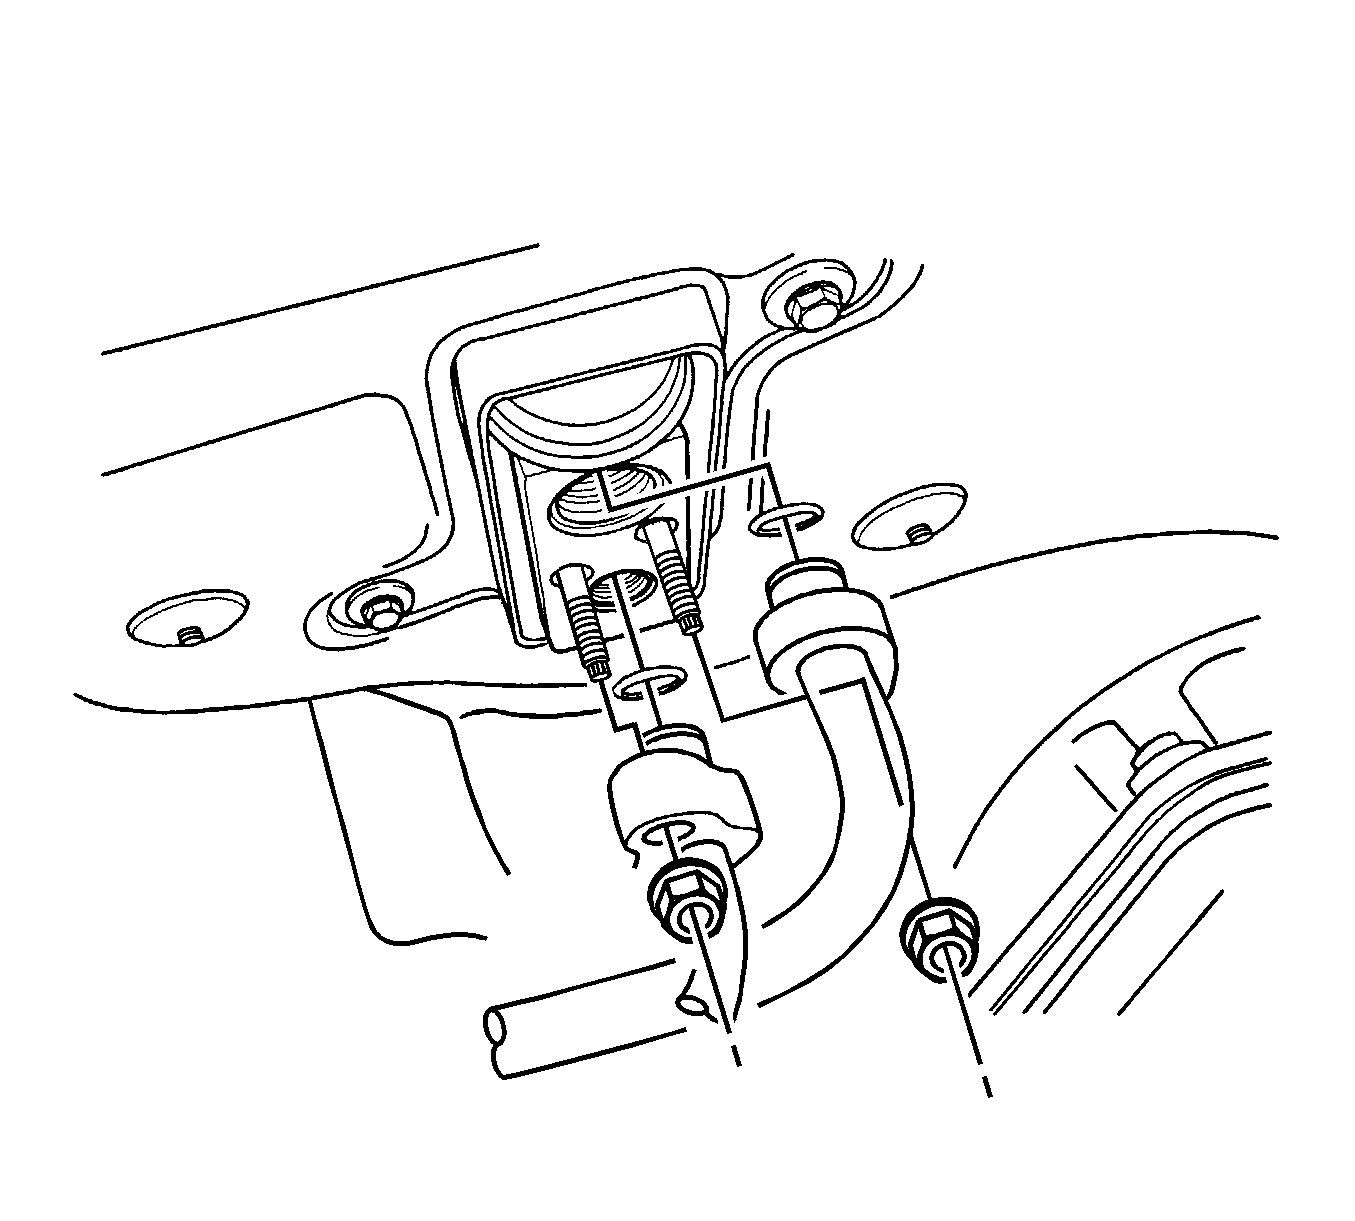
- Remove the liquid pipe block-to-expansion valve retaining nut at the fire wall.
- Remove the headlamp housing at the right-hand side. Refer to Headlamp Replacement .
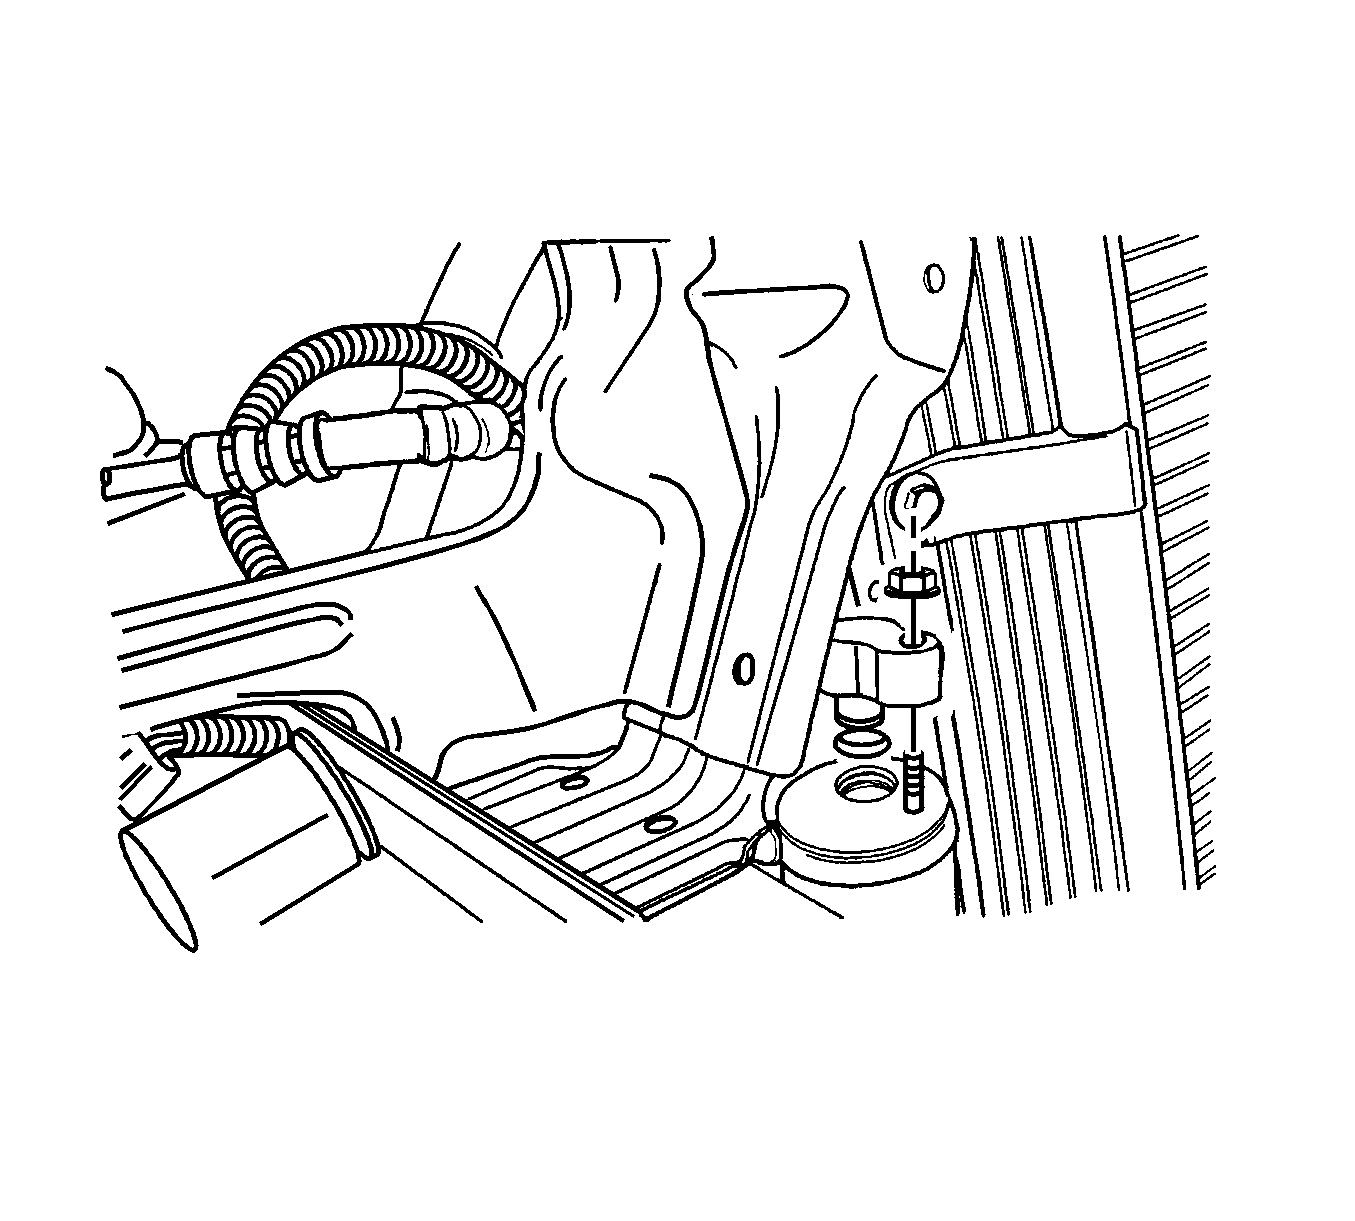
- Remove the liquid pipe block-to-receiver dryer retaining nut.
- Remove the bolts which secure the support clamps that hold the liquid pipe to the vehicle.
- Remove the liquid pipe from the vehicle.
- Cap the opening at the receiver-dryer to prevent contamination.
Caution: Refer to Battery Disconnect Caution in the Preface section.
Installation Procedure
- Position the liquid pipe into the vehicle.
- Install the liquid pipe support clamp bolts.
- Install a new O-ring on the pipe at the receiver dryer.
- Install the liquid pipe block-to-receiver-dryer retaining nut.
- Install the headlamp housing at the right-hand side. Refer to Headlamp Replacement .
- Install the liquid evaporator pipe block retaining nut to the fire wall.
- Connect the electrical connector at the pressure transducer.
- Install the air cleaner housing bolts and the air filter housing assembly.
- Position the refrigerant discharge hose into the vehicle.
- Install the nut at the condenser connecting block.
- Install the headlamp housing at the left-hand side. Refer Headlamp Replacement .
- Install the nut at the discharge hose block connected to the compressor.
- Connect the negative battery cable.
- Evacuate and recharge the A/C system. Refer to Refrigerant Recovery and Recharging .
Notice: Refer to Fastener Notice in the Preface section.

Tighten
Tighten the liquid pipe support clamp bolts to 8 N·m (71 lb in).

Tighten
Tighten the liquid pipe block-to-receiver-dryer retaining nut to 14 N·m (10 lb ft).

Tighten
Tighten the liquid pipe block-to-expansion valve retaining nut to 14 N·m (10 lb ft).

Tighten
Tighten the refrigerant discharge hose block-to-condenser retaining nuts to 16 N·m (12 lb ft).

Tighten
Tighten the refrigerant discharge hose block-to-compressor retaining nut to 33 N·m (24 lb ft).
Refrigerant Tubes Replacement Gasoline Engine
Removal Procedure
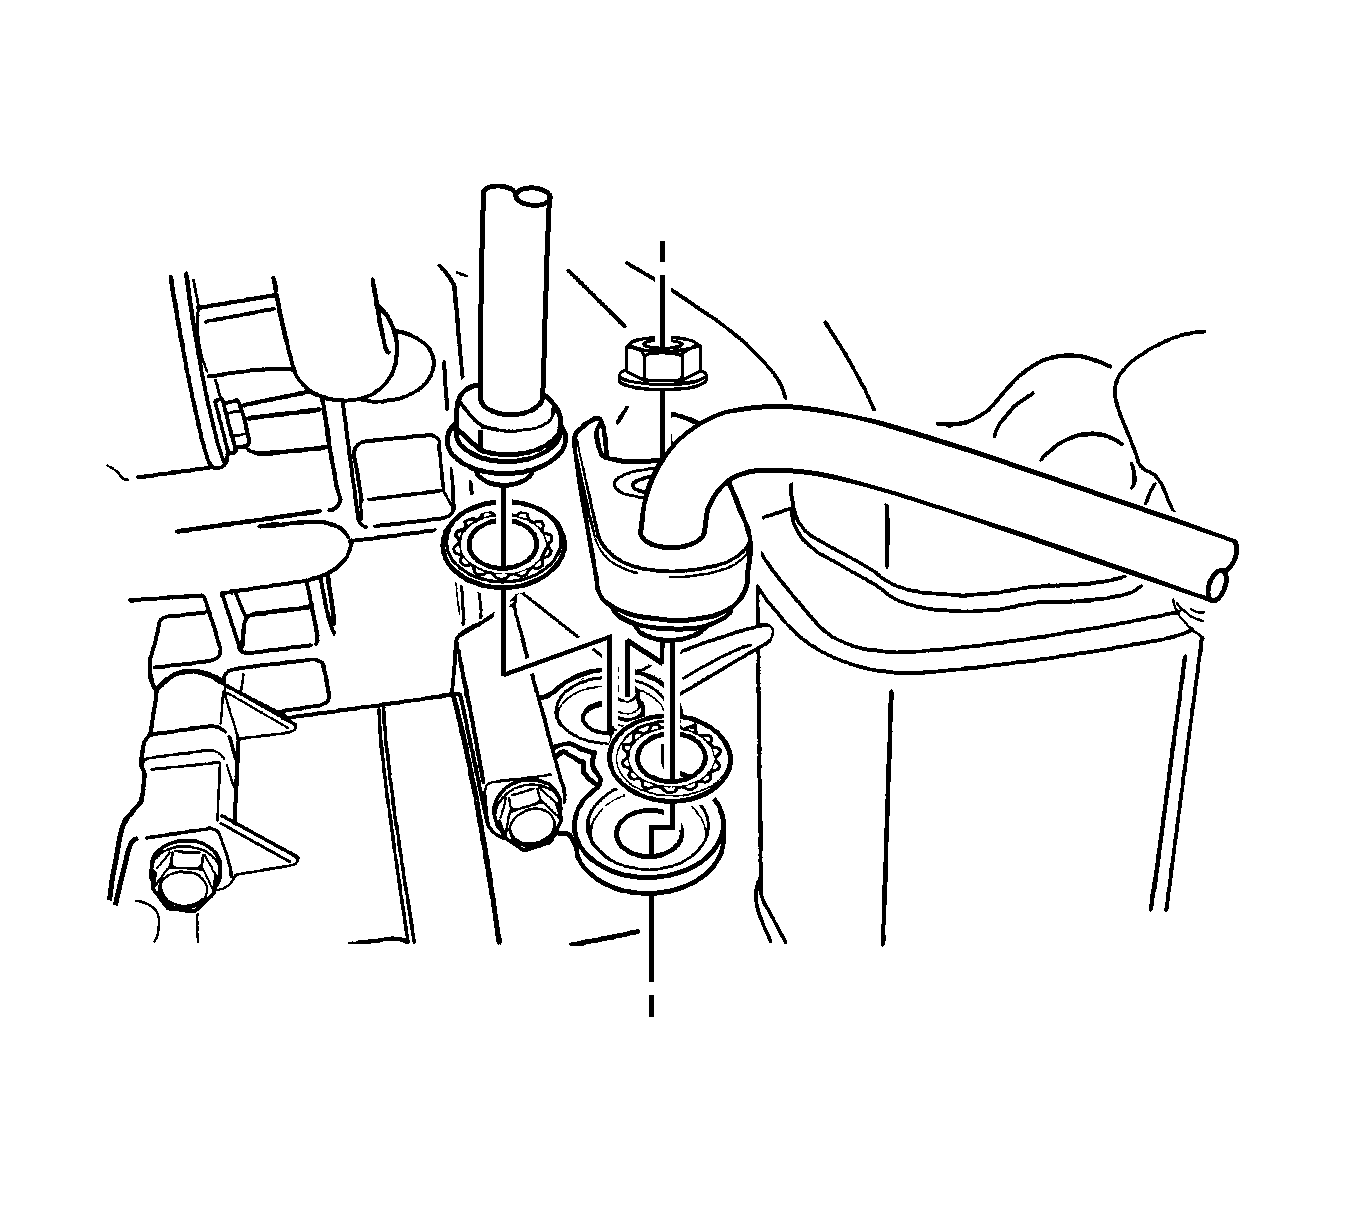
Important: The Left-Hand Drive is Shown. The Right-Hand Drive is Similiar
- Disconnect the negative battery cable.
- Recover the refrigerant. Refer to Refrigerant Recovery and Recharging .
- Remove the nut at the discharge hose block connected to the compressor.
- Remove the headlamp housing at the left-hand side. Refer to Headlamp Replacement .
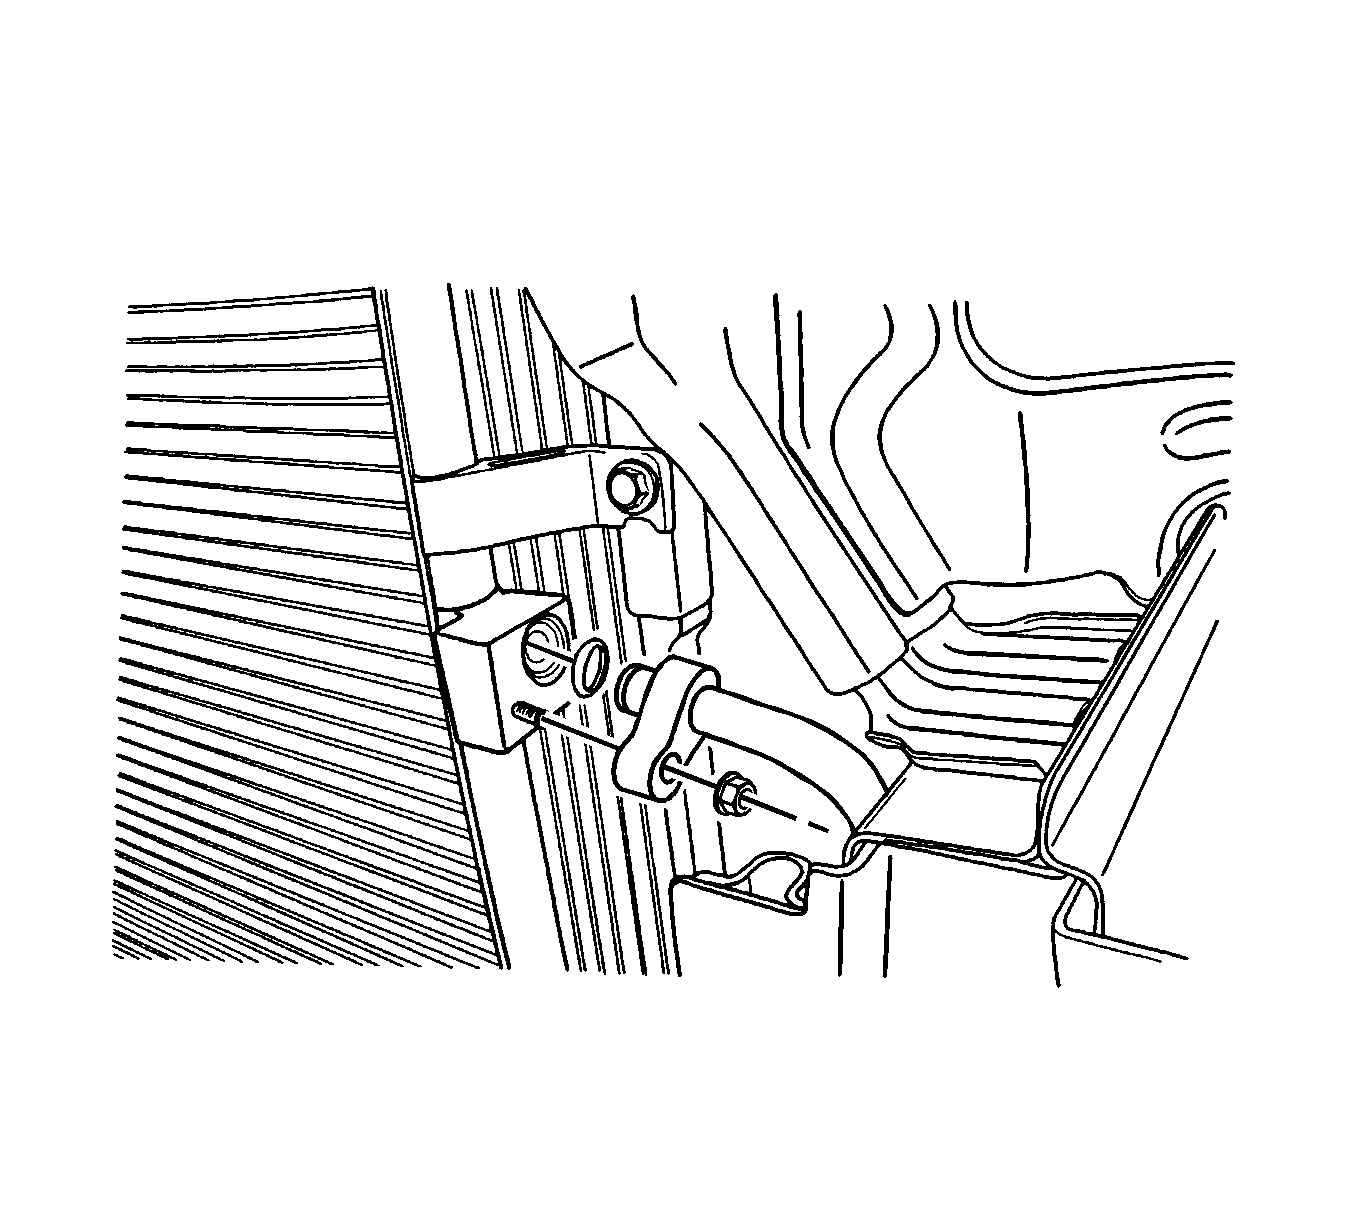
- Remove the nut at the condenser connecting block.
- Remove the refrigerant discharge hose.
- Remove the air cleaner housing bolts and the air filter housing assembly.
- Disconnect the electrical connector at the pressure transducer.
- Remove the liquid pipe block-to-expansion valve retaining nut at the fire wall.
- Remove the headlamp housing at the right-hand side. Refer to Headlamp Replacement .
- Remove the liquid pipe block-to-receiver dryer retaining nut.
- Remove the bolts which secure the support clamps that hold the liquid pipe to the vehicle.
- Remove the liquid pipe from the vehicle.
- Cap the opening at the receiver-dryer to prevent contamination.
Caution: Refer to Battery Disconnect Caution in the Preface section.


Installation Procedure
- Position the liquid pipe into the vehicle.
- Install the liquid pipe support clamp bolts.
- Install a new O-ring on the pipe at the receiver dryer.
- Install the liquid pipe block-to-receiver-dryer retaining nut.
- Install the headlamp housing at the right-hand side. Refer to Headlamp Replacement .
- Install the liquid evaporator pipe block retaining nut to the fire wall.
- Connect the electrical connector at the pressure transducer.
- Install the air cleaner housing bolts and the air filter housing assembly.
- Position the refrigerant discharge hose into the vehicle.
- Install the nut at the condenser connecting block.
- Install the headlamp housing at the left-hand side. Refer Headlamp Replacement .
- Install the nut at the discharge hose block connected to the compressor.
- Connect the negative battery cable.
- Evacuate and recharge the A/C system. Refer to Refrigerant Recovery and Recharging .
Notice: Refer to Fastener Notice in the Preface section.

Tighten
Tighten the liquid pipe support clamp bolts to 8 N·m (71 lb in).

Tighten
Tighten the liquid pipe block-to-receiver-dryer retaining nut to 14 N·m (10 lb ft).

Tighten
Tighten the liquid pipe block-to-expansion valve retaining nut to 14 N·m (10 lb ft).

Tighten
Tighten the refrigerant discharge hose block-to-condenser retaining nuts to 16 N·m (12 lb ft).

Tighten
Tighten the refrigerant discharge hose block-to-compressor retaining nut to 33 N·m (24 lb ft).
