For 1990-2009 cars only
Removal Procedure
- Relieve the fuel pressure. Refer to Fuel Pressure Relief .
- Disconnect the negative battery cable.
- Drain the fuel tank. Refer to Fuel Tank Draining .
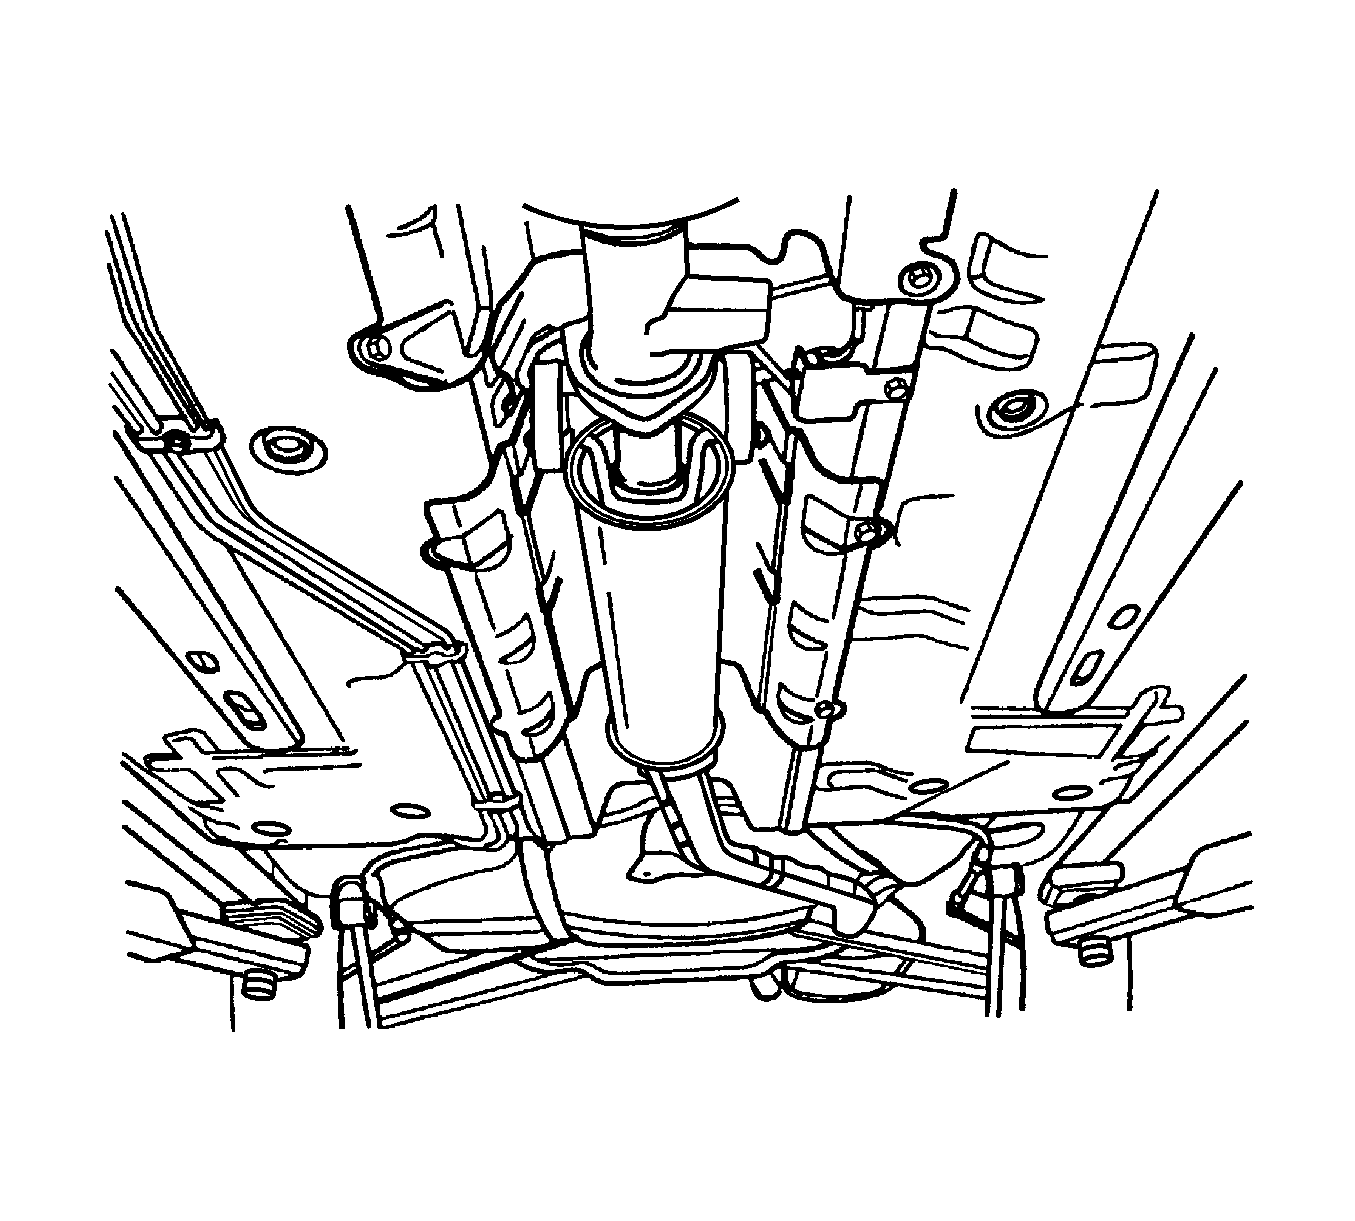
- Remove the front muffler. Refer to Muffler Replacement .
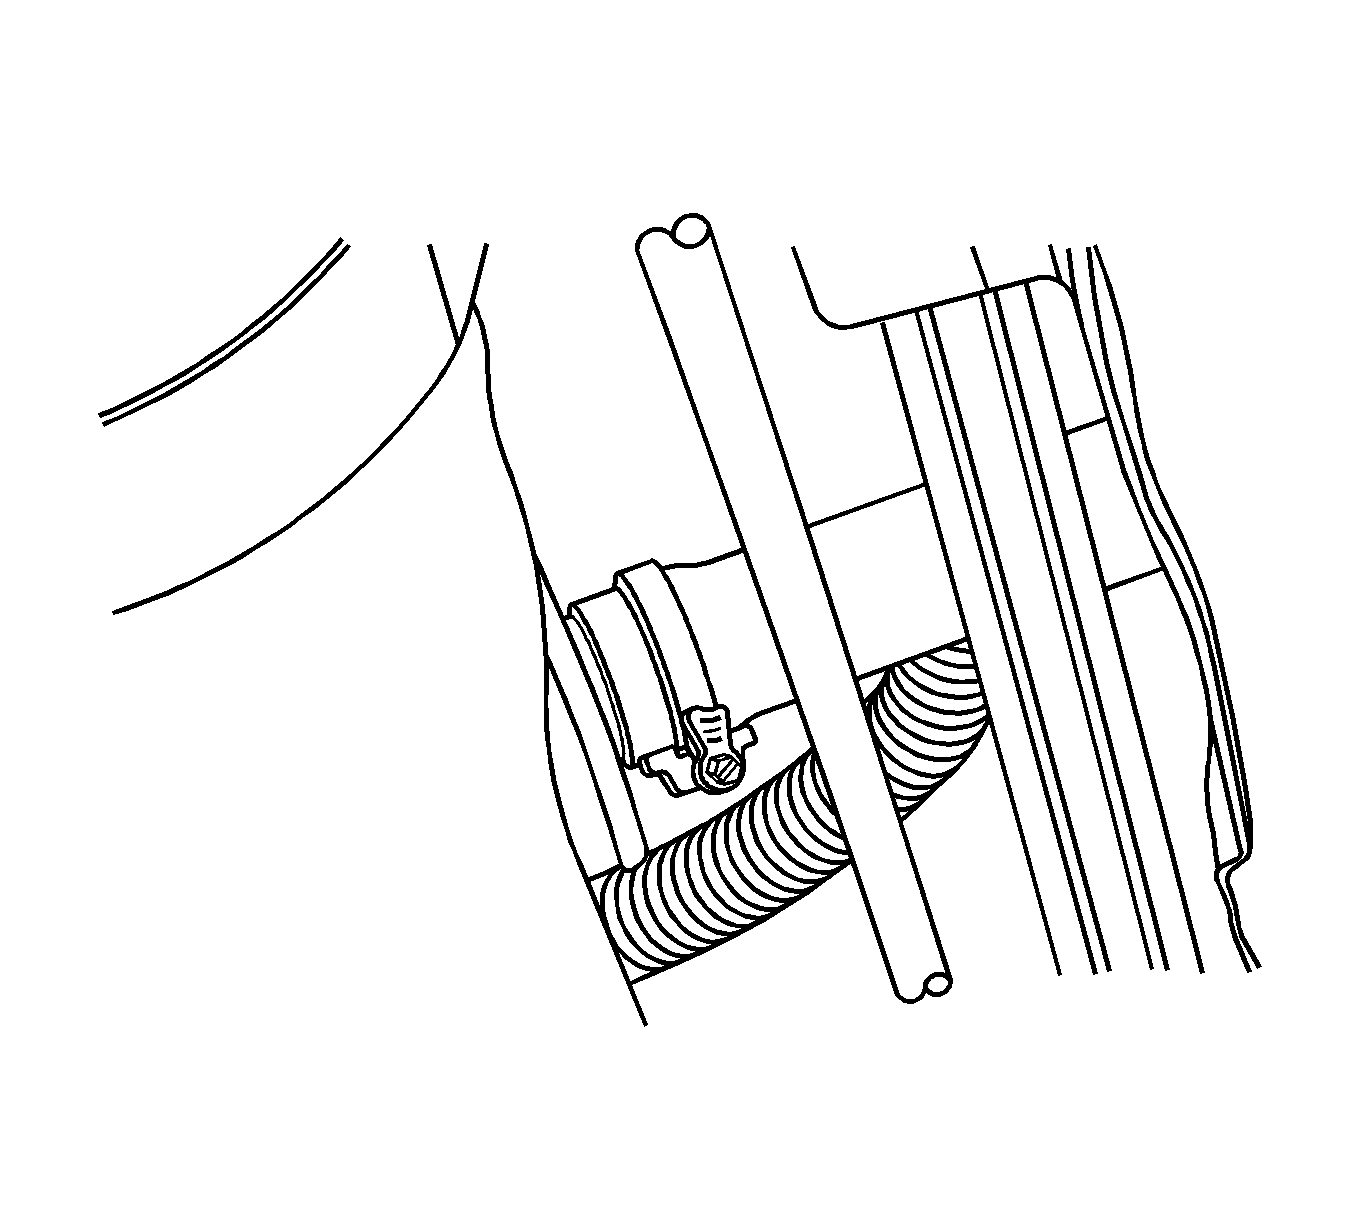
- Disconnect the fuel tank filler tube.
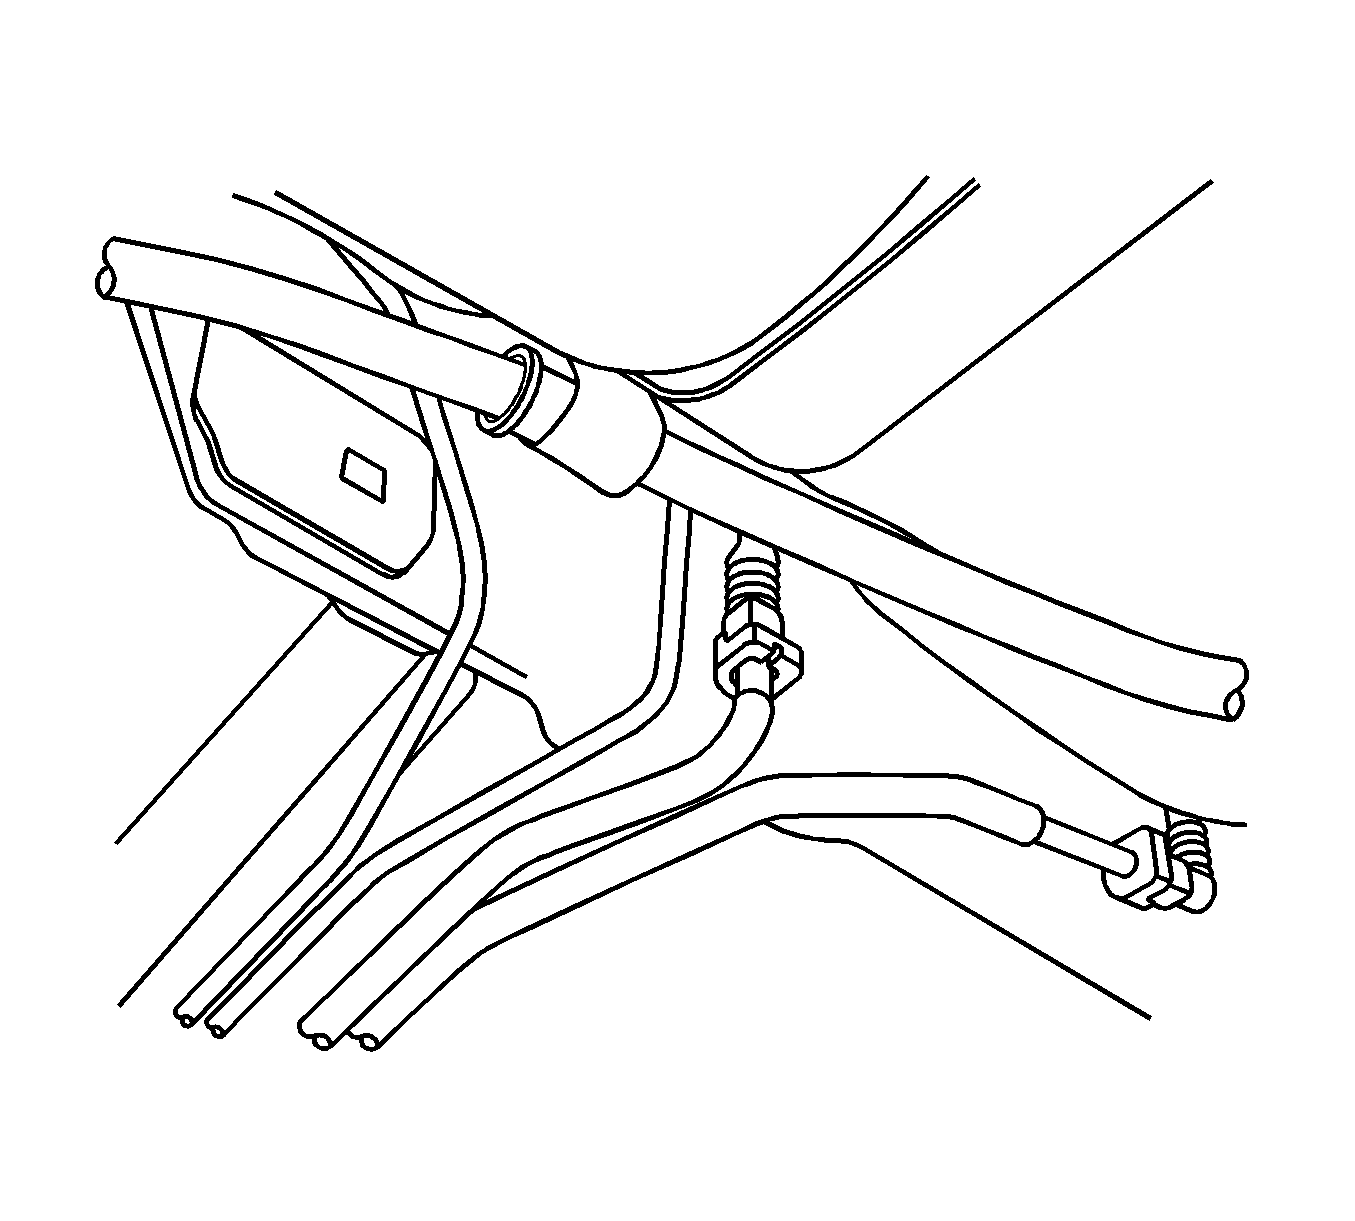
- Disconnect the fuel line near the right front of the fuel tank.
- Remove the rear seat. Refer to Rear Seat Cushion Replacement .
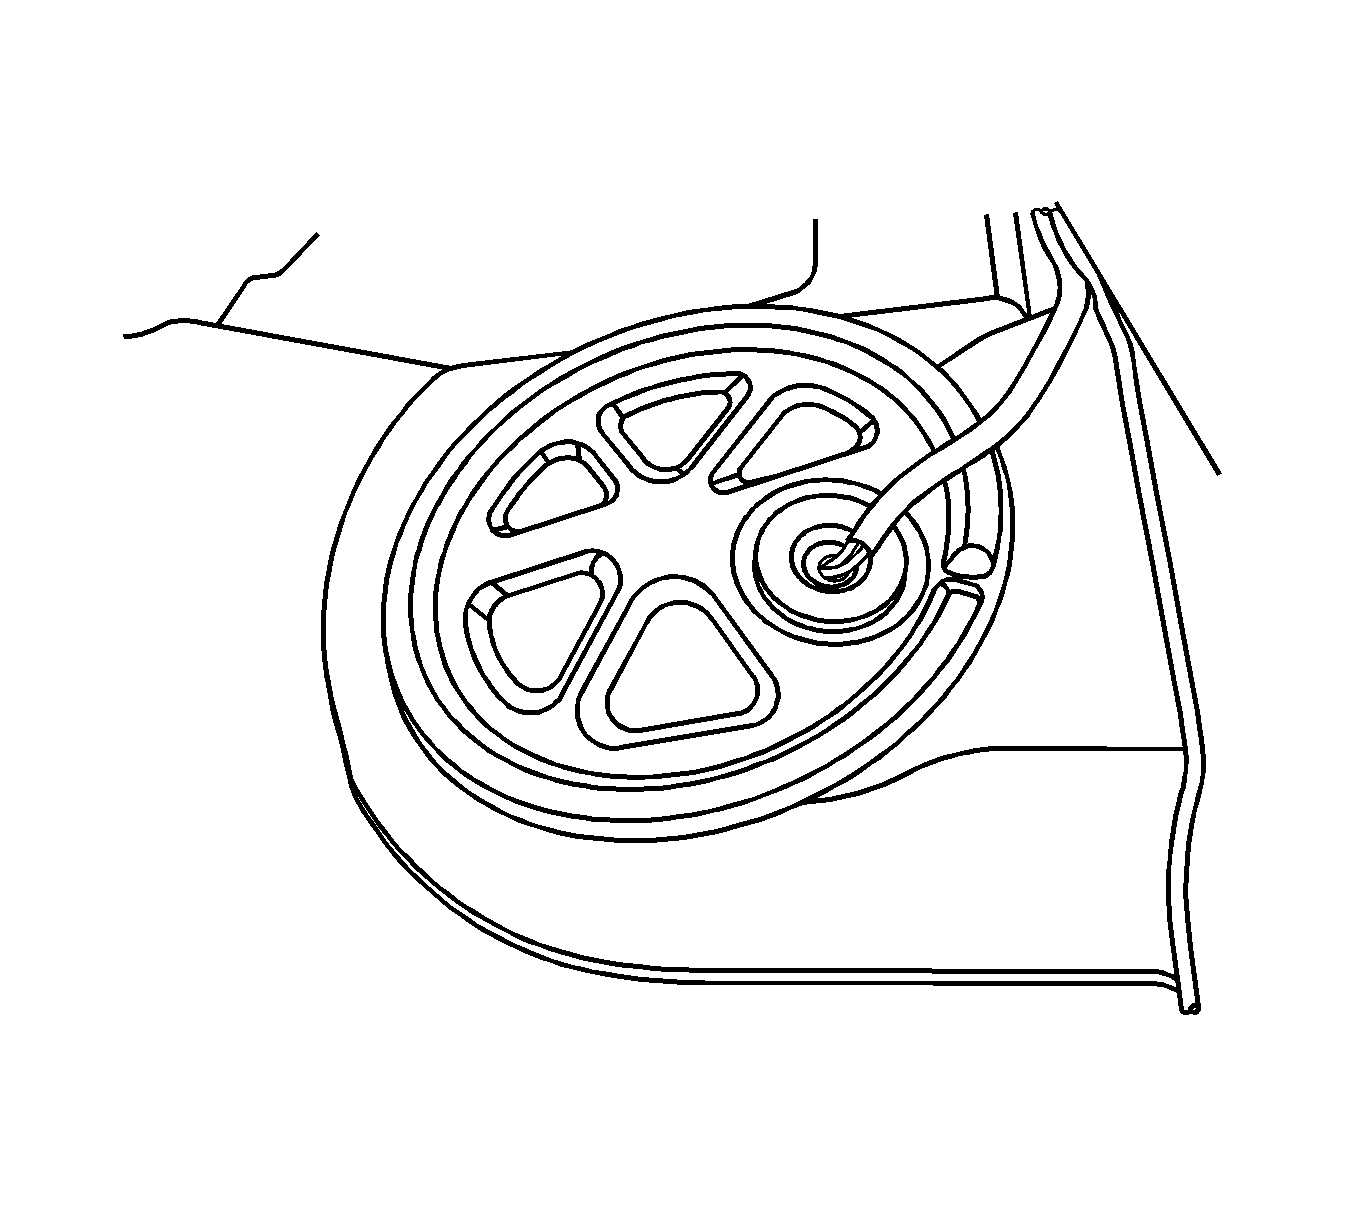
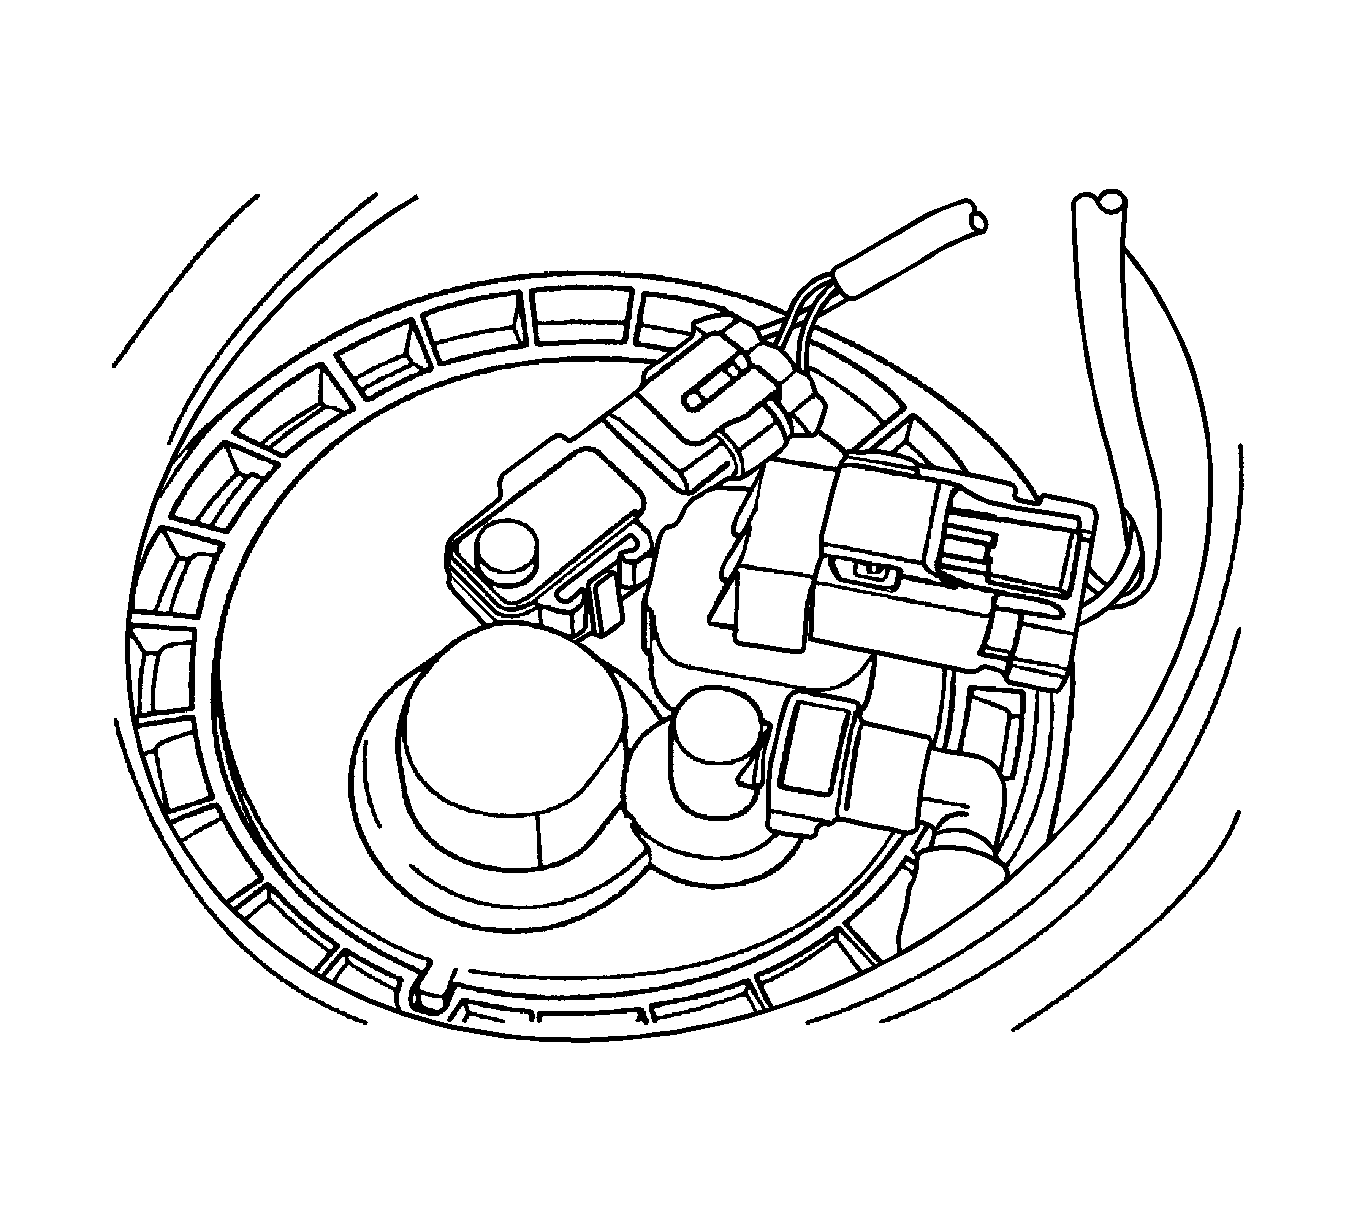
- Remove the fuel pump access cover.
- Disconnect the electrical connector at the fuel pump assembly.
- Disconnect the fuel line.
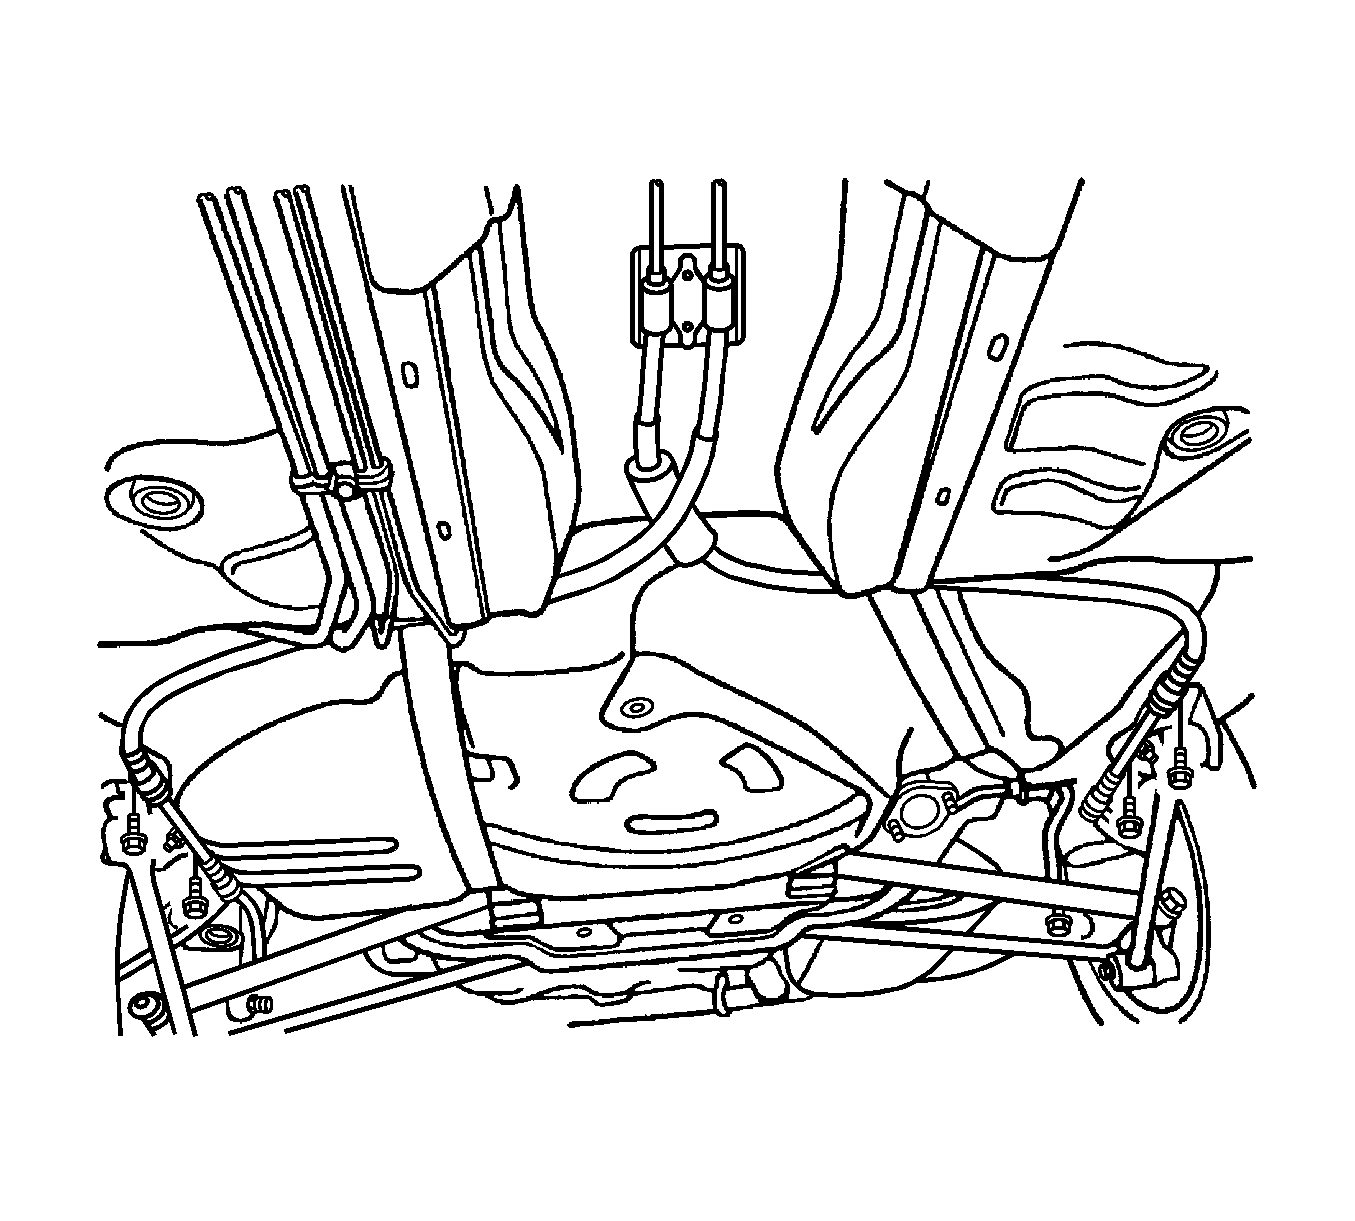
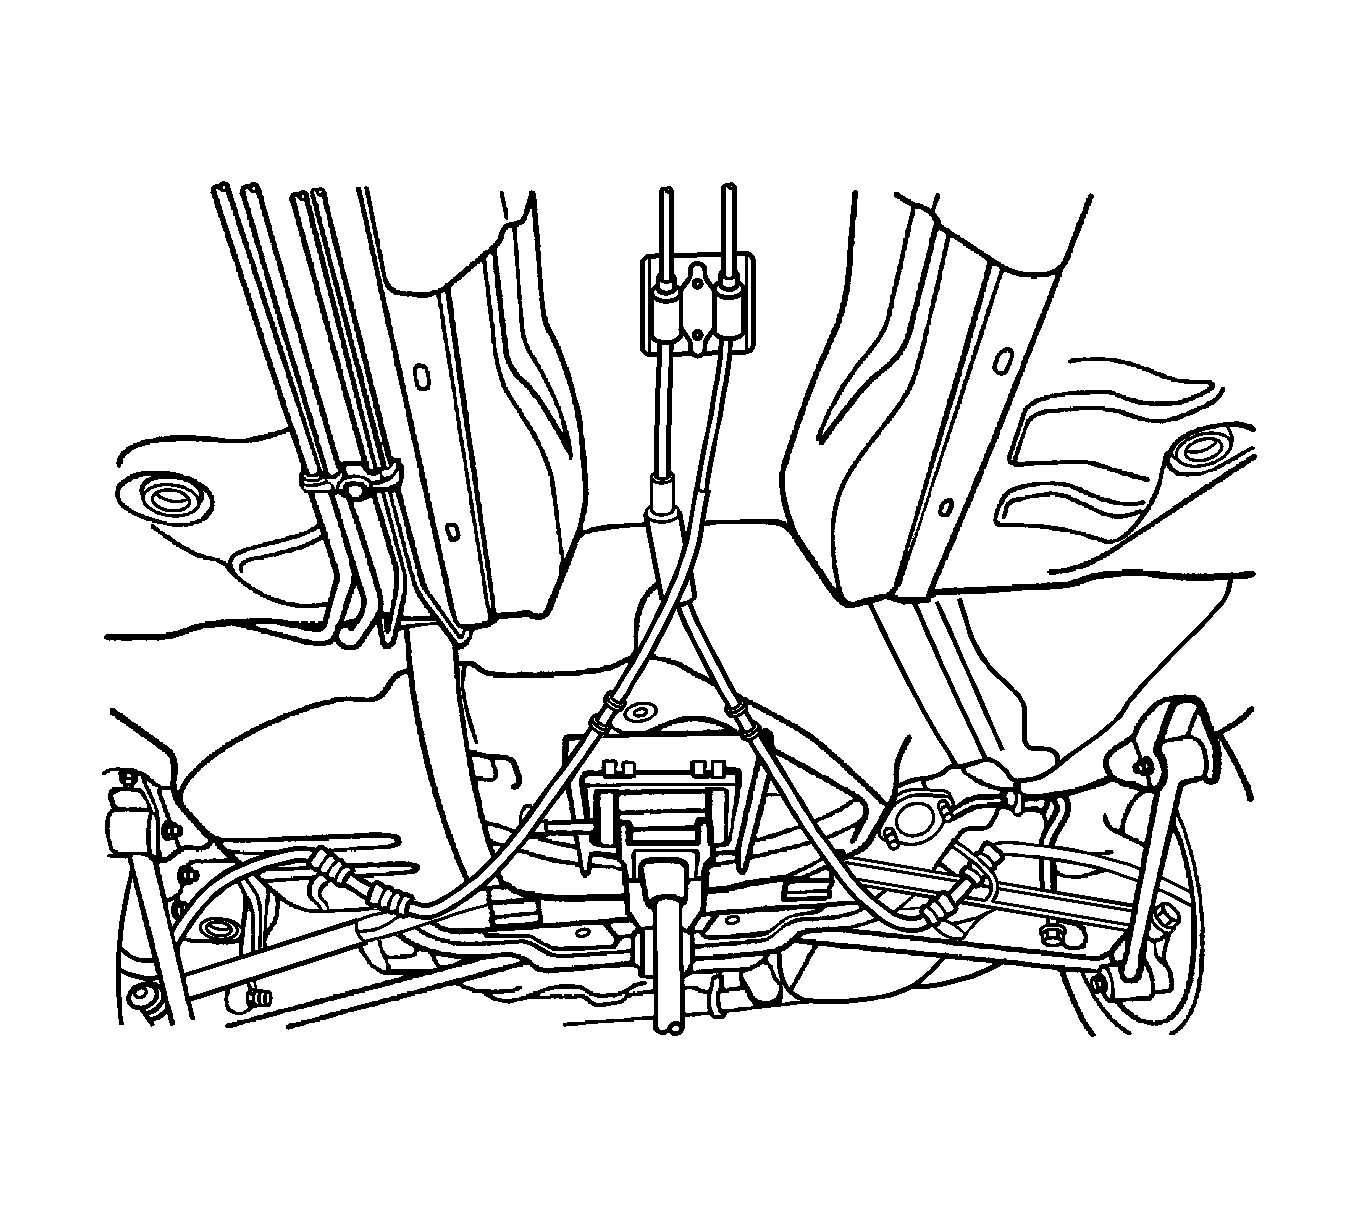
- Remove the parking brake cables support bracket bolt.
- Remove the parking brake cables from the fuel tank.
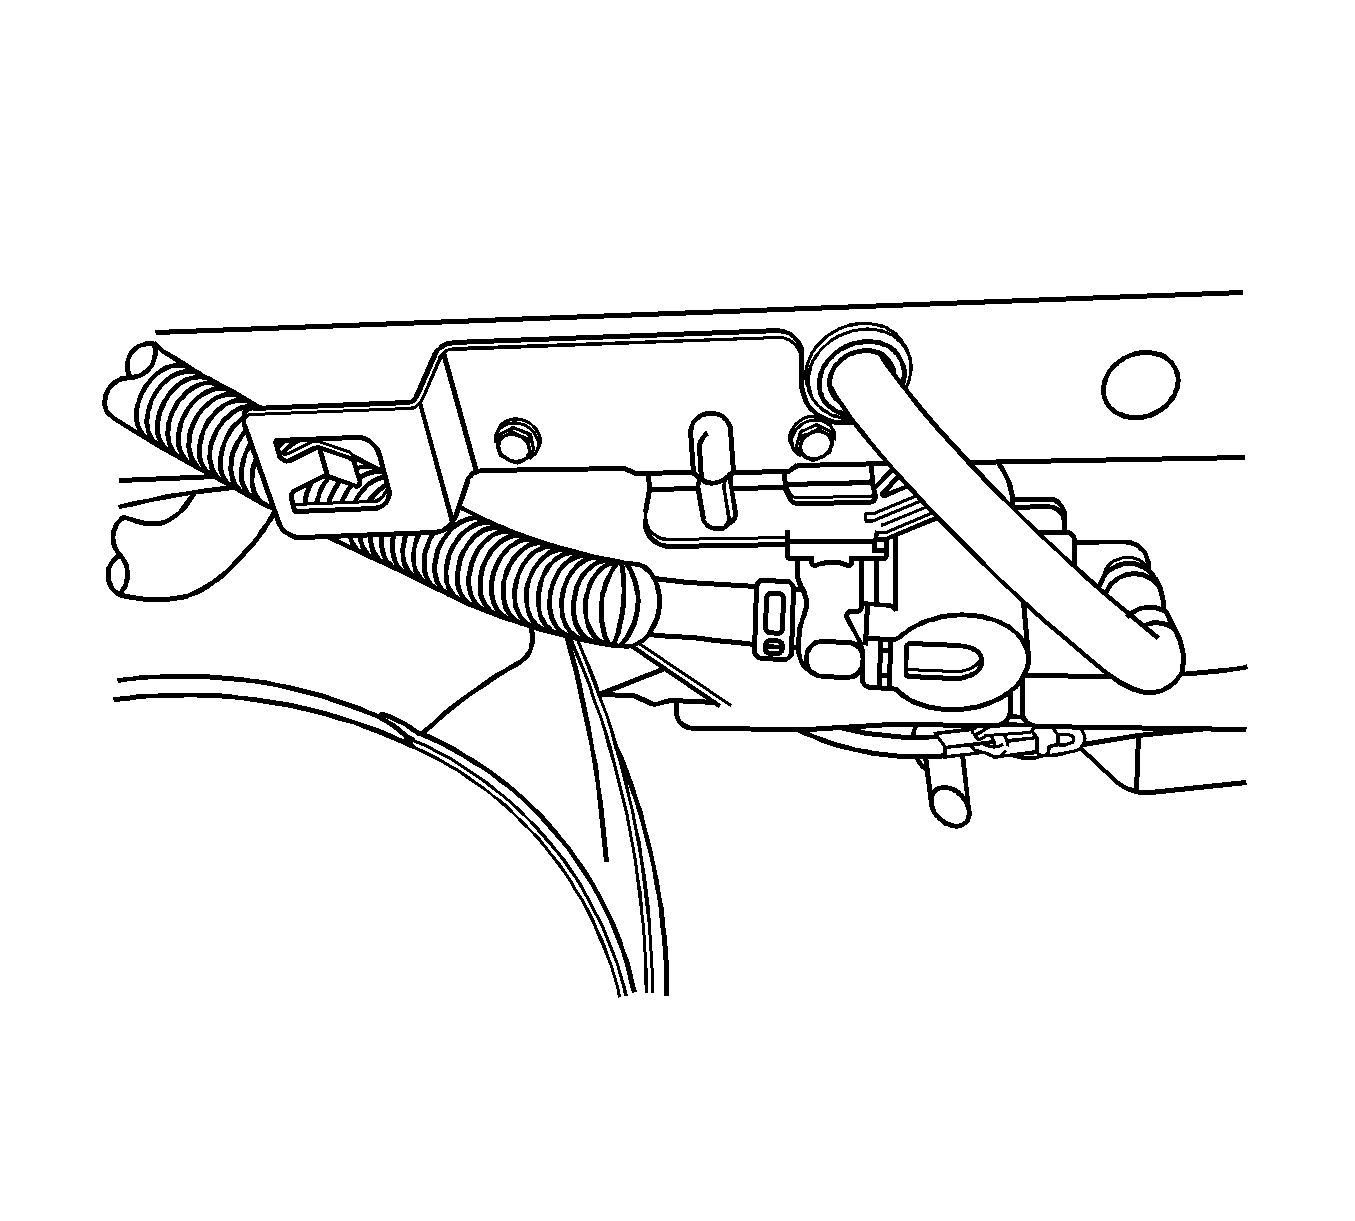
- Disconnect the fuel vapor line from the solenoid valve.
- Support the fuel tank.
- Remove the fuel tank strap retaining nuts.
- remove the fuel tank strap.
- Carefully lower the fuel tank.
- Remove the fuel tank.
- Transfer any parts as needed.
Caution: Refer to Relieving Fuel Pressure Caution in the Preface section.
Caution: Refer to Battery Disconnect Caution in the Preface section.
Installation Procedure
- Raise the fuel tank into position.
- Install the fuel tank straps.
- Install the fuel tank strap retaining nuts.
- Connect the fuel vapor line from the solenoid valve.
- Install the parking brake cables support bracket.
- Install the parking brake cables from the fuel tank.
- Connect the fuel line.
- Connect the electrical connector at the fuel pump assembly.
- Install the fuel pump access cover.
- Install the rear seat. Refer to Rear Seat Cushion Replacement .
- Connect the fuel line near the right front of the fuel tank.
- Connect the fuel tank filler tube.
- Install the fuel tank filler tube clamp at the fuel tank.
- Install the front muffler. Refer to Muffler Replacement .
- Connect the negative battery cable.
- Fill the fuel tank.
- Perform a leak check of the fuel tank and the fuel line connections.

Notice: Refer to Fastener Notice in the Preface section.
Tighten
Tighten the fuel tank strap retaining nuts to 20 N·m (15 lb ft).


Removal Procedure
- Relieve the fuel system pressure. Refer to Fuel Pressure Relief .
- Disconnect the negative battery cable.
- Remove the rear seat. Refer to Rear Seat Cushion Replacement .
- Remove the fuel pump access cover.
- Disconnect the electrical connector at the fuel pump assembly.
- Disconnect the fuel line.
- Remove the fuel pump assembly clip.
- Remove the fuel pump assembly from the tank.
Caution: Refer to Relieving Fuel Pressure Caution in the Preface section.

Caution: Refer to Battery Disconnect Caution in the Preface section.

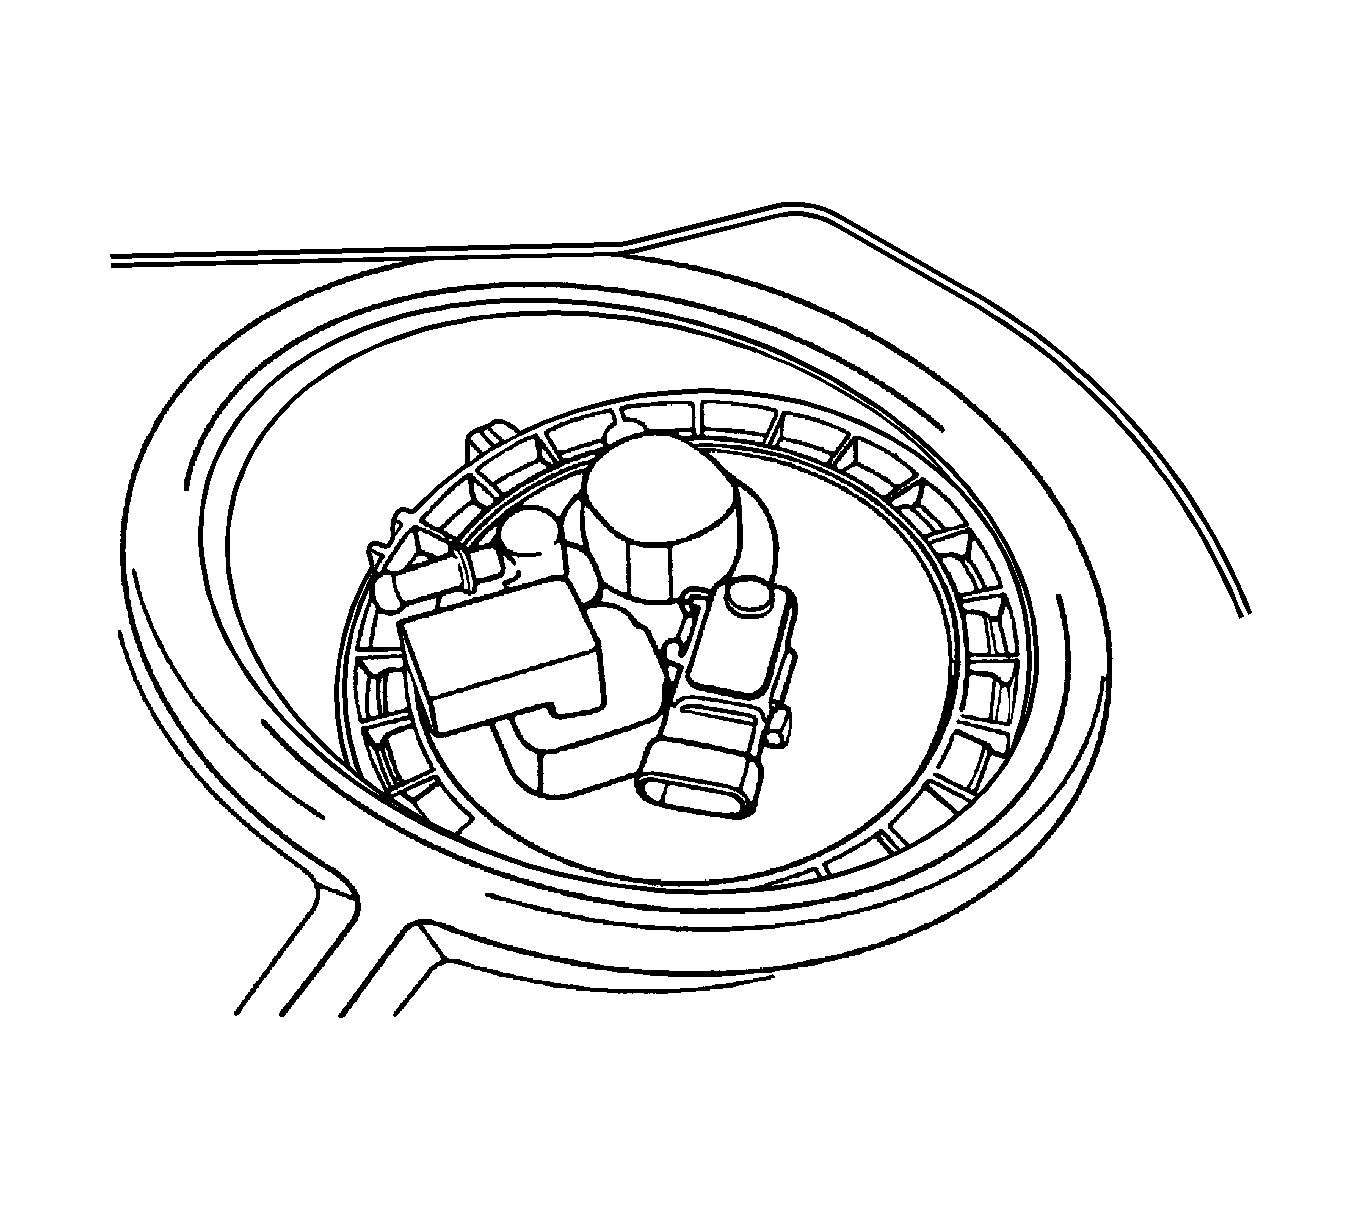
Installation Procedure
- Clean the gasket mating surface on the fuel tank.
- Position the new gasket in place.
- Install the fuel pump into the fuel tank in the same location as removed for ease of line and connector installation.
- Install the fuel pump assembly clip.
- Connect the fuel pump assembly connector.
- Install the fuel pump line.
- Install the fuel pump access cover.
- Connect the negative battery cable.
- Perform an operational check of the fuel pump.
- Install the rear seat. Refer to Rear Seat Cushion Replacement .


