For 1990-2009 cars only
Removal Procedure
Tools Required
| • | J 41239-1A Cooler Line Seal Installer |
| • | J 45201 Cooler Line Seal Remover |
- Raise and suitably support the vehicle. Refer to Lifting and Jacking the Vehicle .
- Place a drain pan or suitable container under the vehicle.
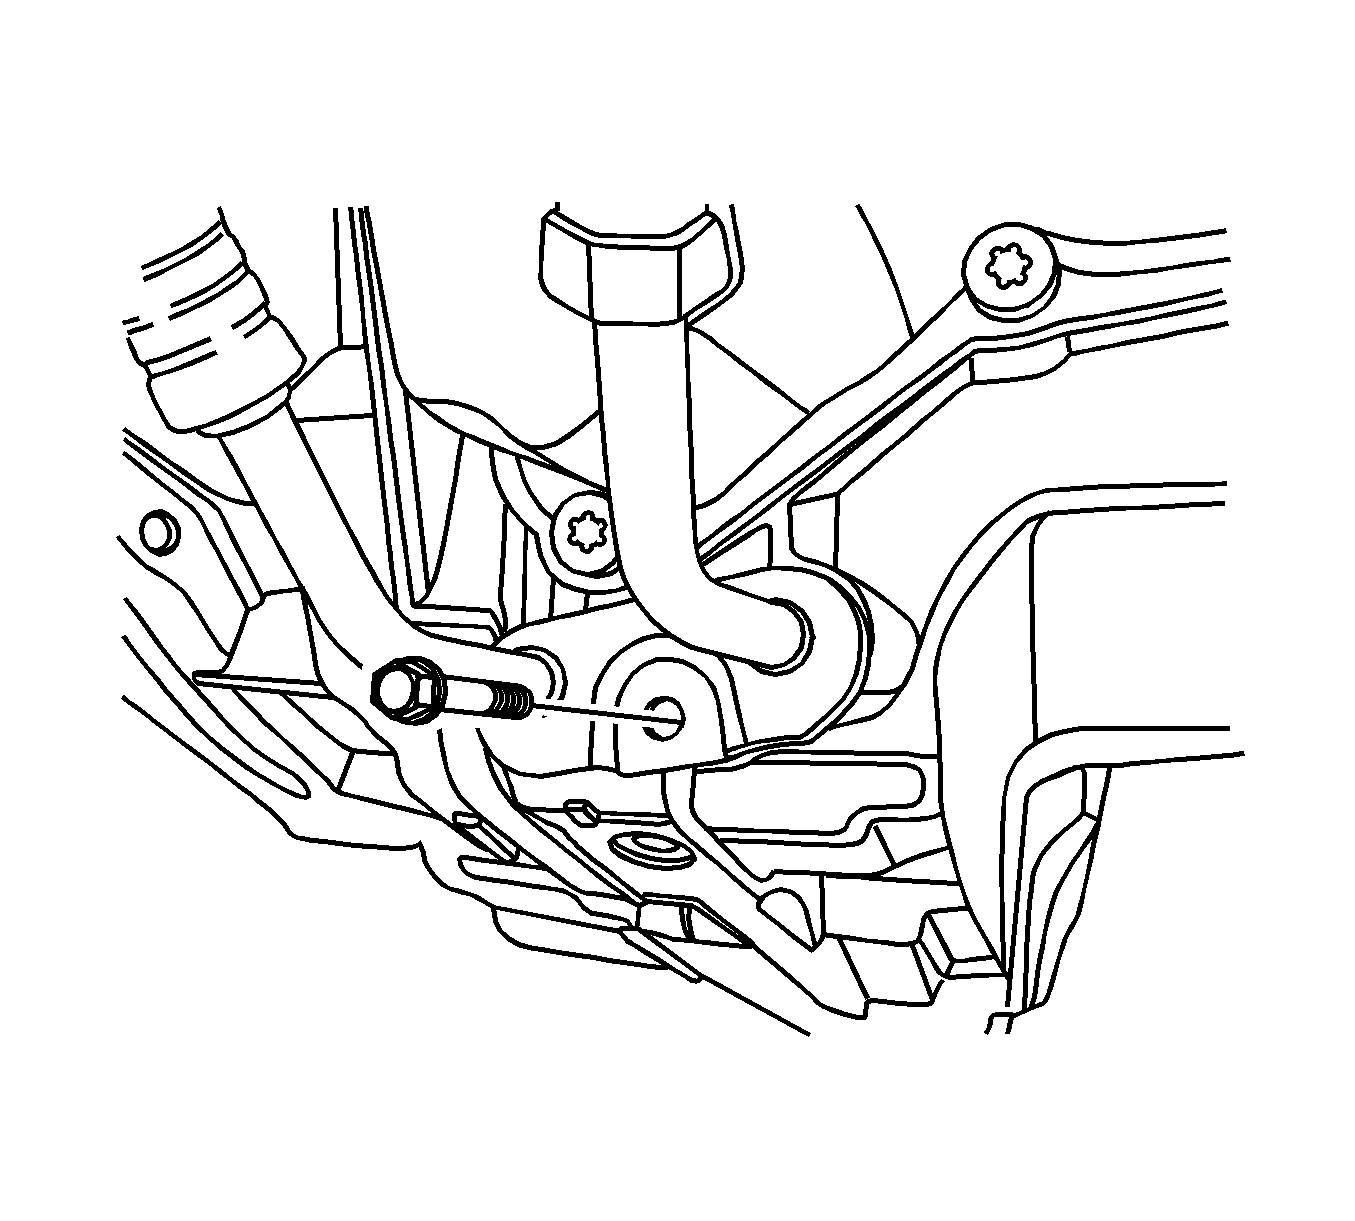
- Remove the transaxle oil cooler line assembly from the transaxle. Refer to Oil Cooler Hose/Pipe Replacement .
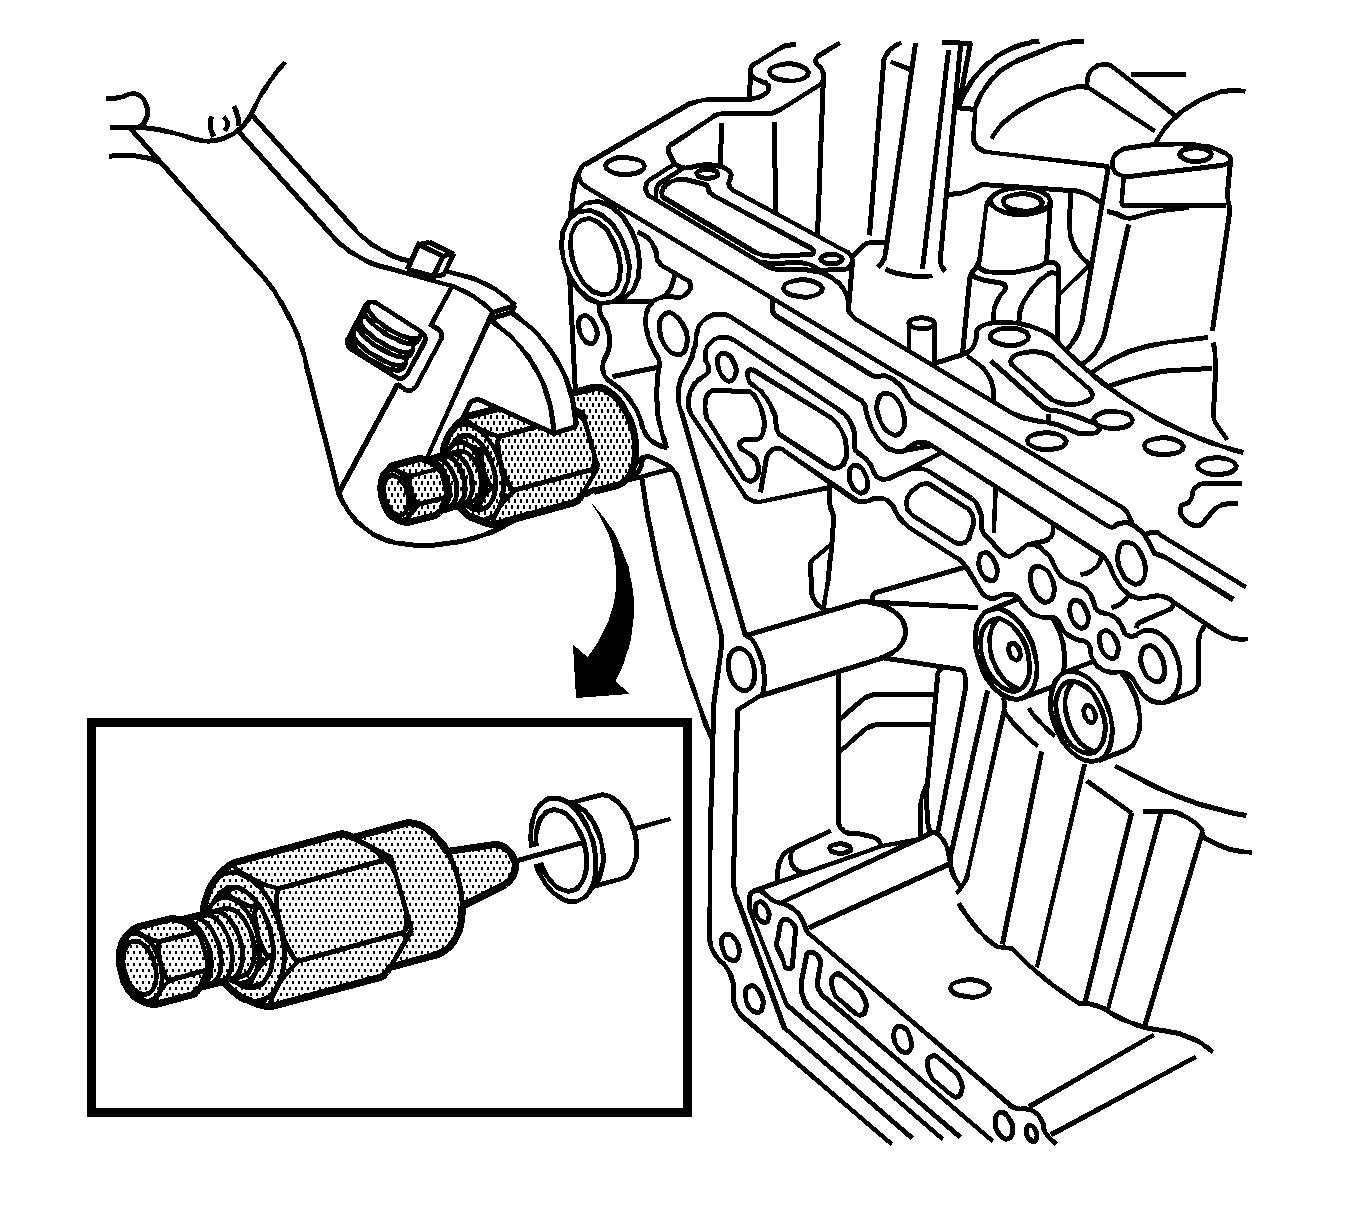
- Insert the collet piece (2) of the J 45201 into the cooler line seal.
- Insert the forcing screw piece (1) of the J 45201 into the collet (2).
- Tighten the forcing screw (1) until snug.
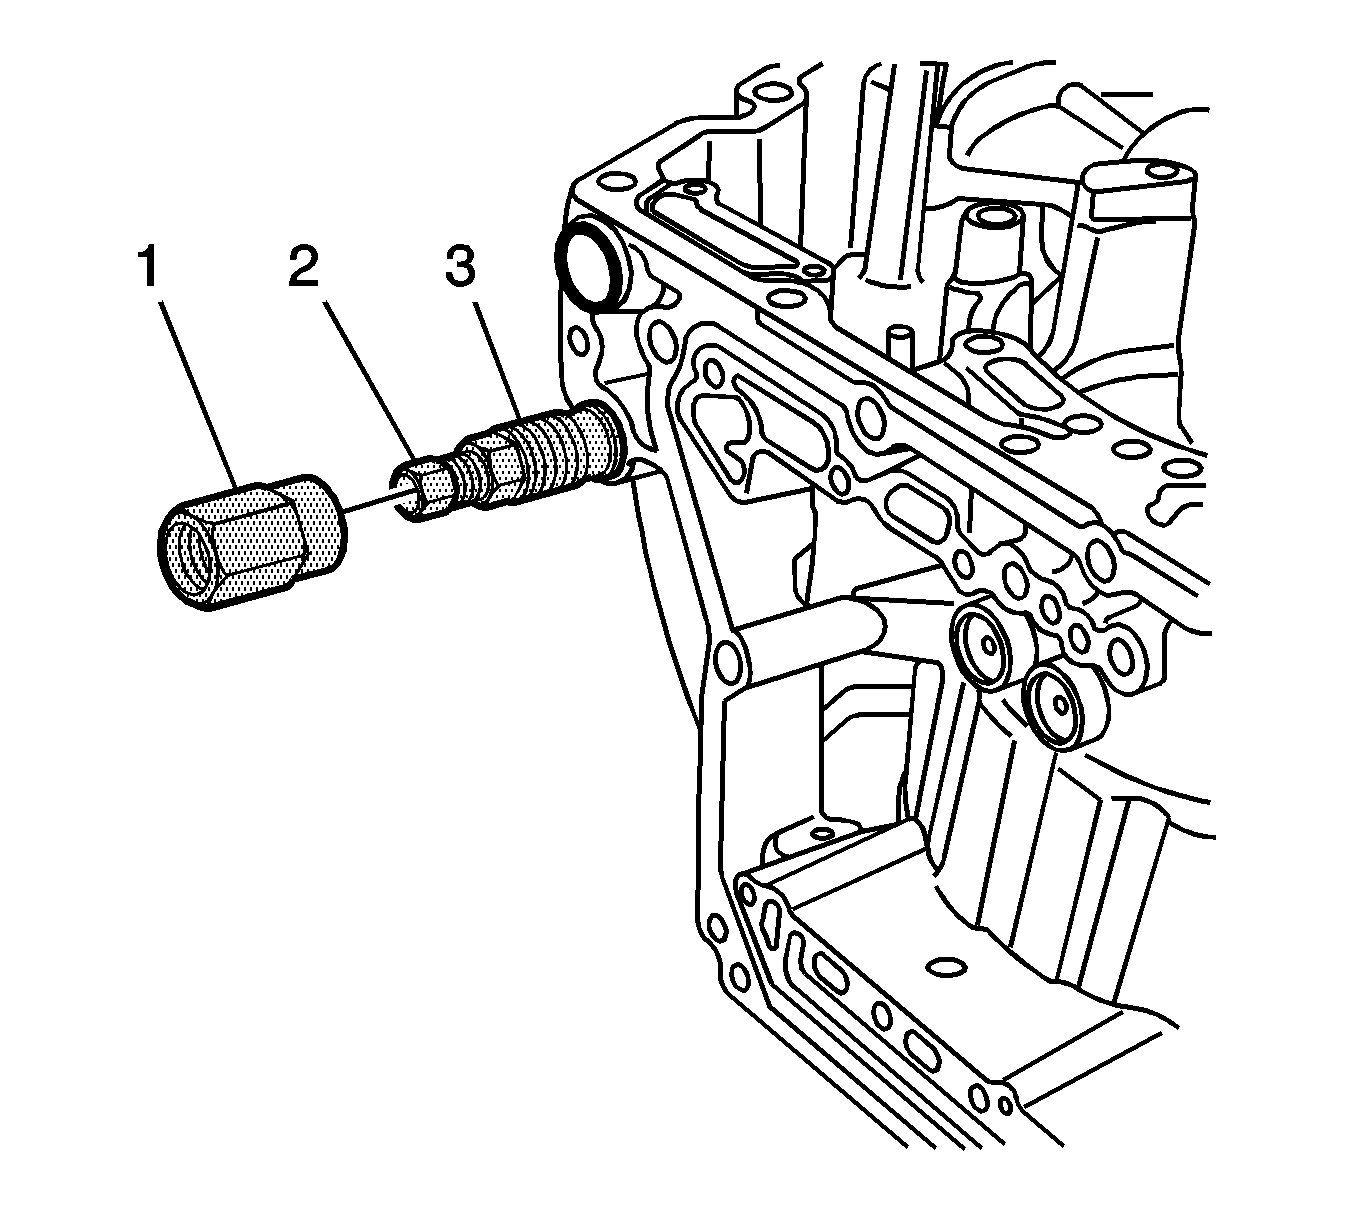
- Thread the collar piece (1) of the J 45201 onto the collet (3) until snug.
- Turn the collar clockwise in order to remove the cooler line seal.
- Discard the seal.
- Clean the case bores for the cooler line seals.
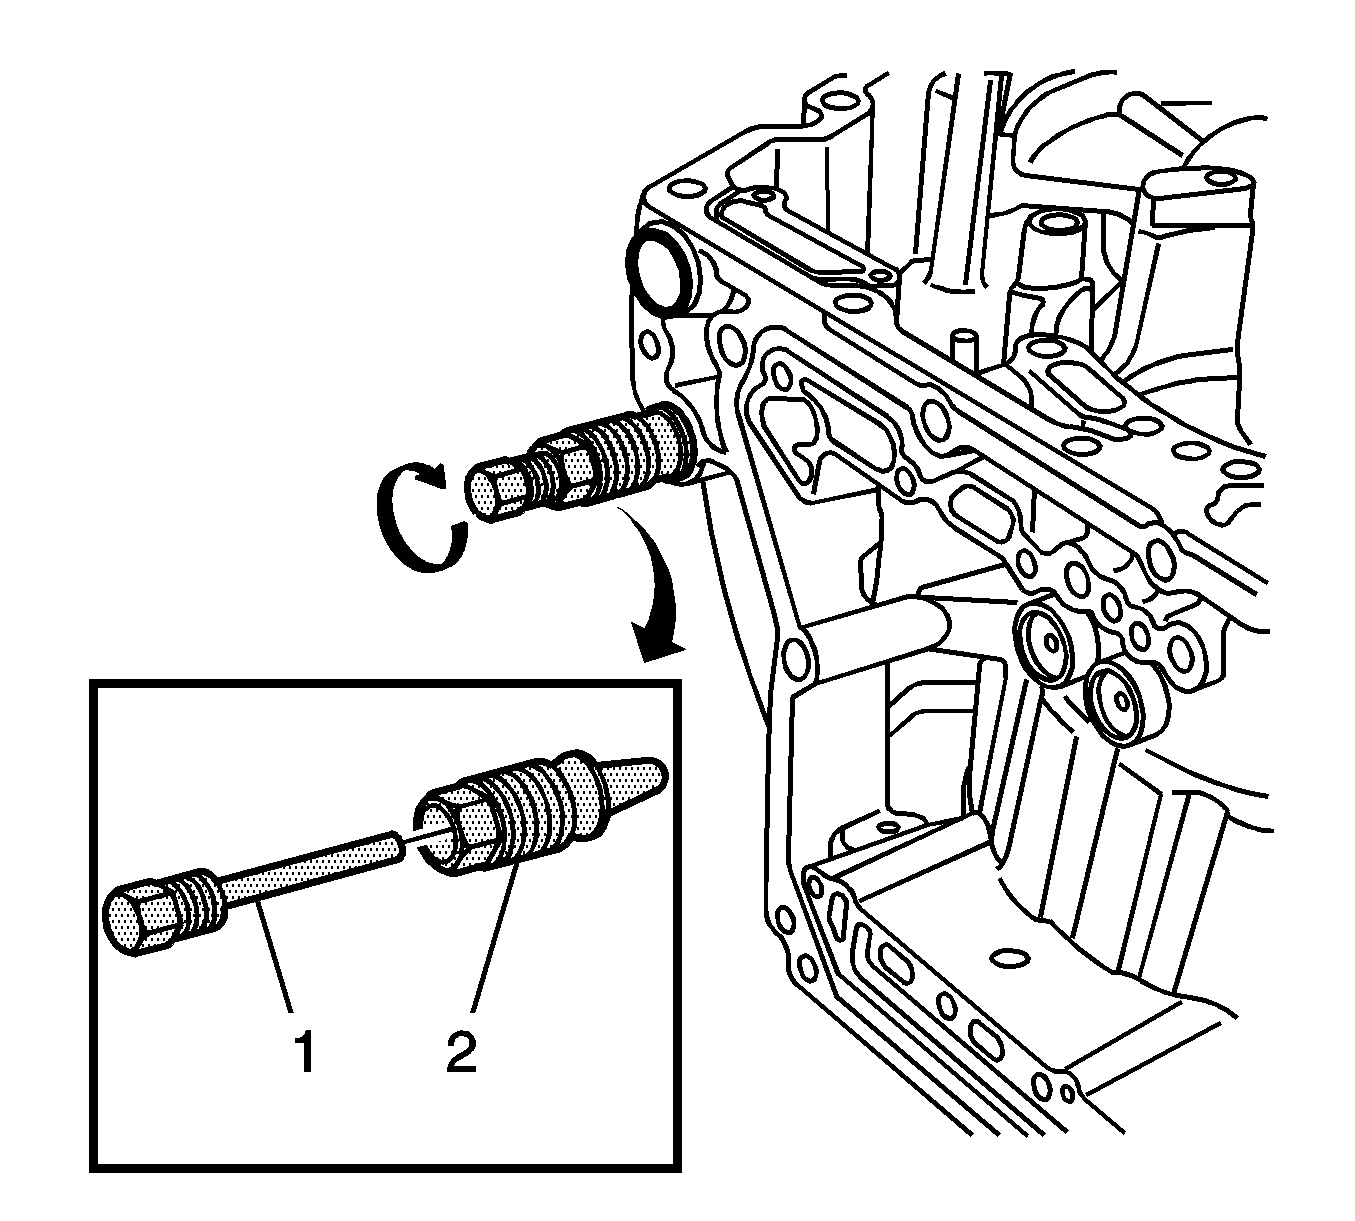
Important: Ensure that the J 45201 is fully seated into the transaxle seal bore.
Installation Procedure
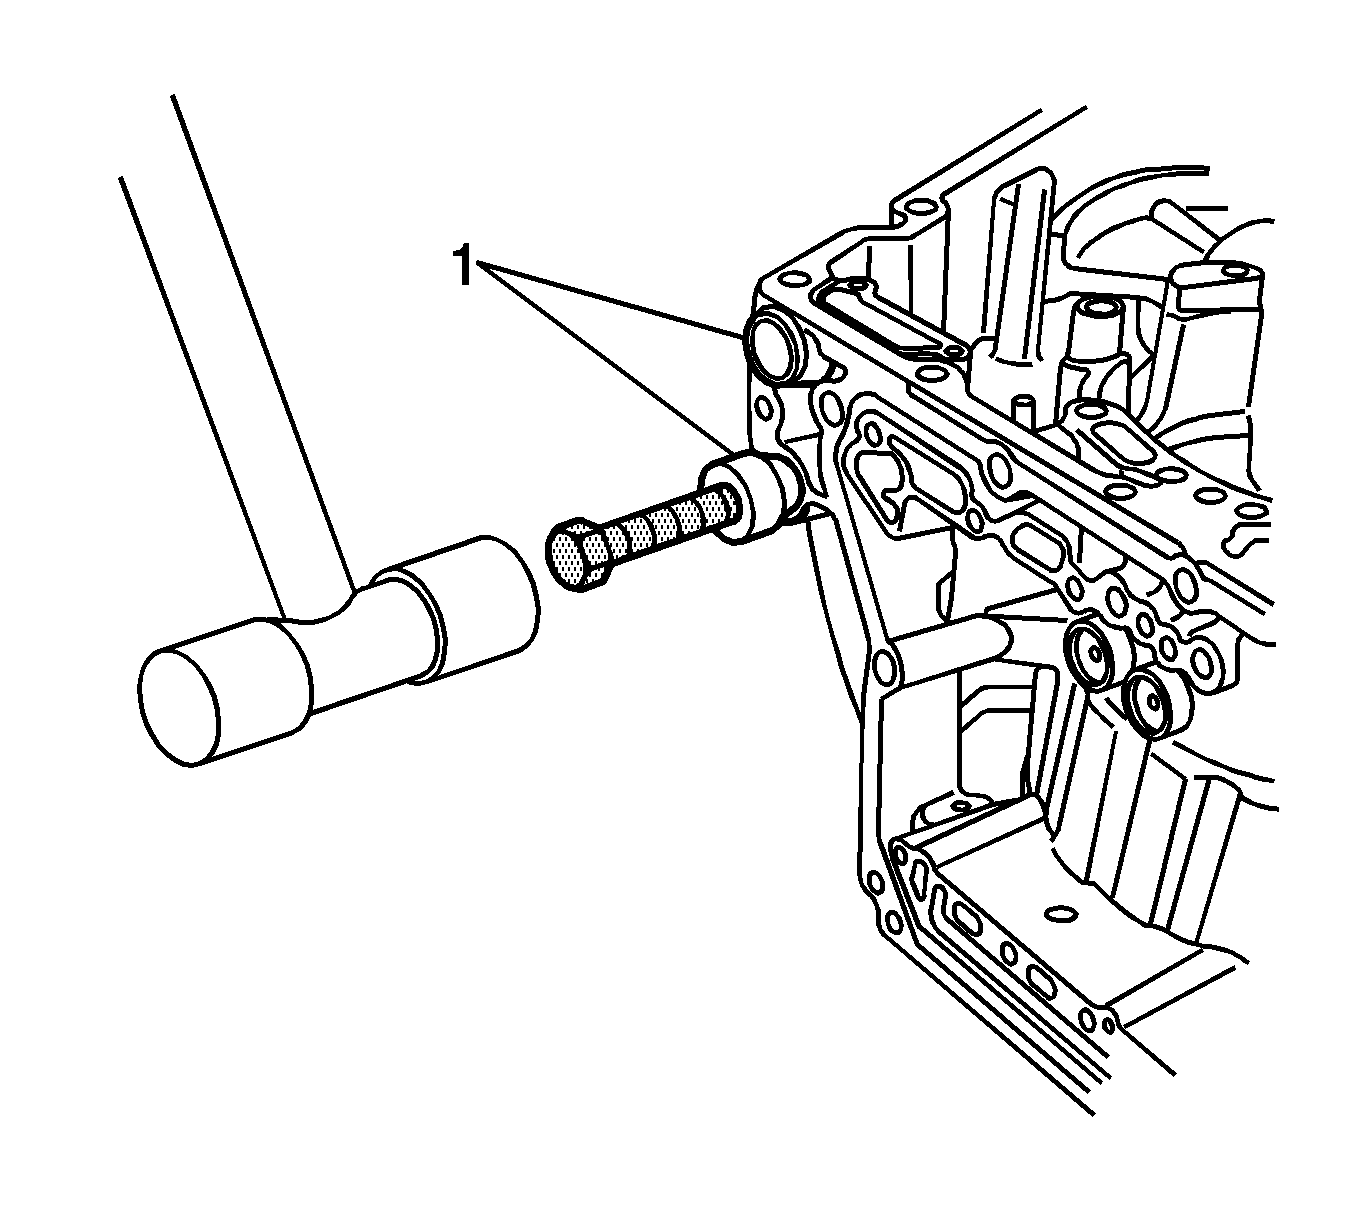
- Insert 2 new transaxle cooler line seals (1) into the case bore.
- Remove the nub from the J 41239-1A .
- Install the nub of the J 41239-1A on the transaxle cooler line seals.
- Tap the 2 new transaxle cooler line seals (1) into the case bore.
- Install the oil cooler line assembly. Refer to Oil Cooler Hose/Pipe Replacement .
- Lower the vehicle.
- Add fluid to the transaxle.
- Check the fluid level.
