For 1990-2009 cars only
Special Tools
| • | EN 47518 Valve Spring Compressor |
| • | EN-48247 Valve Spring Compression Adapter |
| • | EN-48252 Crankshaft Oil Seal Installer |
Assembly Procedure
- Lubricate the valve stems with engine oil.
- Carefully install the valves in their original positions.
- Install the valve stem oil seal.
- Install the valve spring.
- Install the valve spring seat.
- Install the valve.
- Install the valve spring retainer.
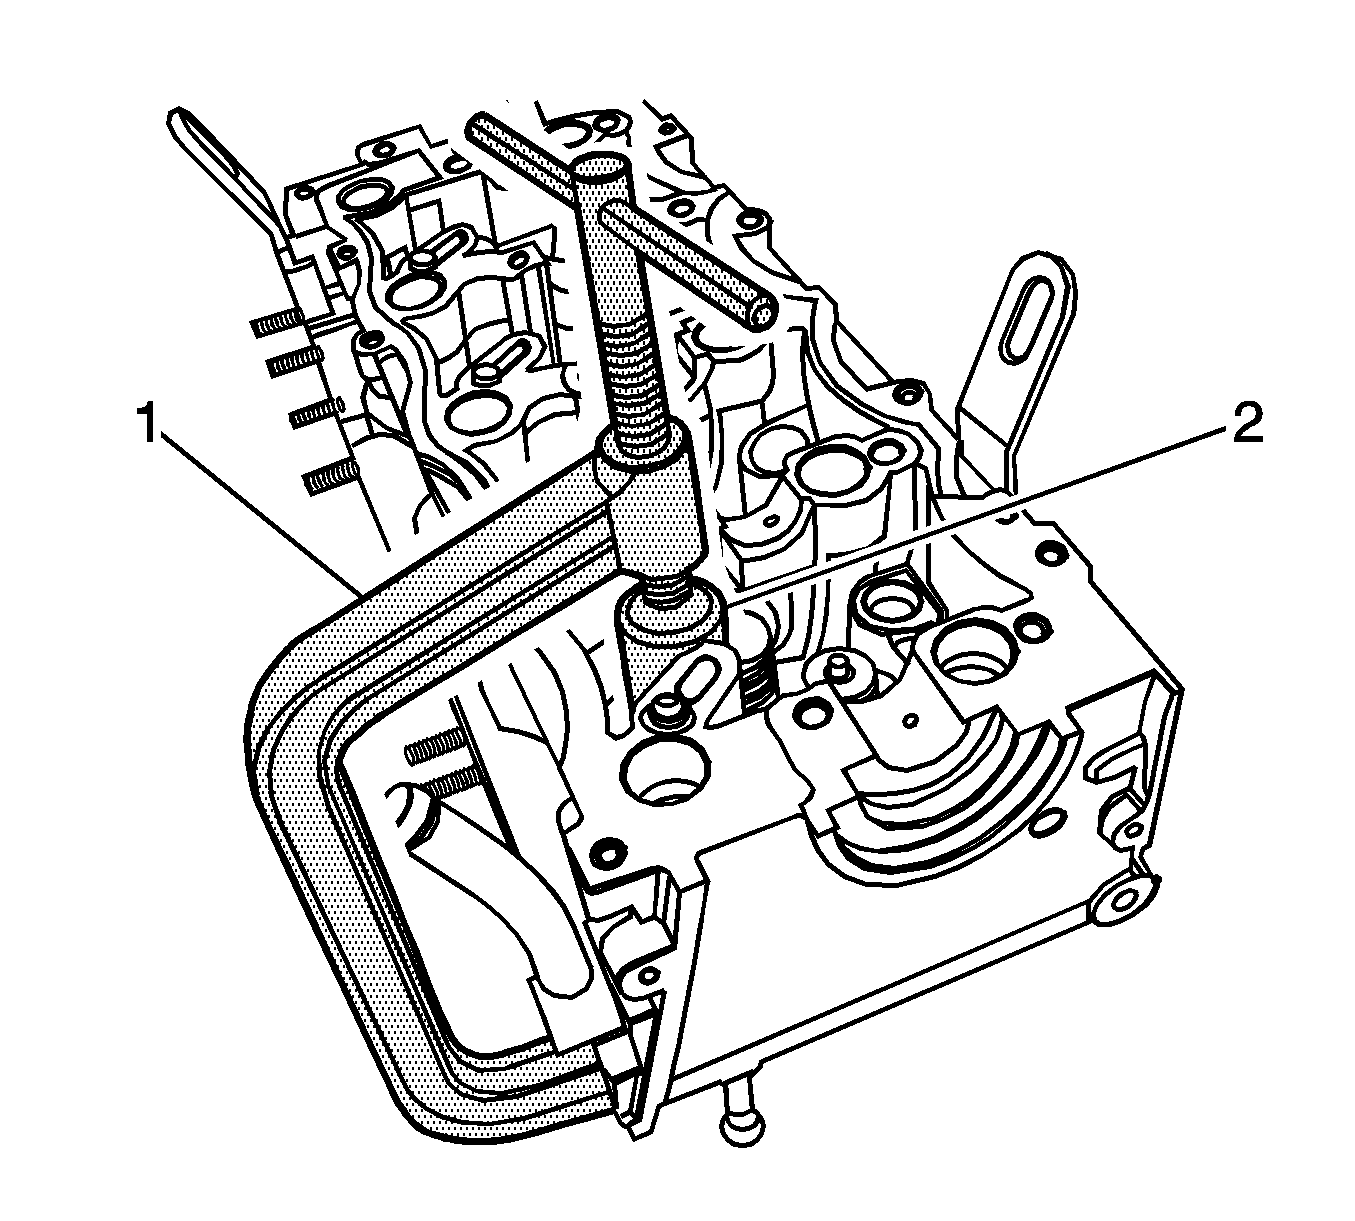
- Compress the valve springs with the EN 47518 (1) and the EN-48247 (2).
- Install the valve key.
- Remove the EN 47518 (1) and the EN-48247 (2).
- Install the valve lash adjusters.
- Install the valve bridges.
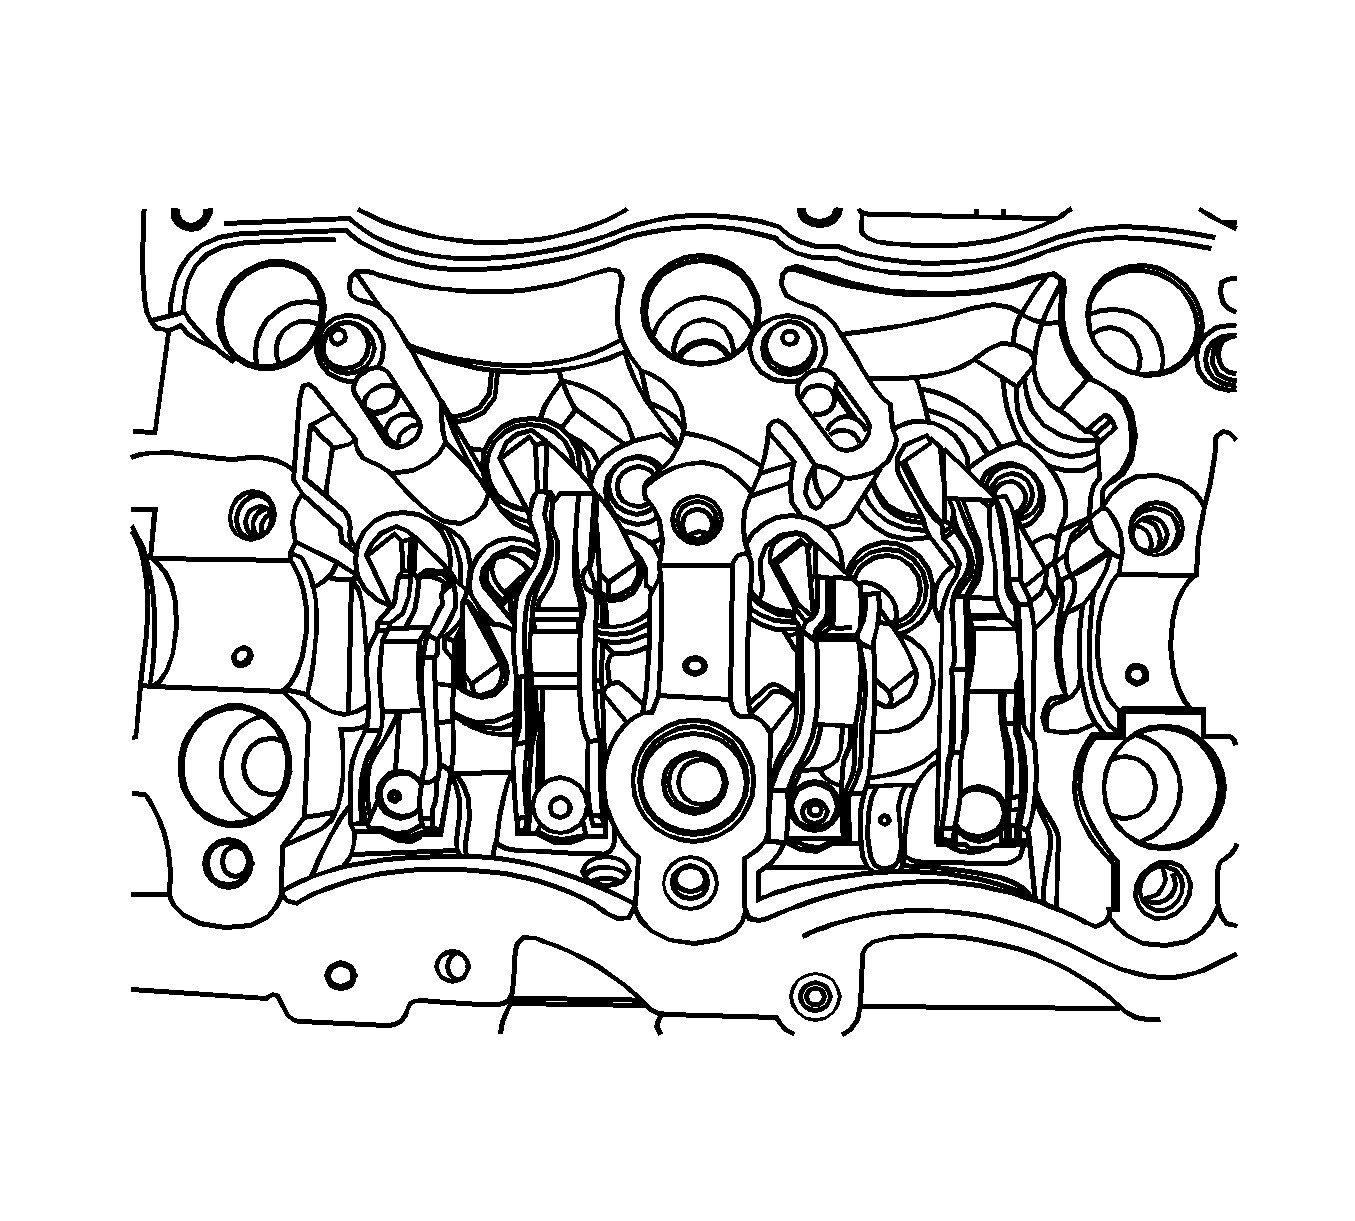
- Install the valve roller finger-followers.
- Coat the sealant (LOCTITE 573) on the camshaft front/rear cap sealing surface.
- Install the camshaft.
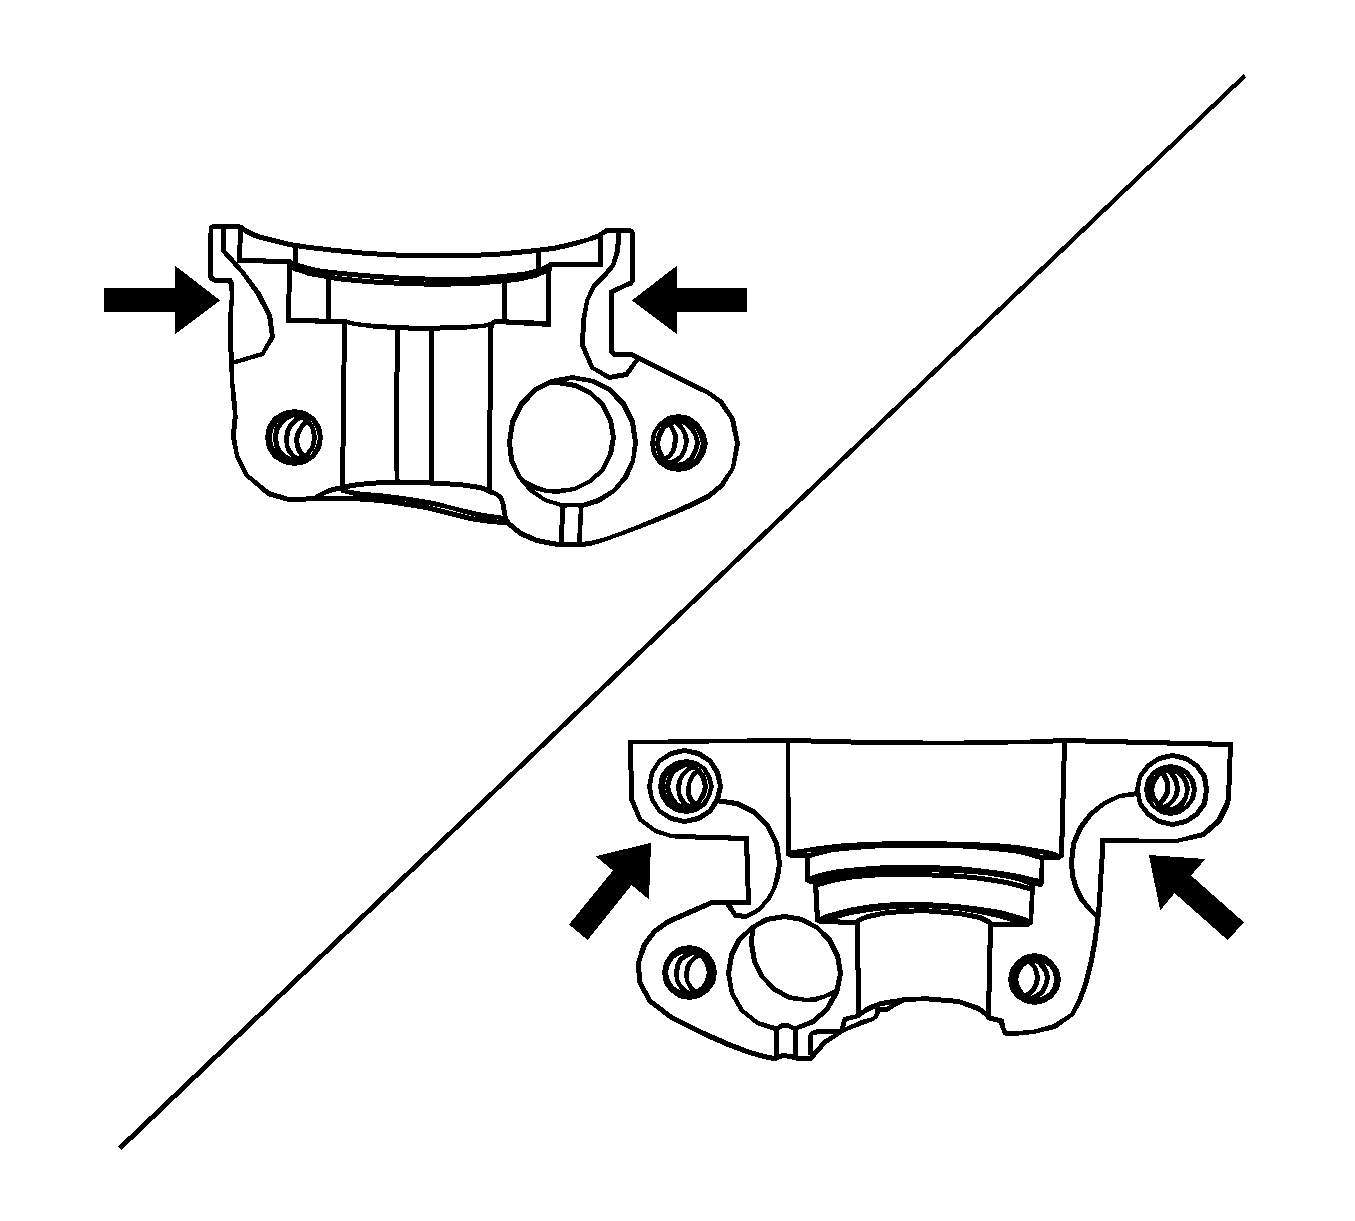
- Install the camshaft cap.
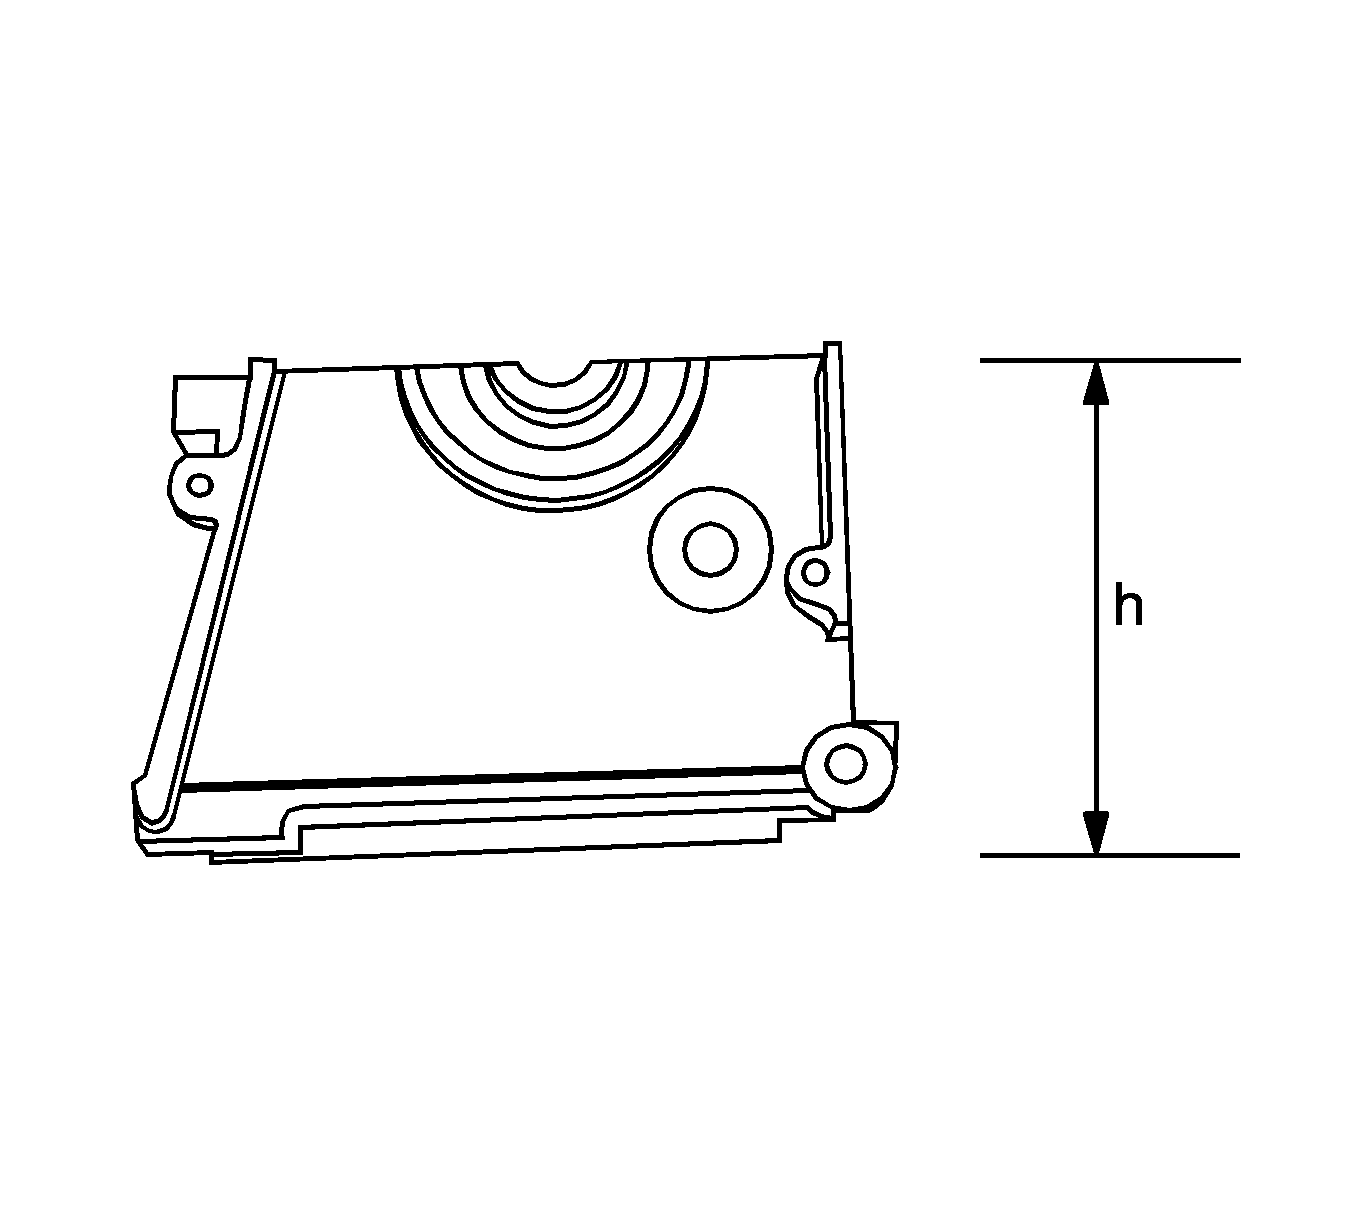
- Install the camshaft front seal ring using by EN-48252 (1).
- Install the camshaft sprocket.
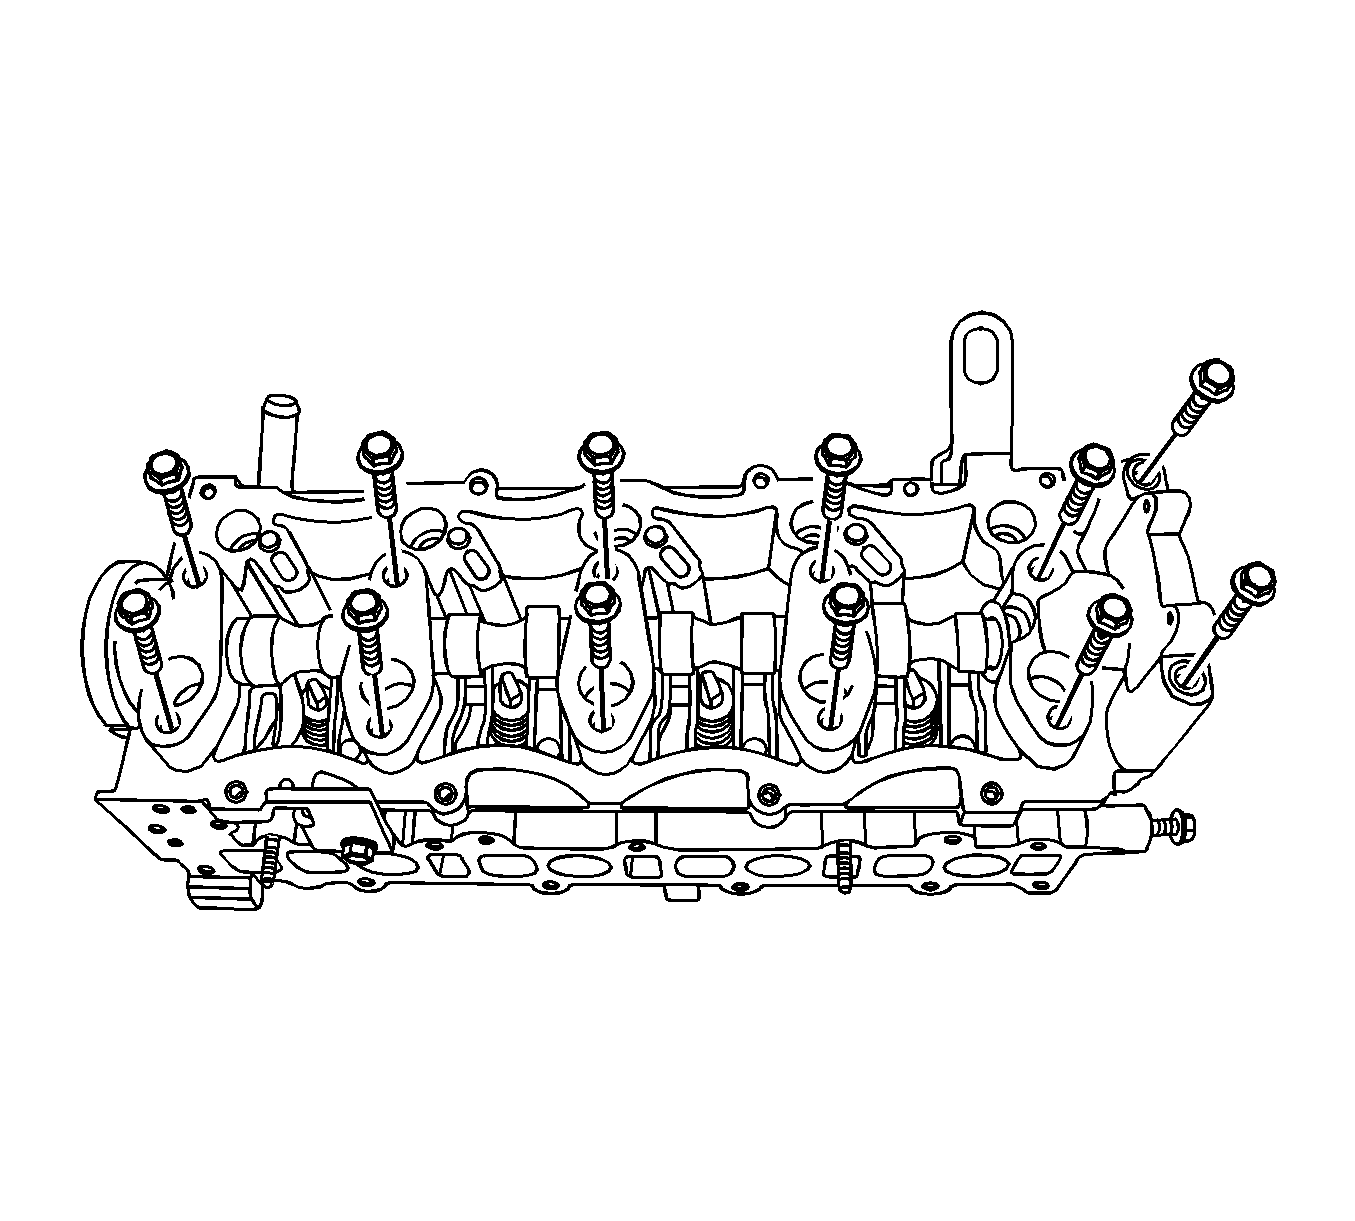
Caution: Refer to Fastener Caution in the Preface section.
Tighten
Tighten the camshaft cap bolts to 28 N·m (20.7 lb ft).
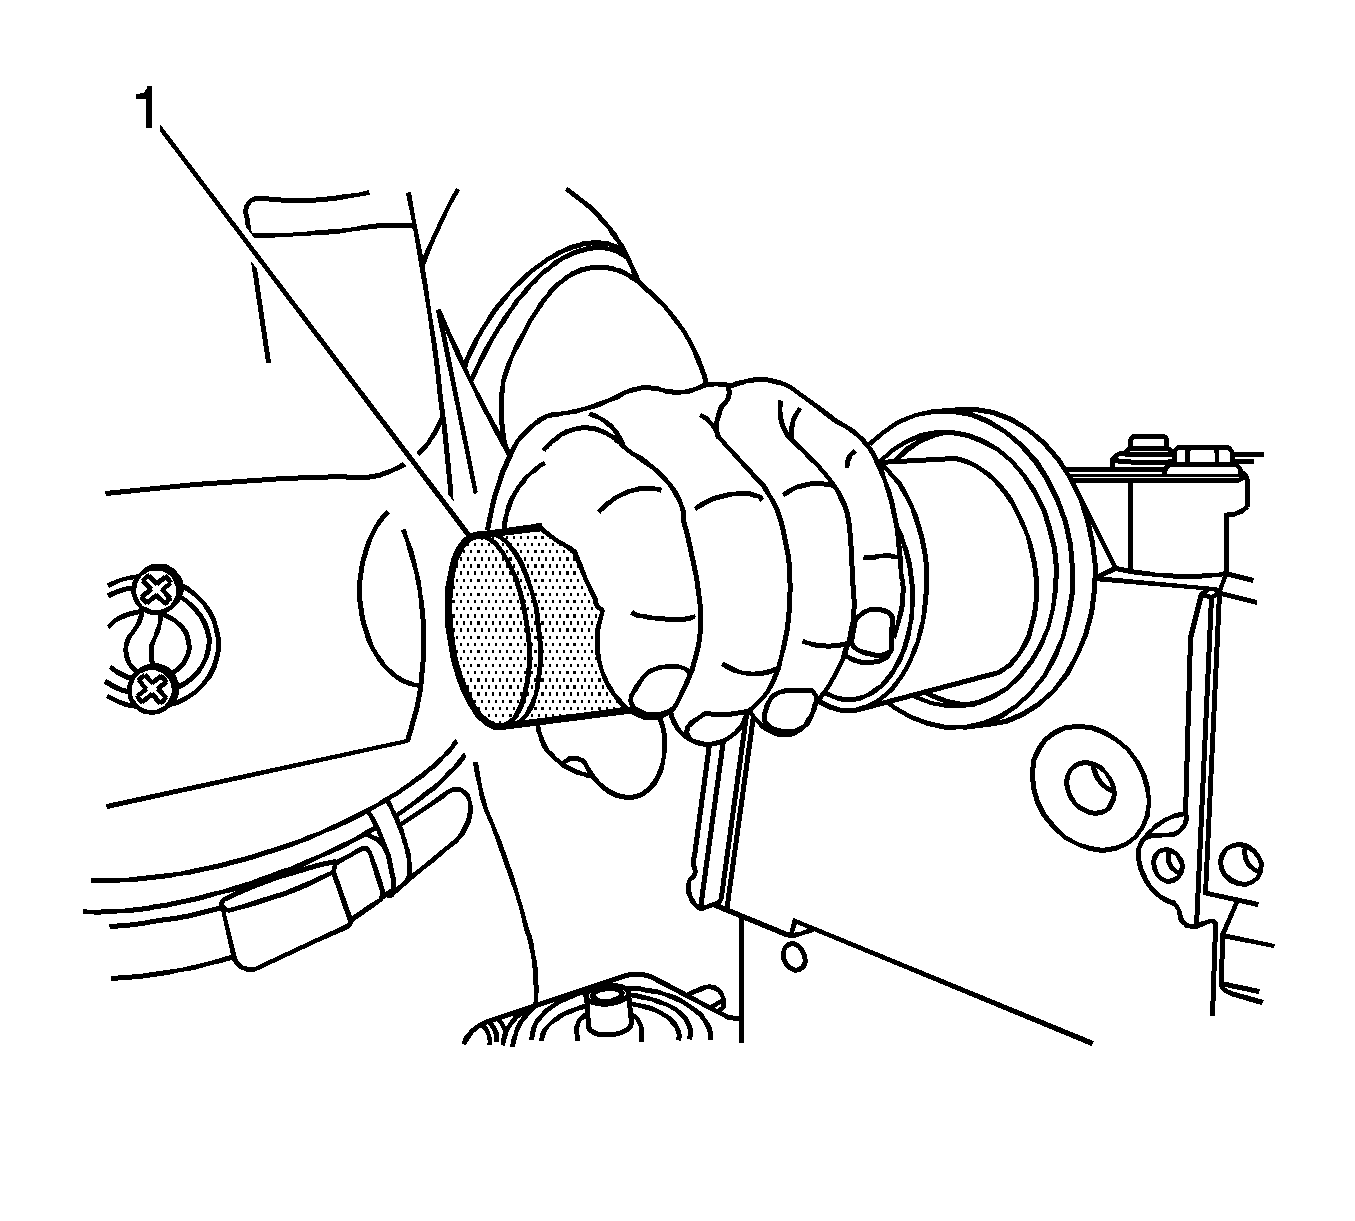
Important: If the camshaft front oil seal is damaged, replace it with new oil seal. When installing the camshaft front oil seal to the oil pump, make the oil seal groove faced toward the oil pump case contact.
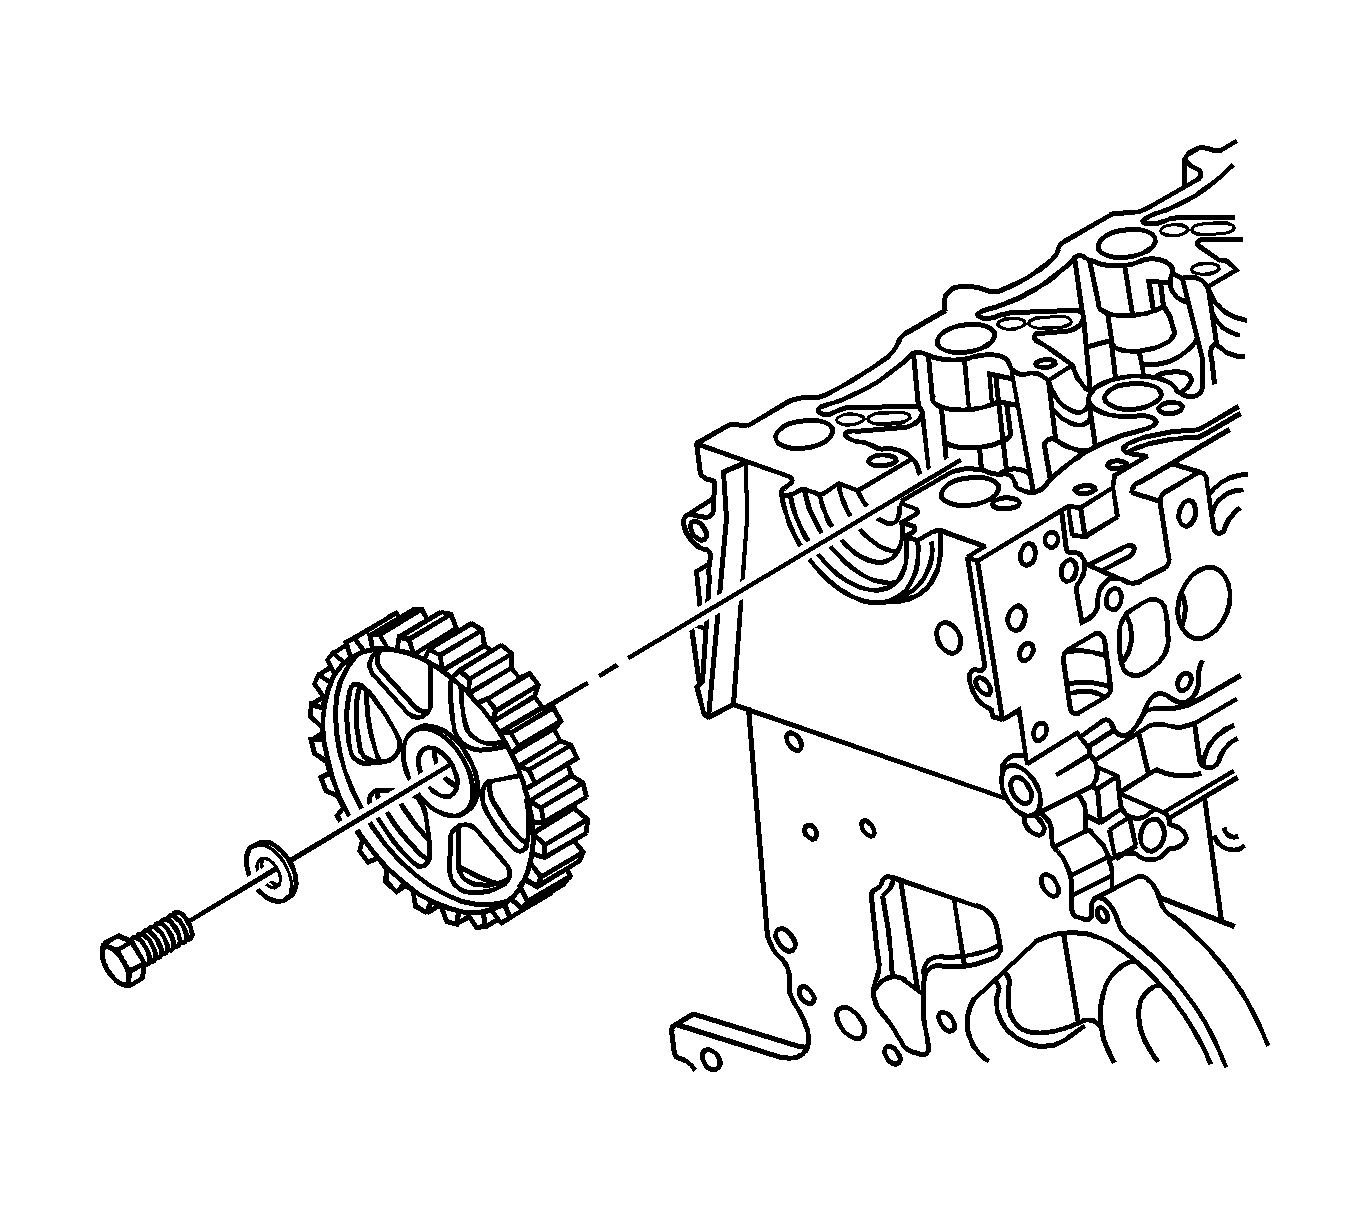
Tighten
Tighten the camshaft sprocket bolt to 133 N·m (98.1 lb ft).
