For 1990-2009 cars only
Radio Antenna Module Replacement Hatchback/Wagon
Removal Procedure
- Disconnect the negative battery cable.
- Remove the windshield garnish moulding. Refer to Windshield Pillar Garnish Molding Replacement.
- Remove the sun visors. Refer to Sunshade Replacement.
- Remove the headliner. Refer to Headlining Trim Panel Replacement.
- Disconnect the antenna module electrical connector.
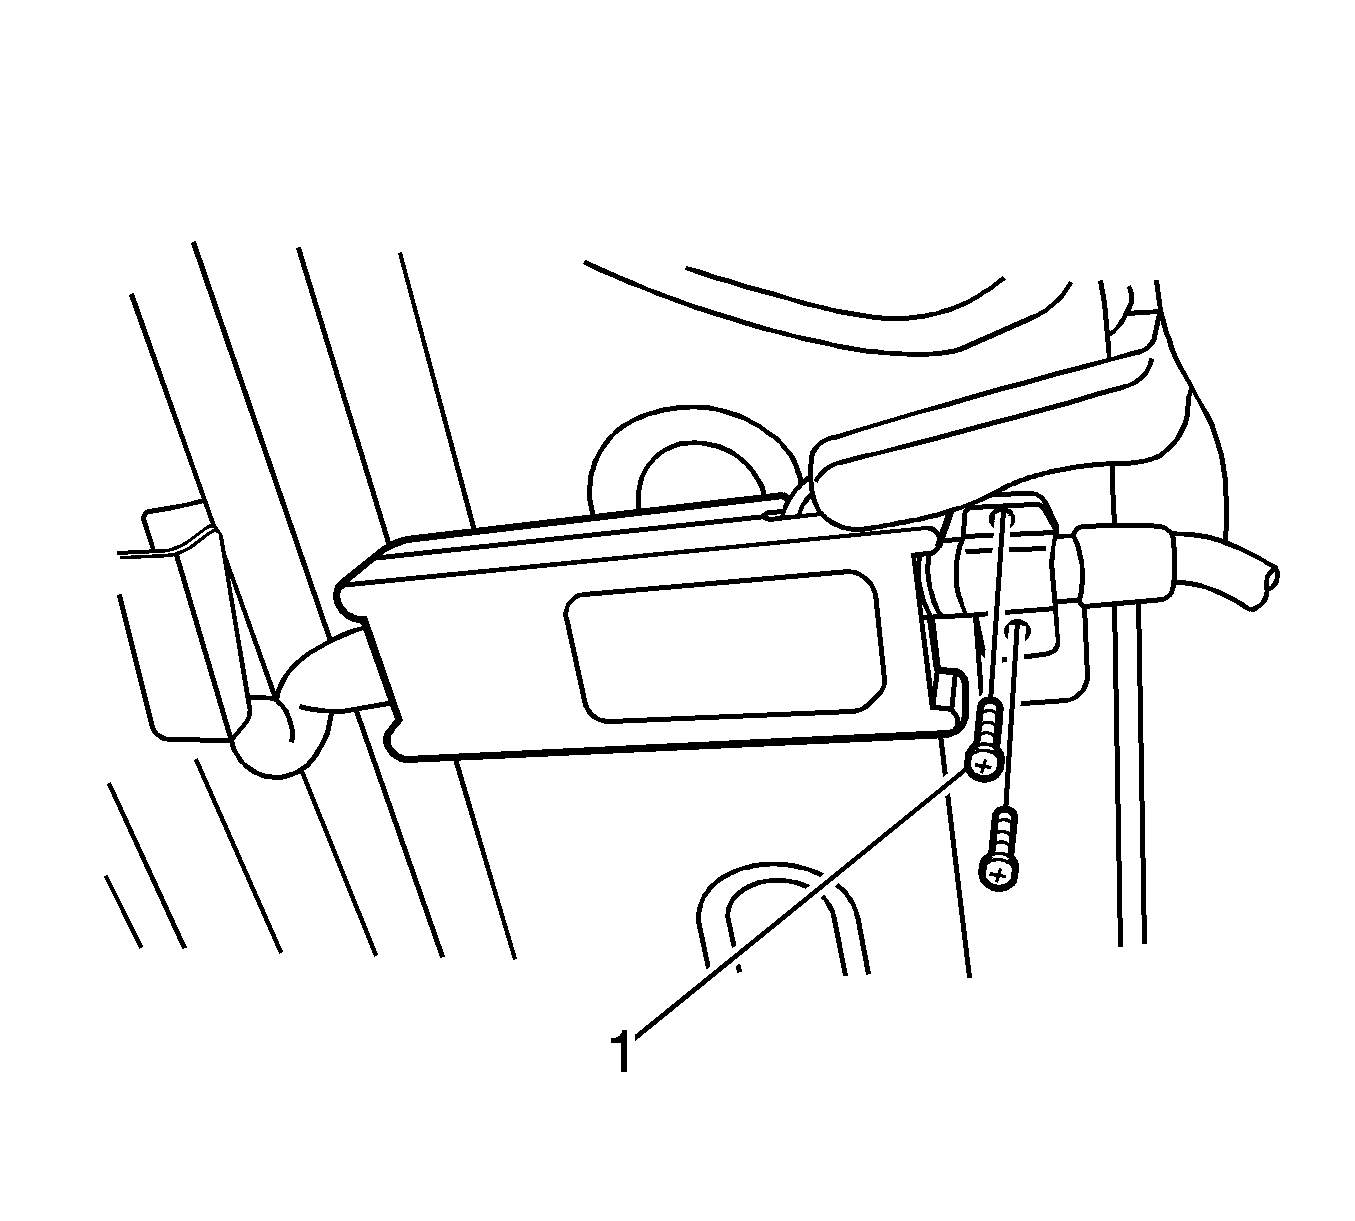
- Remove the screws (1) and the antenna module.
Warning: Refer to Battery Disconnect Warning in the Preface section.

Installation Procedure
- Install the antenna module with the screws (1) and tighten to 2 N·m (18 lb in).
- Connect the antenna module electrical connector.
- Install the headliner. Refer to Headlining Trim Panel Replacement.
- Install the sun visors. Refer to Sunshade Replacement.
- Install the windshield garnish moulding. Refer to Windshield Pillar Garnish Molding Replacement.
- Connect the negative battery cable.
Caution: Refer to Fastener Caution in the Preface section.

Radio Antenna Module Replacement Sedan
Removal Procedure
- Disconnect the negative battery cable.
- Remove the rear quarter upper trim panel. Refer to Quarter Upper Trim Panel Replacement.
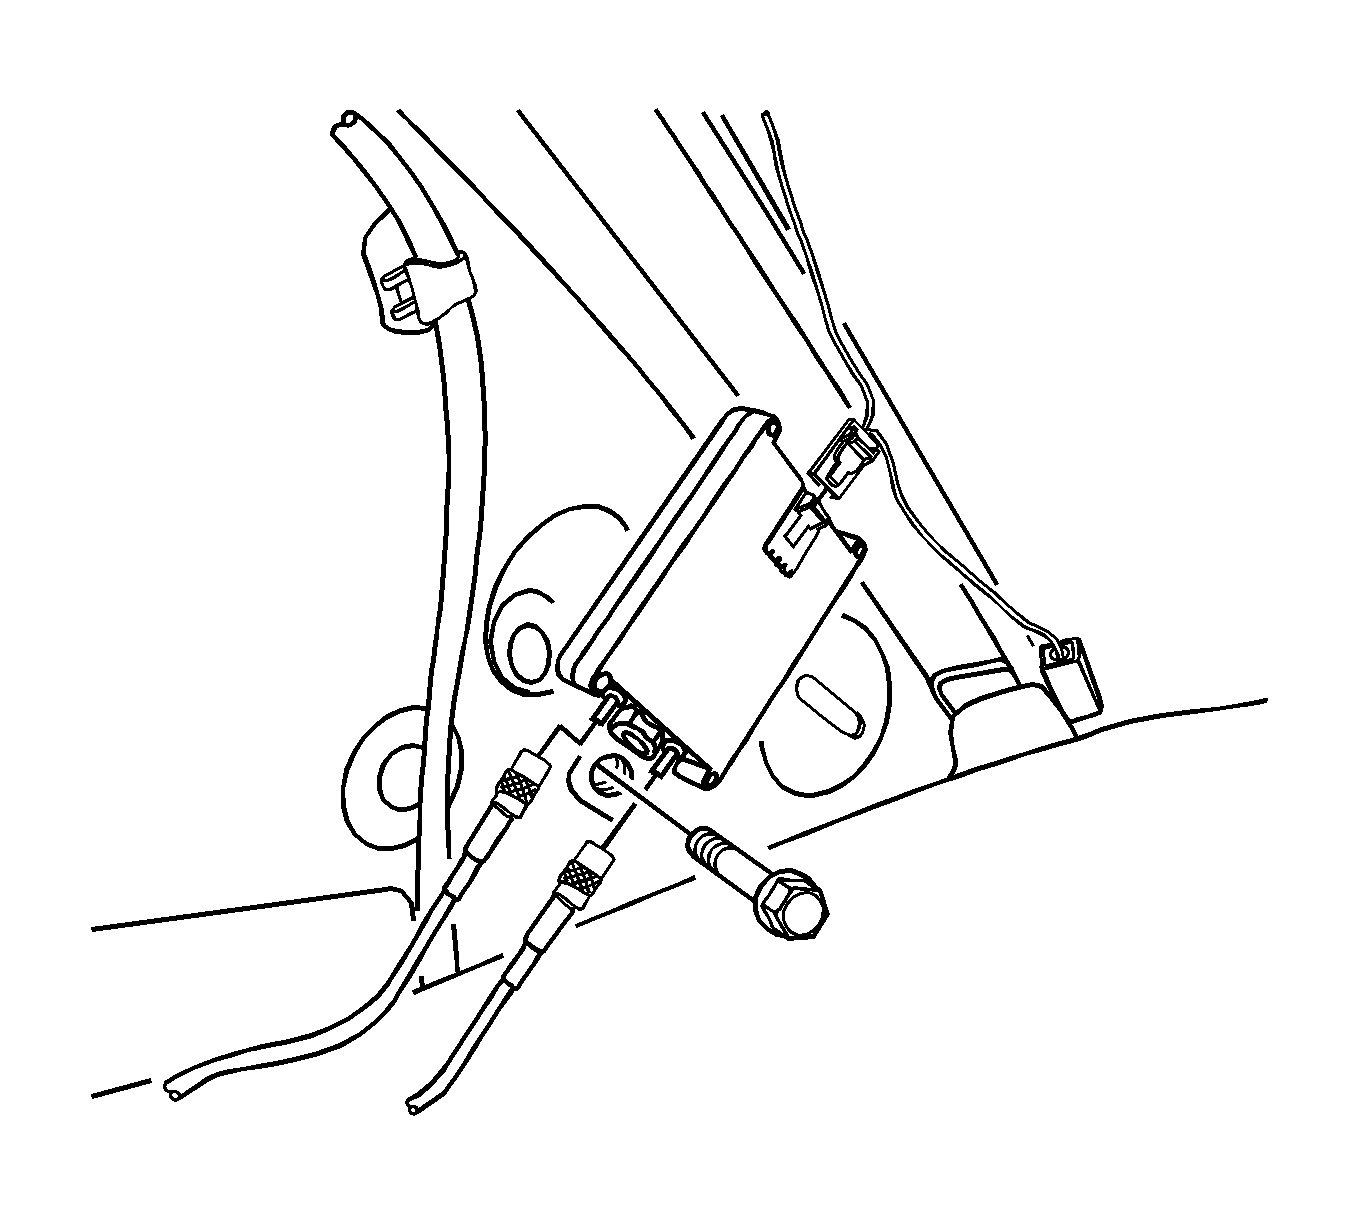
- Disconnect the electrical connector.
- Remove the screws and the glass antenna module.
Warning: Refer to Battery Disconnect Warning in the Preface section.

Installation Procedure
- Install the glass antenna module with the screws and tighten to 2 N·m (18 lb in).
- Connect the electrical connectors.
- Install the rear quarter upper trim panel. Refer to Quarter Upper Trim Panel Replacement.
- Connect the negative battery cable.
Caution: Refer to Fastener Caution in the Preface section.

