Removal Procedure
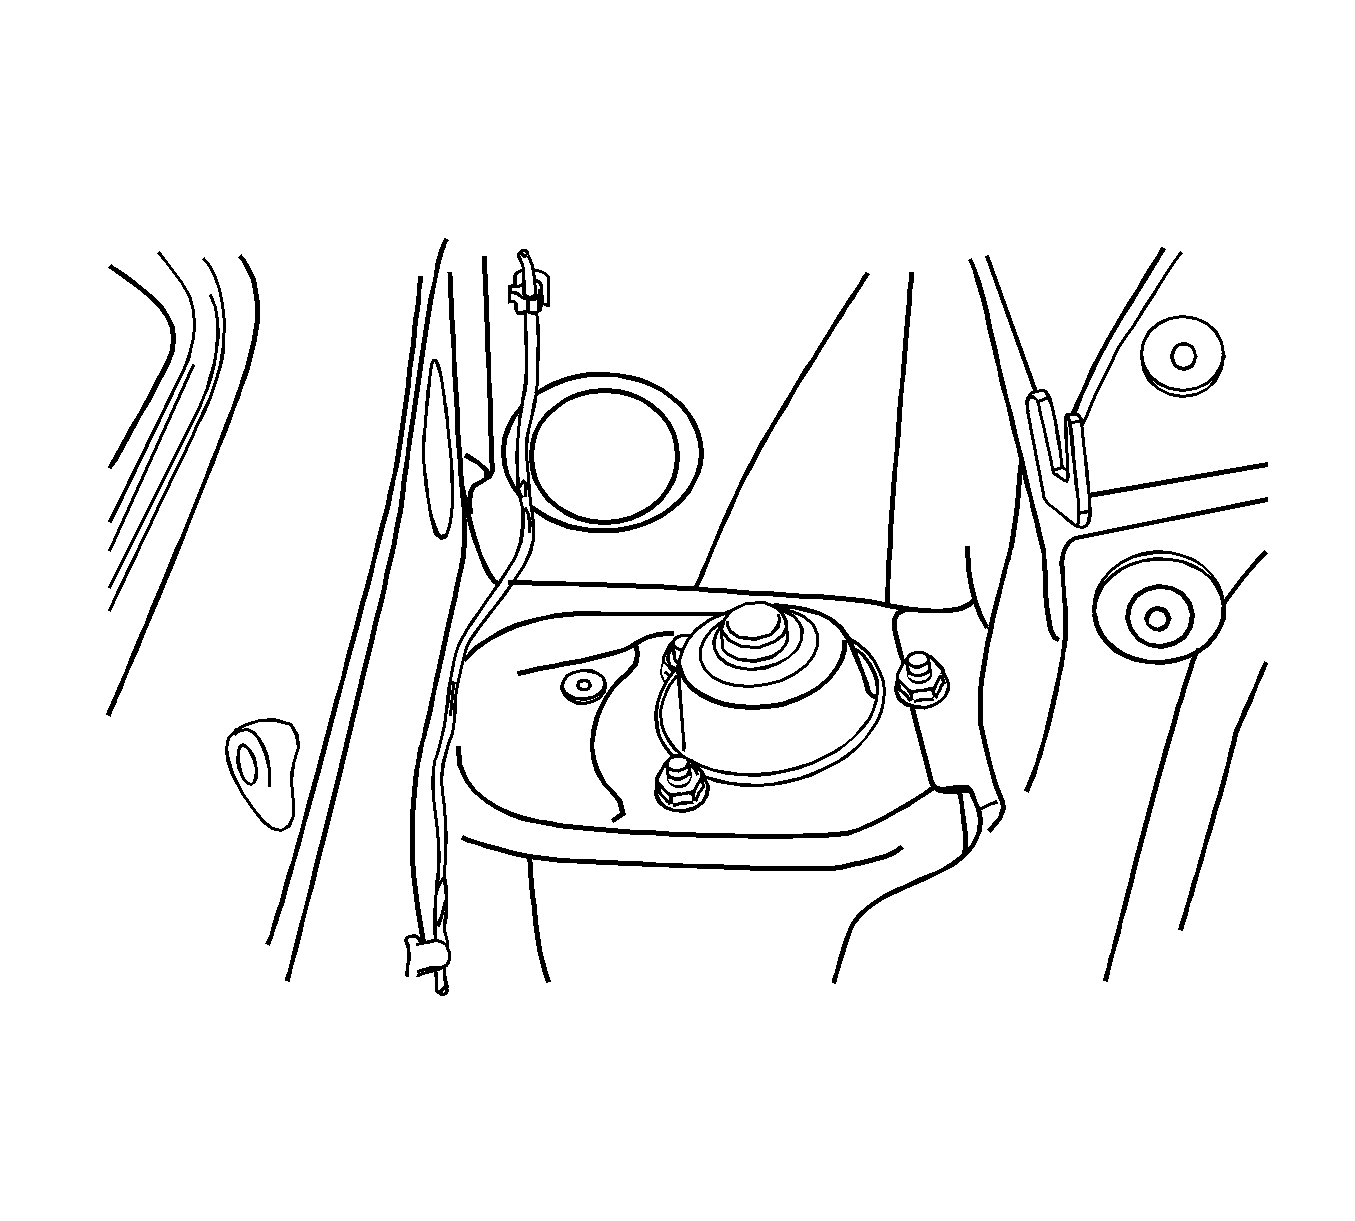
- Remove the trunk carpeting that covers the rear strut mounting nuts. For station wagons, remove the panels that cover the luggage compartment wheelhouse trim panel, wagon. Refer to Cargo Area Rear Trim Panel Replacement .
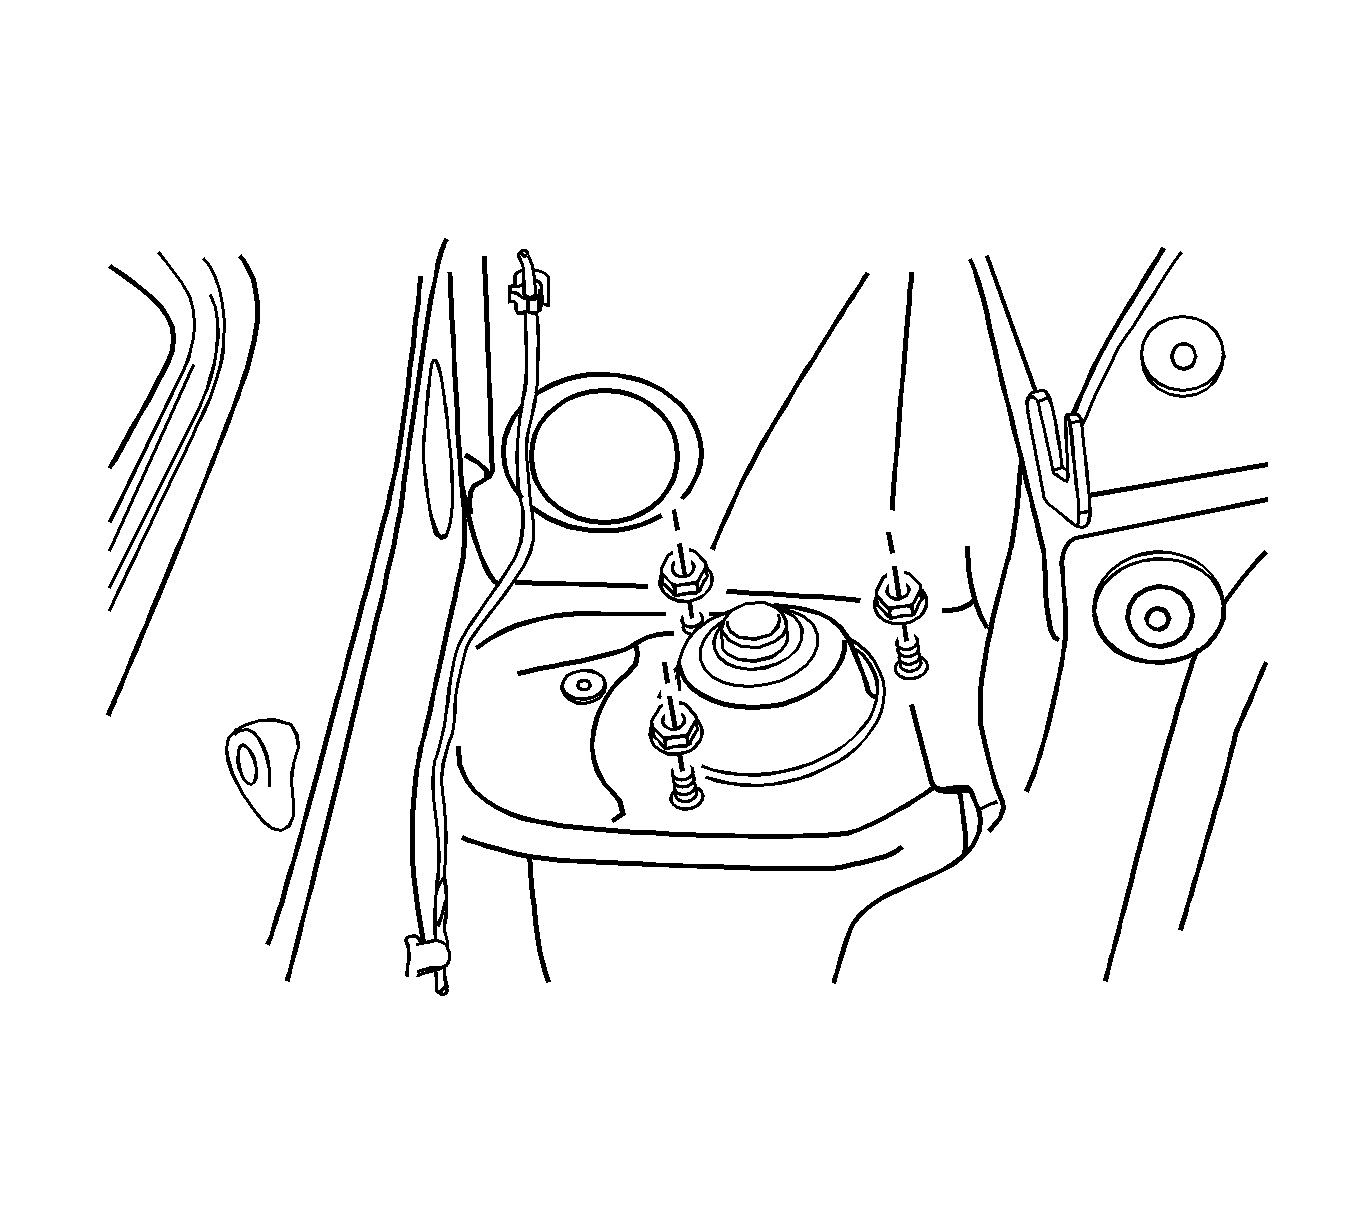
- Remove the rear strut mounting nuts.
- Raise and suitably support the vehicle. Refer to Lifting and Jacking the Vehicle .
- Remove the wheel. Refer to Tire and Wheel Removal and Installation .
- Disconnect the parking brake. Refer to Park Brake Cable Replacement .
- Remove the clip that holds the brake hose to the strut assembly.
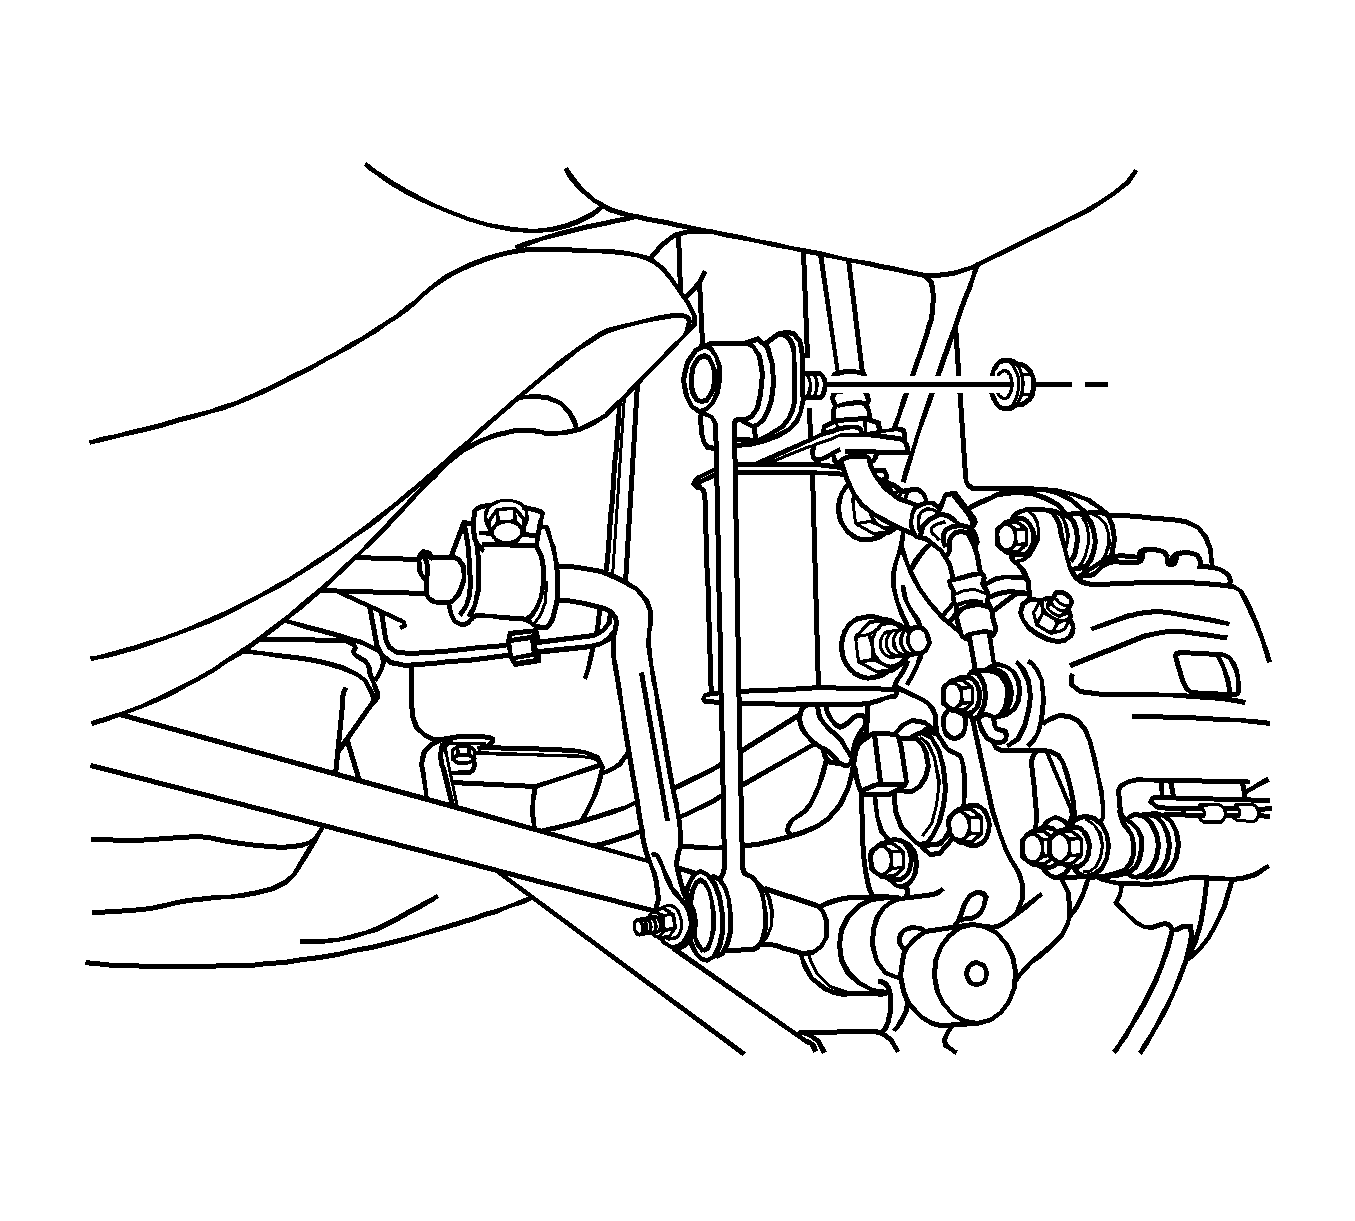
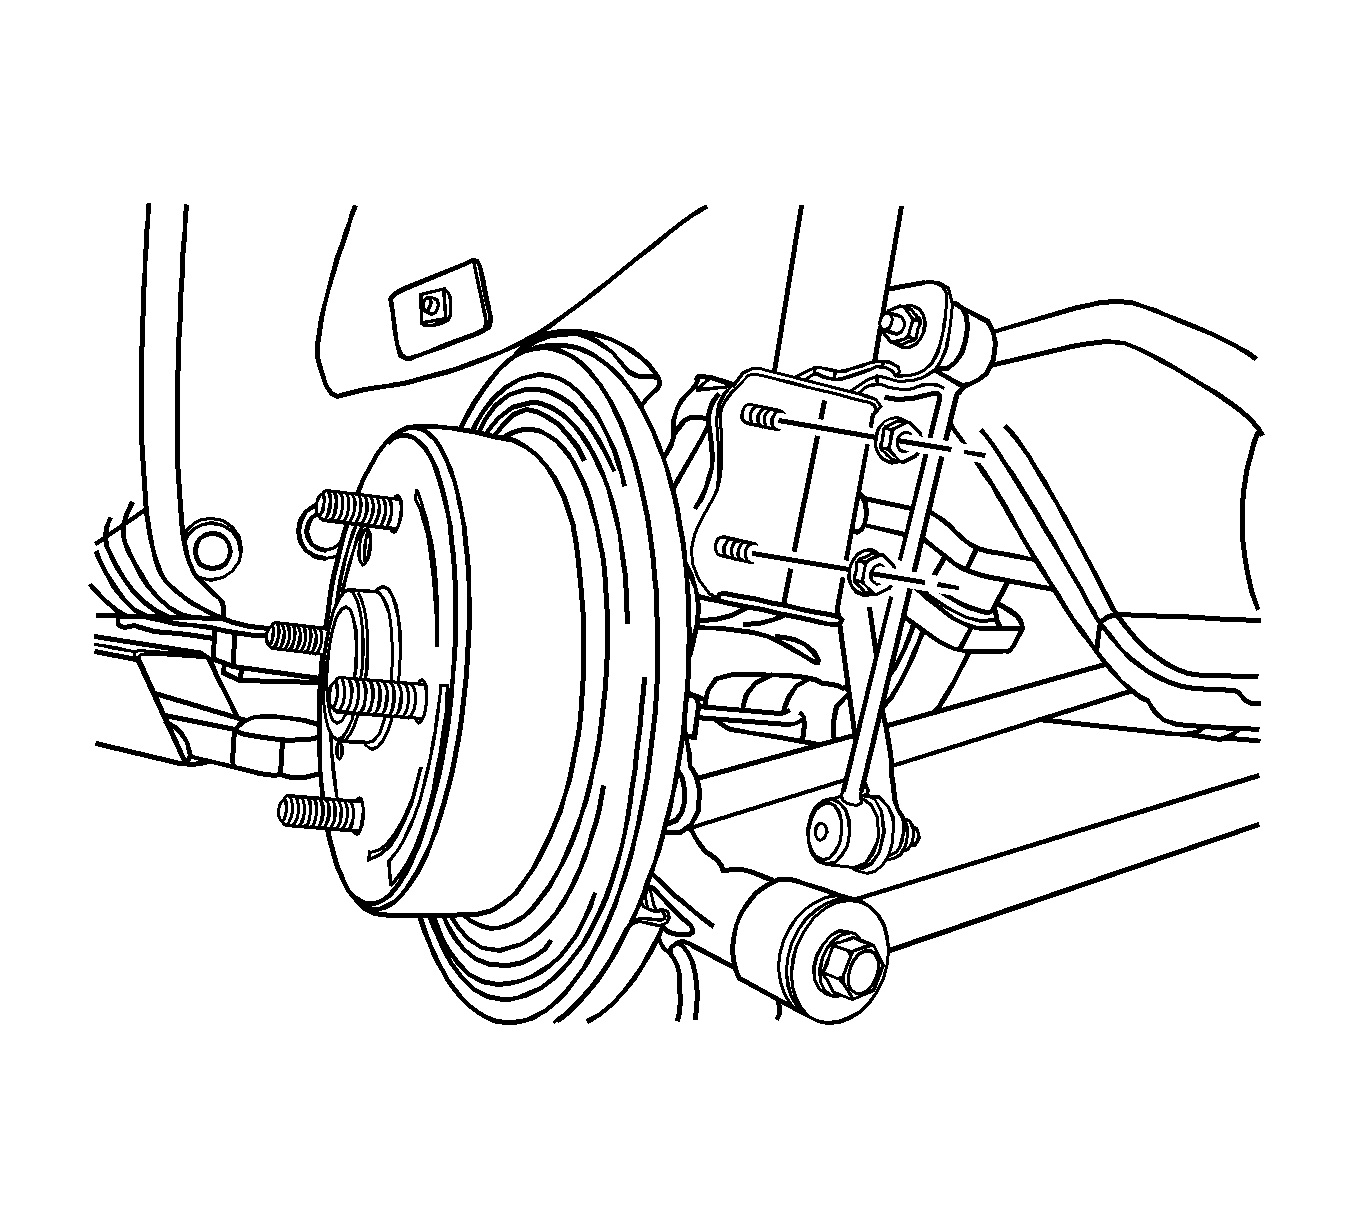
- Remove the stabilizer link-to-strut assembly nut and disconnect the stabilizer link from the strut assembly.
- Remove the knuckle-to-strut assembly nuts and the bolts.
- On vehicles equipped with rear drum brakes, lower the strut assembly and separate the brake line from the strut assembly.
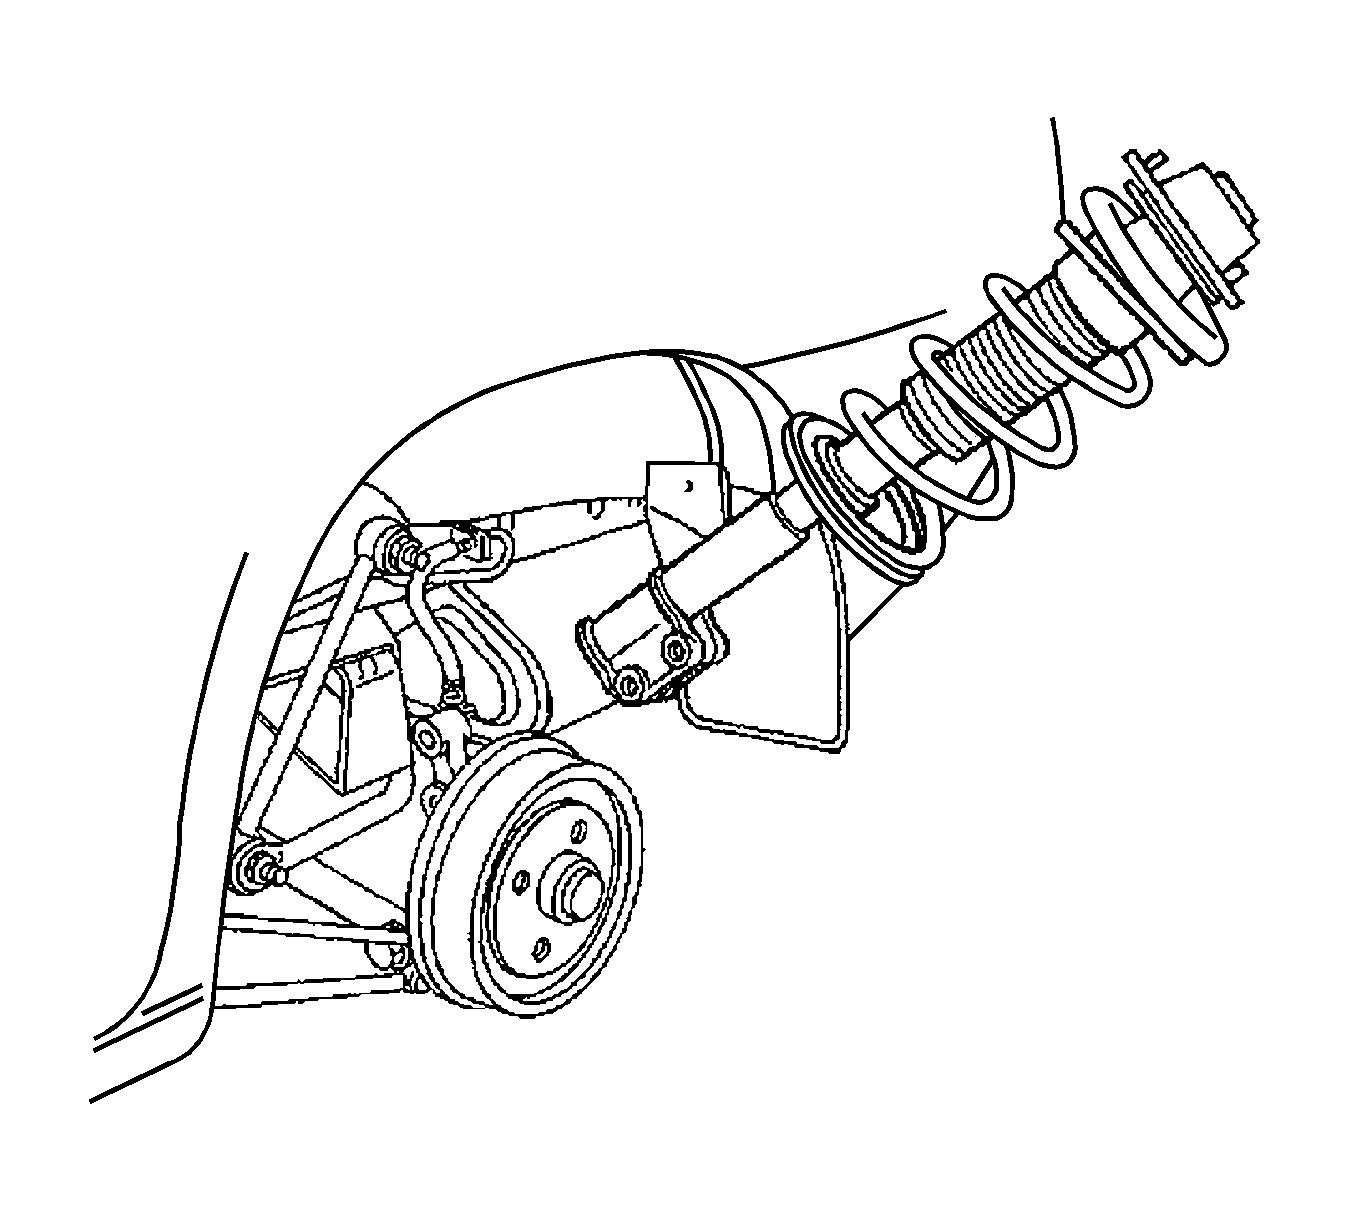
- Remove the rear strut assembly from the vehicle.
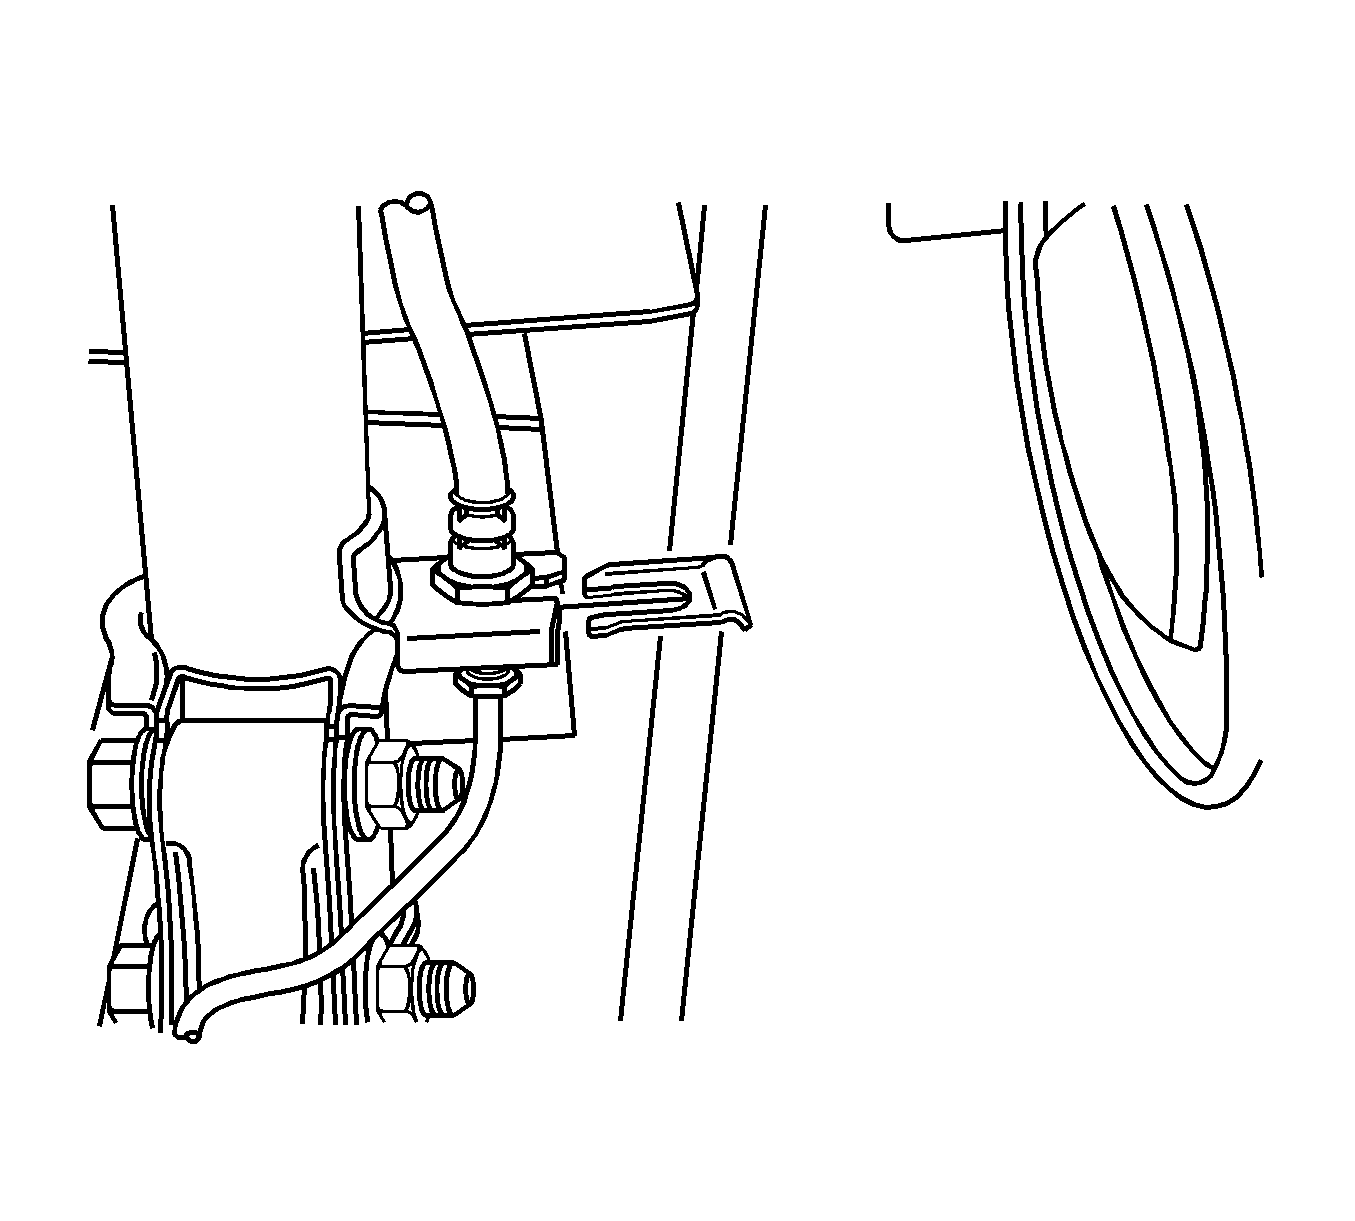
Important: On vehicles equipped with rear drum brakes, the brake hose will easily disconnect from the strut assembly as the assembly is being removed from the vehicle. On vehicles equipped with rear disc brakes, the brake hose can be disconnected from the strut assembly at any time.
Installation Procedure
- Install the rear strut assembly into the vehicle. On vehicles equipped with rear drum brakes, secure the brake line into the holder as the assembly goes into place.
- Secure the strut assembly by loosely attaching the strut mount-to-body nuts.
- Install the knuckle-to-strut assembly nuts and bolts. Do not tighten.
- Install the clip holding the brake hose to the strut assembly.
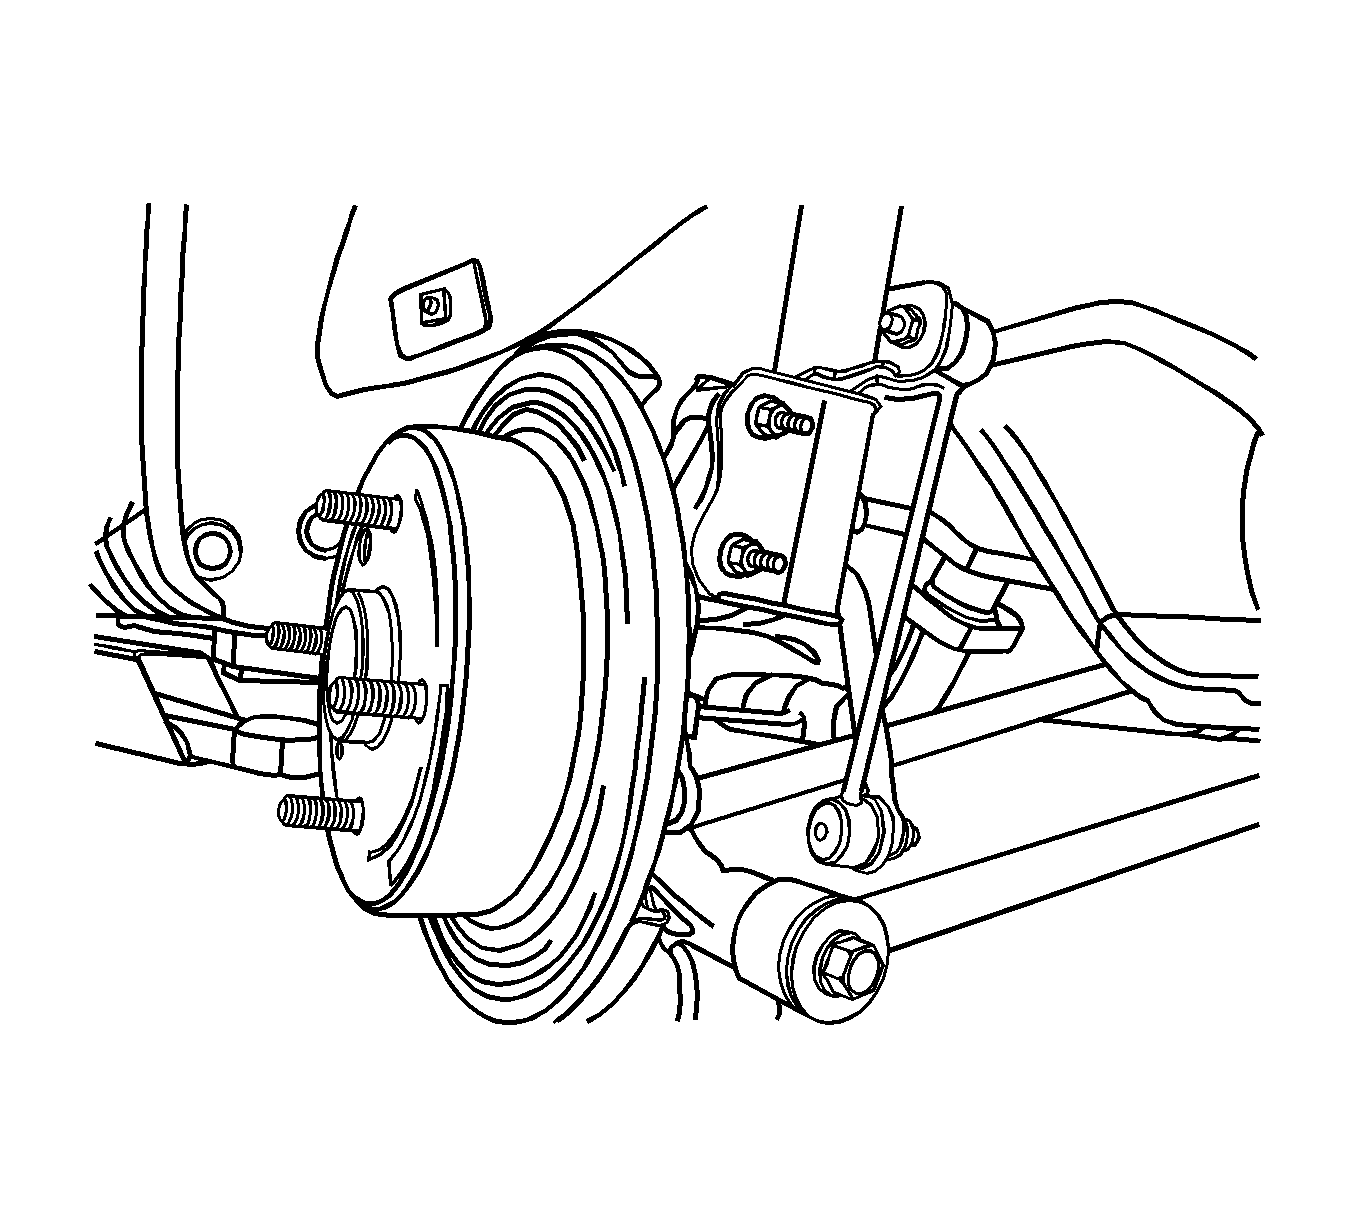
- Connect the stabilizer link to the strut assembly and install the stabilizer link-to-strut assembly nut.
- Connect the parking brake. Refer to Park Brake Cable Replacement .
- Install the wheel. Refer to Tire and Wheel Removal and Installation .
- Lower the vehicle.
- Tighten the strut mount-to-body nuts.
- Install the trunk carpeting over the rear strut mounting nuts. For station wagons, remove the panels that cover the luggage compartment wheelhouse trim panel, wagon. Refer to Cargo Area Rear Trim Panel Replacement .
Important: On vehicles equipped with rear drum brakes, the brake hose will easily connect to the strut assembly as the assembly is being installed into the vehicle. On vehicles equipped with rear disc brakes, the brake hose can be connected to the strut assembly at any time after the strut assembly has been installed into the vehicle.
Notice: Refer to Fastener Notice in the Preface section.

Tighten
Tighten the knuckle-to-strut assembly nuts to 100 N·m (74 lb ft).

Tighten
Tighten the stabilizer link-to-strut assembly nut to 47 N·m (35 lb ft).

Tighten
Tighten the strut mount-to-body nuts to 30 N·m (22 lb ft).

