Removal Procedure
- Remove the fuel pump fuse.
- Start the engine. After it stalls, crank the engine for 10 seconds to rid the fuel system of fuel pressure.
- Drain the engine oil.
- Disconnect the negative battery cable.
- Drain the engine coolant. Refer to Cooling System Draining and Filling.
- Remove the engine cover.
- Remove the air cleaner assembly.
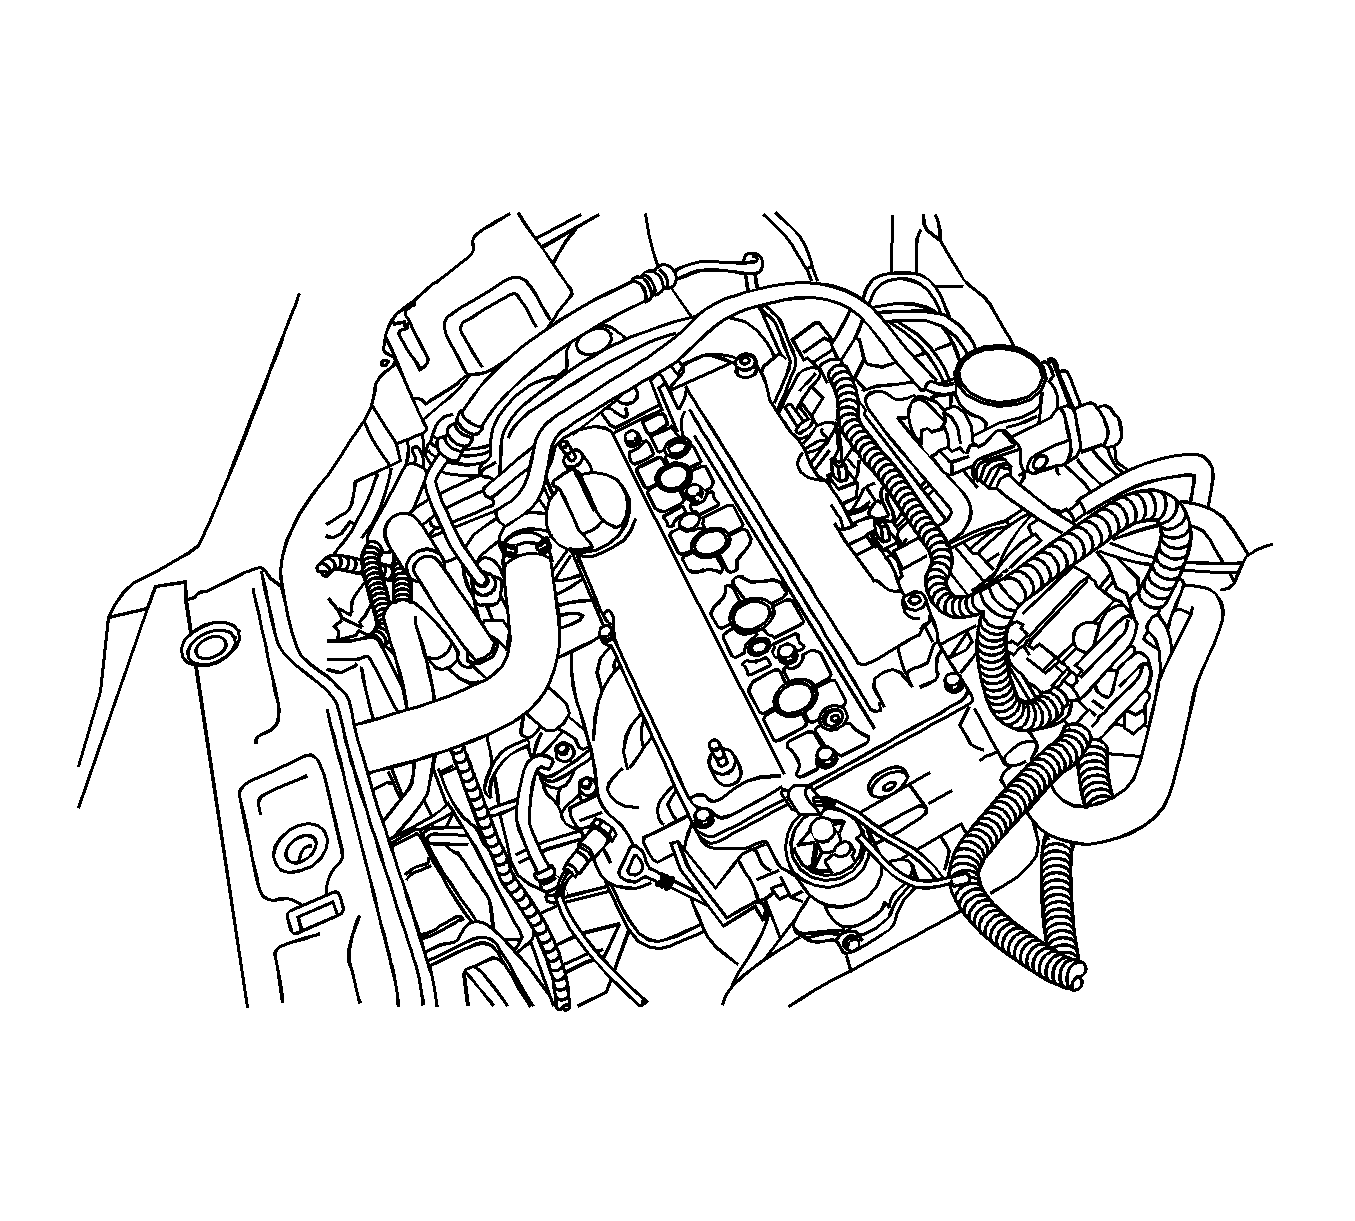
- Disconnect the engine coolant temperature (ECT) sensor connector.
- Disconnect the purge solenoid valve connector.
- Disconnect the generator connector.
- Disconnect the A/C pressure switch connector.
- Disconnect the idle air control (IAC) valve connector.
- Disconnect the throttle position (TP) sensor connector.
- Disconnect the MAP sensor connector.
- Disconnect the oil pressure switch connector.
- Disconnect the injector connectors.
- Disconnect the CMP sensor connector.
- Disconnect the VIS connector.
- Disconnect the knock sensor connector.
- Disconnect the oxygen sensor (O2S) connector.
- Disconnect the DIS connector.
- Disconnect the ECM connectors.
- Disconnect the CKP connector.
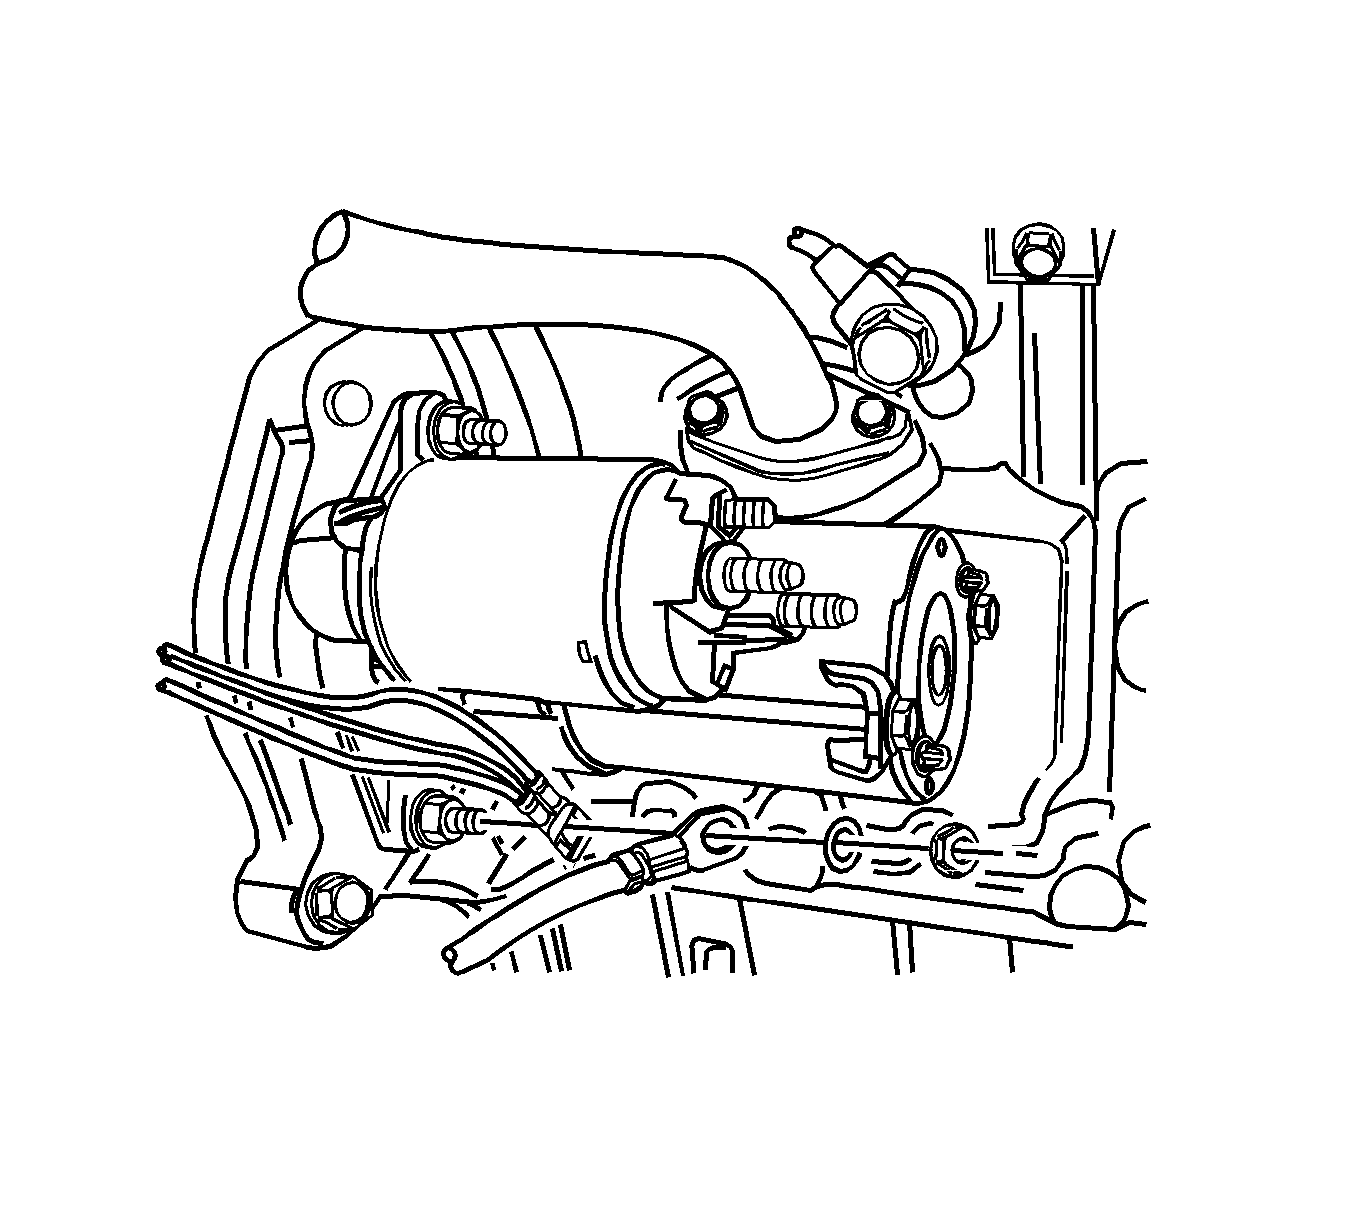
- Disconnect the starter wire.
- Disconnect the throttle body cable.
- Disconnect the fuel line at the fuel rail.
- Remove the serpentine accessory drive belt. Refer to Power Steering Pump Belt Replacement.
- Disconnect the brake booster vacuum hose.
- Remove the A/C compressor. Refer to Air Conditioning Compressor Replacement.
- Disconnect the power steering hose from the power steering pump.
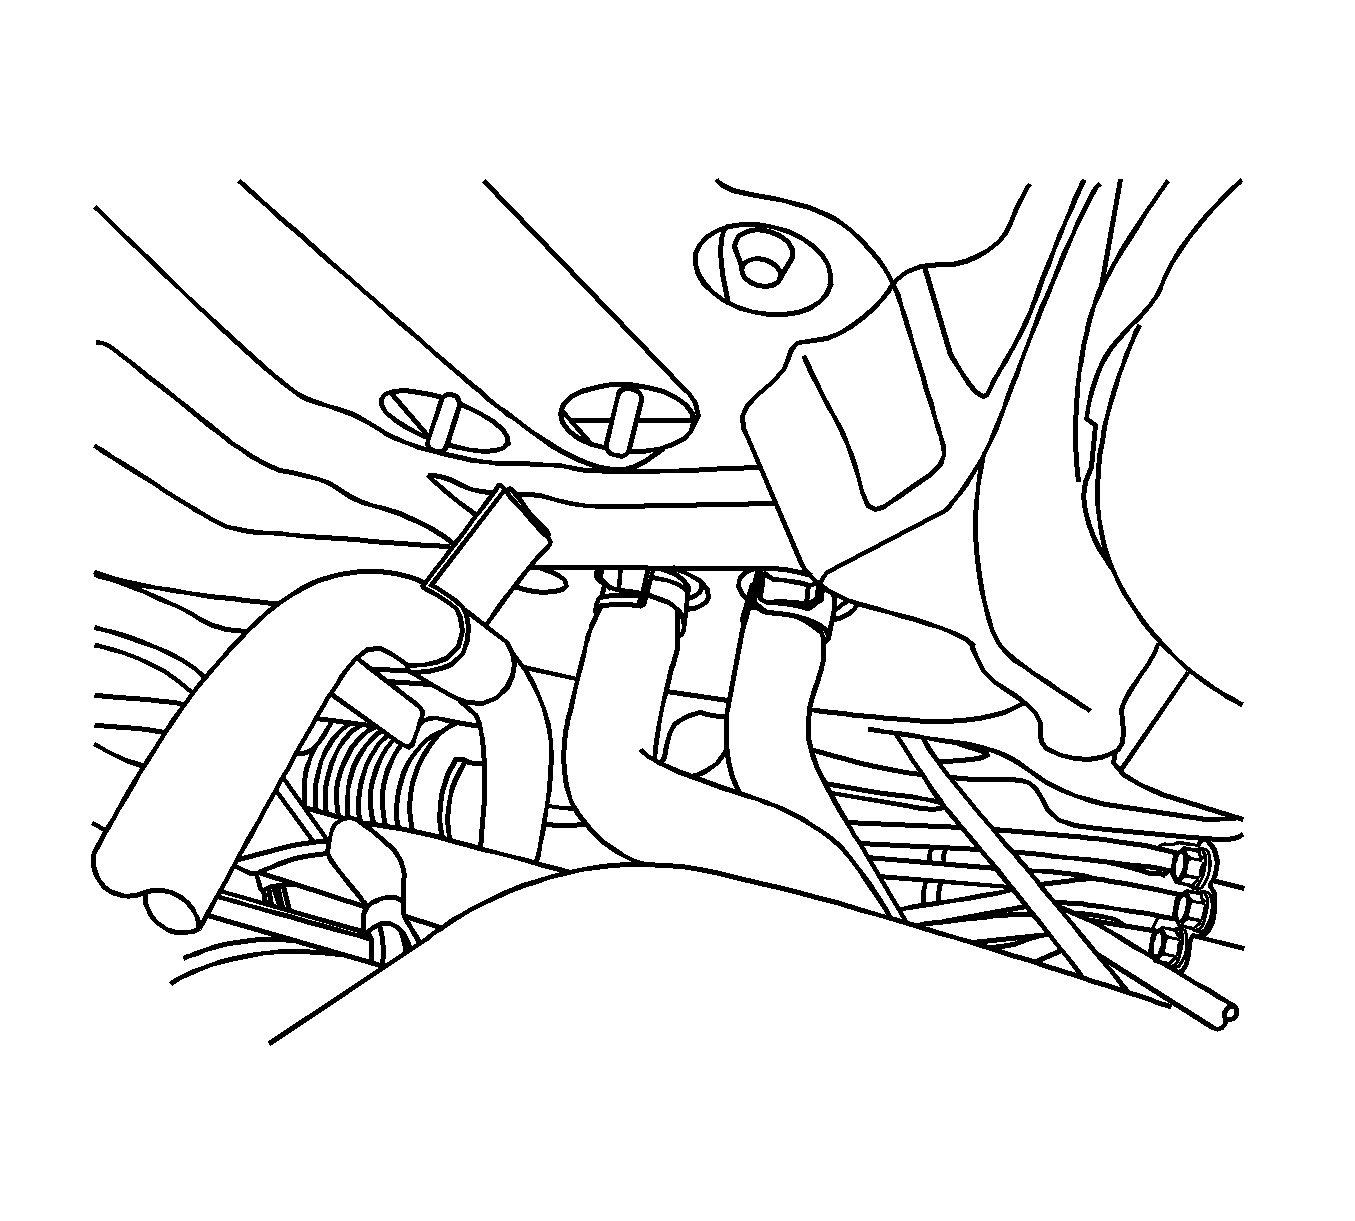
- Disconnect the heater hoses.
- Disconnect the upper radiator hose.
- Disconnect the lower radiator hose.
- Disconnect the coolant hoses at the throttle body.
- Remove the crankshaft pulley.
- Remove the transaxle torque converter bolts, if automatic transaxle equipped.
- Remove the starter motor. Refer to Starter Motor Replacement.
- Remove the transaxle bell housing bolts.
- Support the transaxle with a floor jack.
- Install the engine lifting device.
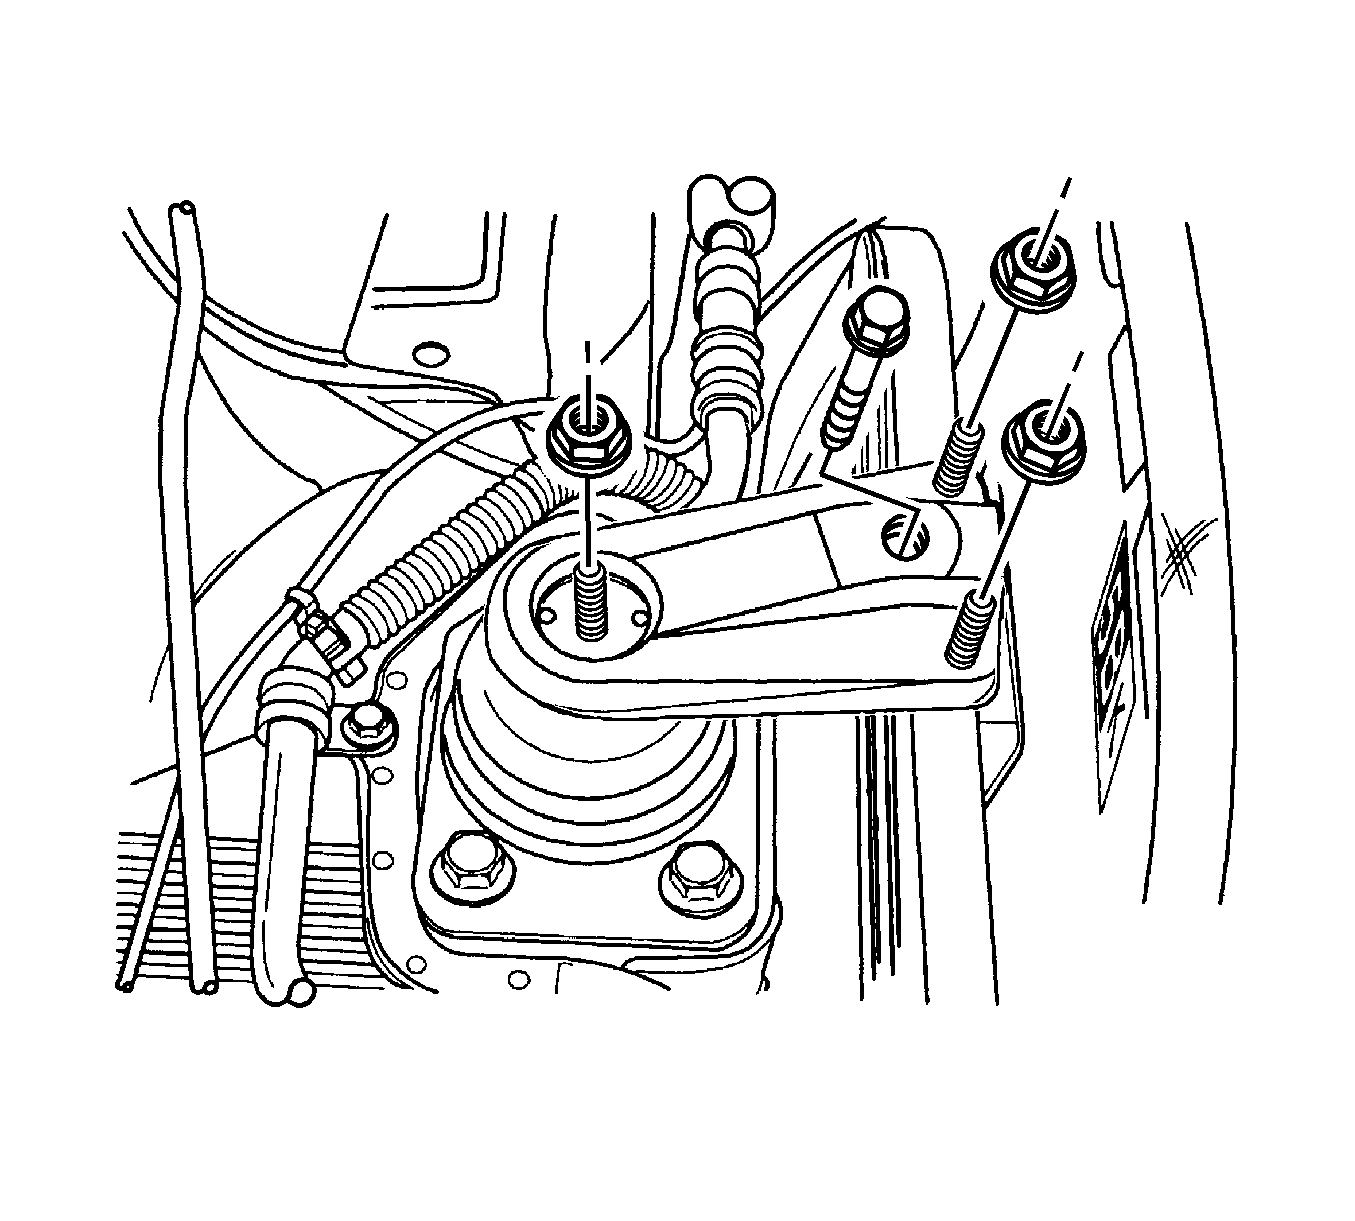
- Disconnect the right engine mount bracket from the engine mount by removing the retaining bolt.
- Remove the right engine mount bracket from the engine block and frame mount. Refer to Engine Mount Replacement.
- Separate the engine block from the transaxle.
- Remove the engine.
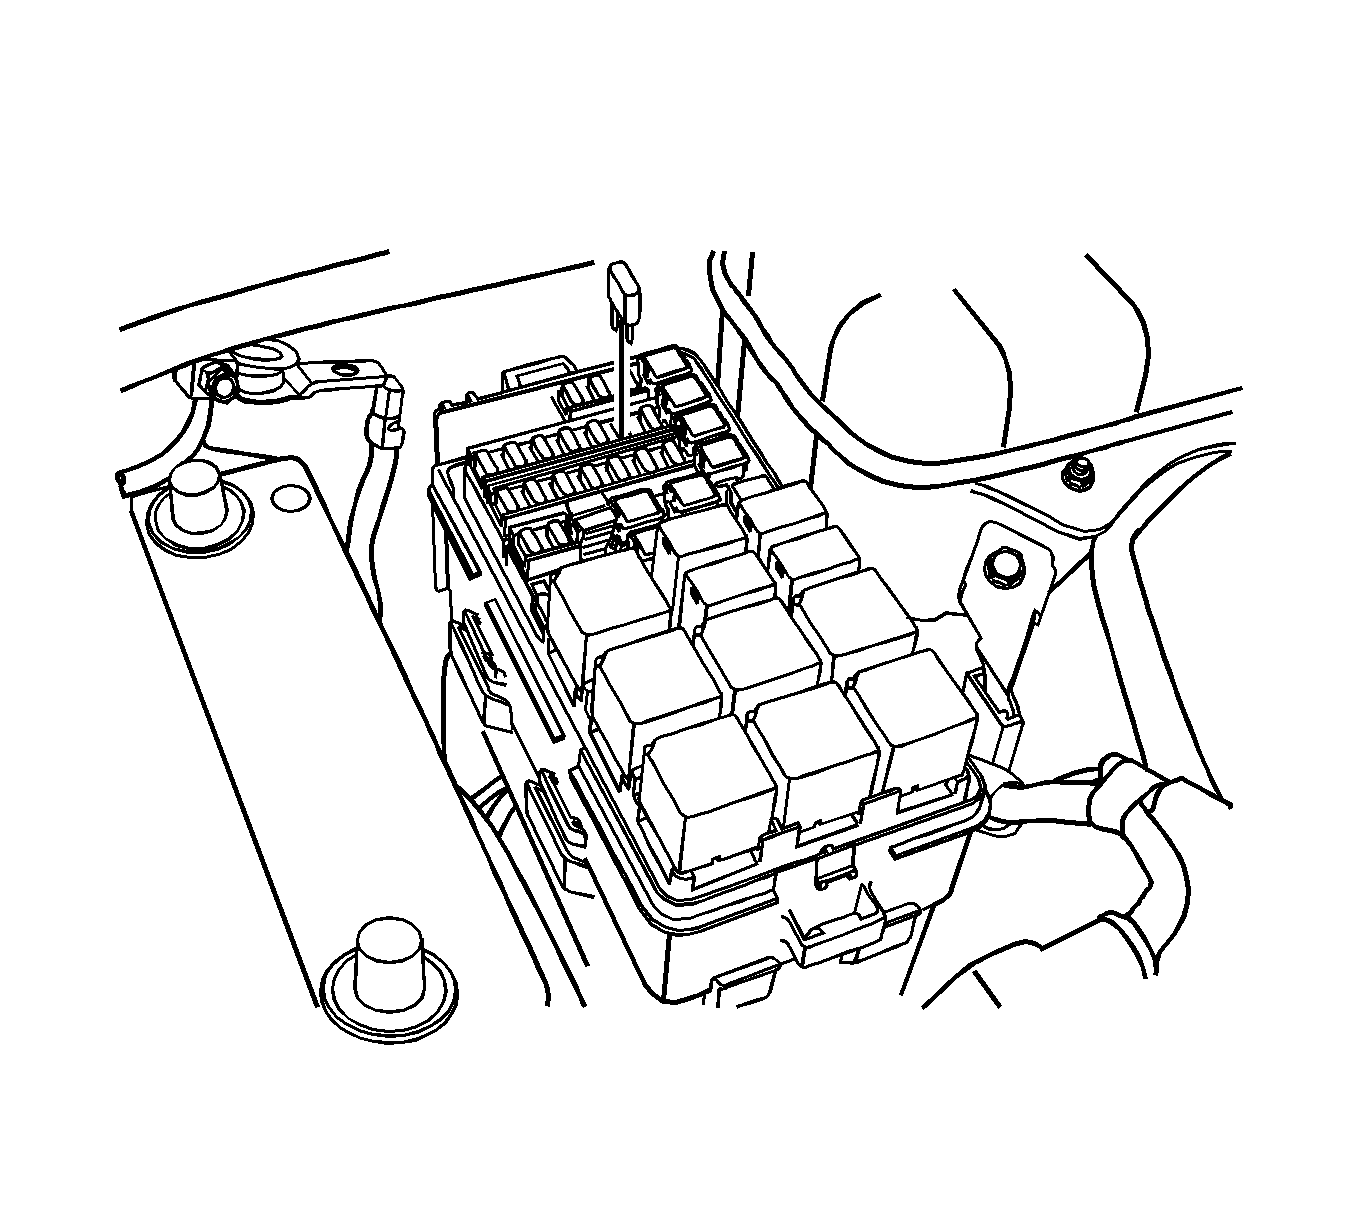
Warning: Refer to Battery Disconnect Warning in the Preface section.
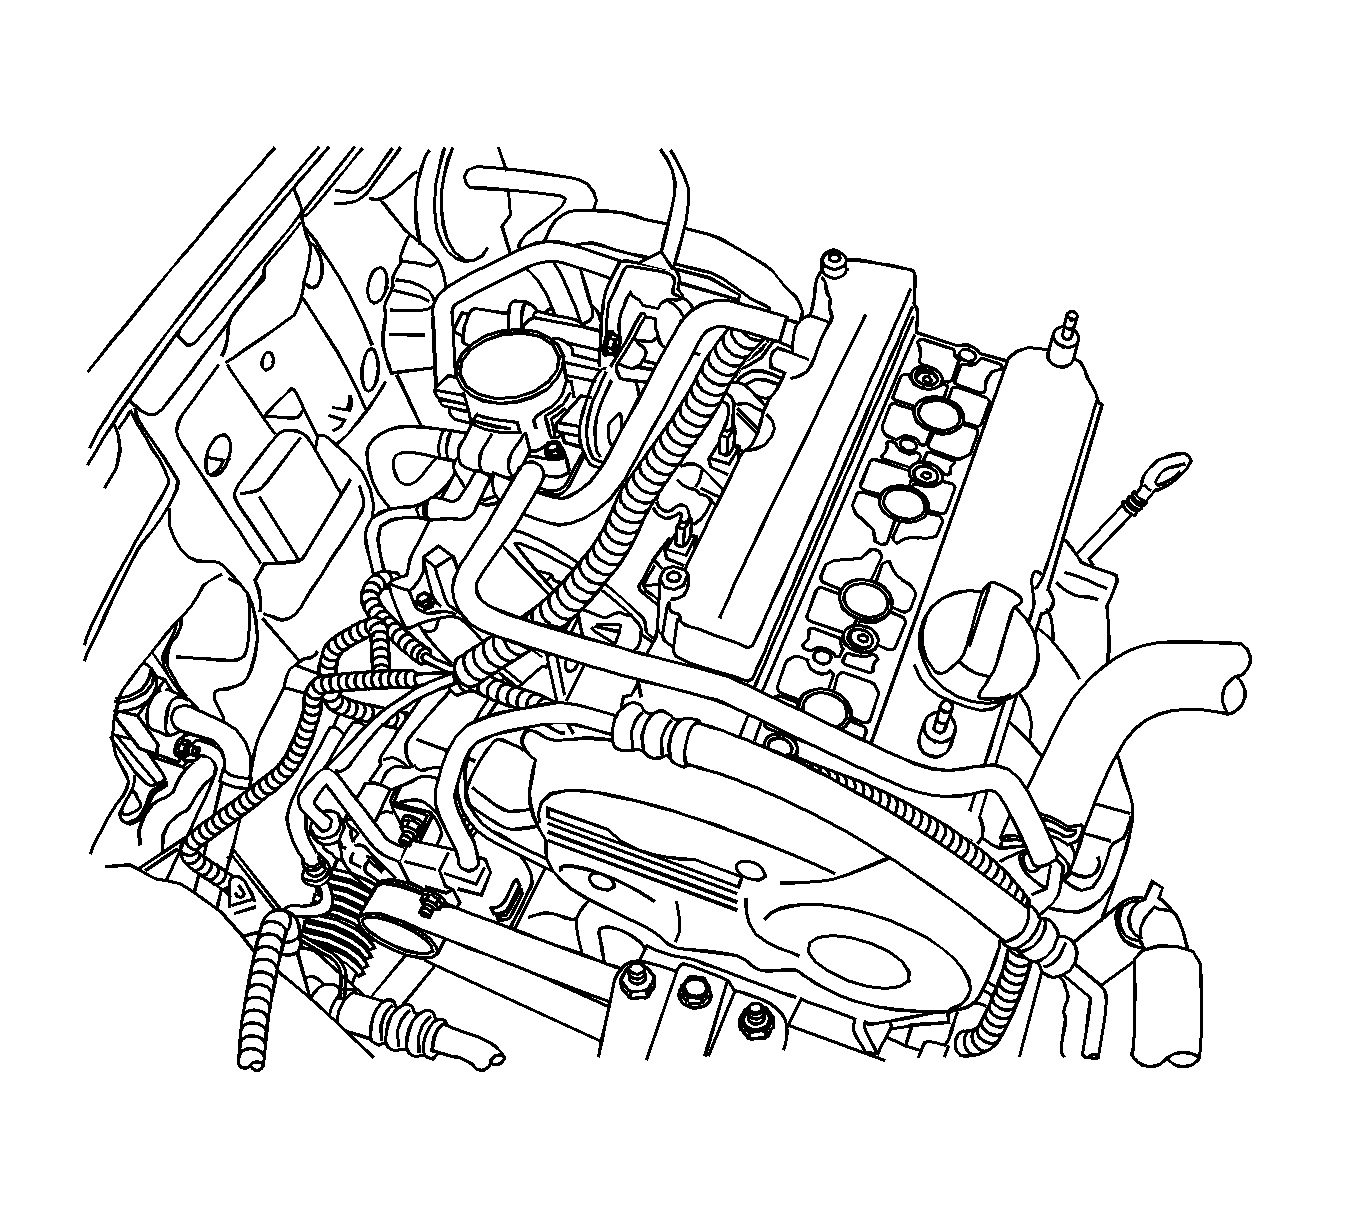
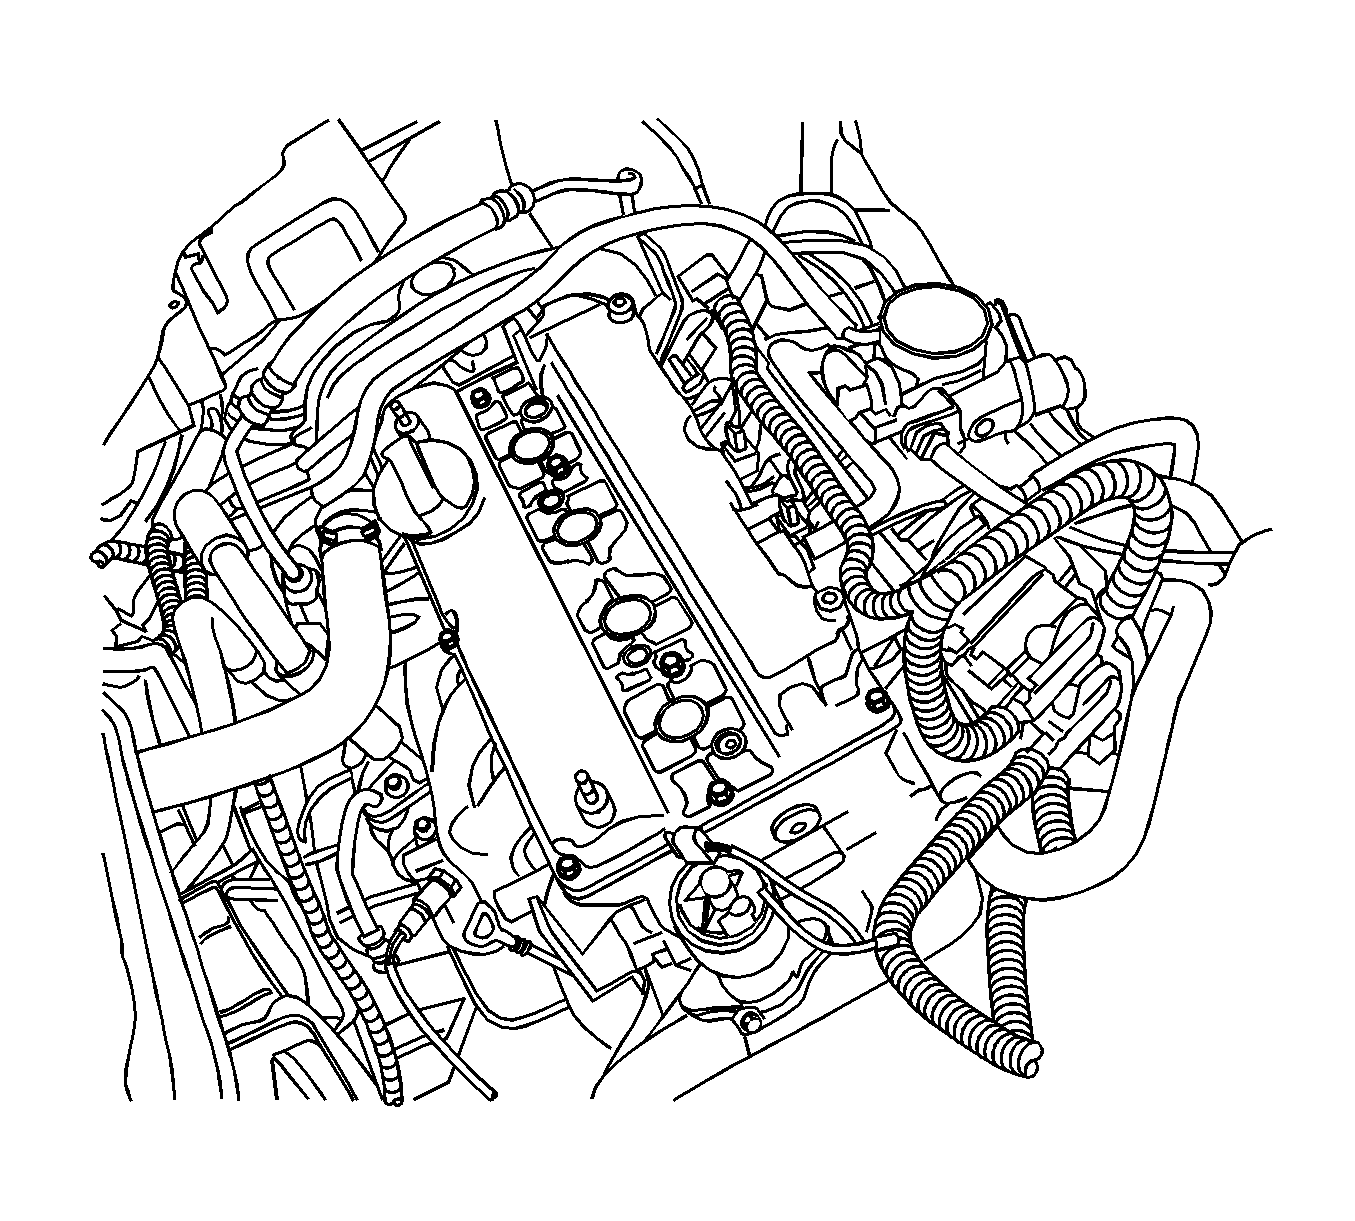
Caution: Handle the oxygen sensors carefully in order to prevent damage to the component. Keep the electrical connector and the exhaust inlet end free of contaminants. Do not use cleaning solvents on the sensor. Do not drop or mishandle the sensor.
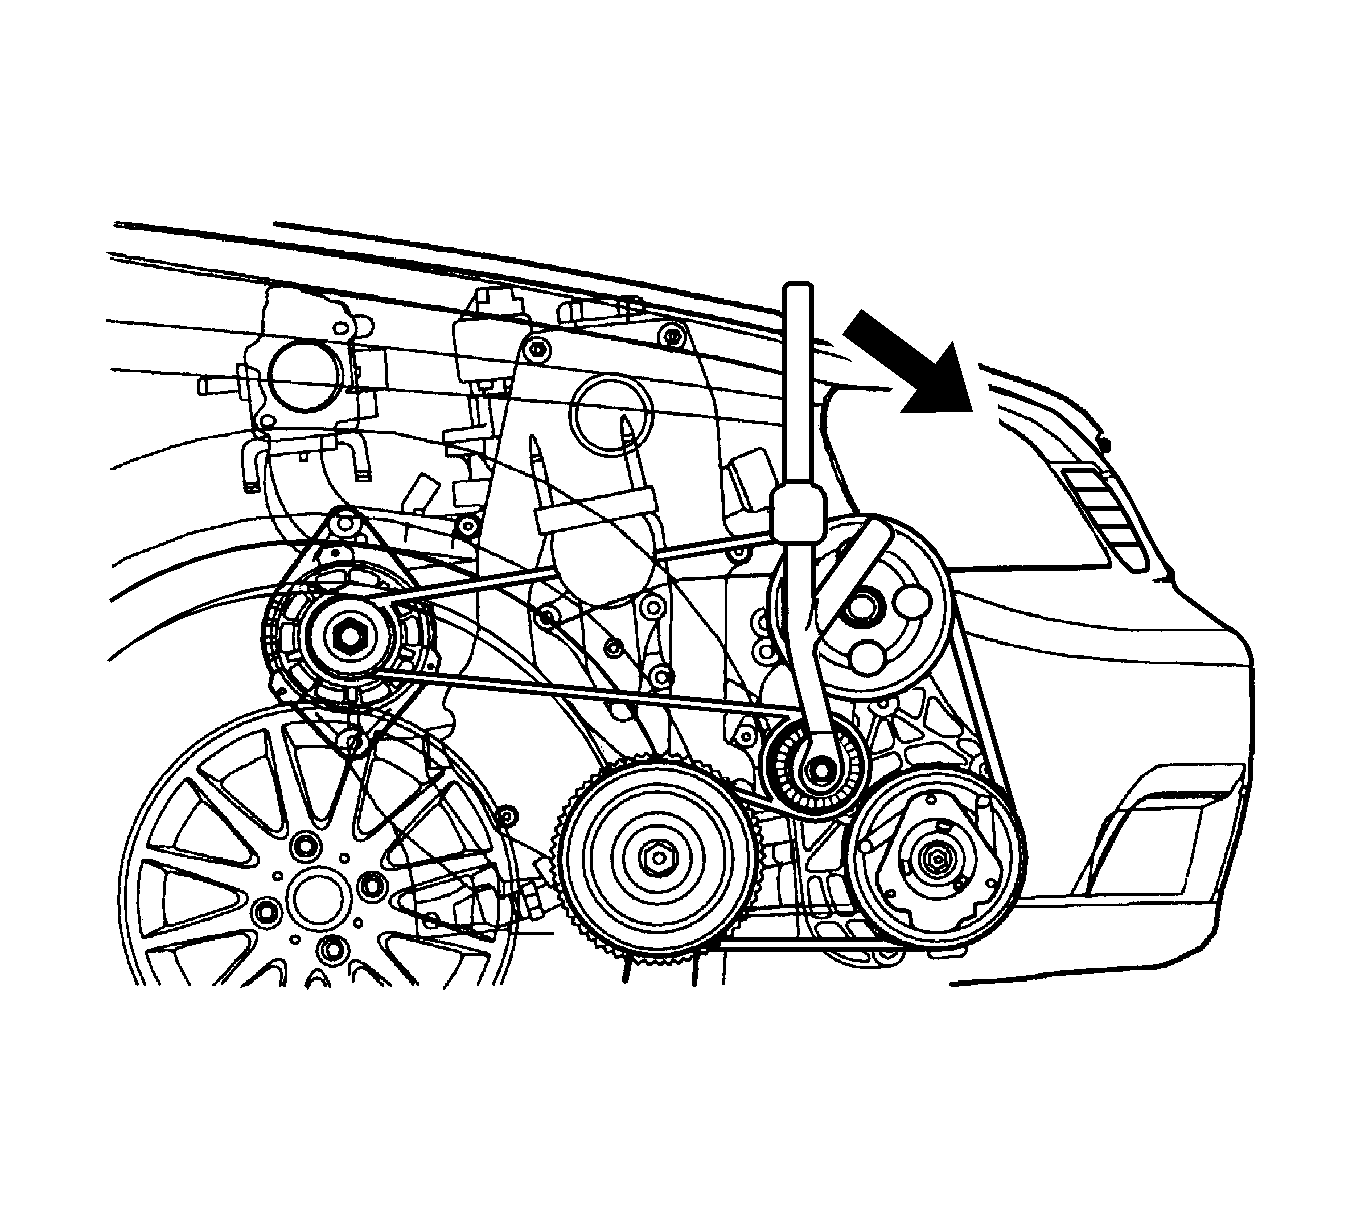
Installation Procedure
- Install the engine into the engine compartment.
- Align the engine alignment pins to the transaxle.
- Install the transaxle bell housing bolts.
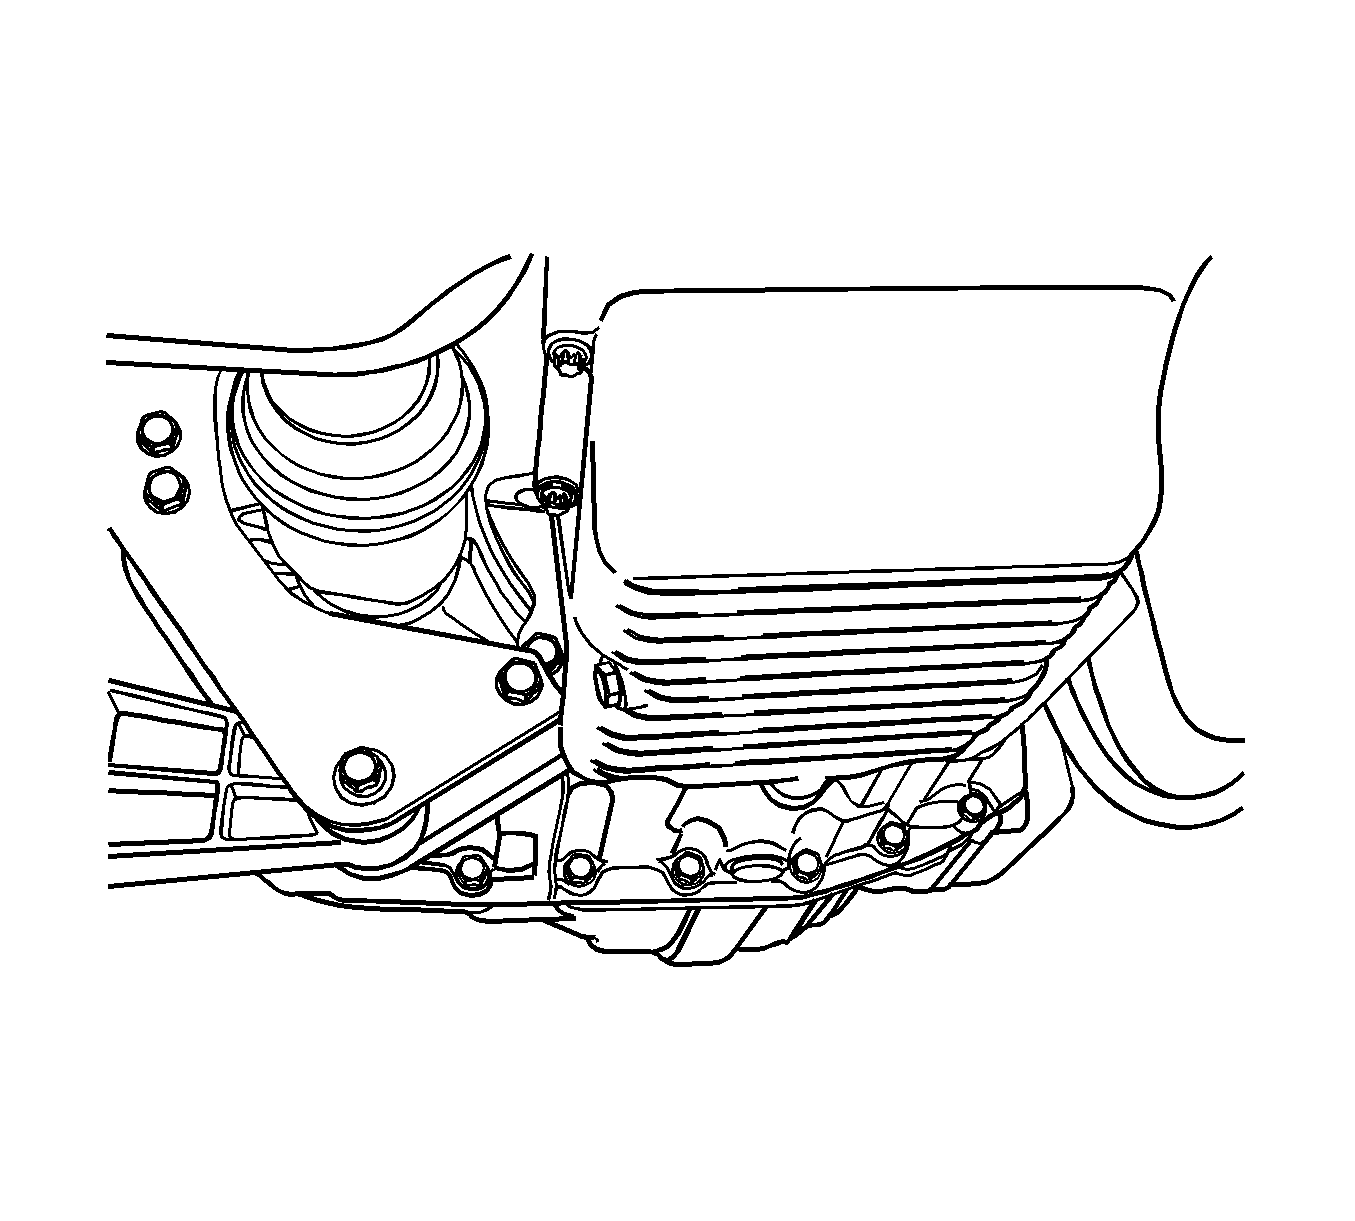
- Install the oil pan flange-to-transaxle bolts.
- Install the right engine mount to the engine block mount and the frame mount.
- Install the right engine mount bracket retaining bolts and nuts.
- Remove the floor jack used for support of the transmission.
- Remove the engine lifting device.
- Install the transaxle torque converter bolts, if automatic transaxle equipped.
- Install the starter motor. Refer to Starter Motor Replacement.
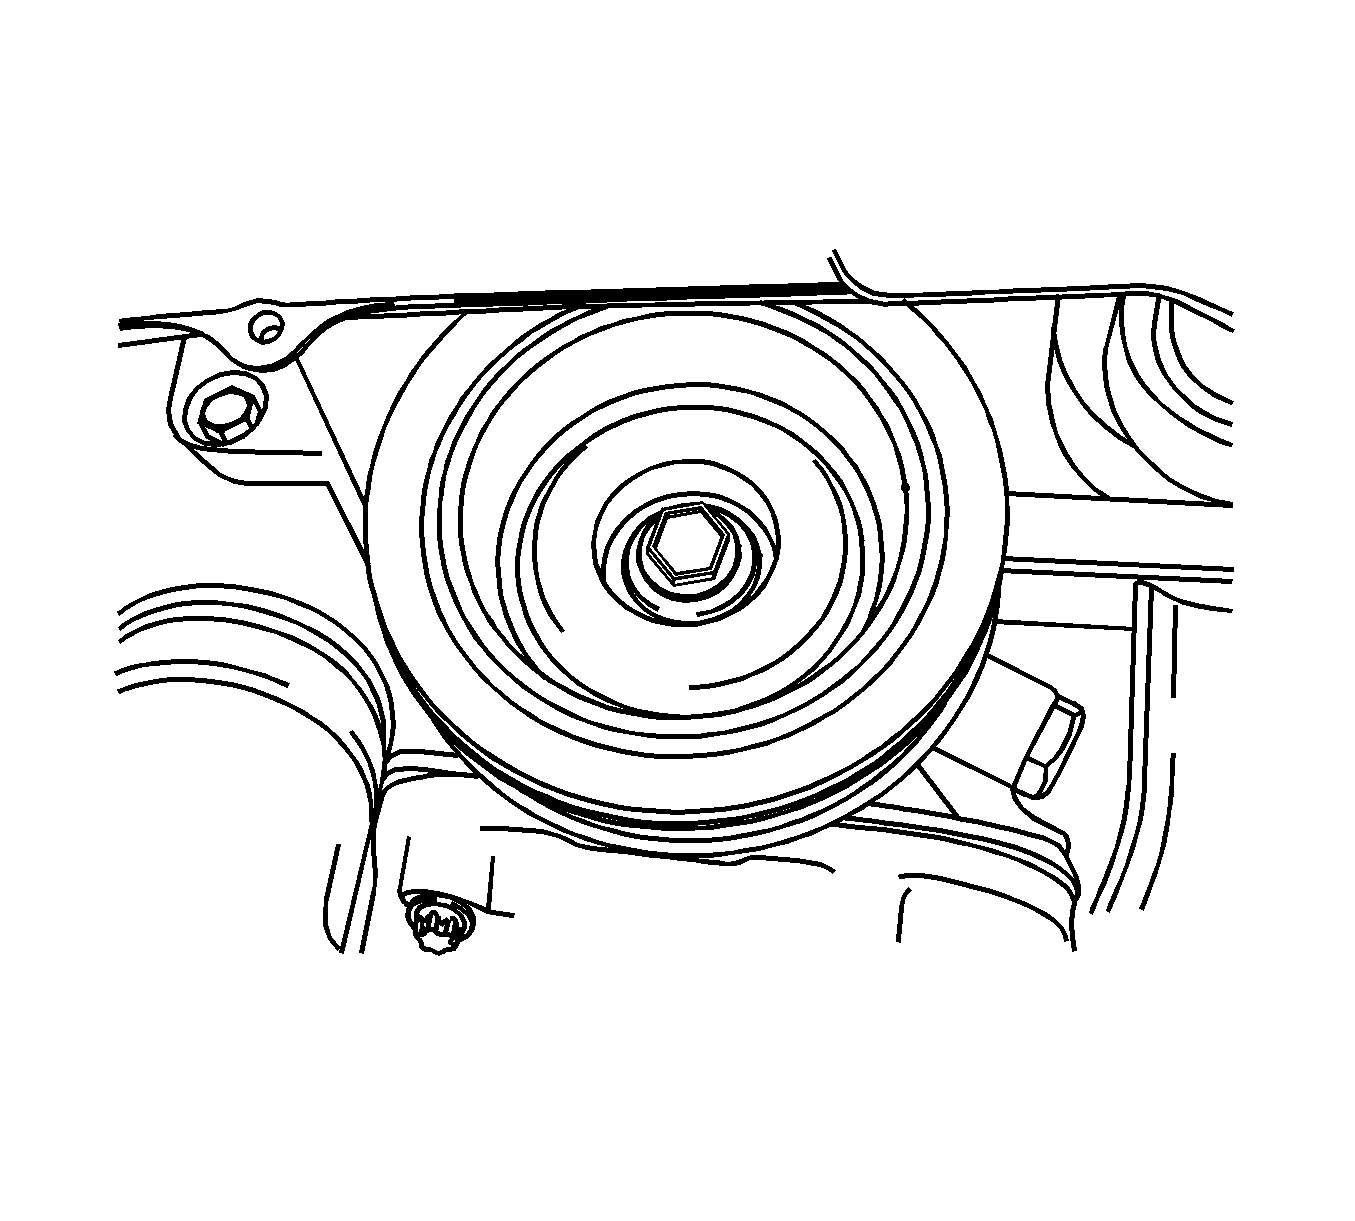
- Install the crankshaft pulley.
- Install the crankshaft pulley bolts.
- Install the A/C compressor. Refer to Air Conditioning Compressor Replacement.
- Connect the power steering hose to the power steering pump.
- Connect the electric wiring harness connectors.
Caution: Refer to Fastener Caution in the Preface section.
Tighten
Tighten the transaxle bell housing bolts to 75 N·m (55 lb ft).
Tighten
Tighten the oil pan flange-to-transaxle bolts to 75 N·m (55 lb ft).

Tighten
Tighten the engine mount bracket retaining bolts and nuts to 55 N·m (41 lb ft).

Tighten
Tighten the transaxle torque converter bolts to 60 N·m (44 lb ft).
Tighten
Tighten the crankshaft pulley bolts to 90 N·m (70 lb ft), then turn bolt an additional 30° and an additional 15 degrees using an angular torque gage.
