For 1990-2009 cars only
Special Tools
| • | J 45400 Spring Compressor |
| • | KM-329-A Spring Compressor |
Removal Procedure
- Remove the strut assembly. Refer to Strut Assembly Replacement.
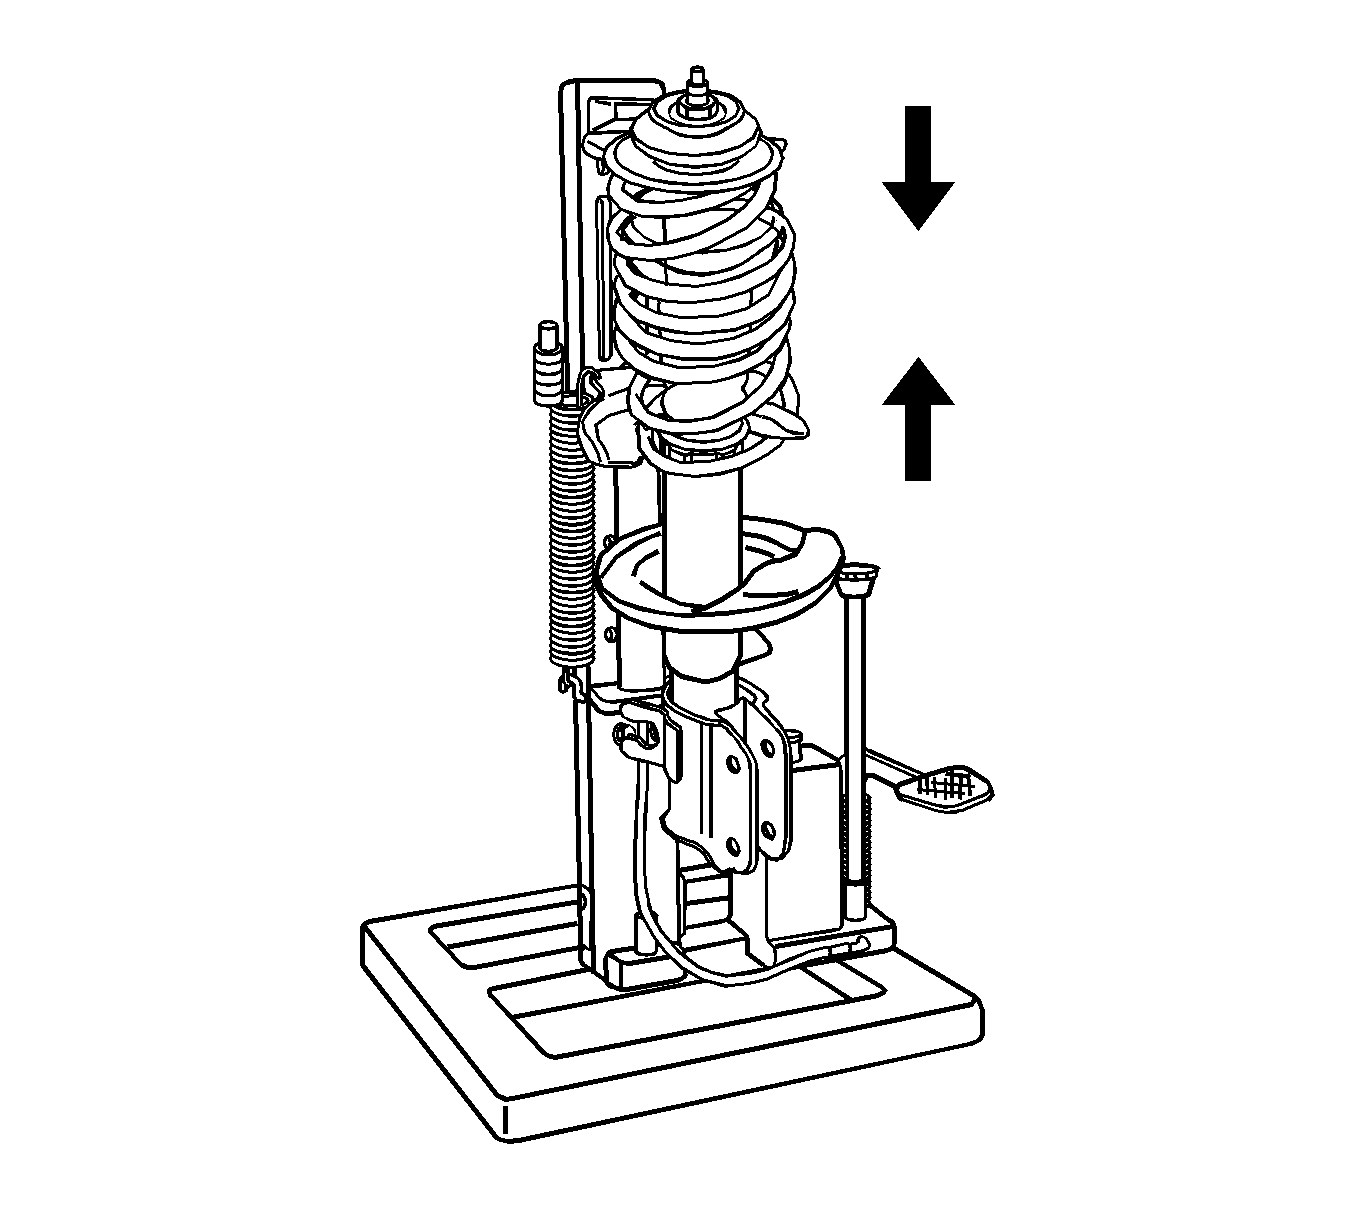
- Fasten the strut assembly to the KM-329-A or J 45400 . Ensure the hooks are seated on the strut spring properly.
- Compress the front spring with the spring compressor.
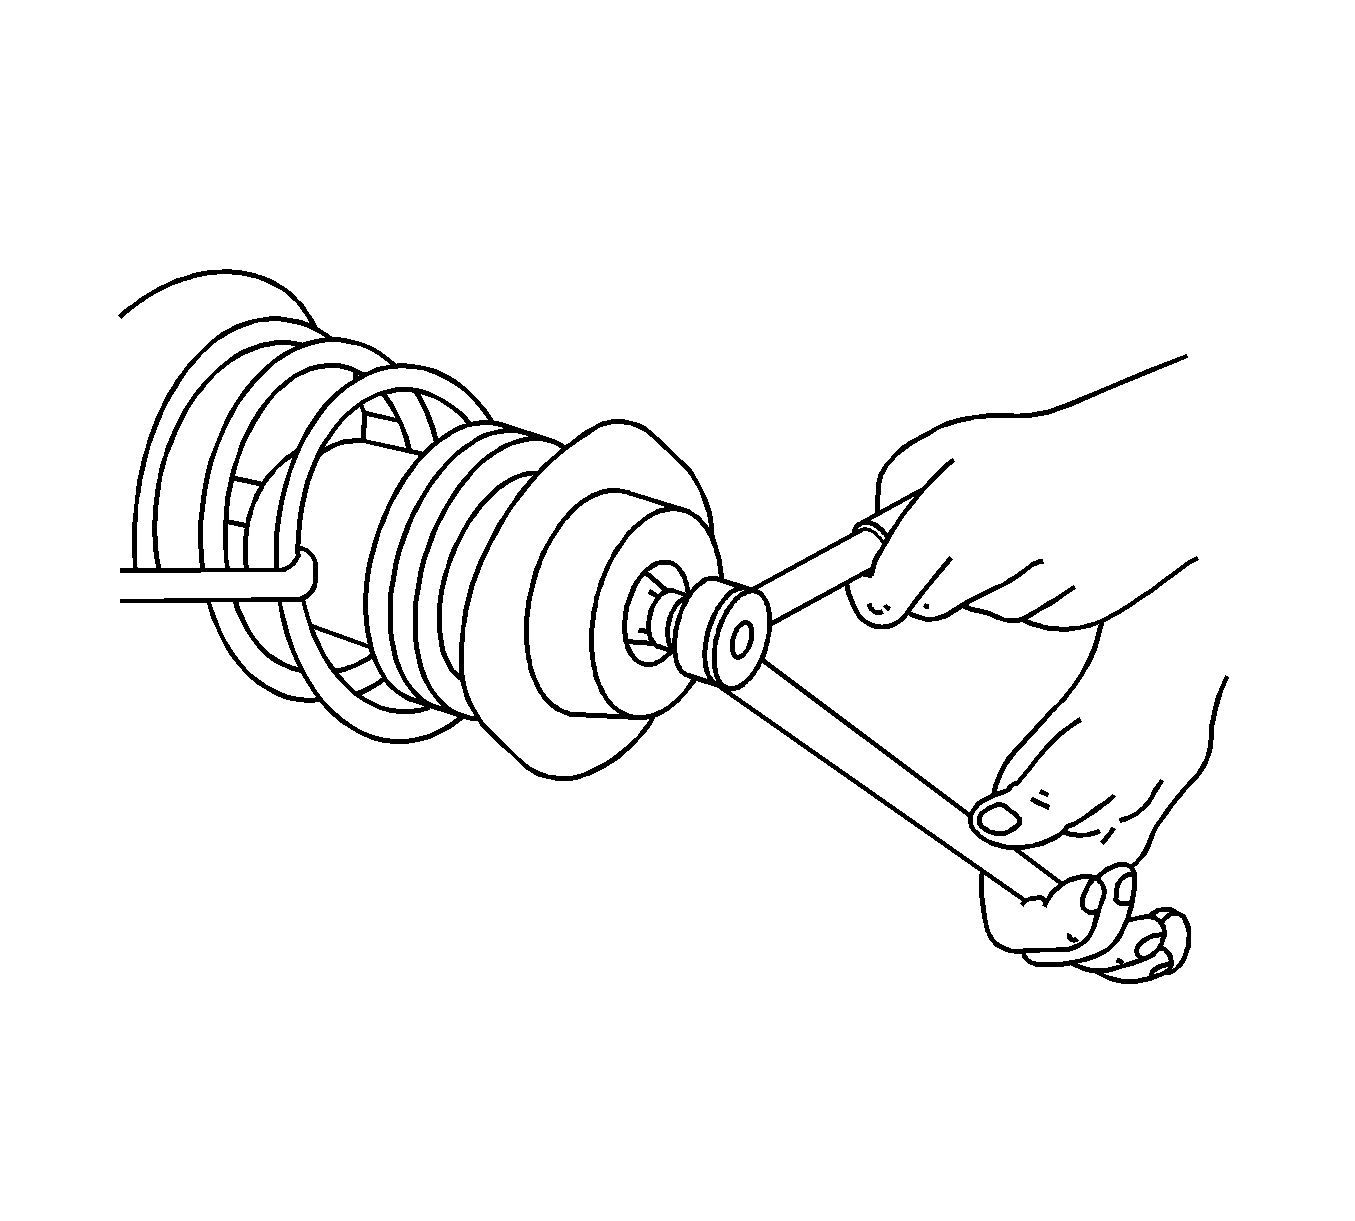
- Use an open end wrench to hold the threaded piston rod while removing the piston rod nut and the washer with a commercially available double ring spanner, sharply offset.
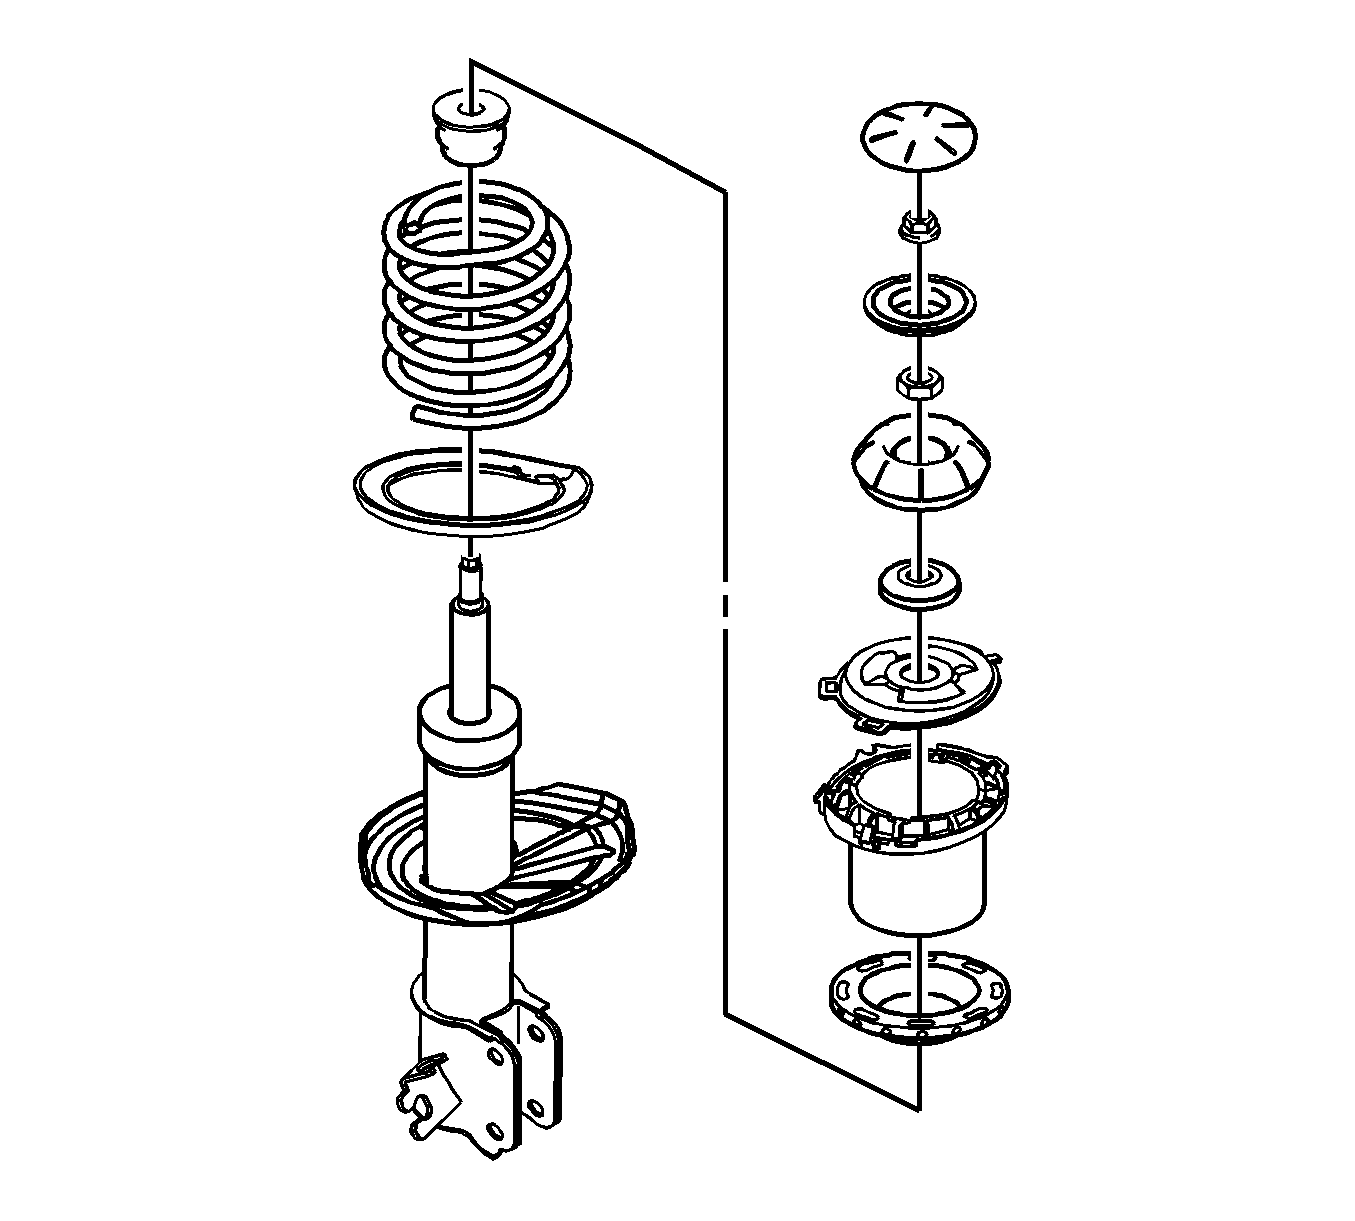
- Remove the upper strut mount, the mount bearing, the upper spring seat, the upper ring insulator, and the hollow bumper.
- Release the spring.
- Remove the spring and the lower ring insulator.


Note: Record the position of the front spring locator relative to the strut assembly-to-knuckle bracket. Place the front spring locator back in the same position during assembly.
Installation Procedure
- Install the lower ring insulator and the spring.
- Compress the spring using the J 45400 or KM-329-A .
- Install the hollow bumper, the upper ring insulator, the front spring locator, the upper spring seat, the upper strut mount, and the mount bearing. Be sure the upper spring seat is clipped to the front spring locator.
- Install the piston rod nut and tighten to 75 N·m (55 lb ft).
- Release the KM-329-A .

Caution: Refer to Fastener Caution in the Preface section.

