For 1990-2009 cars only
Removal Procedure
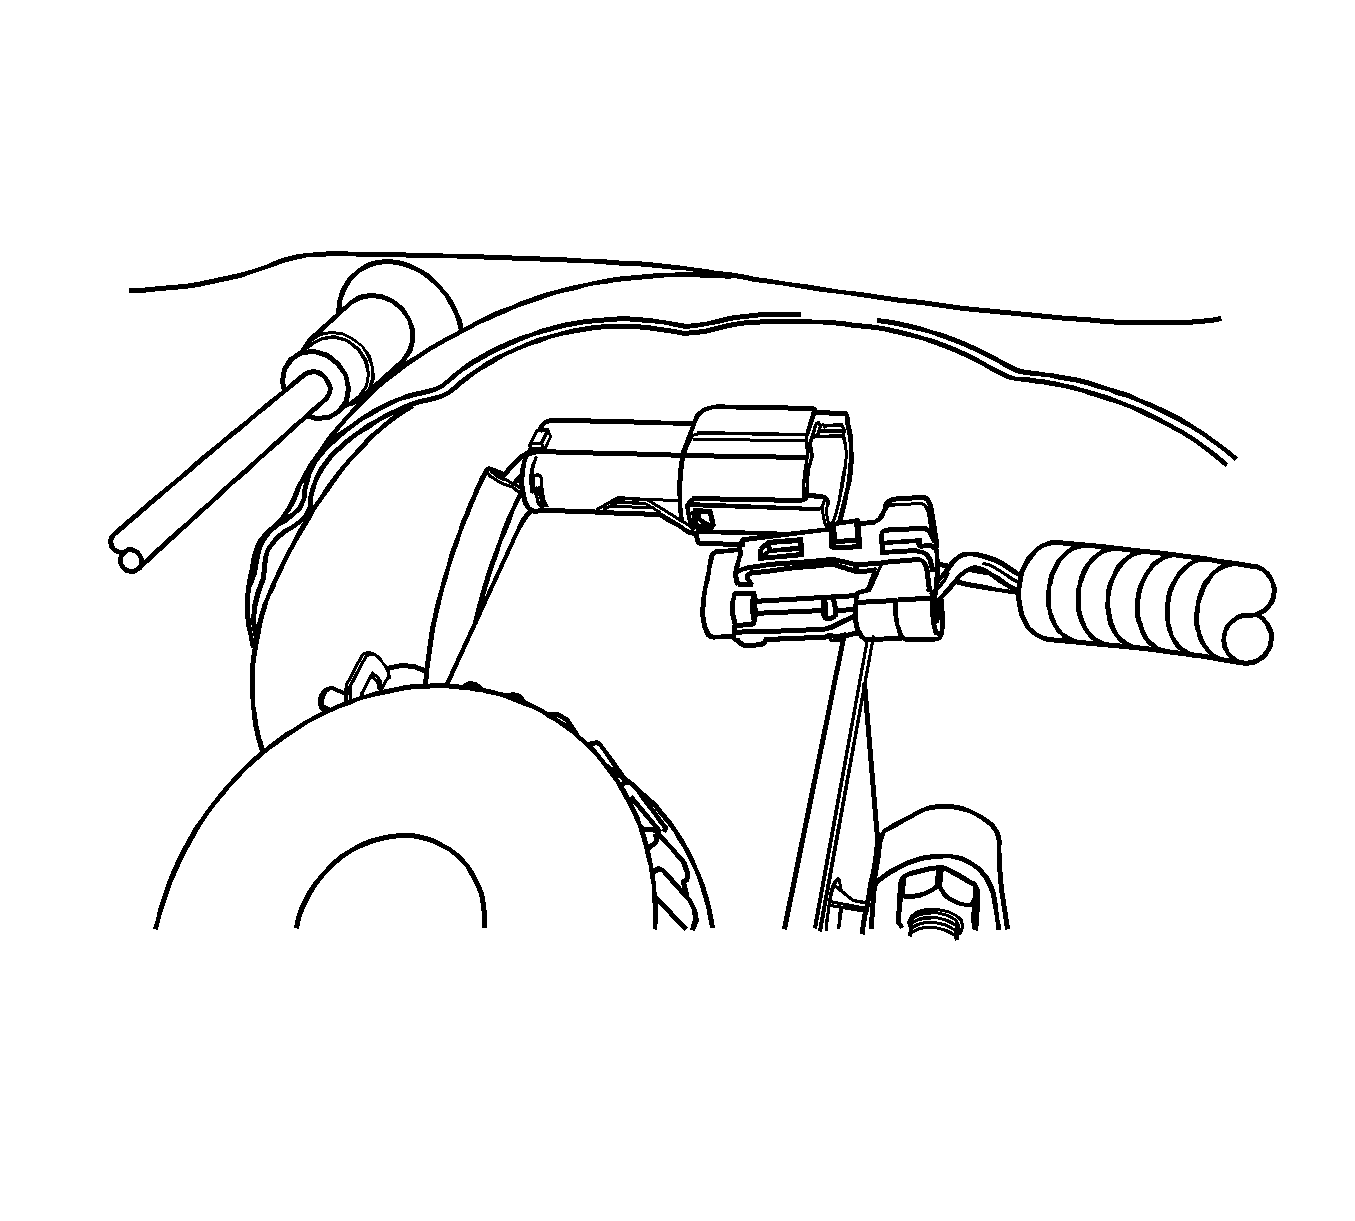
- Disconnect the electrical connector from the reservoir.
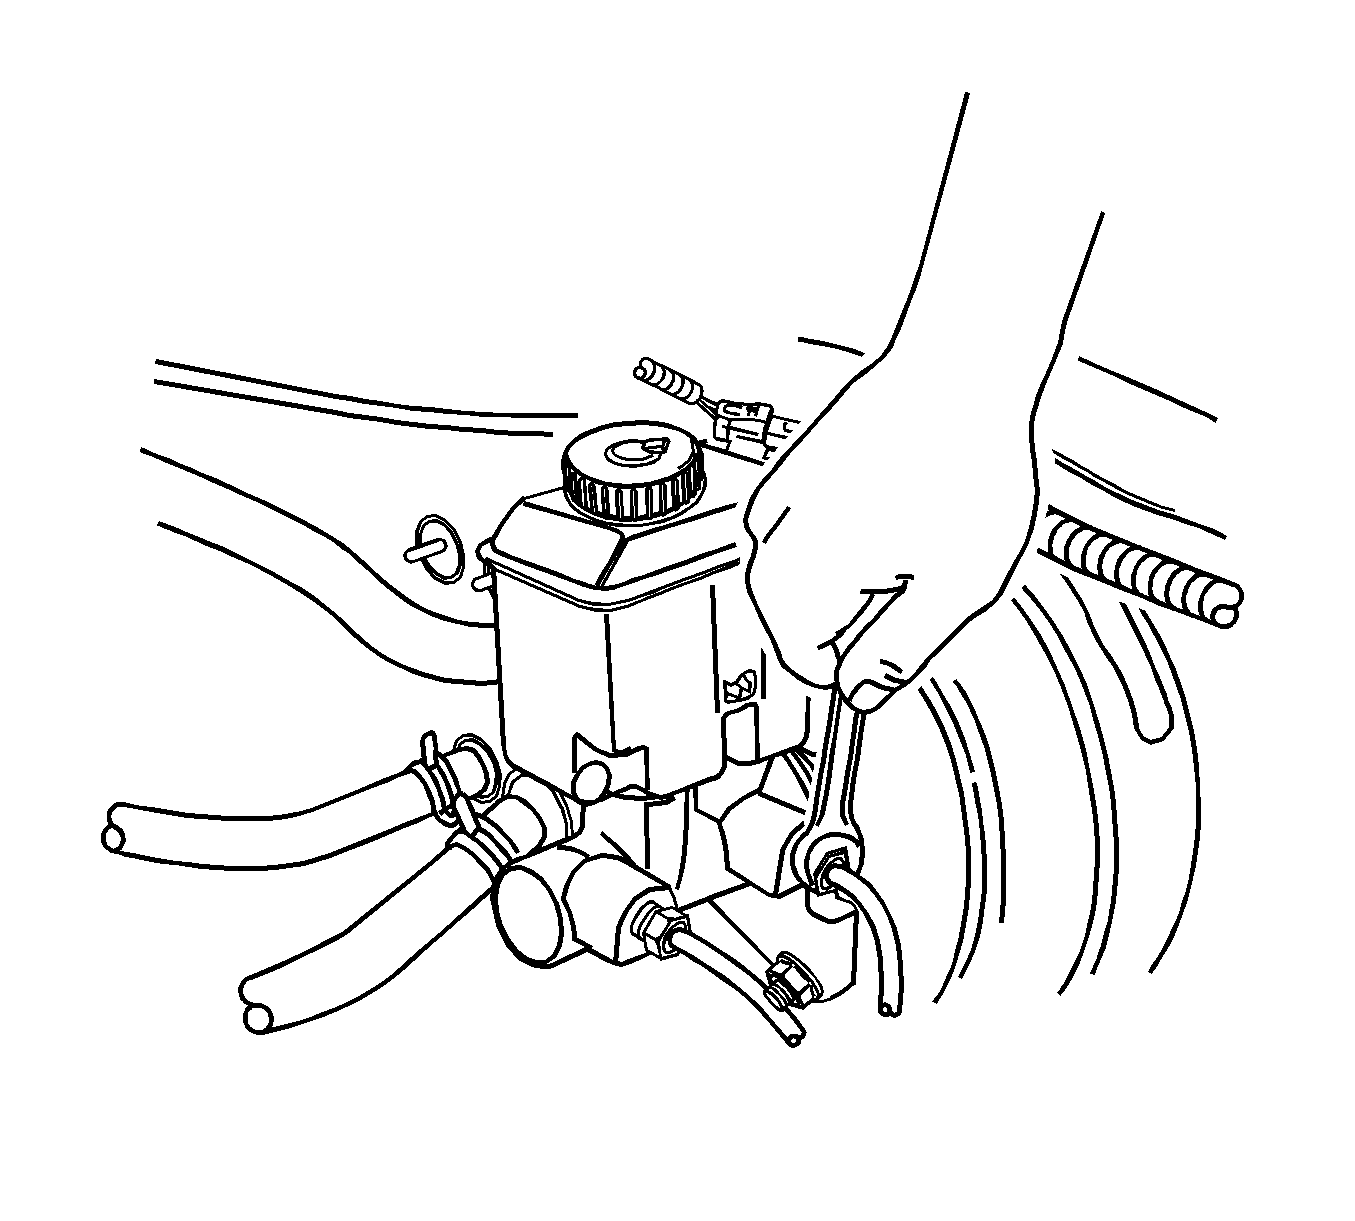
- For vehicles with the antilock brake system (ABS) braking system, disconnect the brake lines from the master cylinder body.
- For vehicles with the non-ABS braking system, disconnect the brake lines from the proportioning valves.
- For vehicles with the manual transaxle, disconnect the clip to the clutch hose connection to the master cylinder and move the clip out of the way.
- Remove the clutch hose from the master cylinder, if equipped.
- Plug the opening to the brake lines to prevent fluid loss and contamination.
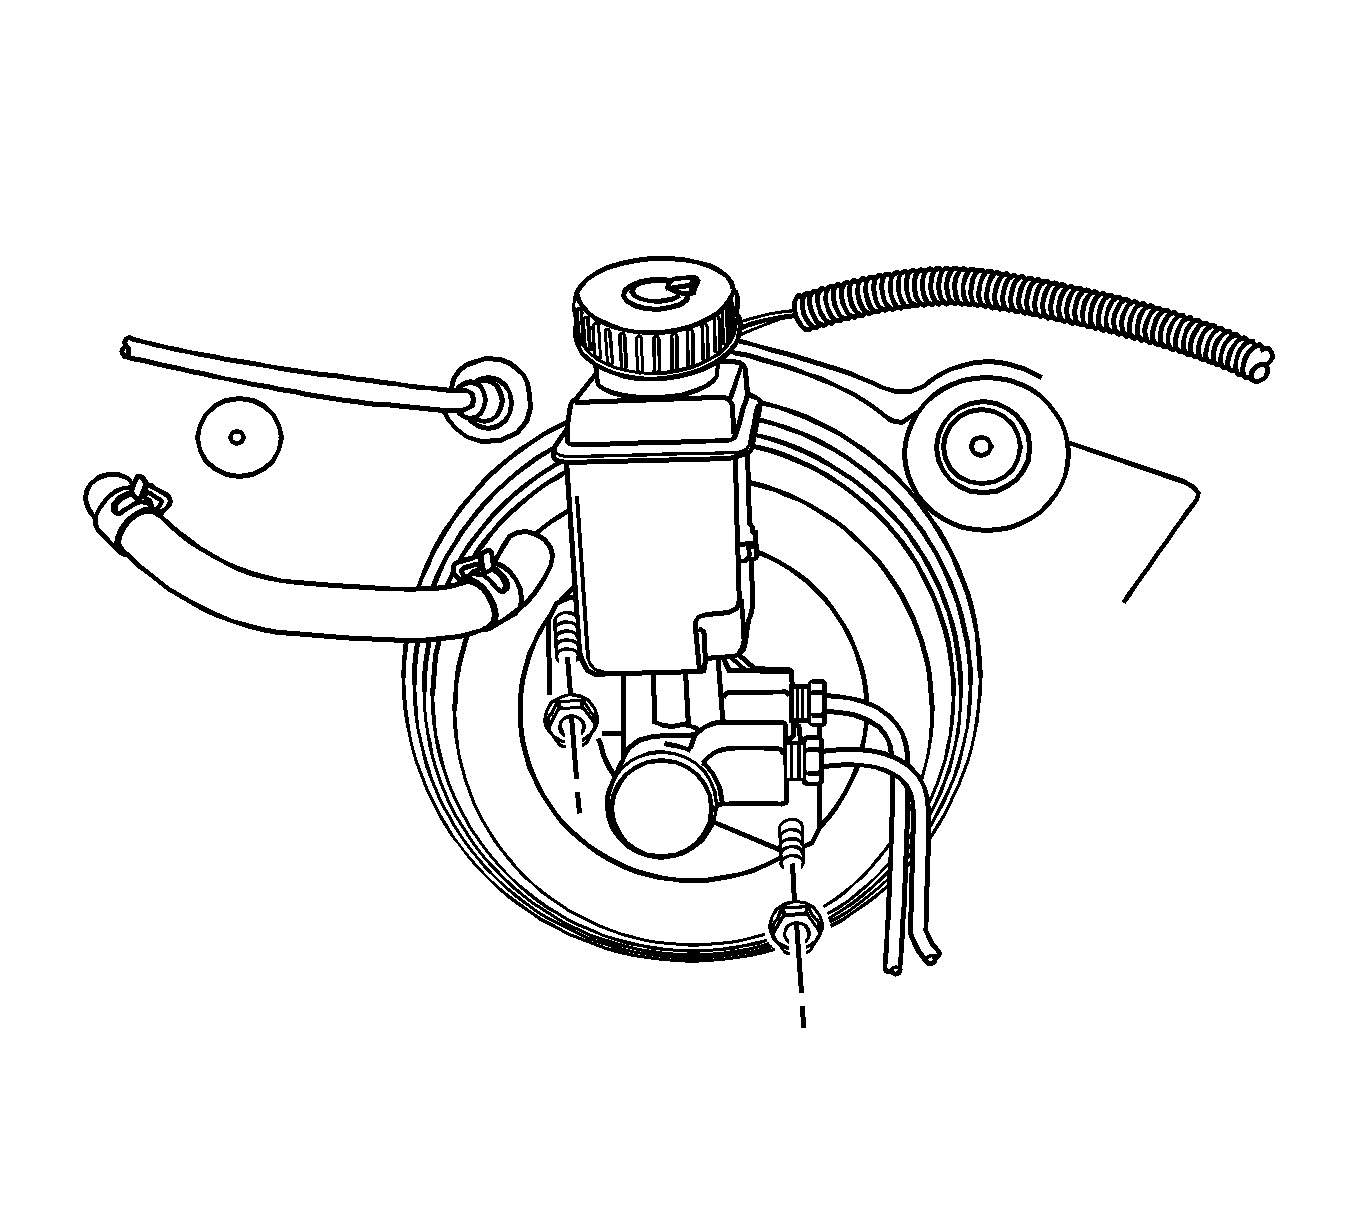
- Remove the attaching nuts from the power booster.
- Remove the master cylinder assembly.
- Drain the brake fluid.


Installation Procedure
- Install the master cylinder assembly with the new attaching nuts and tighten to 18 N·m (13 lb ft).
- For vehicles with the ABS braking system, as shown, connect the brake lines to the cylinder body.
- For vehicles with the non-ABS braking system, connect the brake lines to the proportioning valves and tighten to 16 N·m (12 lb ft).
- For vehicles with the manual transaxle, connect the clip to the clutch hose connection to the master cylinder reservoir, if equipped.
- Connect the electrical connector.
- Add brake fluid.
- Inspect for leaks and recheck the fluid level.
- Bleed the brake system. Refer to Hydraulic Brake System Bleeding.
Caution: Refer to Fastener Caution in the Preface section.


