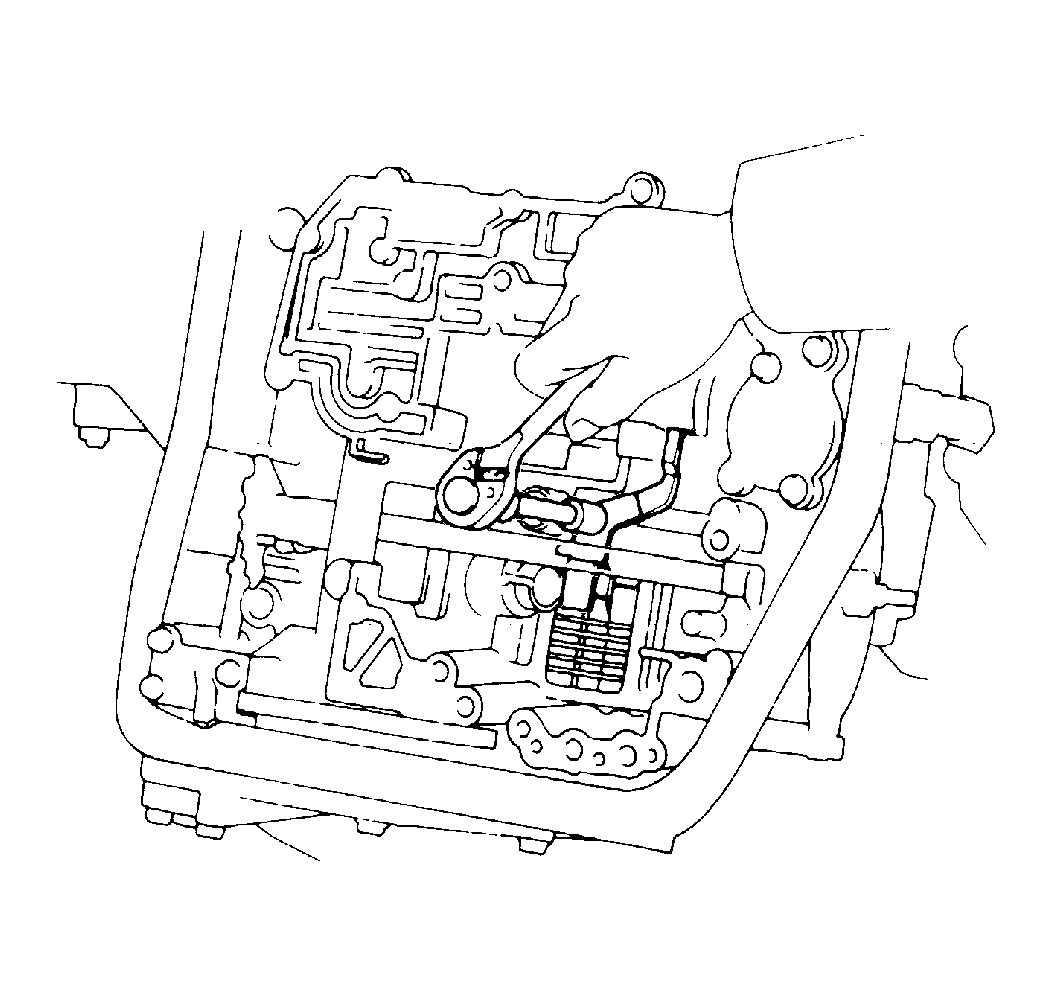
Important: For assistance in disassembling the transaxle, refer to Valve Body Components
in
Automatic Transmission Components
.
- Remove the oil cooler pipes.
- Remove the manual shift lever.
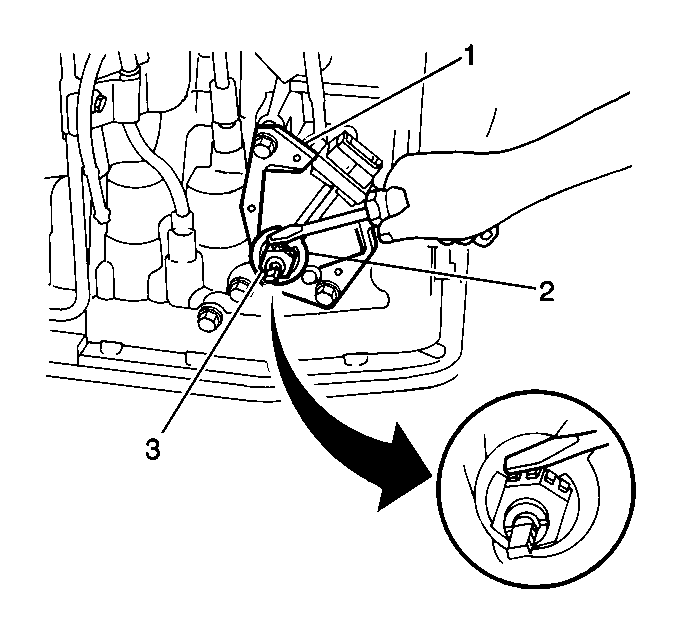
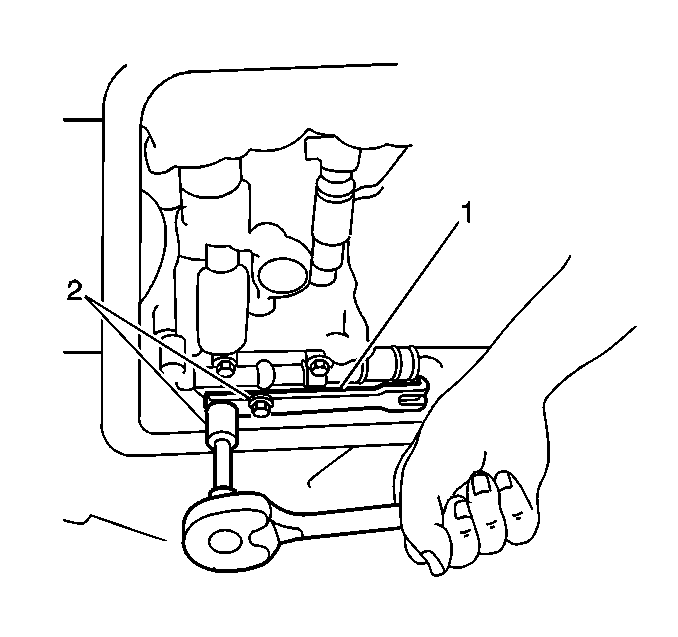
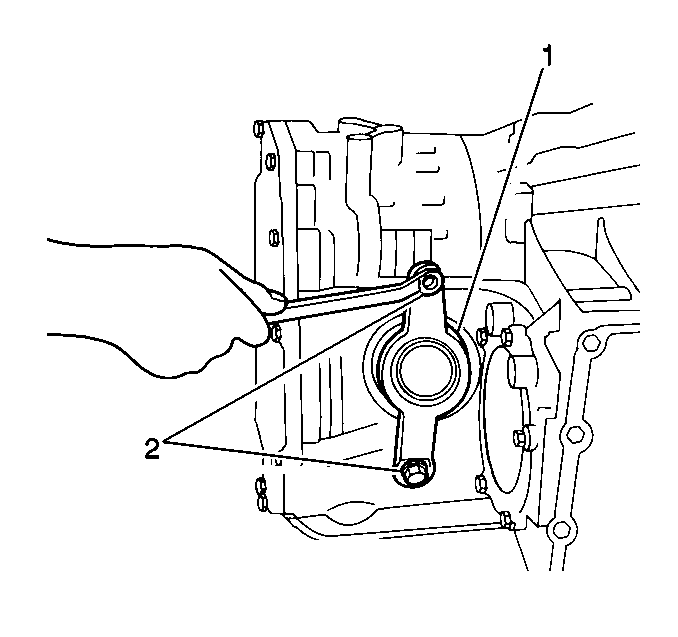
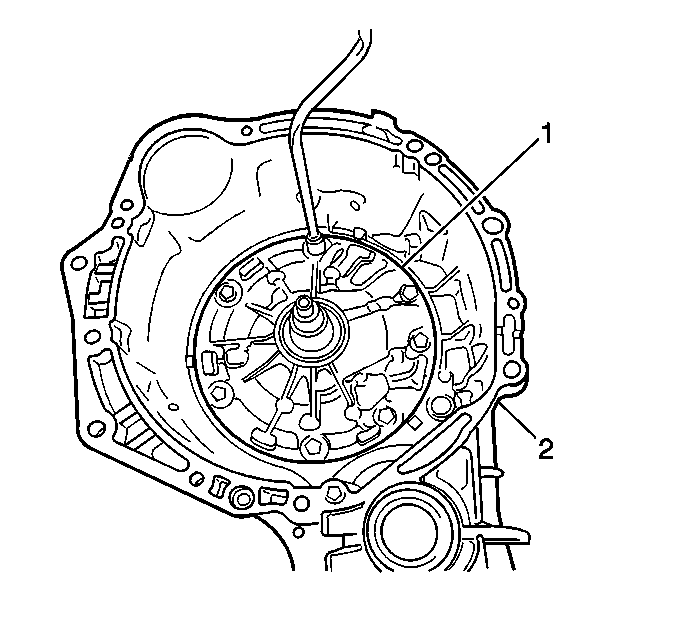
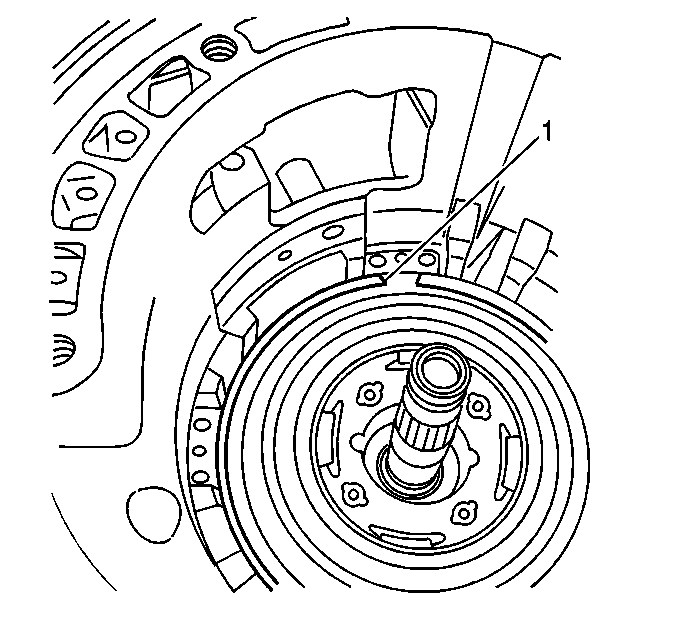
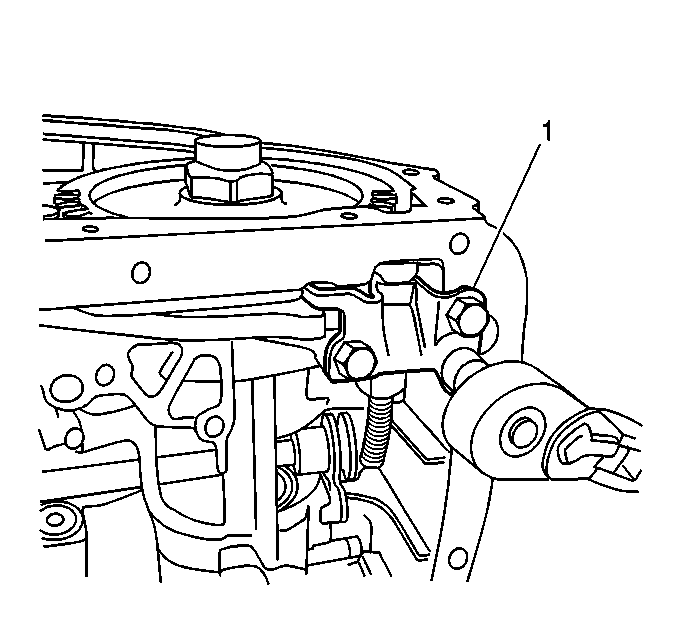
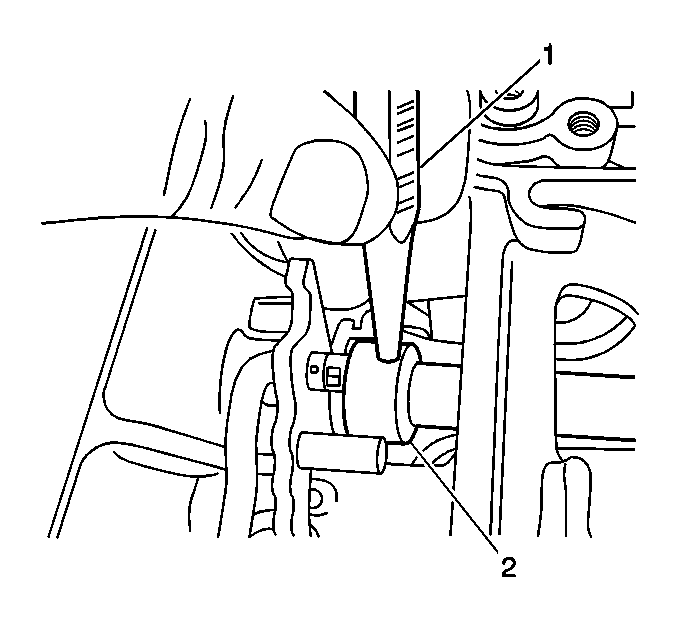
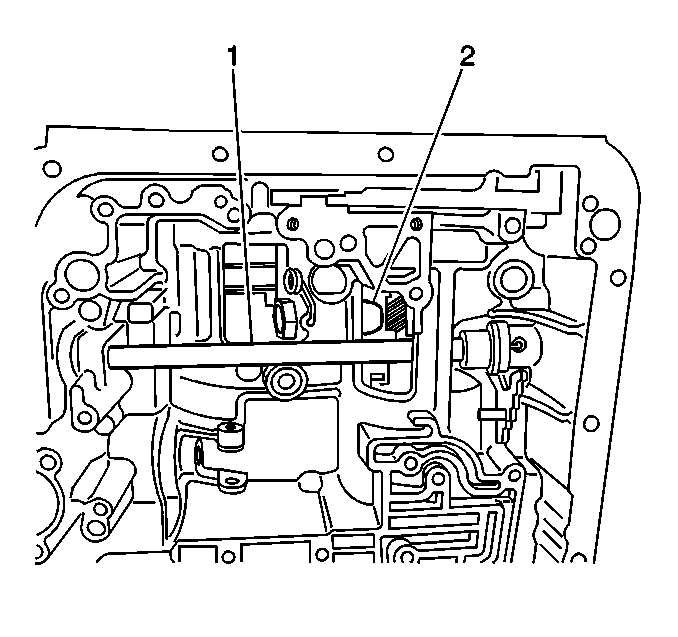
- Remove the park/neutral position (PNP) switch (1) .
- Remove the following components:
| • | The fluid level indicator |
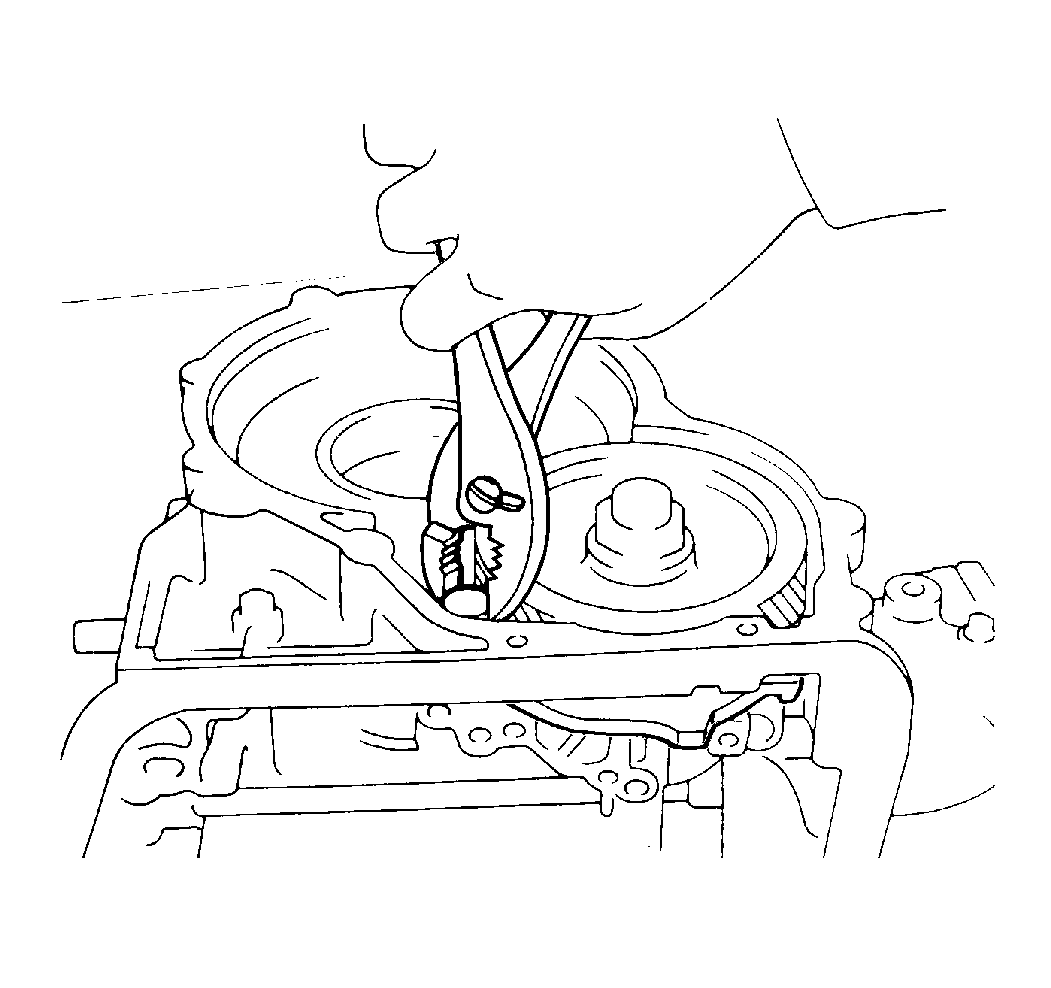
- Remove the throttle valve cable retaining plate (2) and the bolt.
- Rotate the transaxle and
remove the following components:
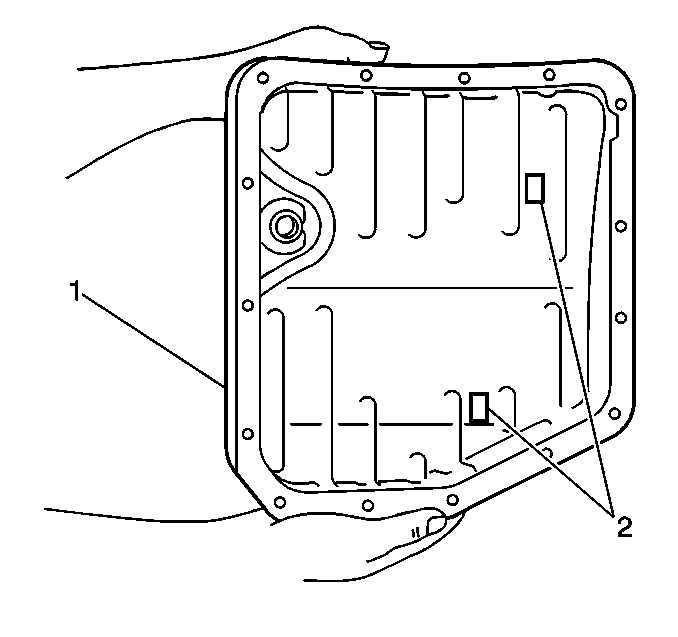
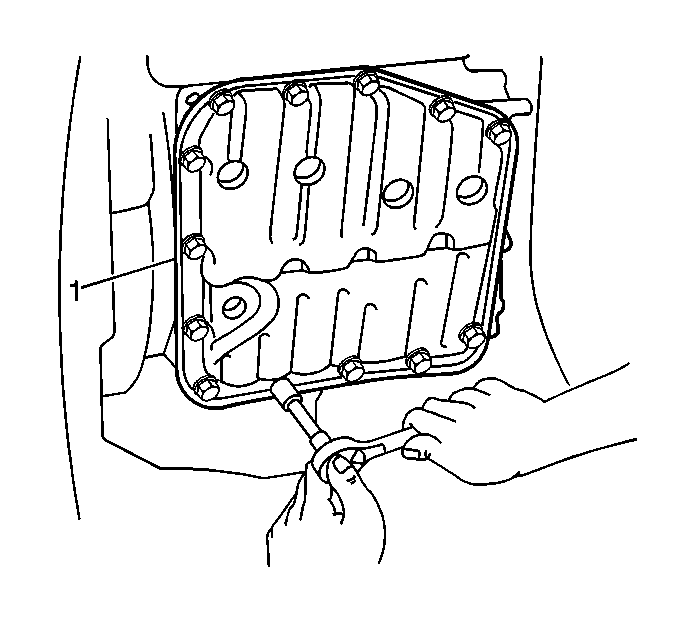
- Inspect the particles
in the pan (1).
- Remove the magnet.
Use the magnet to collect any steel chips in the pan.
- Inspect the steel chips and the particles in order to determine
what type of wear has occurred in the transaxle:
| • | Steel (magnetic) (2) particles and chips indicate wear
in the following areas: |
| • | Brass (non-magnetic) particles and chips indicate wear in the
bushing. |
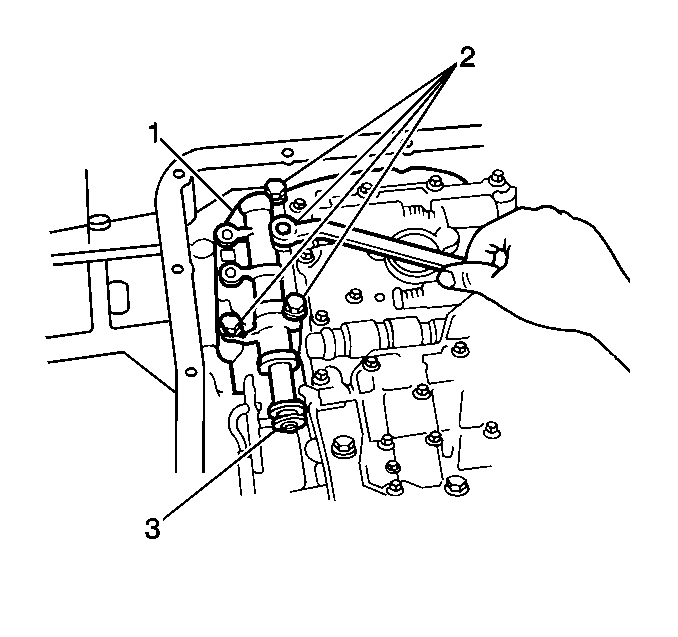
- Remove the oil tube bracket.
- Remove the four oil tubes.
- Remove 2 bolts (2),
the spacer plate, and the manual detent spring (1).
- Remove the following components:
| 13.2. | The manual valve (3) |
| 13.3. | The manual valve body (1) |
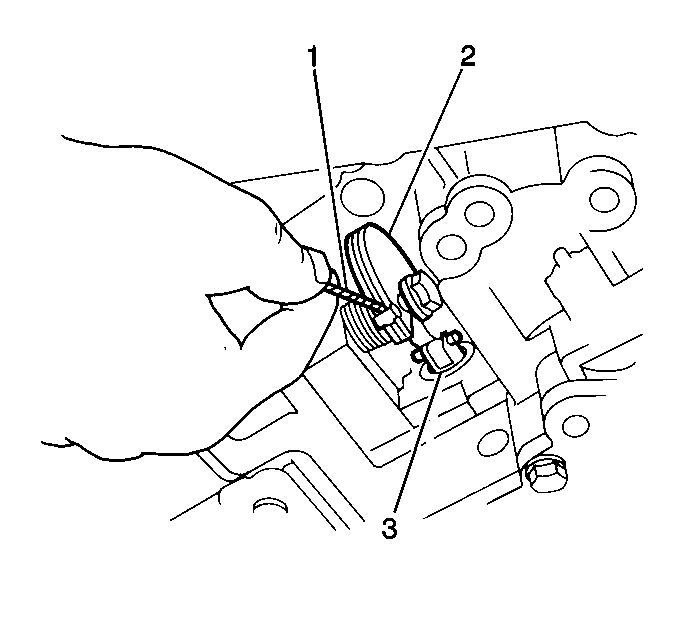
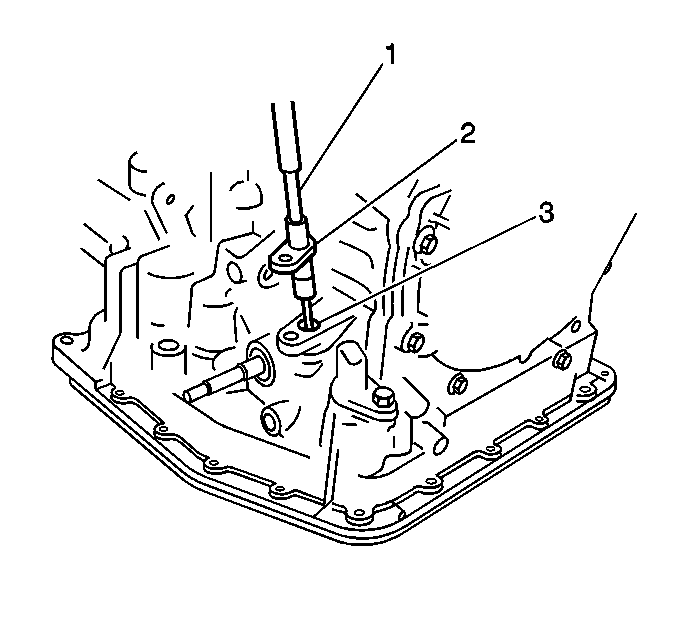
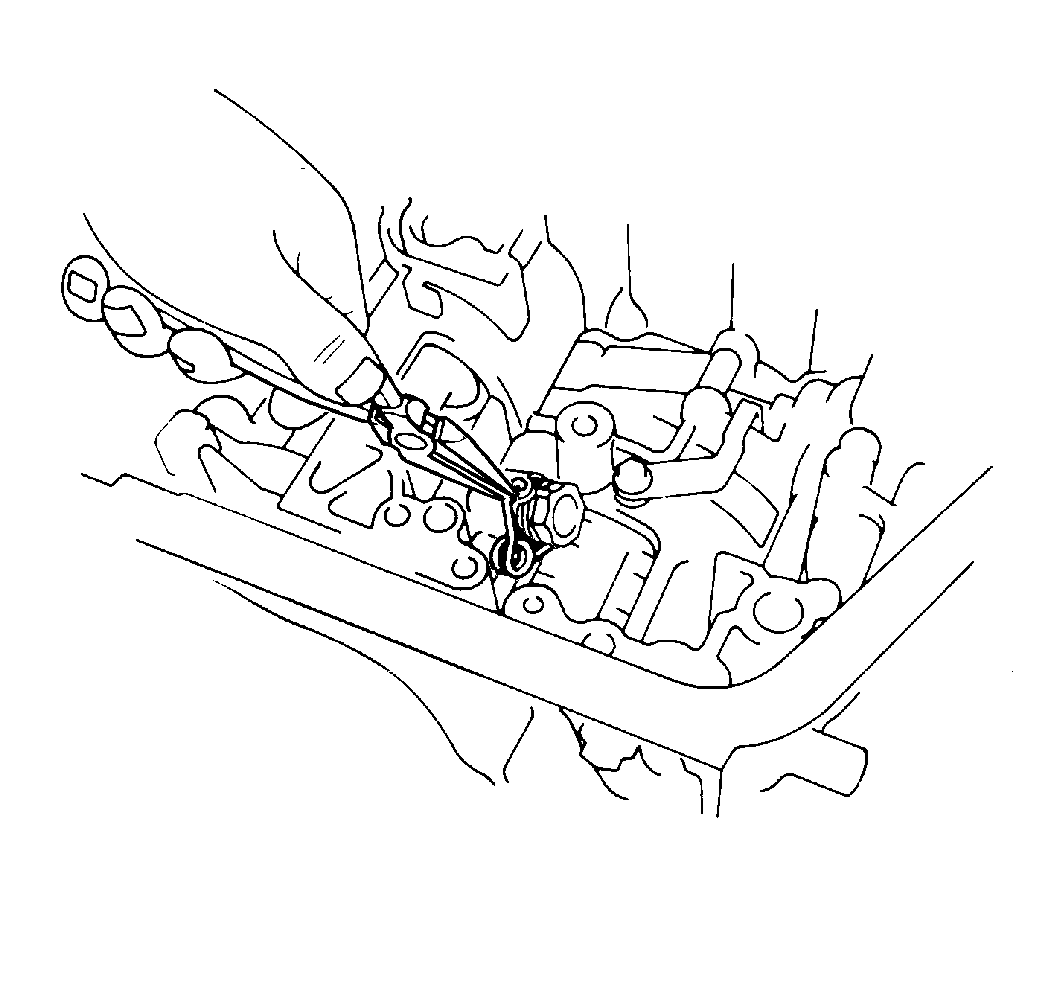
- Disconnect the throttle
valve cable from the throttle valve cam (2).
- Remove the throttle valve cable (1) from the case.
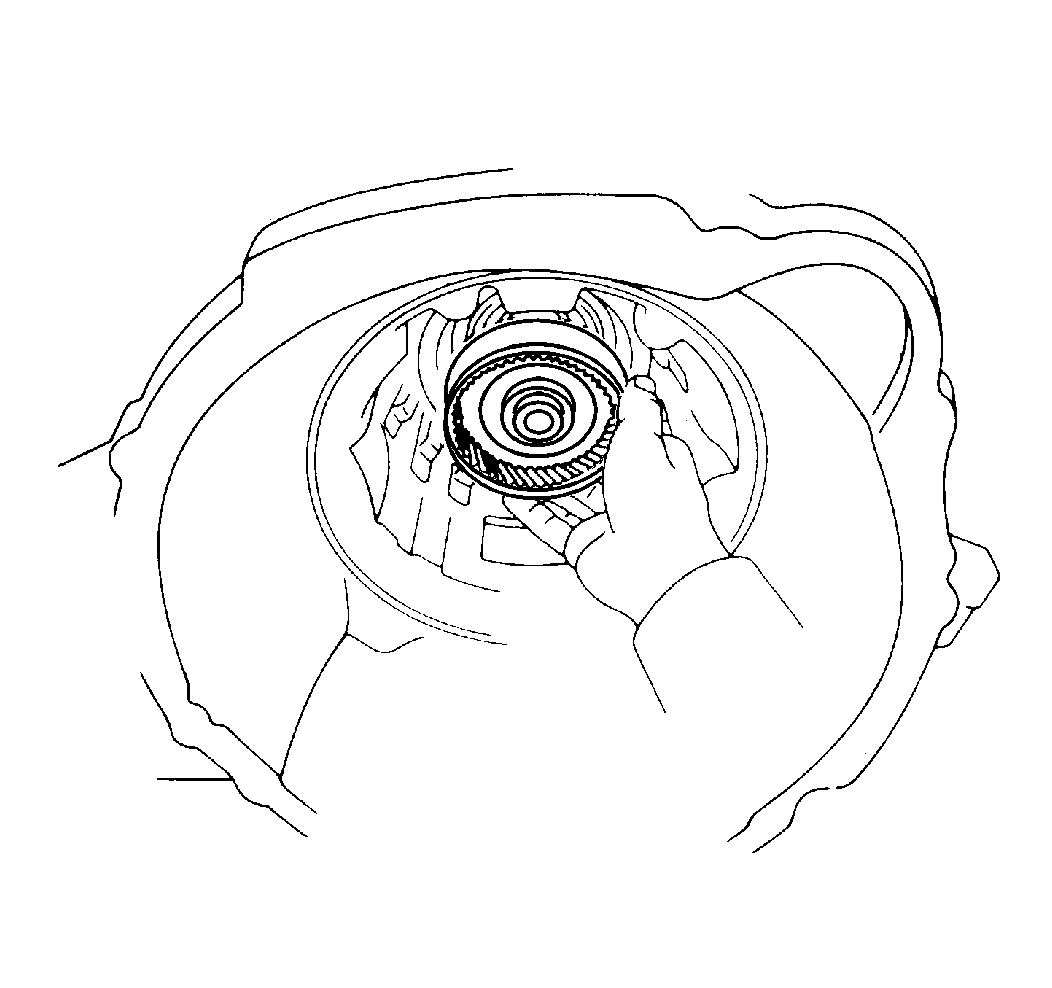
- Remove the valve body.
Set the valve body aside.
- Remove the second brake
drum gasket.
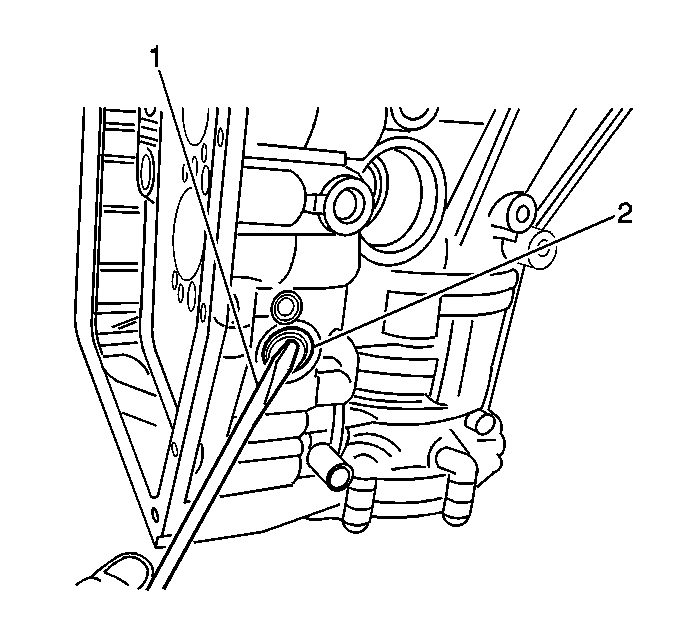
- Remove the governor apply
gasket (1).
- Remove the governor oil strainer (filter screen) (2).
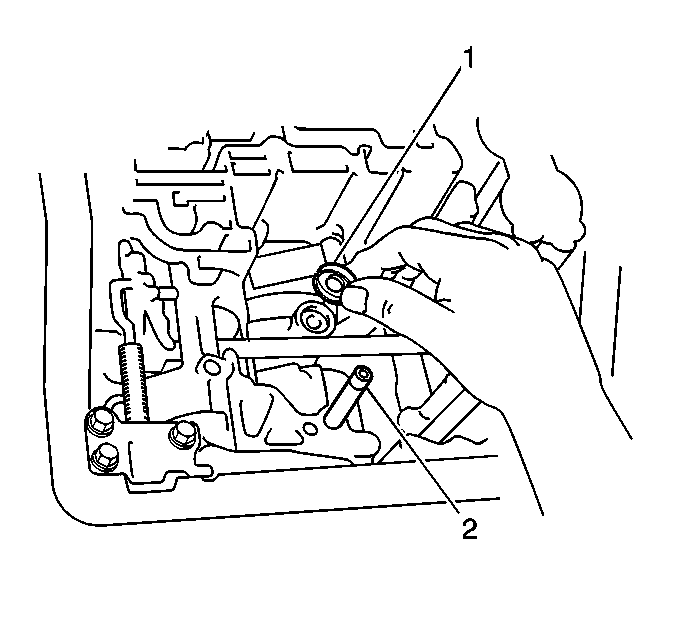
- Remove the accumulator
pistons and the springs using the following procedure:
| 20.1. | Slowly loosen the five bolts (1) until the spring tension
is released. |
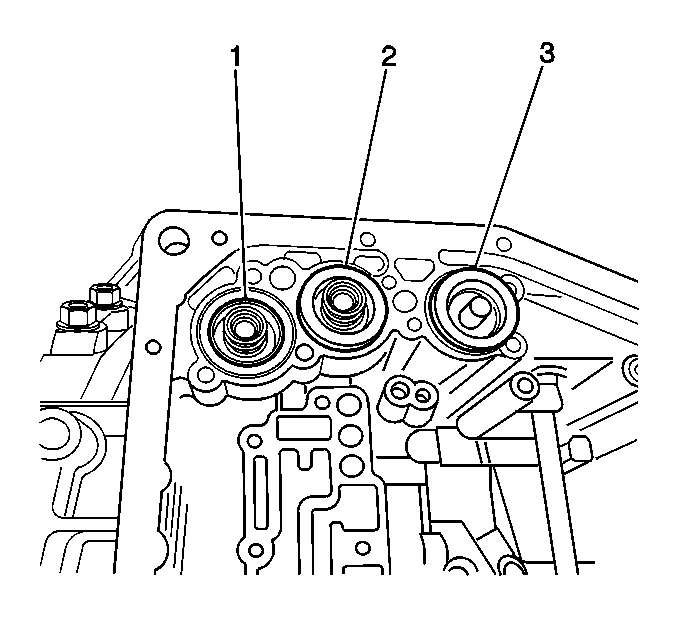
- Remove 3 pistons
(1, 2, 3) and 3 springs.
- If necessary, use low
pressure compressed air in order to pop out the piston. Force air into the
hole, then remove the piston and the spring.
- Remove 2 bolts and remove the governor cover retainer (1).

- Remove the governor using
the following procedure:
| 24.1. | Remove the governor cover (1). |
| 24.2. | Remove the O-ring seal (2). |
| 24.3. | Remove the governor thrust washer. |
| 24.4. | Remove the governor body adapter (6) . |
| 24.5. | Remove the governor (4). |
- Remove the following components:
- Remove the torsion spring.
- Remove the governor pressure adapter.
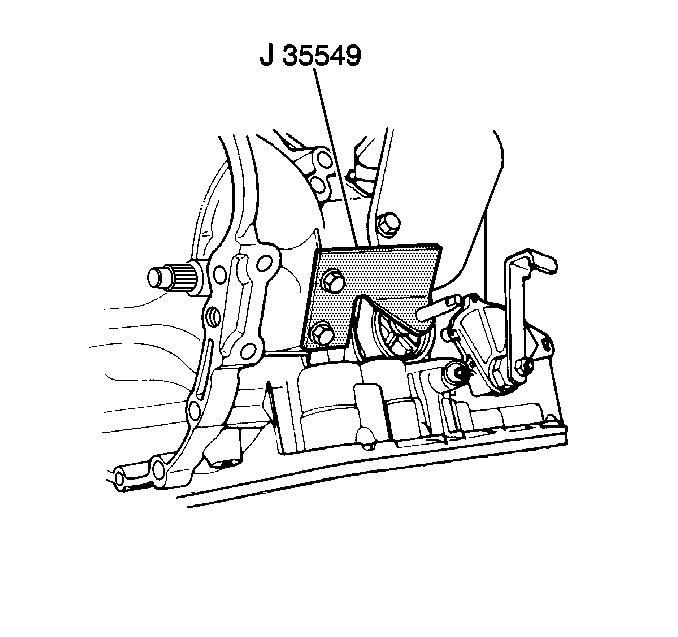
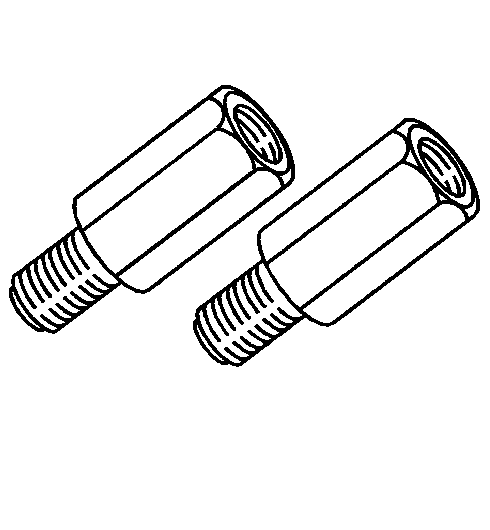
- Install the J 35549
.
Remove the snap ring.
- Carefully remove the second
coast brake servo components.
- Remove the accumulator piston assembly.
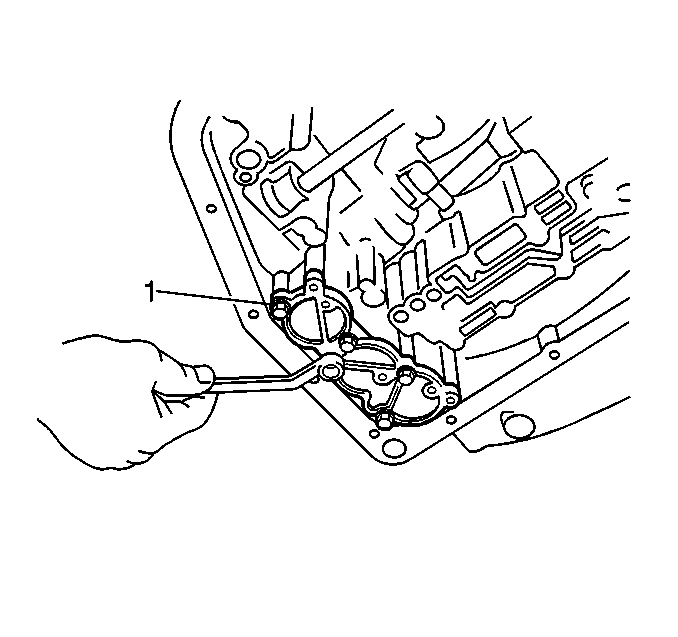
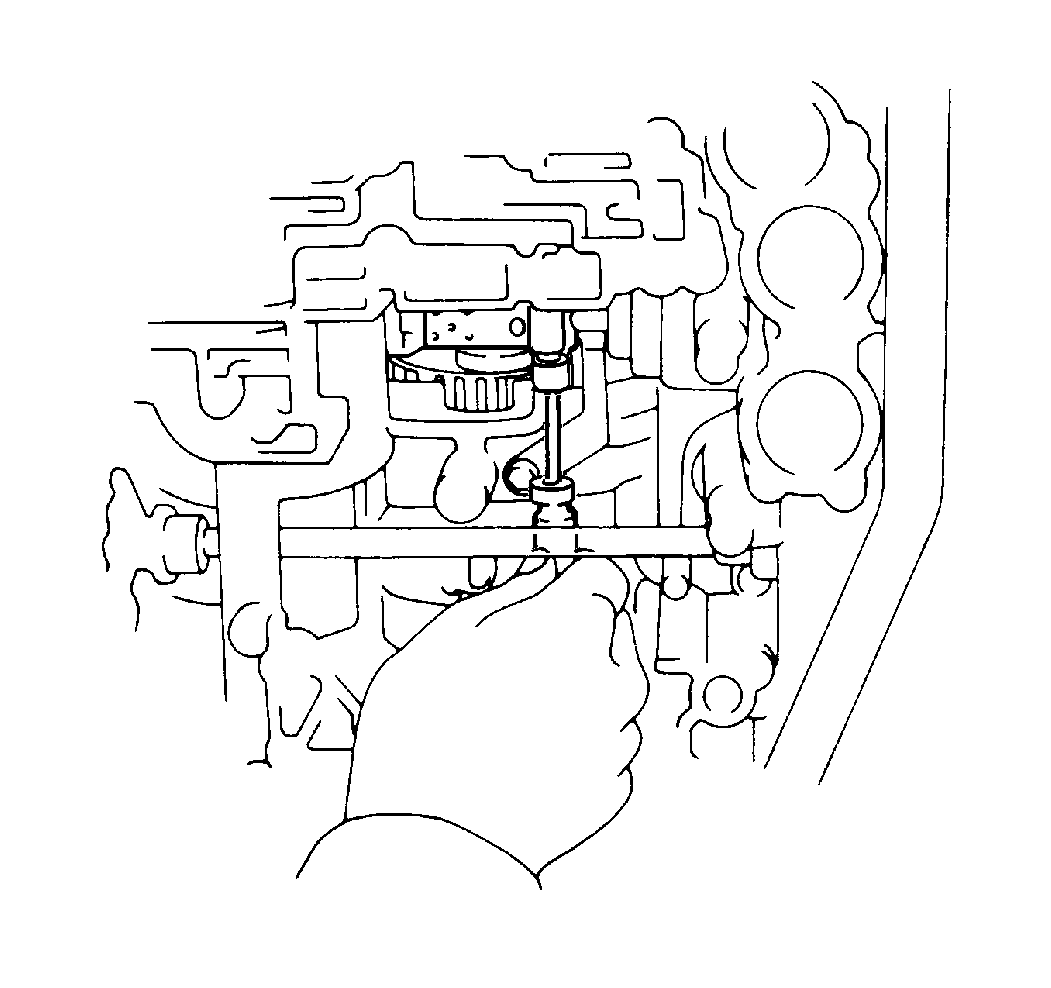
- Remove the 7 bolts
that attach the oil pump (1) to the transaxle case (2).

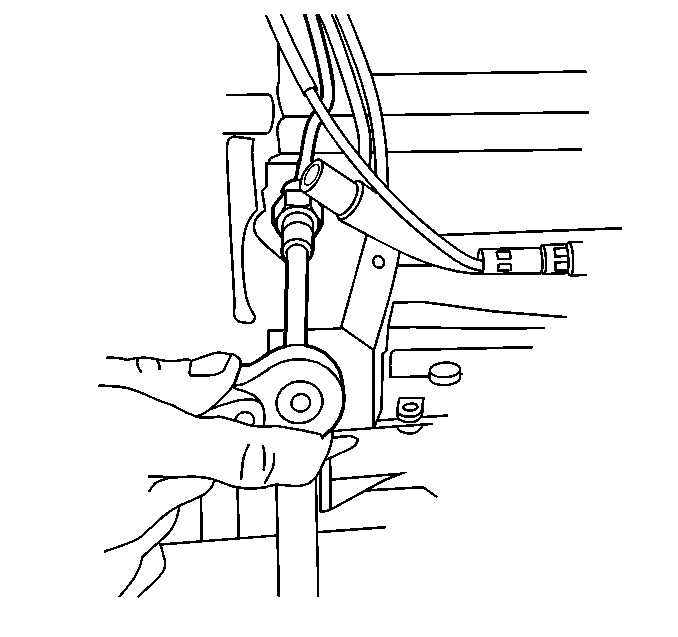
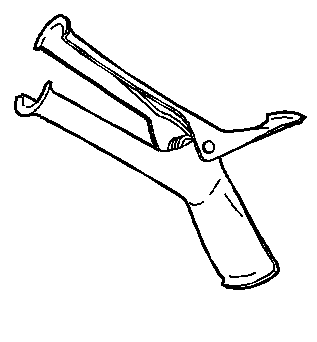
- Use J 6125-B
and J 35495
in order to remove the pump assembly and the O-ring seal.
Important: If the second brake band comes out with the clutch assembly, push the
band back into the case.
Do not catch the direct clutch drum on the case during removal.
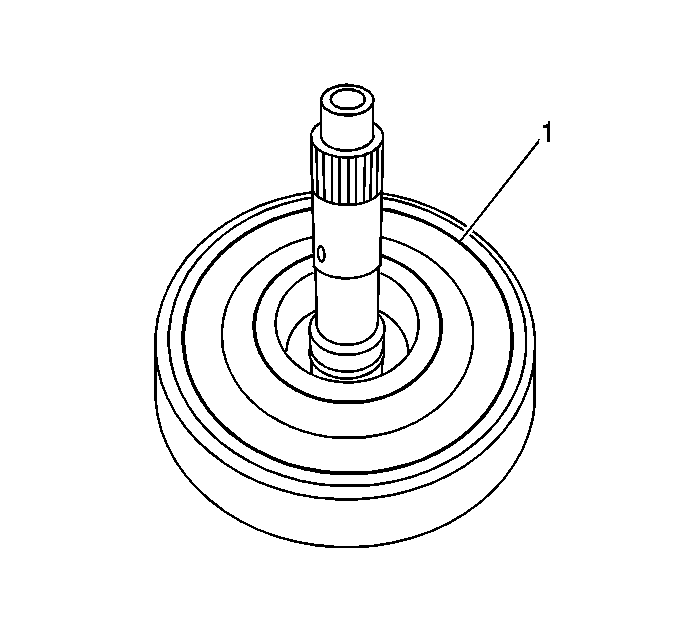
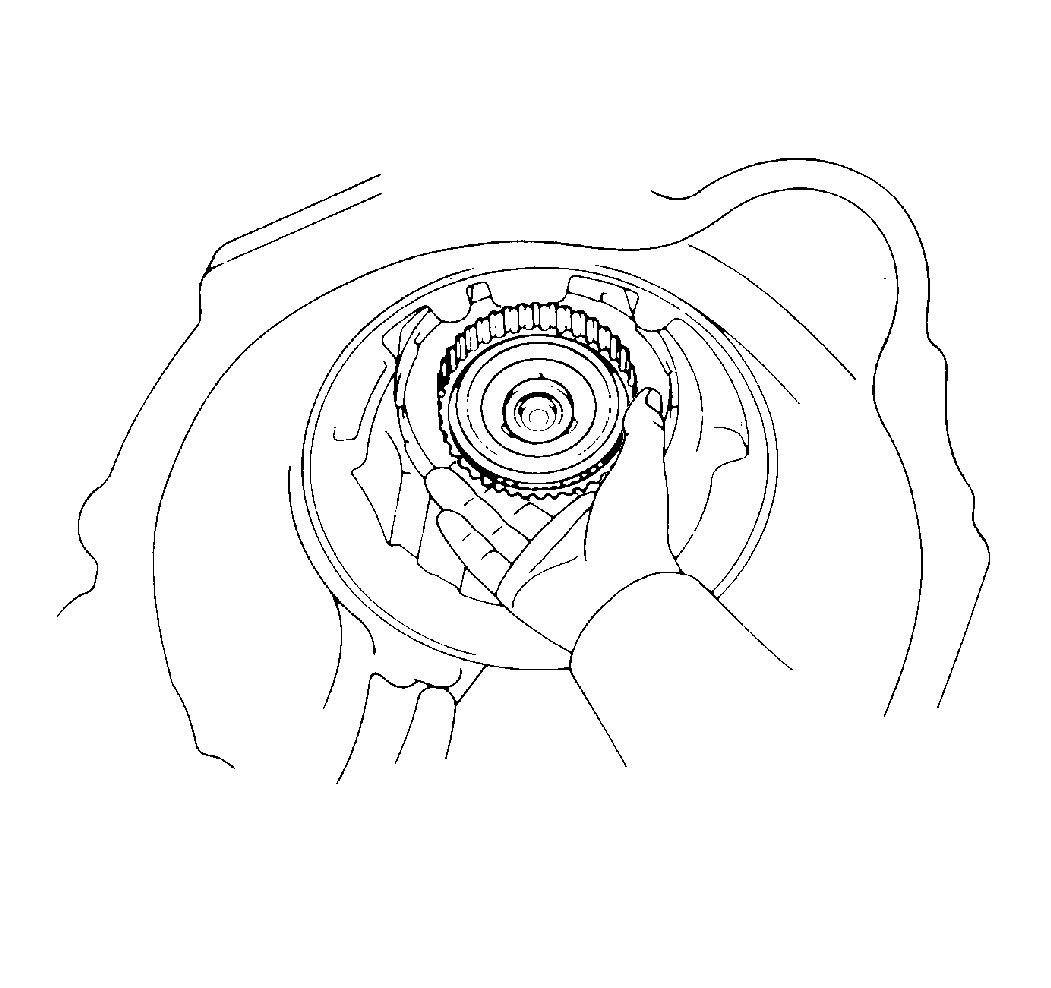
- Remove the direct and forward clutch assembly (1).
- Remove the thrust washer.
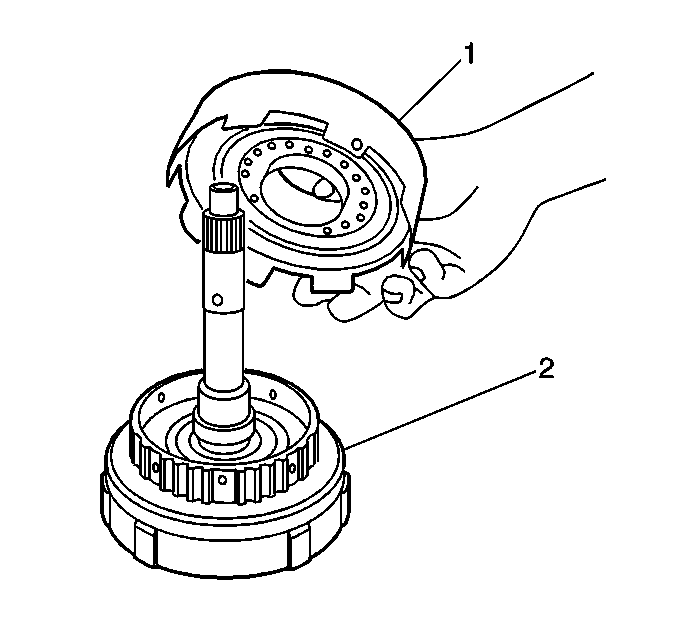
- Remove the direct clutch
drum (1) from the forward clutch drum (2).
Set the drums aside.
- Push the pin of the second
coast brake band with a small screwdriver.
Remove the pin from the bolt hole of the oil pump mounting.
- Remove the second coast brake band.
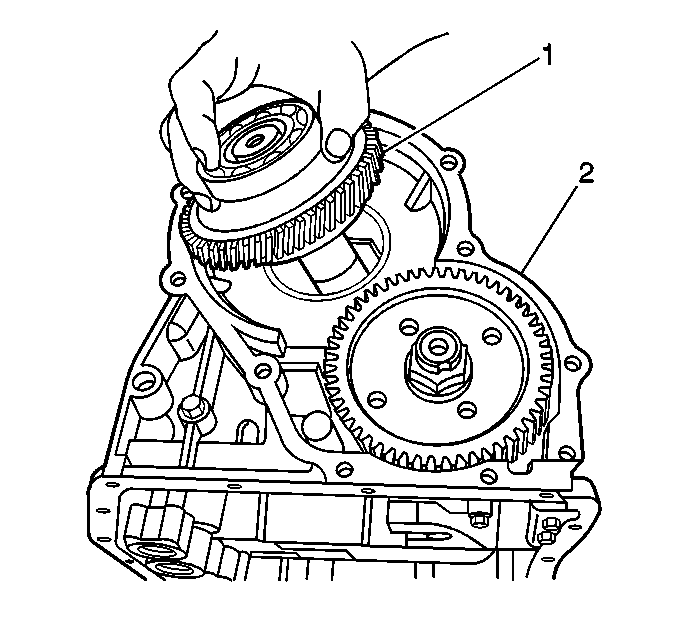
- Remove the front planetary
ring gear.
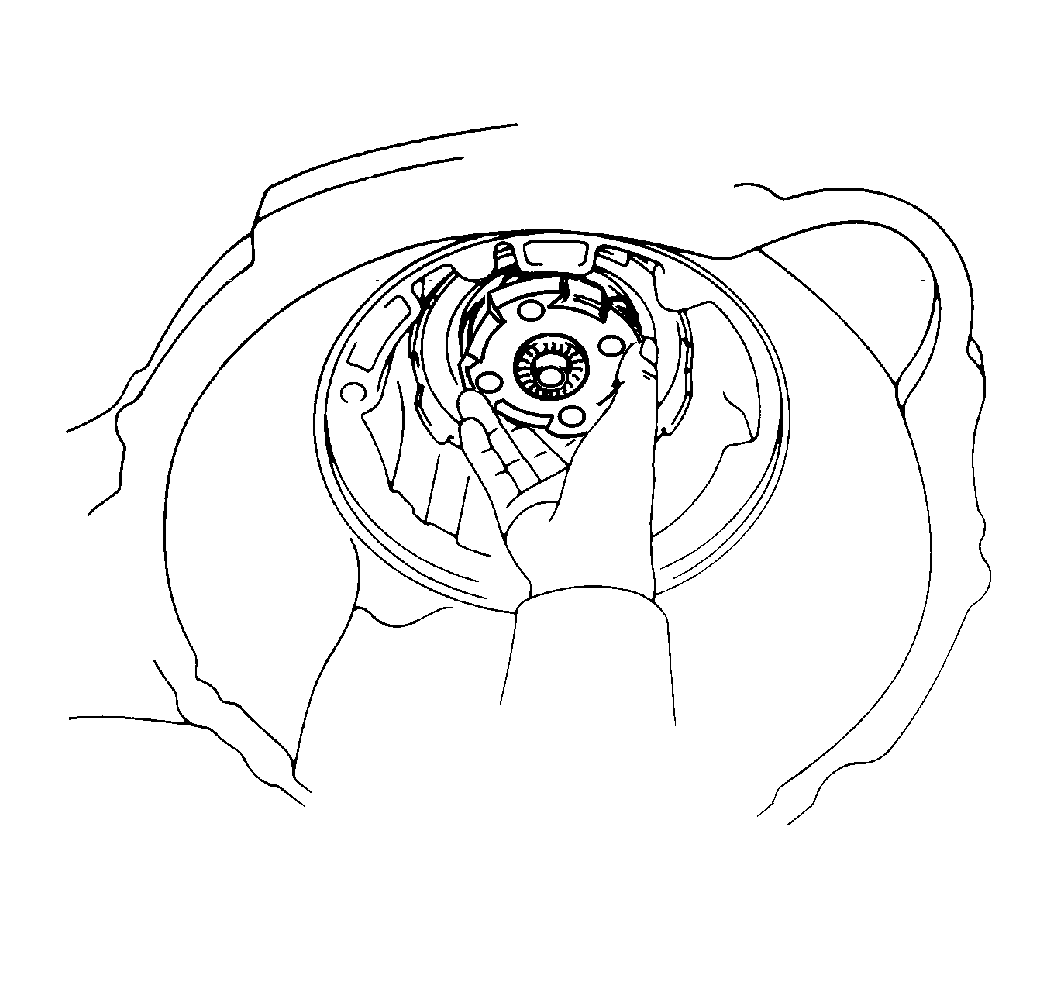
- Remove the planetary gear.
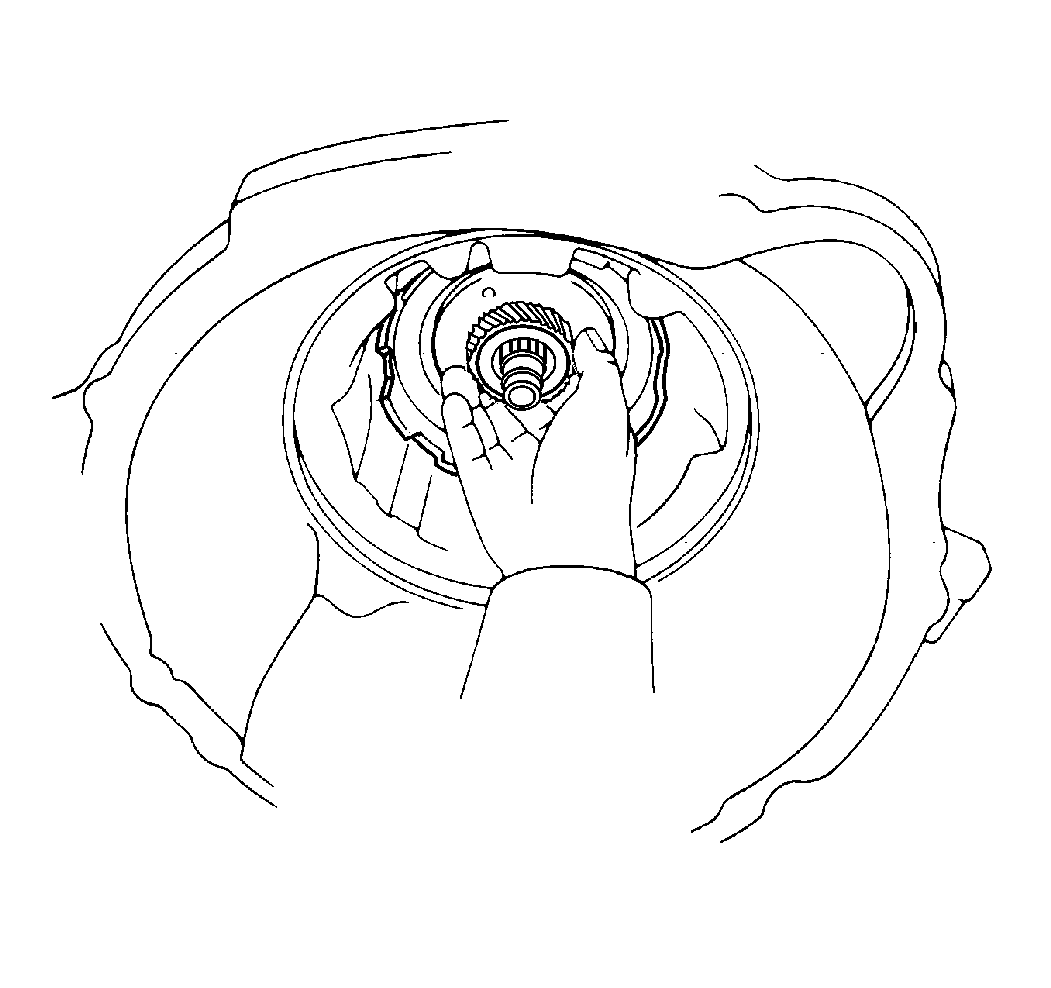
- Remove the following components:
| • | The sun gear input drum |
| • | The No. 1 one-way clutch |
- Remove the second coast
brake band guide.
- Remove the snap ring (1)
that holds the second brake drum to the case.

- Remove the second brake
drum and the return springs.
If the piston is difficult to remove, lightly tap the drum with a wooden
block.
- Remove the following components:
| • | The clutch backing plate |
| • | The one-way clutch thrust washer |

- Remove the snap ring that
holds the No. 2 one-way clutch outer race (1) to
the case.

- Using J 38358-A
, remove the No. 2 one-way clutch
(1).
- Remove the rear planetary gear.
Watch for the thrust washer of the planetary carrier on both sides.
- Remove the following components:
| • | The rear planetary ring gear |
| • | The plastic thrust washer |
- Remove the snap ring that holds the pressure plate to the case.
- Remove the following components:
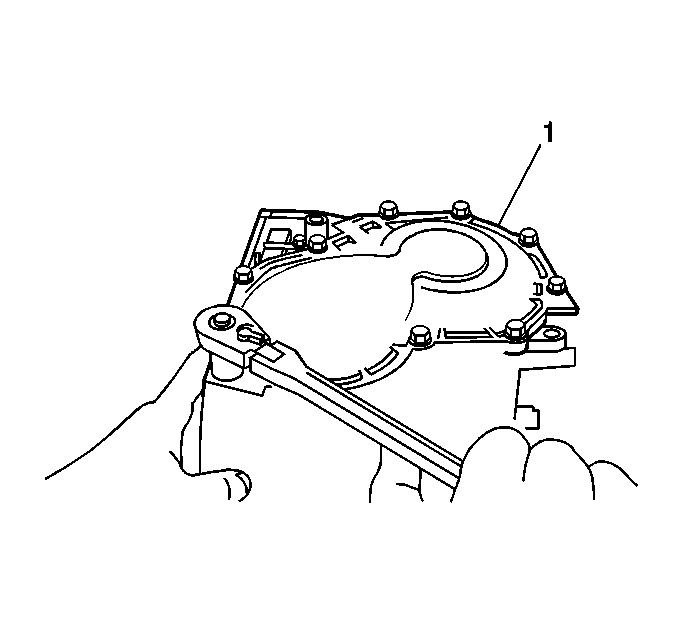
- Remove the eleven bolts
that hold the transaxle rear cover (1) to the transaxle case.
- Remove the transaxle rear
cover (1) .
- Remove the intermediate
shaft (1) .
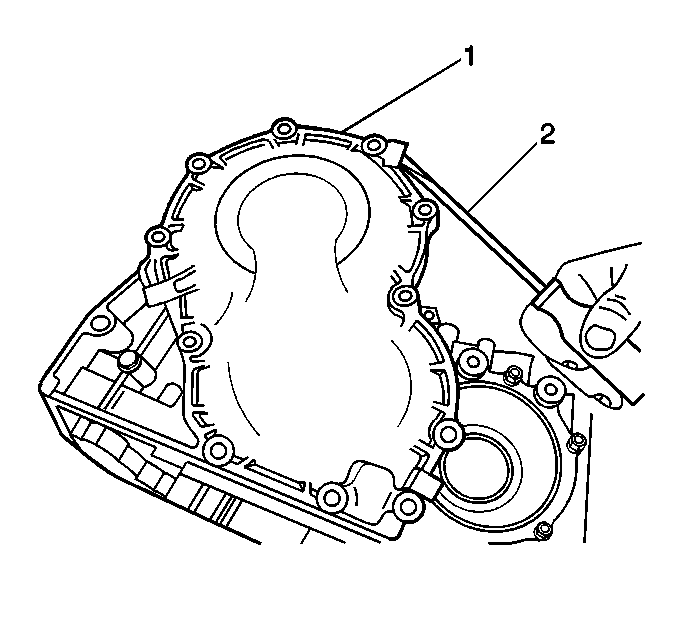
- Remove the case gasket (silicon) material.
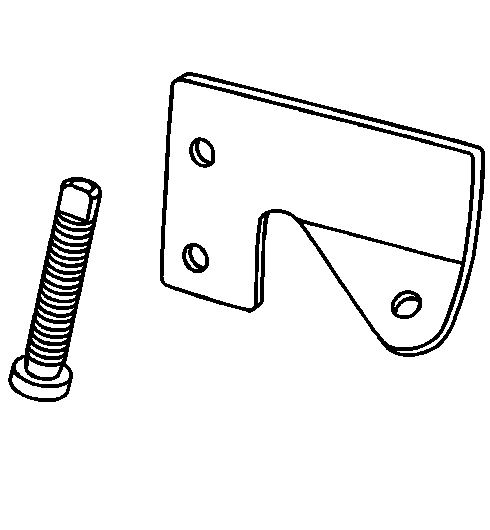
- Remove the parking lock
pawl bracket (1) .
- Remove the parking lock rod.
- Remove the following components:
| • | The parking lock pawl shaft |
- Remove the manual shaft retaining clip.
- Unstake the roll pin sleeve
(2) and remove the roll pin.
- Remove the manual shaft
(1) .
- Remove the manual shaft
seal (2) .
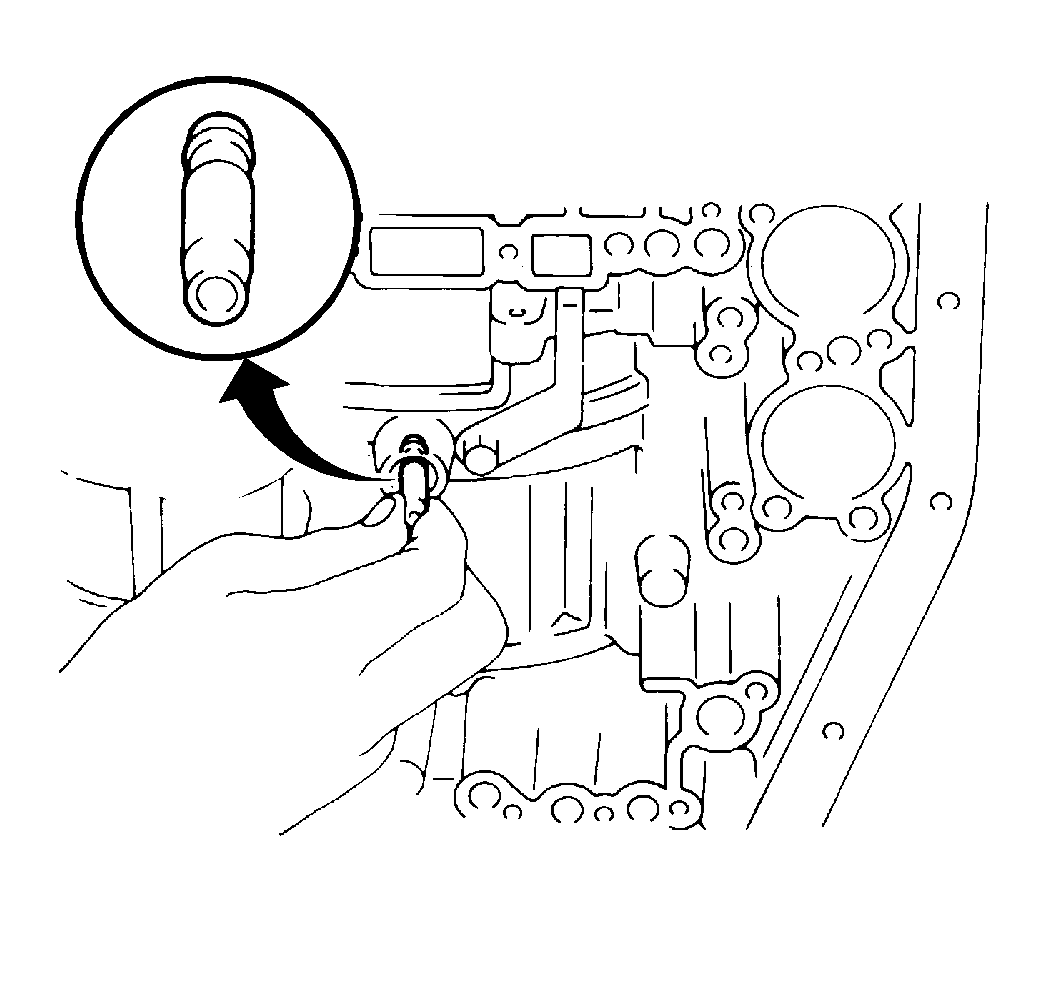
- Remove the governor sleeve.
