- Coat the new O-ring with J 36850
or equivalent.
- Install the new O-ring on the piston.
Important: Do not damage the O-ring during piston installation.
- Install the piston into the forward clutch drum.
Verify that the cup side of the piston faces upward.

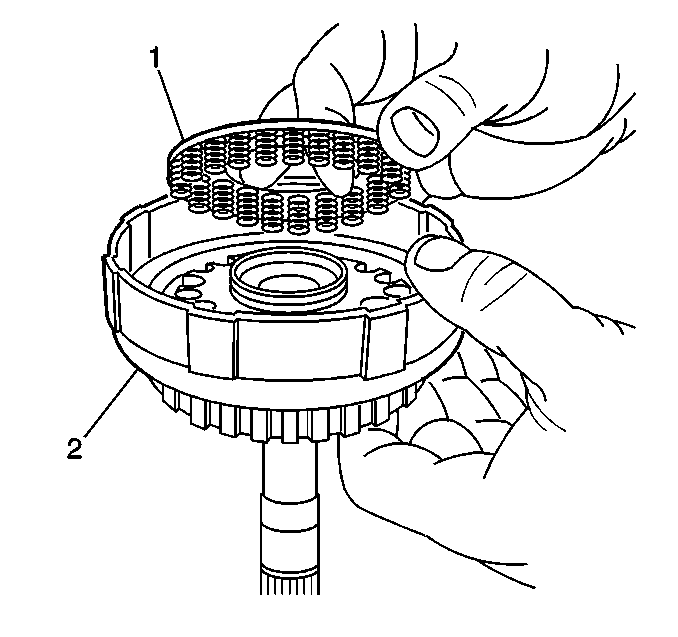
- Install the following components:
| 4.1. | The 18 piston return springs |

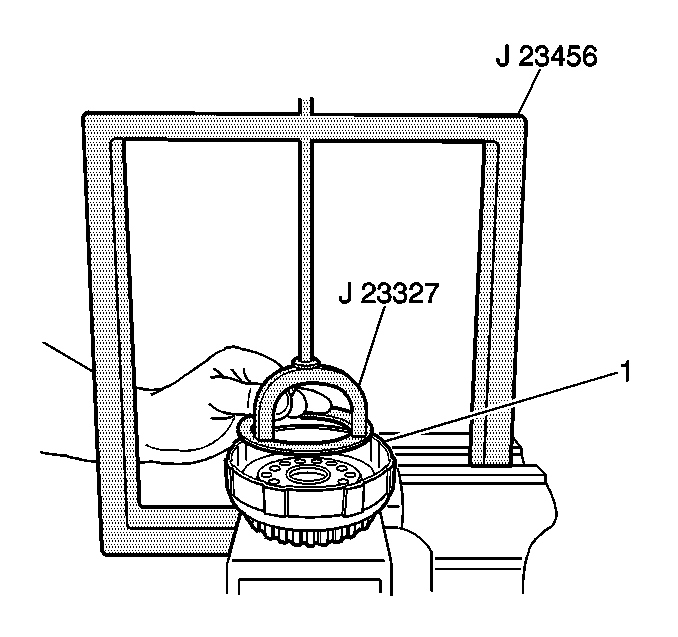
- Using J 25018-A
and J 23327-1
, compress the return springs.
- Install the snap ring in the groove.
Verify that the end gap on the snap ring is not aligned with the spring
retainer claw.

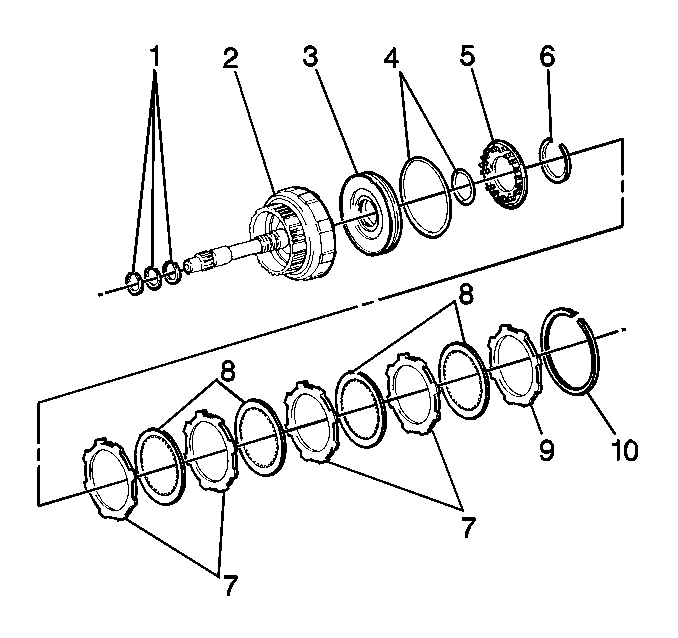
Important: Install the plates and the discs in order:
Alternate the plates and the discs.
- Install the following components:
Install the flange with the flat end facing downward.
- Install the outer snap ring (10).
Verify that the end gap of the snap ring is not aligned with any of
the cutouts.
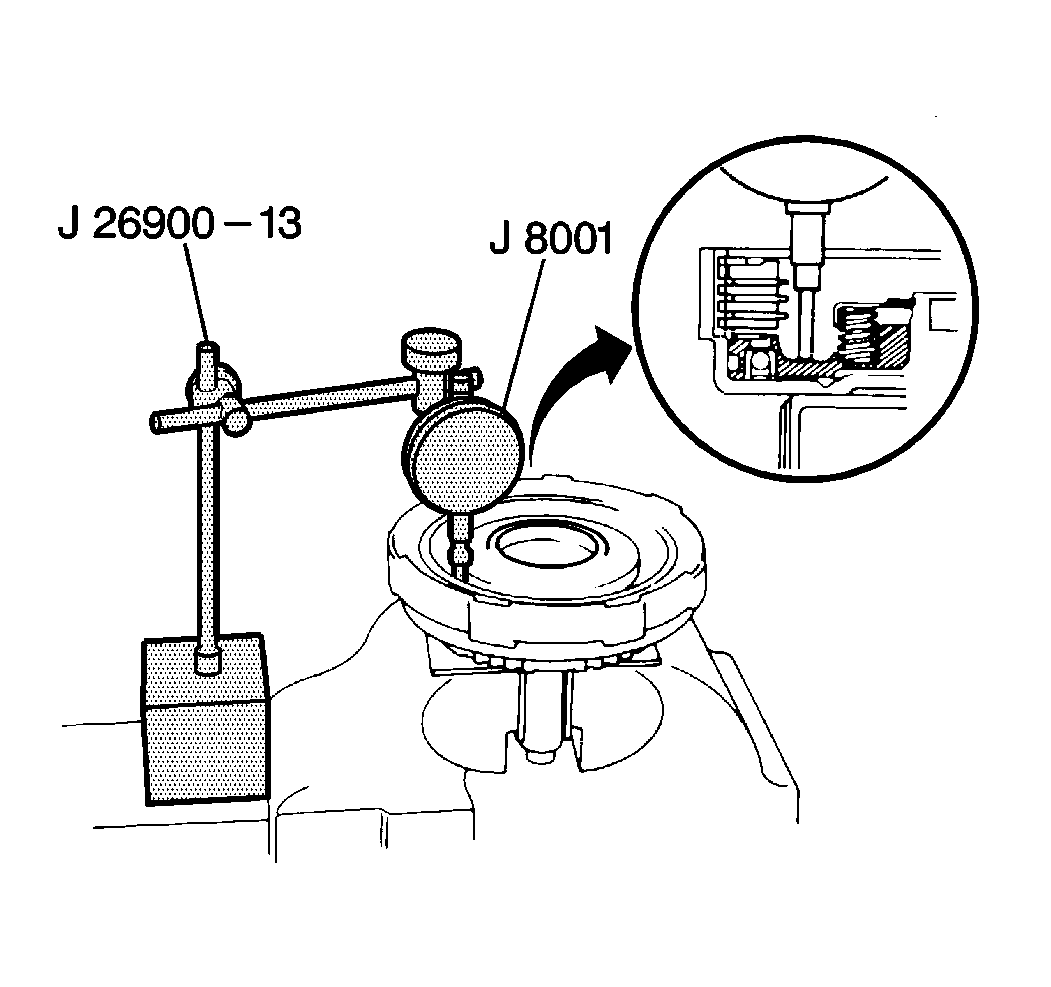
- Use compressed air in order to inspect the stroke of the forward
clutch.

- Using J 8001
and J 26900-13
, apply
compressed air into the oil passage with the shaft.
- Verify that the piston moves properly.
- If the piston does NOT move properly, disassemble and inspect
the forward clutch.


