Tools Required
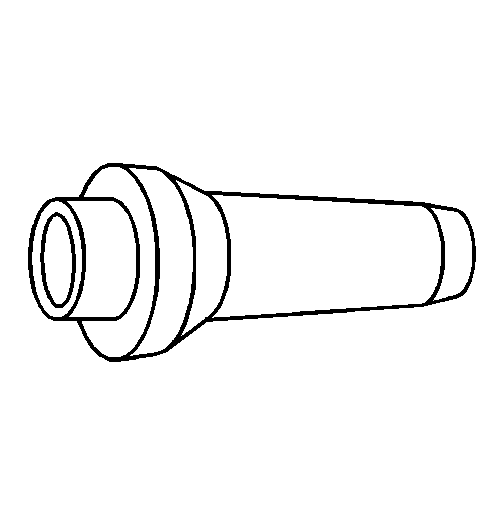
J 9617 Oil Pump
Seal Installer
Disassembly Procedure
- Remove the bushing from the stator shaft.

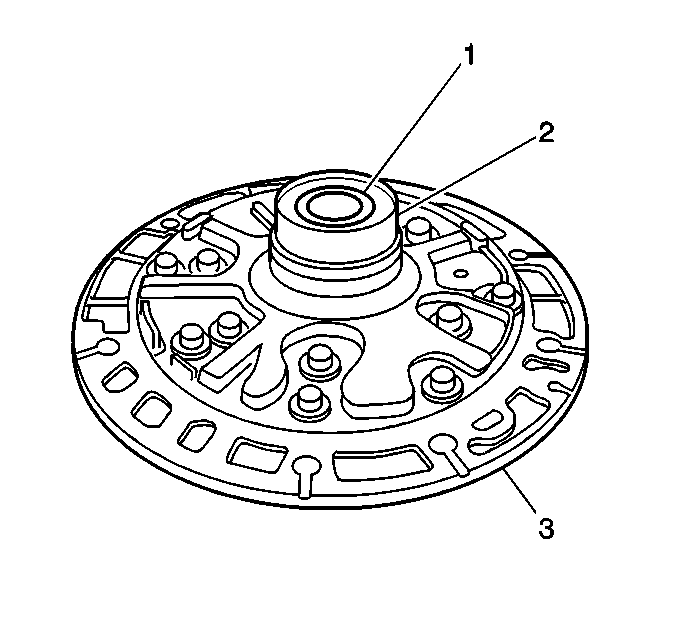
- Remove the O-ring (2)
from the pump body (1).
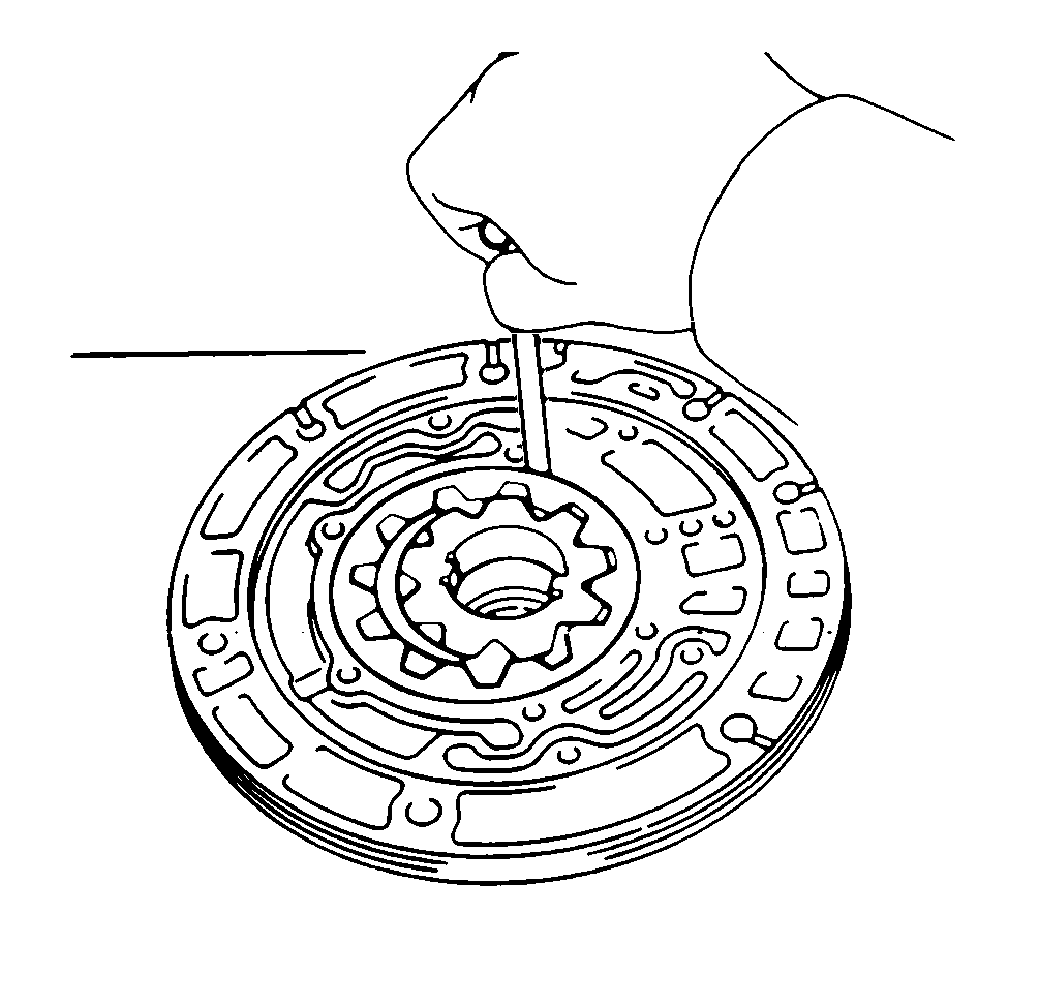
- Remove the two oil seal
rings from the back of the stator shaft (1) .
- Remove the clutch drum thrust washer from the stator shaft.
- Remove the 11 bolts.
- Remove the stator shaft.
Identify the top and the bottom.
Keep the gears in assembled order.
- Inspect the body clearance
of the driven gear:
| 7.1. | Push the driven gear to one side of the body. |
| 7.2. | Use a feeler gauge to measure the driven gear body clearance. |
| 7.3. | The standard driven gear body clearance is 0.07-0.15 mm
(0.0028-0.0059 in). |
If the driven gear body clearance exceeds 0.3 mm (0.012 in),
replace the drive gear or the pump body.
- Inspect the tip clearance
of both gears:
| 8.1. | Measure the tip clearance between the gear teeth and the crescent-shaped
part of the pump body. |
| 8.2. | The standard tip clearance is 0.11-0.14 mm (0.0043-0.0055 in). |
| 8.3. | If the tip clearance exceeds 0.3 mm (0.012 in),
replace the drive gear, the driven gear or the pump body. |
- Use a steel straightedge
and a feeler gauge in order to measure the side clearance of both gears.
Clearance
The standard side clearance is 0.02-0.05 mm (0.0008-0.0020 in).
- If the side clearance exceeds 0.1 mm (0.0004 in),
replace one of the following components:
- Inspect the front oil seal for the following conditions:
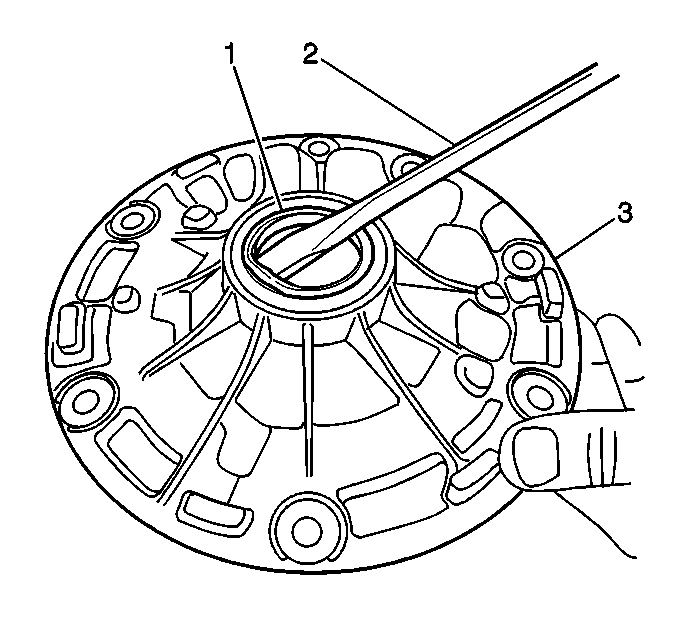
- Use a screwdriver (2) to
pry out the front oil seal (1) .
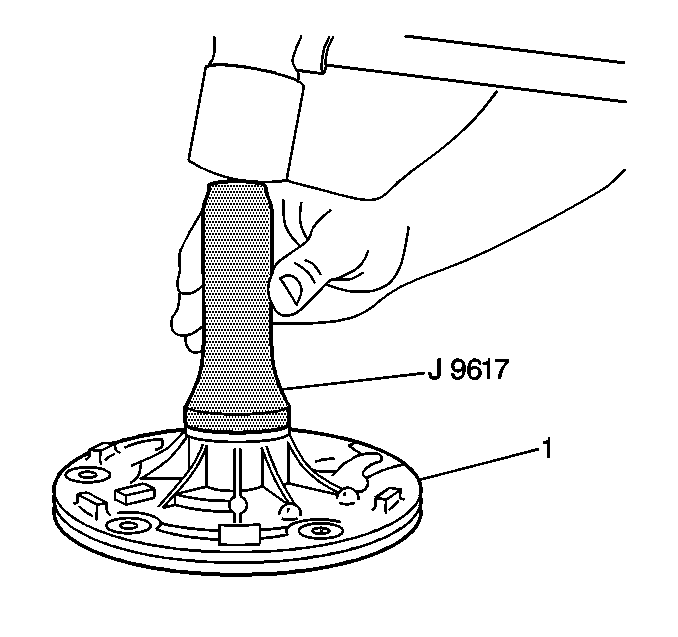
- Use J 9617
and a hammer in order to install a
new front oil seal.
The seal end should be flush with the outer edge of the pump body (1).
Assembly Procedure
Important: Make sure that the top of the gears are facing upward.
- Install the following components:
Notice: Use the correct fastener in the correct location. Replacement fasteners
must be the correct part number for that application. Fasteners requiring
replacement or fasteners requiring the use of thread locking compound or sealant
are identified in the service procedure. Do not use paints, lubricants, or
corrosion inhibitors on fasteners or fastener joint surfaces unless specified.
These coatings affect fastener torque and joint clamping force and may damage
the fastener. Use the correct tightening sequence and specifications when
installing fasteners in order to avoid damage to parts and systems.
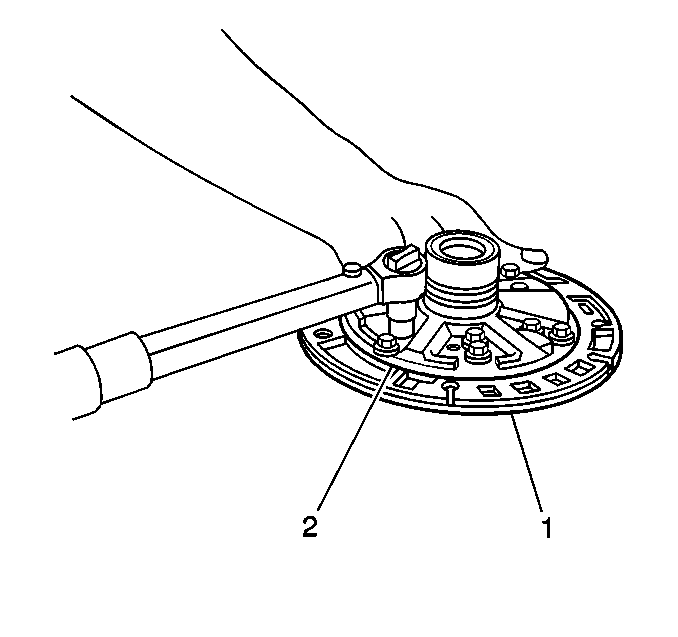
- Install the stator
shaft onto the pump body.
Align the stator shaft with each bolt hole.
Tighten
Tighten the stator shaft bolts to 10 N·m (89 lb in).
- Coat the thrust washer with petroleum jelly.
- Align the tab of the washer with the hollow of the pump body (1) .
Install the thrust washer.
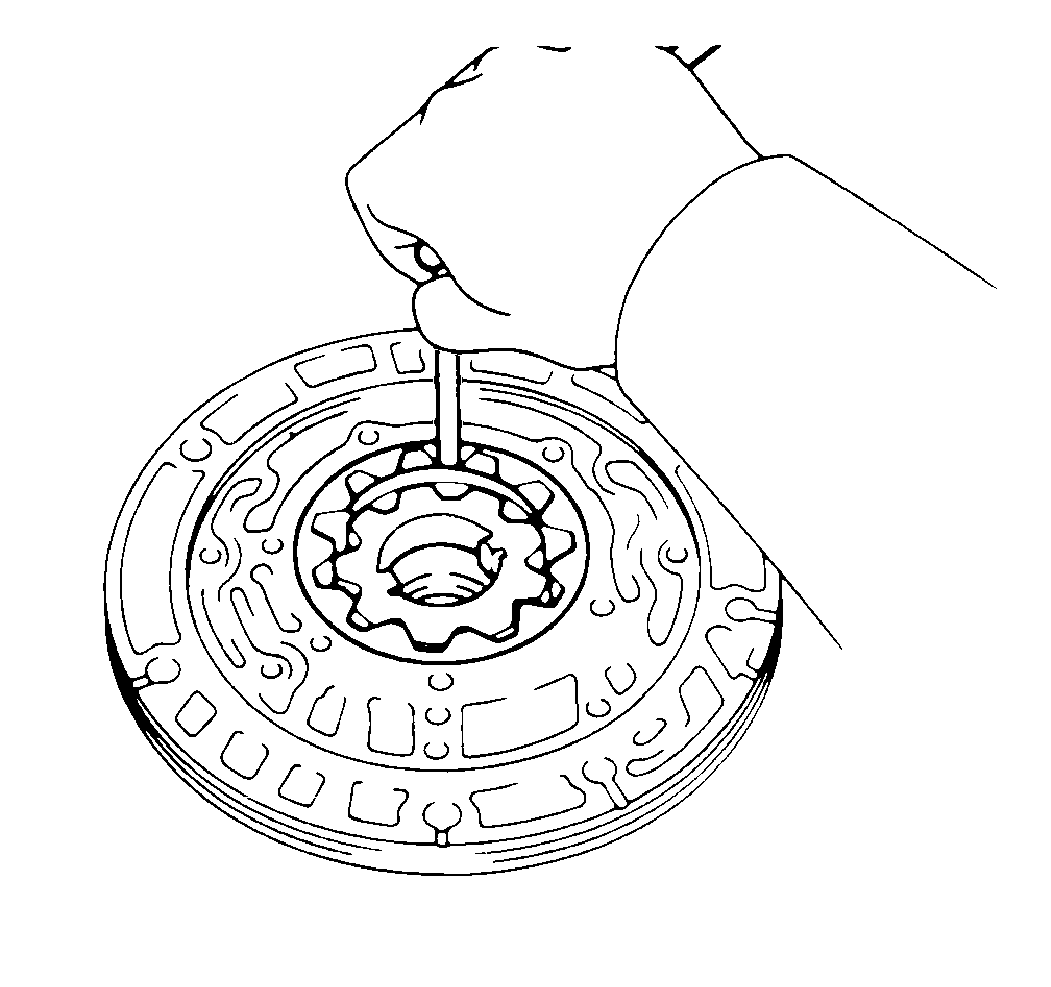
- Install the 2 oil seal
rings (6) on the oil pump.
Do not spread the end rings too far.
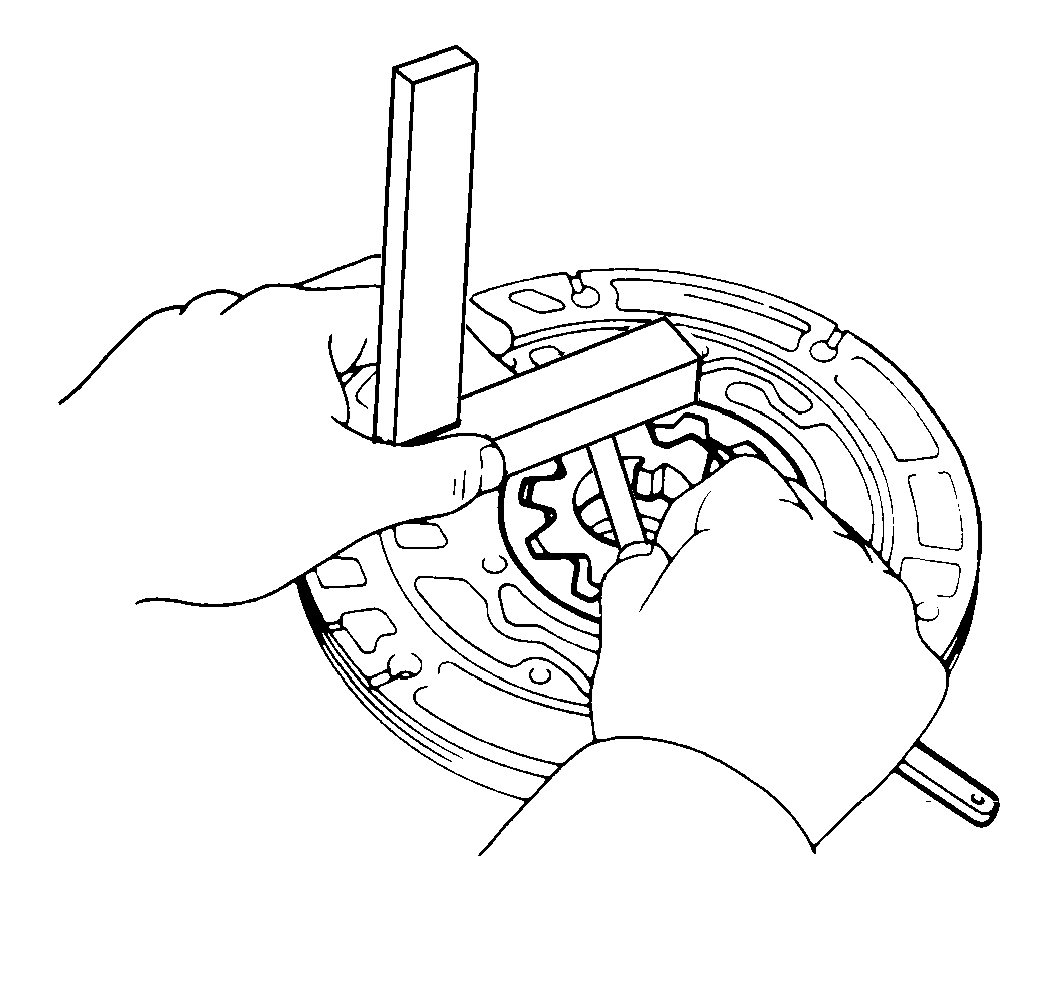
- Use the following procedure to inspect the pump drive gear rotation:
| 6.1. | Turn the drive gear with 2 screwdrivers. |
| 6.2. | Make sure that the gear rotates smoothly. |
- Install a new O-ring (2).
- Install the race onto the stator shaft.
