For 1990-2009 cars only
- Install the lower valve body and the plate (as a unit) on the upper valve body.
- Install the following components onto the lower valve body (1):
- Place the following components on the lower valve body:
- Place another new gasket onto the plate.
- Align each bolt hole in the valve body with the two gaskets and the plate.
- Install the following components on the top of the upper valve body:
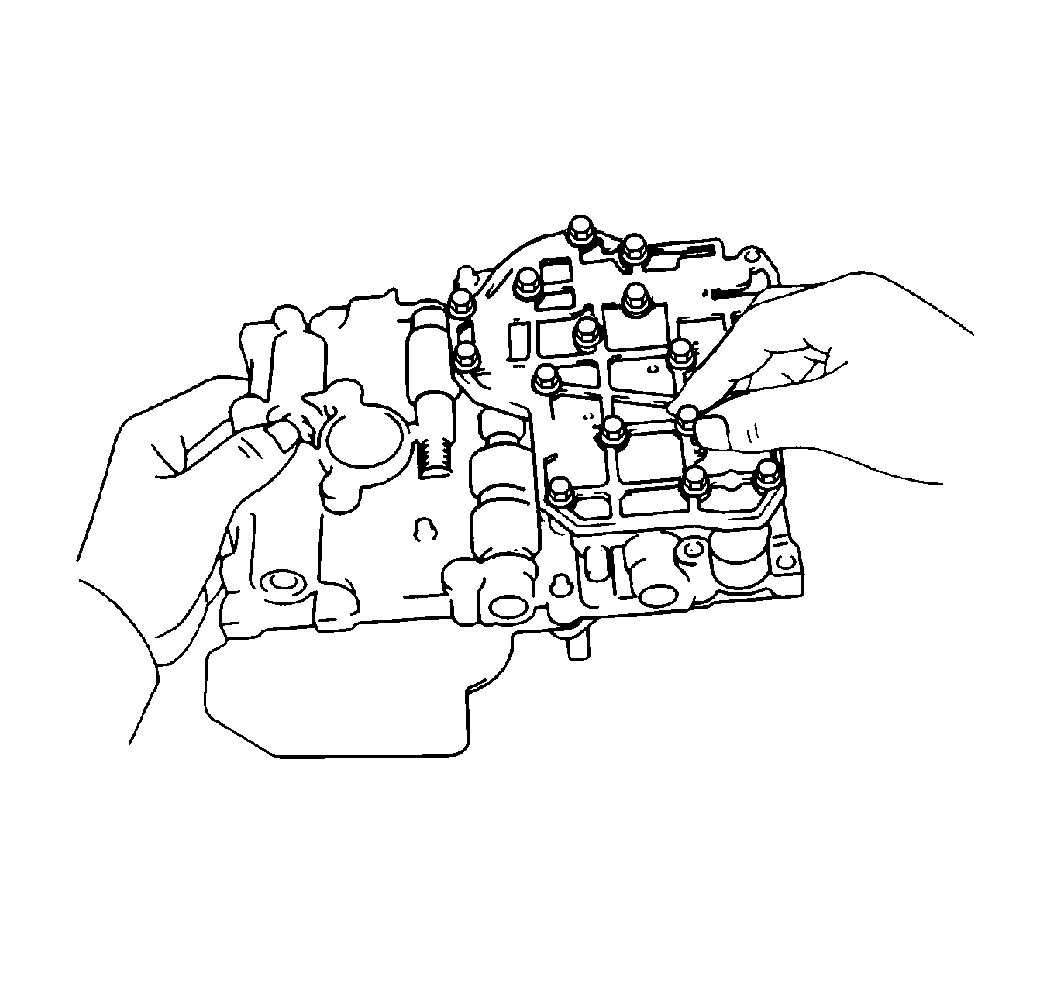
- Hold the following components securely so the components do not separate:
- Align each bolt hole in the valve bodies with the following components:
- Install the valve body bolts.
- Finger tighten the three bolts.
- Turn the assembly over.
- Finger tighten the three 28 mm bolts in the upper valve body.
- Install the following components:
- Turn the assembly over.
- Install the following components:
- Install the cover over a new gasket.
- Finger tighten the 14 bolts on the valve body cover.
- Tighten the upper and lower valve body bolts.
- Recheck the alignment of the gaskets
- Turn the assembly over.
- Tighten the bolts of the upper valve body.
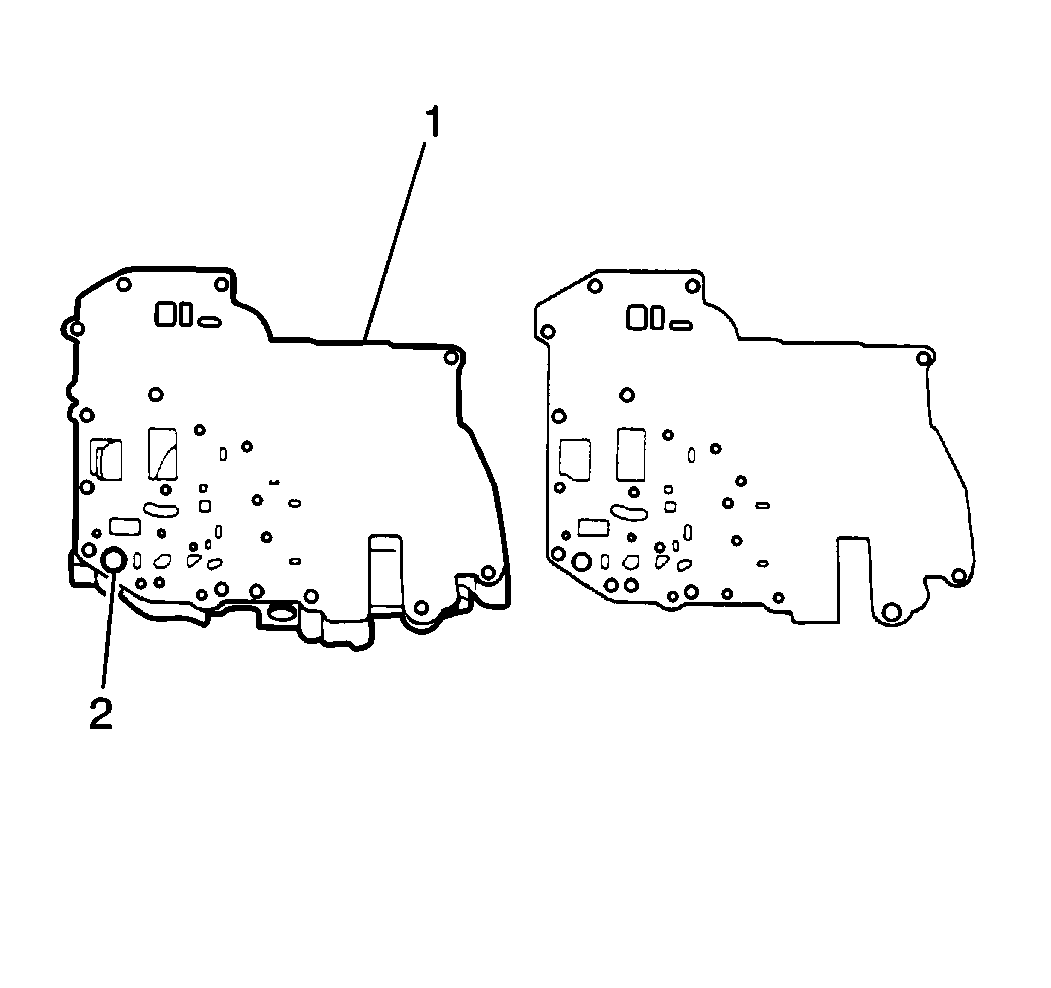
| • | The new gaskets |
| • | Install the gasket containing the larger (2) cooler by-pass valve hole to the lower valve body. |
| • | The plate |
| • | A new gasket |
| • | A new plate |
| • | The lower valve body |
| • | The gasket with the plate |
| • | The lower valve body |
| • | The gaskets |
| • | The plate |
| • | The gaskets |
| • | The plate |
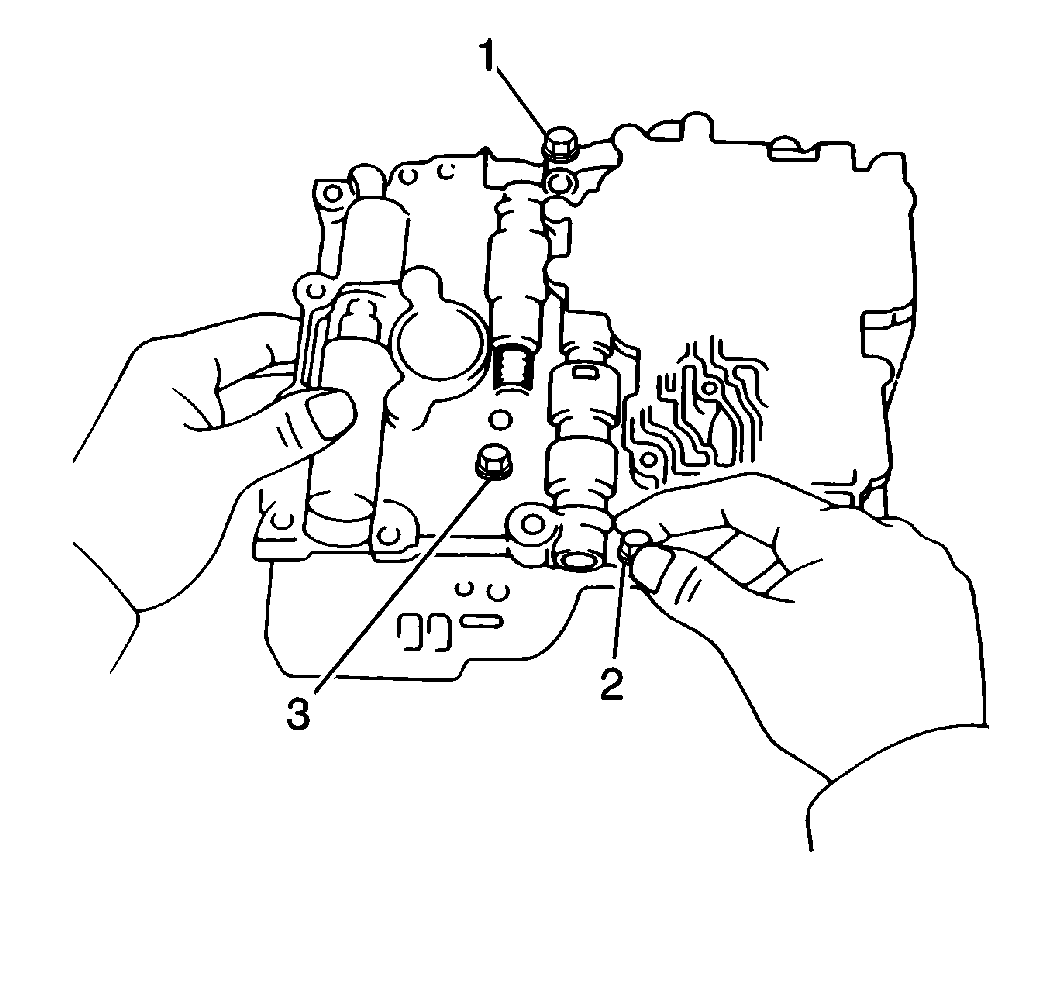
| 9.1. | 35 mm (1) |
| 9.2. | 28 mm (2) |
| 9.3. | 28 mm (3) |
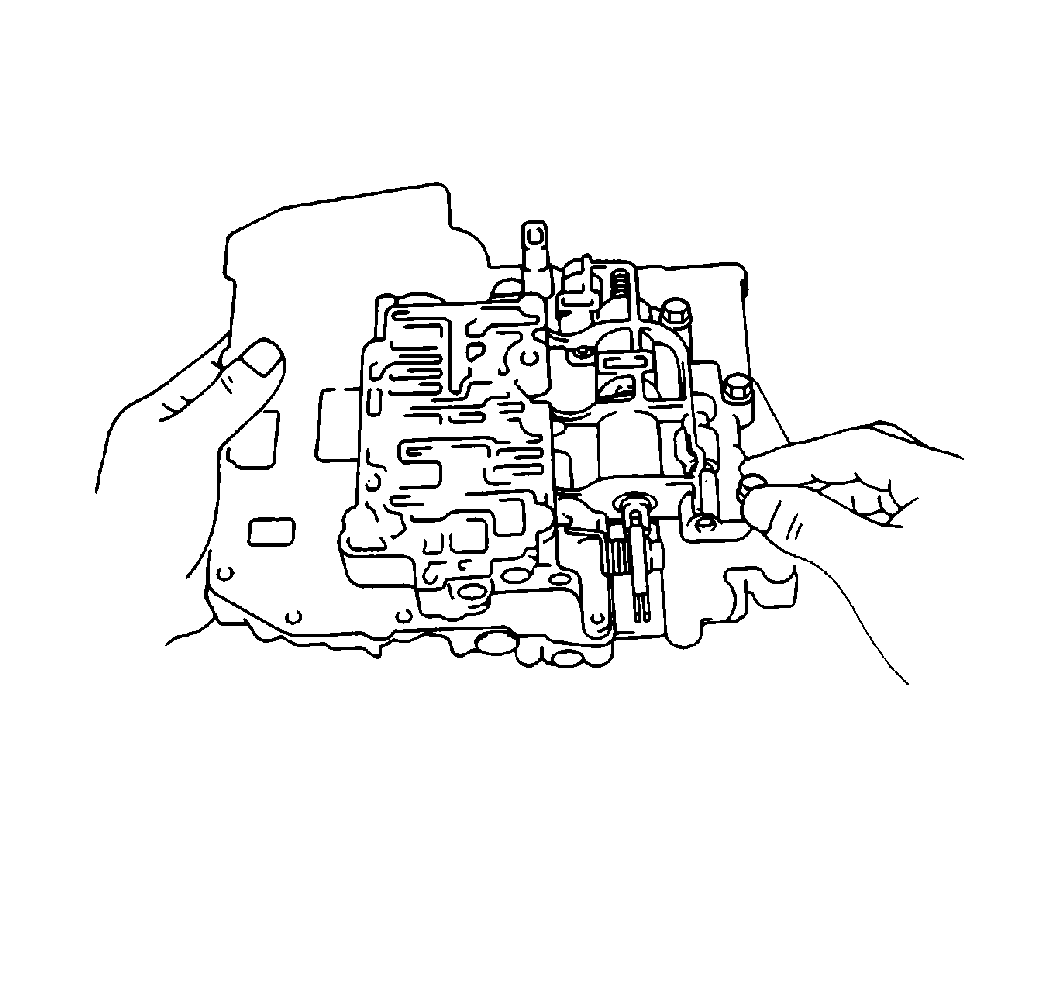
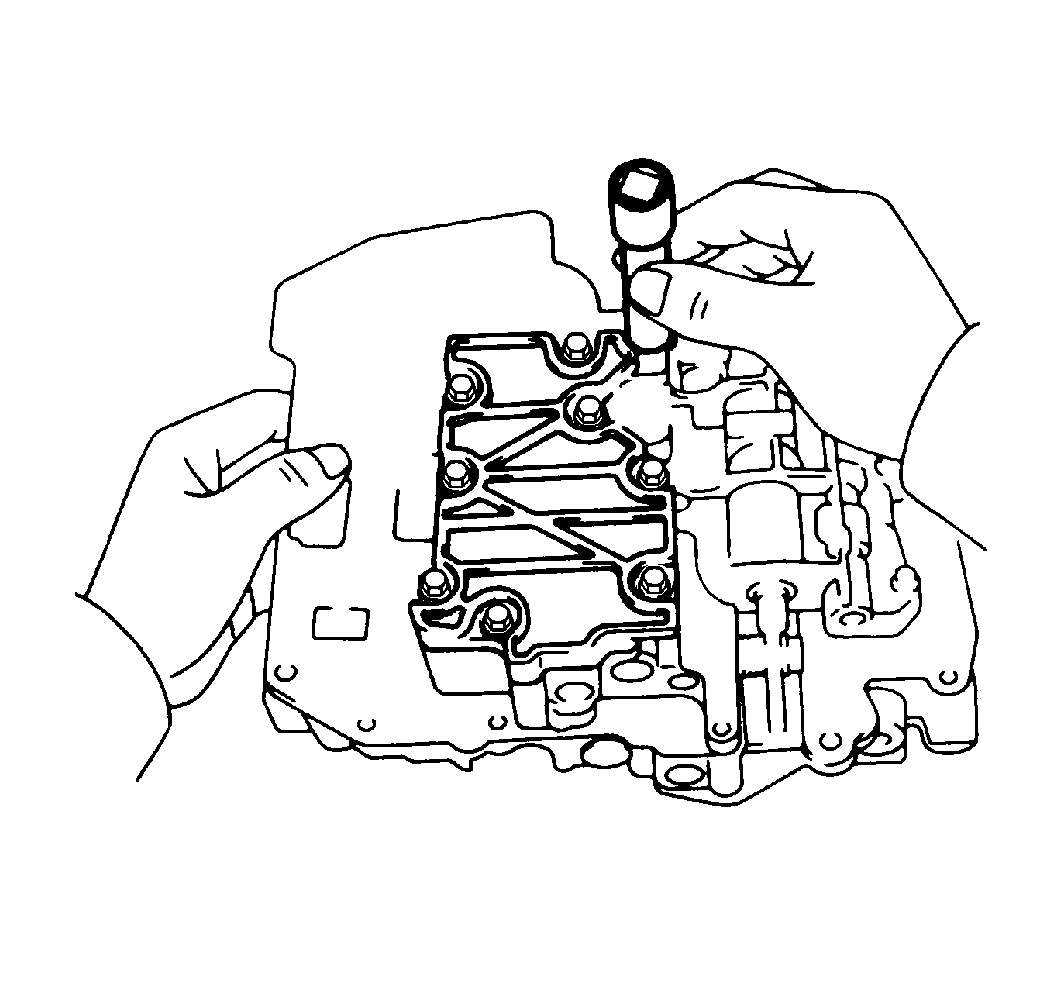
| • | The upper valve body cover new gaskets |
| • | The strainer |
| • | A new gasket |
| • | The lower valve body cover |
| • | Four bolts (1) measure 45 mm (1.77 in) in length. |
| • | Ten of the bolts (the remainder) measure 16 mm (0.62 in) in length. |
Notice: Use the correct fastener in the correct location. Replacement fasteners must be the correct part number for that application. Fasteners requiring replacement or fasteners requiring the use of thread locking compound or sealant are identified in the service procedure. Do not use paints, lubricants, or corrosion inhibitors on fasteners or fastener joint surfaces unless specified. These coatings affect fastener torque and joint clamping force and may damage the fastener. Use the correct tightening sequence and specifications when installing fasteners in order to avoid damage to parts and systems.
Tighten
Tighten the lower valve body bolts to 5.5 N·m (49 lb in).
Tighten
Tighten the upper valve body bolts to 5.5 N·m (49 lb in).
