For 1990-2009 cars only
Removal Procedure
- Remove the radio. Refer to Radio Replacement Radio Replacement in Entertainment.
- Remove the instrument panel compartment. Refer to Instrument Panel Compartment Replacement .
- Remove the I/P drivers knee bolster reinforcement. Refer to Knee Bolster Replacement .
- Remove the front floor rear console. Refer to Rear Floor Console Replacement .
- Remove the manual transaxle control lever boot, if equipped. Refer to Console Shift Boot Replacement .
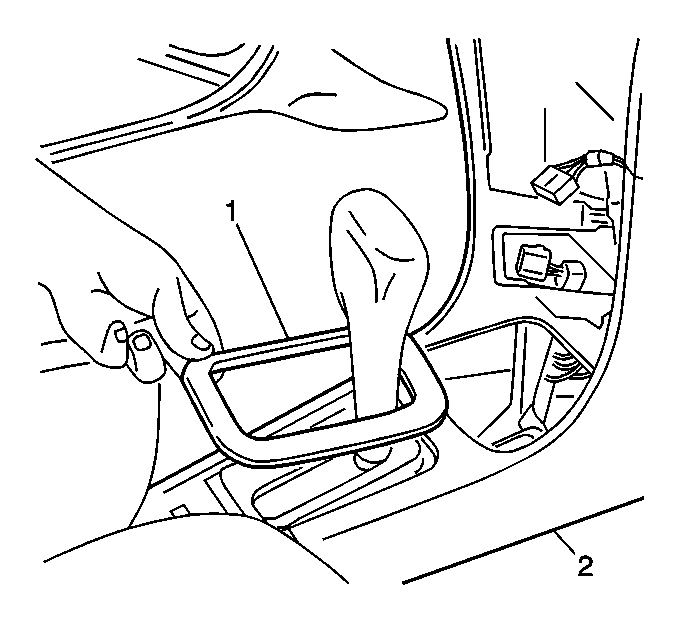
- Remove the automatic transaxle control opening cover bezel, if equipped. Refer to Console Trim Plate Replacement .
- Remove the 2 screws which secure the front floor front console (2) to the instrument panel assembly.
- Pull the front floor console (2) rearward and up.
- Remove the front floor console (2) from the vehicle.

Installation Procedure
- Install the front floor front console (2) to the vehicle. Secure the console to the instrument panel with the 2 screws.
- Install the front floor rear console. Refer to Rear Floor Console Replacement .
- Install the automatic transaxle control opening cover bezel (1), if equipped. Refer to Console Trim Plate Replacement .
- Install the manual transaxle control lever boot, if equipped. Refer to Console Shift Boot Replacement .
- Install the I/P drivers knee bolster reinforcement. Refer to Knee Bolster Replacement .
- Install the instrument panel compartment. Refer to Instrument Panel Compartment Replacement .
- Install the radio. Refer to Radio Replacement Radio Replacement in Entertainment.

