Tools Required
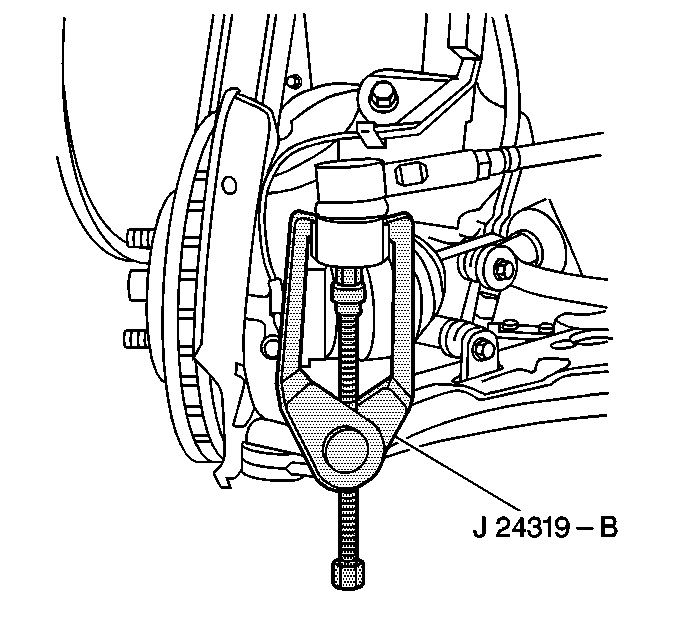
J 24319-B Steering Linkage and Tie Rod Puller
Removal Procedure
- Raise and suitably the vehicle. Refer to Lifting and Jacking the Vehicle in General Information.
- Remove the tire and wheel assembly. Refer to Tire and Wheel Removal and Installation in Tires and Wheels.
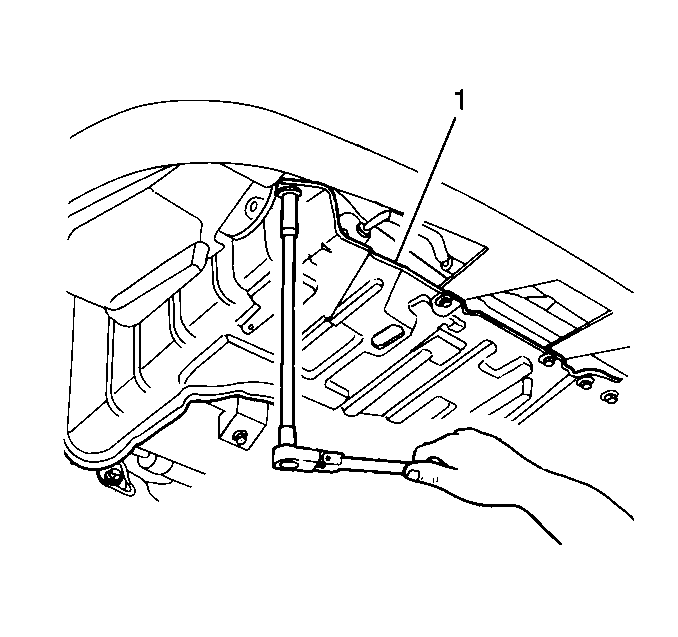
- Remove the 6 bolts and the splash shield (1).
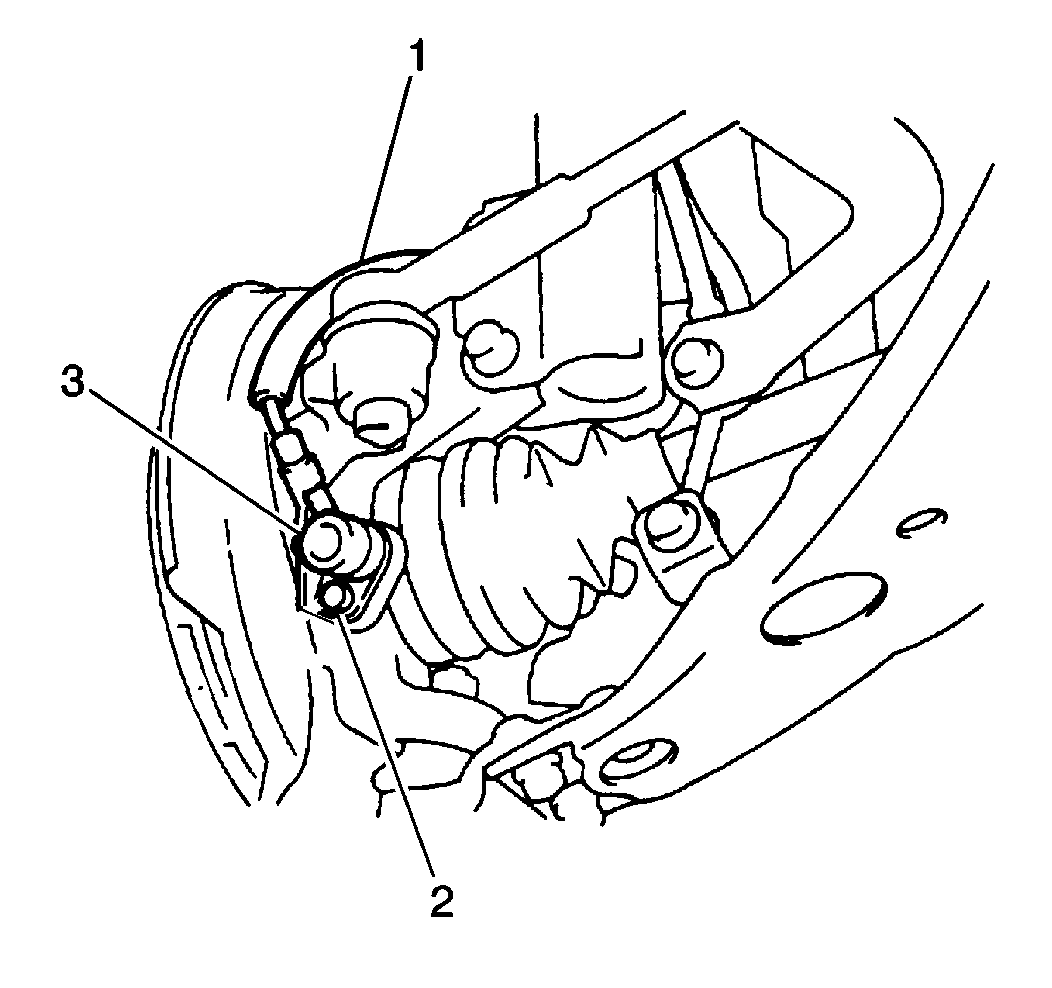
- Remove the 1 bolt (2) and the ABS speed sensor (3) (if equipped) from the steering knuckle.
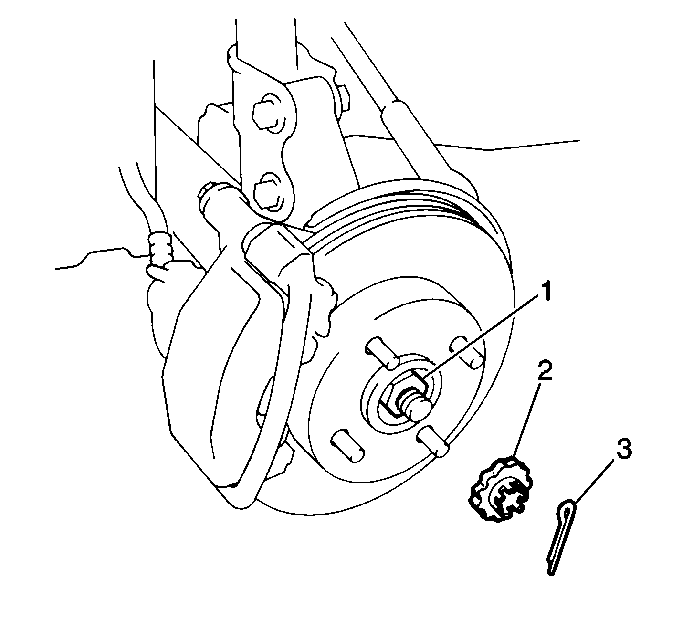
- Remove the cotter pin (3) and the lock cap (2) from the wheel drive shaft.
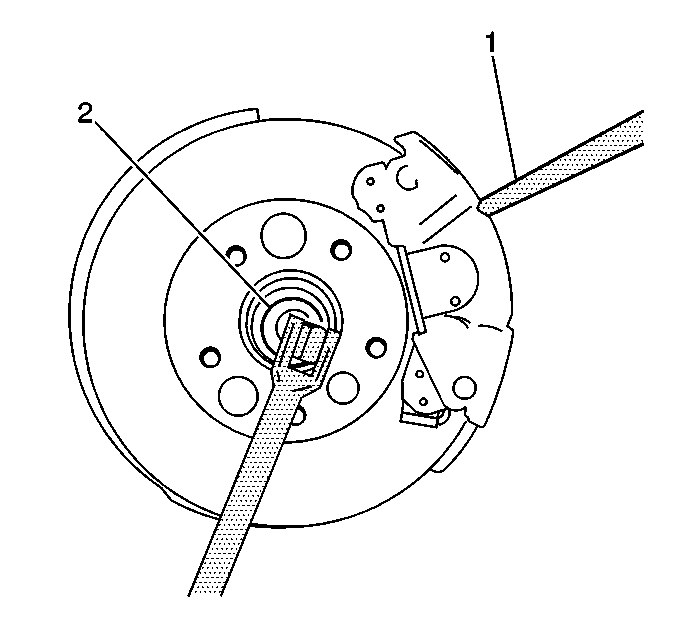
- Insert a nonferrous drift (1) through the caliper opening into the rotor fins in order to prevent the rotor from turning.
- Remove the wheel drive shaft nut.
- Remove the cotter pin and nut from the tie rod end.
- Remove the tie rod end from the steering knuckle using the J 24319-B .
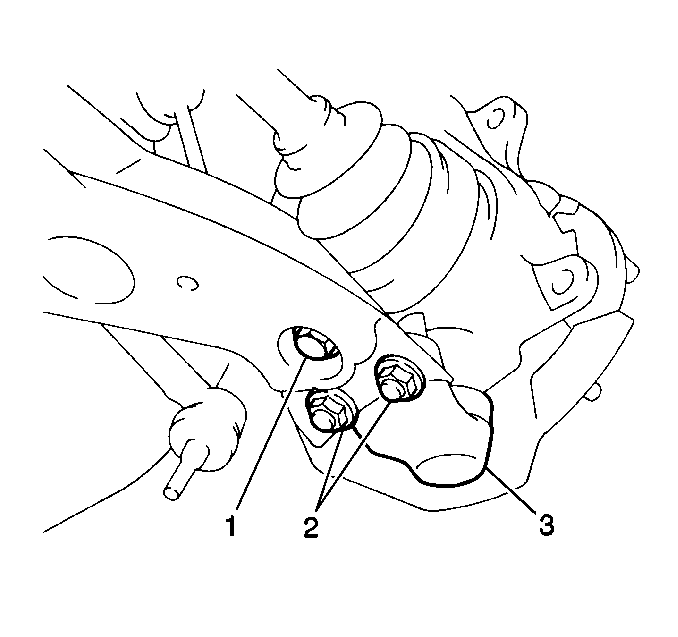
- Remove the 1 bolt (1) and 2 nuts (2) from the ball joint (3).
- Separate the ball joint (3) from the control arm.
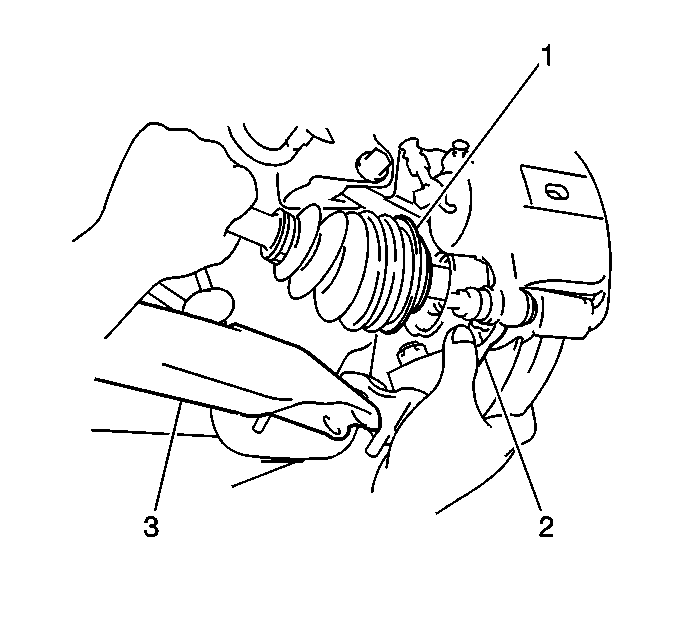
- Remove the outer joint (1) from the steering knuckle (2).
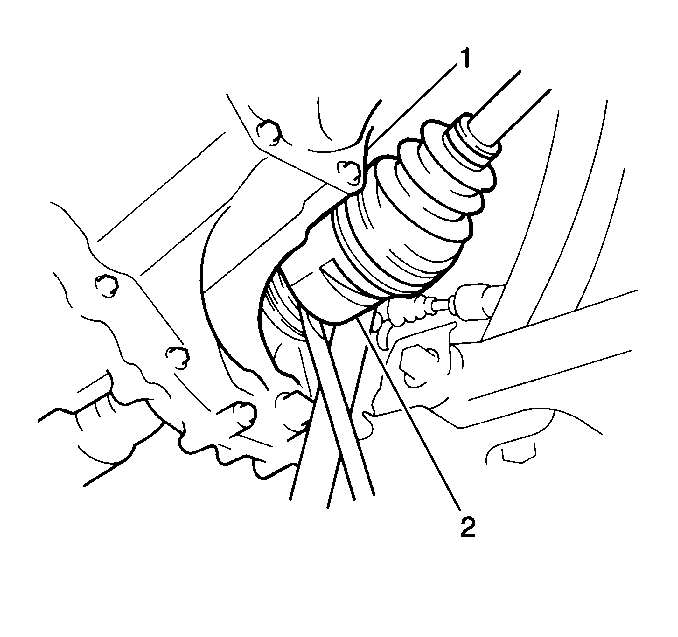
- Remove the left side inner joint by gently prying the inner joint housing (2) away from and out of the transaxle.
- Remove the right side inner joint by gently prying the inner joint housing away from and out of the transaxle.
- Inspect the following for damage or wear:
- Replace components as necessary.
Caution: To prevent personal injury and/or component damage, do not allow the weight of the vehicle to load the front wheels, or attempt to operate the vehicle, when the wheel drive shaft(s) or wheel drive shaft nut(s) are removed. To do so may cause the inner bearing race to separate, resulting in damage to brake and suspension components and loss of vehicle control.
Notice: Do not overextend the wheel drive shaft. Allowing the inboard joint to overextend can cause separation of the internal components and lead to joint failure.
Notice: When servicing the hub assembly, be careful not to damage the ABS components. If any of the ABS components are damaged, the ABS system may not function properly and the damaged component will need to be replaced.
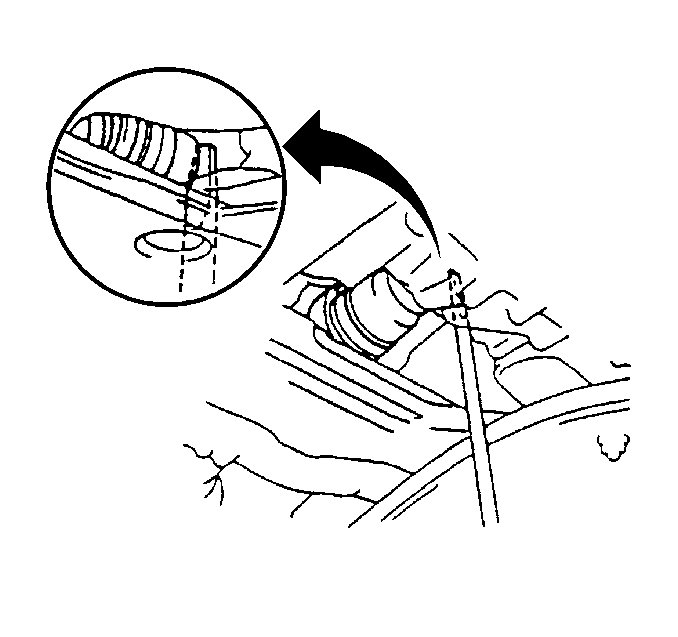
| • | The boots |
| • | The joints |
| • | The front wheel bearing oil seals |
| • | The wheel drive shaft oil seal at the transaxle |
Installation Procedure
- Lubricate the wheel drive shaft splines in order to ensure easy assembly.
- Lubricate the seal surfaces in order to protect the seal surfaces from cuts during assembly.
- Install the inner joint into the transaxle.
- Install the steering knuckle (2) to the outer joint.
- Install the ball joint to the control arm. Secure with 1 bolt (1) and 2 nuts (2).
- Install the tie rod end to the steering knuckle.
- Install a new cotter pin to the tie rod end.
- Insert a nonferrous drift (1) through the caliper opening into the rotor fins in order to prevent the rotor from turning.
- Install the wheel drive shaft nut.
- Install the lock cap (2) onto the wheel drive shaft and secure with a new cotter pin (3).
- Install the ABS speed sensor (3) (if equipped).
- Install the splash shield (1) with 6 bolts.
- Install the tire and wheel assembly. Refer to Tire and Wheel Removal and Installation in Tires and Wheels.
- Lower the vehicle.
- Inspect the Toe-In adjustment and adjust as necessary. Refer to Front Toe Adjustment in Wheel Alignment.
Important: Use only enough force necessary to seat the inner joint into the transaxle.
Important: Verify that the inner joint is seated by grasping the inner joint housing and pulling outward.


Notice: Use the correct fastener in the correct location. Replacement fasteners must be the correct part number for that application. Fasteners requiring replacement or fasteners requiring the use of thread locking compound or sealant are identified in the service procedure. Do not use paints, lubricants, or corrosion inhibitors on fasteners or fastener joint surfaces unless specified. These coatings affect fastener torque and joint clamping force and may damage the fastener. Use the correct tightening sequence and specifications when installing fasteners in order to avoid damage to parts and systems.
Tighten
Tighten the bolt and the 2 nuts to 142 N·m (105 lb ft)
.
Tighten
Tighten the tie rod end nut to 49 N·m (36 lb ft).

Tighten
Tighten the nut to 225 N·m (166 lb ft).


Tighten
Tighten the ABS speed sensor bolt (2) to 8 N·m (71 lb in).

Tighten
Tighten the splash shield bolts to 8 N·m (71 lb in).
