Tools Required
| • | Rear Window Defogger Repair Kit GM P/N 12346001
(or equivalent) |
Caution: To avoid personal injury:
| • | Do not allow the repair material to come in contact with skin
or eyes and avoid breathing vapors. |
| • | Do not use near sparks or open flame. |

- Remove the rear window
defogger fuse.
- Prepare the area to be repaired. Complete the following steps:
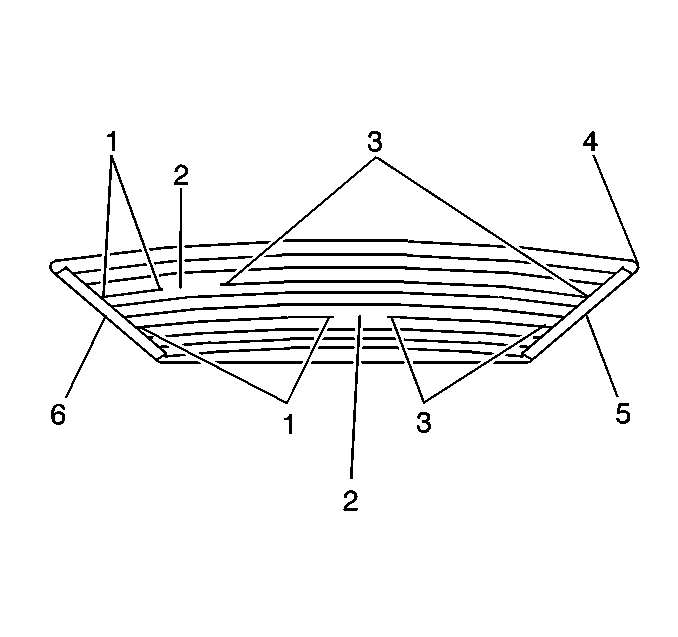
| • | Buff the grid line (1) to approximately 6.0 mm (0.25 in)
beyond each side of the break using fine steel wool. |
| • | Clean the area using an alcohol-dampened cloth. |

- Perform one of the two
following procedures:
| • | Install a grid line repair decal. |
| • | Install two strips of tape. |
| - | Position one strip above the repair area. |
| - | Position one strip below the repair area. |
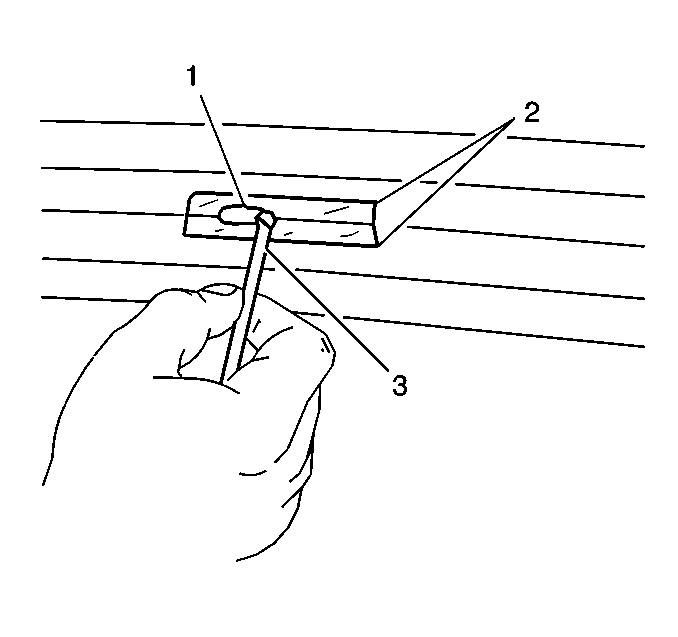
- Use the repair decal (1) or tape strips in order to control
the width of the repair:
| • | If you use a decal, ensure that the die-cut metering slot is the
same width as the grid line. |
| • | If you use the tape strips, space the strips the width of the
grid line apart. |
- Mix the grid line repair material per the manufacturers instructions
or until a uniform silver color appears.
- Ensure that the window is at room temperature of 22°C (72°F).
- Apply the grid repair material to the repair area using a small
plastic paddle (or equivalent).
- Remove the decal or tape.

Notice: The grid line repair material must be cured with heat. To avoid heat
damage to the interior trim, protect the trim near the repair area where heat
is to be applied.
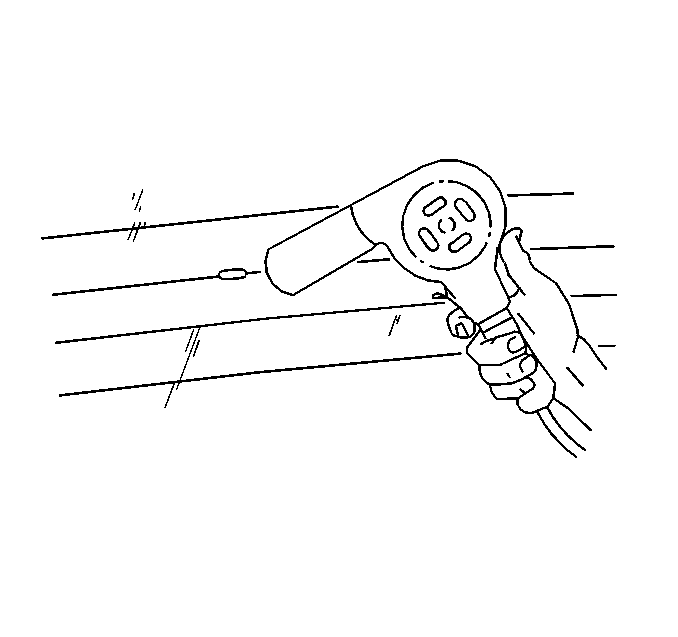
- Using the J 25070
,
apply heat to the repair area:
| • | Hold the heat gun nozzle 25 mm (1 in) from the repair
surface. |
| • | Use a minimum temperature of 50°C (200°F). |
| • | Apply heat for 2-3 minutes. |
- Replace the rear window defogger fuse.
- Test the rear window defogger operation in order to verify that
the grid line is repaired.
- Inspect the grid line repair for appearance.
| 12.1. | If the grid line appears discolored, apply a tincture of iodine
to the grid line using a pipe cleaner or a fine brush. |
| 12.2. | Allow the iodine to dry for at least 30 seconds. |
| 12.3. | Clean any excess iodine using a lint free cloth. |
- Allow the repair area to cure undisturbed for at least 24 hours.


