For 1990-2009 cars only
Tools Required
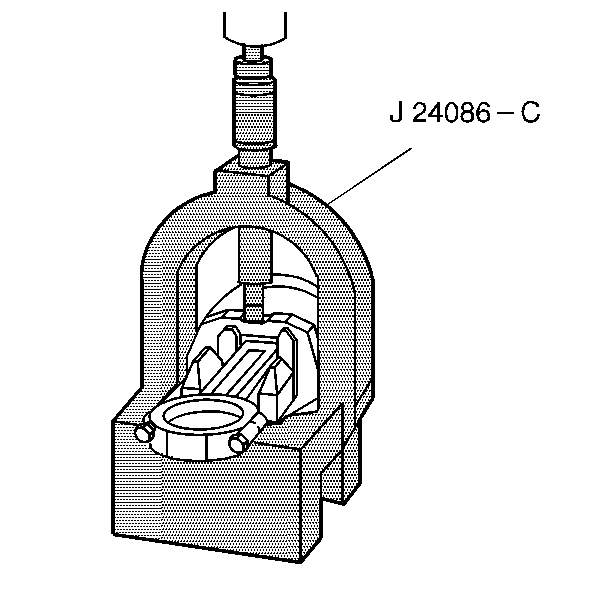
J 24086-C Piston Pin Remover/Installer Set
- Place the piston and connecting rod into the J 24086-C .
- Orient the connecting rod in the piston.
- Examine the lower end of the connecting rod.
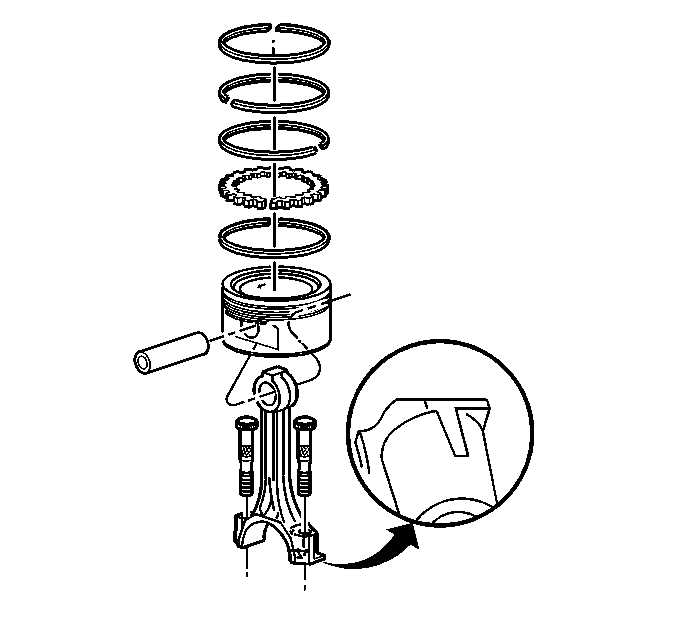
- Locate the bump on the connecting rod lower end.
- This bump is at the top of the large end where it forms the connecting rod beam.
- Orient the connecting rod so that the bump faces away from the arrow on top of the piston.
- With the connecting rod in this position, the tab on the connecting rod cap faces the front of the engine.
- Coat the piston pin with clean engine oil.
- Press the piston pin into place.
- Inspect the piston for freedom of movement.
- Install the following parts of the oil control ring assembly:
- Install the second compression ring with the manufacturer's mark facing up.
- Install the top compression ring, it can be installed with either side facing up.

Important: Ensure that the arrow on top of the piston faces towards the front of the engine.

| • | The expander |
| • | The lower oil control ring |
| • | The upper oil control ring |
Notice: Use a piston ring expander to install the piston rings. The rings may be damaged if expanded more than necessary.
Important: In order to provide an effective compression seal, the ring gaps must be staggered.
