For 1990-2009 cars only
- Remove the steering gear from the vehicle. Refer to Steering Gear Replacement or Steering Gear Replacement .
- Rotate the stub shaft back and forth in order to drain the power steering fluid.
- Loosen the adjuster lock nut.
- Turn the pitman shaft adjuster screw counterclockwise until the pitman shaft is fully extended, then turn the pitman shaft adjuster screw clockwise 1 full turn.
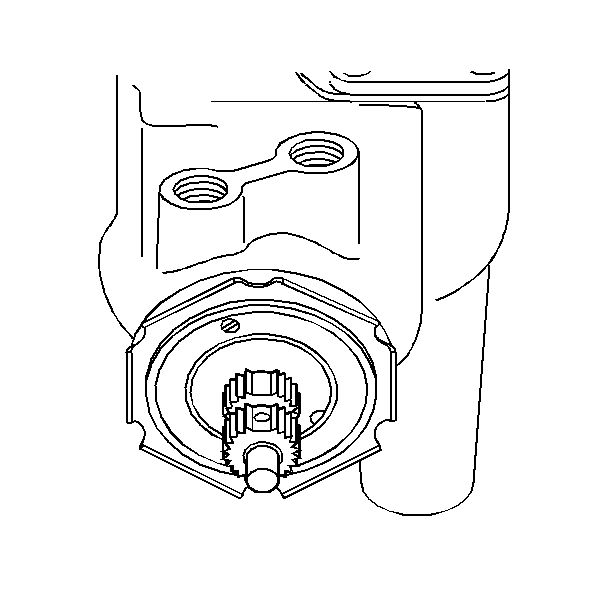
- Use a 12-point socket in order to rotate the stub shaft from stop to stop. Count the number of turns.
- Center the gear by turning the stub shaft back 1/2 the number of turns, starting from either stop.
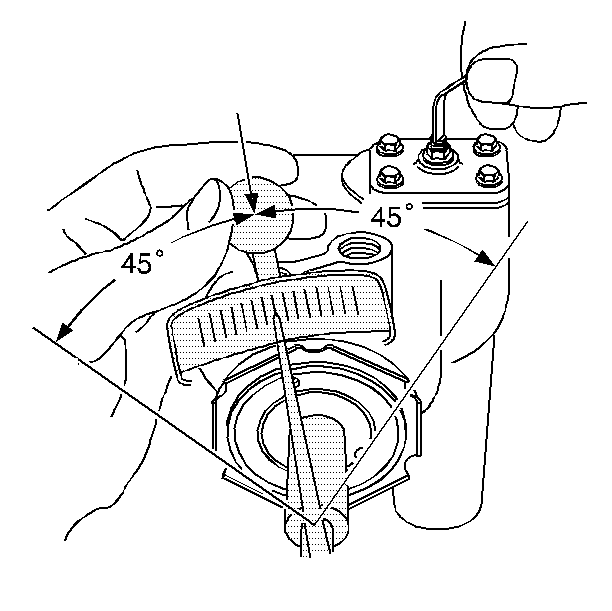
- Use the following procedure in order to ensure that the gear is properly centered:
- Place a torque wrench on the stub shaft with the handle in the vertical position.
- Rotate the stub shaft 45 degrees to either side of the center.
- Ensure that the stub shaft moves smoothly and does not stick or bind.
- Record the worm bearing preload measured at or near the center.
- Ensure that the recorded preload is within the range of 0.7-0.17 N·m (6-15 lb in) with the worm and ballnut installed. If the torque is outside this range, the gear assembly should be readjusted or repaired as necessary.
- Adjust the over-center torque by turning the pitman shaft adjuster screw clockwise until the correct preload torque is obtained.
- Add 0.7-1.1 N·m (6-10 lb in) torque to the previously measured worm bearing preload torque.
- Prevent the adjuster screw from turning while tightening the adjuster lock nut.
- Install the steering gear. Refer to Steering Gear Replacement or Steering Gear Replacement .


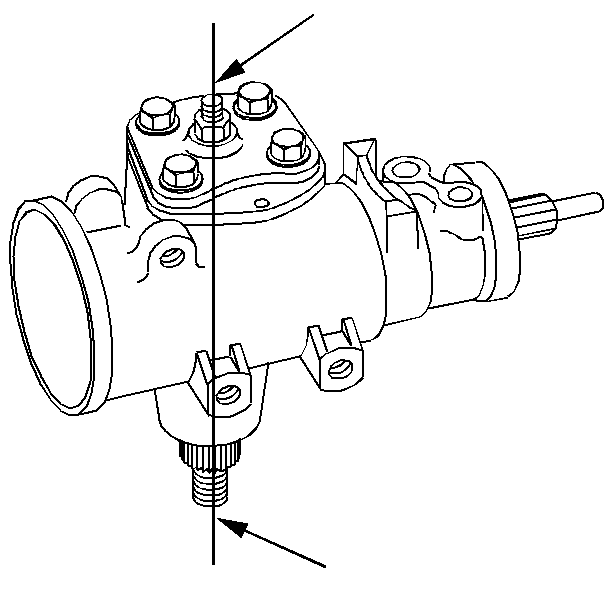
| • | Ensure that the flat on the stub shaft is facing upward. |
| • | Ensure that the flat of the stub shaft is parallel with the side cover. |
| • | Ensure that the master spline on the pitman shaft is aligned with the adjuster screw. |

Notice: Use the correct fastener in the correct location. Replacement fasteners must be the correct part number for that application. Fasteners requiring replacement or fasteners requiring the use of thread locking compound or sealant are identified in the service procedure. Do not use paints, lubricants, or corrosion inhibitors on fasteners or fastener joint surfaces unless specified. These coatings affect fastener torque and joint clamping force and may damage the fastener. Use the correct tightening sequence and specifications when installing fasteners in order to avoid damage to parts and systems.
Tighten
Tighten the adjuster lock nut to 49 N·m (36 lb ft).
