Wheel Stud Replacement for Chevrolet S10 Pickup - 2WD 2004
Tools Required
J 43631 Ball Joint Remover

Removal Procedure
- Raise and suitably support the vehicle with safety stands. Refer to Lifting and Jacking the Vehicle in Cautions and Notices.
- Remove the tire and the wheel. Refer to Tire and Wheel Removal and Installation in Tires and Wheels.
- Remove the rotor. Refer to Front Brake Rotor Replacement in Disc Brakes.
- Remove the wheel stud bolt using J 43631 .
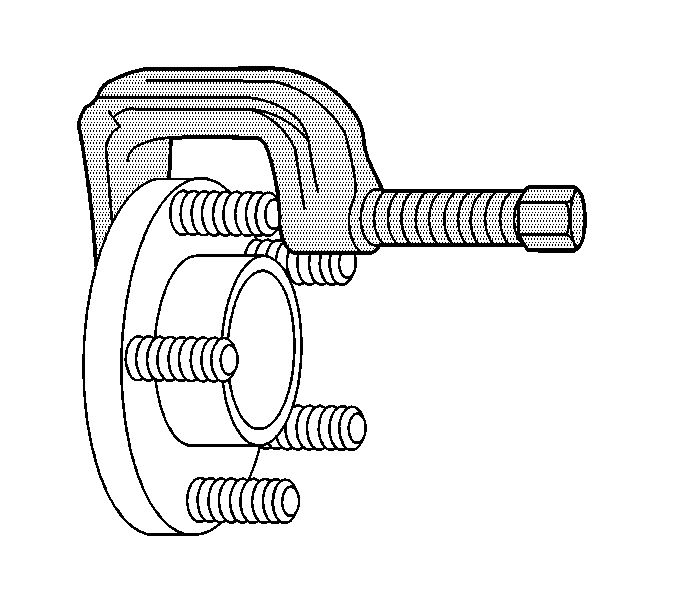
Important: Do not hammer on a wheel stud.
Installation Procedure
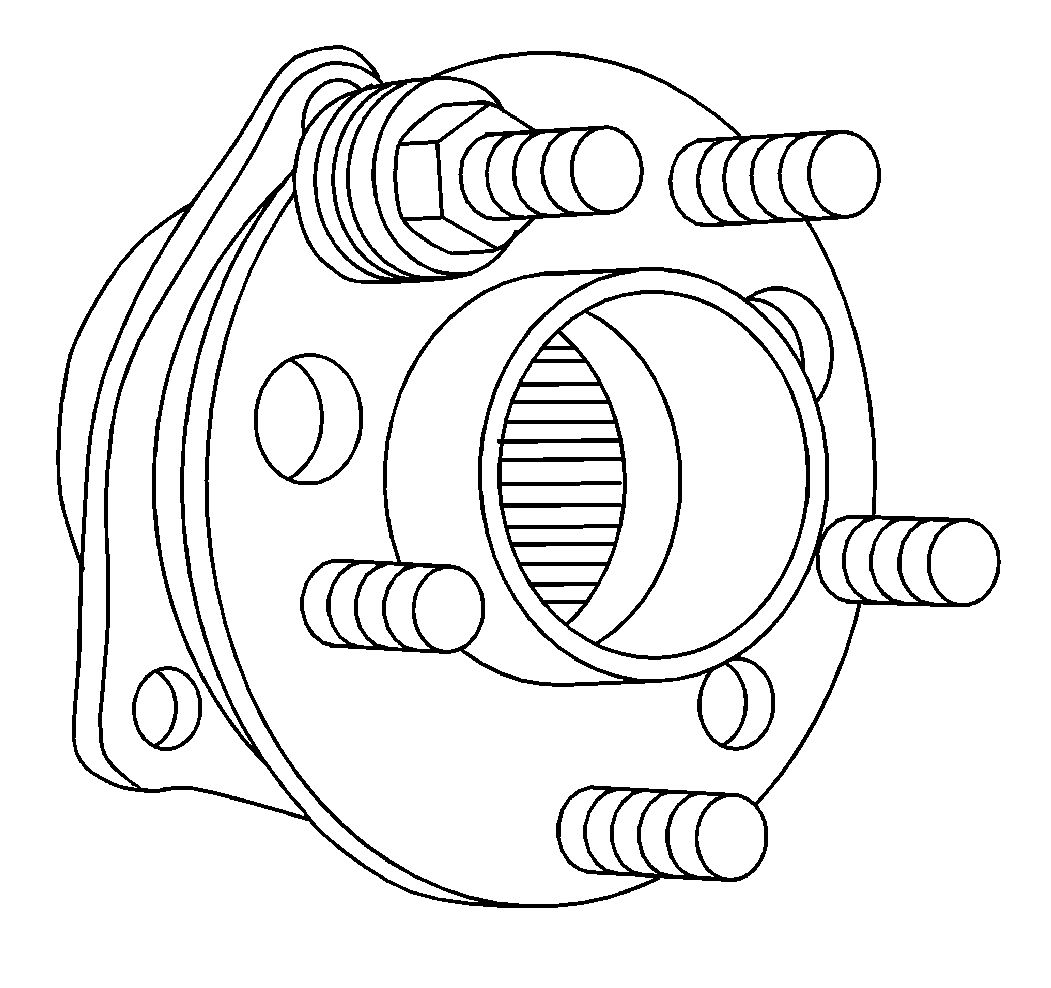
- Install the wheel stud to the wheel hub and bearing.
- Install 4 washers and the nut to the wheel stud.
- Remove the nut and the washers.
- Install the rotor. Refer to Front Brake Rotor Replacement in Disc Brakes.
- Install the tire and the wheel. Refer to Tire and Wheel Removal and Installation in Tires and Wheels.
- Lower the vehicle.
Notice: Use the correct fastener in the correct location. Replacement fasteners must be the correct part number for that application. Fasteners requiring replacement or fasteners requiring the use of thread locking compound or sealant are identified in the service procedure. Do not use paints, lubricants, or corrosion inhibitors on fasteners or fastener joint surfaces unless specified. These coatings affect fastener torque and joint clamping force and may damage the fastener. Use the correct tightening sequence and specifications when installing fasteners in order to avoid damage to parts and systems.
Tighten
Tighten the wheel stud nut to 130 N·m (95 lb ft),
drawing in the wheel stud.
