For 1990-2009 cars only
Cooling System Leak Testing (On Vehicle)
Tools Required
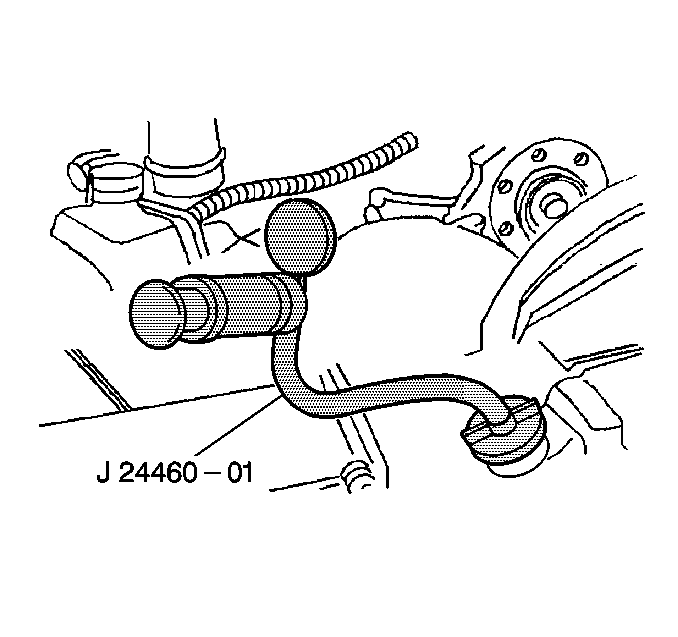
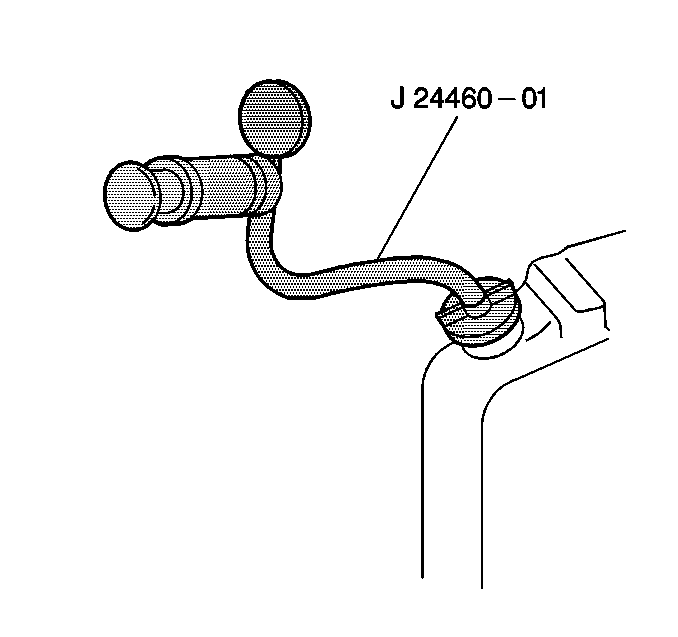
J 24460-01 Cooling System Tester
- Remove the radiator filler cap, only after the system has cooled.
- Connect the J 24460-01 to the radiator.
- Apply normal system operating pressure. Never exceed 138 kPa (20 psi). The needle on the tester gauge should remain steady for several minutes, otherwise there is a leak.
- Examine all cooling system connections and components, including the radiator and the heater, for leaking coolant.
- Tighten the hose connections or repair as required.
- Check the radiator cap with the J 24460-01, in order to ensure the correct pressure maintenance. Refer to Pressure Cap Description .
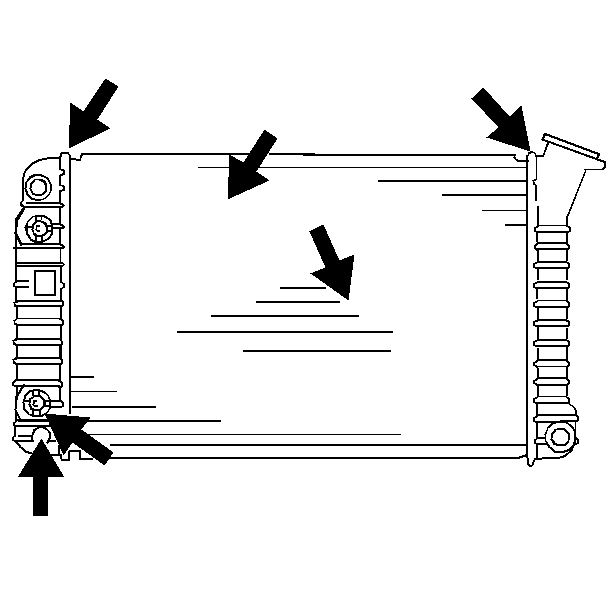
- If the radiator leaks during the pressure test, mark the leak area.
Caution: To avoid being burned, do not remove the radiator cap or surge tank cap while the engine is hot. The cooling system will release scalding fluid and steam under pressure if radiator cap or surge tank cap is removed while the engine and radiator are still hot.
Radiator Leak Testing (Off Vehicle)
Tools Required
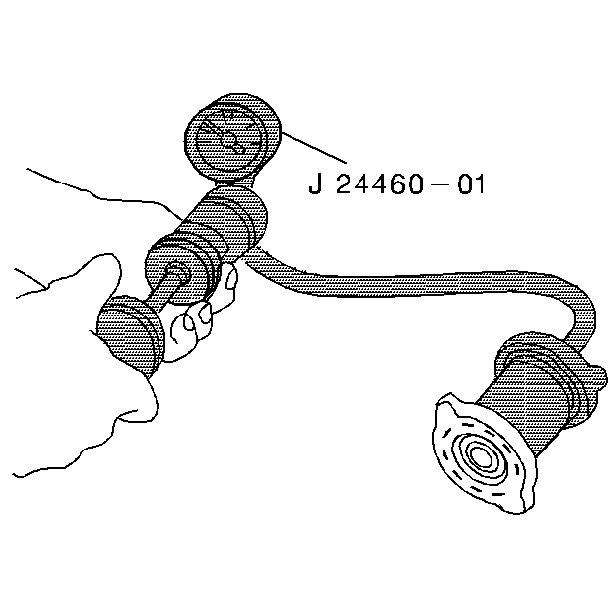
J 24460-01 Cooling System Tester
- Remove the radiator from the vehicle. Refer to Radiator Replacement .
- Clean the radiator core so the damaged area can be seen.
- Radiator core leaks can be found by adding water to the radiator.
- Install test fittings or rubber test caps in the inlet and outlet necks, as shown.
- Install plugs in the transmission oil cooler fittings to keep dirt out, if equipped.
- Install plugs in the engine oil cooler fittings, if equipped.
- Attach the J 24460-01 to the radiator.
- Gradually apply normal system pressure, never exceed 138 kPa (20 psi).
- The needle on the tester gauge will remain steady, if there are no leaks.
Notice: Do not use pressure greater than 138 kPa (20 psi) to test the radiator. Damage to the radiator will result if a higher pressure is used.
| • | Remove dirt and insects from the fins with a common water hose, without the nozzle. Excessive water pressure could damage the fins. |
| • | Scrub the core with a soft-bristle brush using clean, hot water and a mild detergent. |
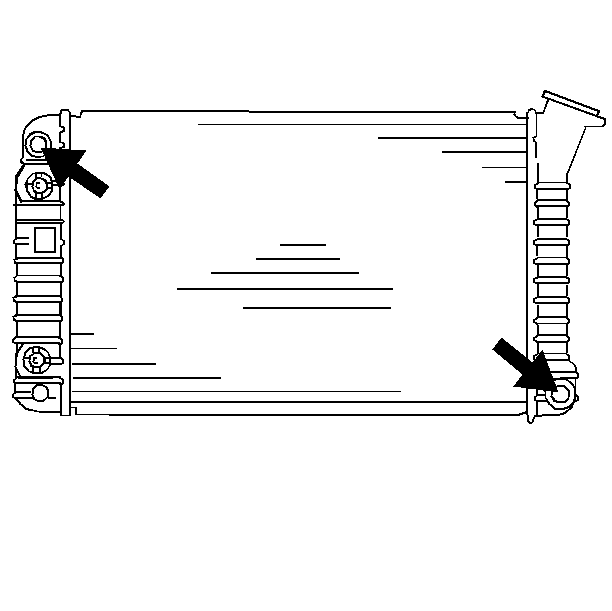
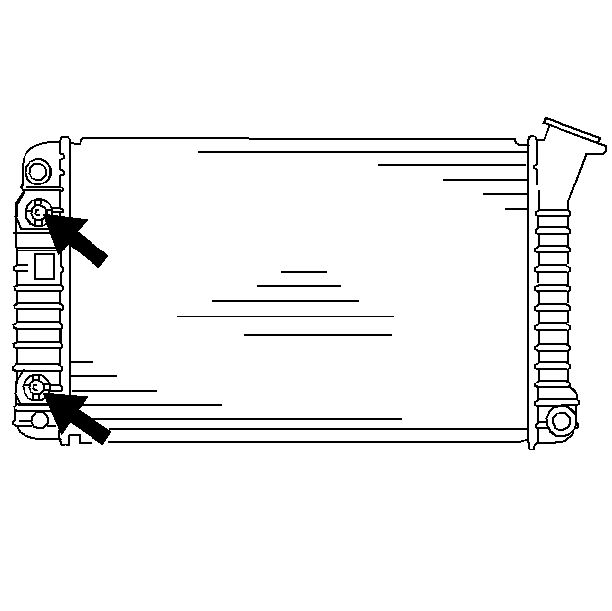
| • | Help find small leaks by applying soapy water to suspect areas, or submerge the radiator assembly in a large water tank. |
| • | Check for bubbles at the point of leakage. Damage to a plastic side tank requires replacement. |
