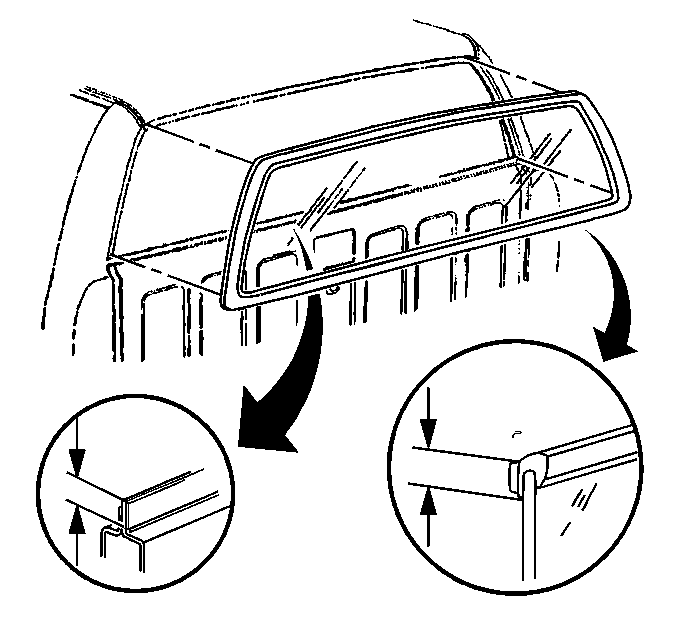
- Trim the reveal molding from the shank in the area of the leak.
- Tape the molding to the window away from the leak area.
- Apply water to the leak area in order to determine the extent
of the leak.
- Carefully push the glass outward in the location of the leak.
- Mark the location of the leak on the glass with a grease pencil.
- Clean dirt or foreign material from the leak area with water.
- Dry the area with an air hose.
- Trim the uneven edge of the adhesive material from the pinchweld
flange at the leak point and 8 mm (0.315 in) on
both sides of the leak.
| • | Keep the blade of the knife flat against the glass edge and bottomed
out on the flat pinchweld flange in order to trim the adhesive. |
- Prime the affected area
with the primer supplied in the GM Urethane Kit GM P/N 12346248. Agitate the
primer prior to use.
- Apply the adhesive material to the pinchweld in the area that
was trimmed.
- Work the adhesive material into the joint of the leak area using
a flat-blade tool.
- Test the area for leaks using a light steady stream of warm or
hot water.
| • | Do not run a heavy stream of water directly onto the freshly applied
adhesive. |
| • | If any leaks are found, work additional adhesive into that area. |
- Reinstall the reveal molding by embedding the bottom of the molding
in the urethane.
- Tape the molding into place until the adhesive is completely cured.
