For 1990-2009 cars only
Removal Procedure
- Raise the vehicle. Refer to Lifting and Jacking the Vehicle in General Information.
- Support the right side tail pipe with a suitable jack.
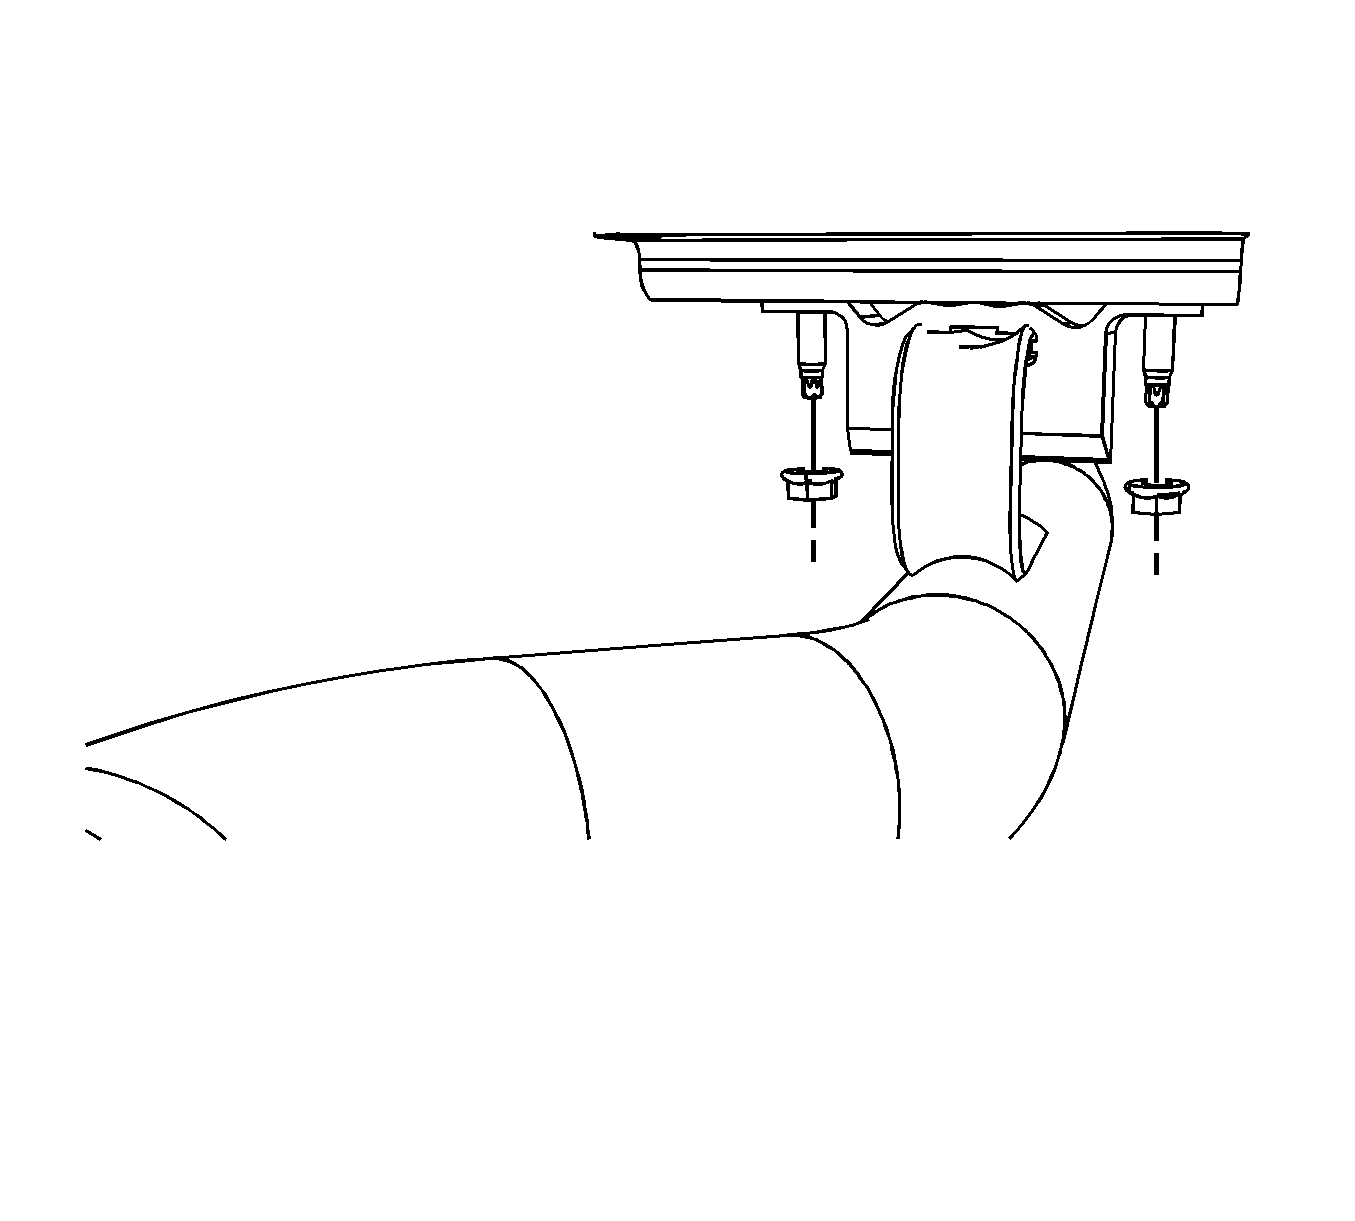
- Remove the nuts retaining the right side exhaust insulator.
- Lower the jack to gain clearance to remove the insulator.
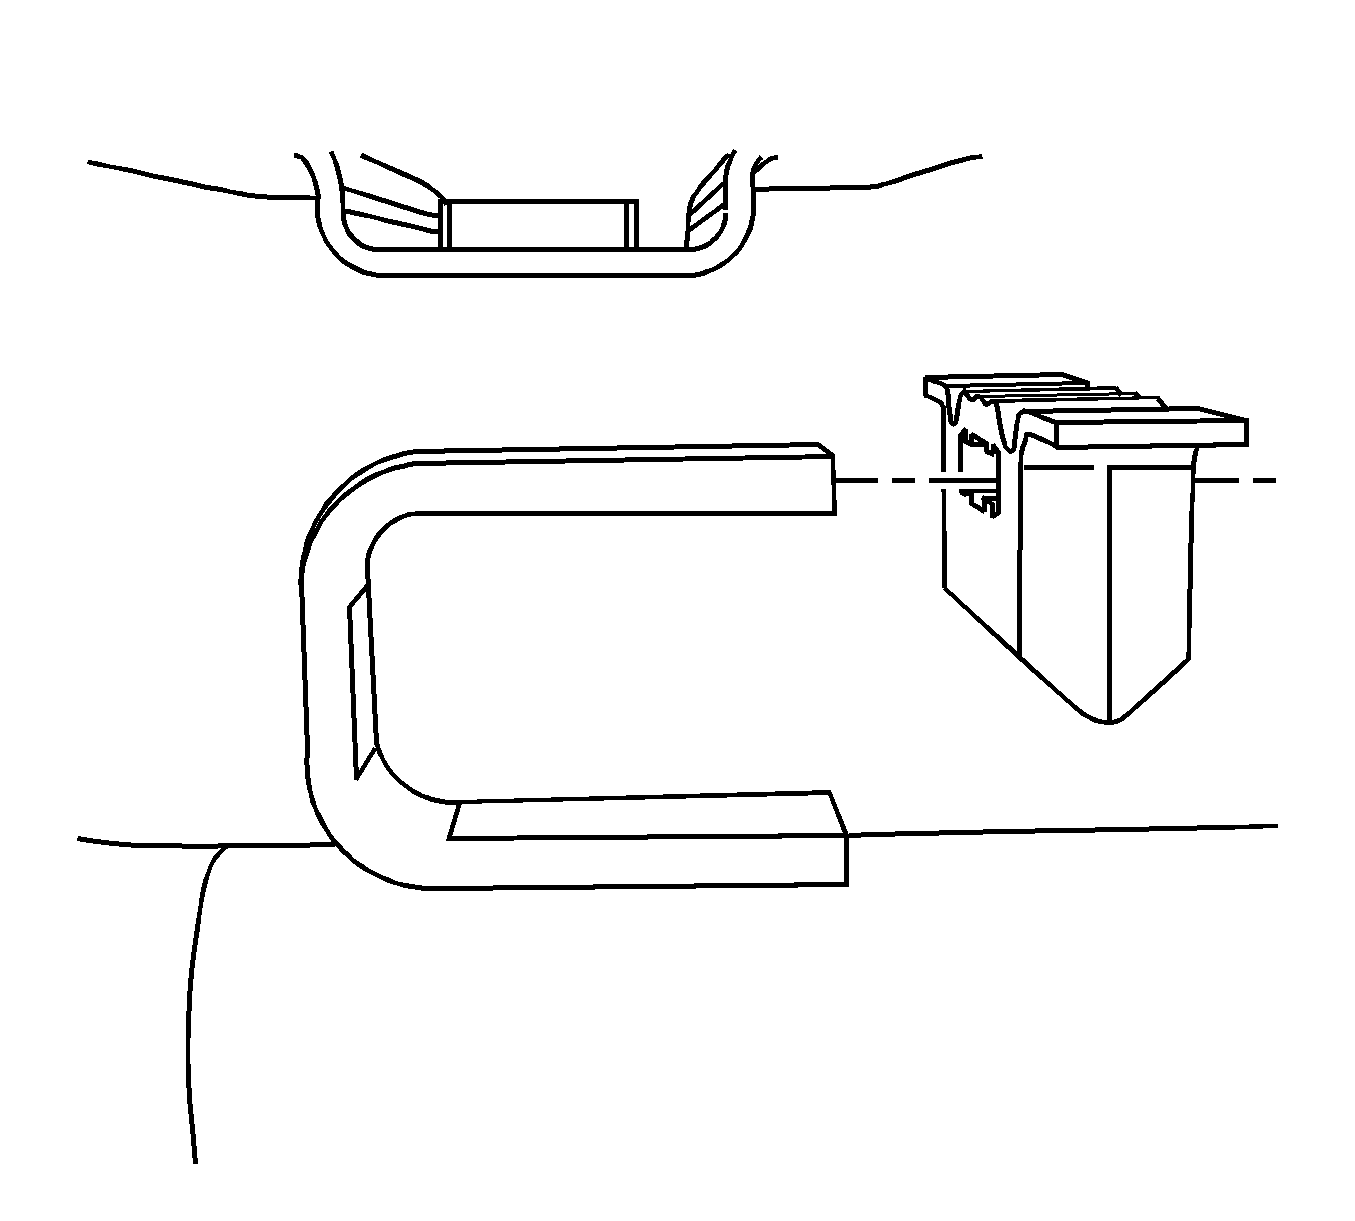
- Slide the exhaust insulator off the exhaust tail pipe hanger.
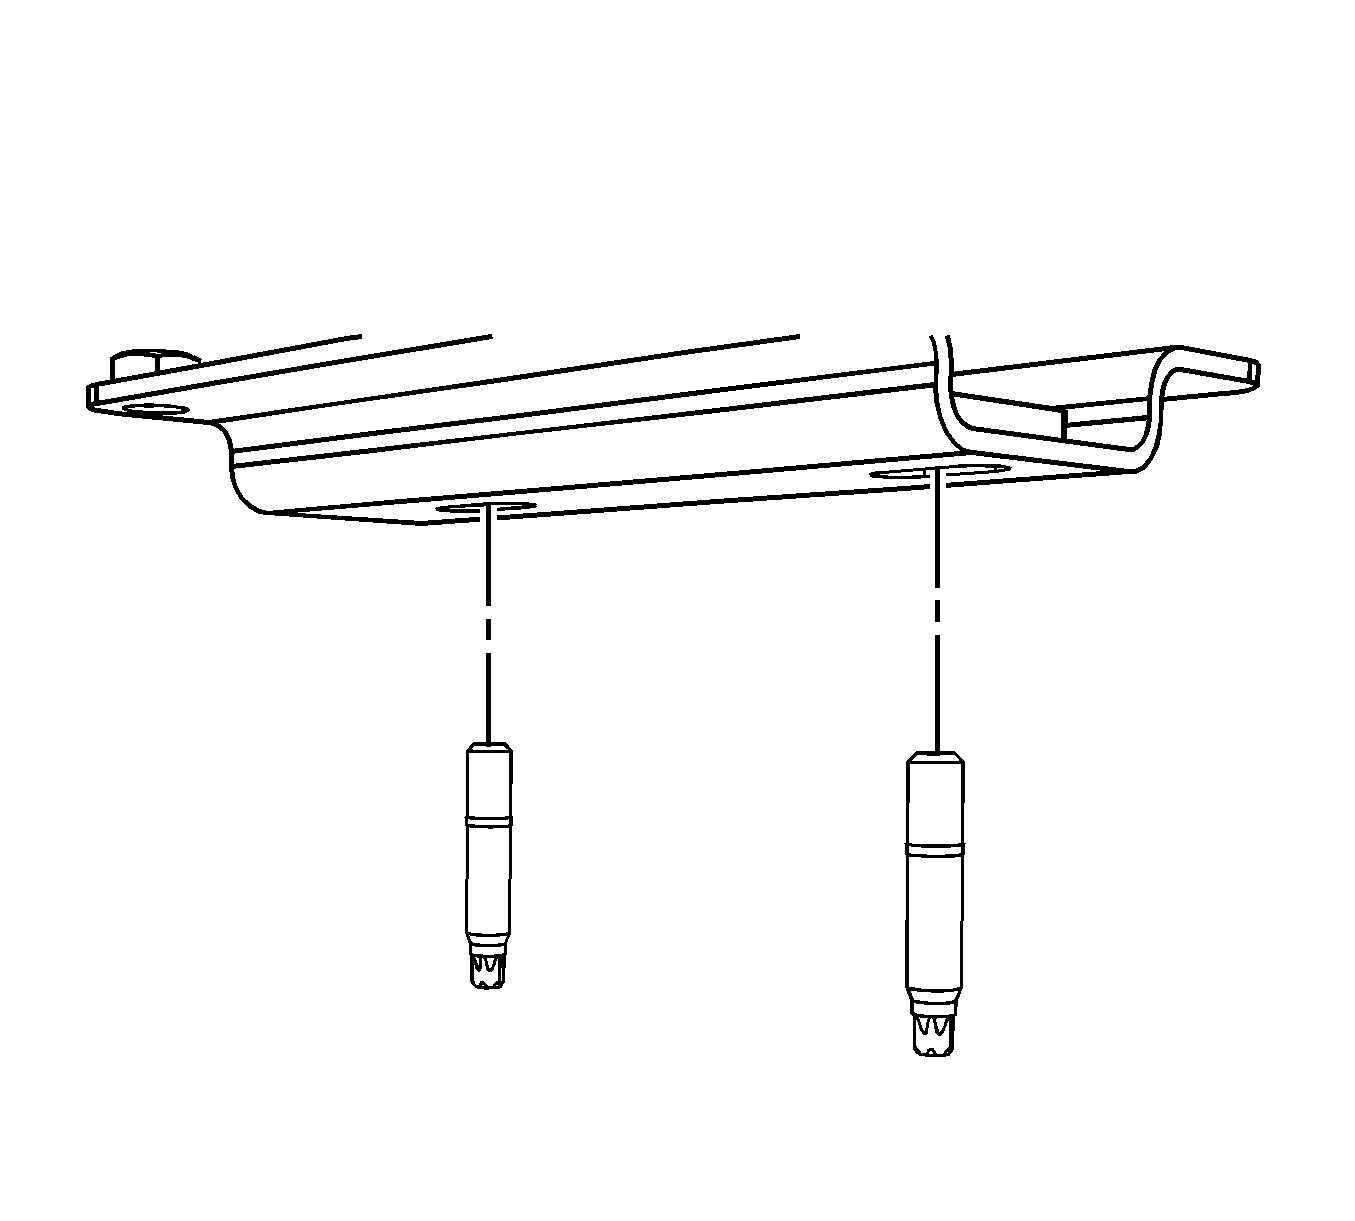
- Remove the studs from the insulator bracket.
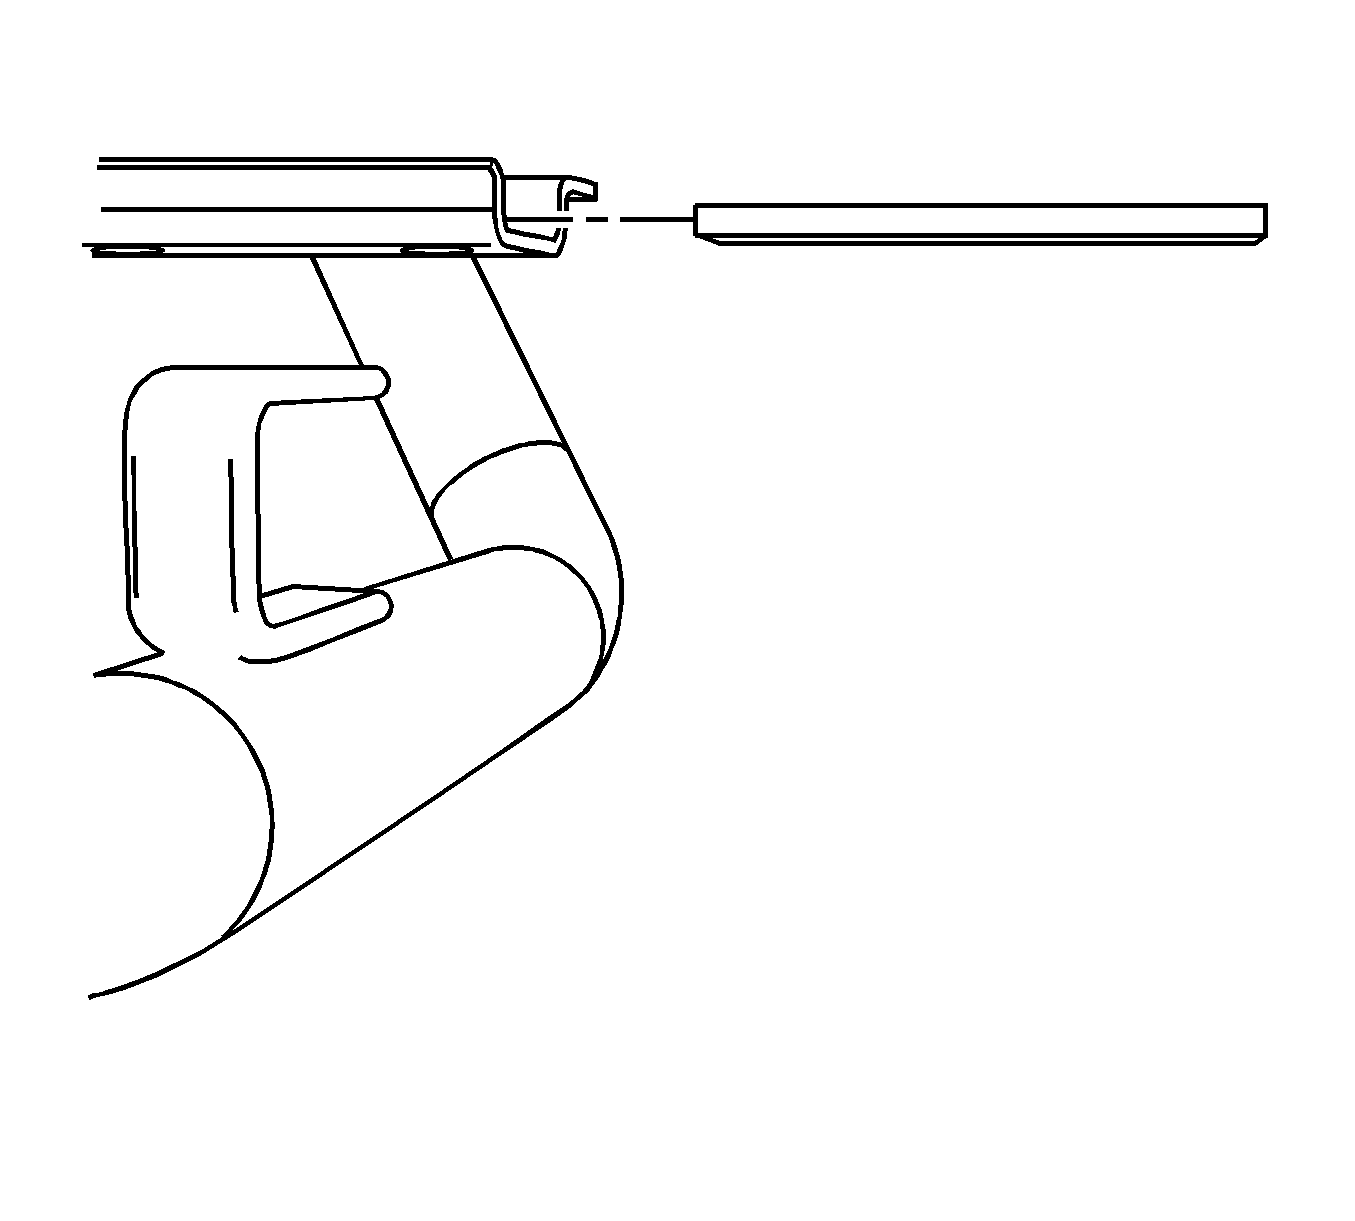
- Remove the insulator bracket.


Installation Procedure
- Install the insulator bracket.
- Install the studs to the insulator bracket.
- Slide the exhaust insulator on the exhaust tail pipe hanger.
- Raise the jack that supports the tail pipe.
- Install the nuts to retain the right side exhaust insulator.
- Remove the jack that supports the tail pipe.
- Align the tail pipes to fascia as necessary and then tighten the nuts.
- Lower the vehicle.


Notice: Refer to Fastener Notice in the Preface section.
Tighten
Tighten the nuts to 25 N·m (18 lb ft).
