For 1990-2009 cars only
Removal Procedure
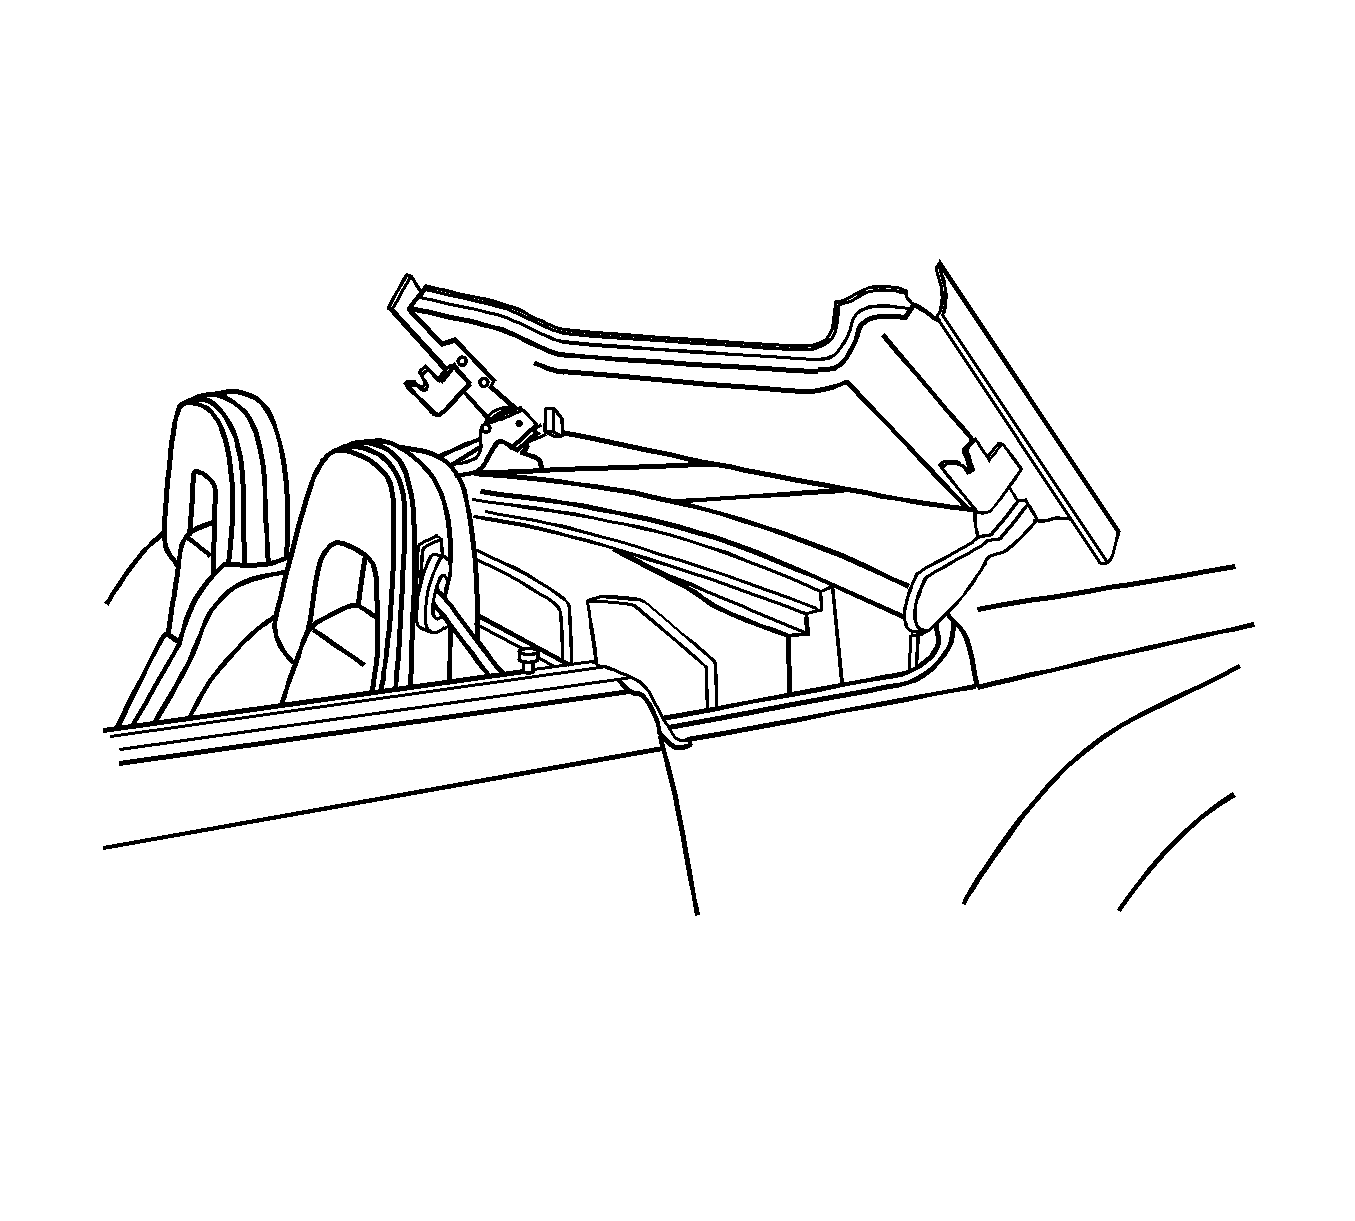
- Cycle the folding top to reveal the body rear accessory compartment.
- Turn the ignition switch to the OFF position.
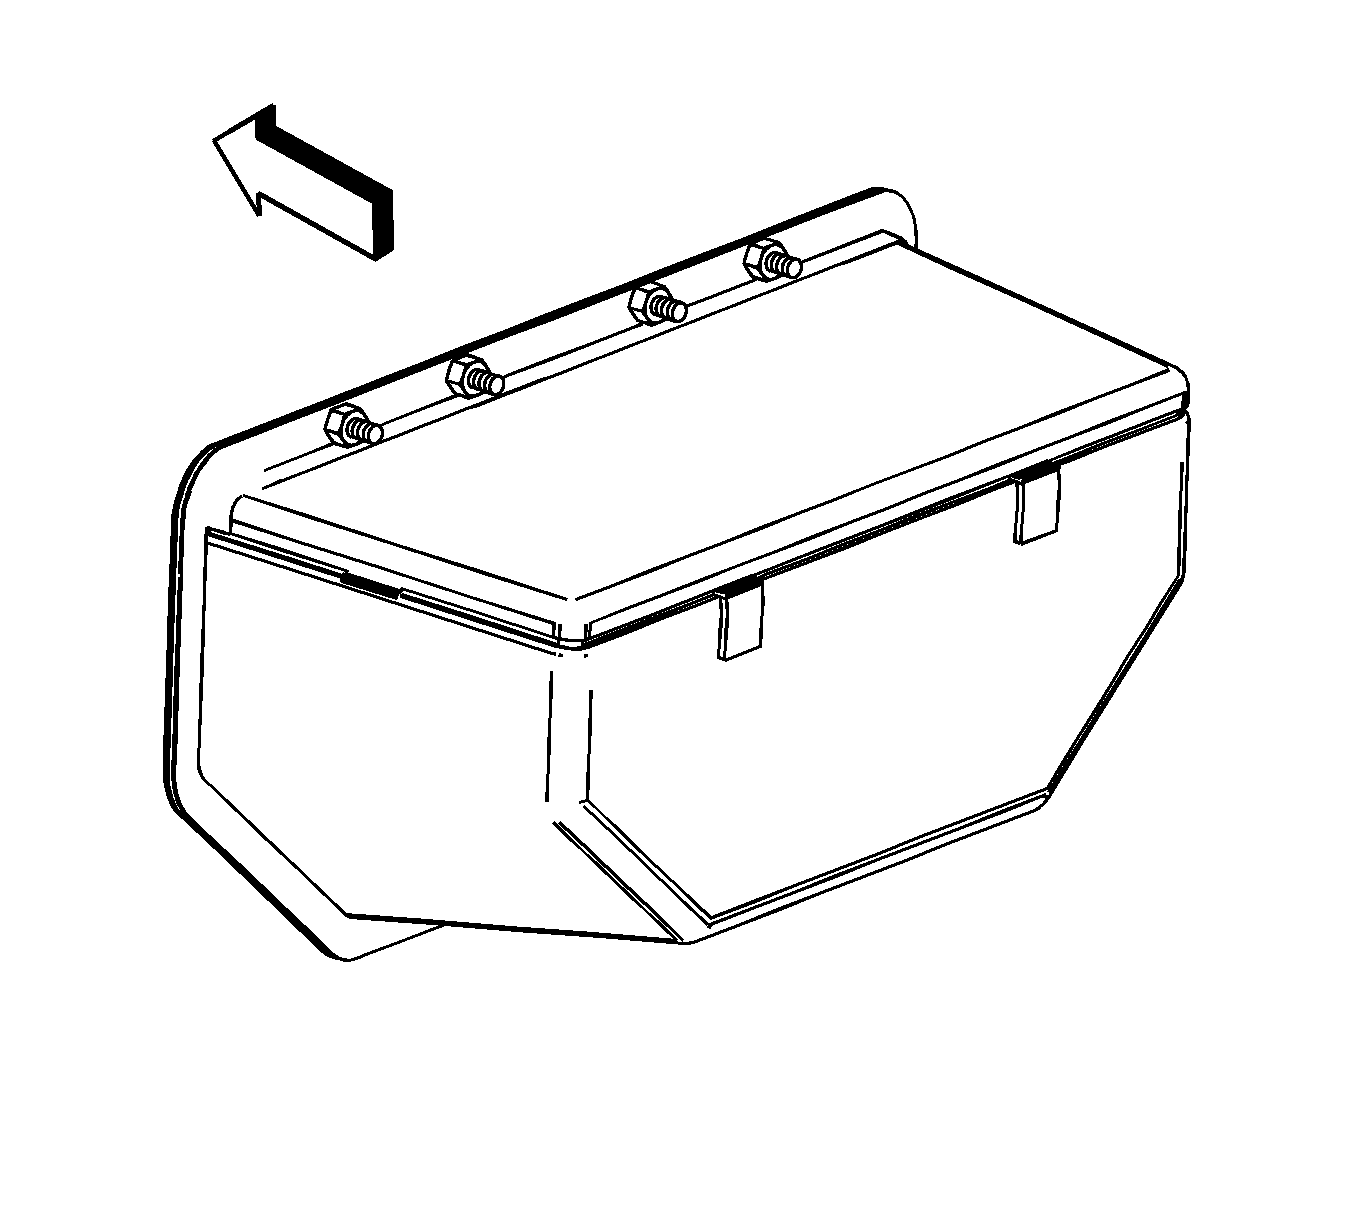
- Loosen the nuts and remove the lid from the body accessory compartment.
- Remove the folding top control module. Refer to Folding Top Control Module Replacement in Roof.
- Remove the rear relay center. Refer to Rear Electrical Center or Junction Block Replacement in Wiring Systems.
- Remove the daytime running lamps (DRL) diode. Refer to Daytime Running Lamp (DRL) Diode Replacement in Lighting Systems.
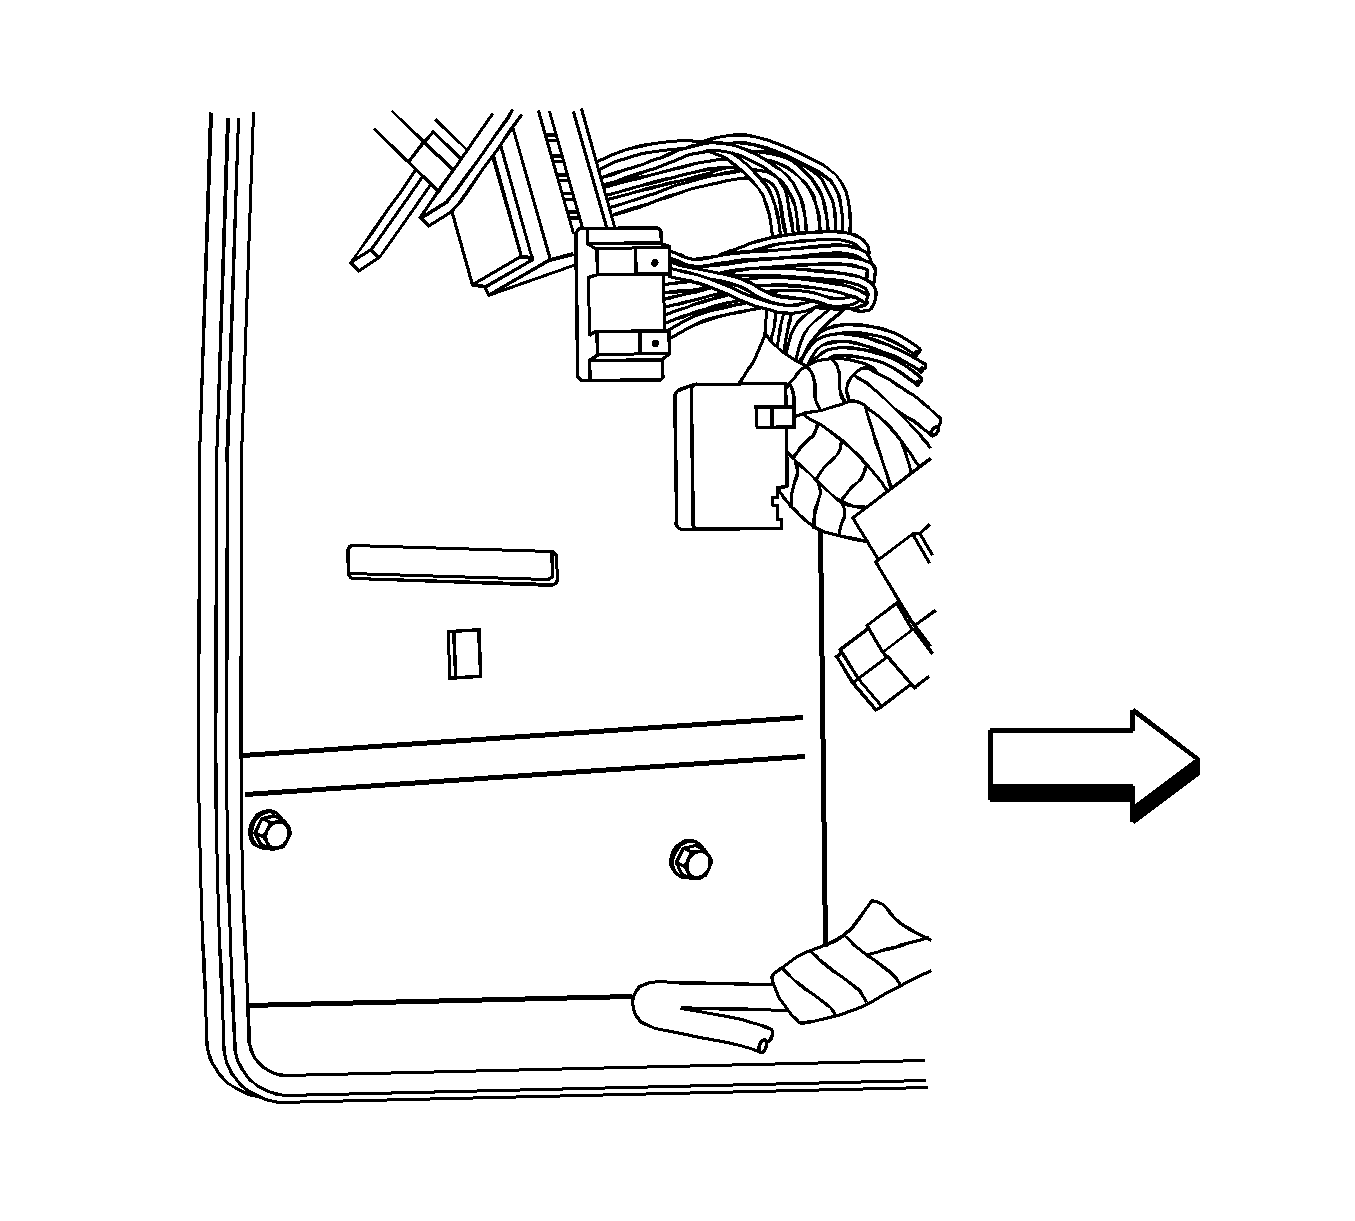
- Remove the 4 fasteners retaining the intermediate bracket.
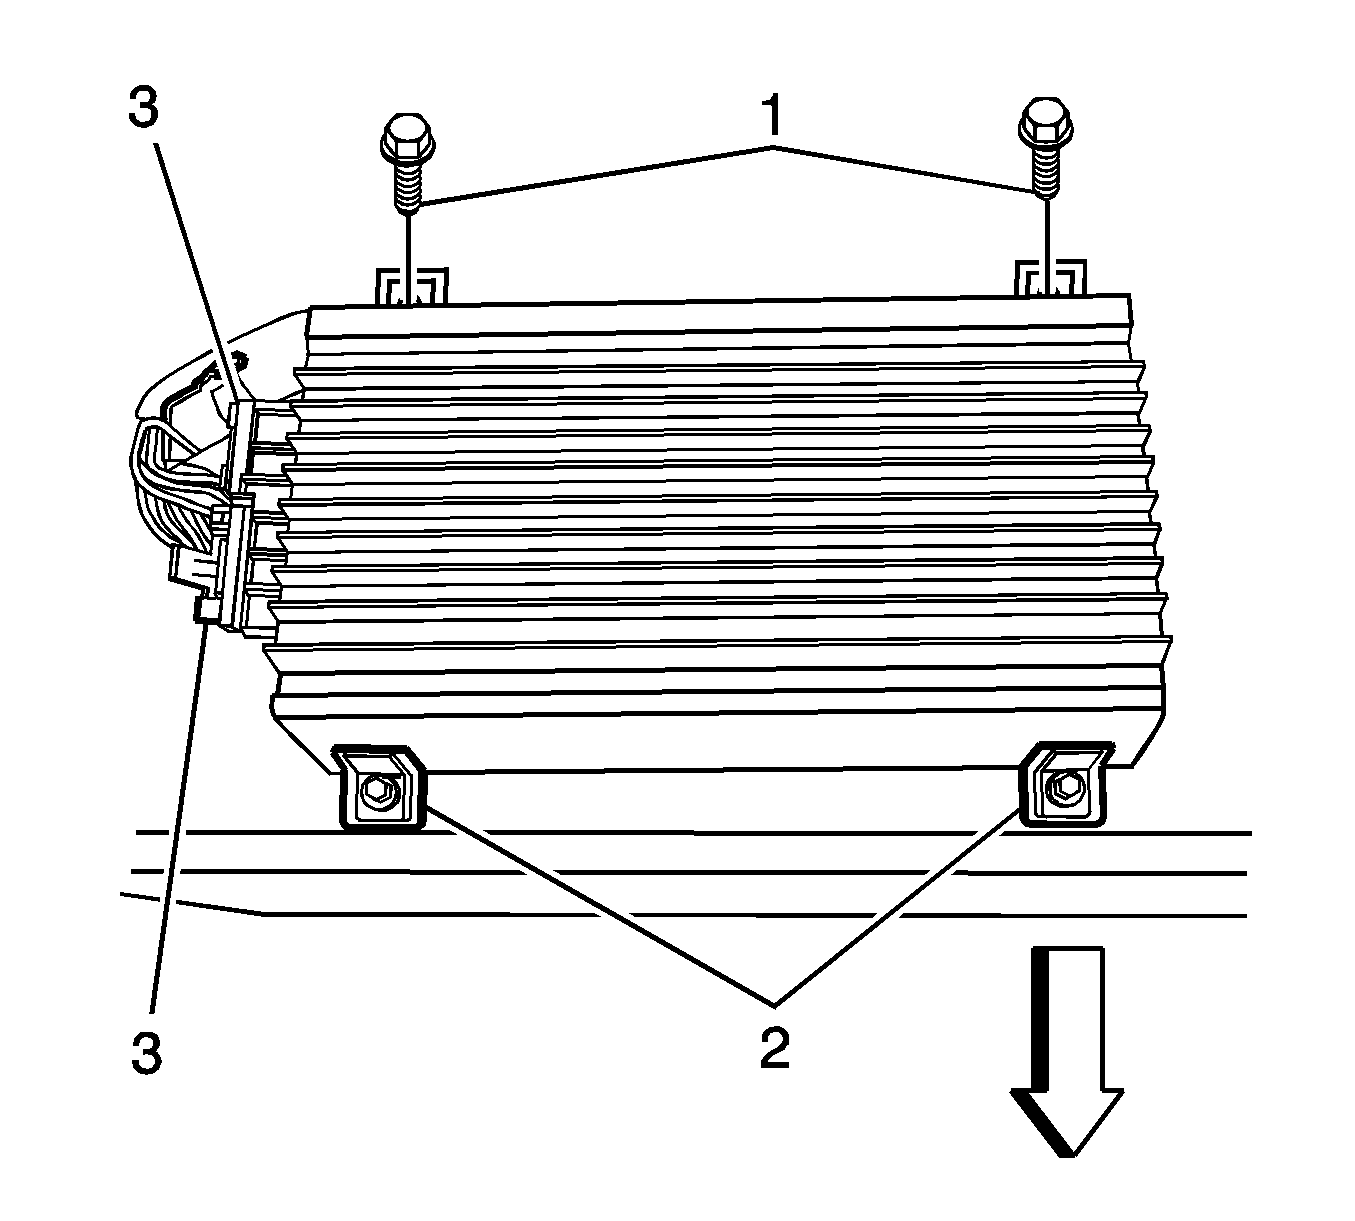
- Disconnect the electrical connectors to the amplifier (3).
- Remove the 4 fasteners (1, 2) retaining the amplifier to the body rear accessory compartment.
- Remove the amplifier from the vehicle.


Installation Procedure
- Connect the electrical connectors (3) to the amplifier.
- Install the 4 fasteners (1, 2) that hold the amplifier to the bin.
- Install the 4 fasteners retaining the intermediate bracket.
- Install the folding top control module. Refer to Folding Top Control Module Replacement in Roof.
- Install the rear relay center. Refer to Rear Electrical Center or Junction Block Replacement in Wiring Systems.
- Install the DRL diode. Refer to Daytime Running Lamp (DRL) Diode Replacement in Lighting Systems.
- Install the lid to the body accessory compartment.
- Close the folding top.
Notice: Refer to Fastener Notice in the Preface section.

Tighten
Tighten the fasteners to 9 N·m (80 lb in).

Tighten
Tighten the fasteners to 2 N·m (18 lb in).

Tighten
Tighten the nuts to 7 N·m (62 lb in).
