Rub Marks on B-Pillar (Adjust Hydraulic Hoses)

| Subject: | Rub Marks on "B" Pillar (Adjust Hydraulic Hoses) |
| Models: | 2003-2005 Chevrolet SSR |
This bulletin is being revised to add the 2005 model year. Please discard Corporate Bulletin Number 04-08-67-010 (Section 08 - Body and Accessories).
Condition
Some customers may comment on a rub mark on the right or left "B" pillar.
Cause
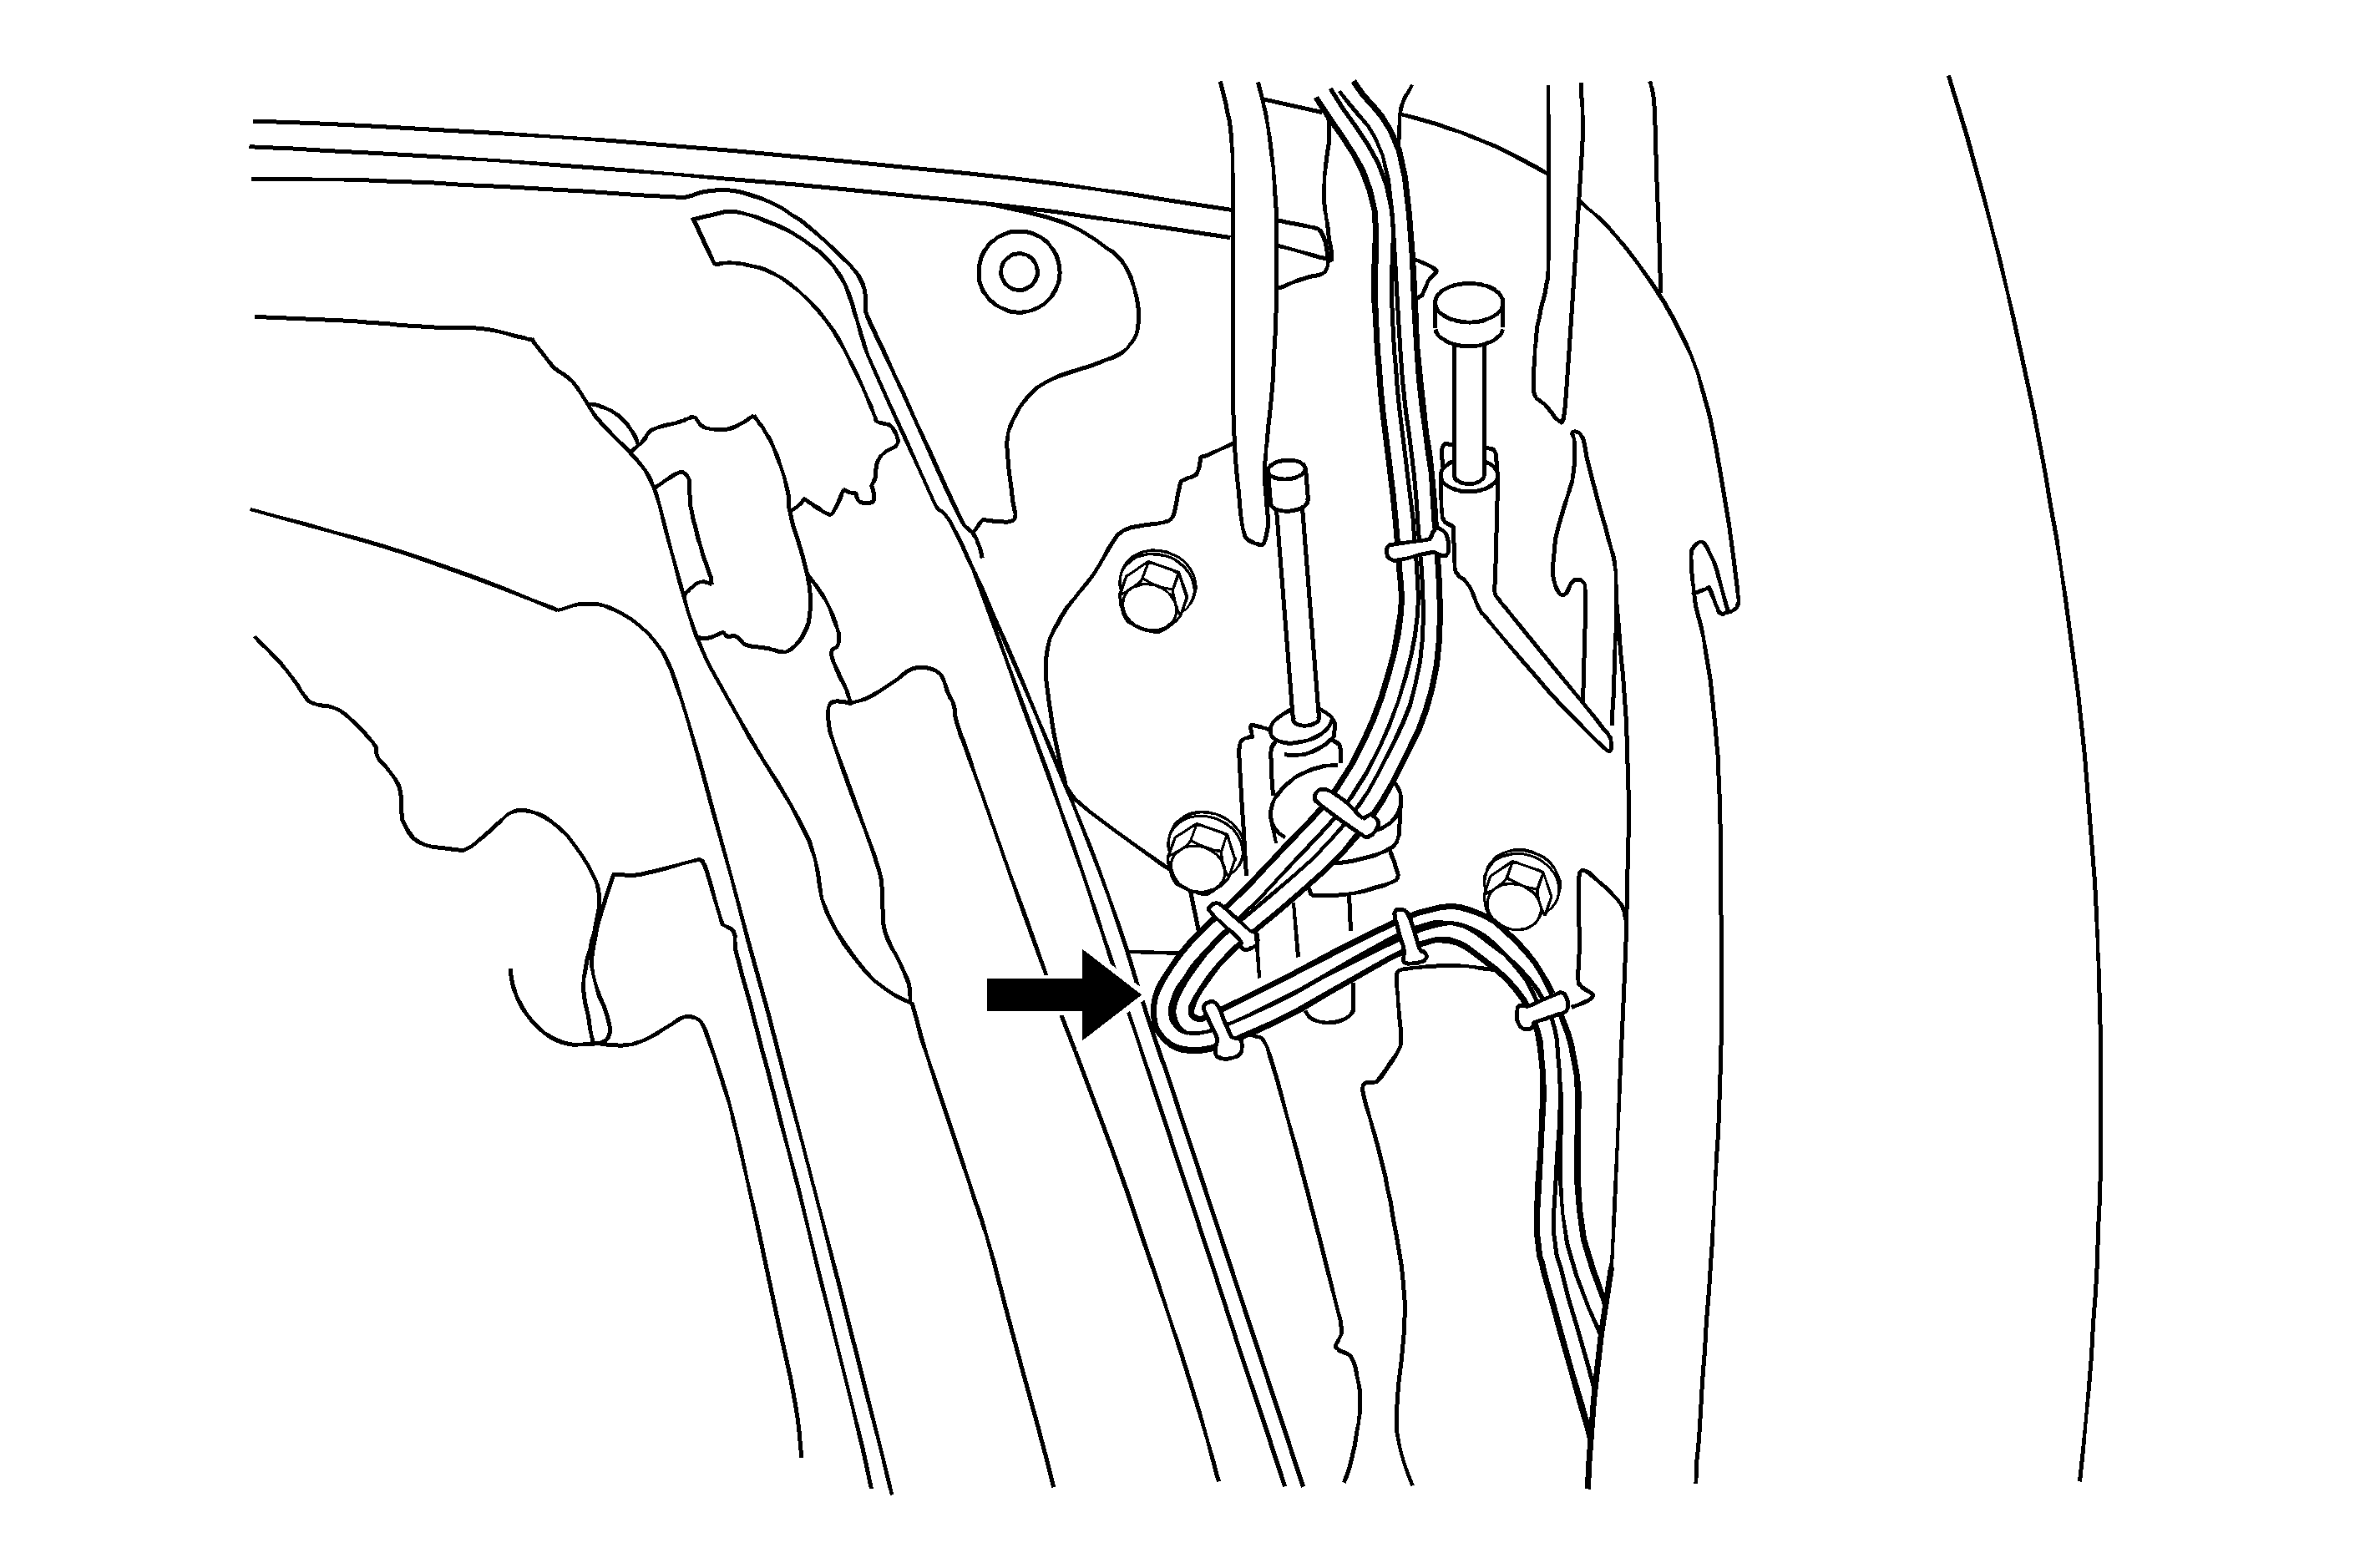
The hydraulic hoses may be too tight or may have too much slack in them, causing a rub mark in the rear roof panel.
Correction
Adjust the hydraulic lines or add tie straps following the procedure below.
Procedure (Right Hand Side)
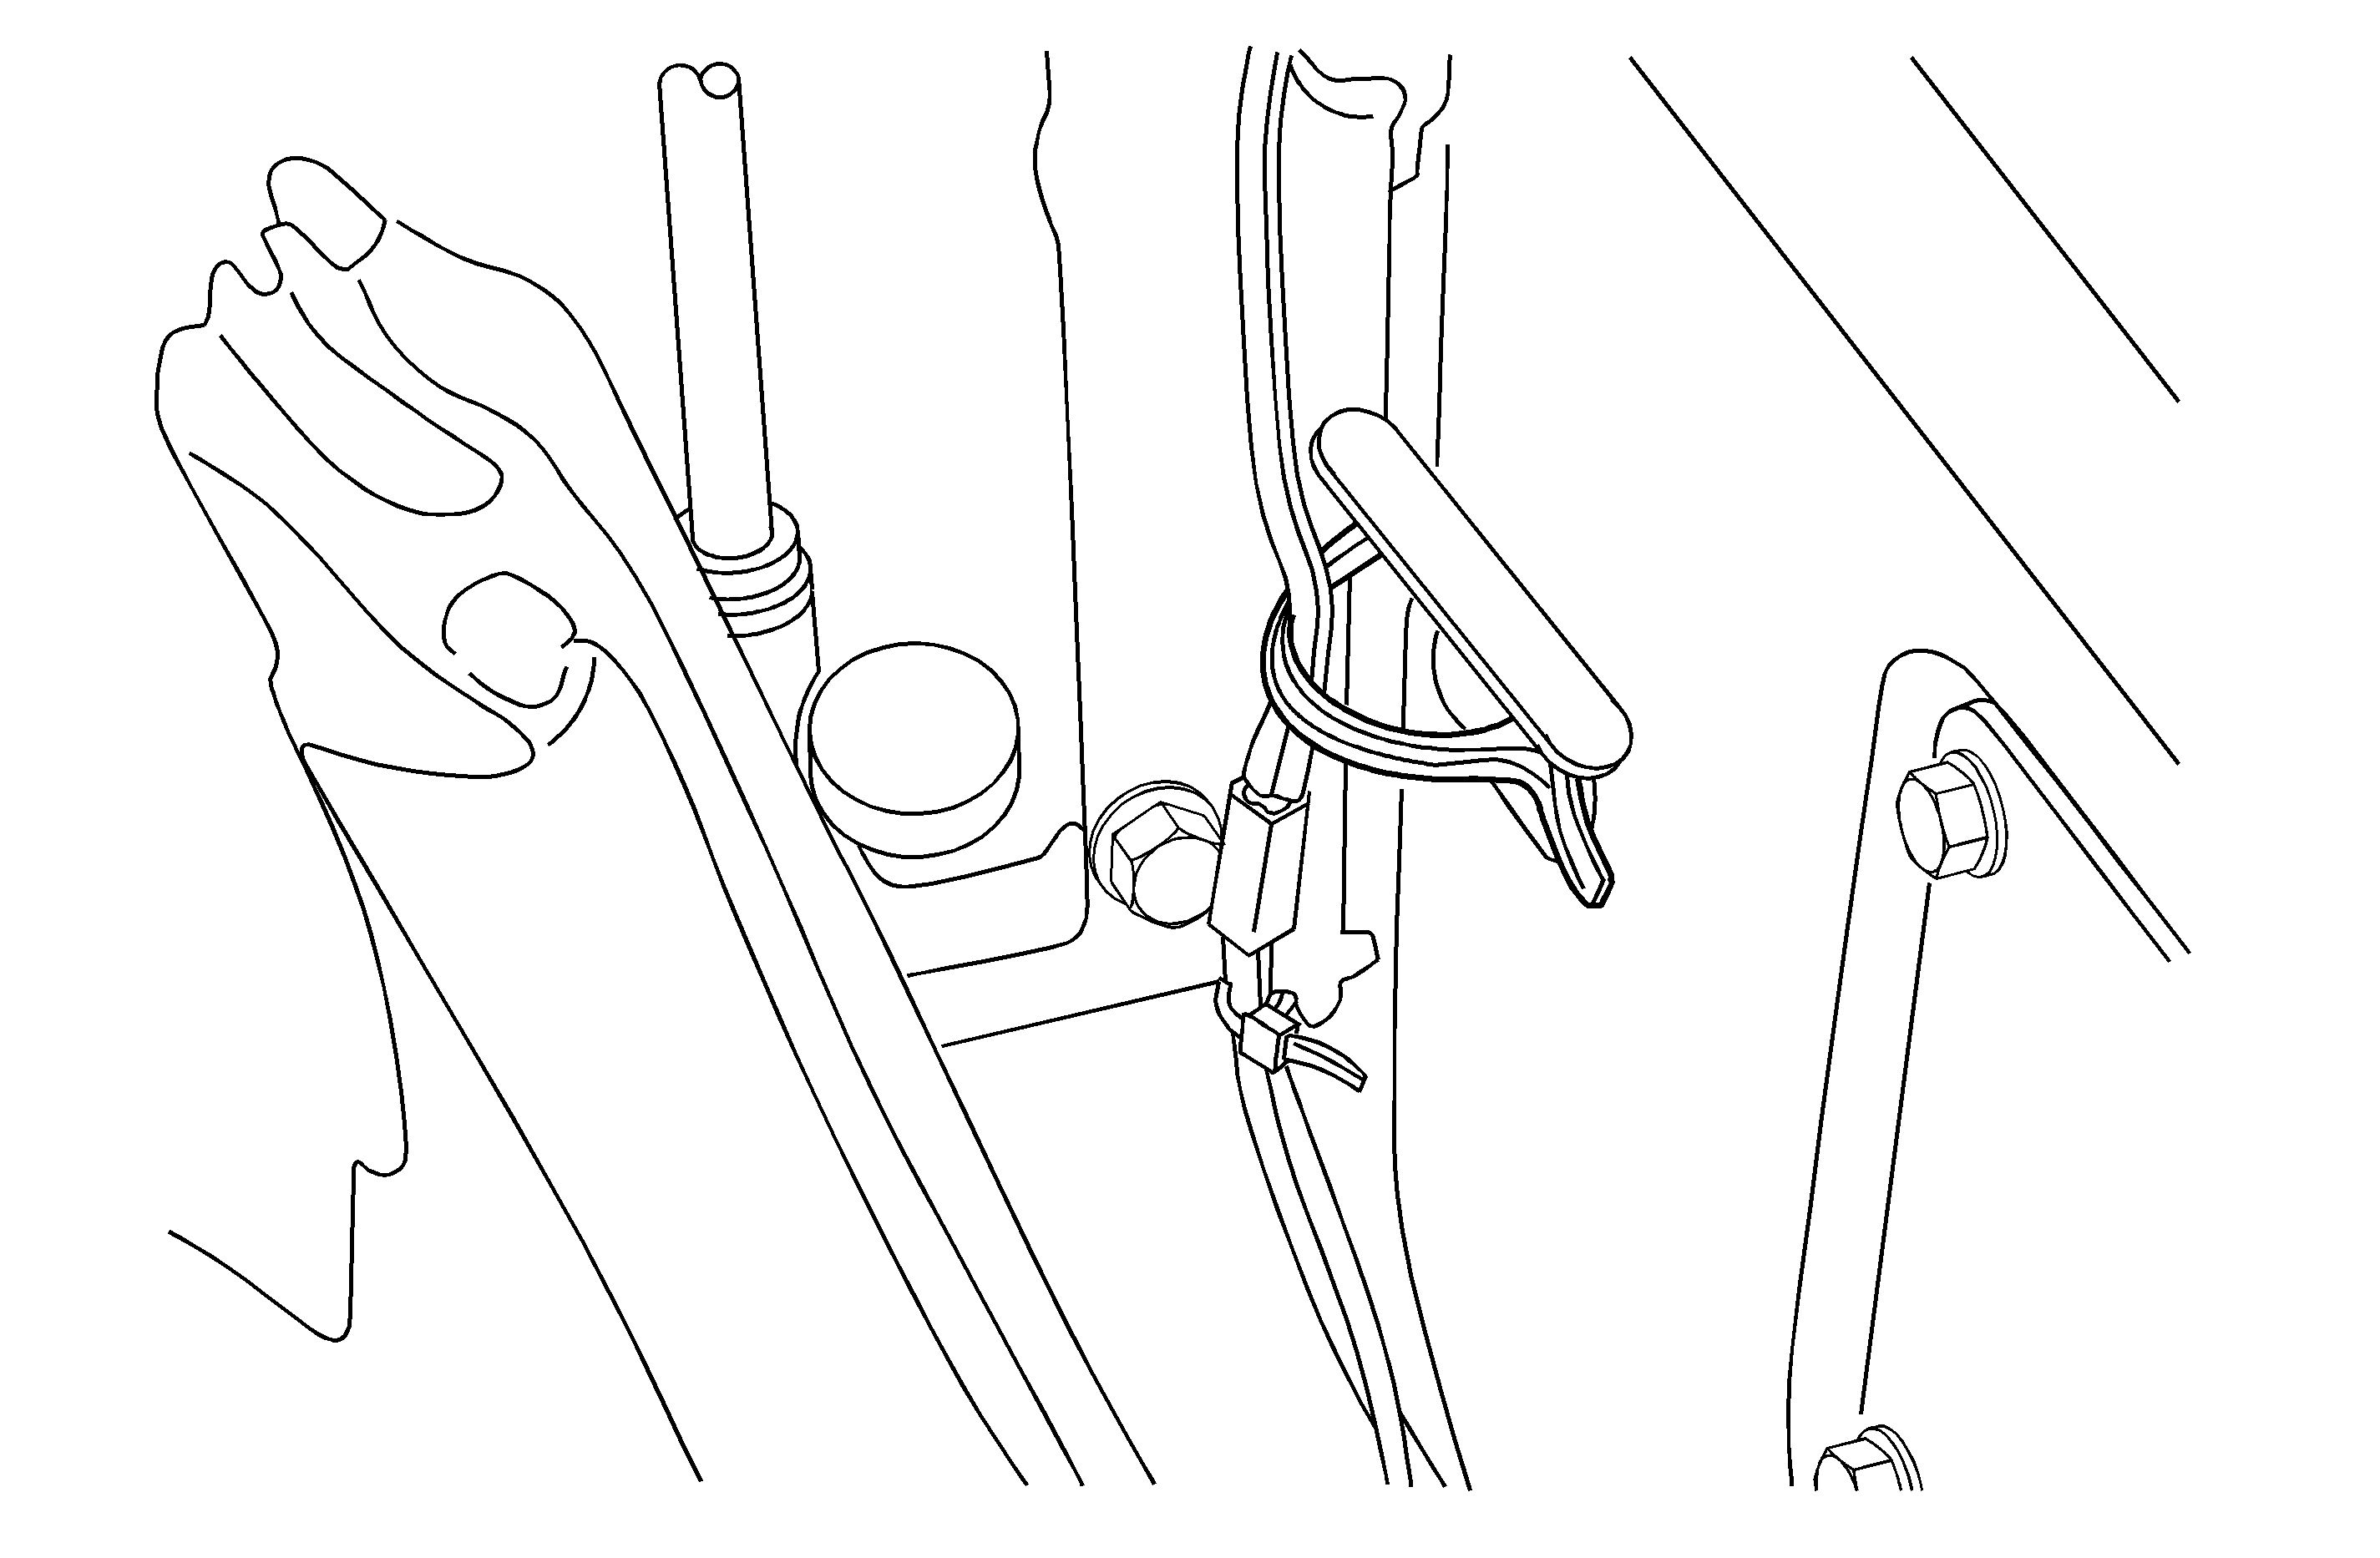
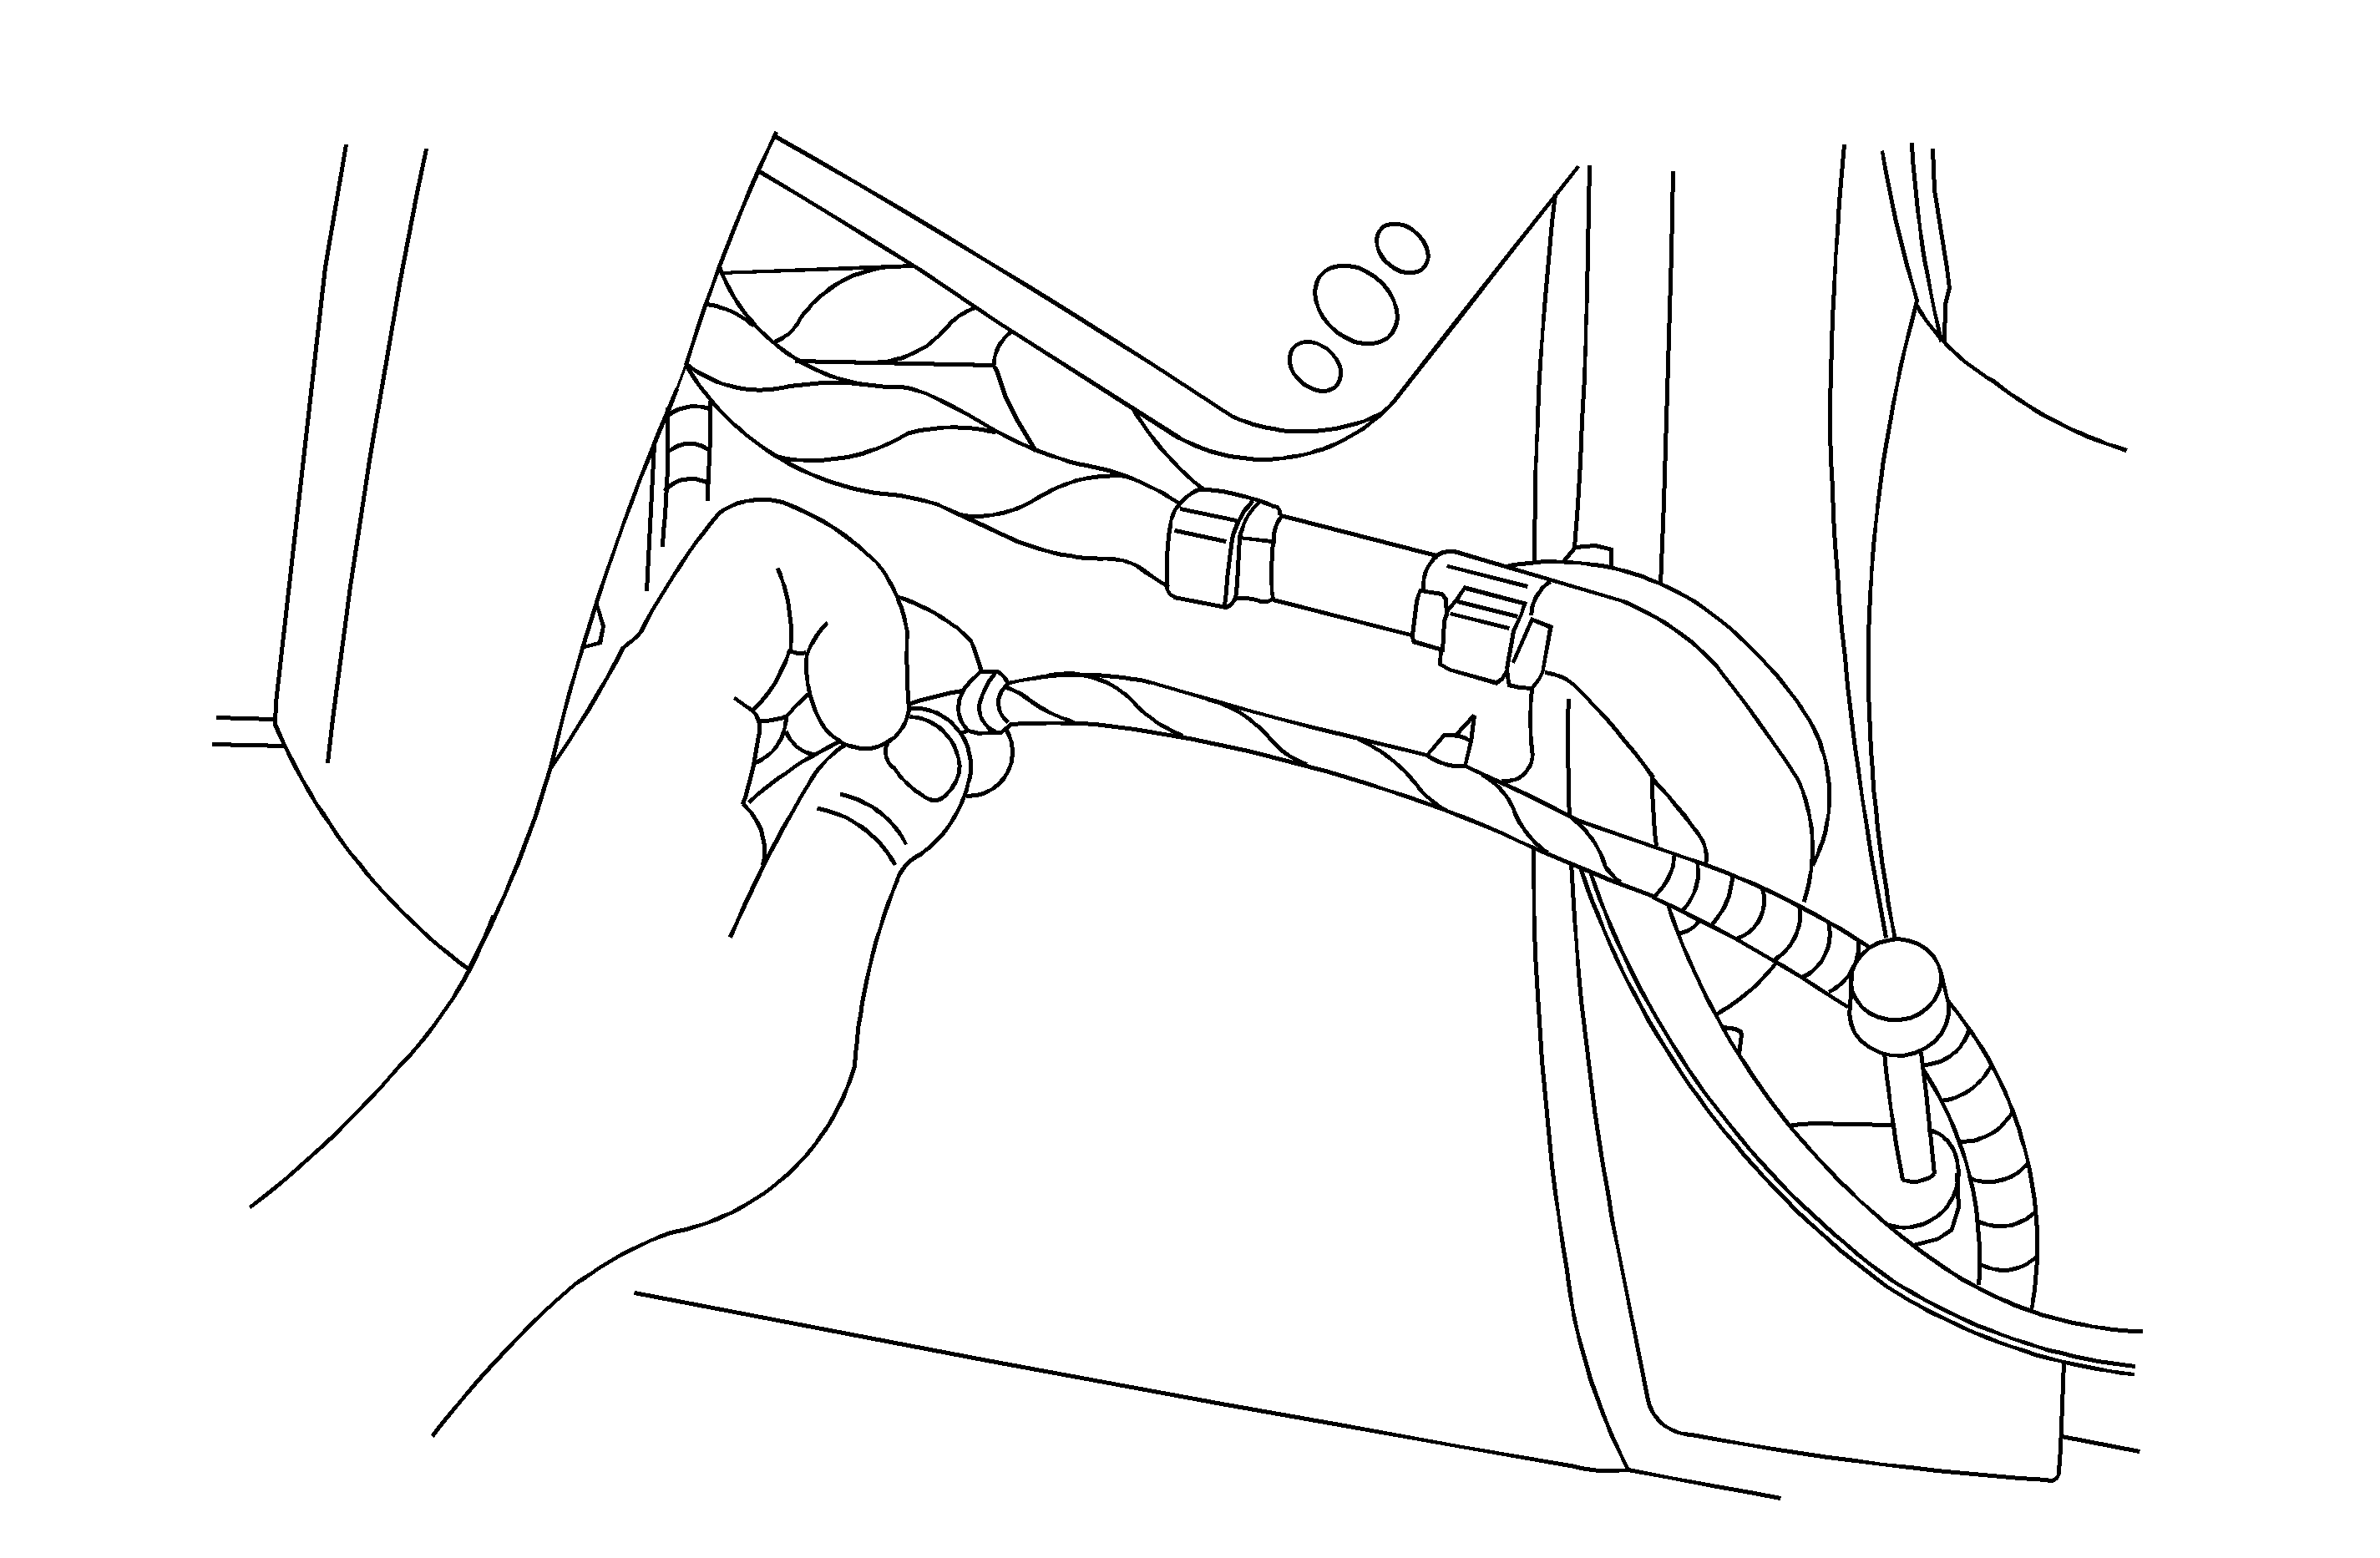
- Make sure the hydraulic hose routing does not have excess hose length between the lowest attaching point on the stowage compartment lid hinge and the middle attachment point to the body. If you do find excess hose length between these points, remove the zip-ties at the middle and bottom attaching points on the body and reposition the excess length to the bottom of the stowage compartment area.
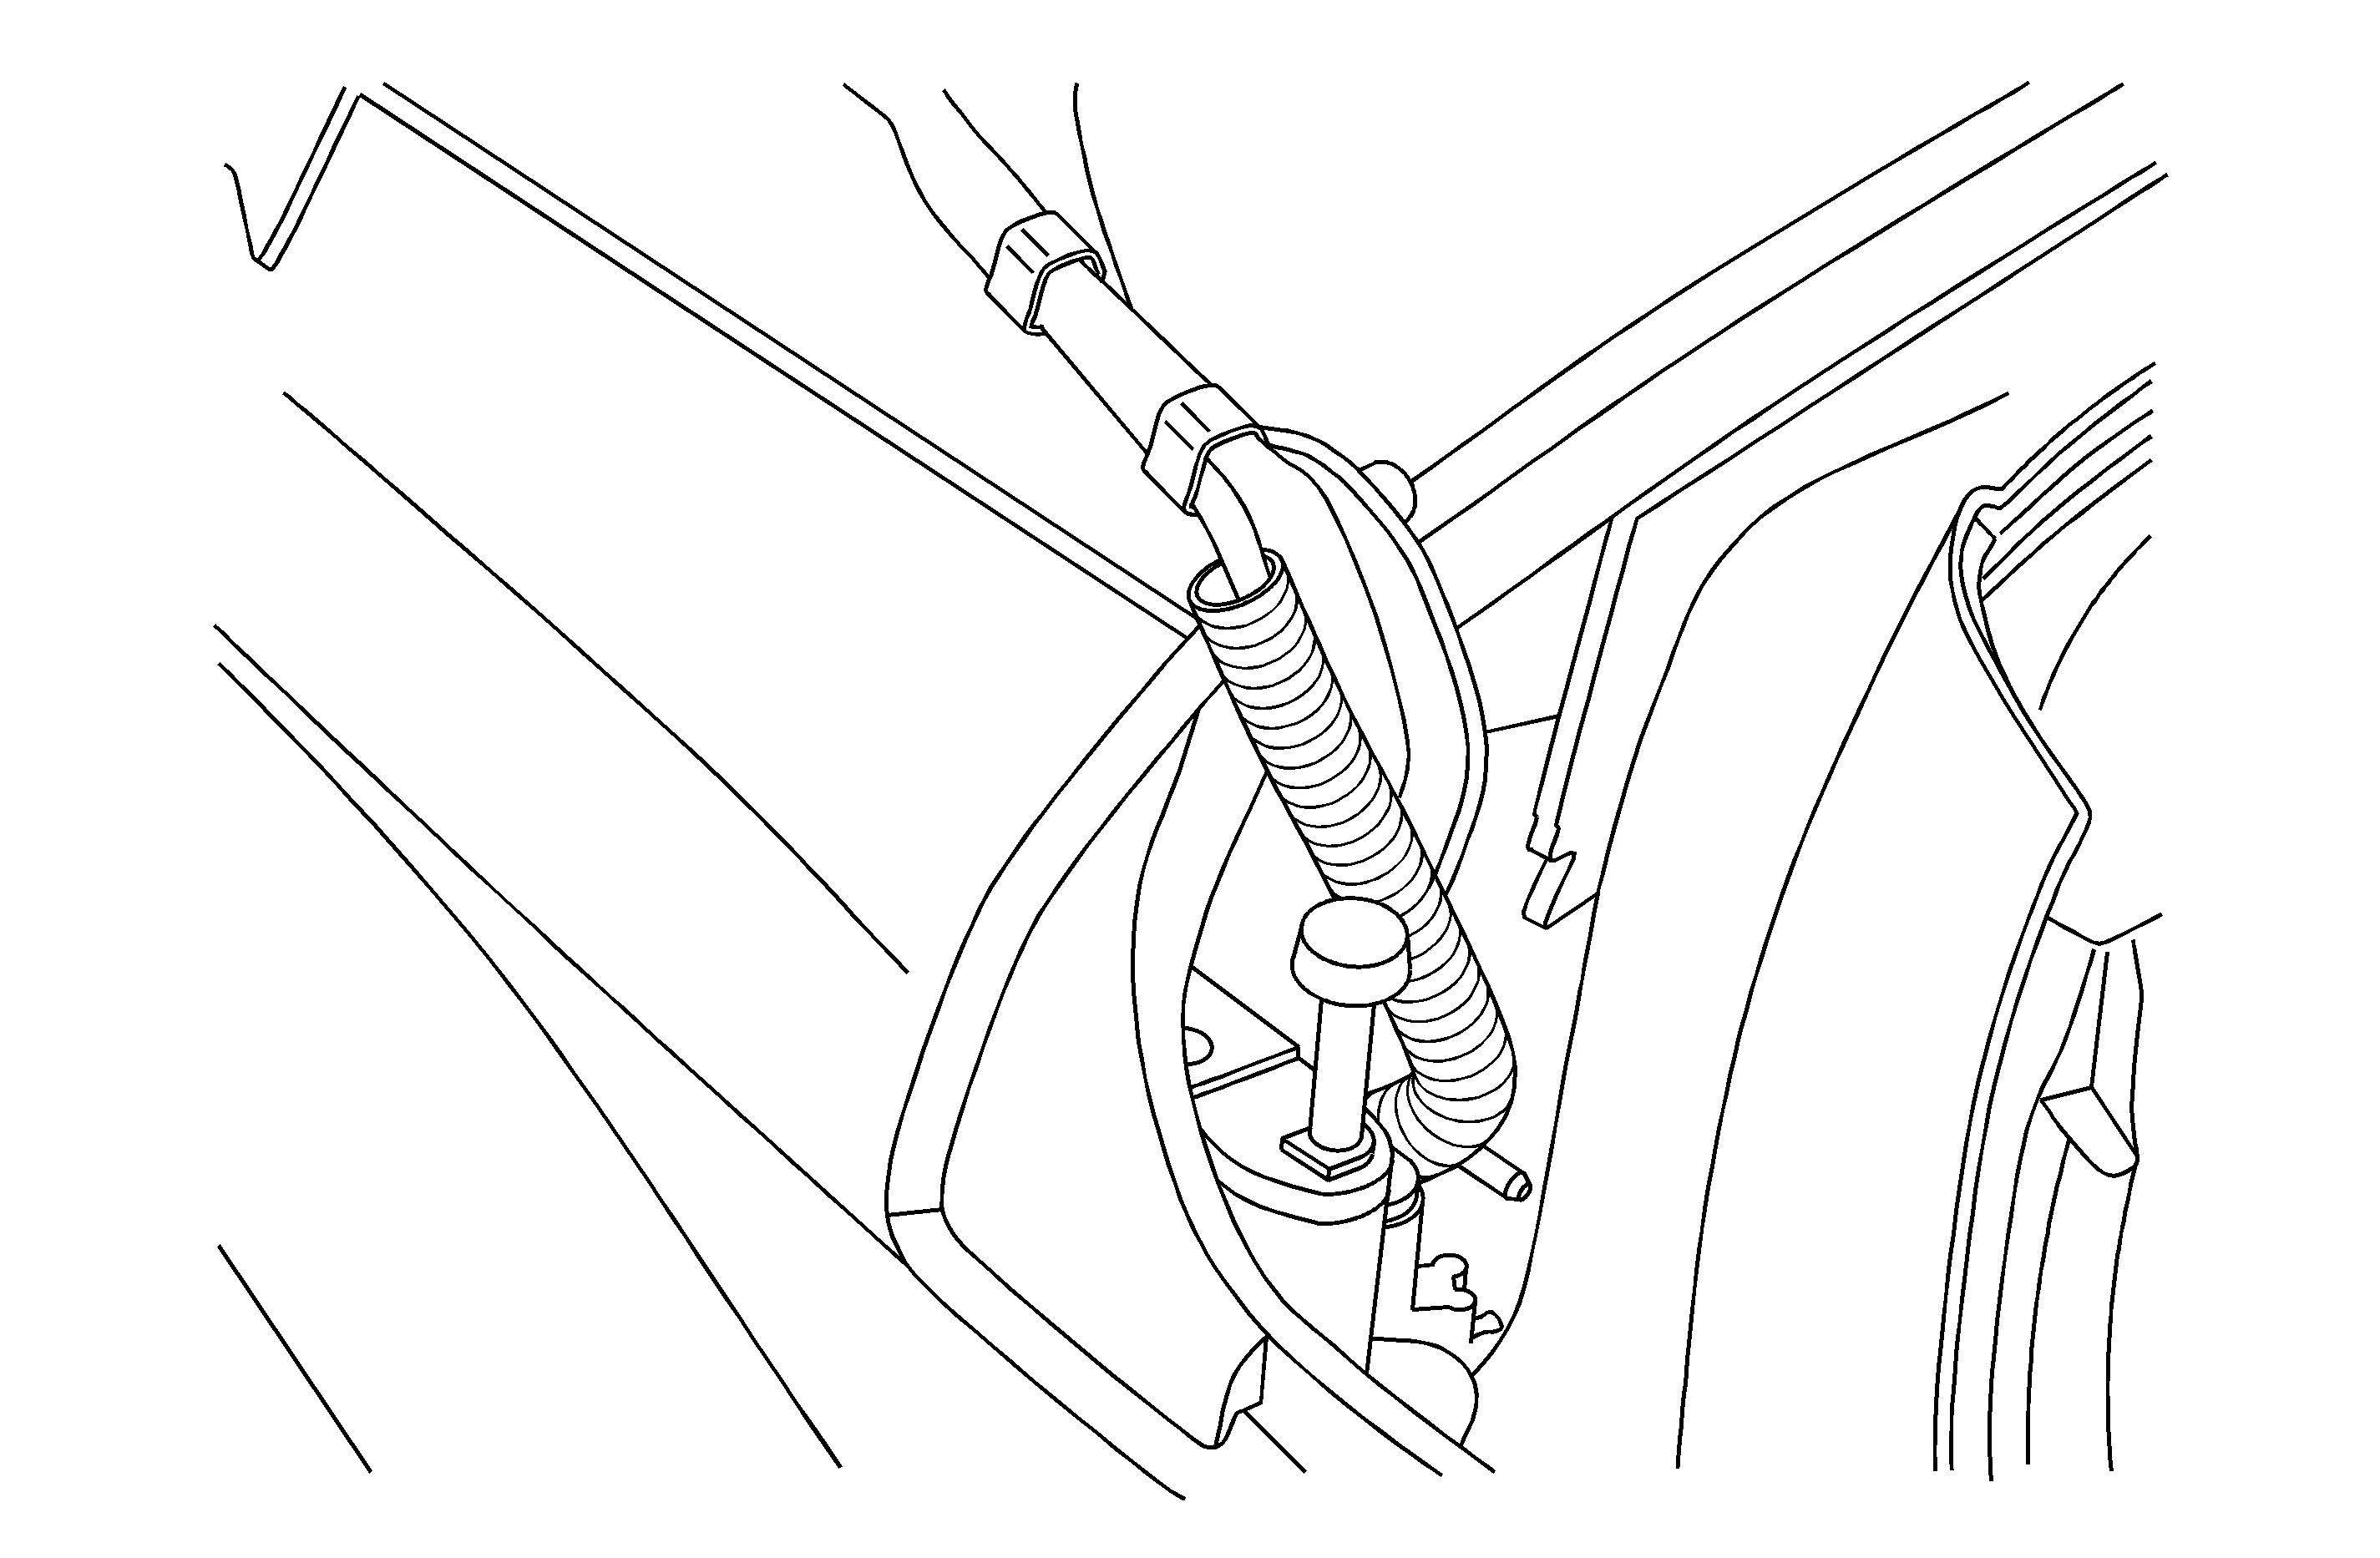
- You can shorten the length of the hoses from the clip on the stowage compartment lid hinge to the lower attaching point on the hinge. Take care not to tighten the hoses too tight as shown in the illustration above.
- Try to keep the hose length between the clip and the lowest attaching point on the tonneau hinge as short as possible but not taut.
- To keep the hoses from contacting the roof in the retracted position, loosely attach a tie strap around the bottom of the plastic hose guide shield.
- Cycle the tonneau up and down to verify that the hoses are staying away from the rear roof panel when closing.
Procedure (Left Hand Side)
This is an issue that has been found in vehicles built prior to July, 2004.
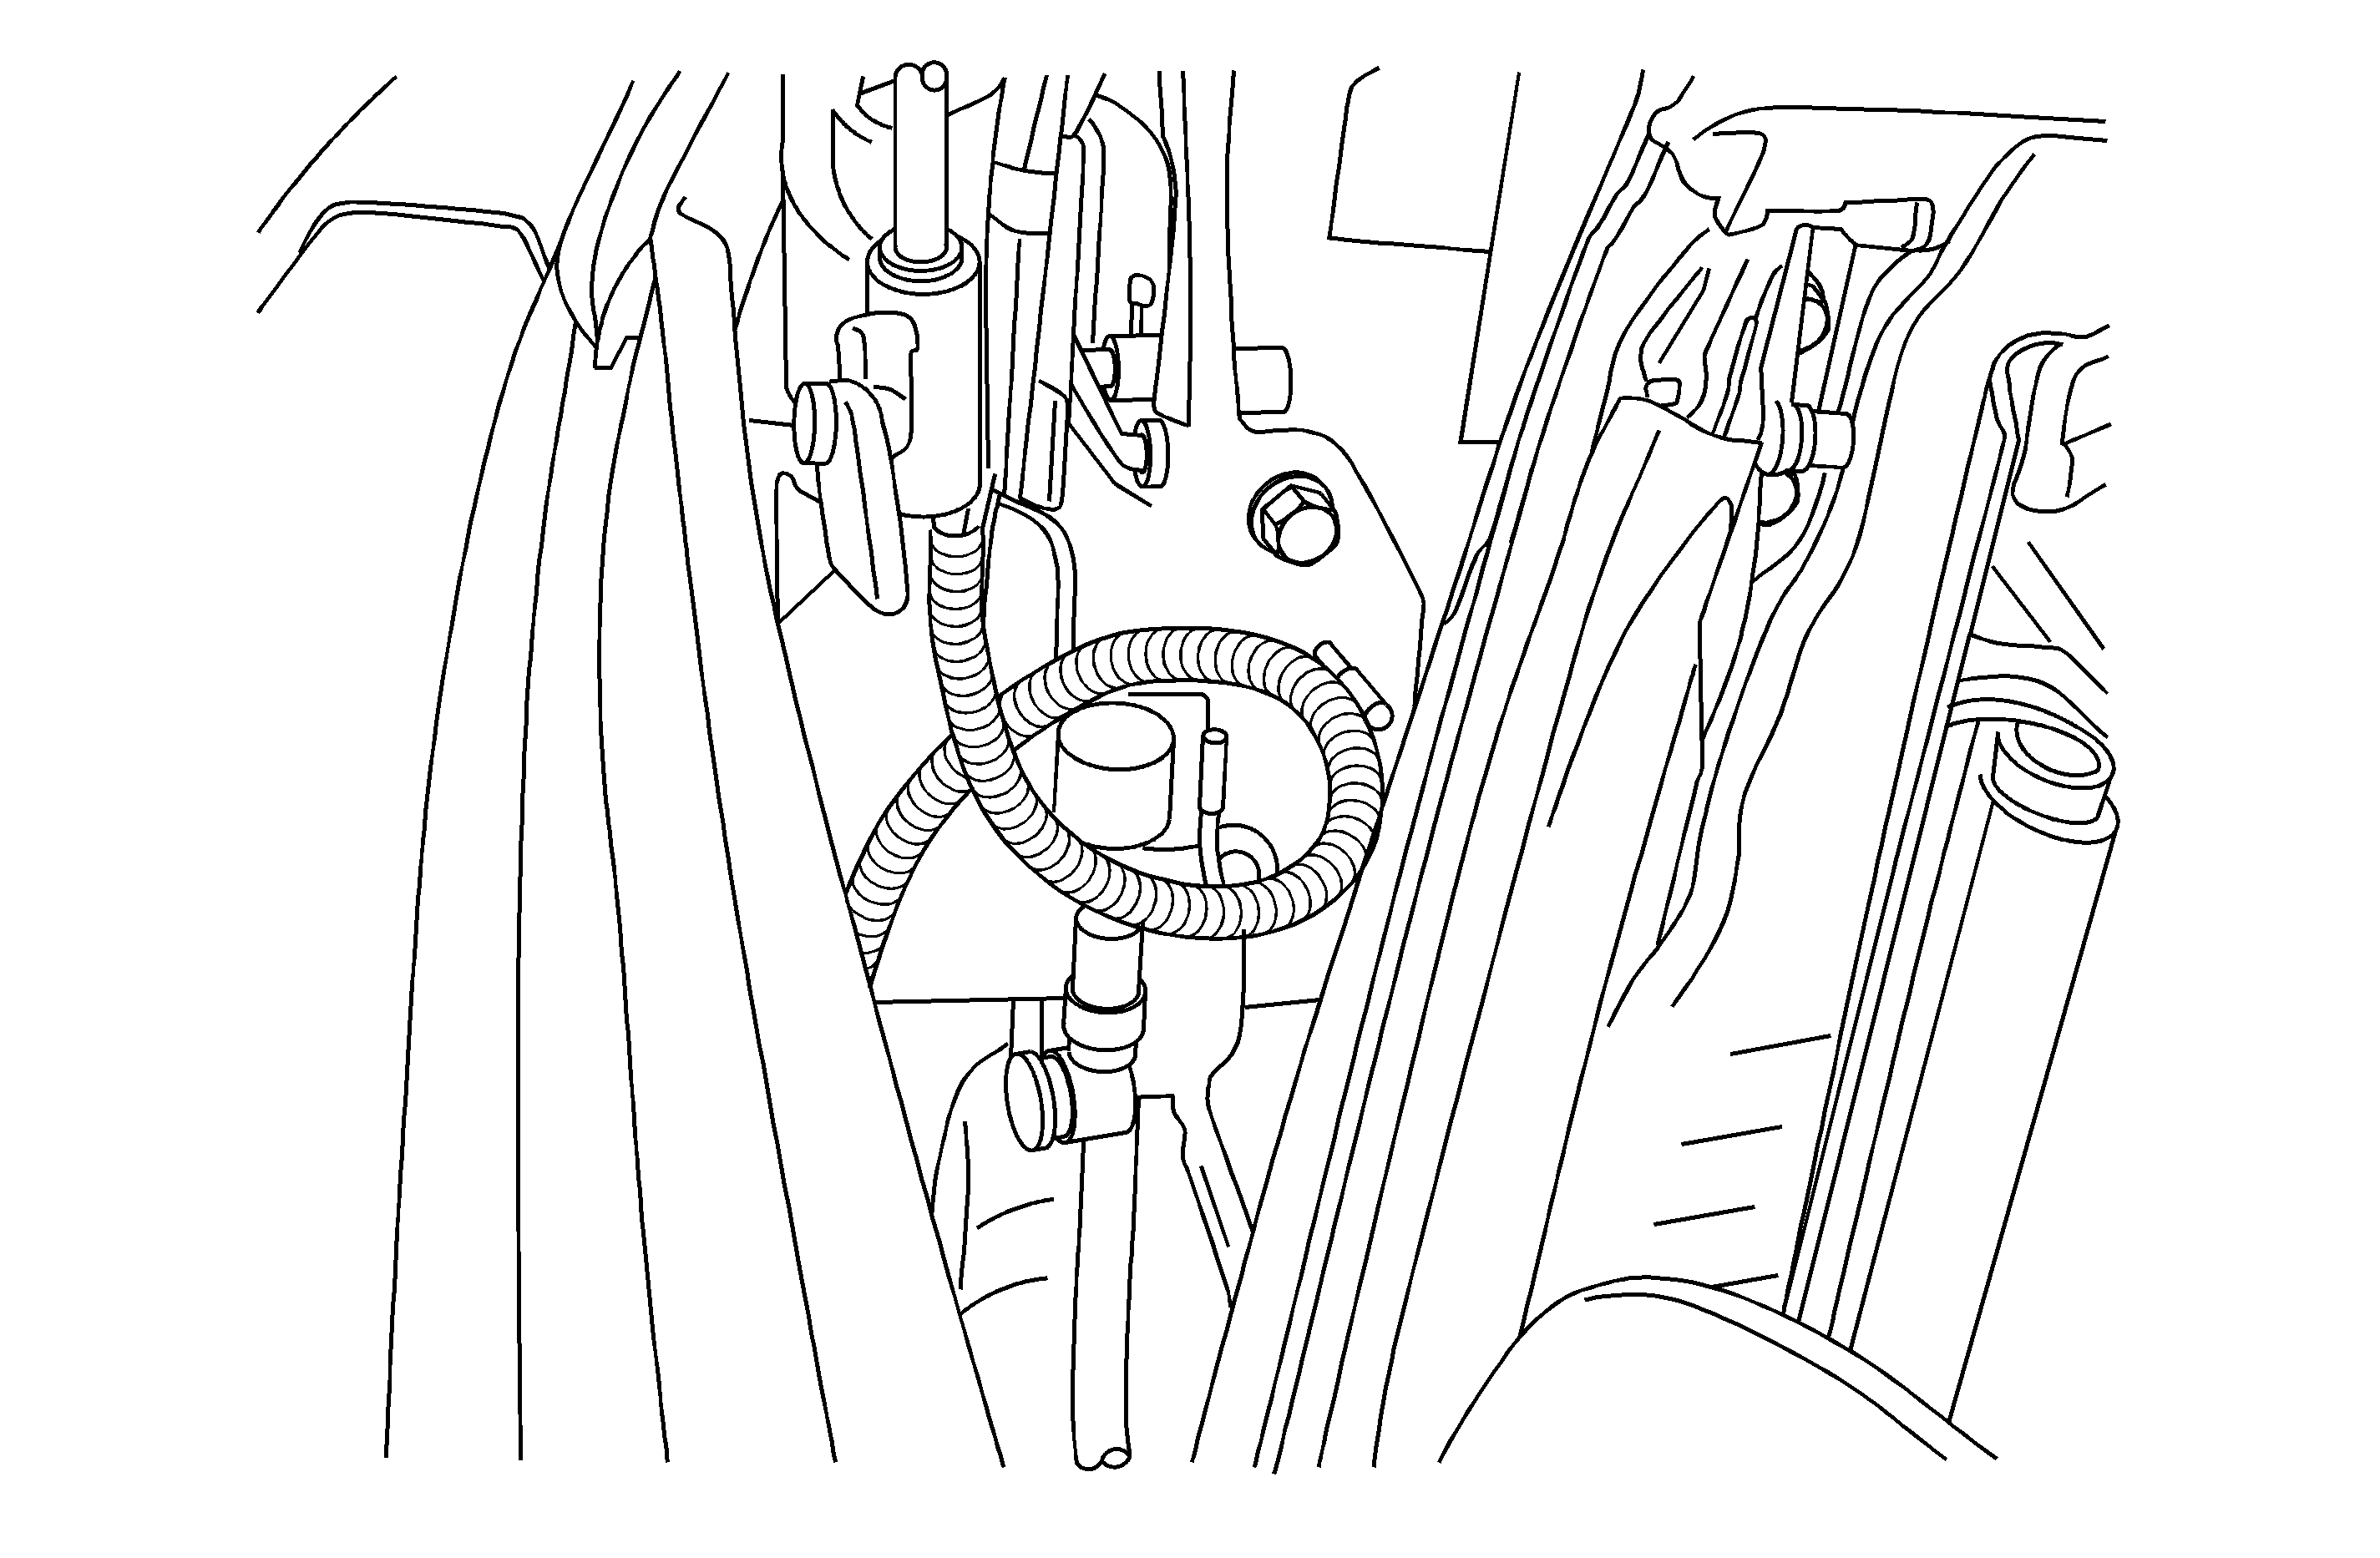
Important: This is a view with the stowage compartment lid and the extension panel fully extended. If the vehicle you are working on was built before July 2004, then you will need to shorten the converted tubing as described below.
Procedure (Right Hand Side)
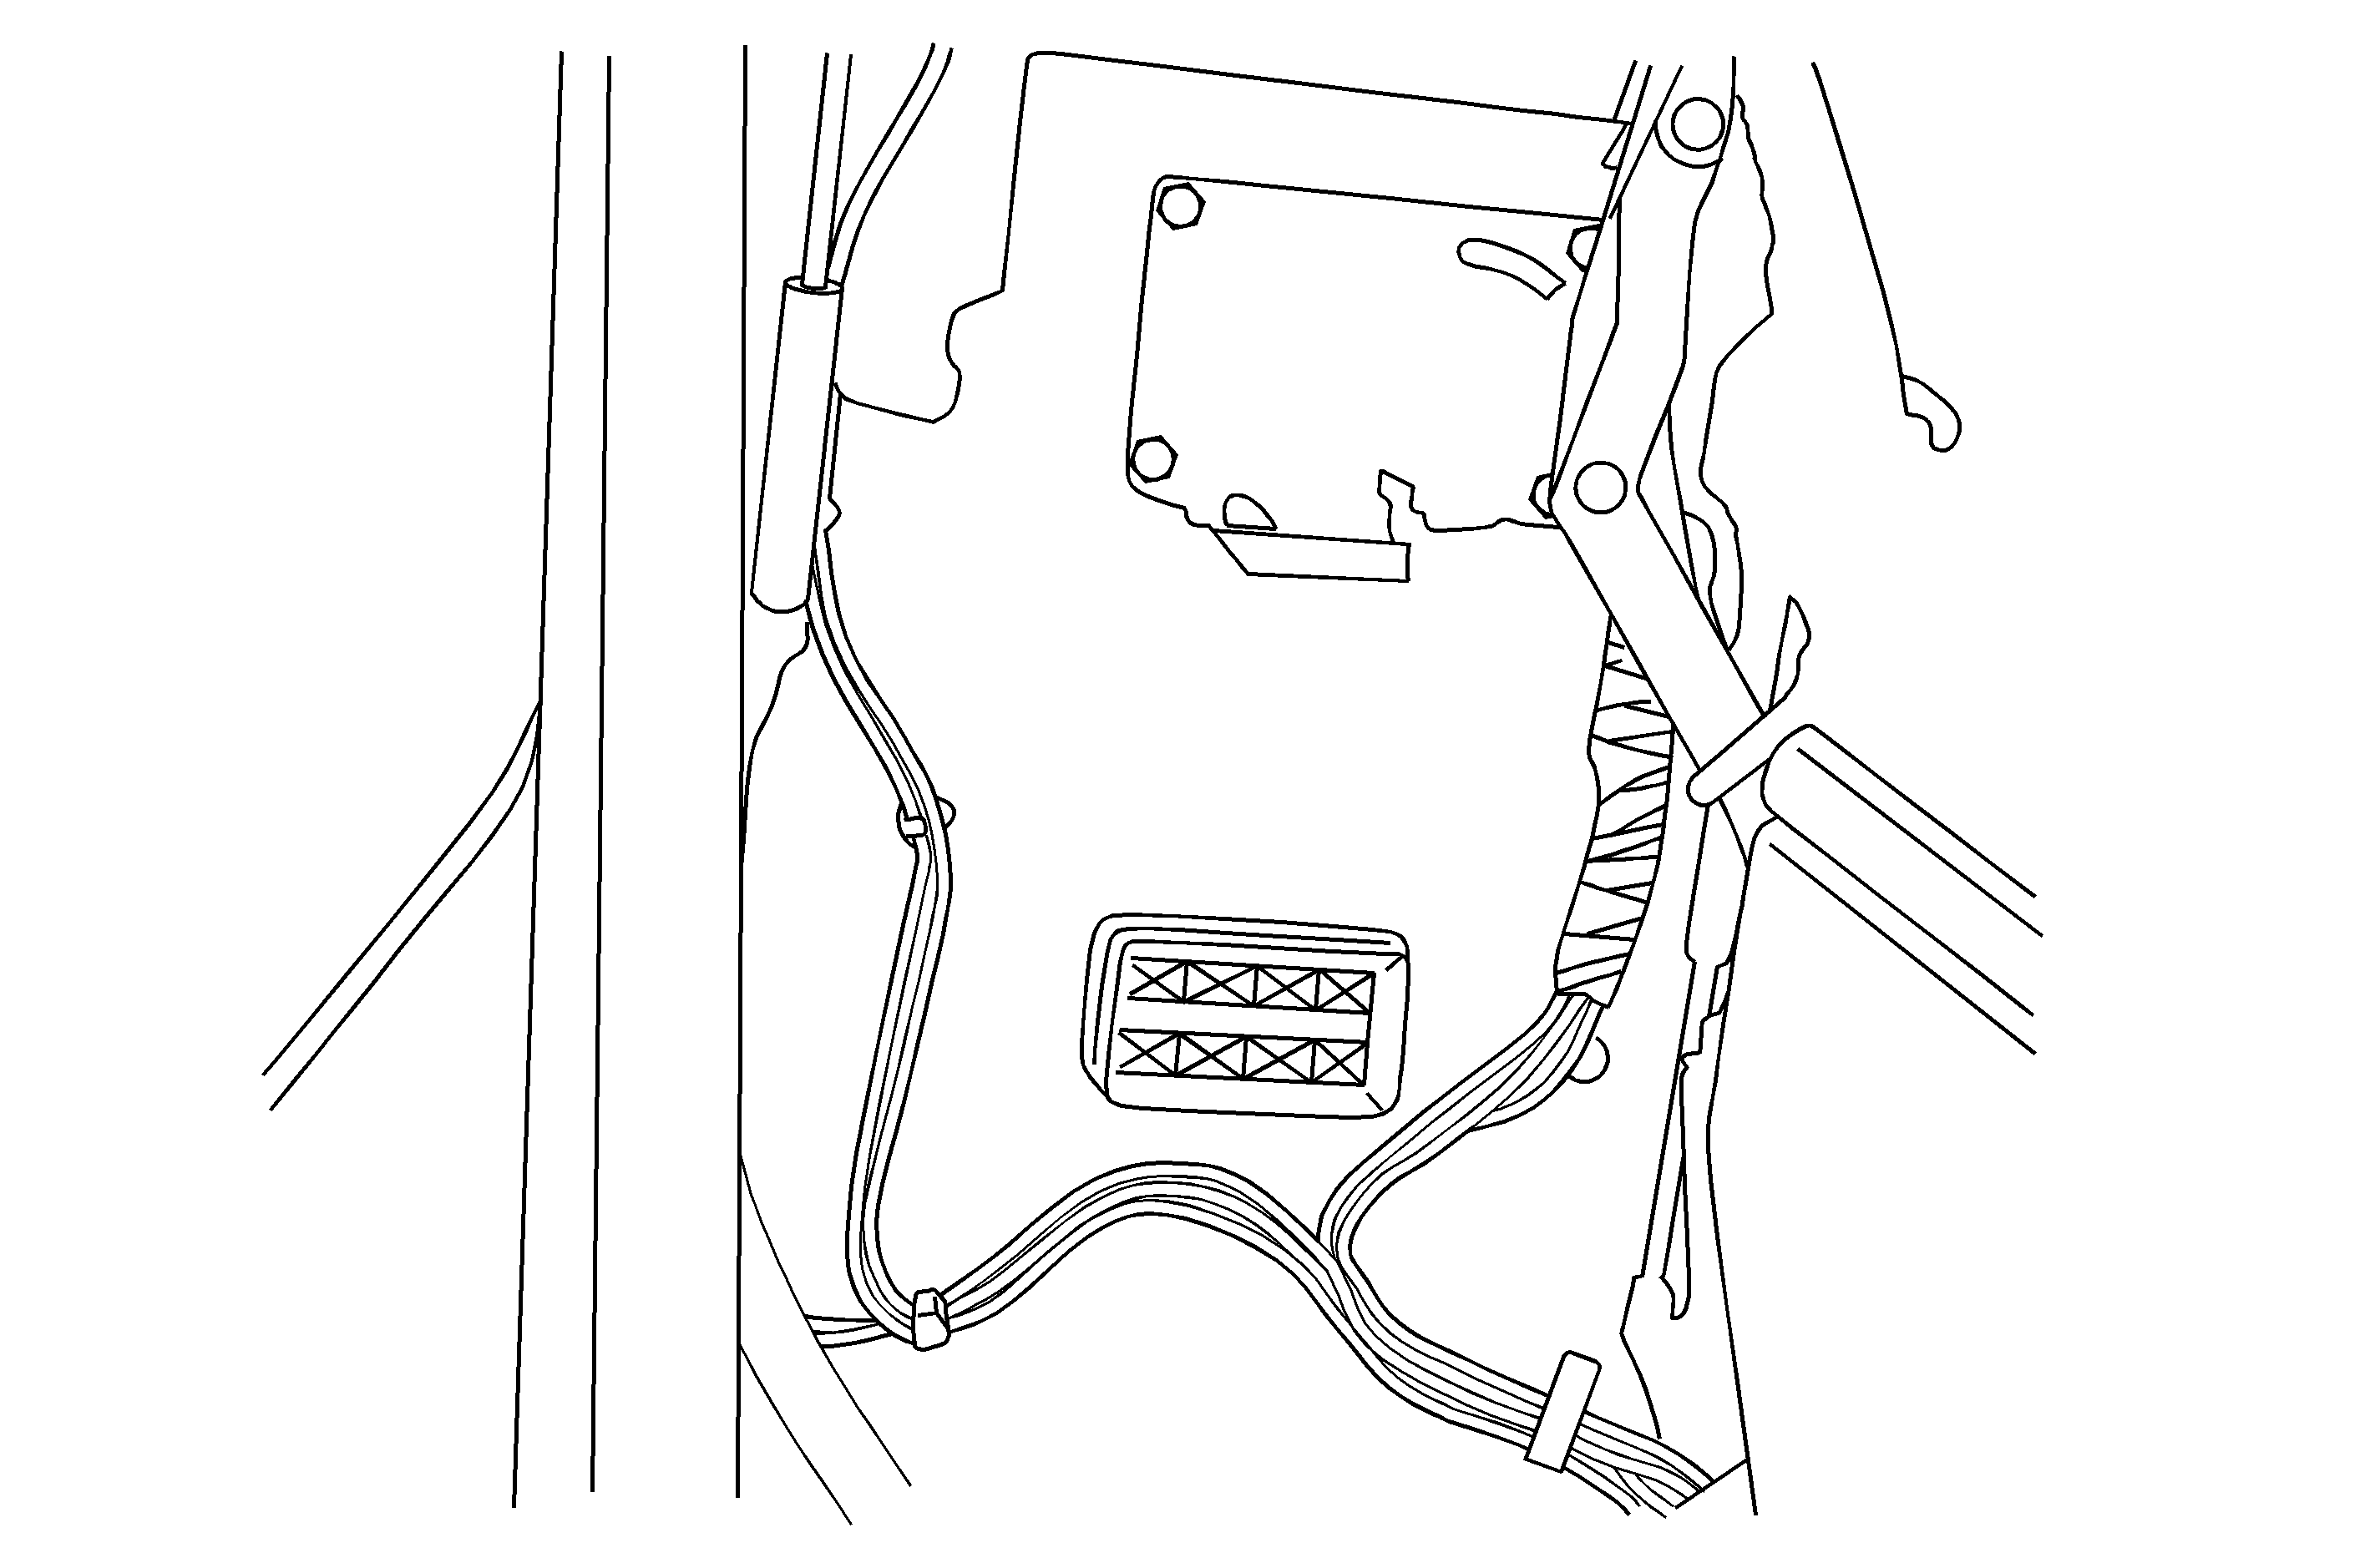
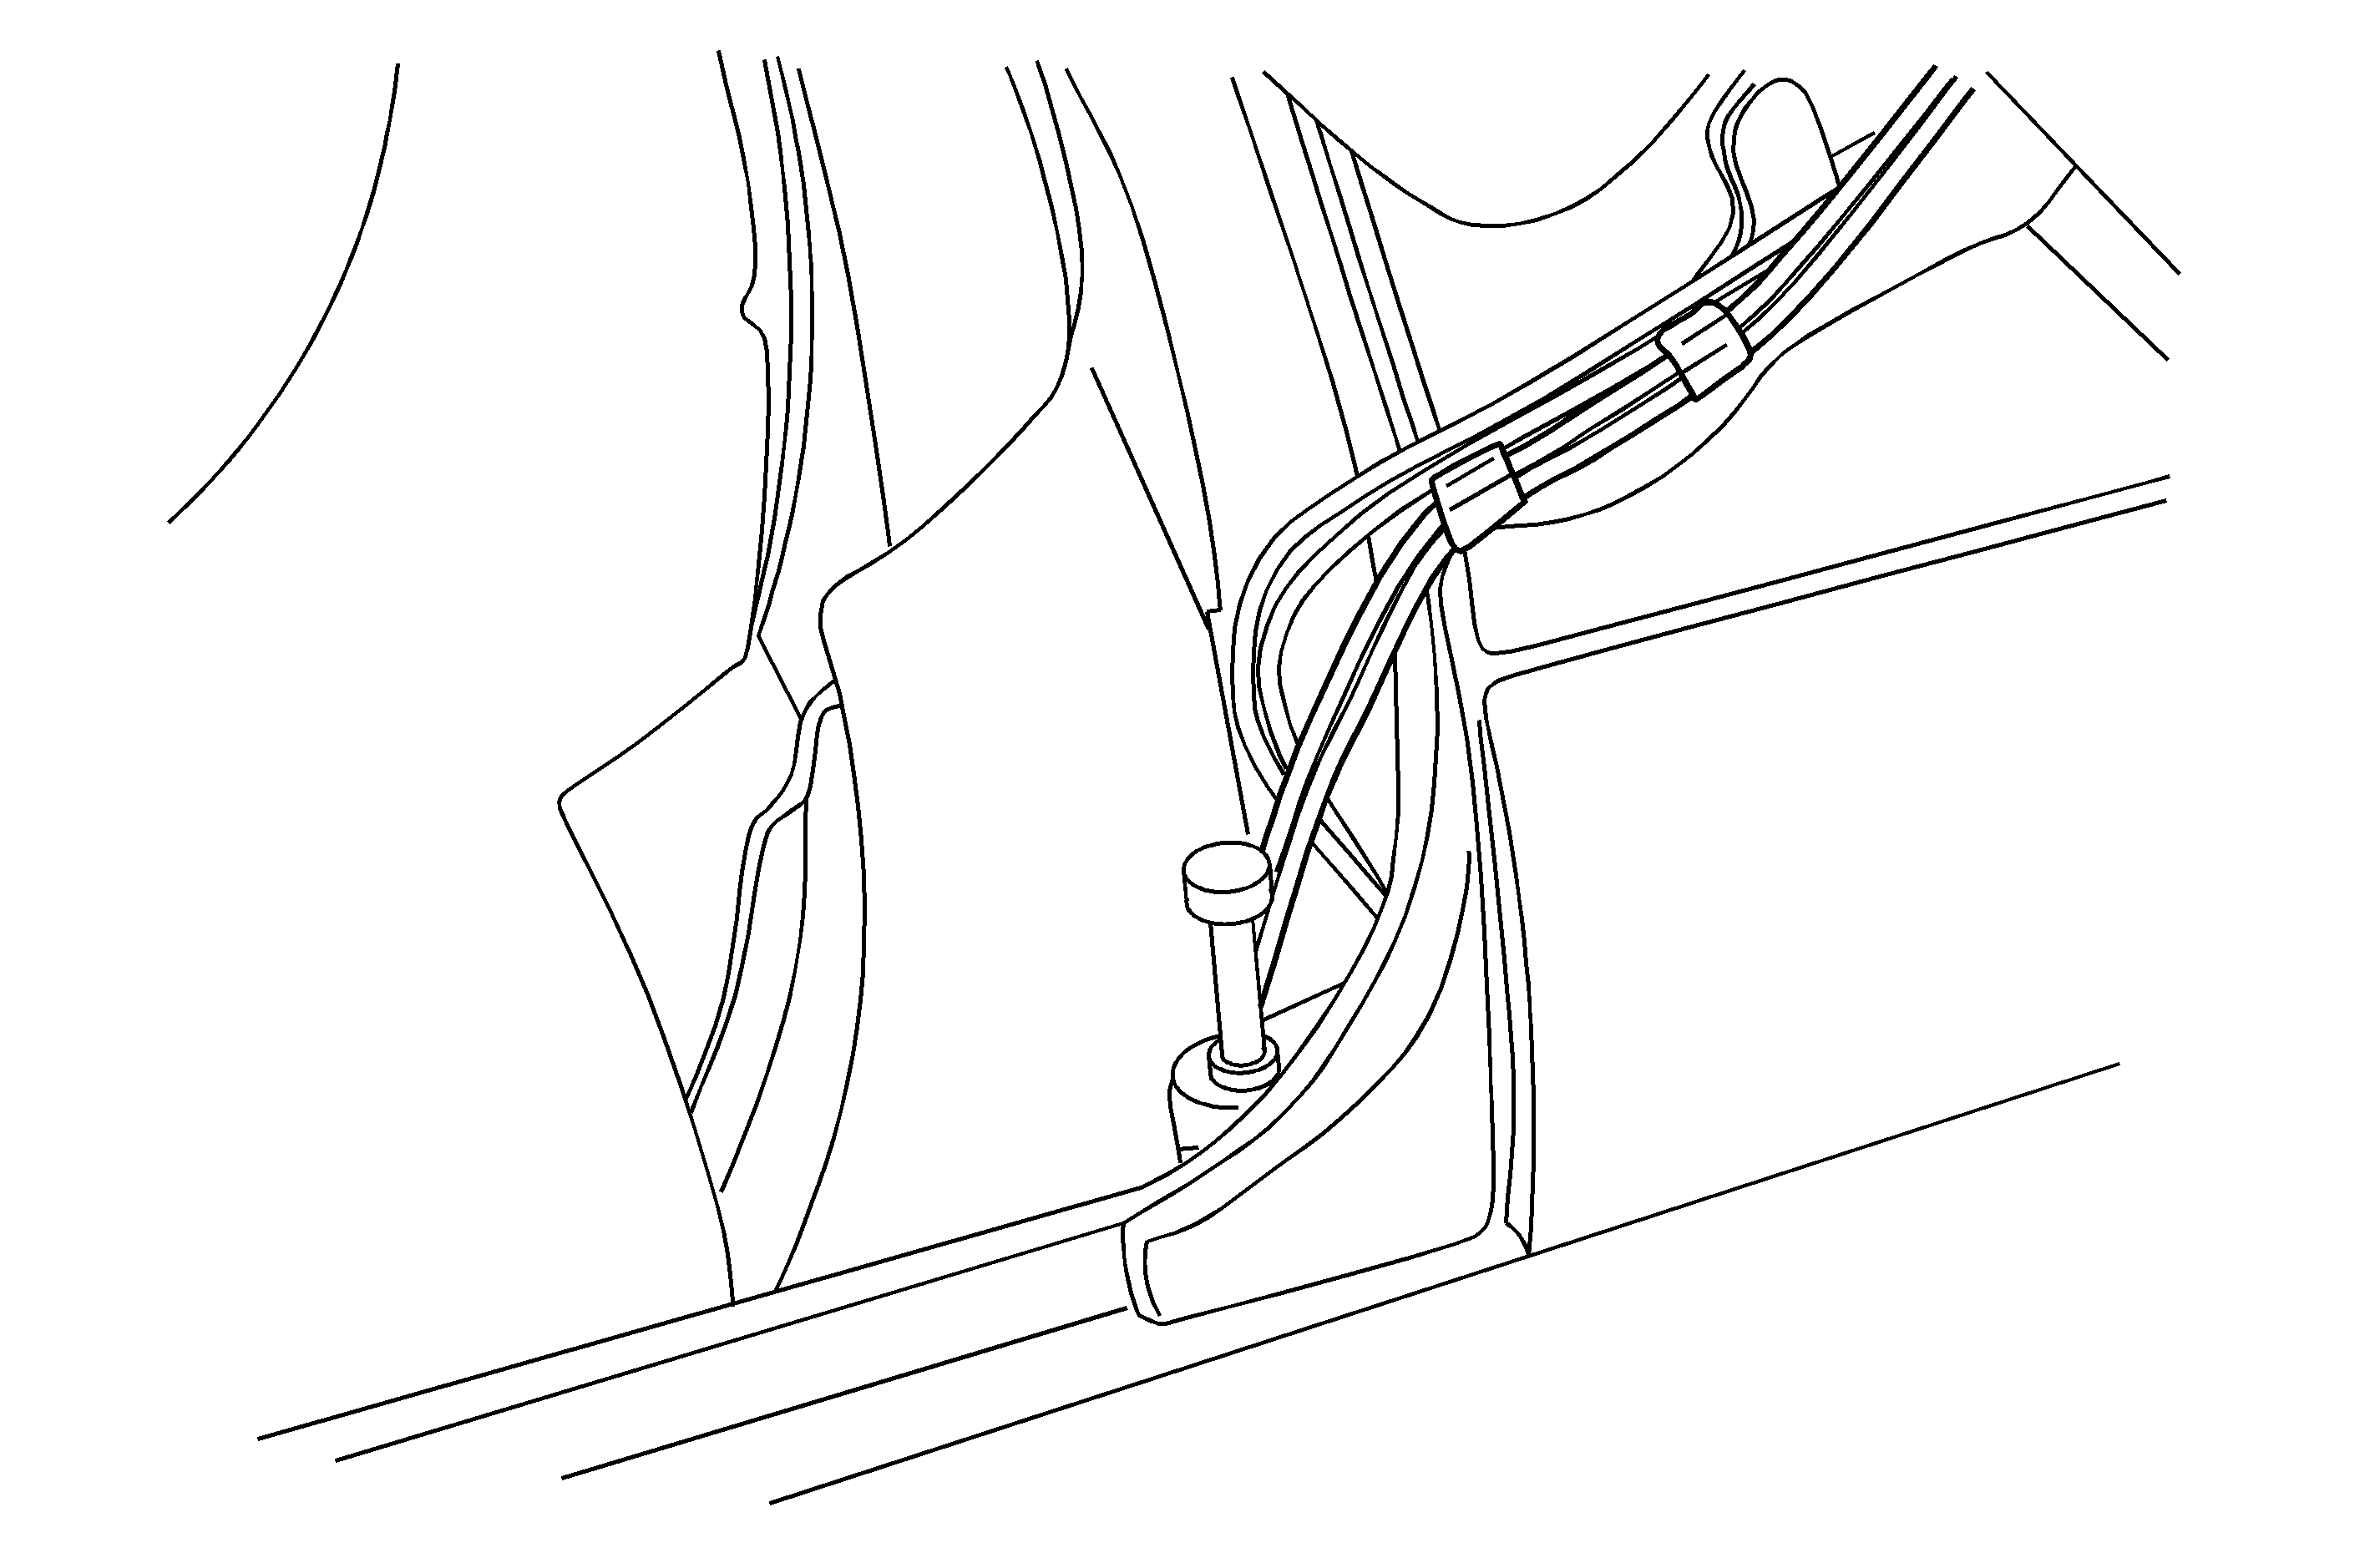
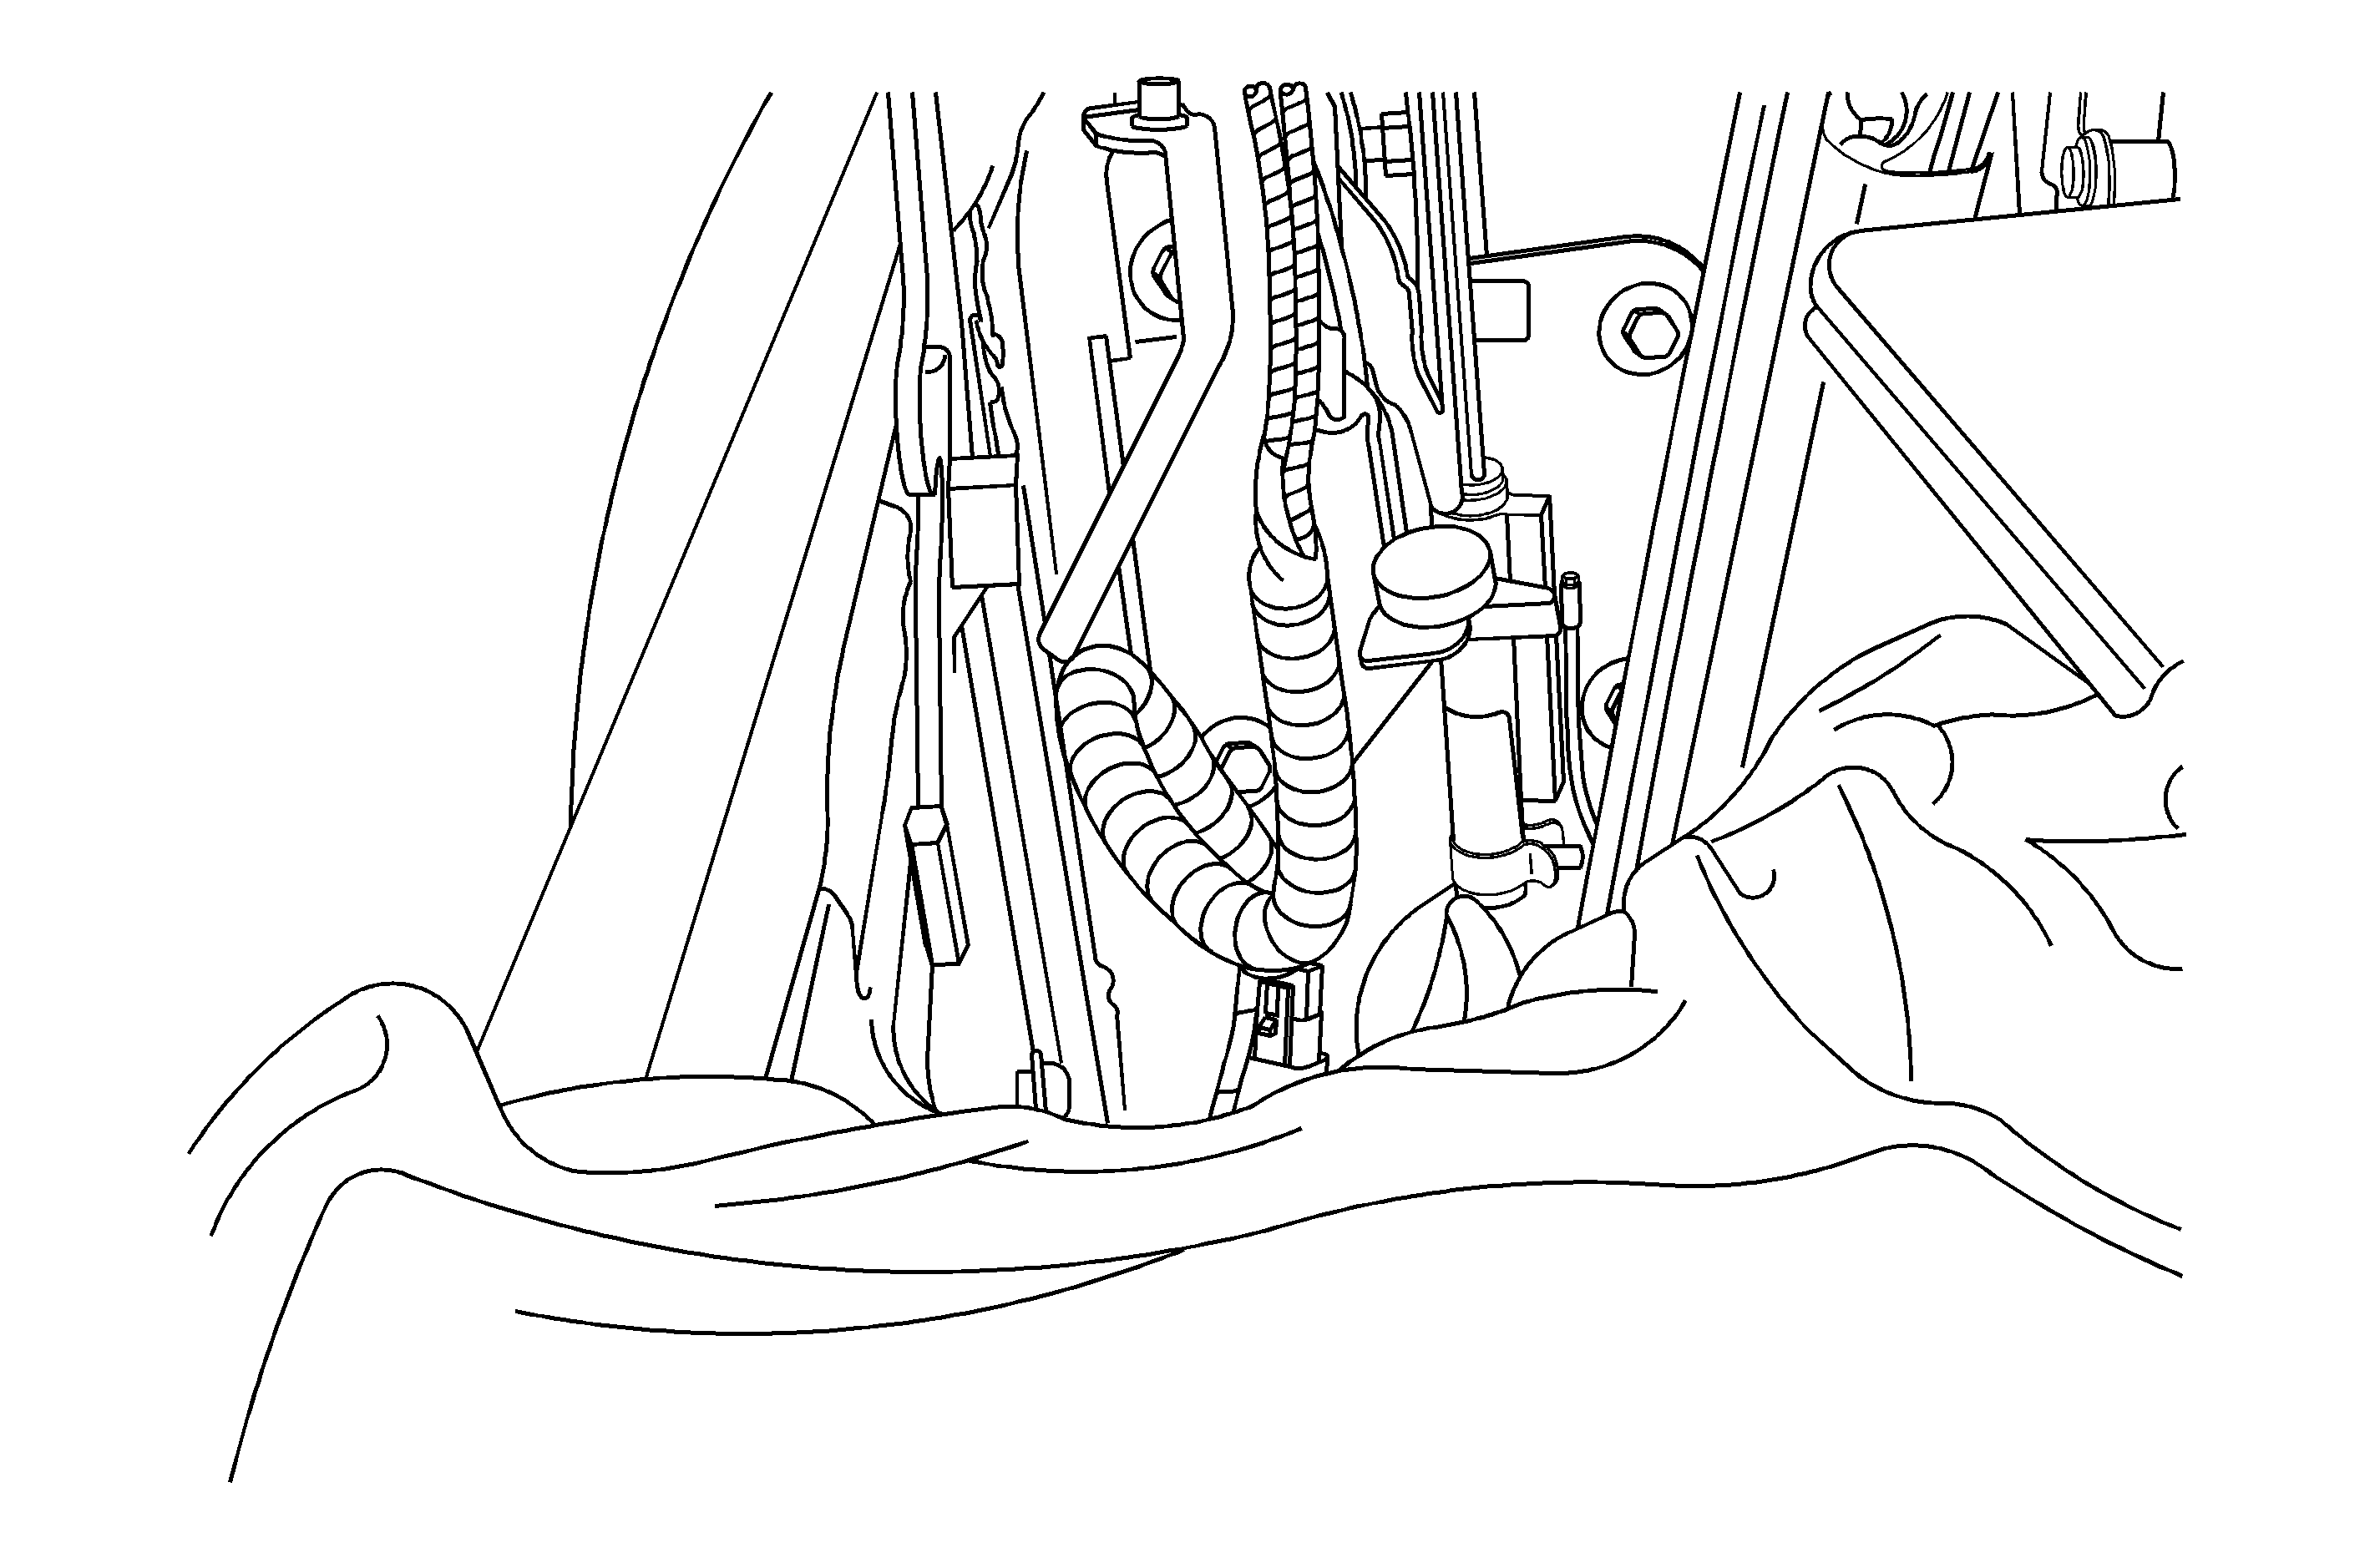
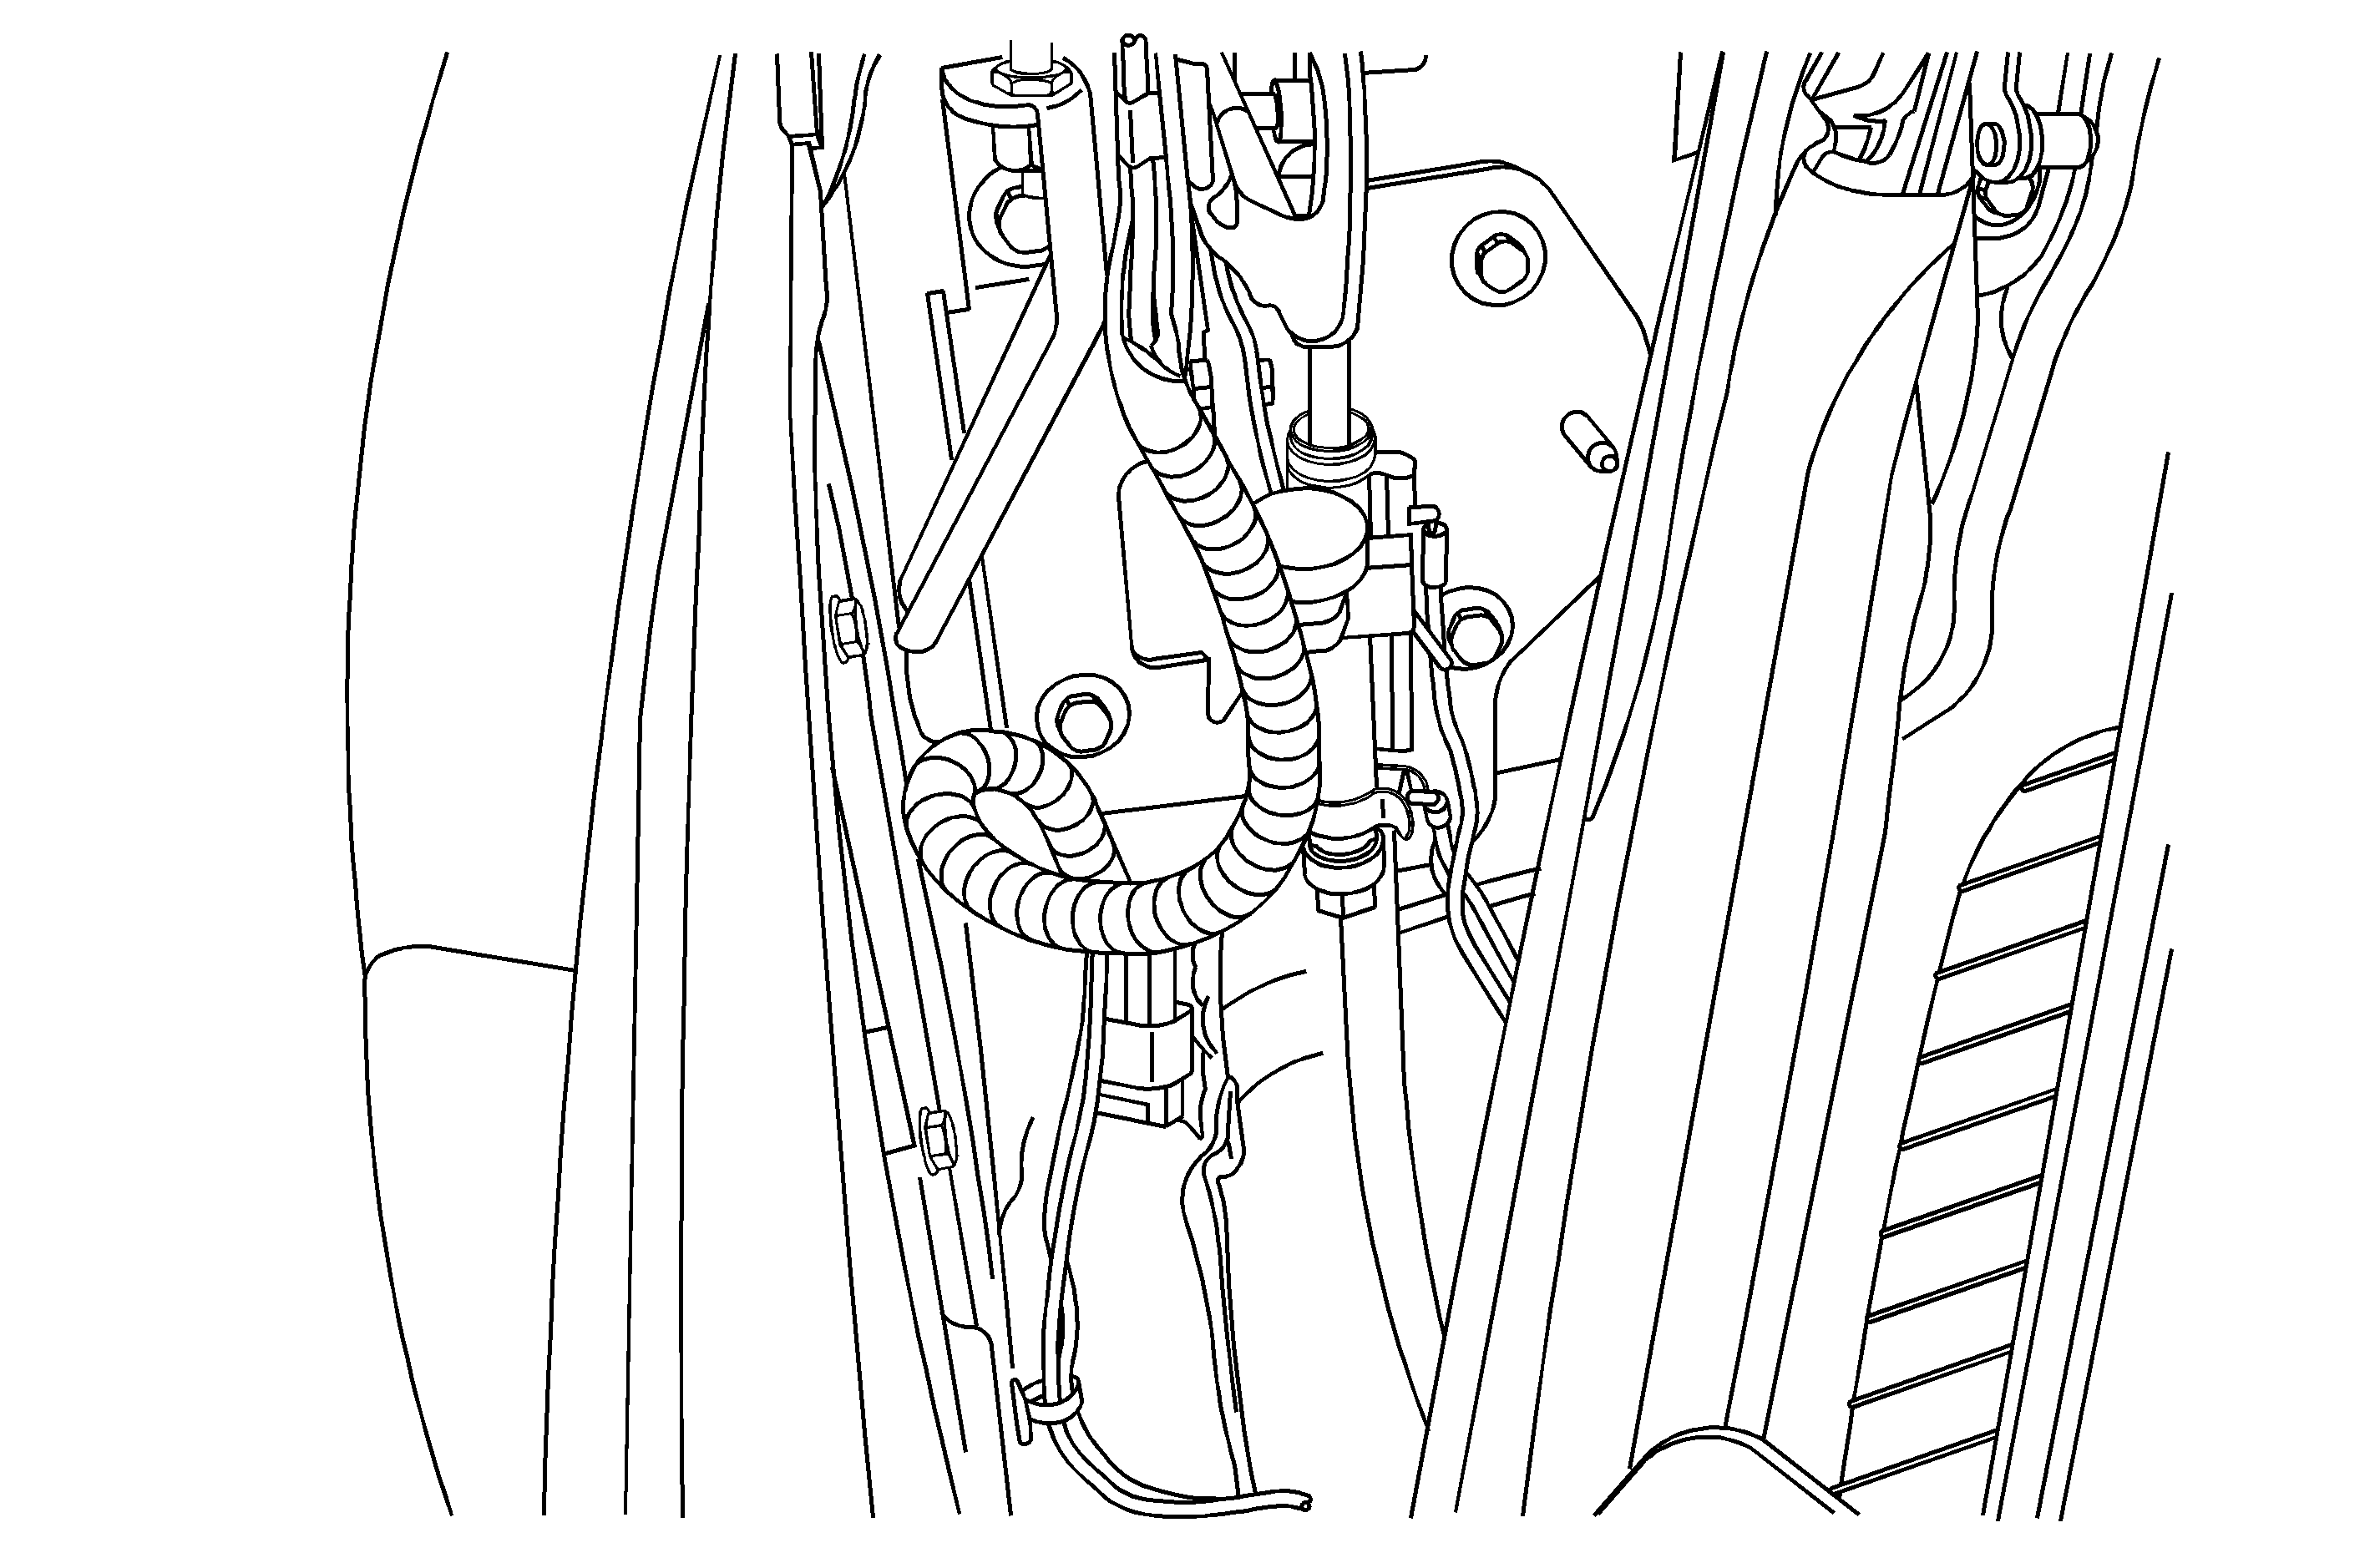
- The hydraulic hoses for the stowage compartment lid extension panel (Flipper Door) are rubbing the paint at the rear roof panel while in the stowed position. Note how the hoses are curling towards the inside of the vehicle. Refer to the illustration above.
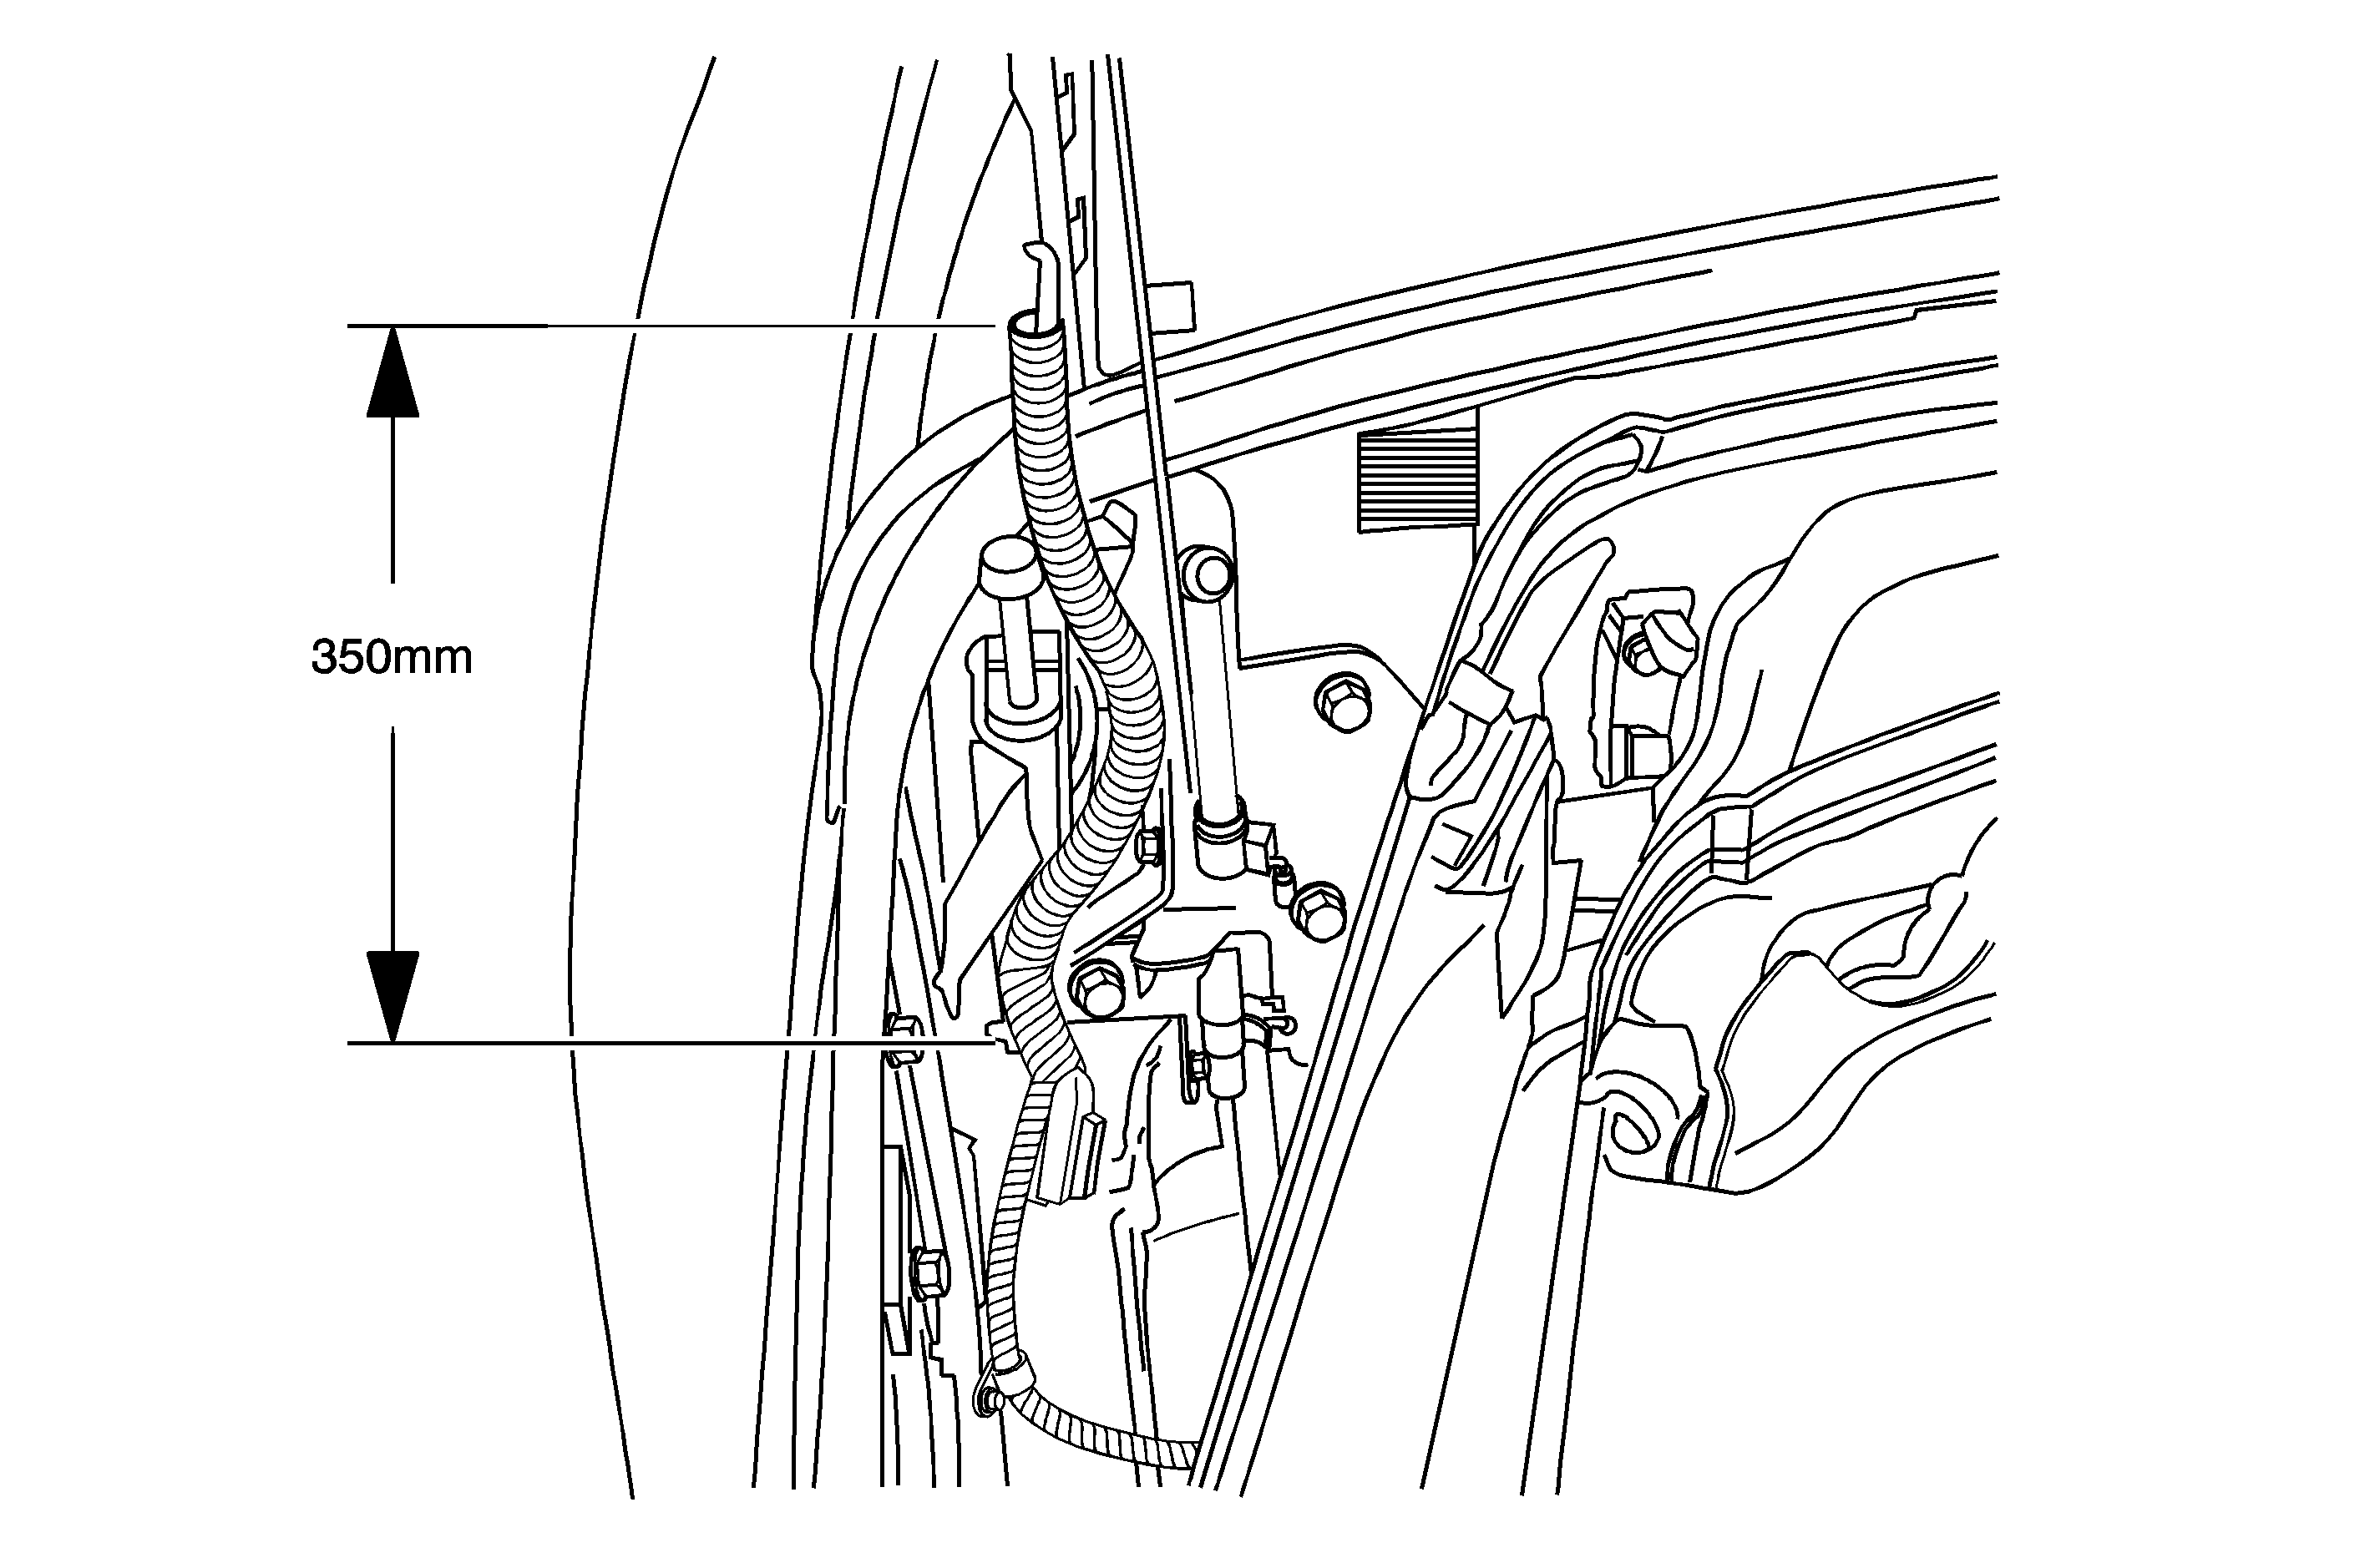
- This is a view with the stowage compartment lid and the extension panel fully extended. If the vehicle you are working on was built before July 2004, you will need to shorten the convoluted tubing as described below.
- Measure the convoluted tubing to verify that it is too long. This could cause the down stop bumper to become dislodged from the stud. The total length of the convoluted tubing on this vehicle was 370 mm (14 1/2 in). This length needs to be 350 mm (13 3/4 in).
- Measure down 20 mm (3/4 in) on the convoluted tubing and mark it at this point. PULL the convoluted tubing off from the hoses and wiring before cutting. Using a suitable cutting device, remove the extra length.
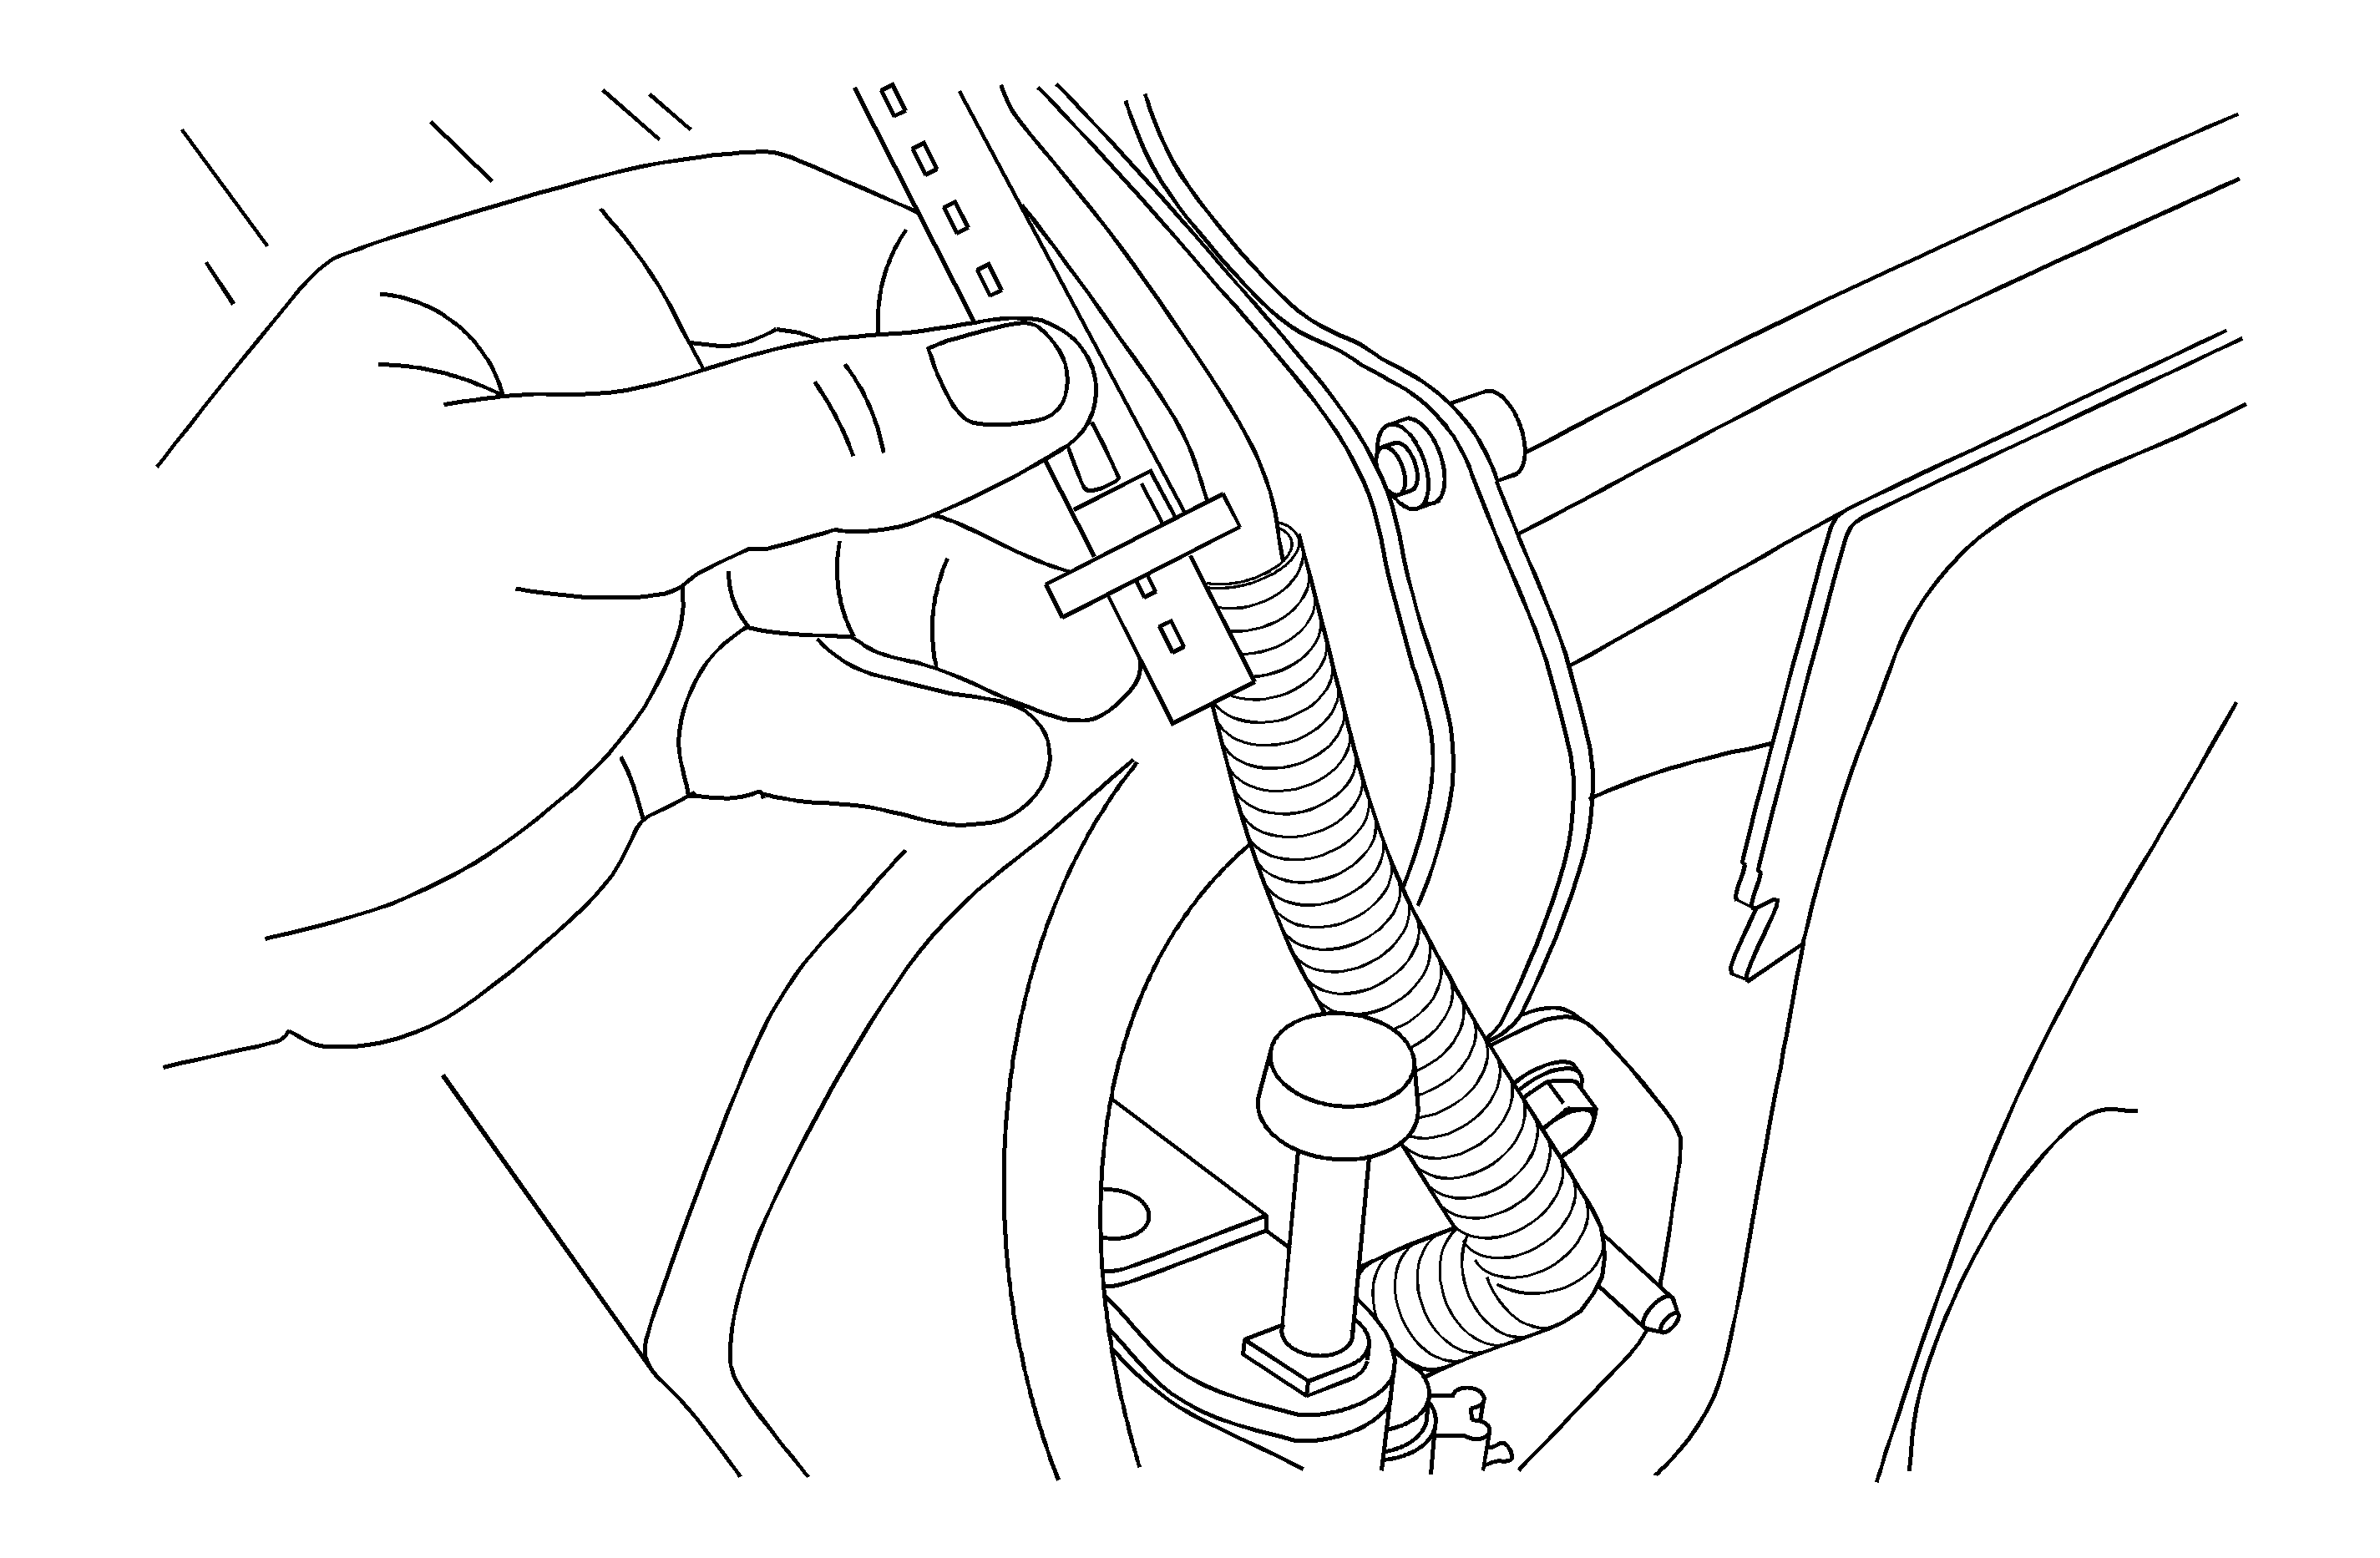
- Install the tubing back onto the hoses and wiring. Then, using a 50 mm (2 in) length of electrical tape, wrap the tape around the top of the convoluted tubing and onto the hose set. This helps to prevent the possibility of the hoses and wiring from escaping from the convoluted tubing.
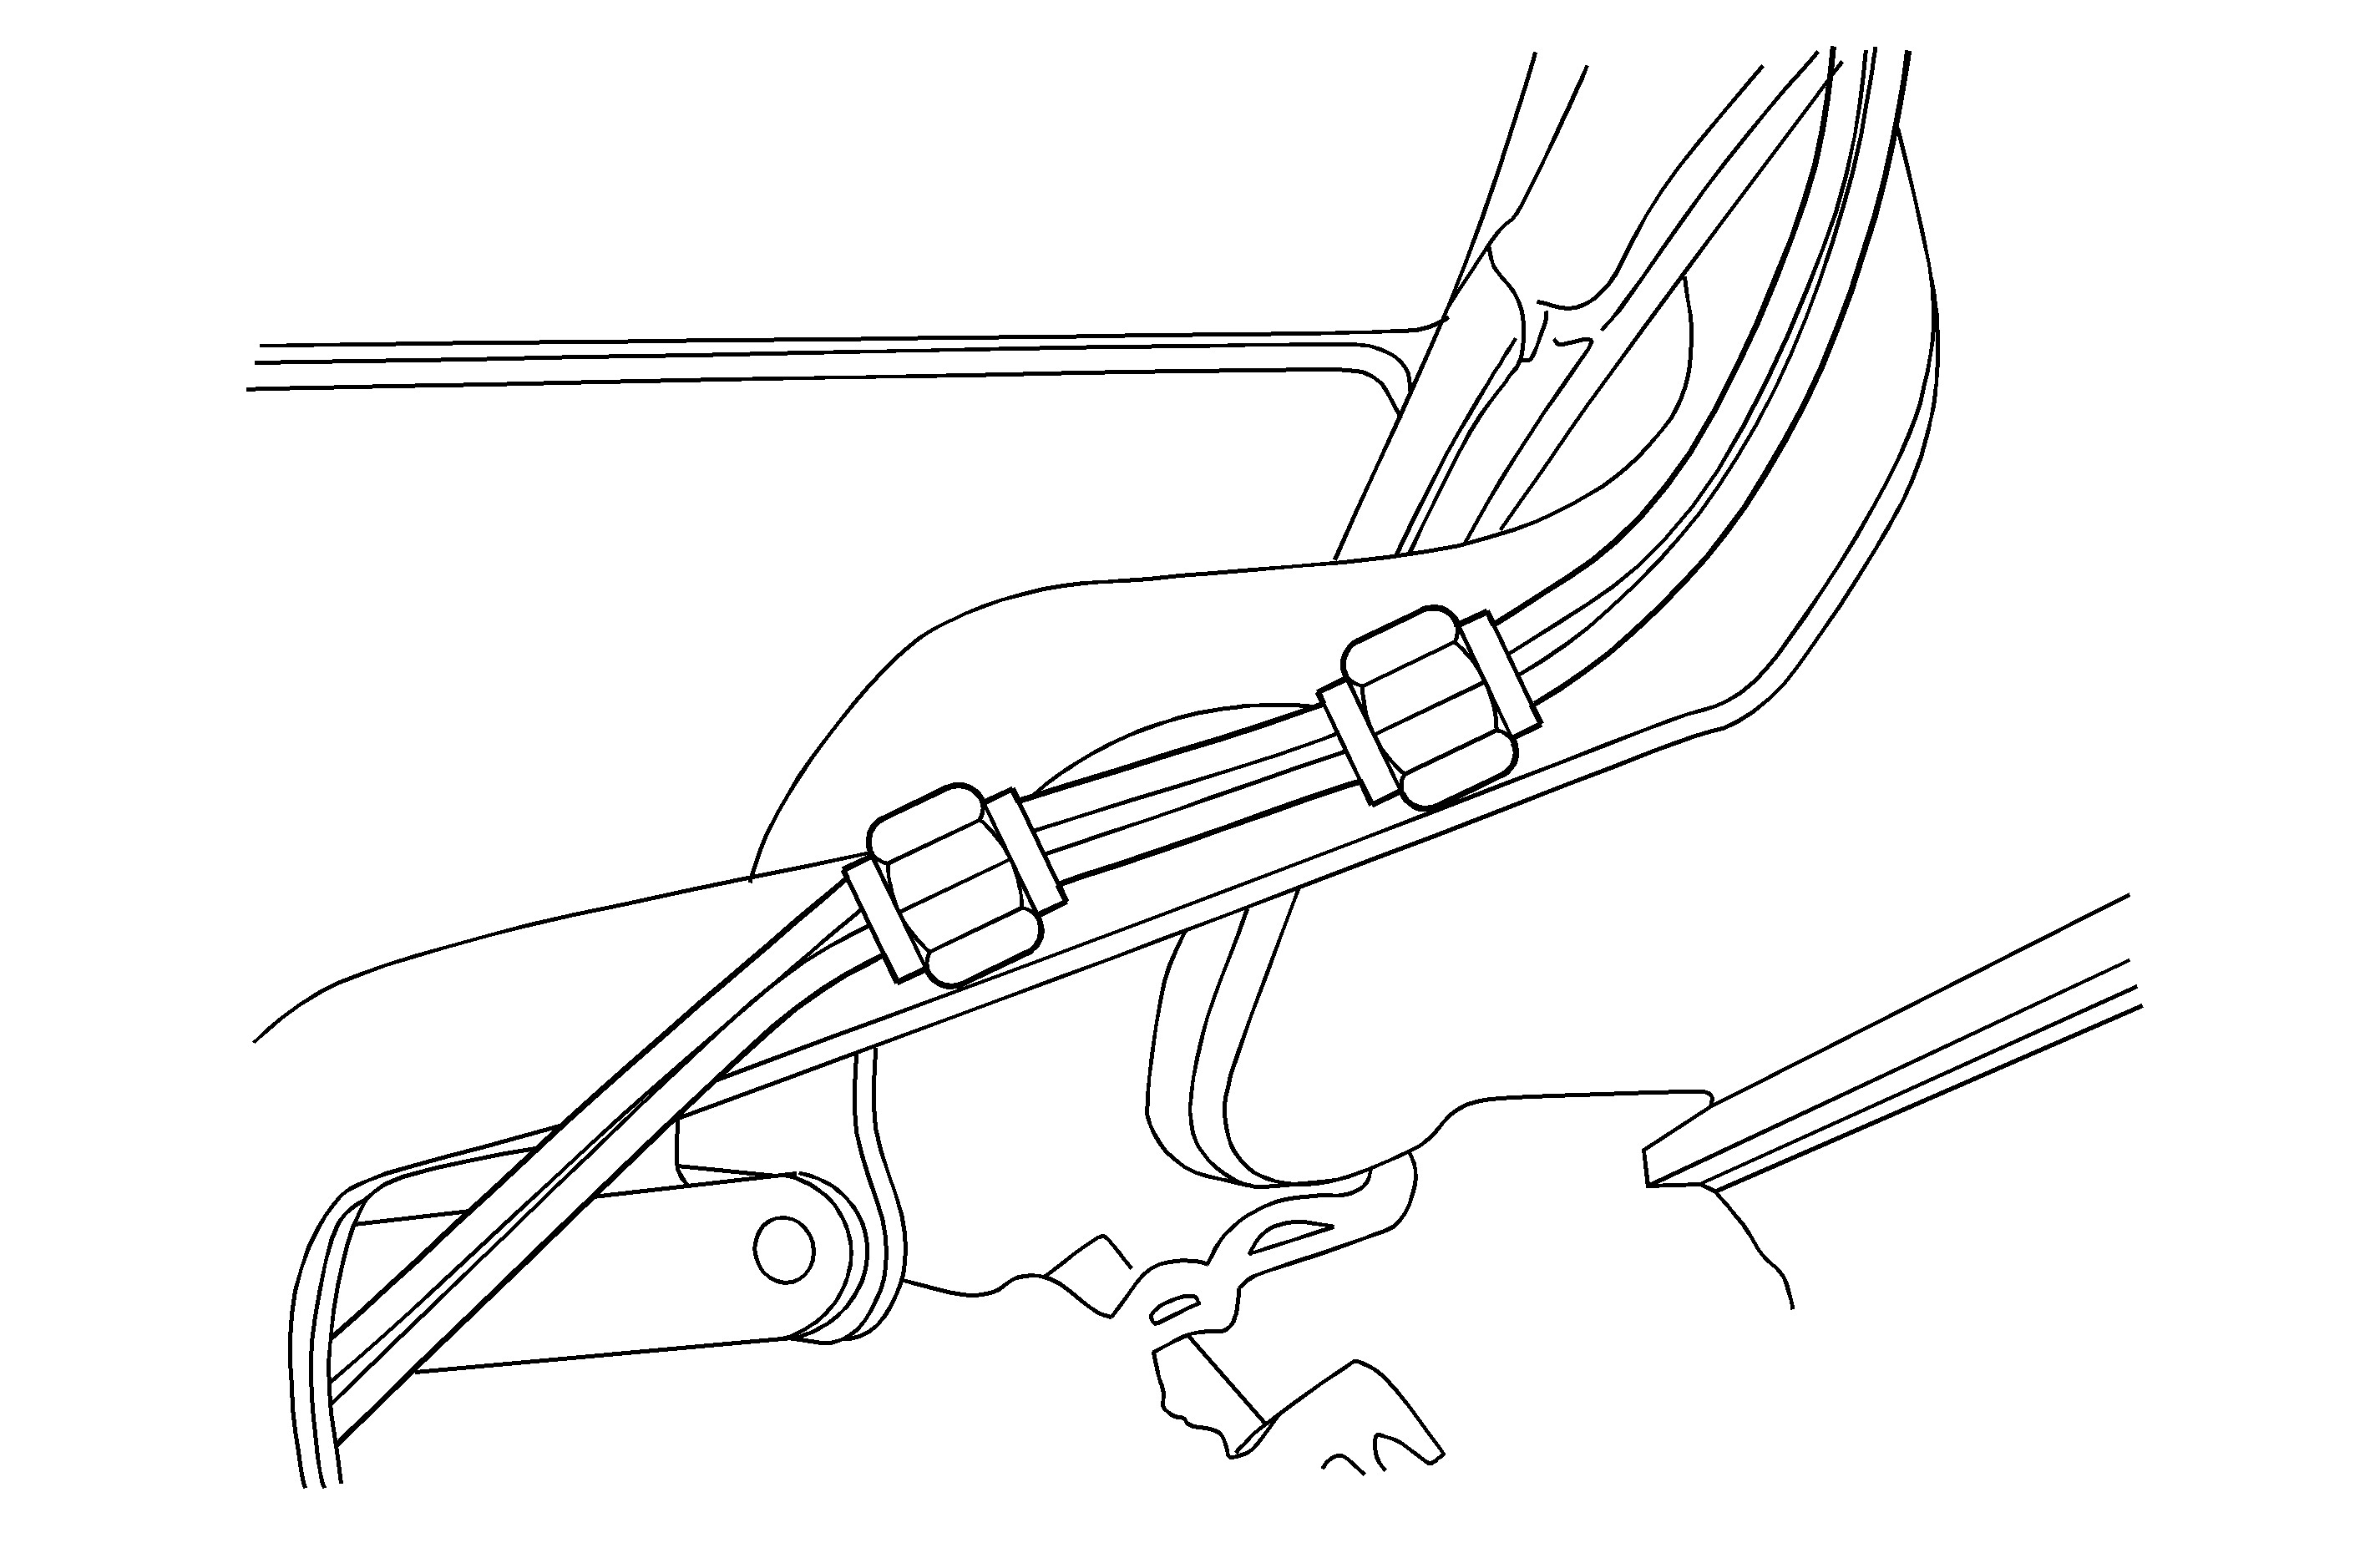
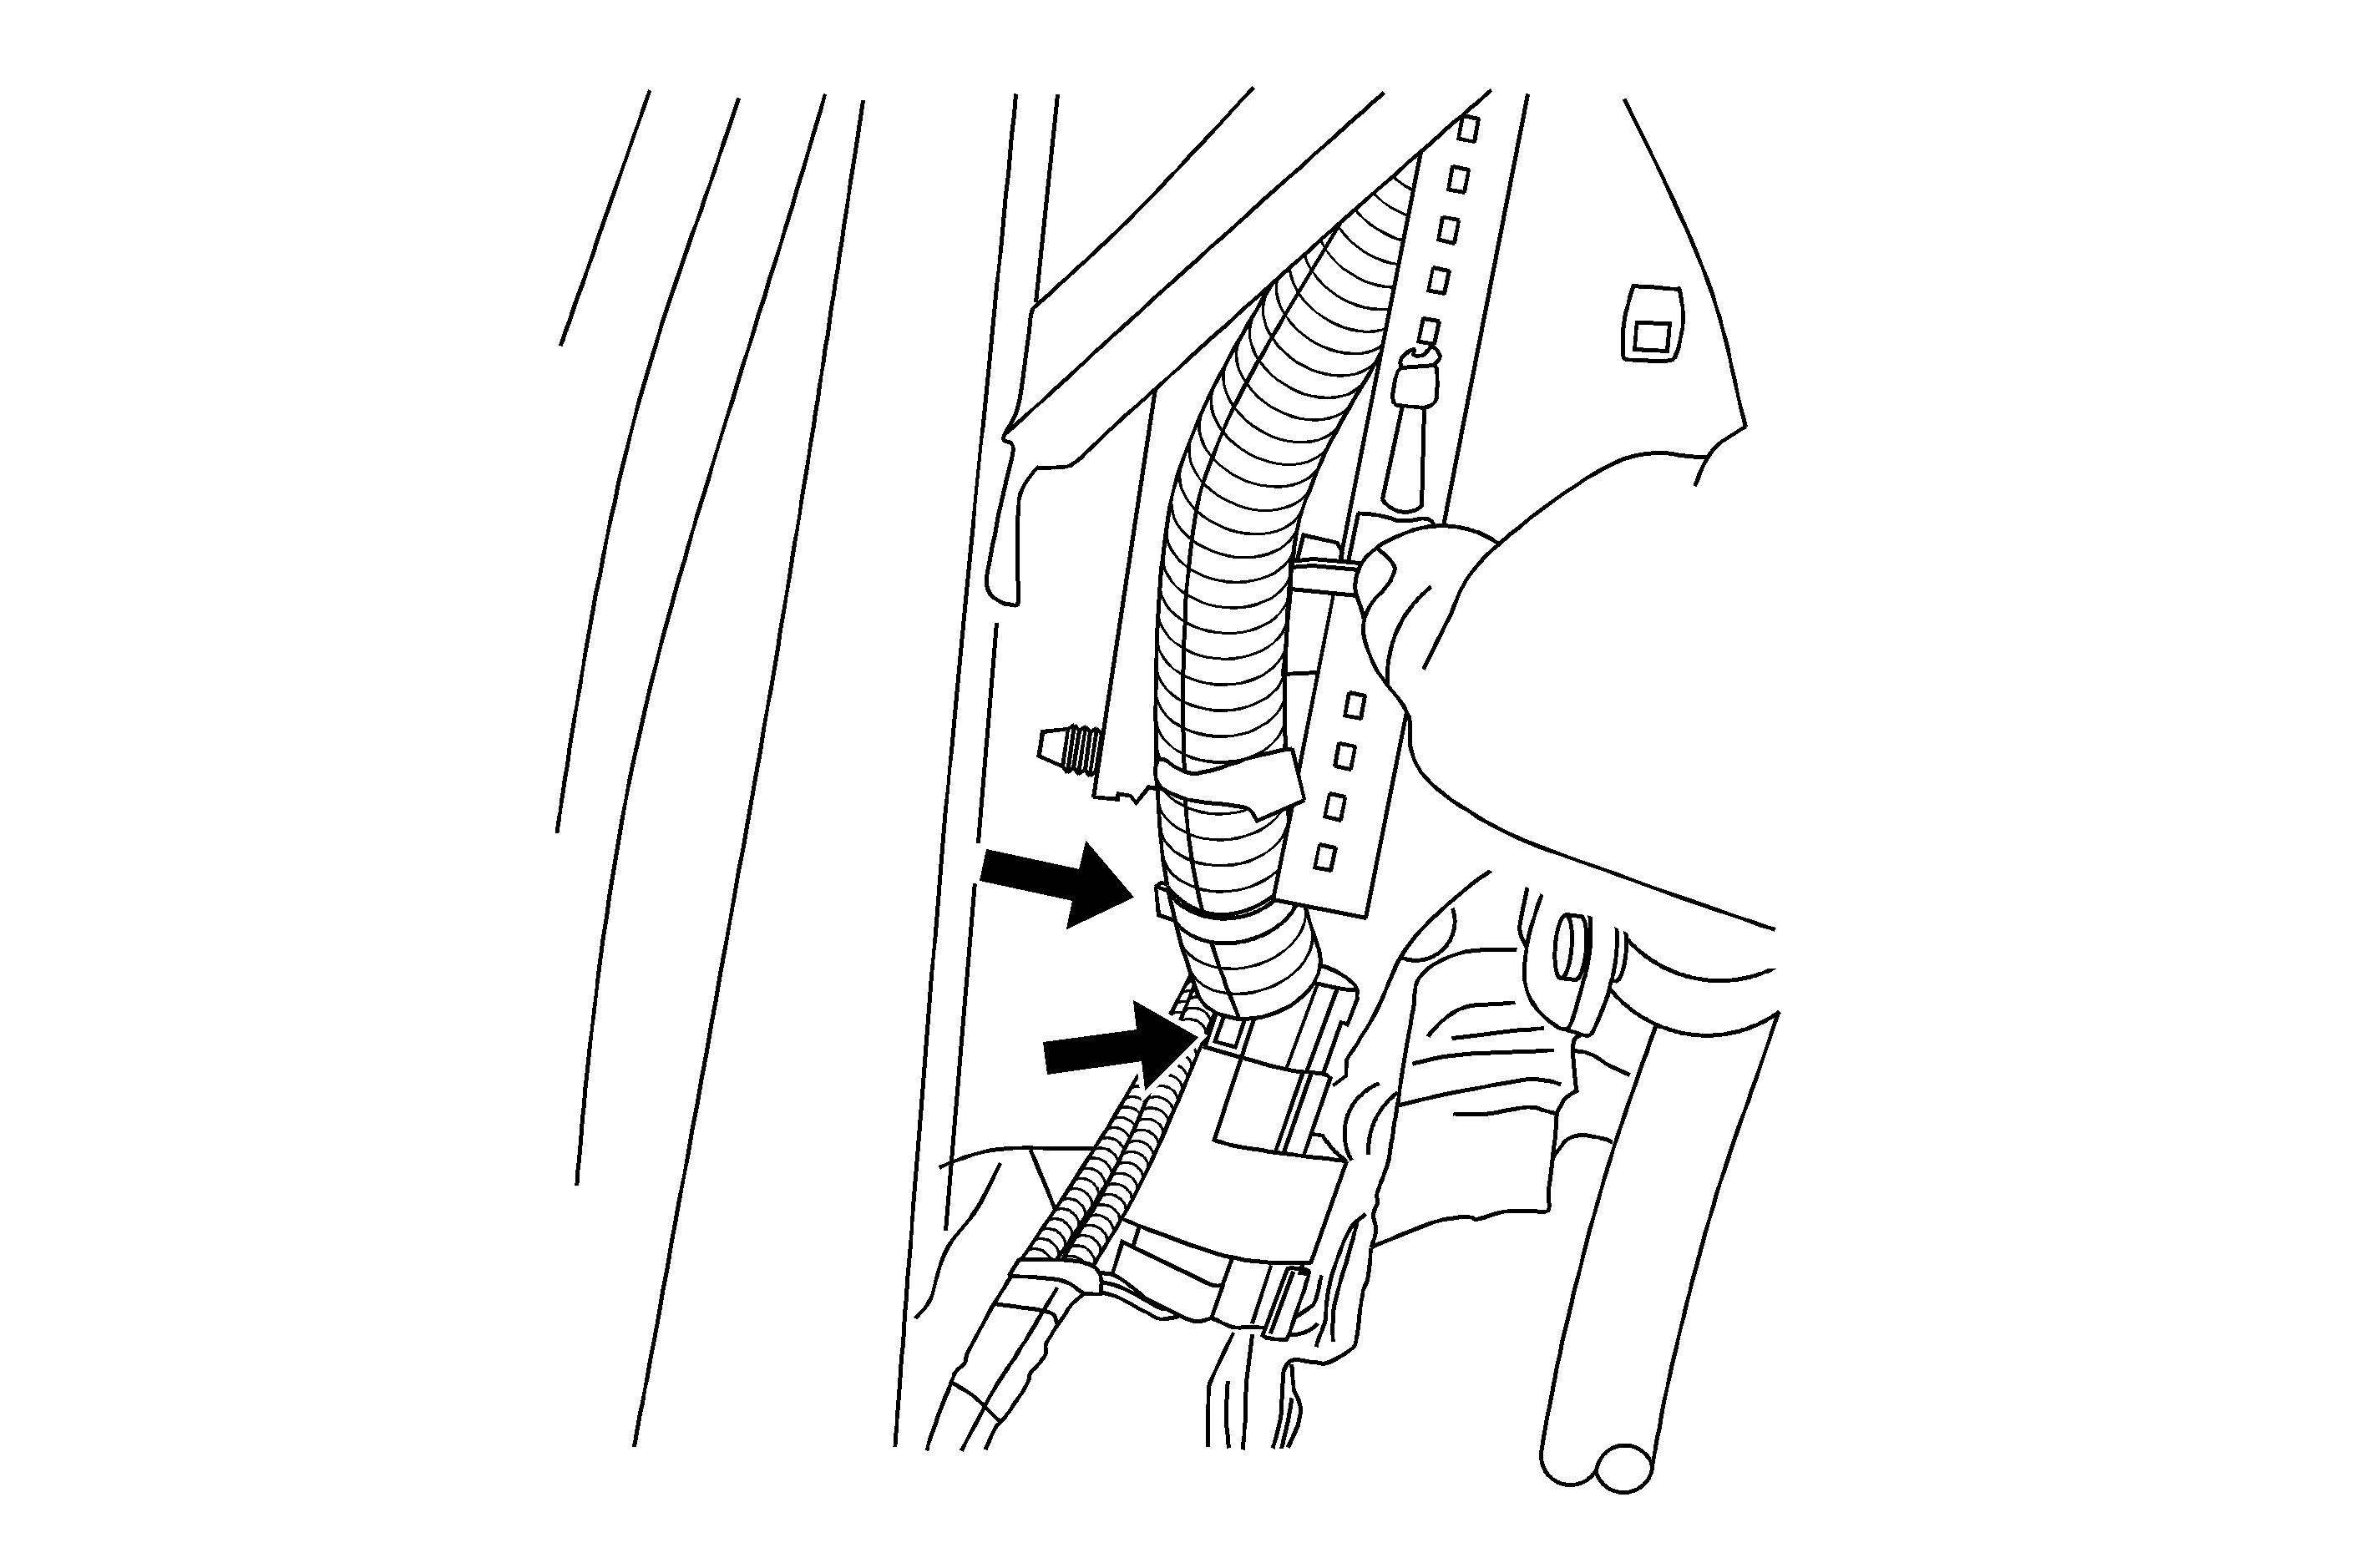
- In this view you are looking at the lower attaching point of the hydraulic hoses and wiring at the stowage compartment lid hinge (tonneau hinge). Remove the zip-tie from the retaining clip. Using a new zip-tie, pull the convoluted tubing and hoses/wiring downwards 20-25 mm (3/4-1 in ) MAX. Make sure to look at how tight the hoses are routed up the stowage compartment lid hinge. If the hoses are bent too tight at the lower clip on the hinge, then readjust the zip-tie at the lower hinge point to give a little relief to the hose set. Note that the white zip-tie was used to help accurately describe where to place the new zip-ties.
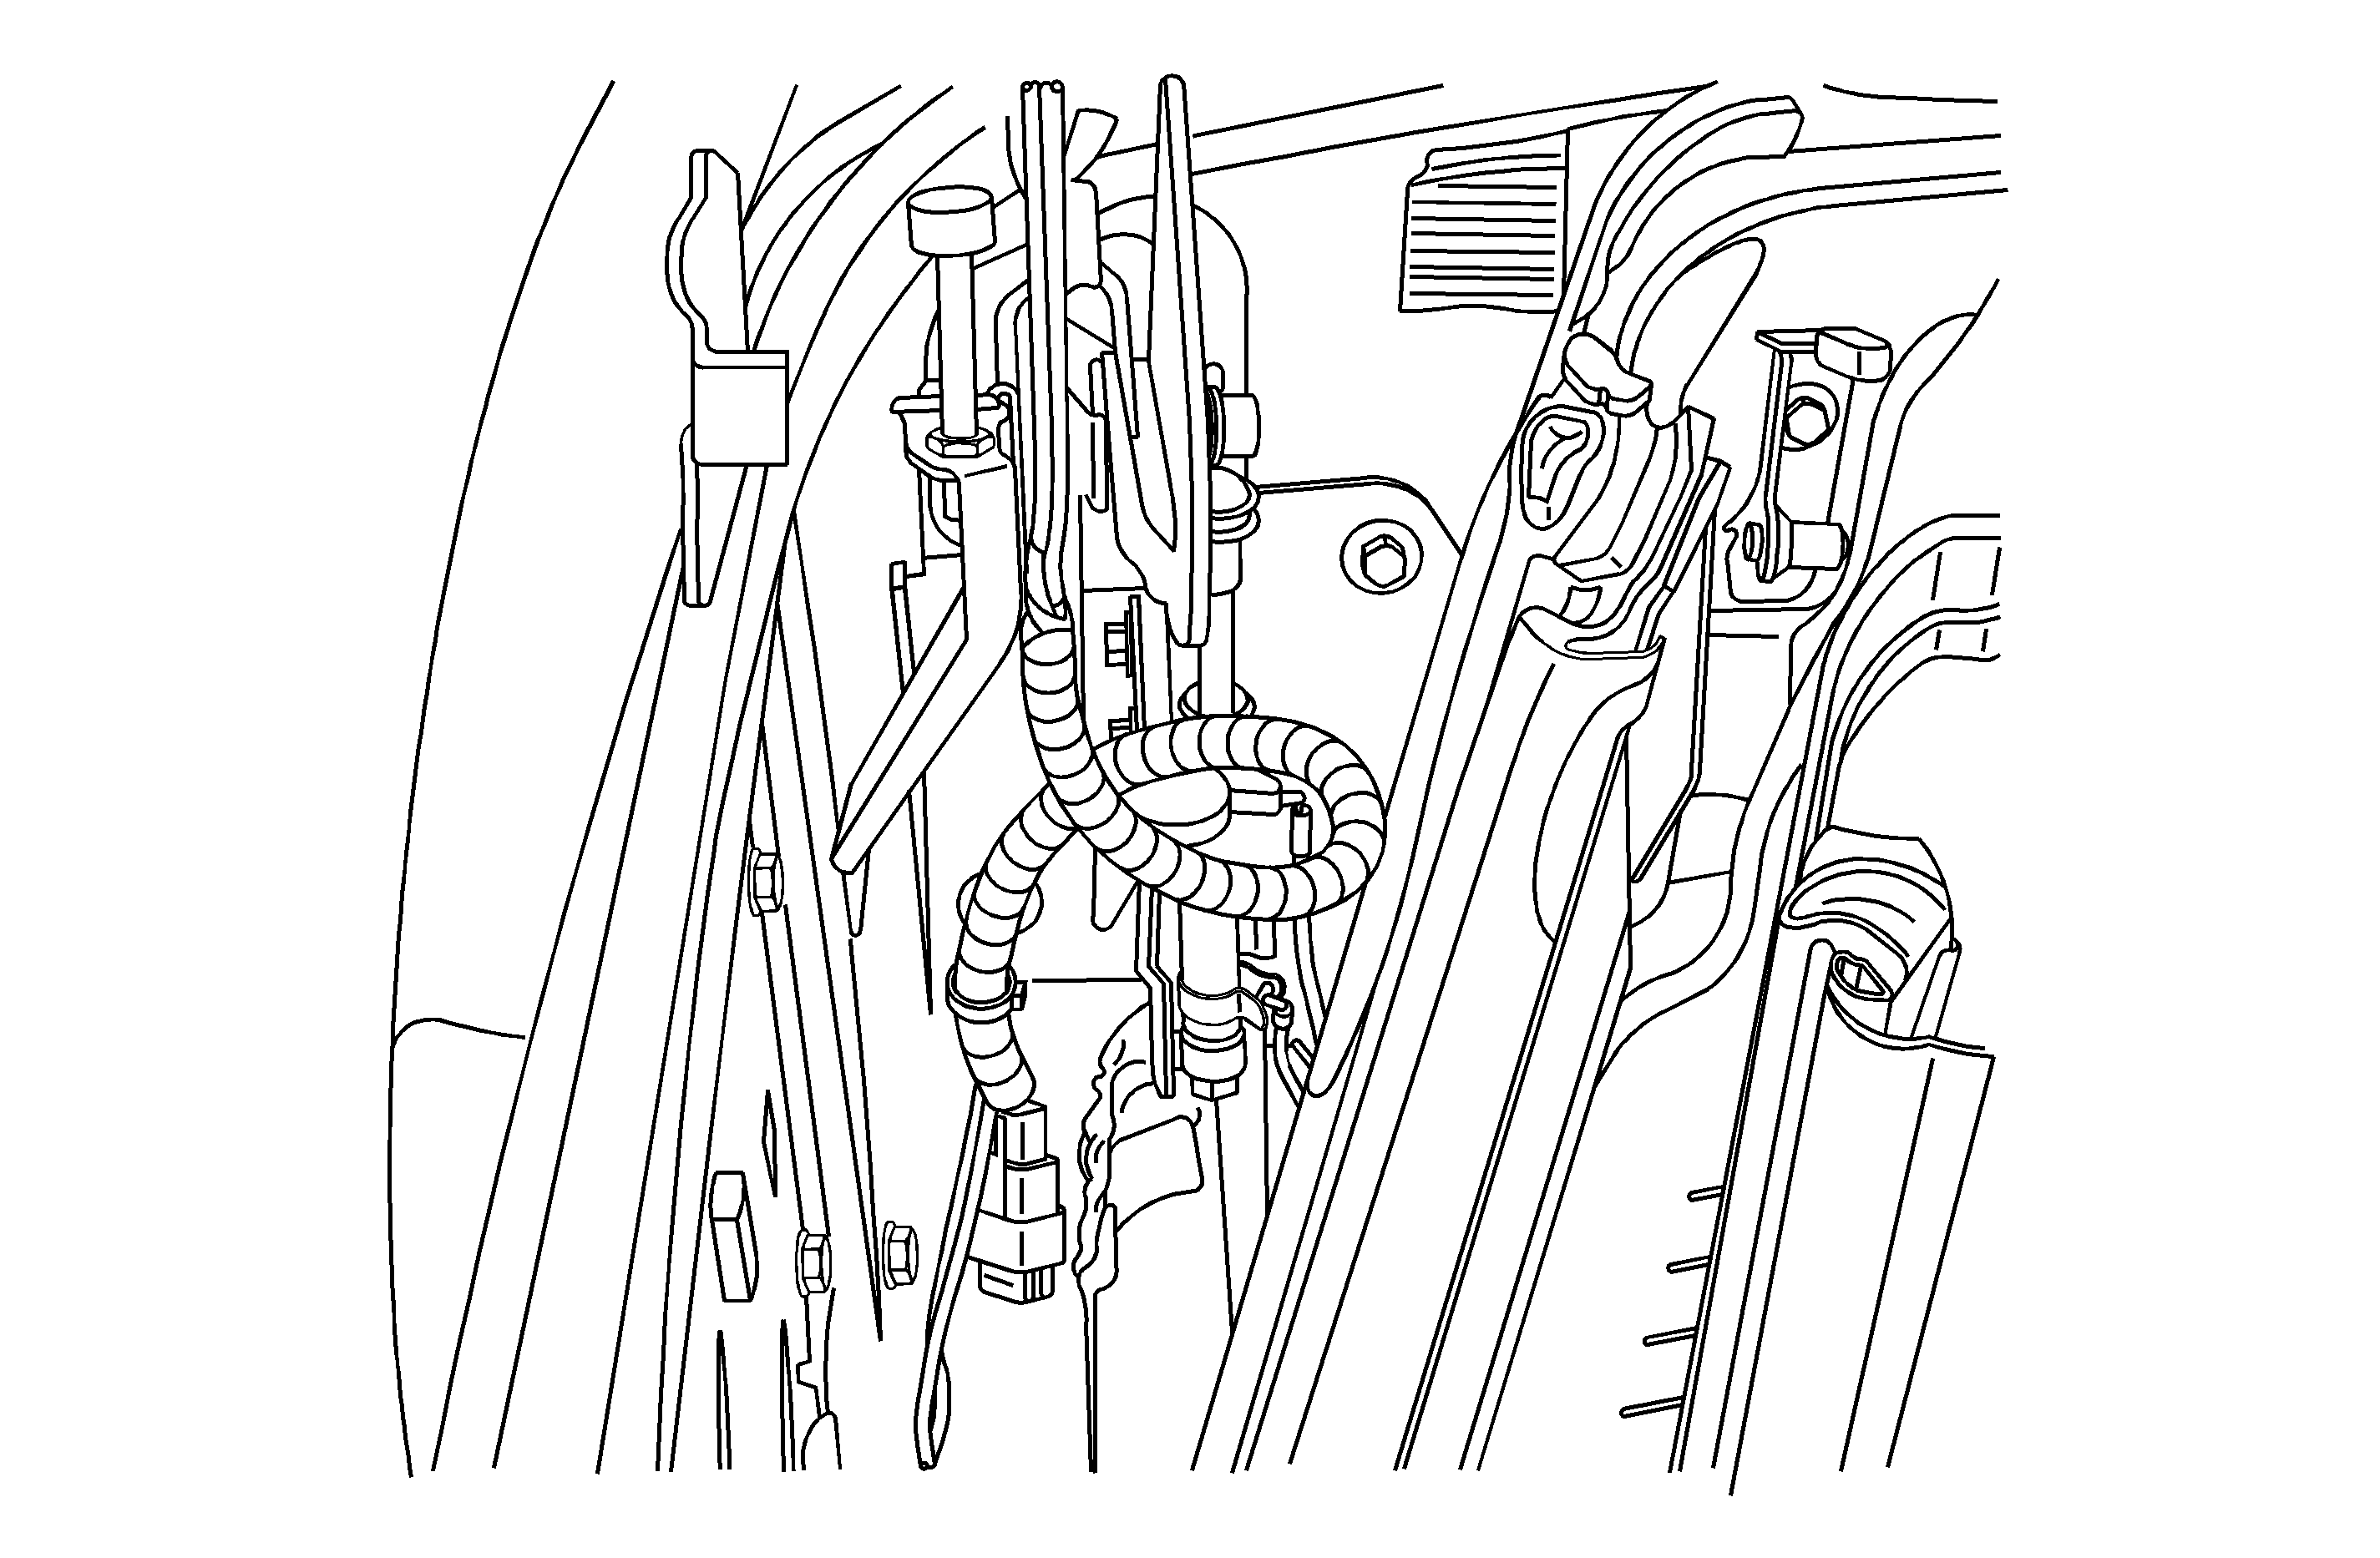
- Cycle the retractable roof system to verify the procedure has indeed corrected the concern. As shown in the illustration, it has improved the routing a little, but the convoluted tubing could still contact the roof when closed. If this has not corrected your vehicle, then proceed to the next step.
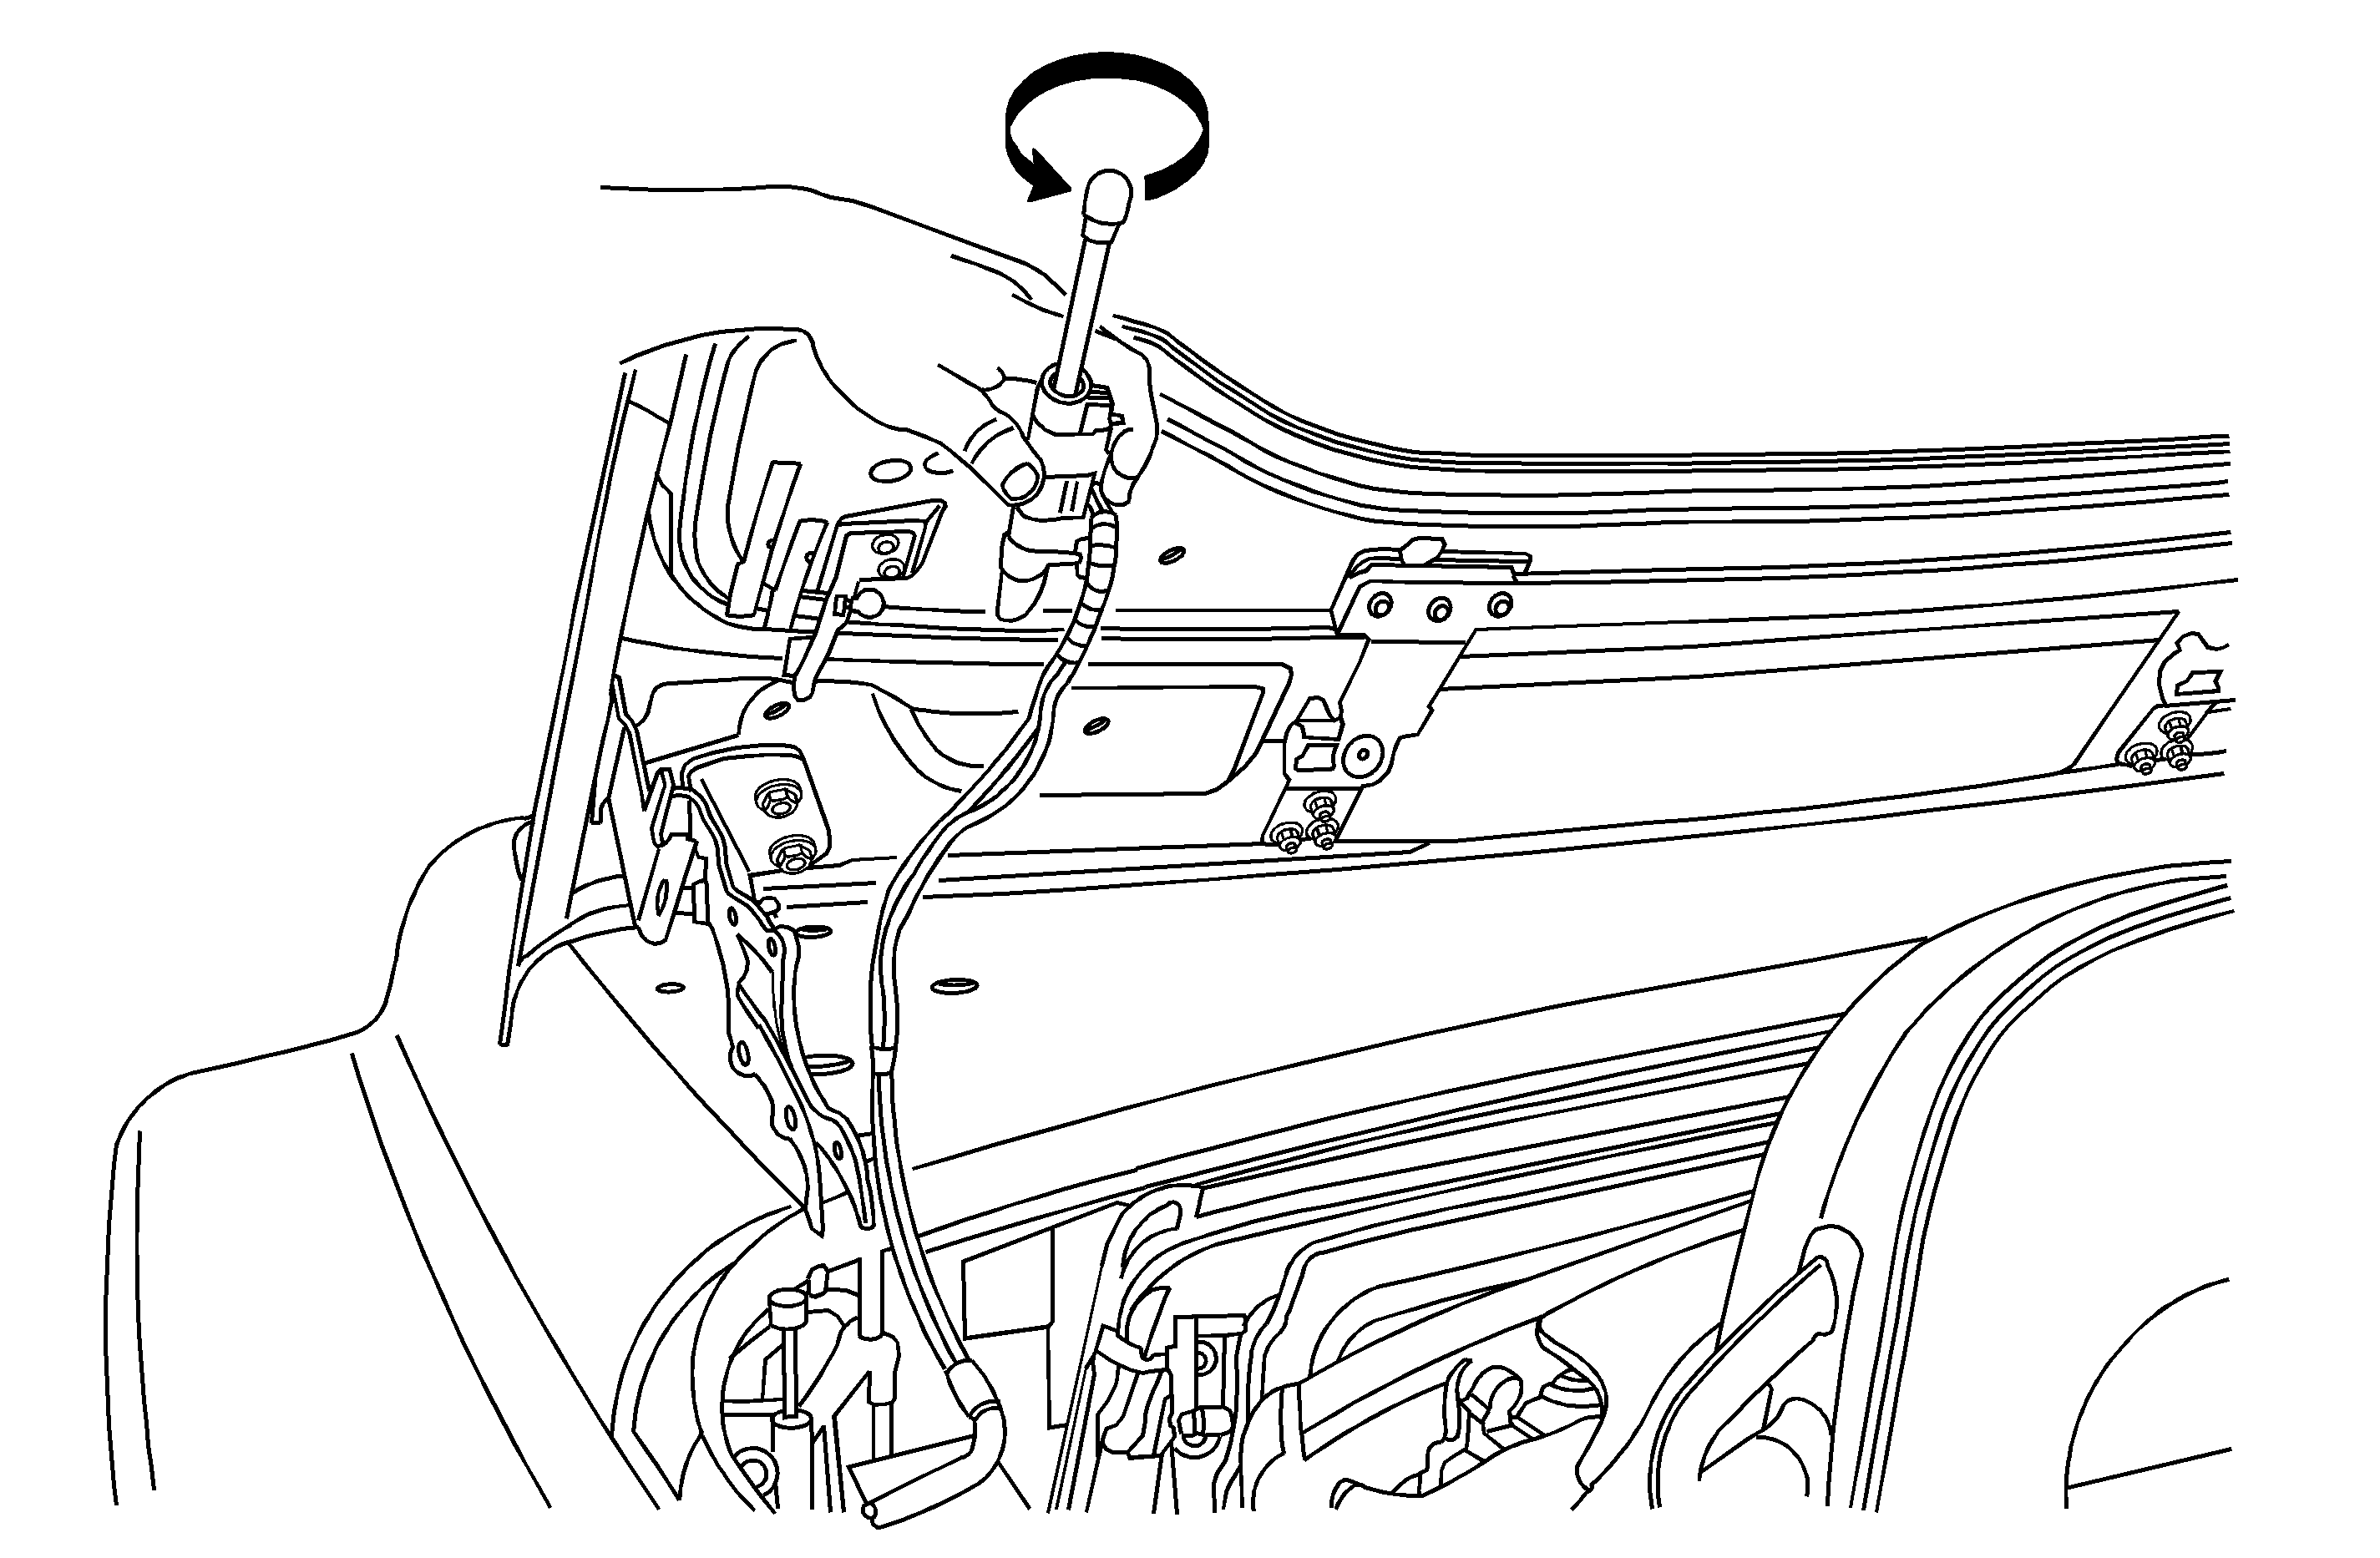
- Remove the hydraulic cylinder from the ball studs and the clips on the stowage compartment lid hinge (tonneau hinge).
- Once you have the cylinder and the lines safety removed, take the cylinder while holding it upwards and rotate the cylinder counterclockwise one full turn. This will help change the way the hoses coil up when the stowage compartment lid closes. Reinstall the cylinder and the hoses back onto the vehicle. Take care not to rotate the cylinder while reinstalling.
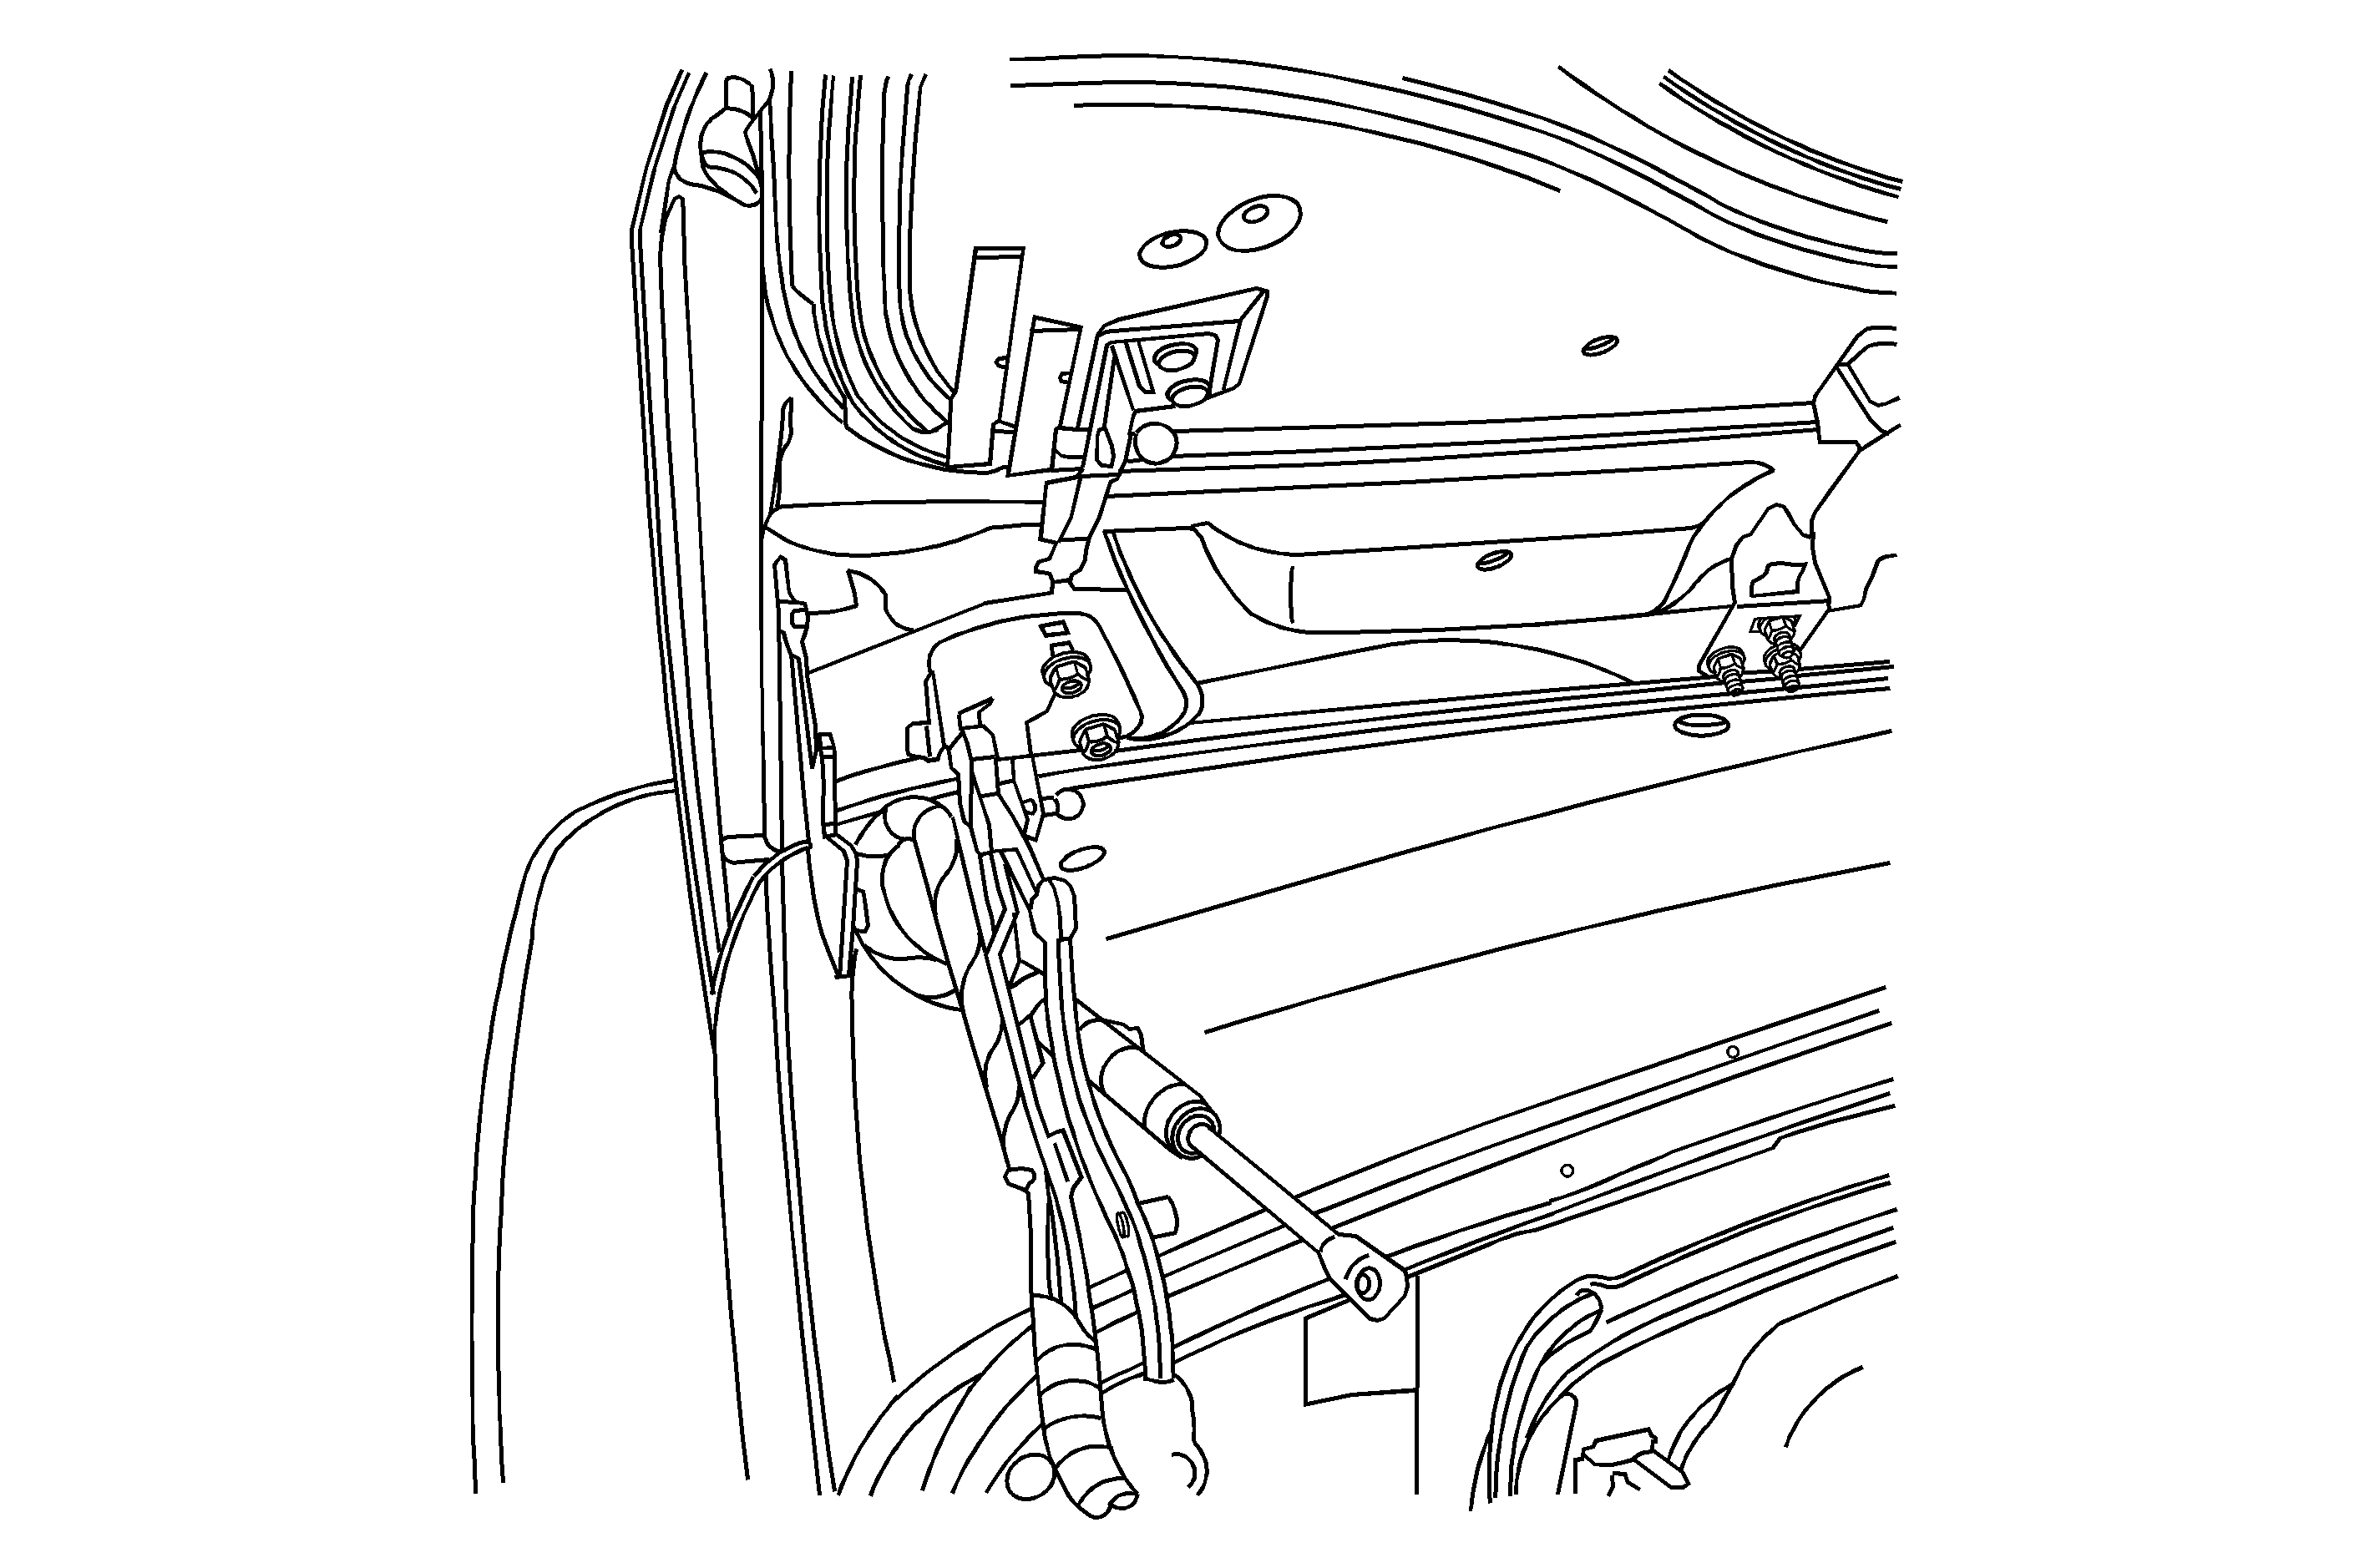
- Cycle the stowage compartment lid closed and confirm that the hoses are not touching the rear roof panel in either photo.

Warranty Information
For vehicles repaired under warranty, use:
Labor Operation | Description | Labor Time |
|---|---|---|
A9905* | Reroute Hydraulic Hoses | 0.6 hr |
*This labor operation is for bulletin use only. It will not be published in the Labor Time Guide. | ||
