For 1990-2009 cars only
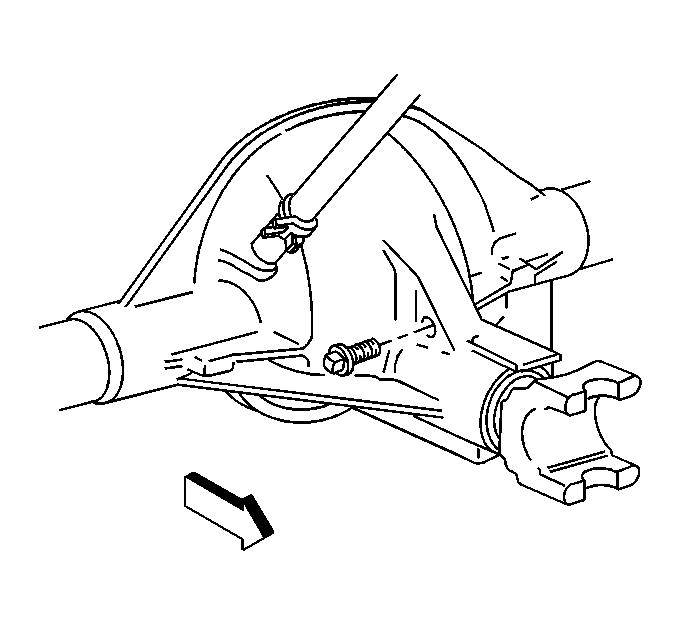
Rear Axle Lubricant Replacement 8.6 Inch Axle
Removal Procedure
- Raise the vehicle. Refer to Lifting and Jacking the Vehicle .
- Clean the area around the rear axle fill plug.
- Remove the rear axle fill plug.
- Remove the rear axle cover. Refer to Rear Axle Housing Cover and Gasket Replacement .
- Drain the lubricant into a suitable container.
Installation Procedure
- Install the rear axle cover. Refer to Rear Axle Housing Cover and Gasket Replacement .
- Fill the rear axle with axle lubricant. Use the proper fluid. Refer to Adhesives, Fluids, Lubricants, and Sealers and Approximate Fluid Capacities .
- Install the rear axle fill plug.
- Lower the vehicle.
Notice: Refer to Fastener Notice in the Preface section.

Tighten
Tighten the rear axle fill plug to 33 N·m (24 lb ft).
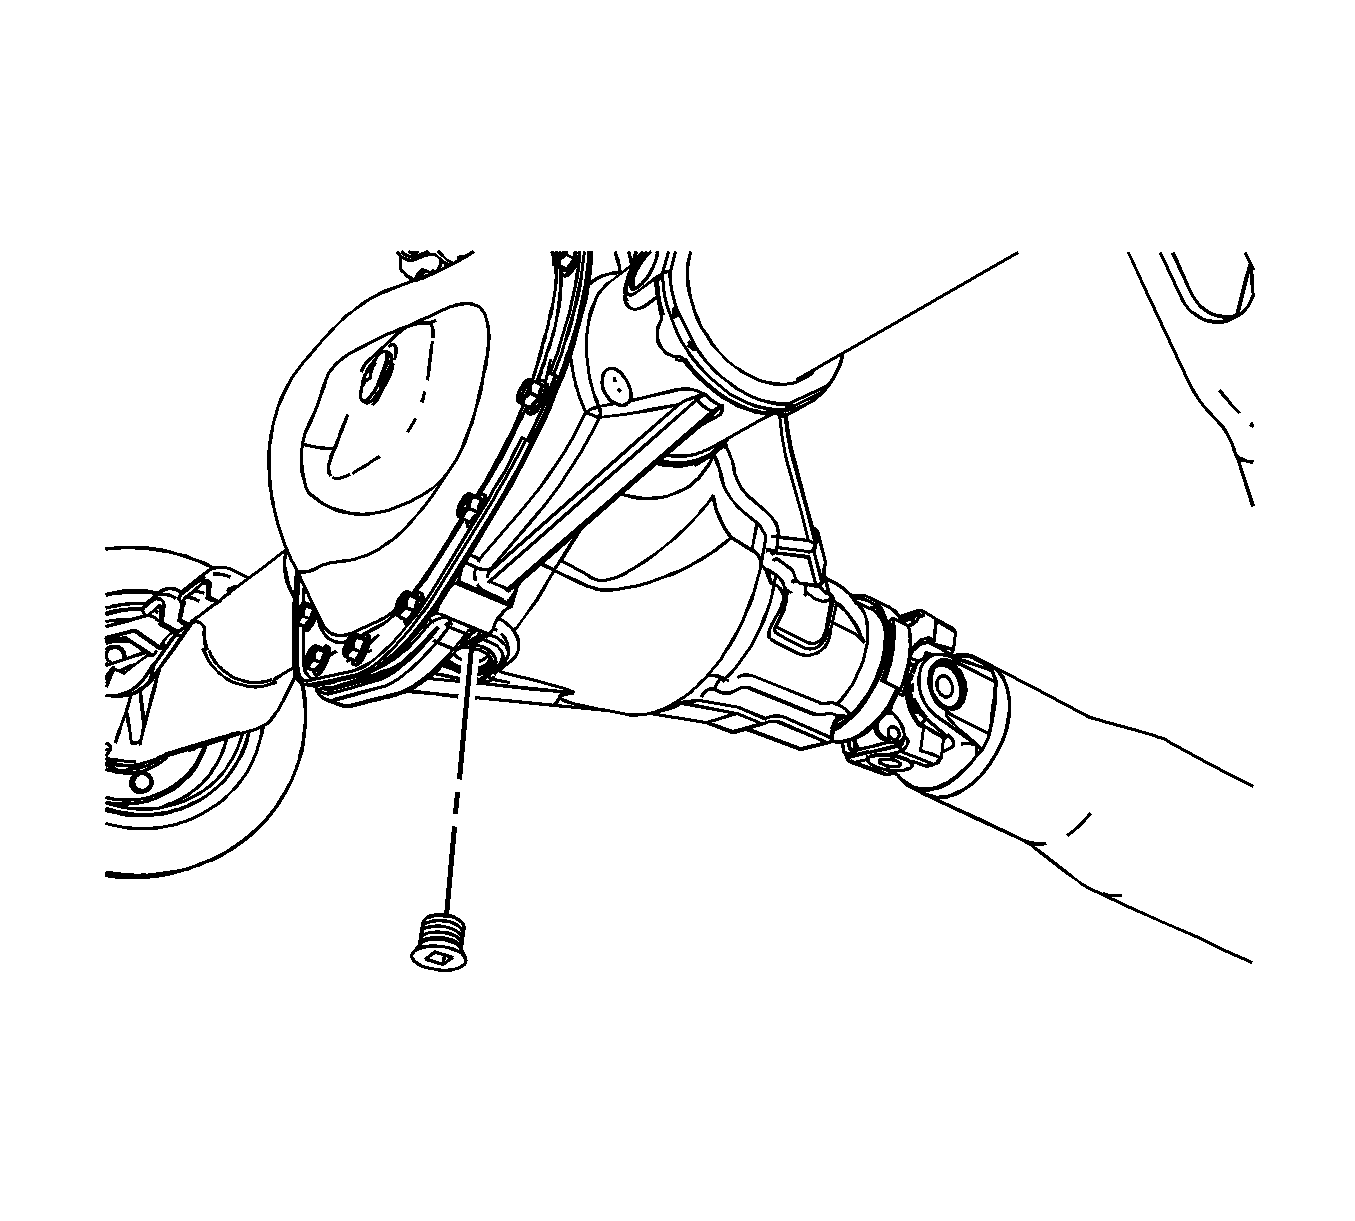
Rear Axle Lubricant Replacement Late 9.5 Inch LD Axle
Removal Procedure
- Raise the vehicle. Refer to Lifting and Jacking the Vehicle .
- Remove the drain plug.
- Drain the lubricant into a suitable container.
- Remove the fill plug.


Installation Procedure
- Install the drain plug.
- Fill the axle with limited slip axle lubricant additive and lubricant.
- Install the fill plug.
- Lower the vehicle.
Notice: Refer to Fastener Notice in the Preface section.

Tighten
Tighten the drain plug to 33 N·m (24 lb ft).
Important: Add the limited slip axle lubricant additive to the axle before filling the axle with axle lubricant.
| • | Use the proper fluid, refer to Adhesives, Fluids, Lubricants, and Sealers . |
| • | For the proper capacity, refer to Approximate Fluid Capacities . |

Tighten
Tighten the fill plug to 33 N·m (24 lb ft).
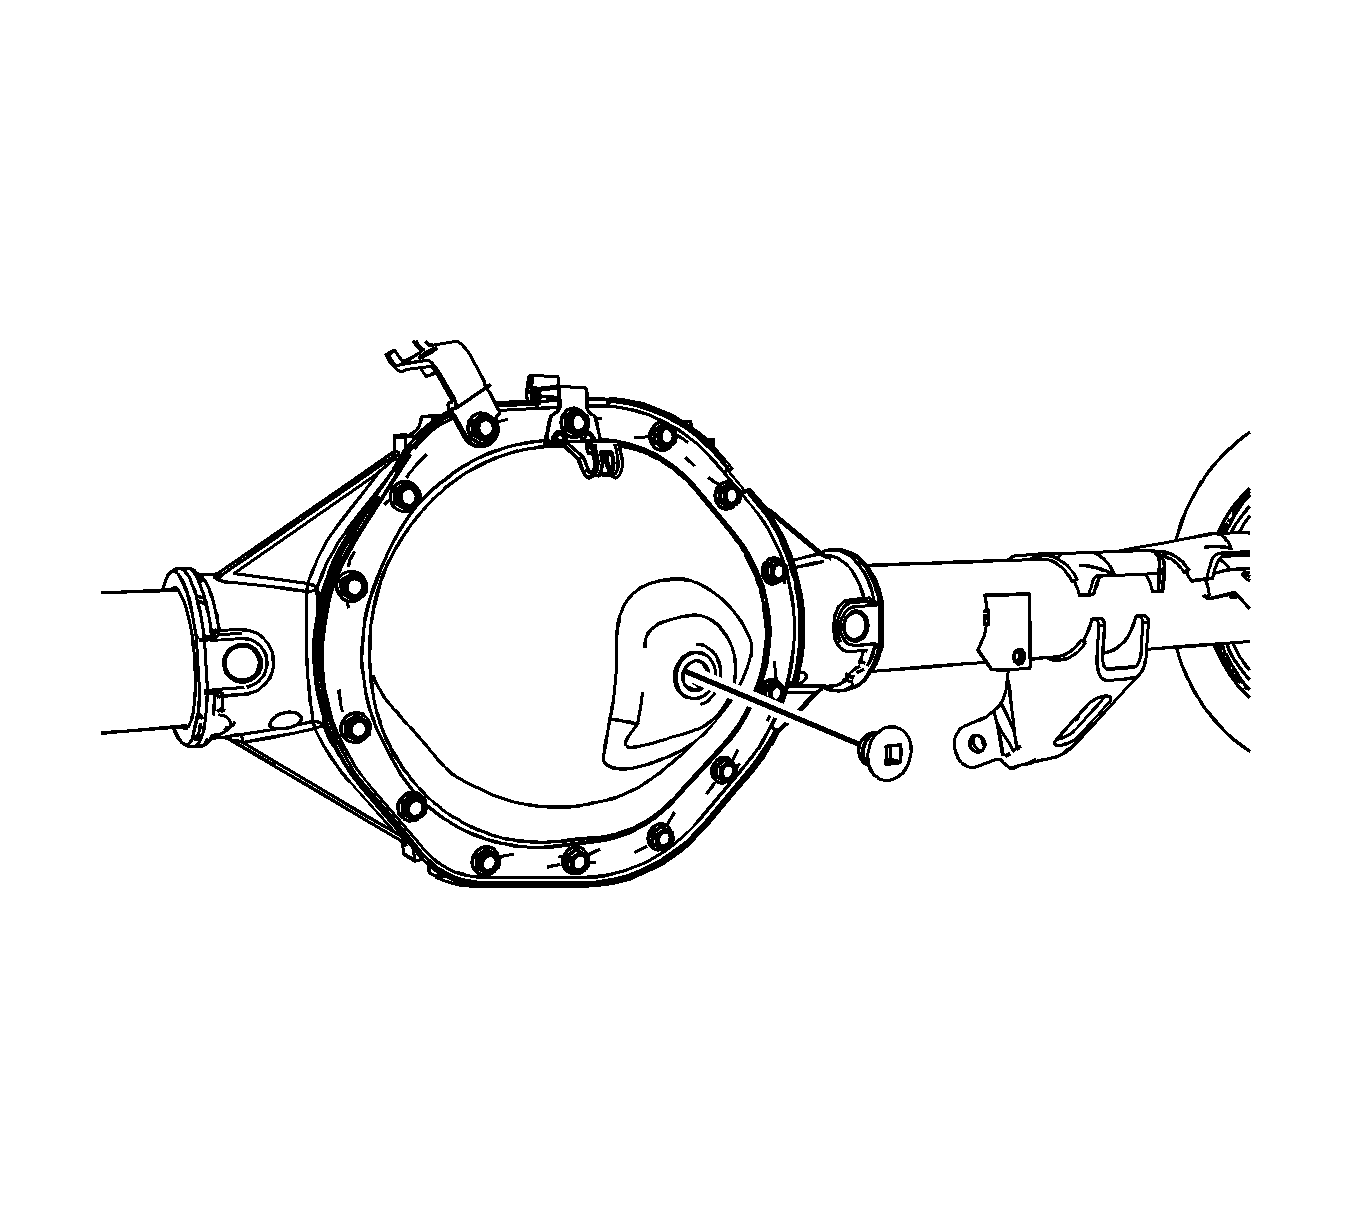
Rear Axle Lubricant Replacement Early 9.5 Inch LD Axle
Removal Procedure
- Raise the vehicle. Refer to Lifting and Jacking the Vehicle .
- Clean the area around the rear axle fill plug.
- Remove the rear axle fill plug.
- Remove the rear axle drain plug.
- Drain the lubricant into a suitable container.

Installation Procedure
- Install the rear axle drain plug.
- Fill the rear axle with axle lubricant. Use the proper fluid. Refer to Approximate Fluid Capacities and Adhesives, Fluids, Lubricants, and Sealers .
- Install the rear axle fill plug.
- Lower the vehicle.
Notice: Refer to Fastener Notice in the Preface section.

Tighten
Tighten to 33 N·m (24 lb ft).
Important: Add the limited slip axle lubricant additive to the axle, before filling the axle with axle lubricant.
| 2.1. | Fill the axle with limited slip axle lubricant additive. |
| 2.2. | Insert the axle lubricant fill nozzle or tube into the fill plug opening. |
| 2.3. | Slowly add the lubricant until the lubricant starts seeping from the fill plug opening. |
| 2.4. | Stop adding lubricant and wait approximately 1 minute to allow the lubricant to flow into the sump area. |
| 2.5. | Repeat the above steps to fill the axle with lubricant. Ensure that all of the specified quantity of lubricant is added to the axle. |

Tighten
Tighten the rear axle fill plug to 33 N·m (24 lb ft).
