For 1990-2009 cars only
Removal Procedure
- Remove the left and right sunshades. Refer to Sunshade Replacement in Interior Trim.
- Remove the windshield upper garnish molding. Refer to cell Windshield Upper Garnish Molding Replacement in Interior Trim.
- Remove the left and right windshield pillar garnish molding. Refer to Windshield Pillar Garnish Molding Replacement in Interior Trim.
- Remove the center instrument panel (I/P) trim panel. Refer to Instrument Panel Center Trim Panel Replacement .
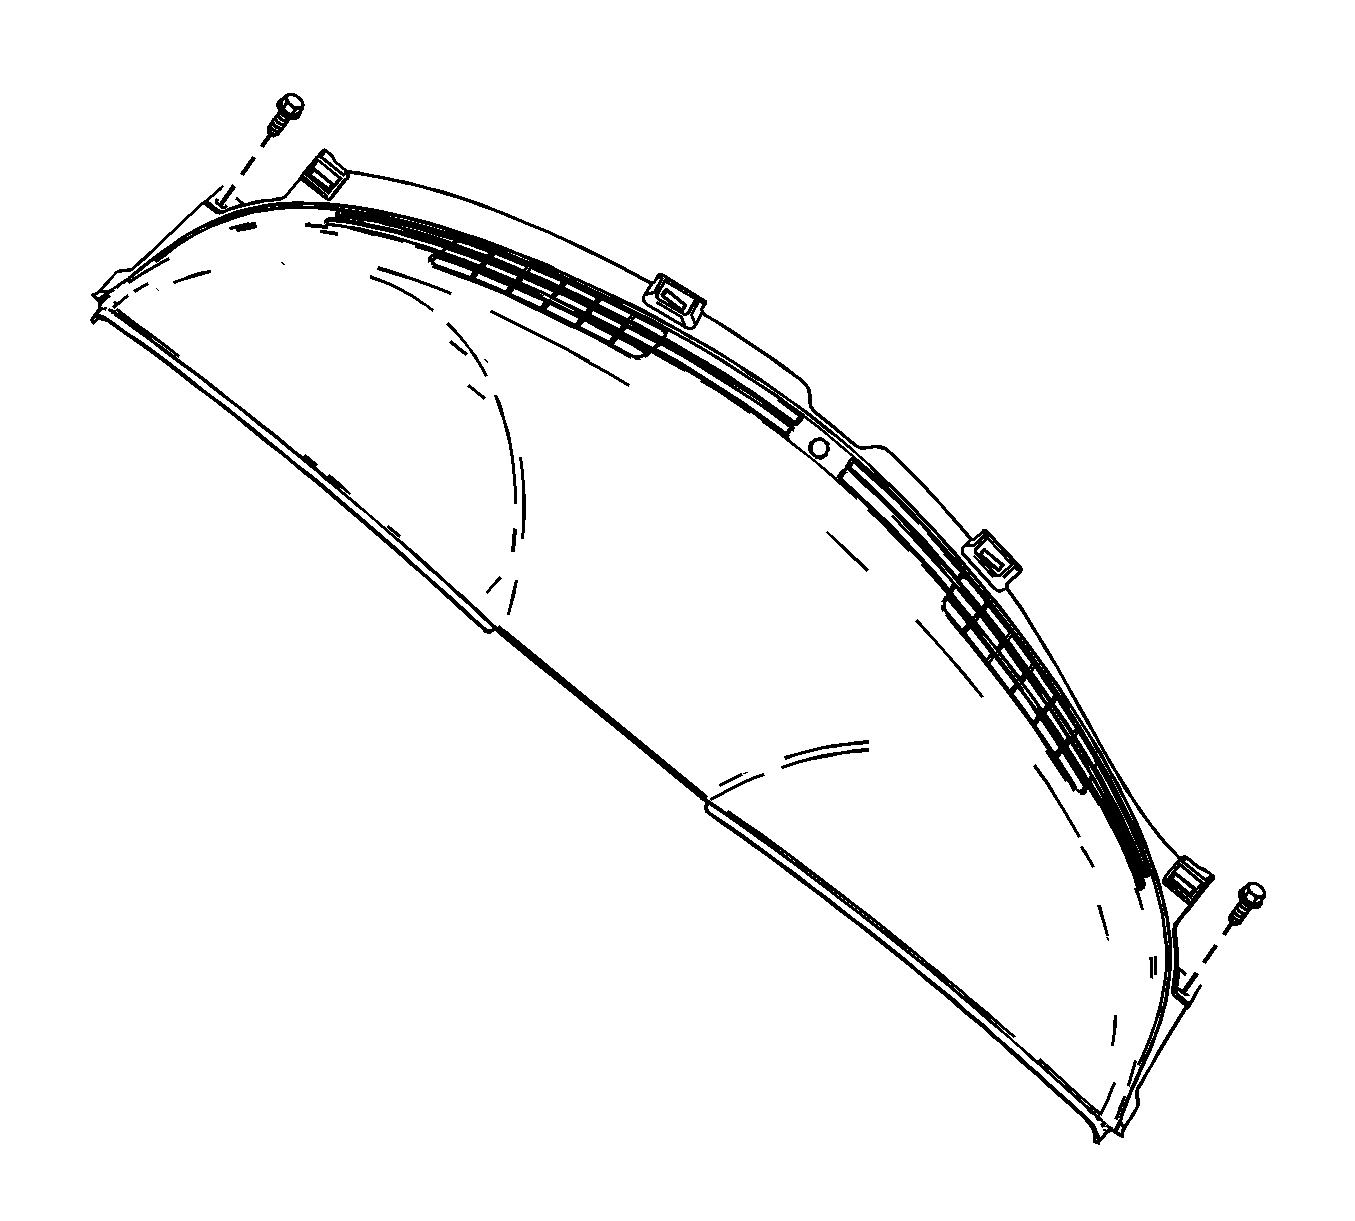
- Remove the 2 screws retaining the trim plate to the I/P.
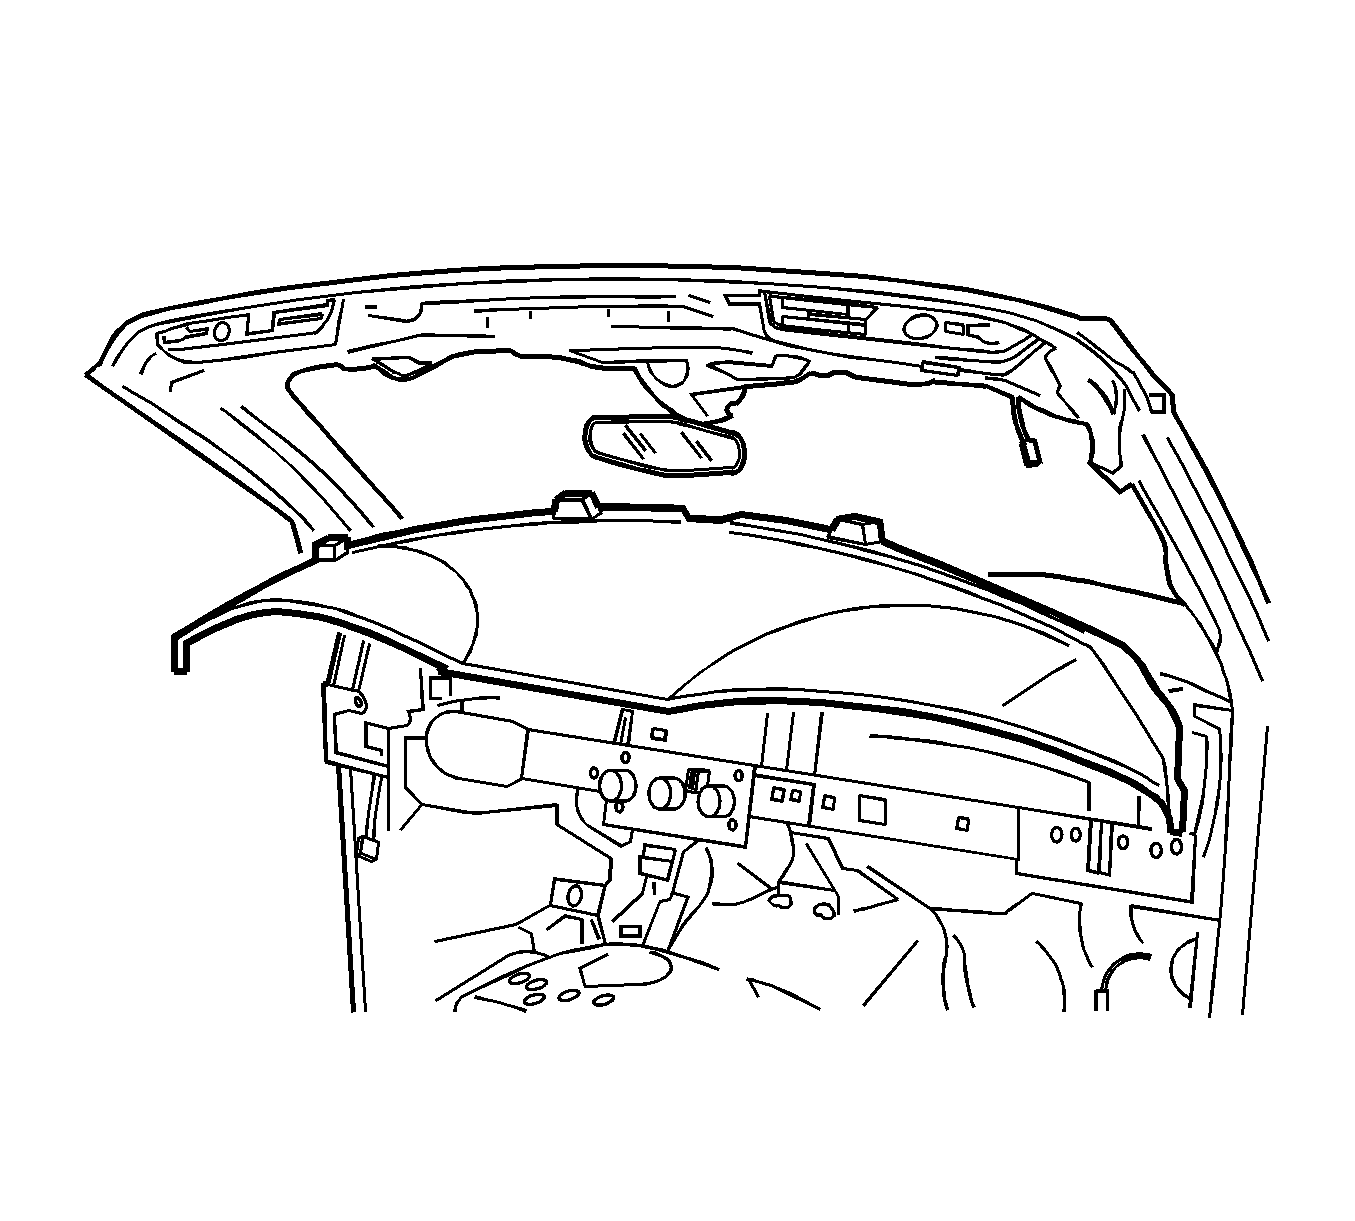
- Use a flat-bladed plastic tool to release the retaining clips.
- Remove the ambient light sensor. Refer to Ambient Light Sensor Replacement in Lighting Systems.
- Remove the I/P trim plate from the vehicle.


Installation Procedure
- Position the trim plate to the I/P
- Install the ambient light sensor. Refer to Ambient Light Sensor Replacement in Lighting Systems.
- Install the I/P trim plate by engaging the retaining clips.
- Install the 2 I/P trim plate fasteners.
- Install the center instrument panel (I/P) trim panel. Refer to Instrument Panel Center Trim Panel Replacement .
- Install the left and right windshield pillar garnish molding. Refer to Windshield Pillar Garnish Molding Replacement in Interior Trim.
- Install the windshield upper garnish molding. Refer to Windshield Upper Garnish Molding Replacement in Interior Trim.
- Install the left and right sunshades. Refer to Sunshade Replacement in Interior Trim.

Notice: Refer to Fastener Notice in the Preface section.

Tighten
Tighten the fasteners to 2.5 N·m (22 lb in).
