For 1990-2009 cars only
Removal Procedure
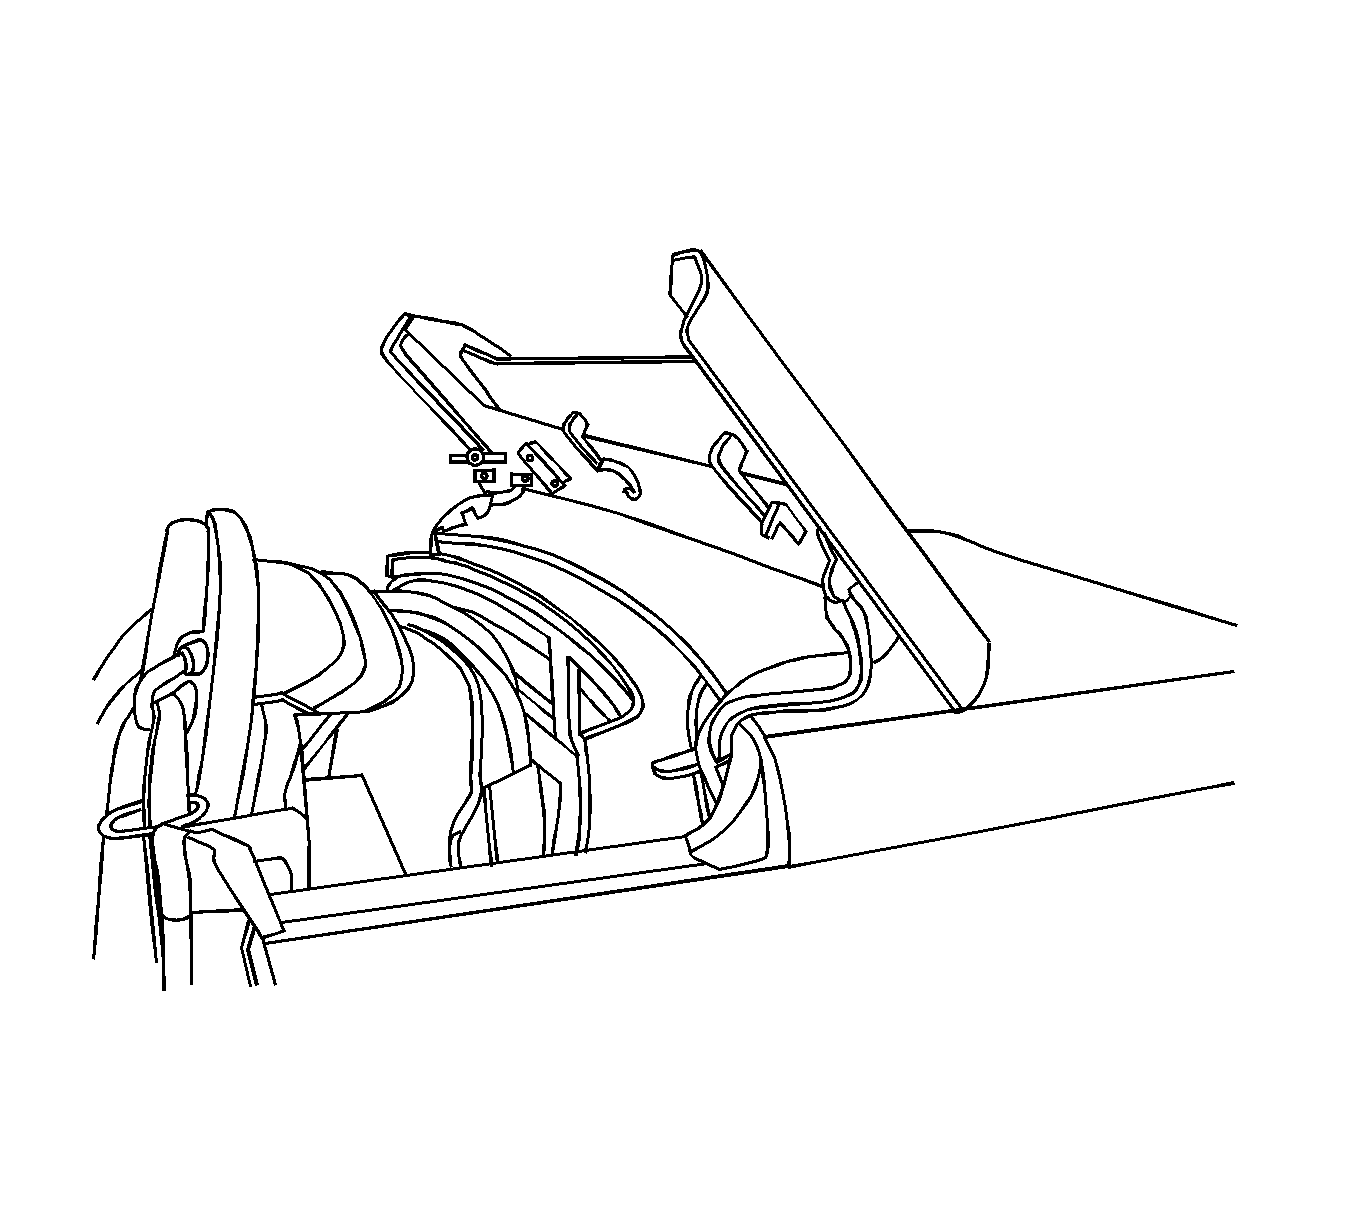
- Cycle the folding top open.
- Remove the sunshades. Refer to Sunshade Replacement in Interior Trim.
- Remove the windshield upper garnish molding. Refer to Windshield Upper Garnish Molding Replacement in Interior Trim.
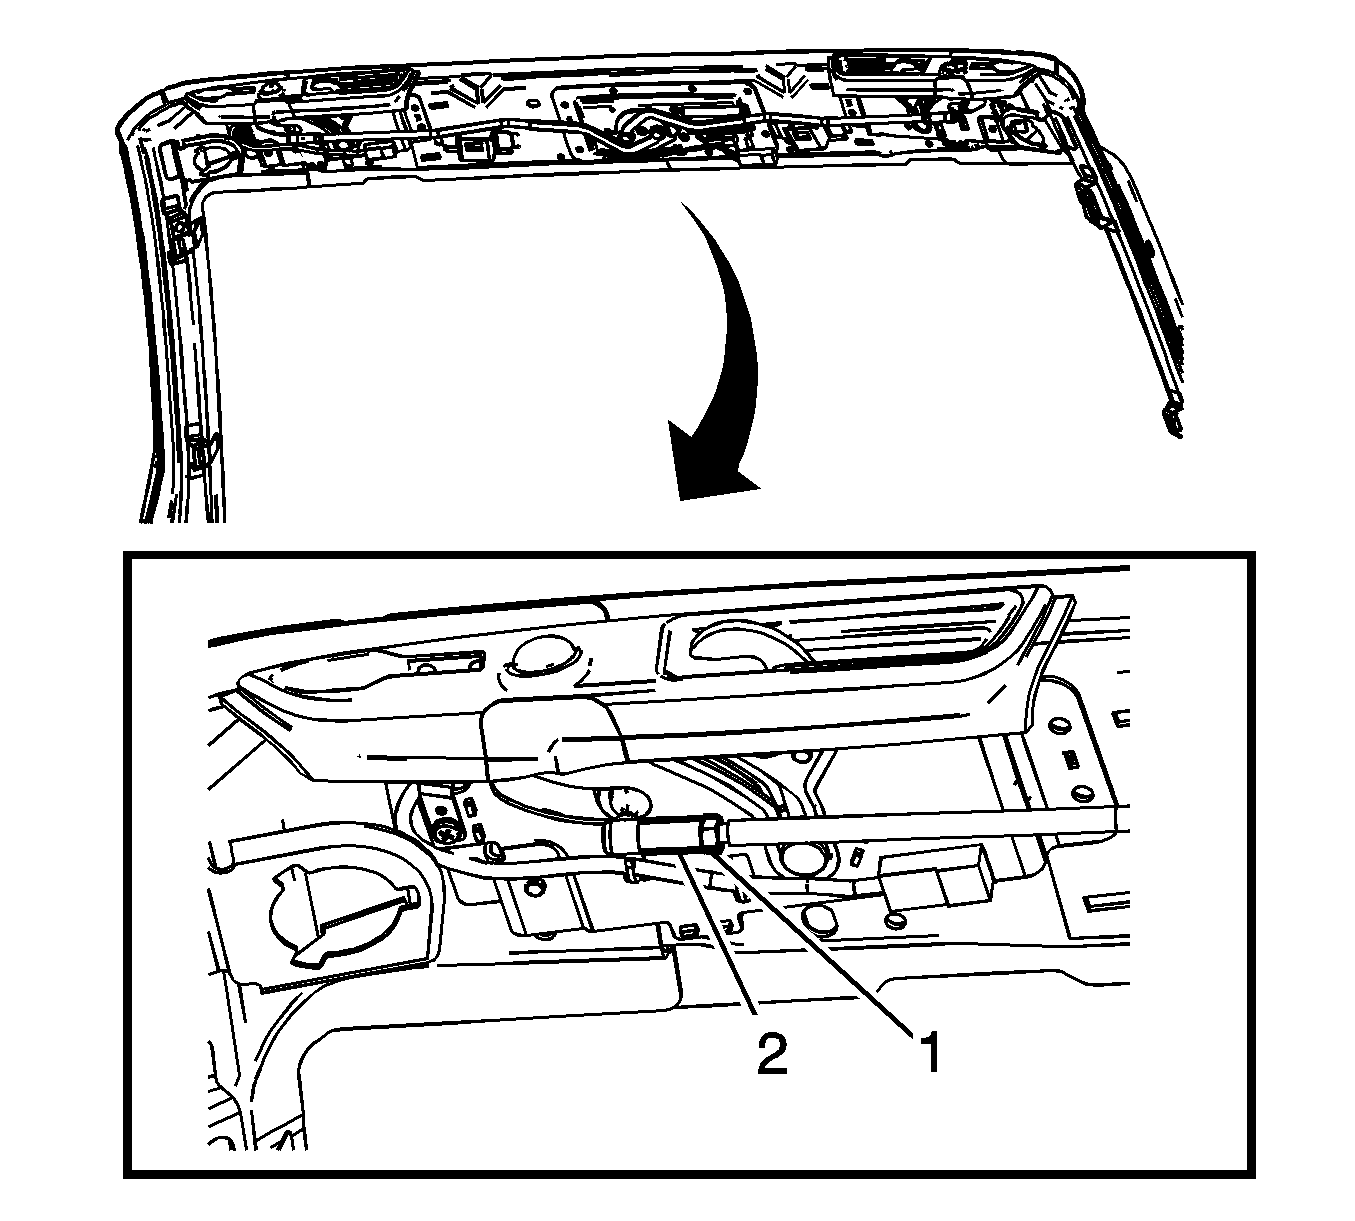
- Loose the jam nut (1) on the center header latch linkage.
- Disconnect the ball socket from the side header latch by pulling downward.
- Twist the ball socket (2) to lengthen or shorten the linkage only one complete turn at one time. Rotate the ball socket clockwise to increase the travel of the center header latch linkage. Rotate the ball socket counterclockwise to decrease the travel of the center header latch linkage.
Installation Procedure
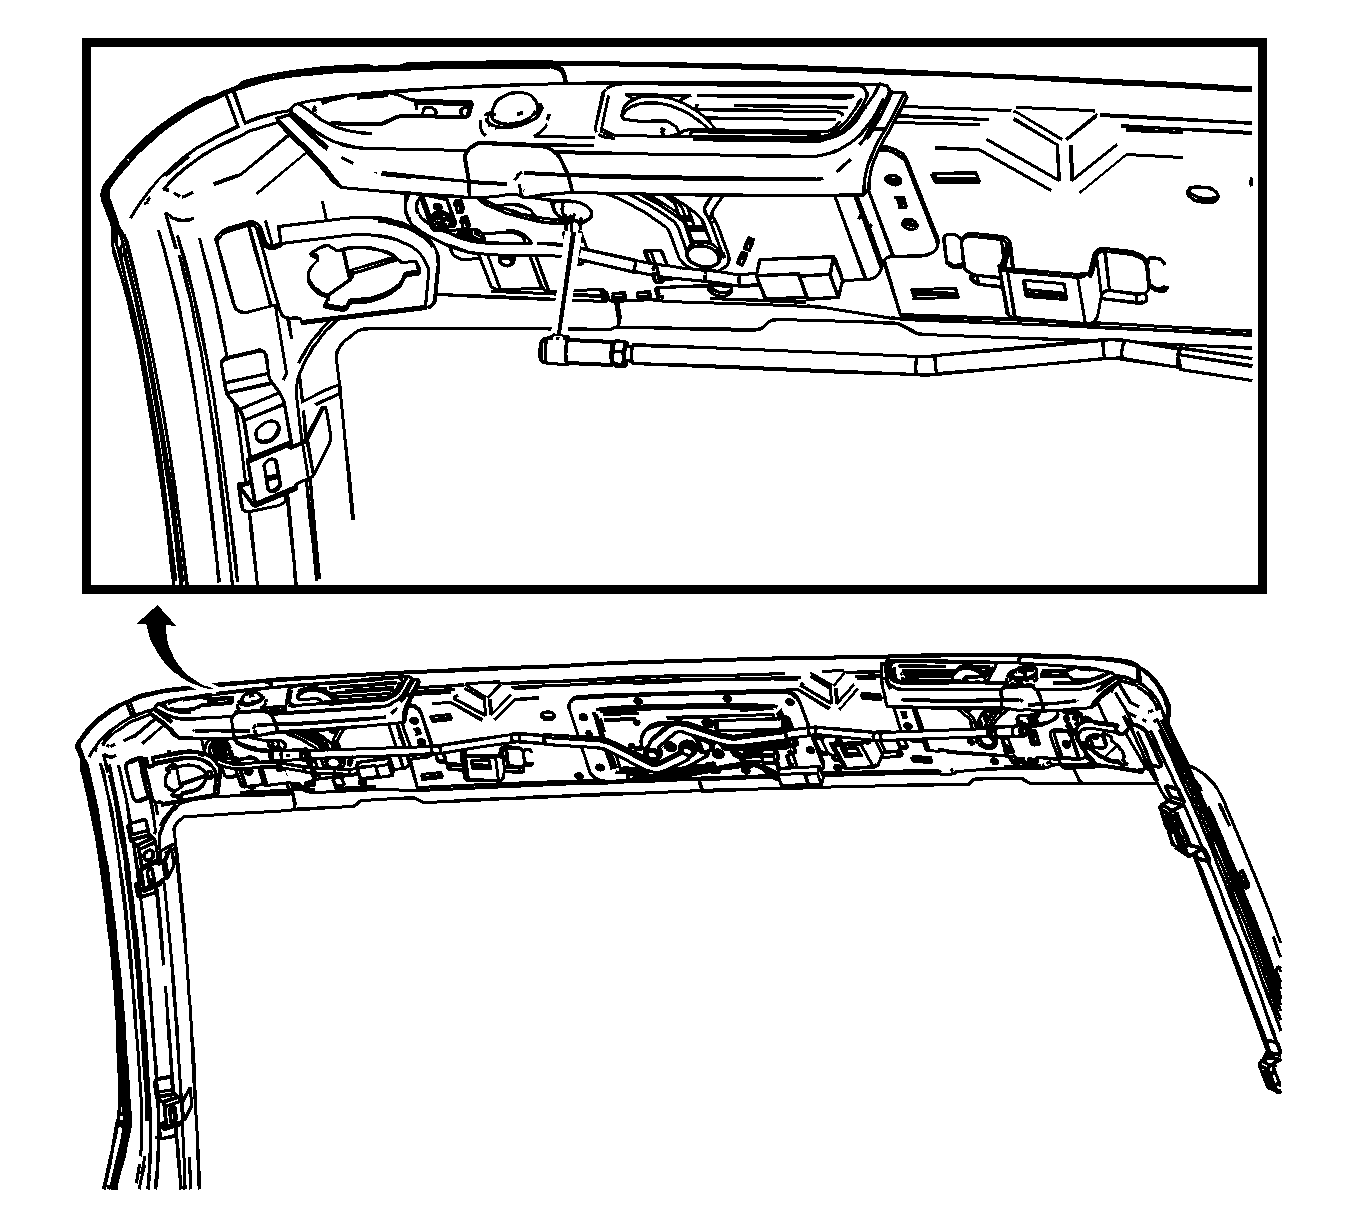
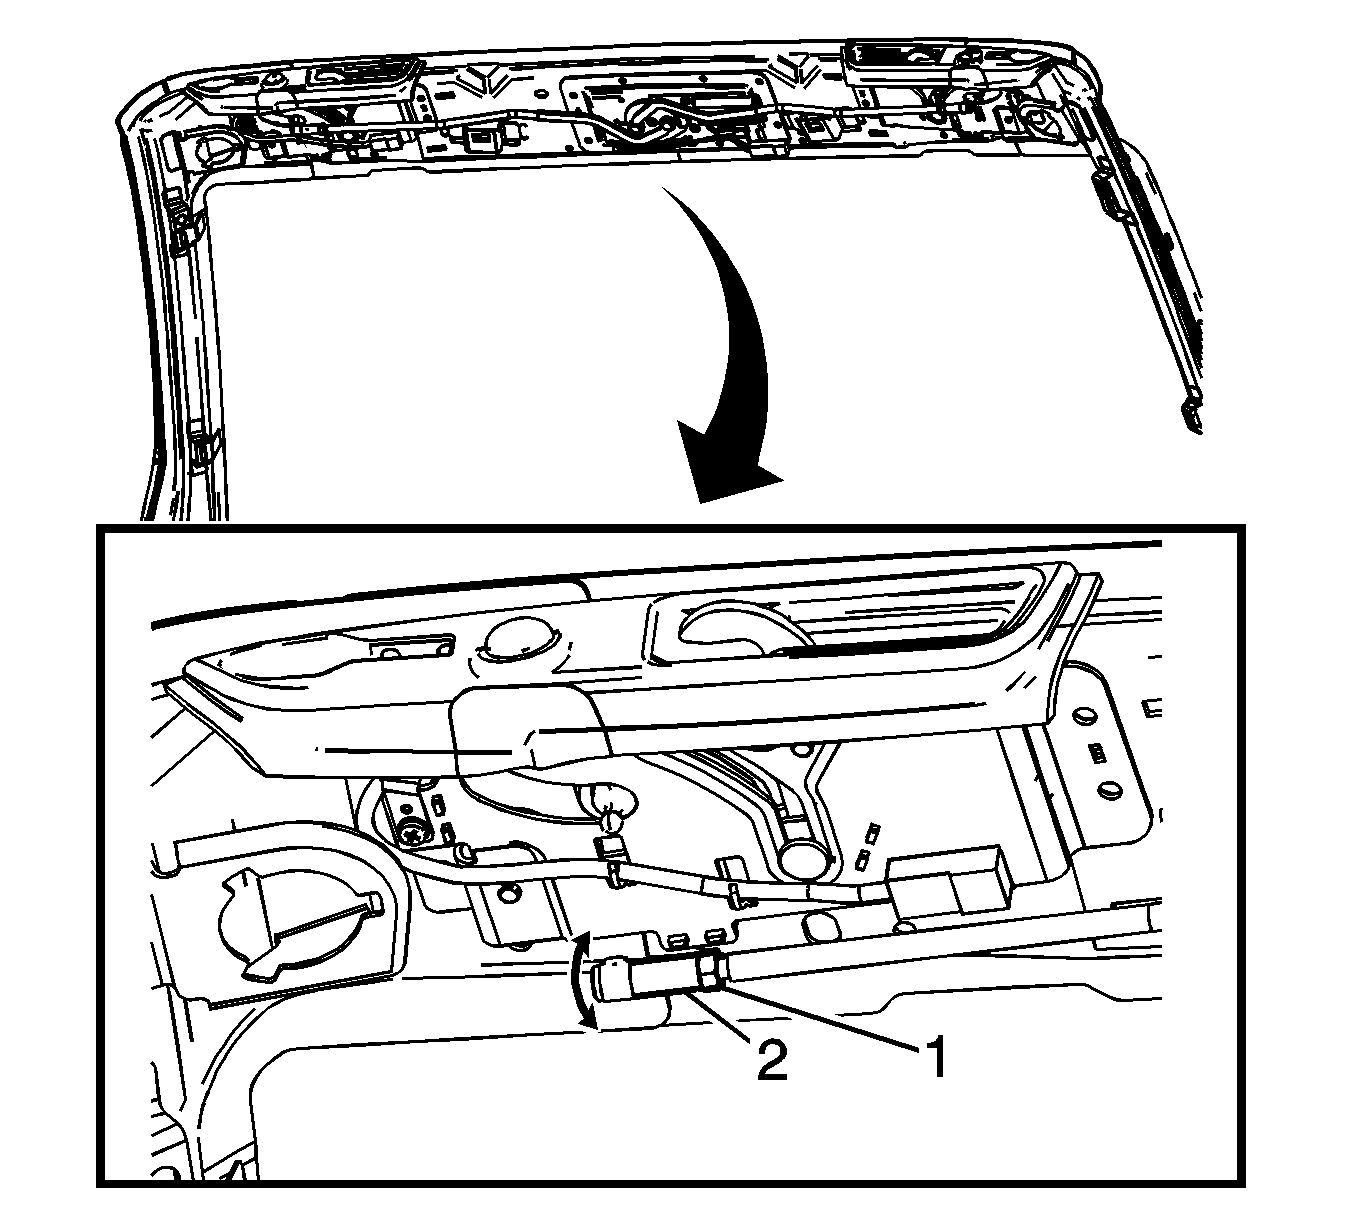
- Connect the center header latch linkage to the side header latch by pushing on the ball socket.
- Manually raise the folding top to the windshield header latches.
- In order to ensure smooth operation of the header latches, use the emergency release handle to cycle the center header latch motor.
- Tighten the jam nut (1).
- Install the windshield upper garnish molding. Refer to Windshield Upper Garnish Molding Replacement in Interior Trim.
- Install the sunshades. Refer to Sunshade Replacement in Interior Trim.
- Cycle the folding top closed.
- Inspect the folding top for proper operation. Refer to Power Folding Top Description and Operation .
Notice: Refer to Fastener Notice in the Preface section.
Tighten
Tighten the jam nut to 10 N·m (88 lb in).
