Notice: If you operate the convertible top switch continuously while the ignition is in ACCESSORY, the battery will drain and you might not be able to start your vehicle. Do not use the convertible top switch for extended periods of time when the ignition is in ACCESSORY.
The ignition must be in RUN or ACCESSORY, your foot must be on the brake, and the vehicle must be stopped in order to raise the convertible top.
(Top Closed): Press and hold this symbol on the convertible top switch located on the center console switchbank to close the convertible top. Two chimes will sound when the top is fully closed.A "Roof Cycle Timeout" message will display on the Driver Information Center (DIC) and the convertible top will stop moving when the programmed time limit is exceeded for the raised position. See "Roof Cycle Timeout" under DIC Warnings and Messages .
If the convertible top cannot be raised by using the convertible top switch, the fuse may need to be replaced. See Fuses and Circuit Breakers for more information.
If the convertible top still cannot be lowered or raised, contact your GM dealer.
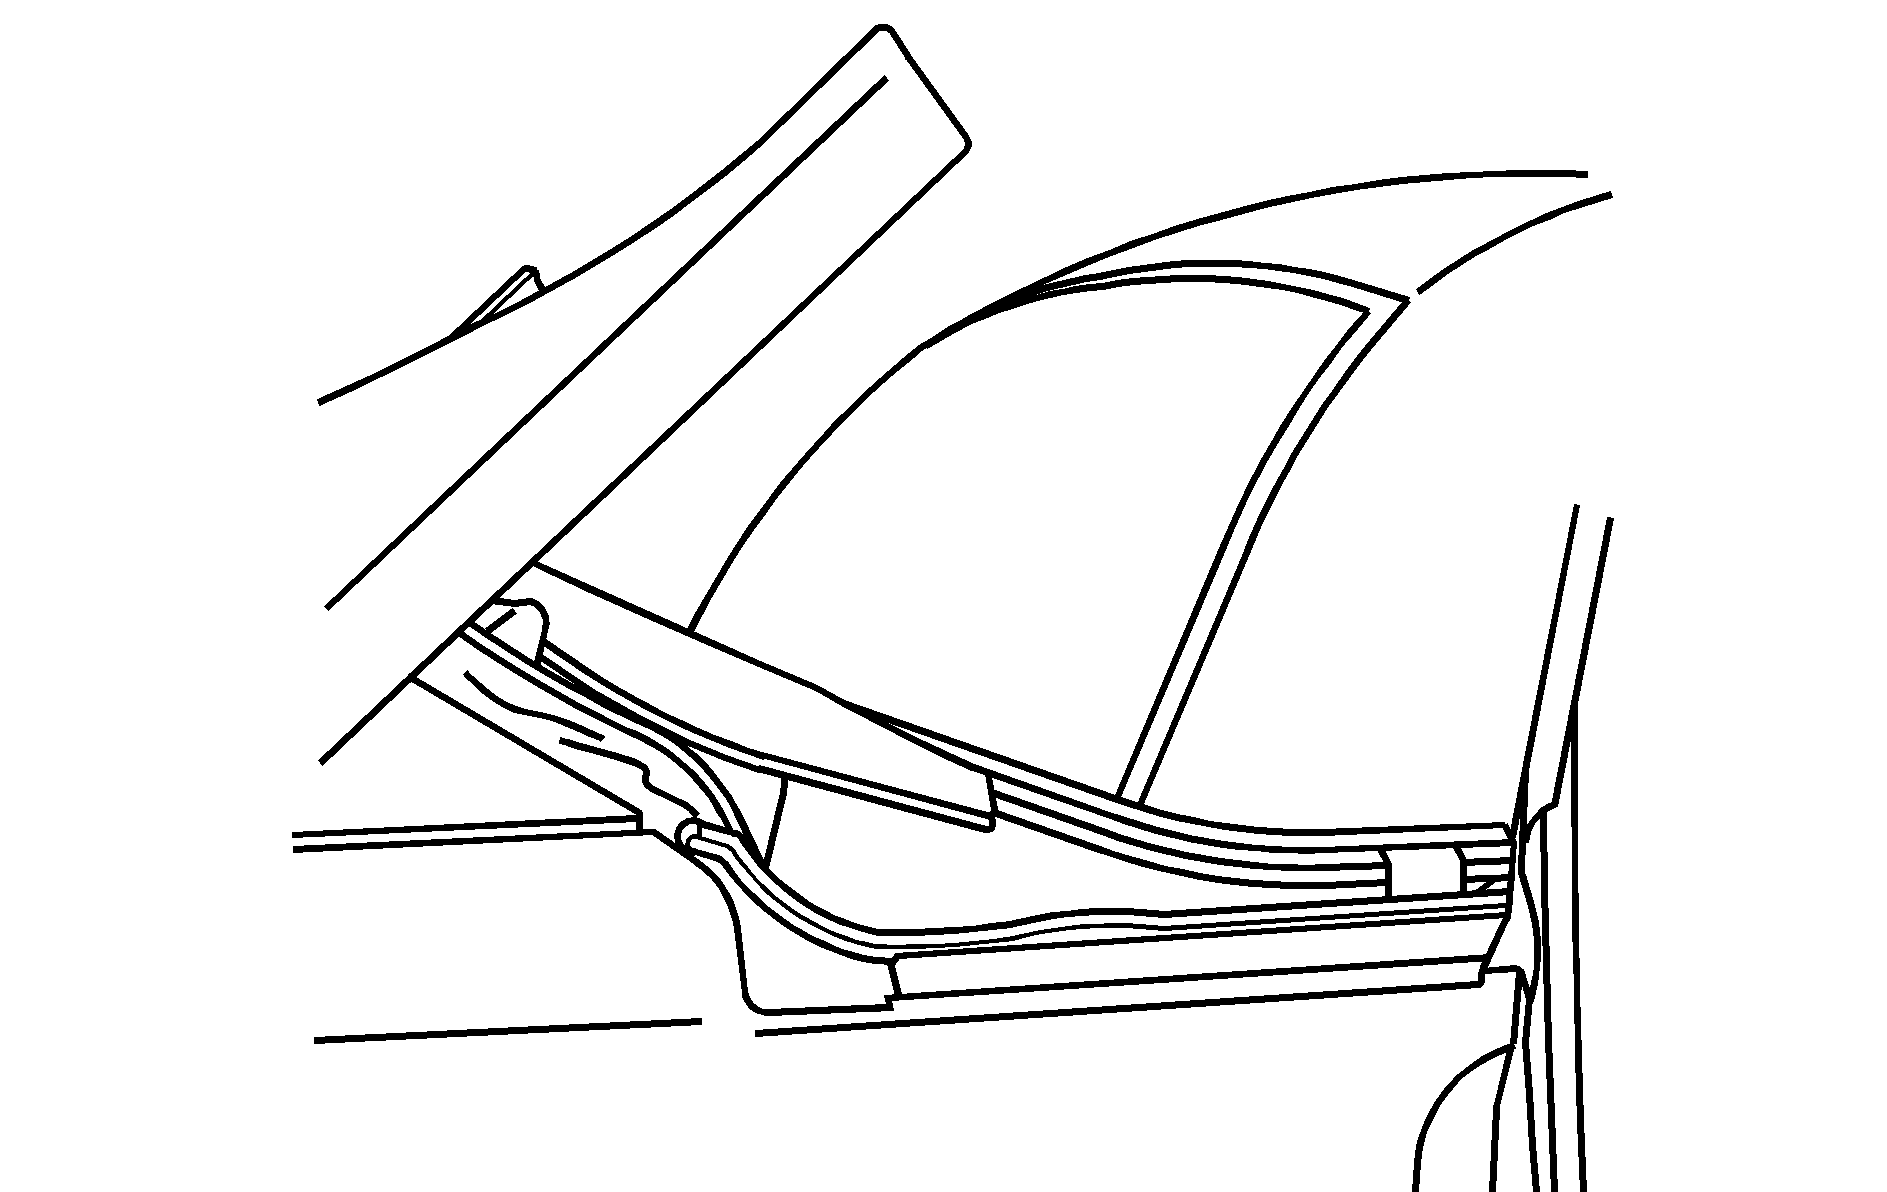
The roof tonneau and convertible top can be raised in the event of a power loss. Two people are needed to lift the roof tonneau and convertible top when using the following procedure.
- Turn the ignition to OFF.
- Open both doors.
- In the area behind the seats, locate the two sets of cables behind the carpet flaps. The cables on the driver's side are located behind the tire inflator kit. The tire inflator kit must be removed to access the cables. See Tire Sealant and Compressor Kit for instructions on how to remove the tire inflator kit.
- Locate the loops at the ends of the cables. One has a red band on it, and the other has a green band.
- Using the release tool for the convertible top, hook the tool into the green loop.
- Pull the cable with the release tool.
- Repeat Steps 4 through 6 on the other side.
- For steps 8 and 9, more than one person is needed to do this. One person working on each side is best. Lift up on the roof tonneau and raise it to the upright position.
- Grasp the front panel of the convertible top and pull up.
- Insert the front panel into the roof latches.
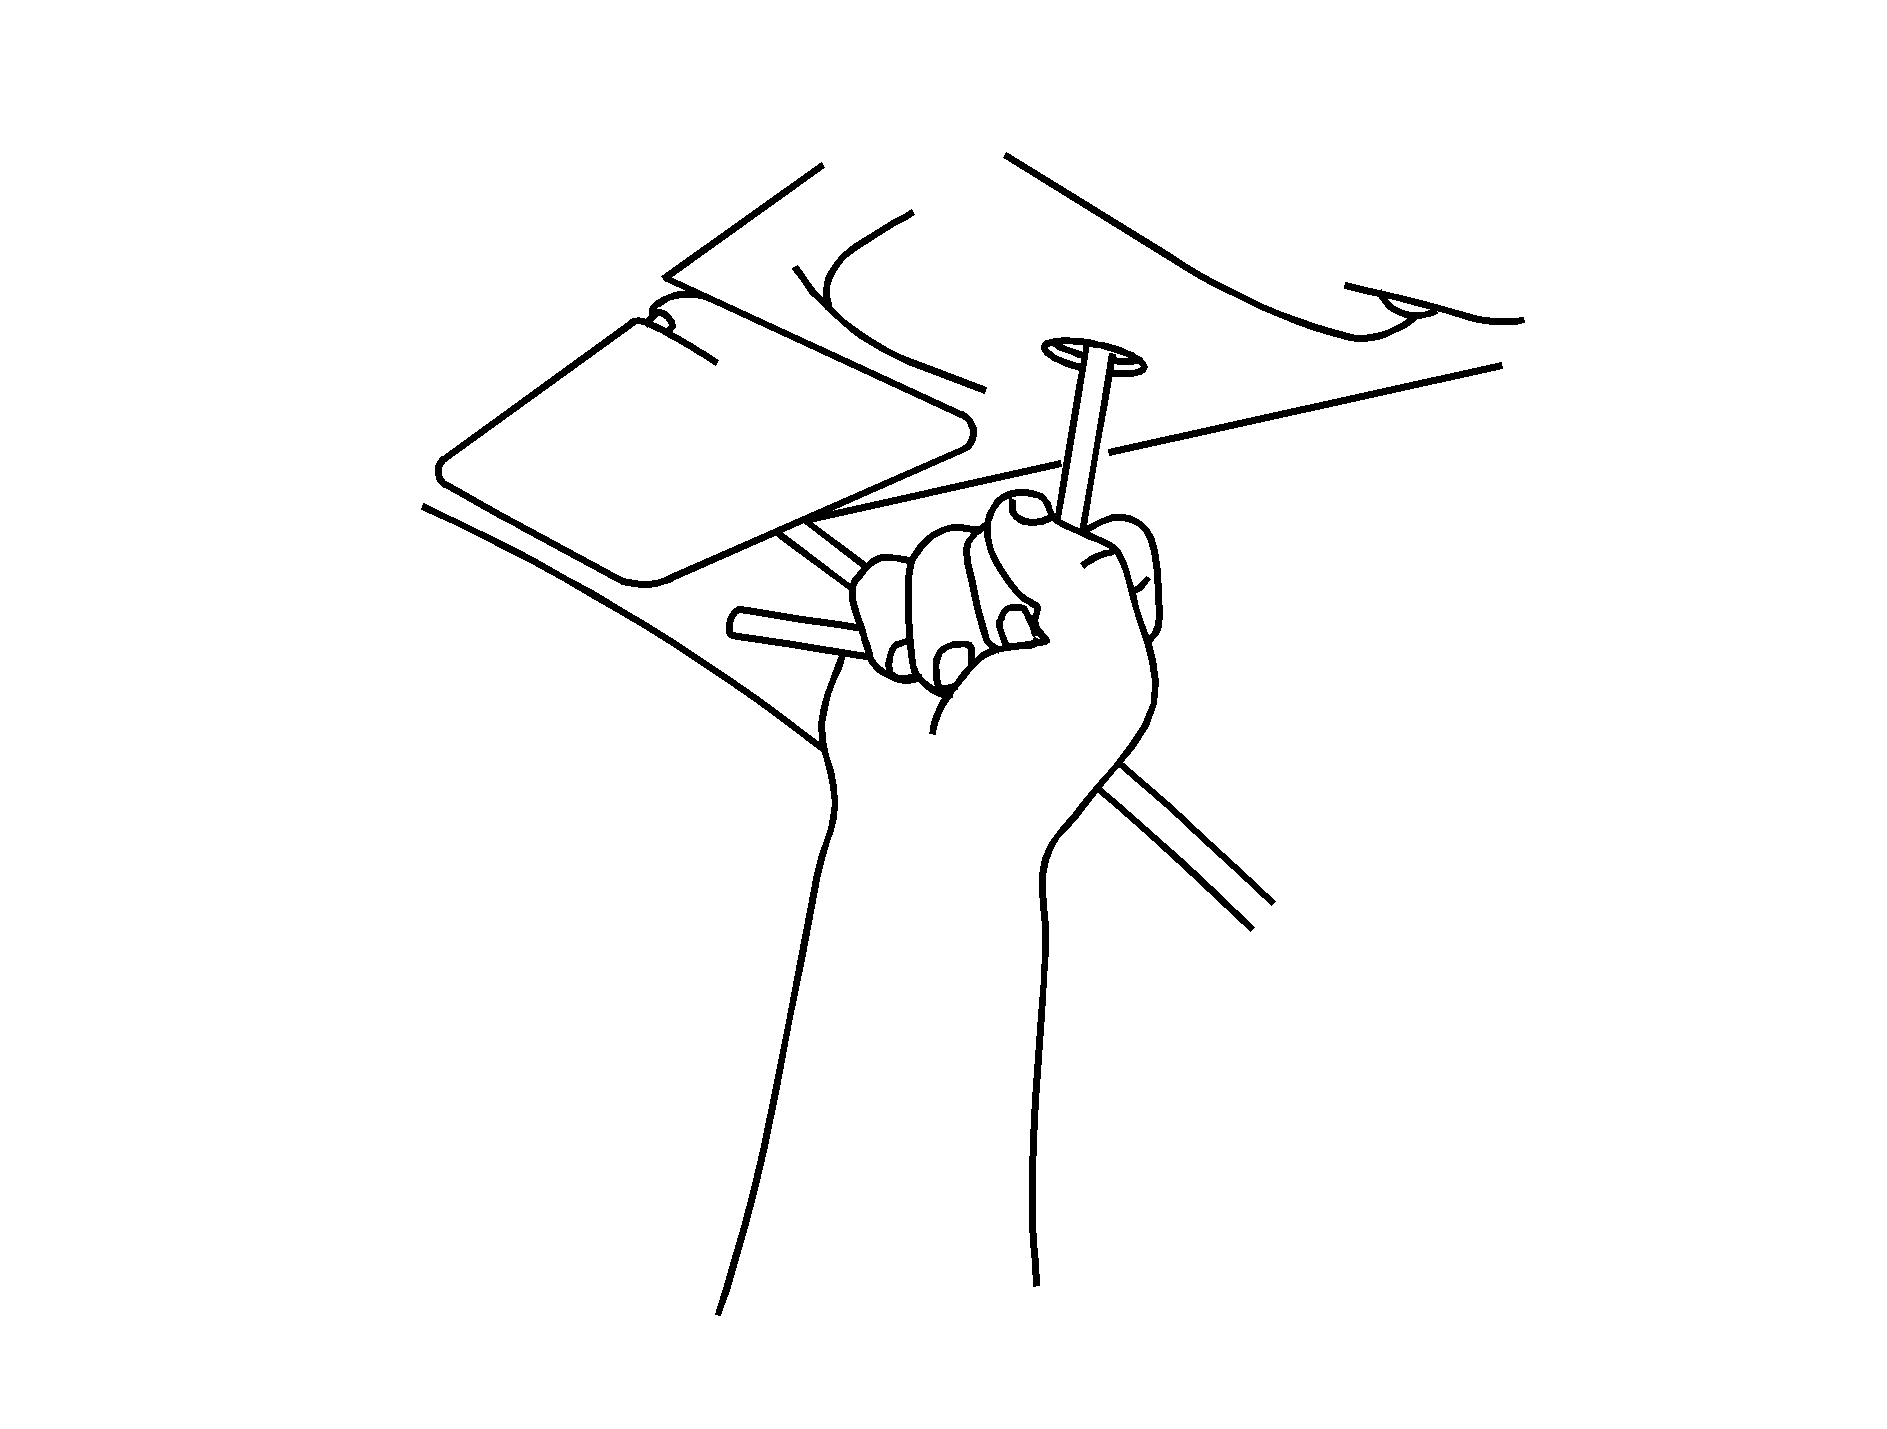
- Insert the convertible top release tool into the latch closing mechanism between the sun visors and turn it counterclockwise until the latches are secured and the convertible top is fully closed.
- From the upright position, push down on the outer area of the boot cover panel where the hinges and hydraulic cylinders are located to separate it from the roof tonneau. Then, continue to push the boot cover panel down as far as it will go.
- Push down on the roof tonneau to close and latch it.
- Using the release tool for the convertible top, hook the tool into the red loop, and pull, latching the tonneau cover.
- Once the roof tonneau is closed and latched, adjust the cables located behind the seats. Pull the cable with the red band until both cables are the same length. Repeat this step on the other side.
- Check the roof tonneau to make sure it is secure before driving.
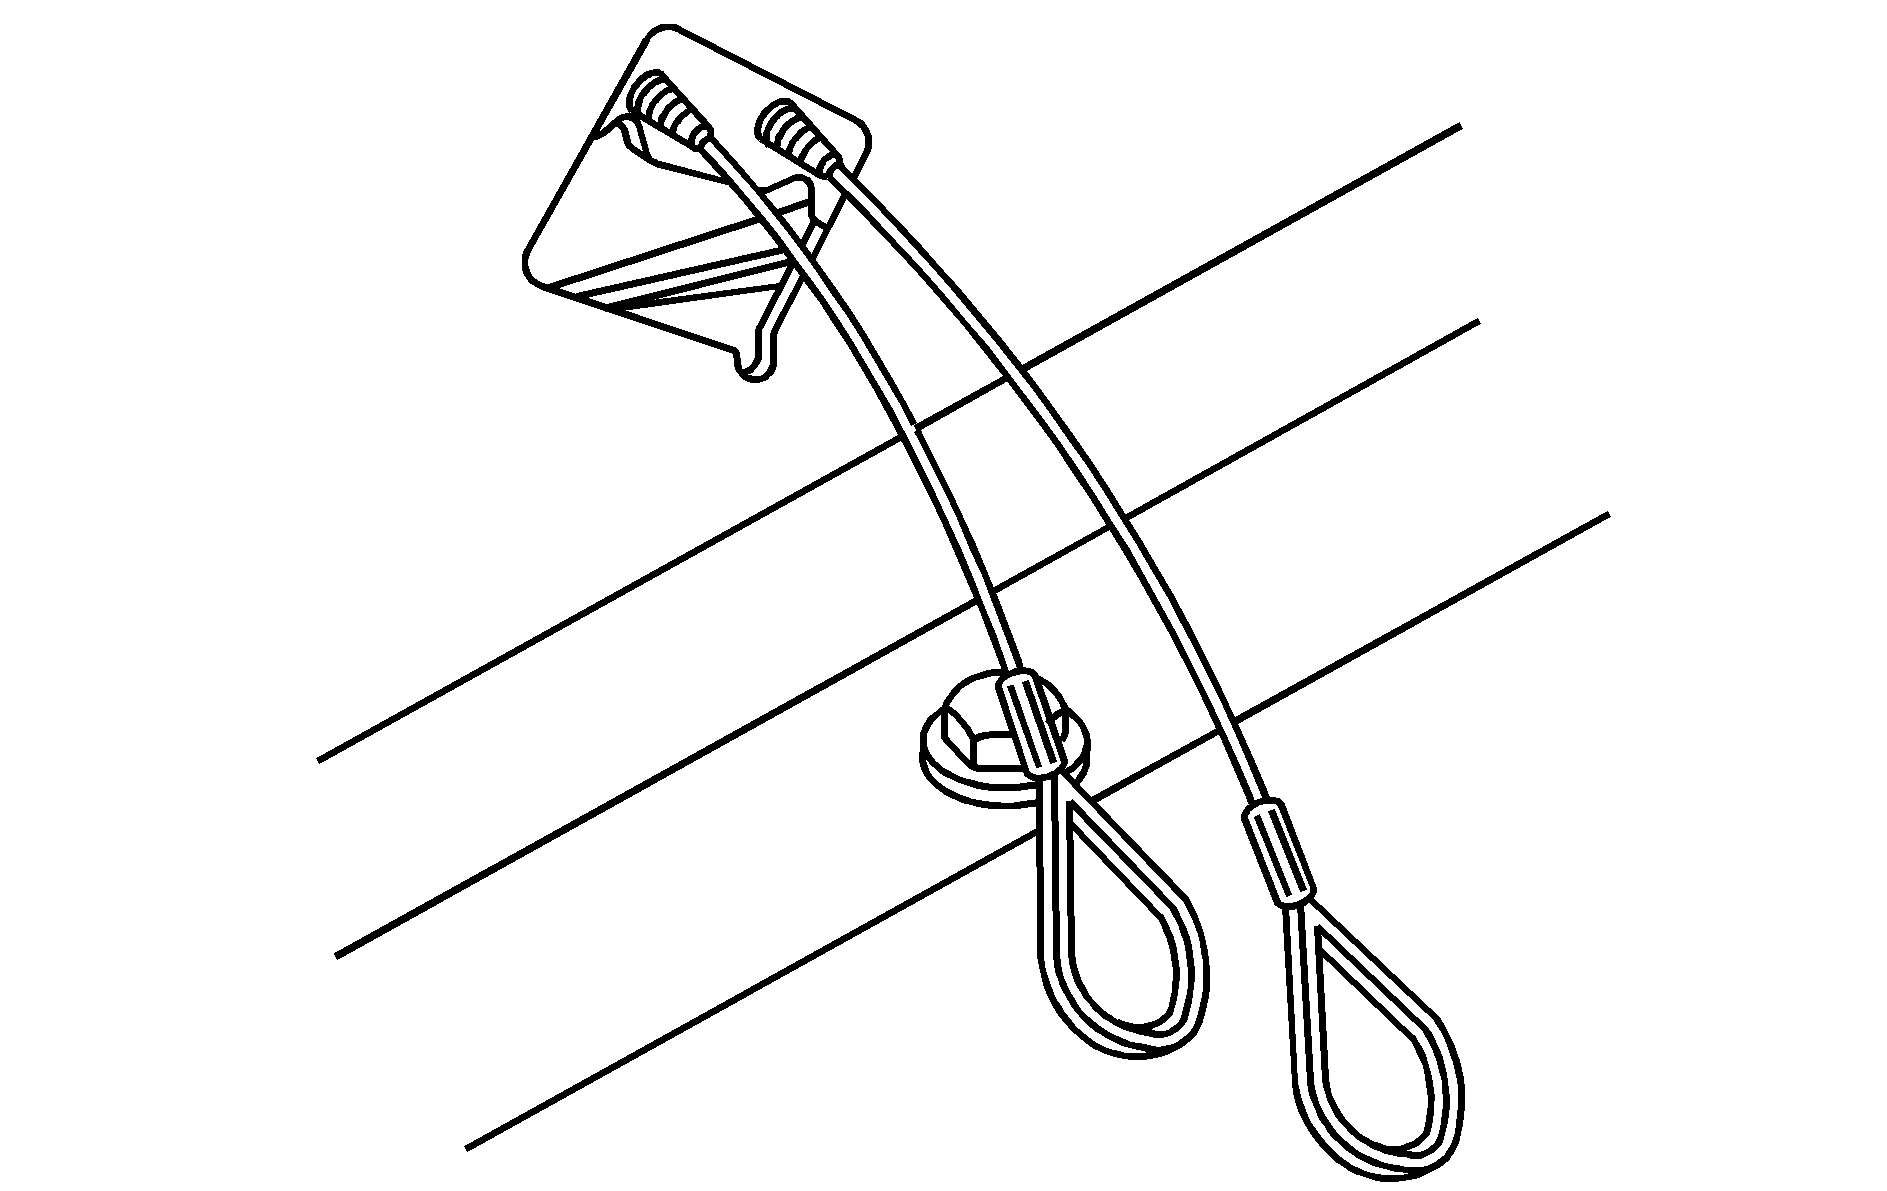
The cable with the green band opens the tonneau latch, and the cable with the red band closes it.
The convertible top release tool may be stored in the glovebox for new vehicles purchased from your GM dealer.
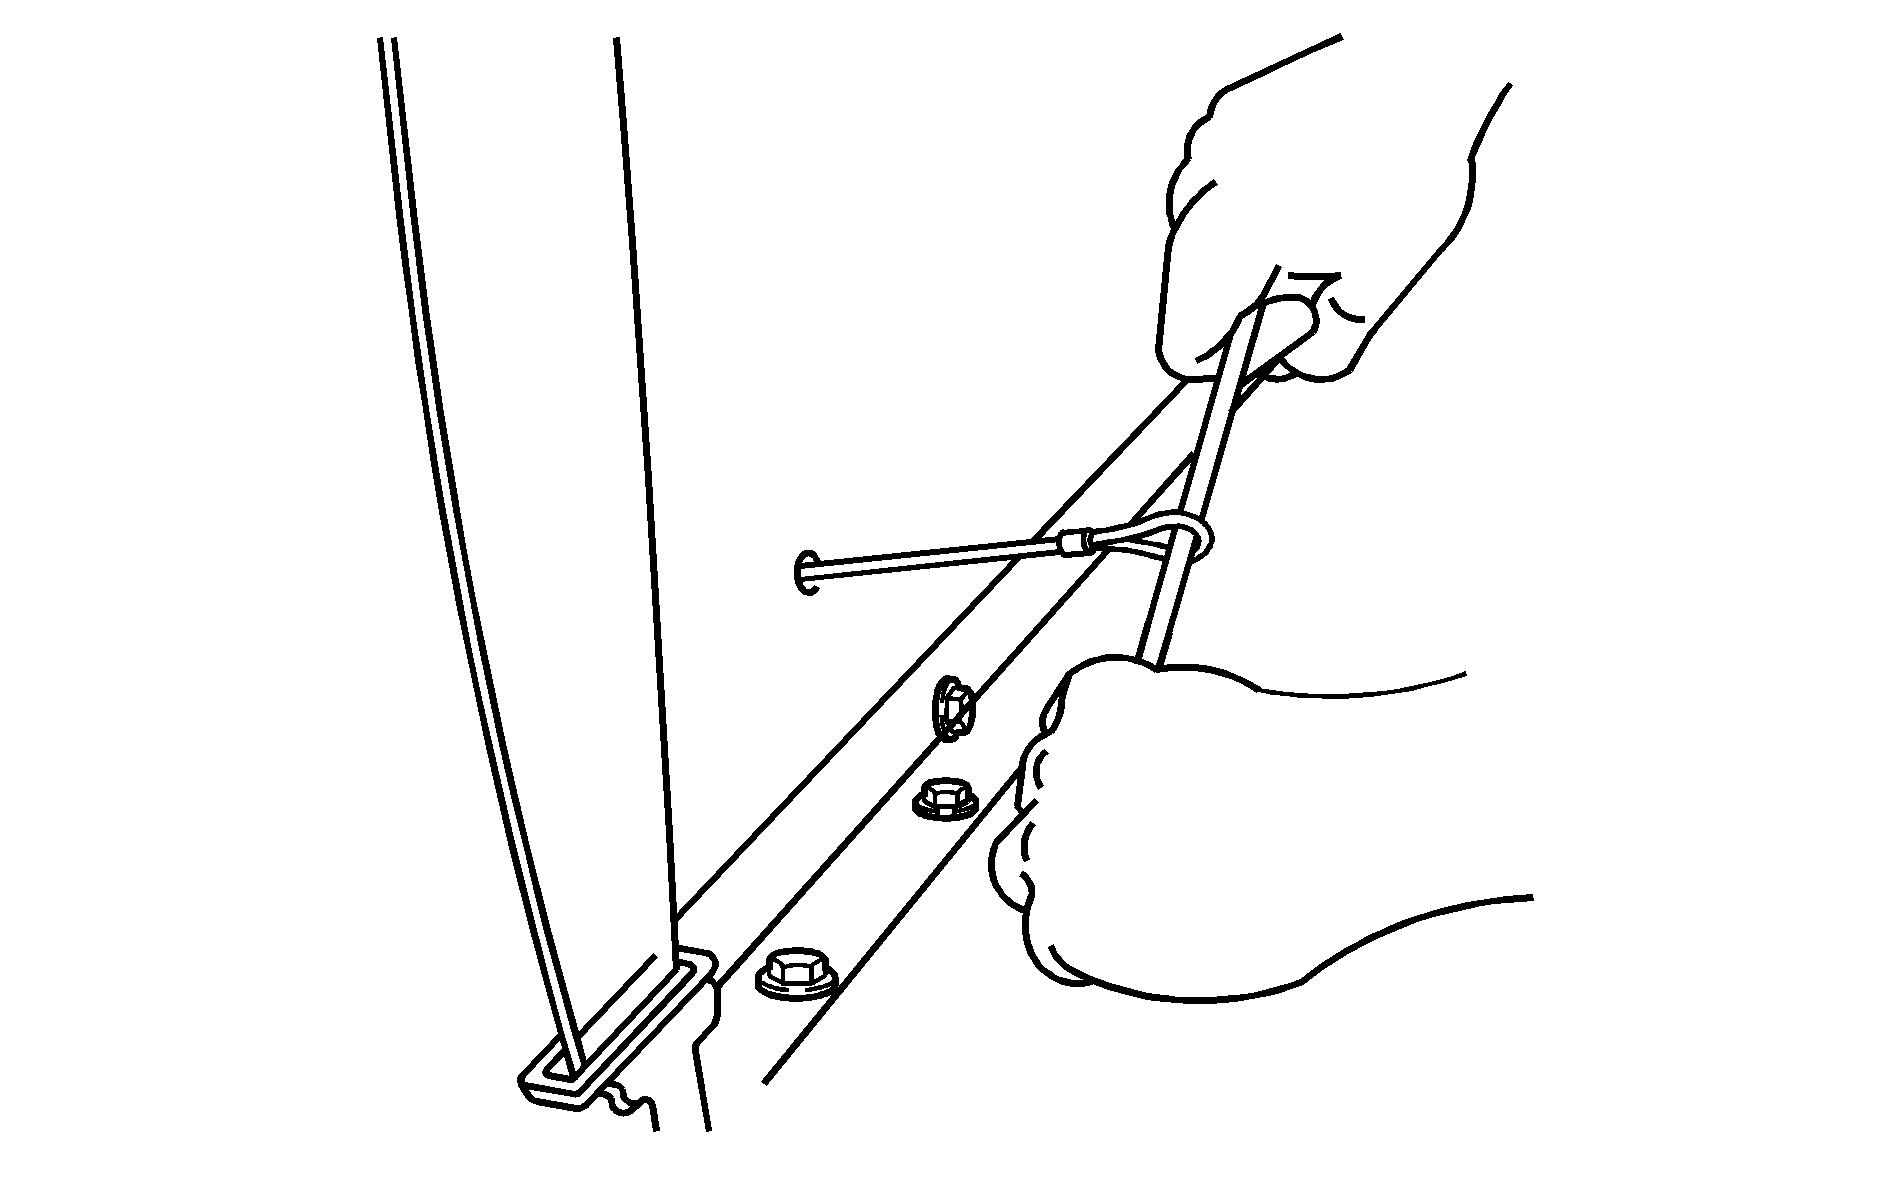
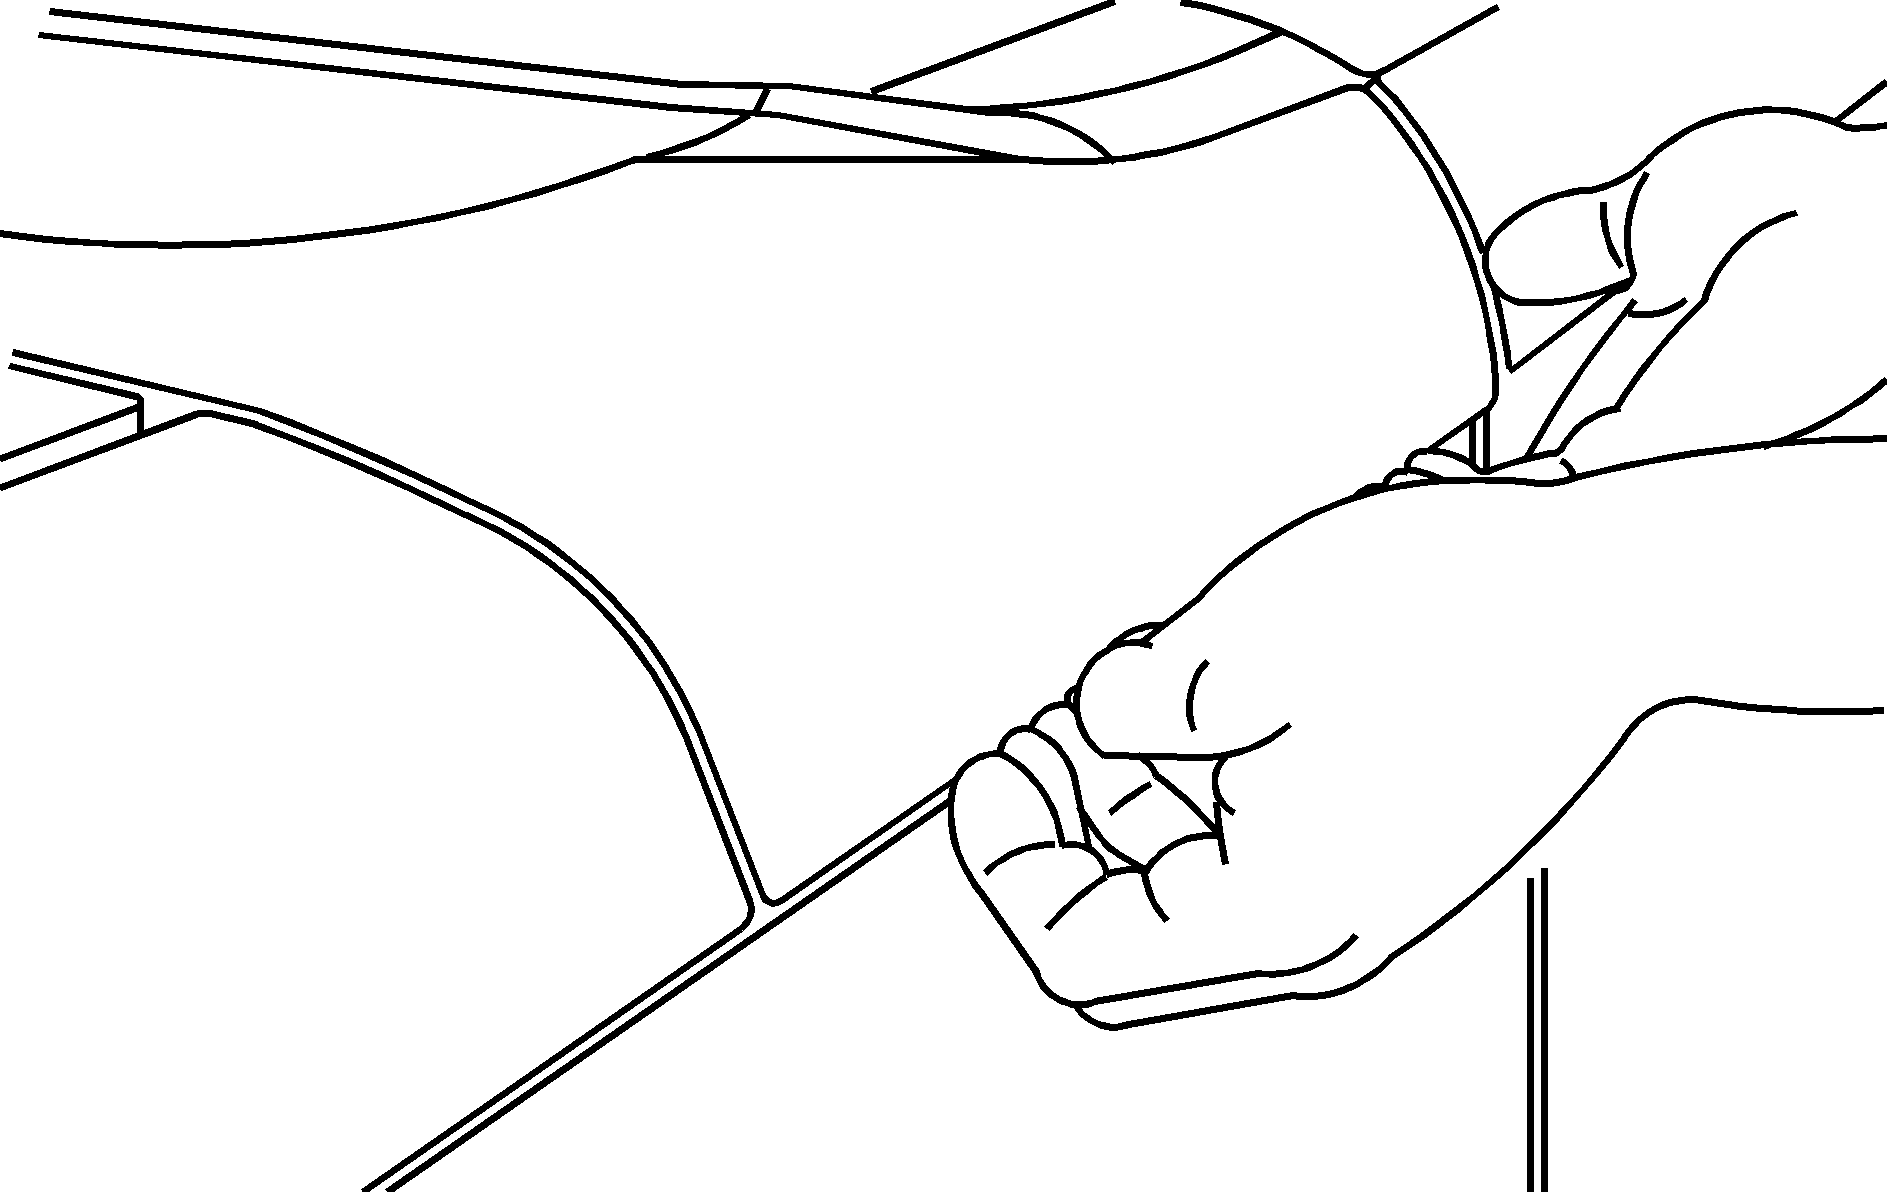
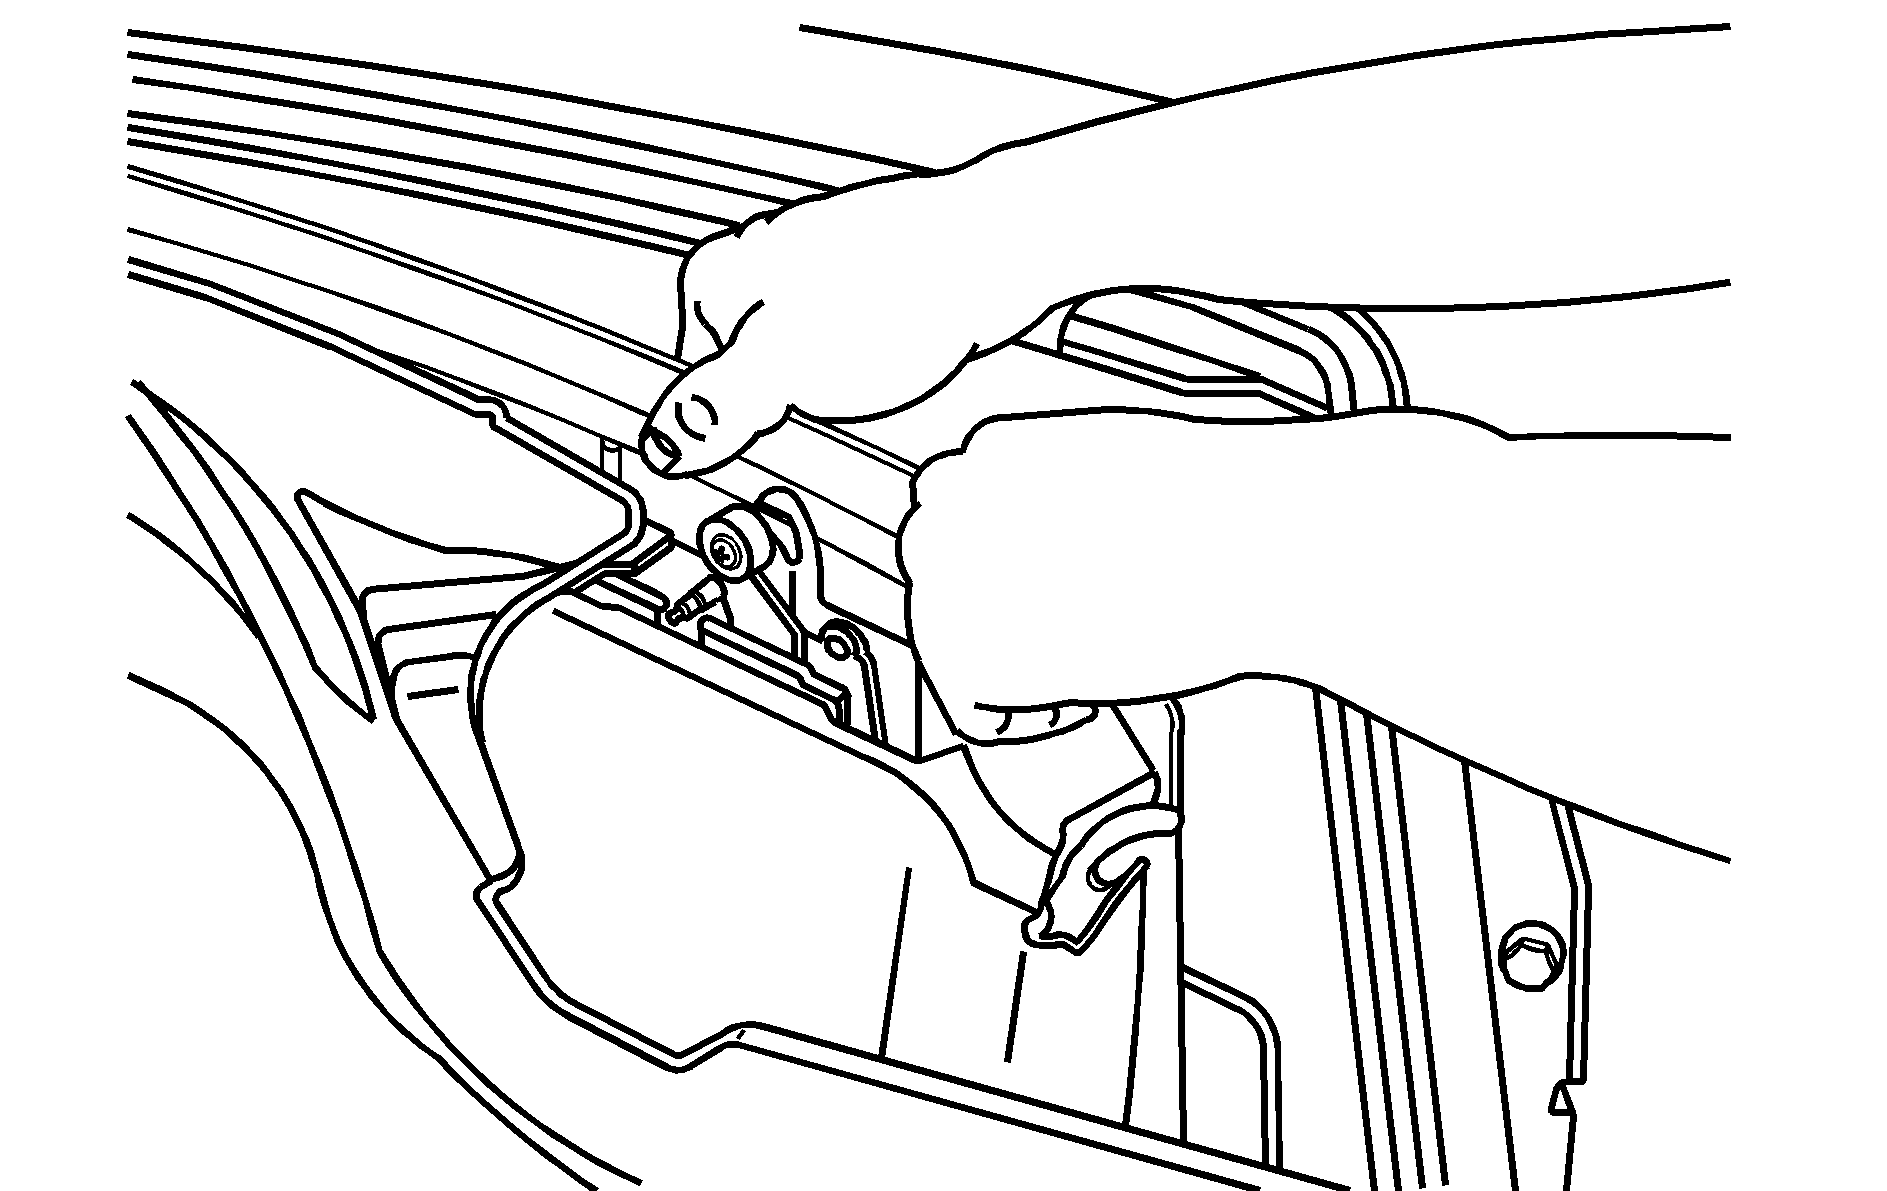
Driver's side latches shown, passenger's side similar
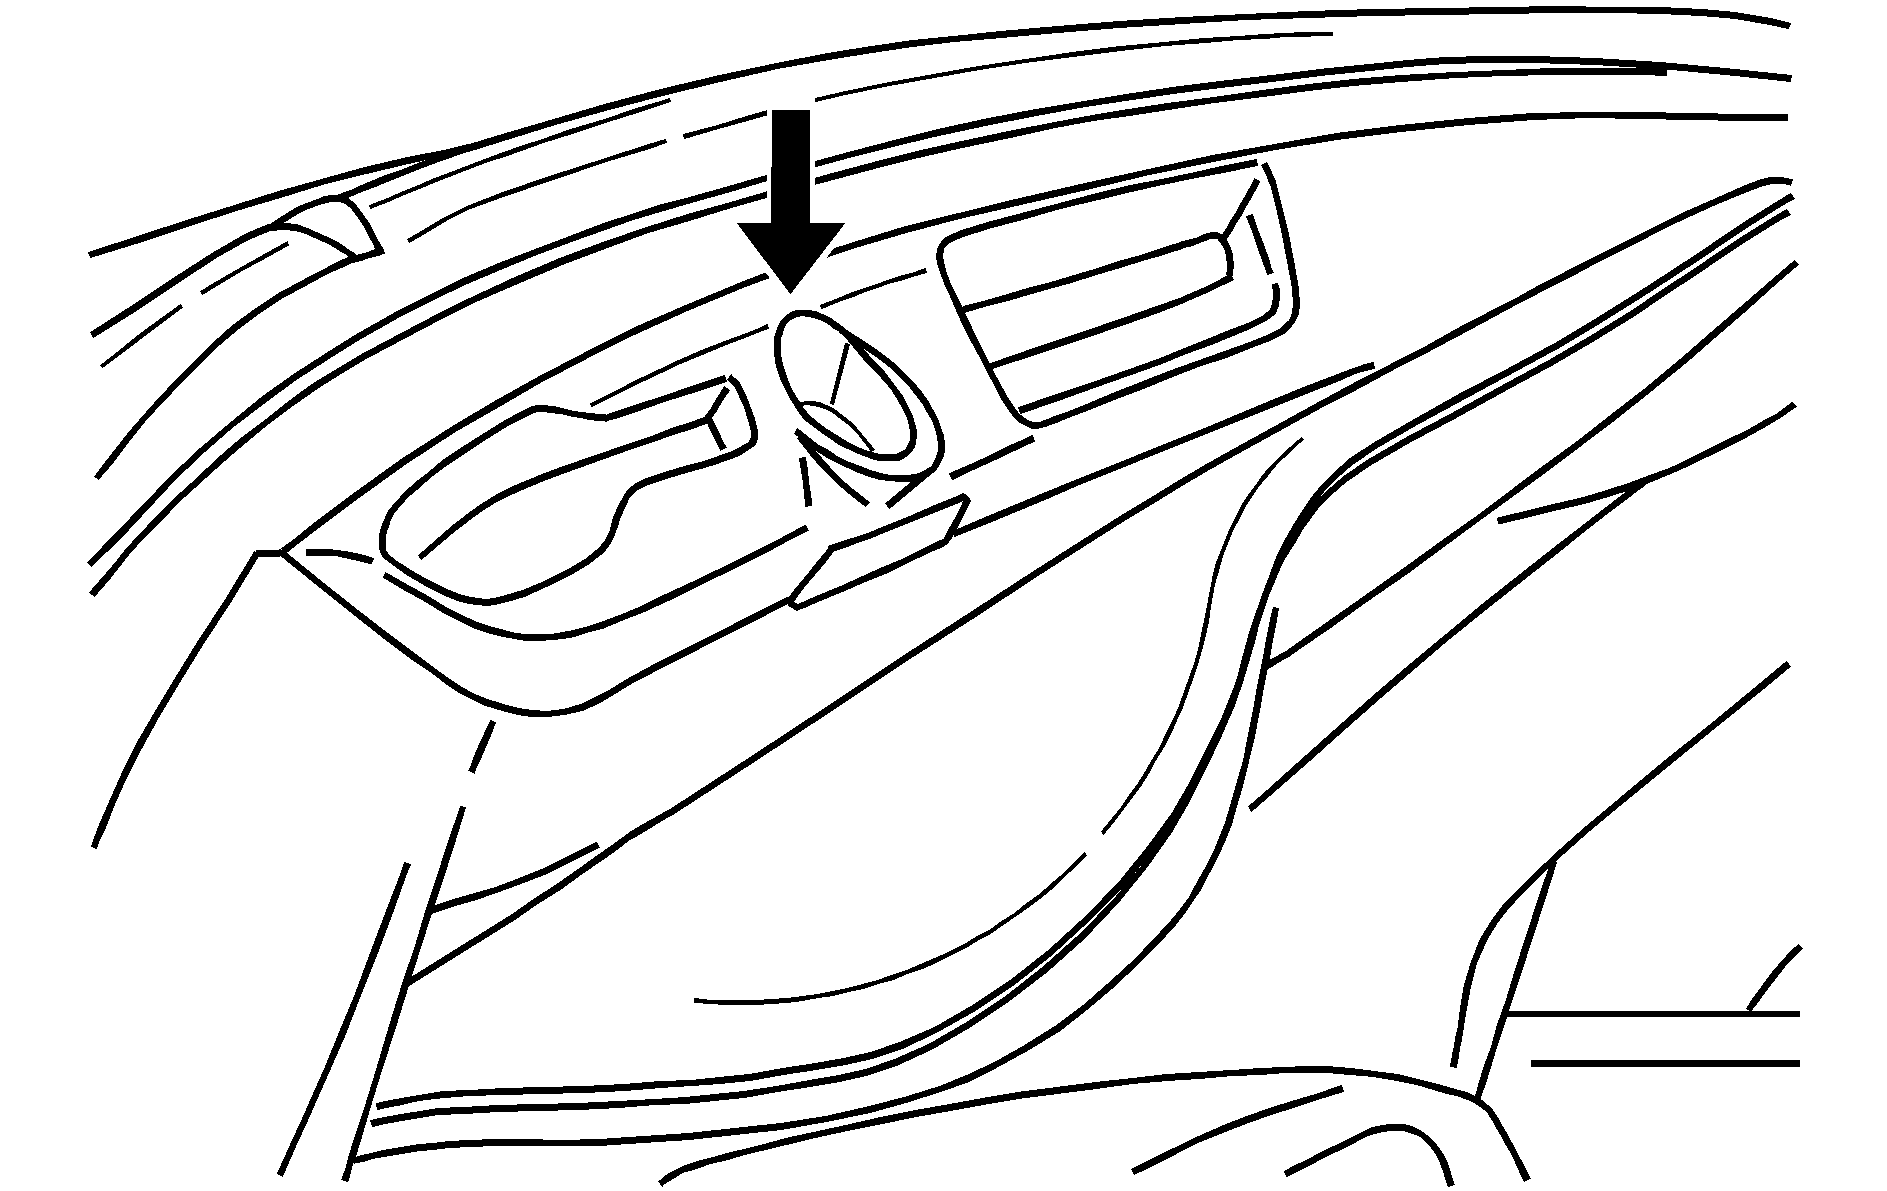
One person should hold the convertible top up from the rear in the closed position while another person performs the next steps.
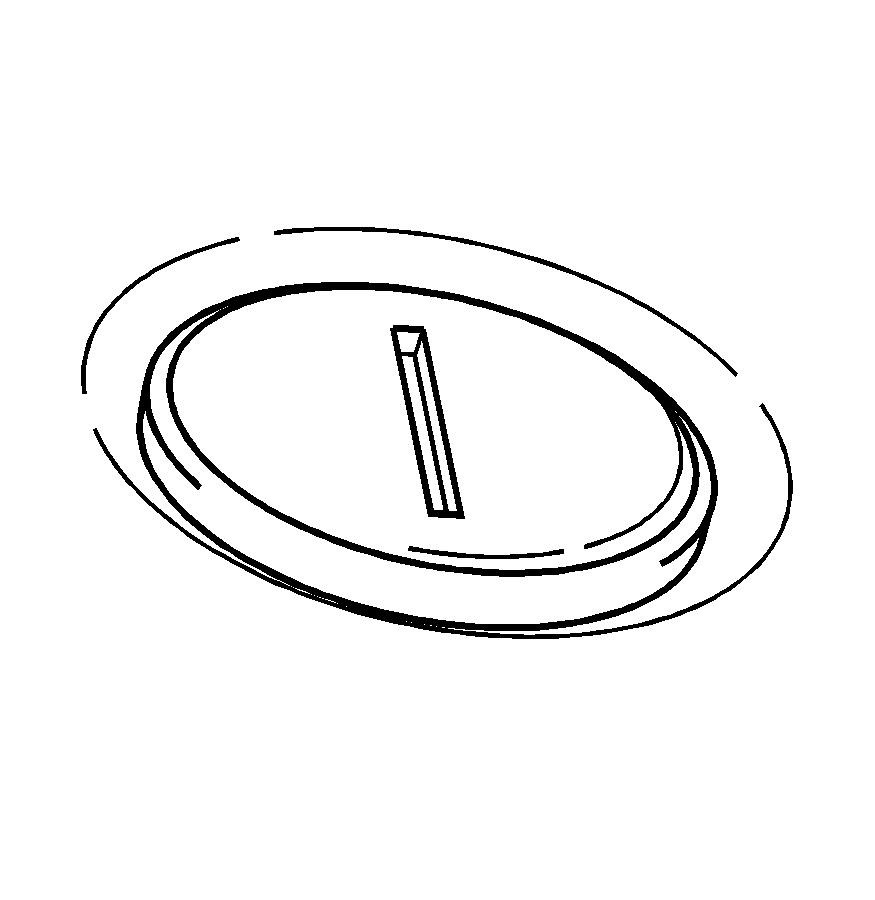
Remove the plastic cap located between the sun visors by turning it one quarter turn.
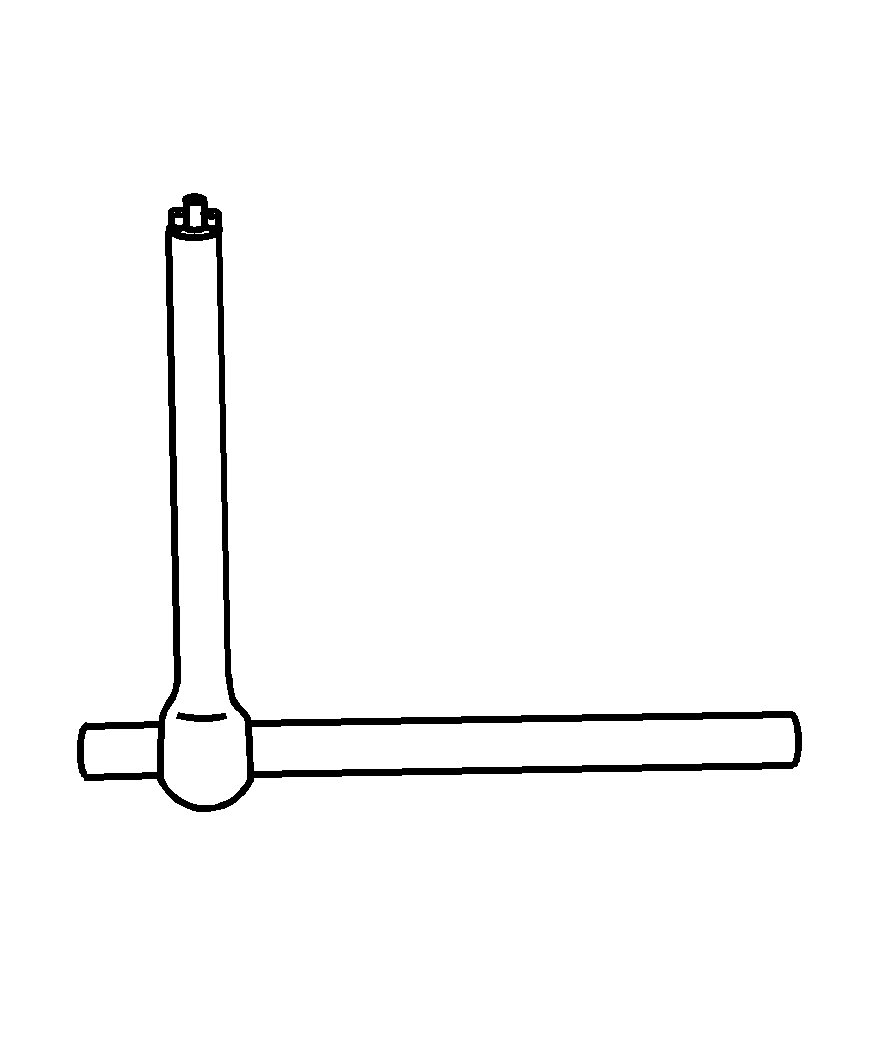
Slide the tool side of the convertible release tool until the entire tool forms a right angle as shown.
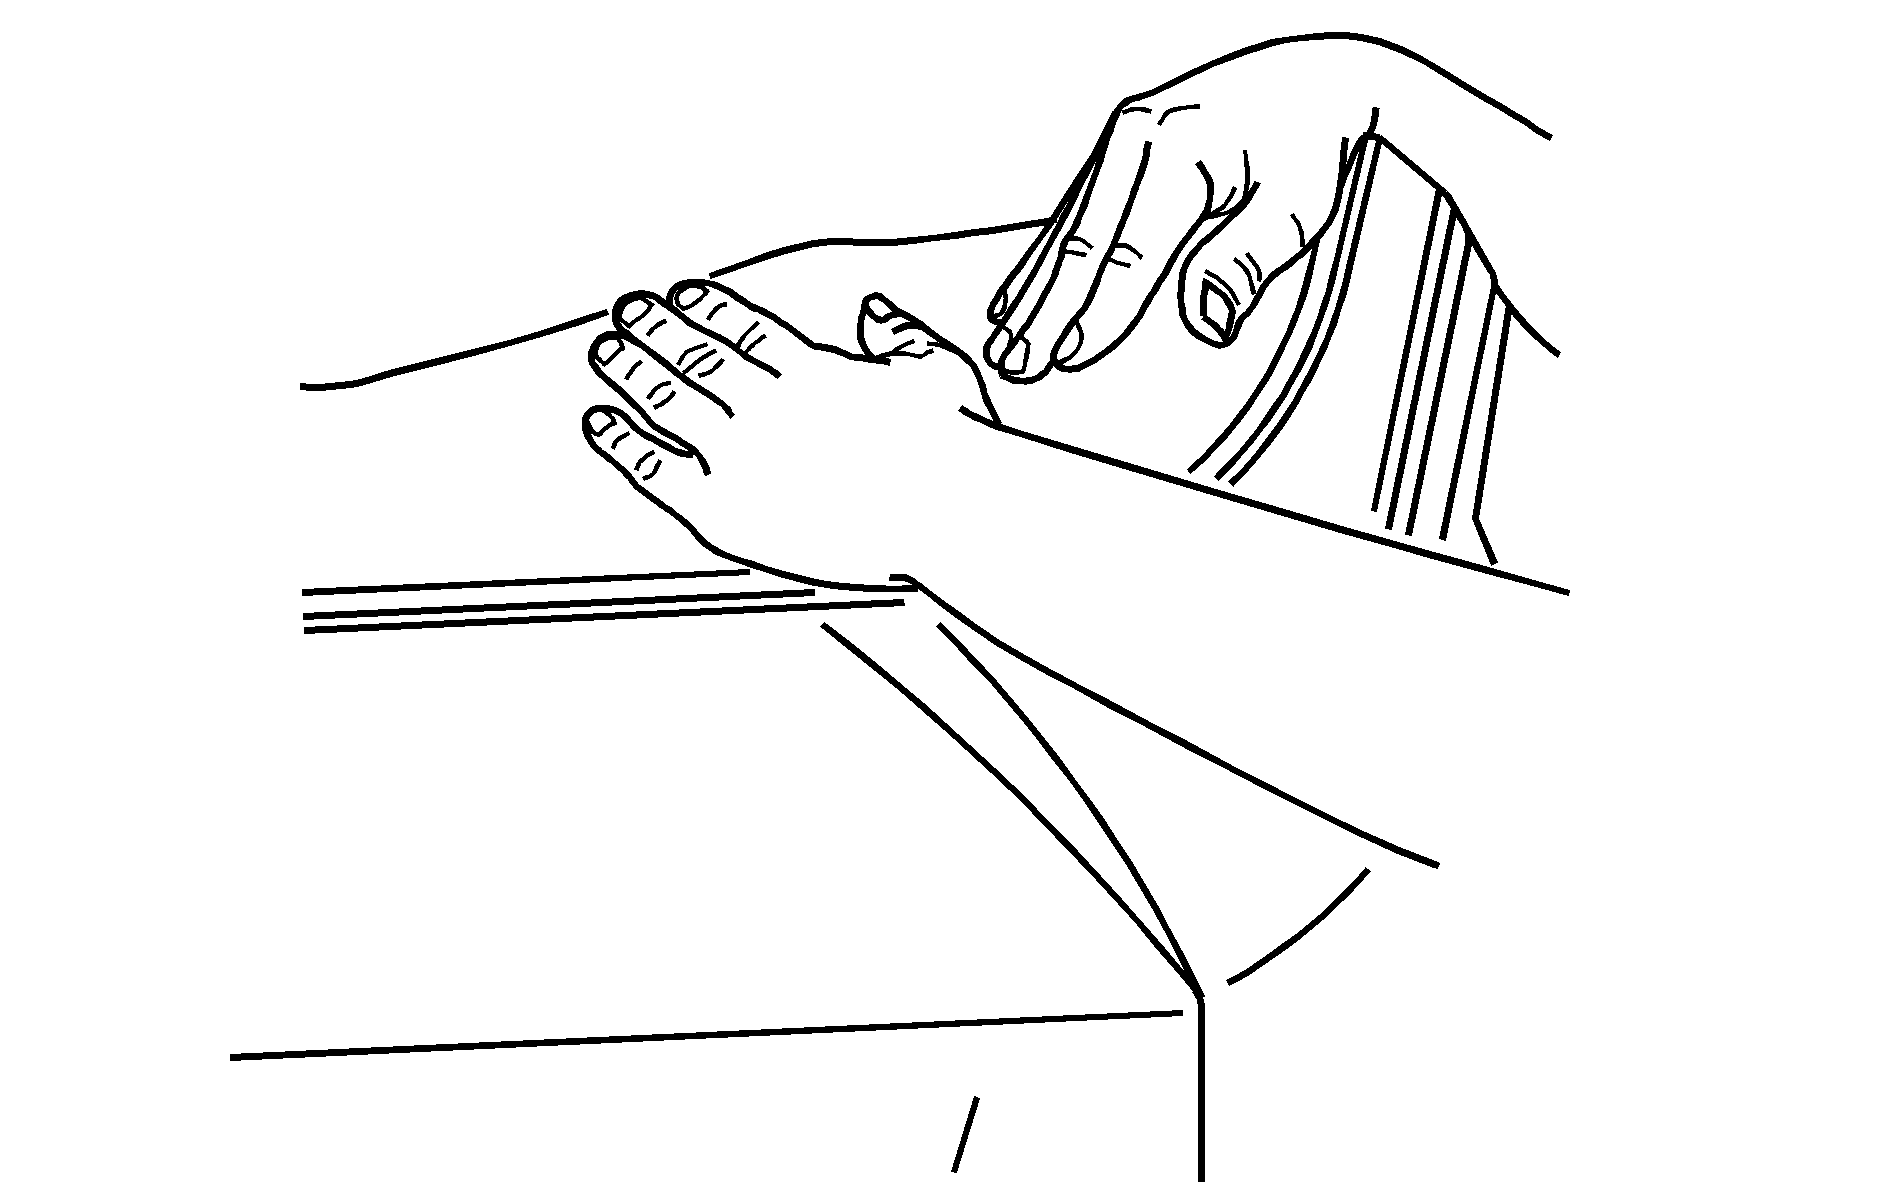
Boot cover panel down, roof tonneau up
