SMU - Revised Transmission Replacement Procedure

| Subject: | Revised Transmission Replacement Procedure |
| Models: | 2005 Chevrolet SSR |
This bulletin is being issued to revise the Transmission Replacement procedure in the Manual Transmission sub-section of the Service Manual. Please replace the current information in the Service Manual with the following information.
The following information has been updated within SI. If you are using a paper version of this Service Manual, please make a reference to this bulletin on the affected page.
Transmission Replacement
Removal Procedure
- Remove the shift lever. Refer to Console Shift Lever Bezel Replacement.
- Raise the vehicle. Refer to Lifting and Jacking the Vehicle in General Information.
- Disconnect the negative battery cable. Refer to Battery Negative Cable Disconnect/Connect Procedure in Engine Electrical.
- Drain the transmission.
- Remove the propeller shaft. Refer to Propeller Shaft Replacement in Propeller Shaft.
- Disconnect the electrical connectors on the transmission and relocate to the side.
- Remove the starter. Refer to Starter Motor Replacement in Engine Electrical.
- Remove the inspection shield. Refer to Starter Shield Replacement in Engine Electrical.
- Remove the catalytic convertors. Refer to Catalytic Converter Replacement in Engine Exhaust.
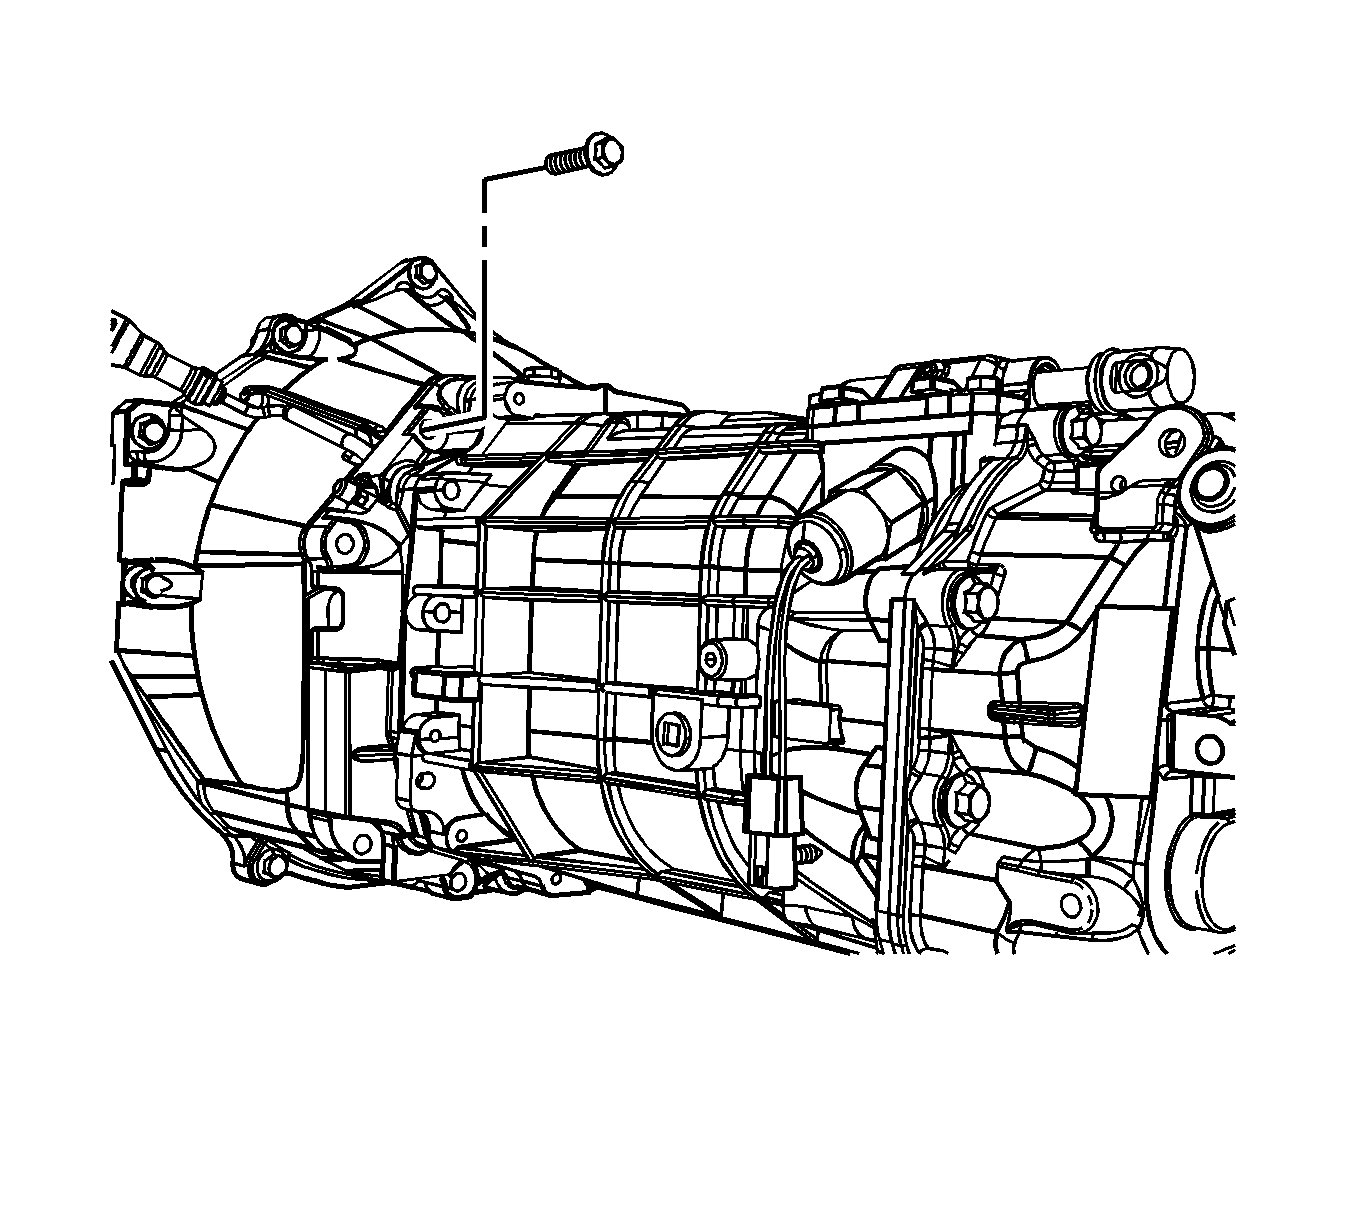
- Remove the bolts from the transmission to the clutch housing.
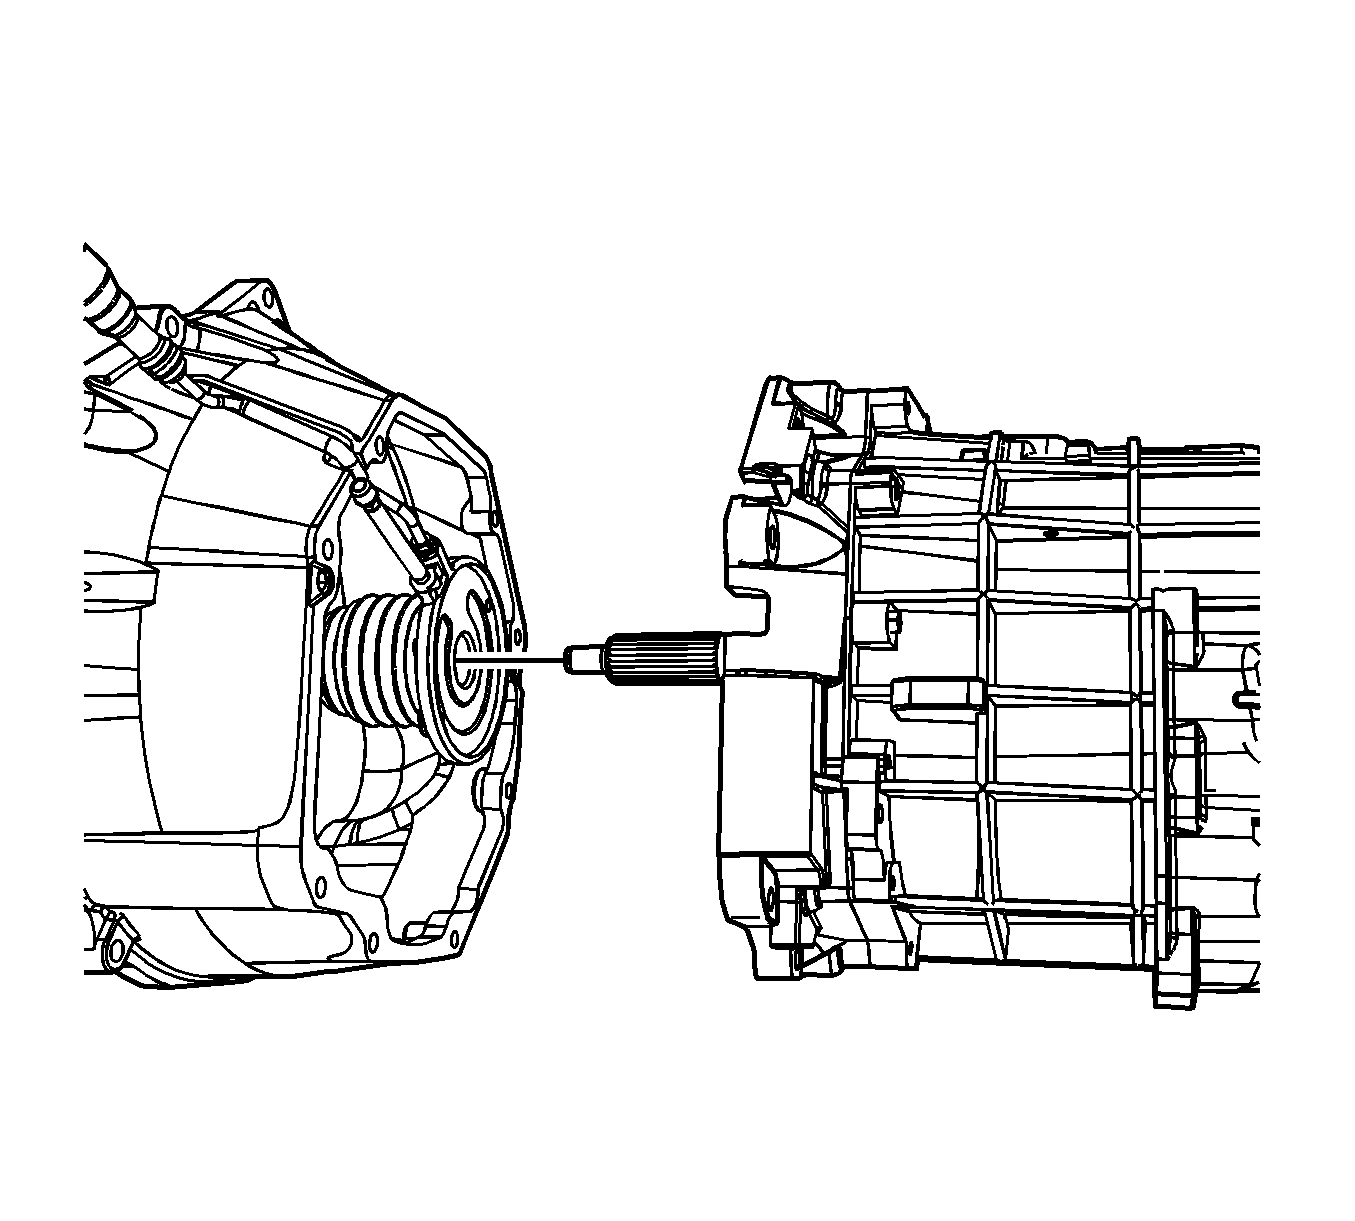
- Carefully separate the transmission approximately 1.5 inches (3.8 CM) from the clutch housing.
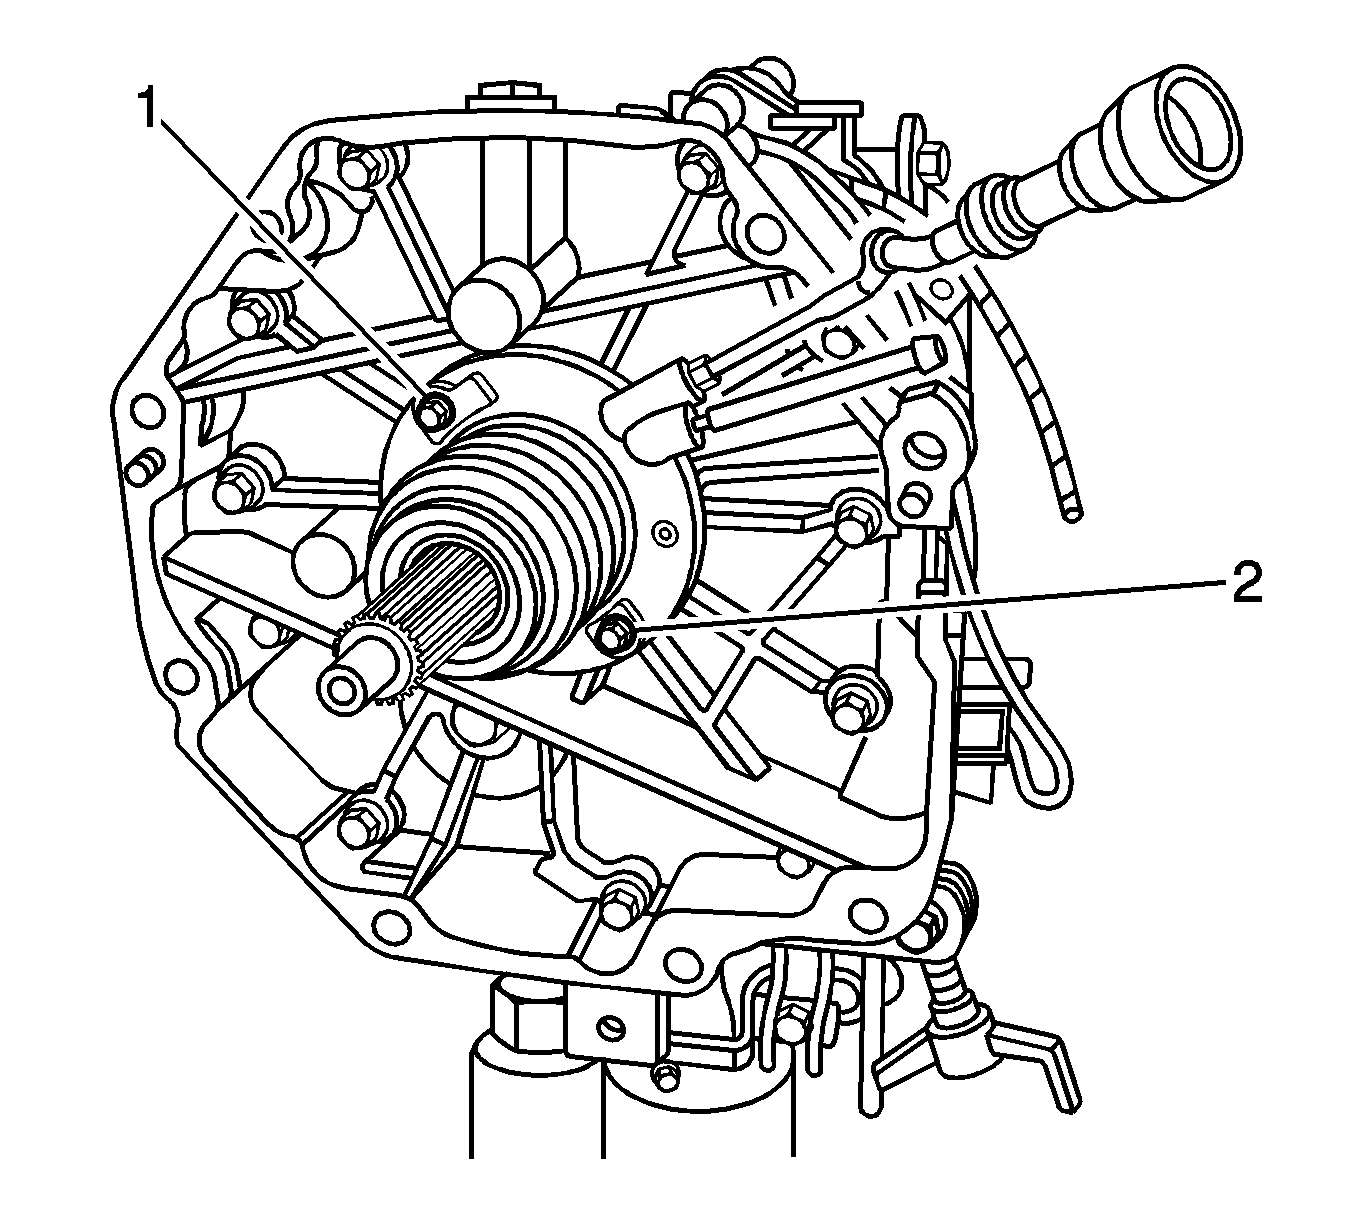
- Remove the bolts (1, 2) securing the concentric slave cylinder to the transmission.
- Remove the transmission. Ensure the concentric slave cylinder does not bind on the input shaft during removal.
Important : When supporting the transmission, always use a safety chain or strap.


Graphic shows transmission for clarity. Additional clearance between the transmission and clutch housing may be achieved by continuing to separate the transmission from the clutch housing as the bolts are being removed.

Installation Procedure
- Partially install the transmission until the concentric slave cylinder bolts can be installed.
- Install the concentric slave cylinder bolts (1, 2).
- Install the transmission until flush with the clutch housing.
- Tighten the transmission to the clutch housing bolts.
- Remove the transmission jack.
- Connect the electrical connectors on the transmission.
- Install the inspection shield. Refer to Starter Shield Replacement in Engine Electrical.
- Install the starter. Refer to Starter Motor Replacement in Engine Electrical.
- Install the catalytic convertors. Refer to Catalytic Converter Replacement in Engine Exhaust.
- Install the propeller shaft. Refer to Propeller Shaft Replacement in Propeller Shaft.
- Fill the transmission with fluid. Refer to Transmission Fluid Replacement.
- Connect the negative battery cable. Refer to Battery Negative Cable Disconnect/Connect Procedure in Engine Electrical.
- Lower the vehicle.
- Install the shift lever. Refer to Console Shift Lever Bezel Replacement.
- Connect the hydraulic hose to the clutch actuator cylinder.


Notice: Refer to Fastener Notice.
Graphic shows transmission removed for clarity.
Tighten
Tighten the concentric slave cylinder bolts to 12 N·m (106 lb in).

Tighten
Tighten the retaining bolts to 50 N·m (37 lb ft).
