For 1990-2009 cars only
Removal Procedure
- Raise the vehicle. Refer to Lifting and Jacking the Vehicle in General Information.
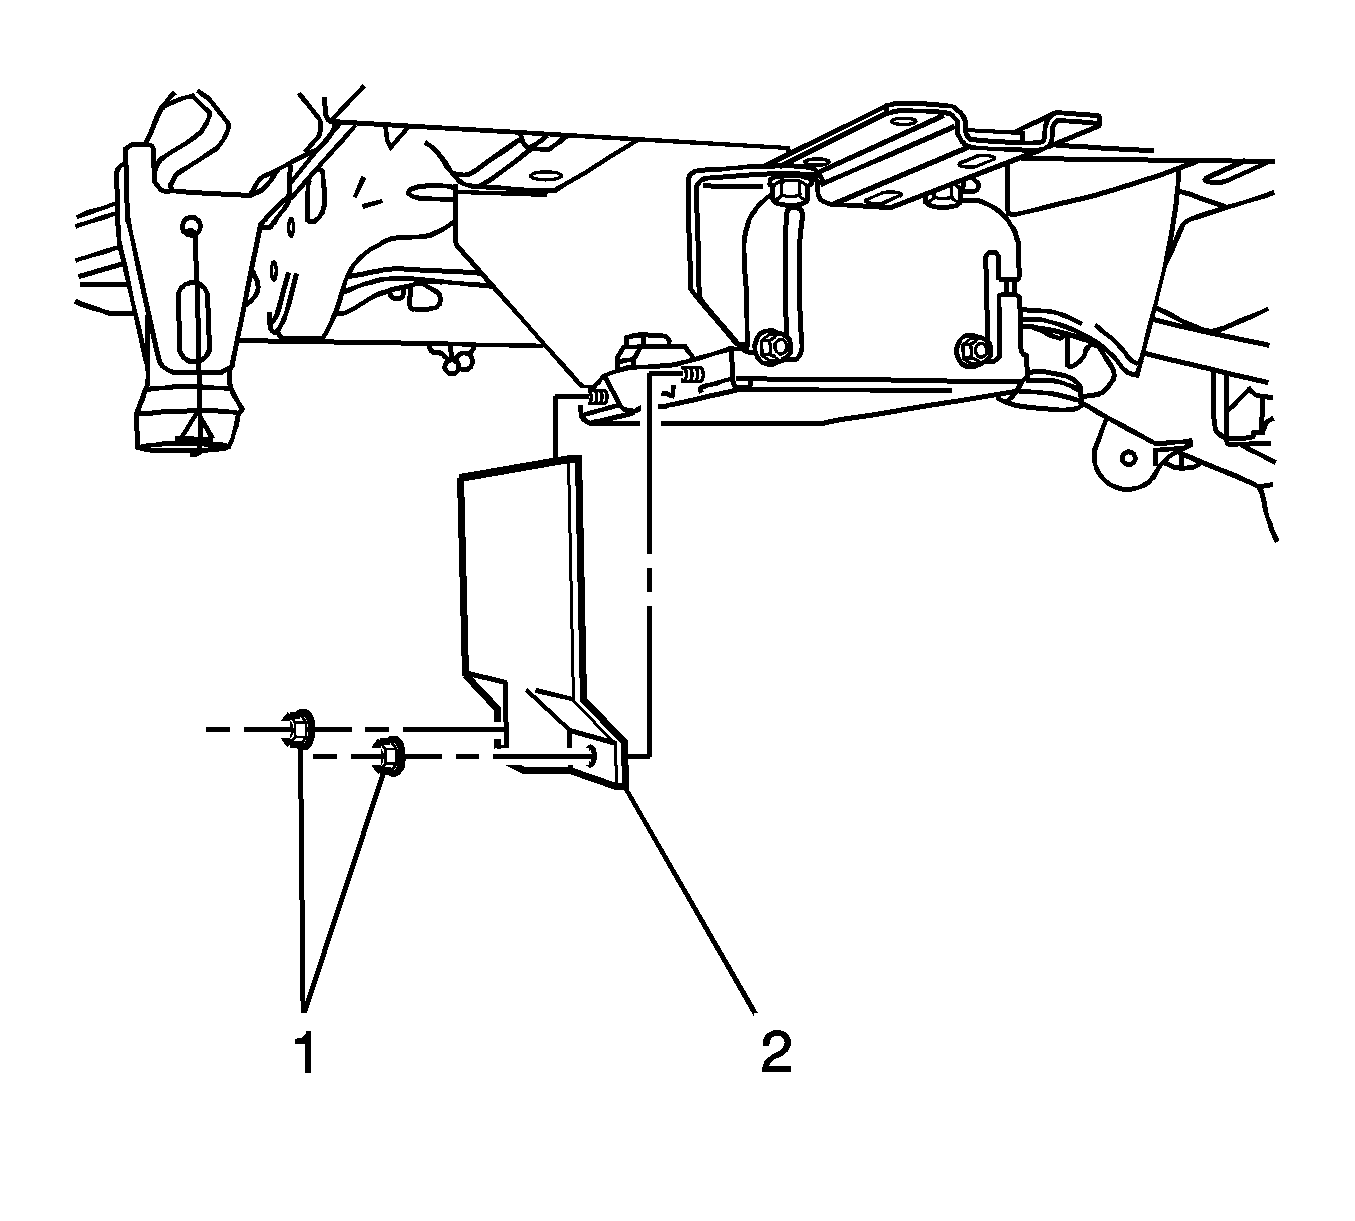
- Remove the rear battery cover nuts (1) and cover (2).
- Disconnect the negative and positive battery cables.
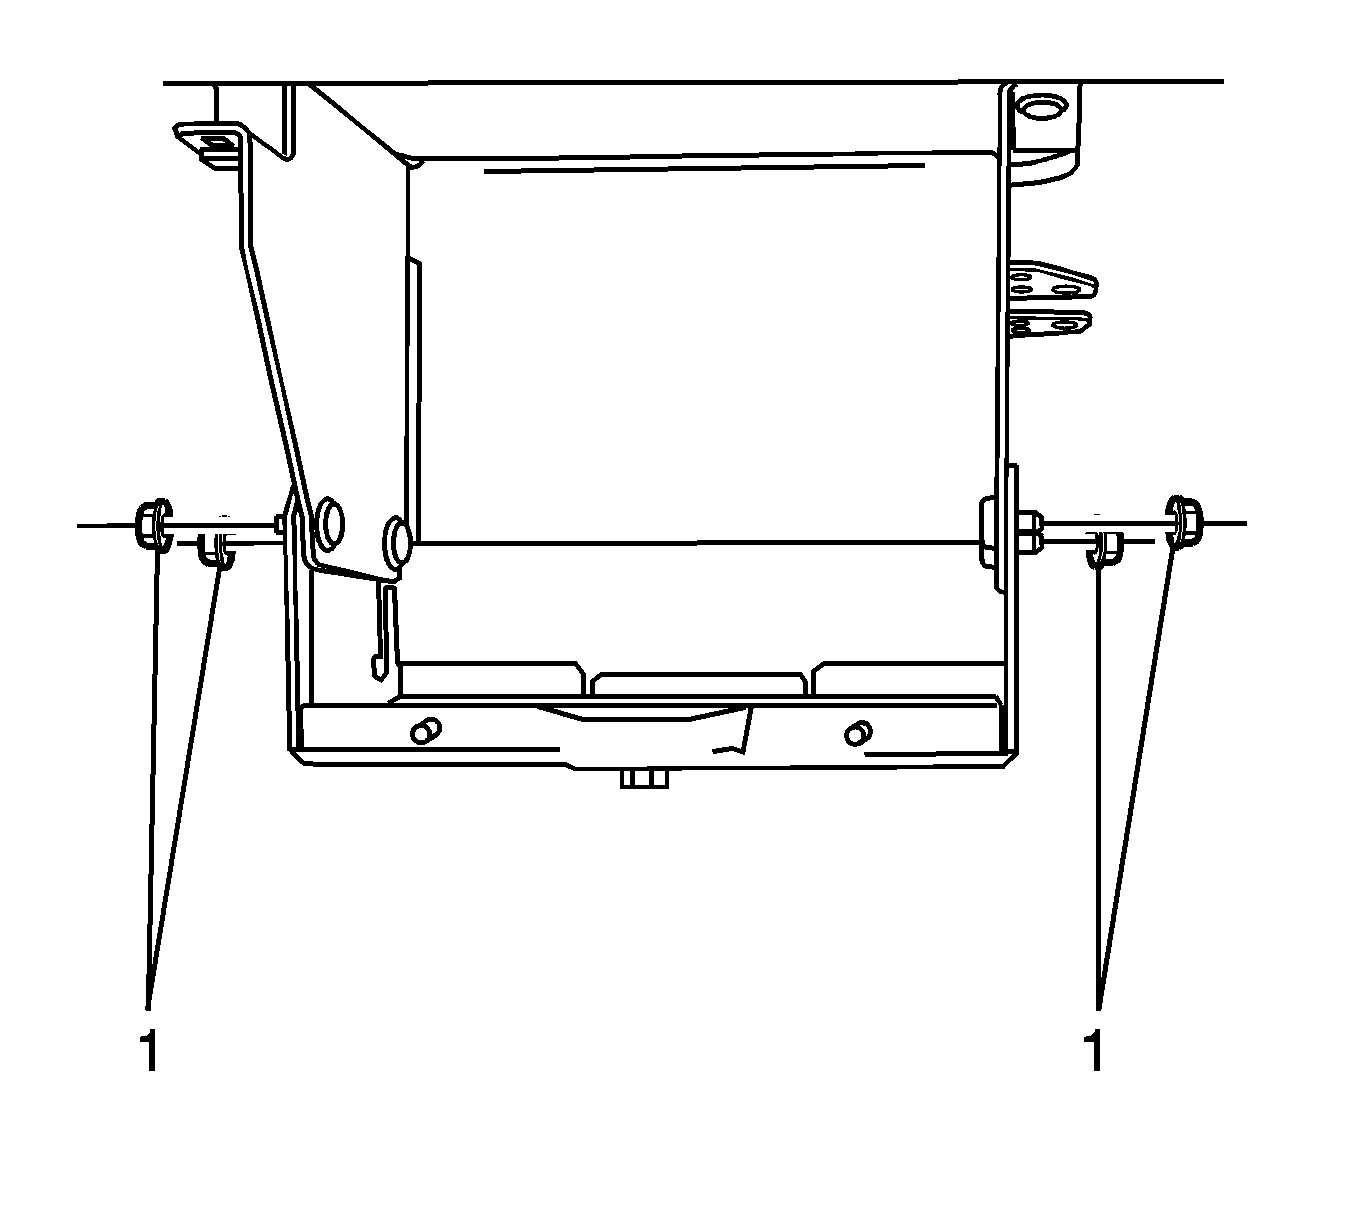
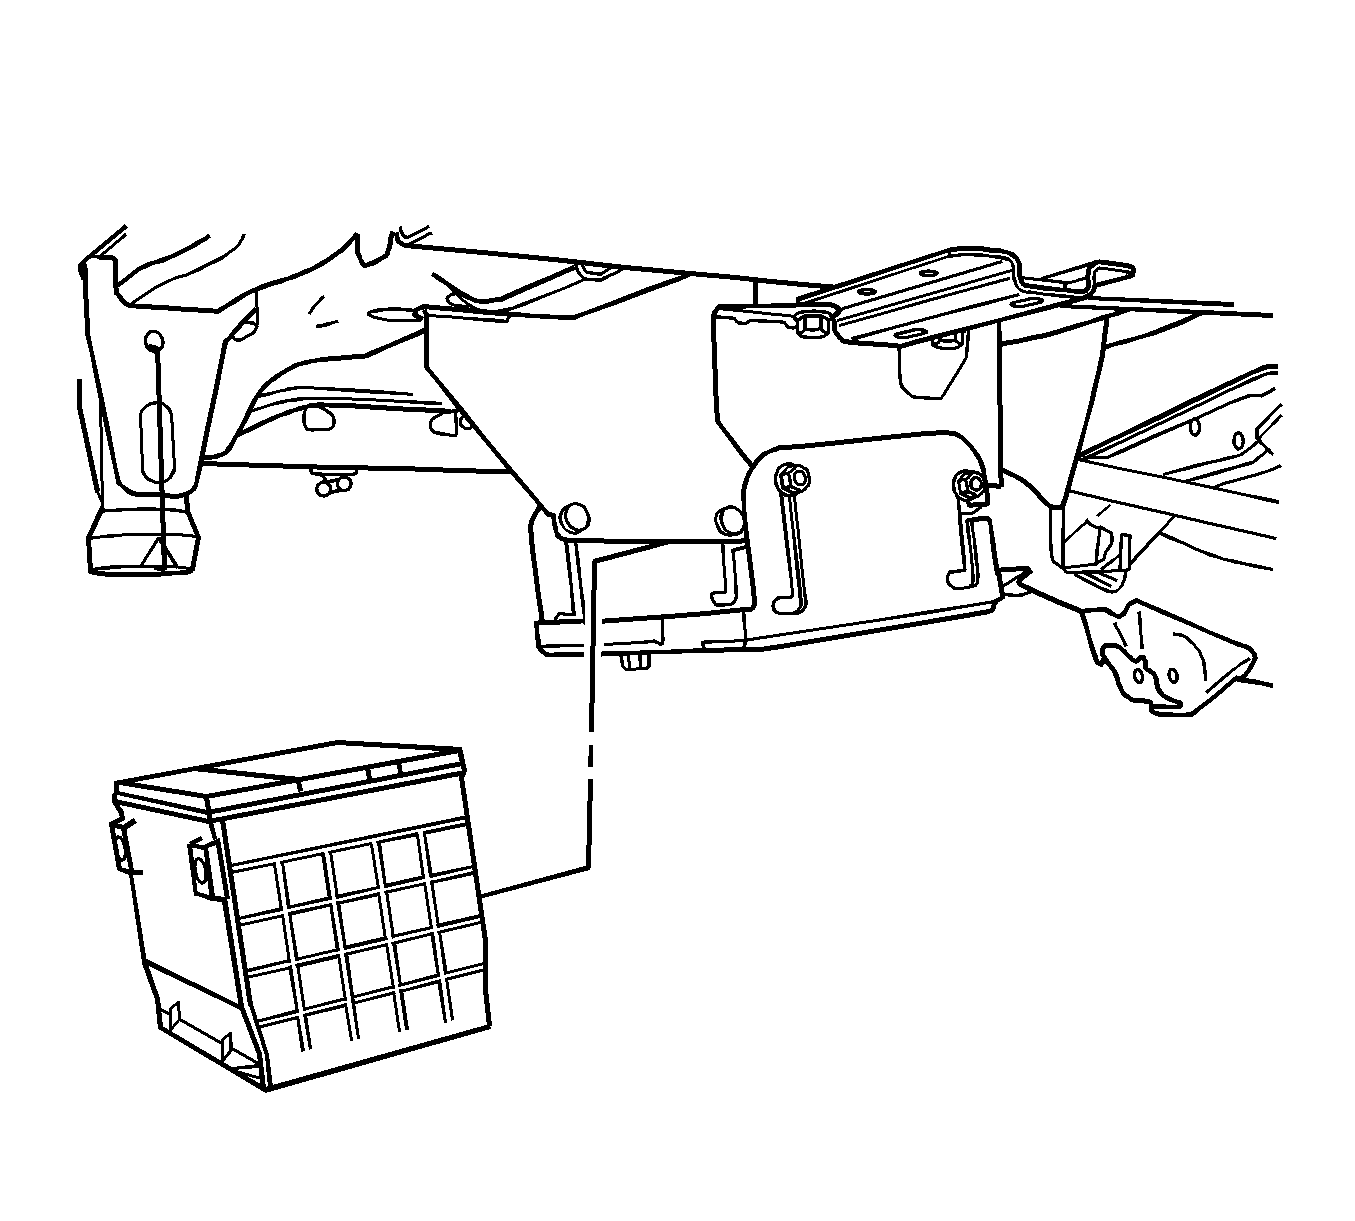
- Loosen the lower battery box slide nuts (1).
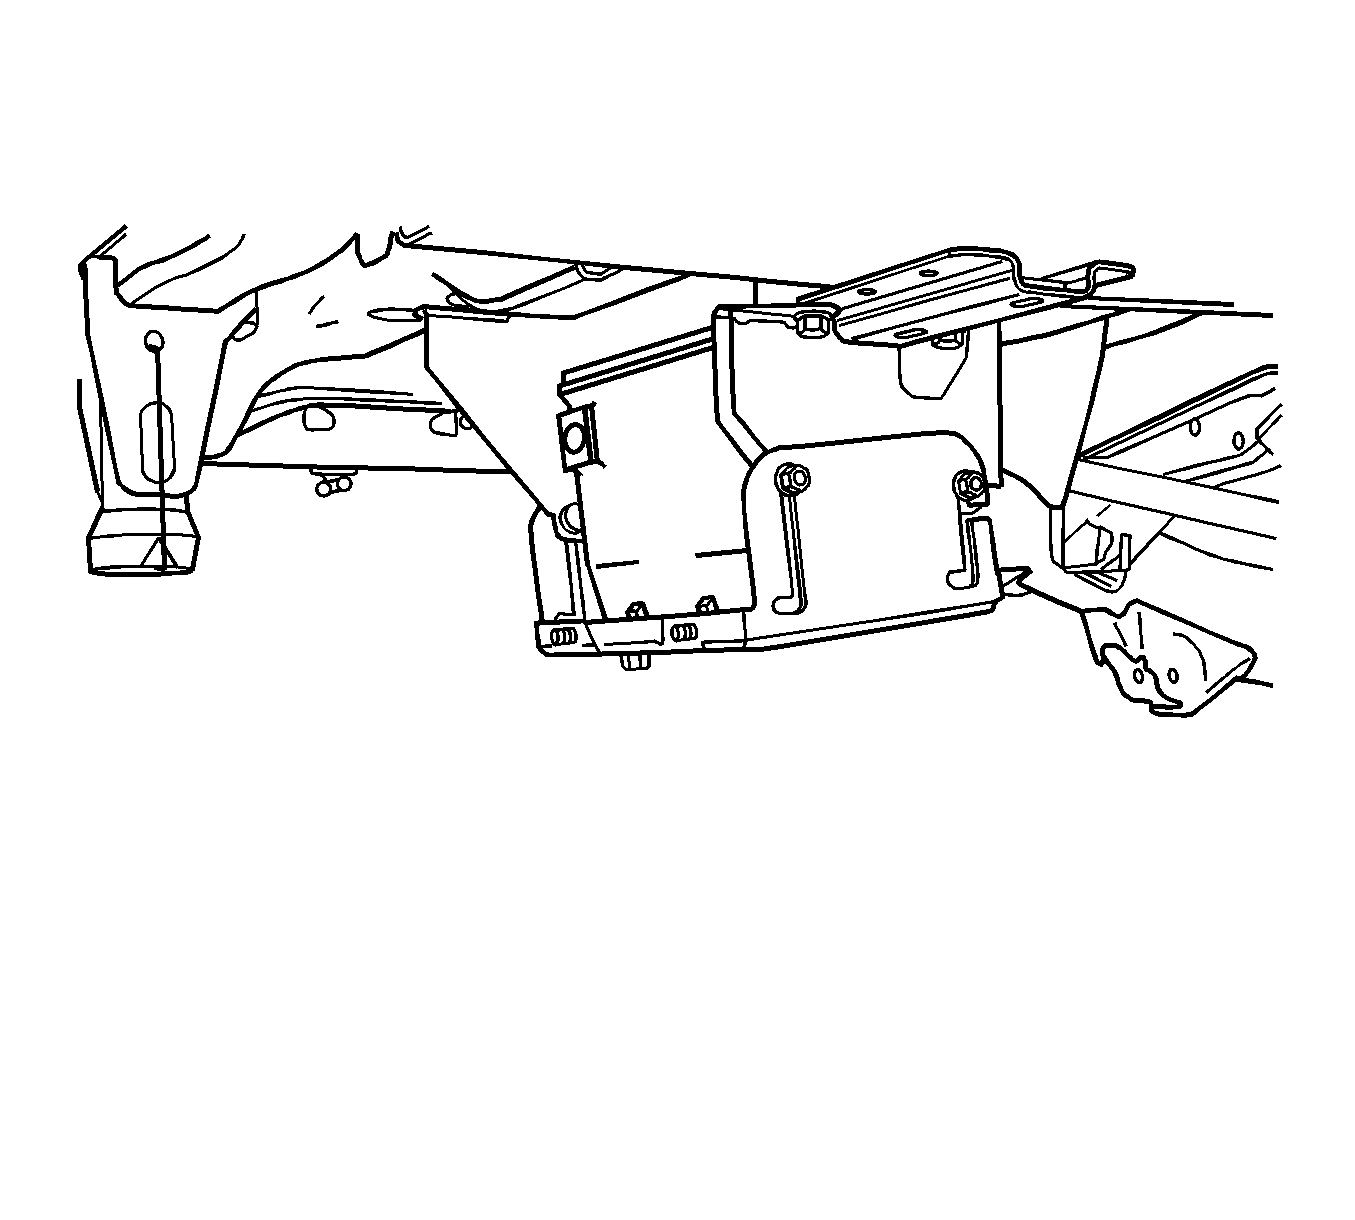
- Drop down the lower battery box to access battery.
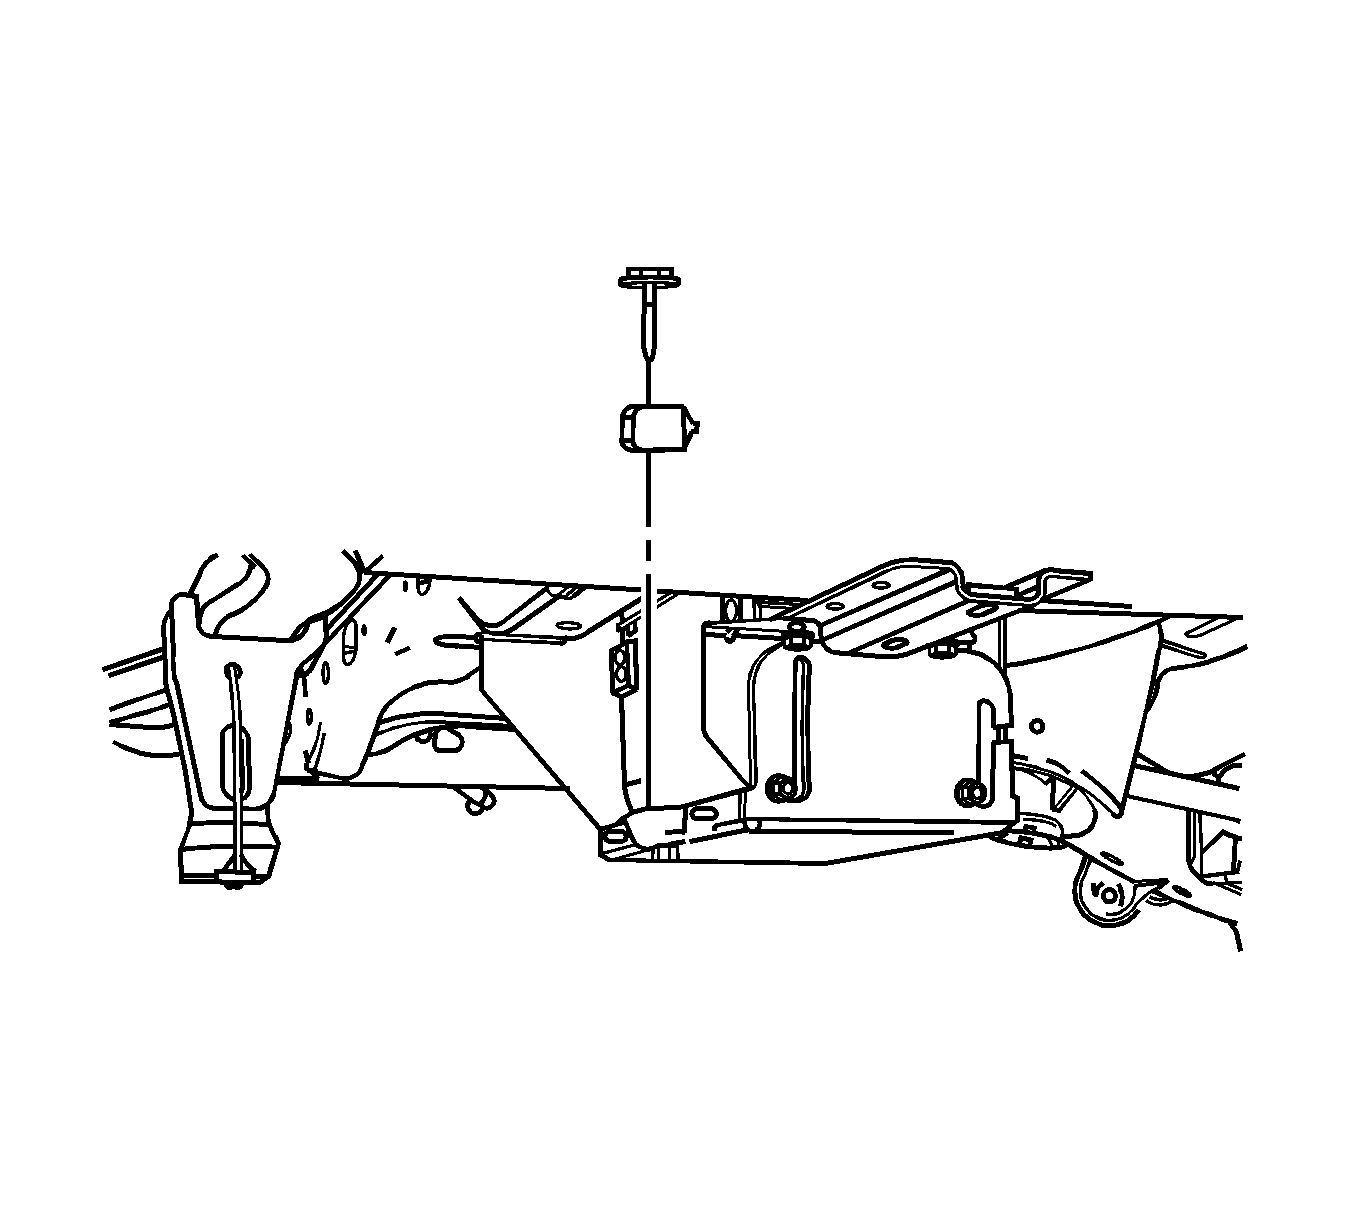
- Remove the battery hold-down bolt and hold-down.
- Remove the battery from lower battery box.
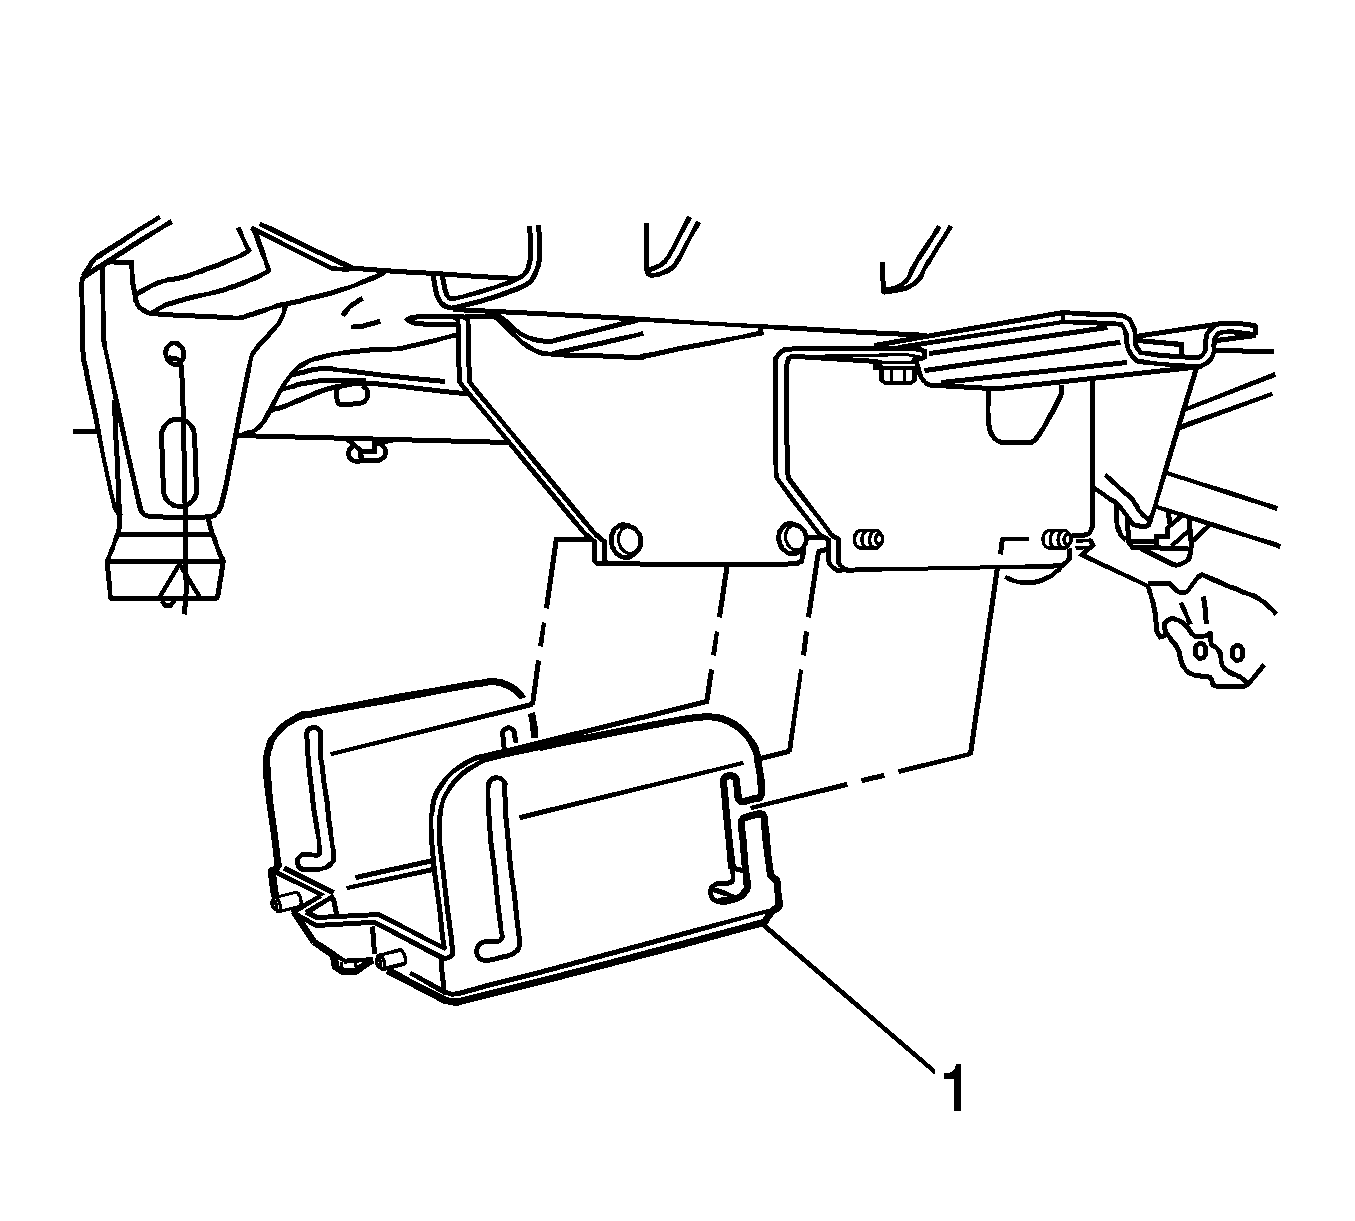
- Remove the lower battery box slide nuts (1) from studs.
- Remove the lower battery box (1) from upper battery box.

Installation Procedure
- Install the lower battery box (1) to upper battery box.
- Install the lower battery box slide nuts (1).
- Install the battery to lower battery box.
- Install the battery hold-down and bolt.
- Raise the lower battery box and lock into place.
- Tighten the battery box slide nuts.
- Connect the negative and positive battery cables.
- Install the rear battery cover (2) and nuts (1).
- Lower the vehicle.


Important: Do not tighten slide nut when you install. They will be tighten after lower battery box is raise to the lock position.

Notice: Refer to Fastener Notice in the Preface section.

Tighten
Tighten bolt to 25 N·m (18 lb ft).
Tighten
Tighten nuts to 25 N·m (18 lb ft).

Tighten
Tighten nuts to 10 N·m (89 lb in).
