For 1990-2009 cars only
Battery Positive Cable Replacement Battery To Junction Block
Removal Procedure
- Raise the vehicle. Refer to Lifting and Jacking the Vehicle in General Information.
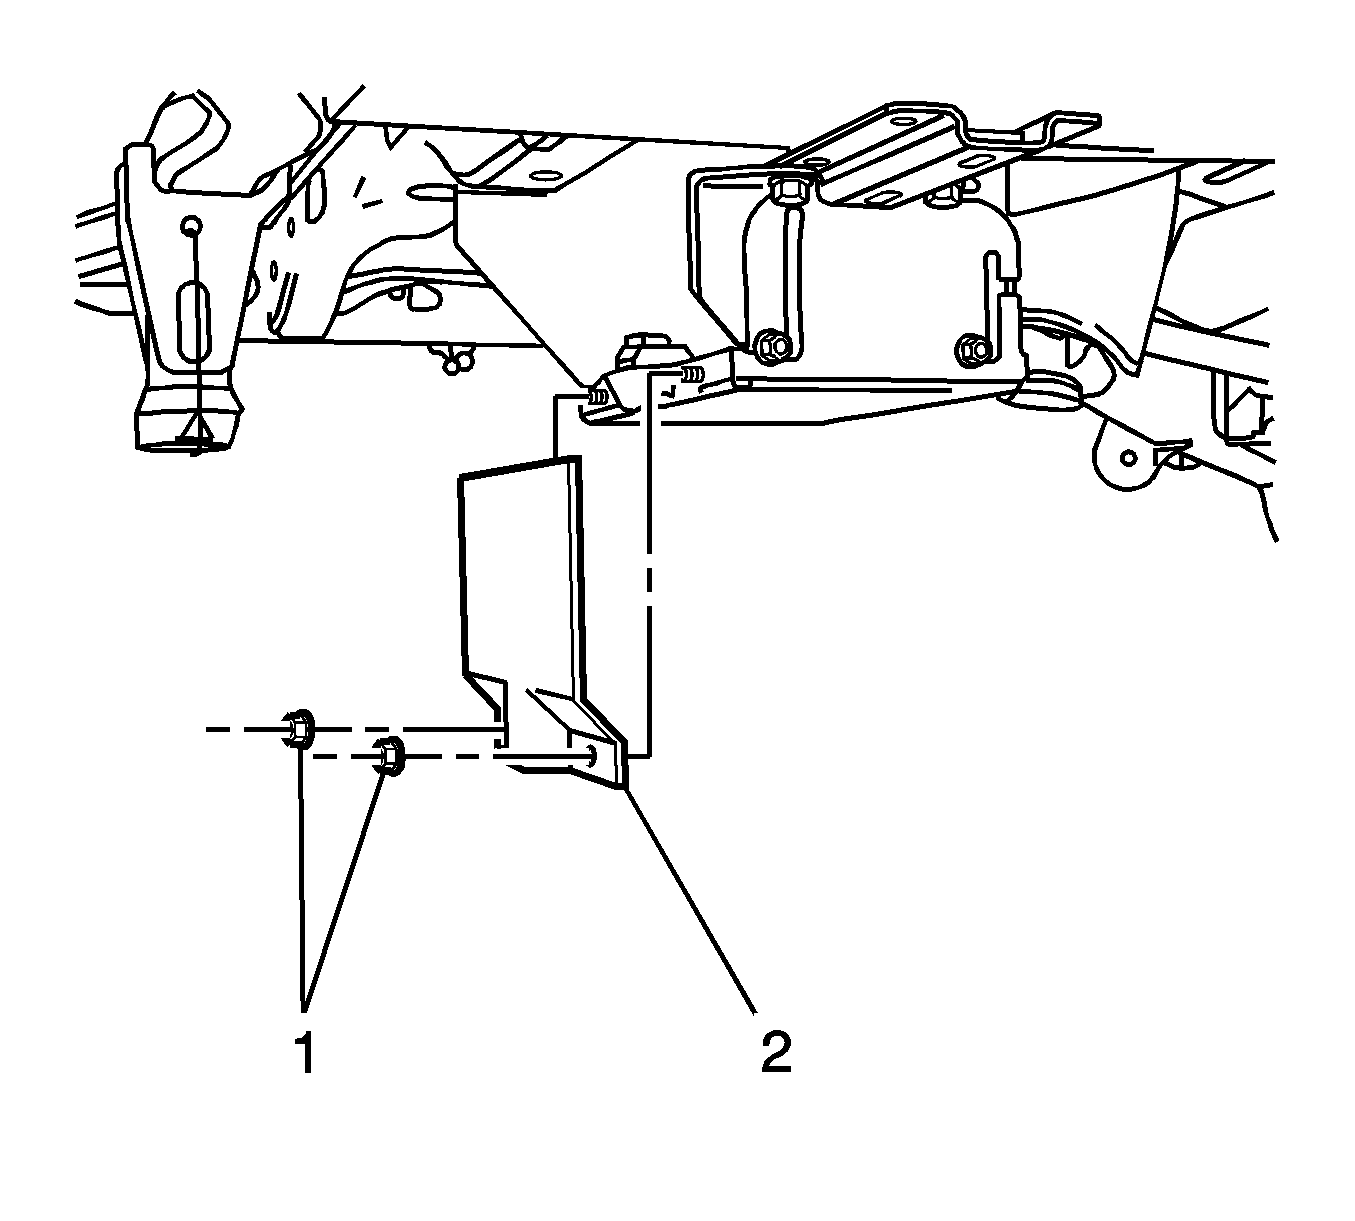
- Remove the rear battery cover bolts (1) and cover (2).
- Disconnect the negative and positive battery cables. Refer to Battery Negative Cable Disconnection and Connection .
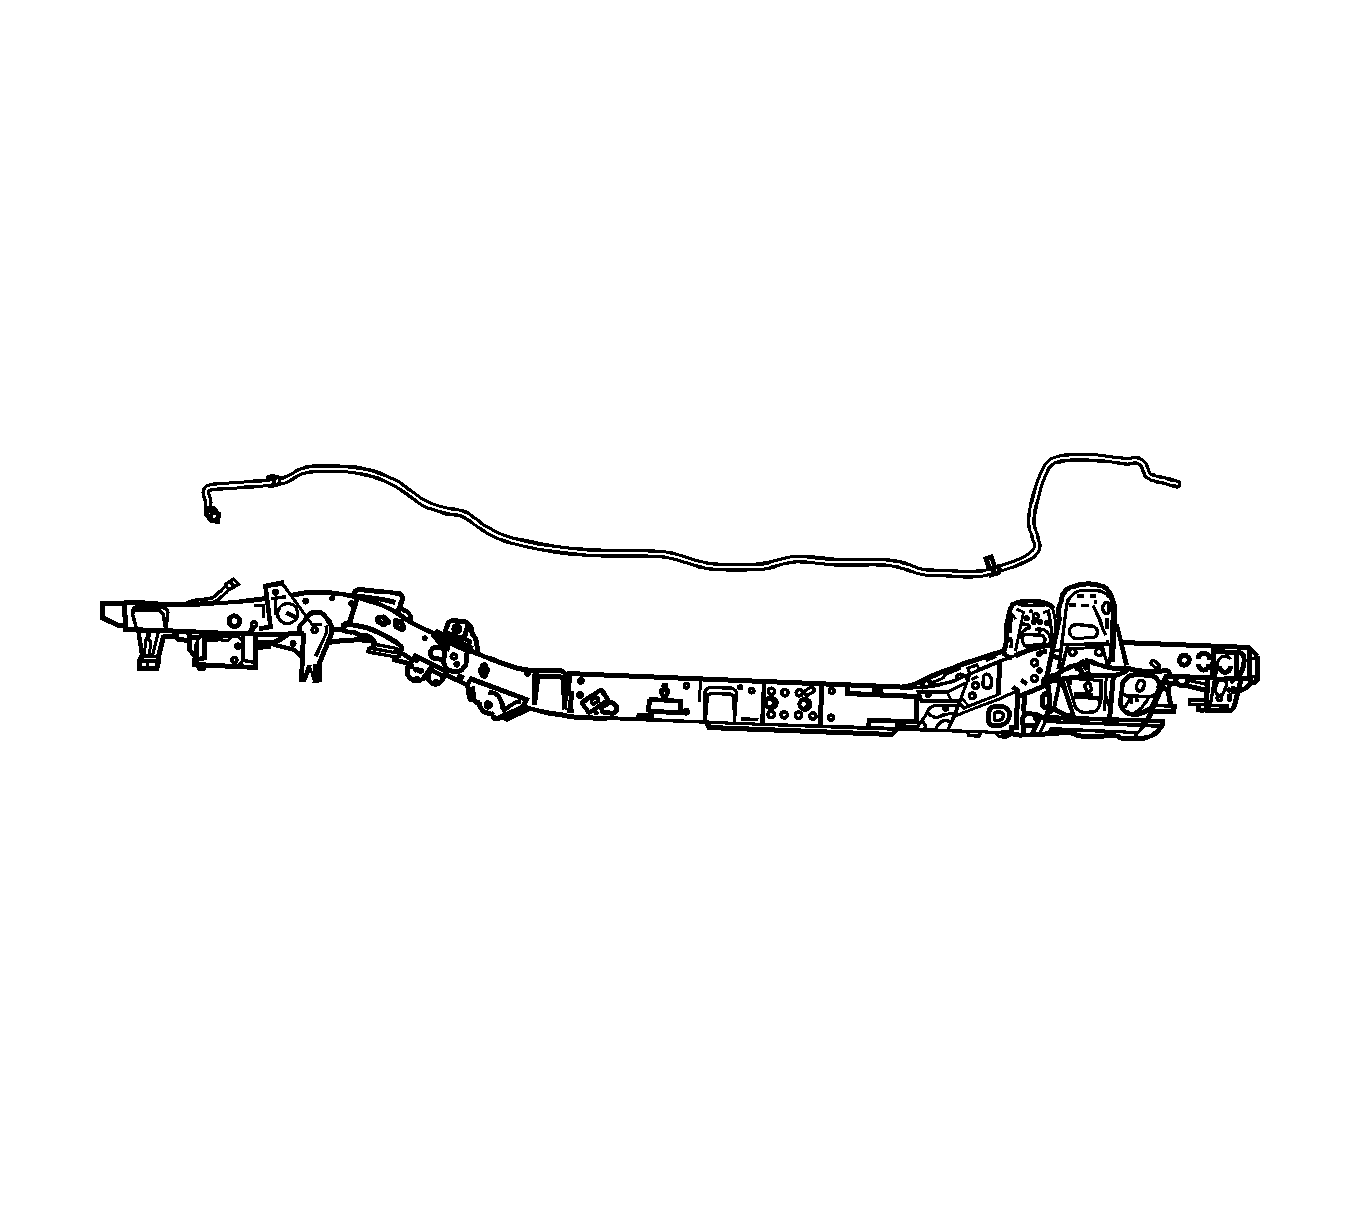
- Remove the positive battery cable from wire loom on top of right side frame rail.
- Lower the vehicle.
- Open the hood.
- Remove the nut retaining the positive battery cable at the junction box.
- Remove the positive battery cable from wire looms under hood.
- Raise the vehicle.
- Remove the positive battery cable from vehicle.
Installation Procedure
- Install the positive battery cable to vehicle.
- Lower the vehicle.
- Install the positive battery cable to wire looms under hood.
- Install the positive cable and nut in the junction box.
- Close the hood.
- Raise the vehicle.
- Install the positive battery cable to the wire looms on top of the right side frame rail.
- Connect the negative and positive battery cables. Refer to Battery Negative Cable Disconnection and Connection .
- Install the rear battery cover (2) and nuts (1).
- Lower the vehicle.

Notice: Refer to Fastener Notice in the Preface section.
Tighten
Tighten nut to 6 N·m (53 lb in).

Tighten
Tighten nuts to 10 N·m (89 lb in).
Battery Positive Cable Replacement Junction Block To Engine
Removal Procedure
- Raise the vehicle. Refer to Lifting and Jacking the Vehicle in General Information.
- Remove the rear battery cover bolts and cover.
- Disconnect negative battery cable. Refer to Battery Negative Cable Disconnection and Connection .
- Lower the vehicle.
- Open the hood.
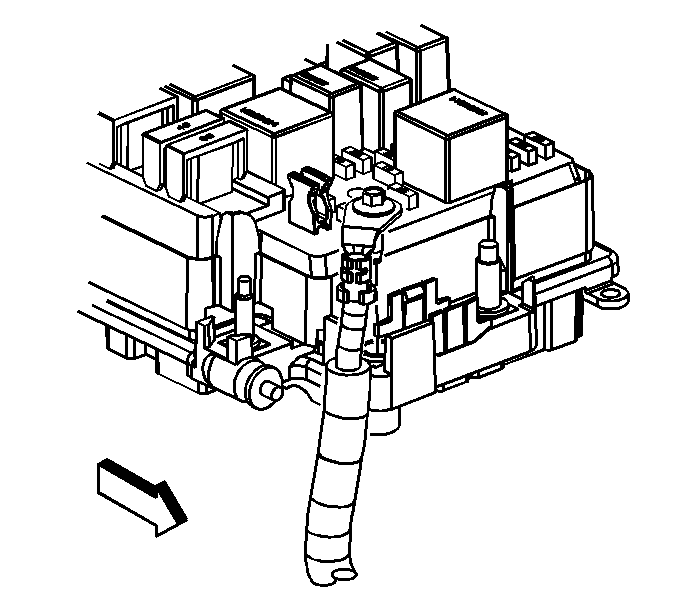
- Remove the nut retaining the positive battery cable at the junction box.
- Remove the bolt retaining positive cable to electrical center.
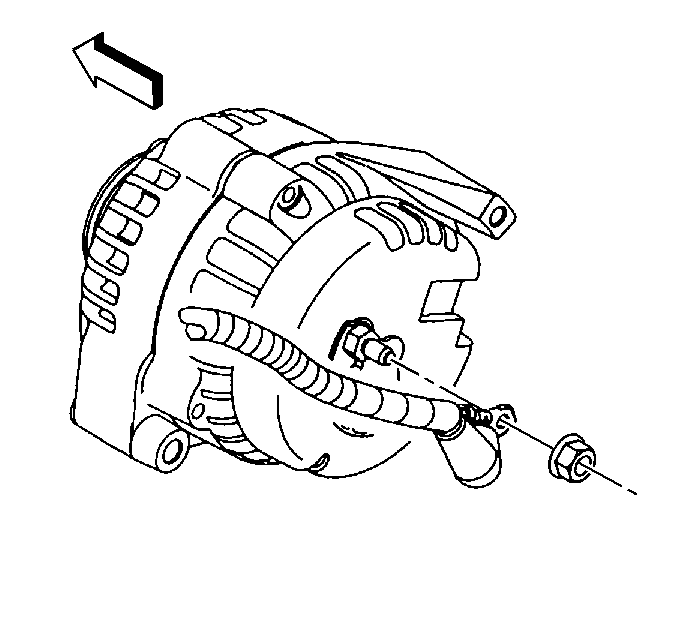
- Remove the positive cable from rear of generator.
- Raise the vehicle.
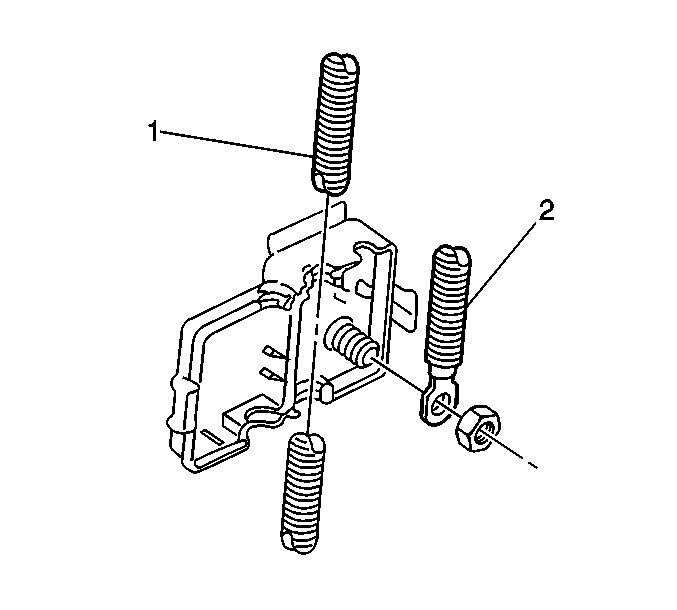
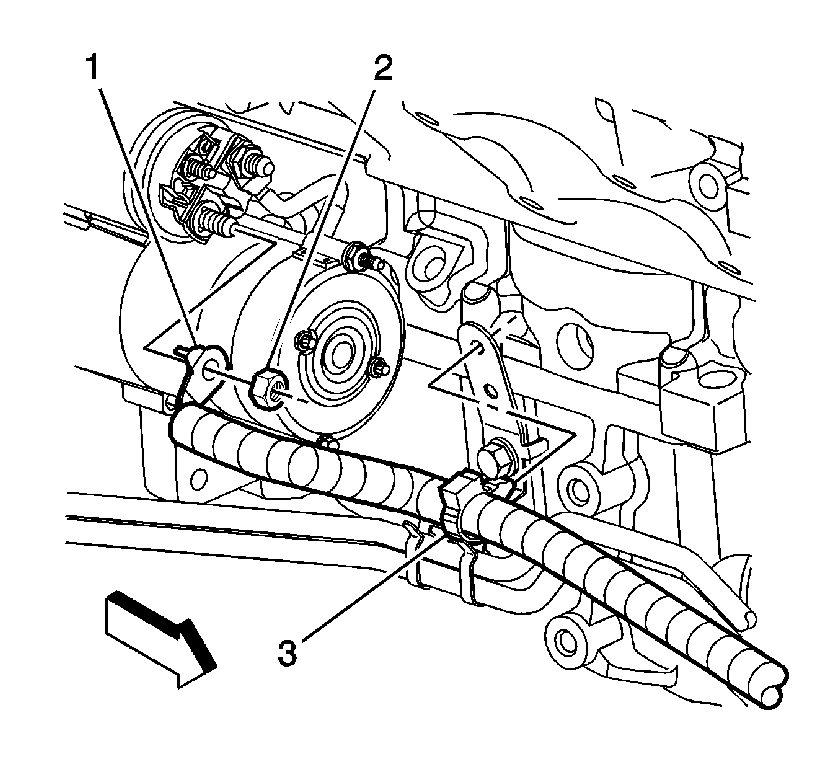
- Remove the nut (2) retaining positive cable (1) to starter.
- Remove the positive cable assembly (3) from wire looms.
- Remove the positive cable assembly from vehicle from the bottom of the vehicle.
Installation Procedure
- Install the positive cable assembly into vehicle from the bottom of vehicle.
- Install the positive cable assembly (3) to wire looms.
- Install the nut (2) to retain positive cable (1) to starter.
- Lower the vehicle.
- Install the positive cable to rear of generator.
- Connect the bolt retaining positive cable to electrical center.
- Install the positive cable and nut in the junction box.
- Close the hood.
- Raise the vehicle.
- Connect the negative battery cable. Refer to Battery Negative Cable Disconnection and Connection .
- Install the rear battery cover and nuts.
- Lower the vehicle.
Notice: Refer to Fastener Notice in the Preface section.

Tighten
Tighten the nut to 9 N·m (80 lb in).

Tighten
Tighten the nut to 9 N·m (80 lb in).

Tighten
Tighten the nut to 9 N·m (80 lb in).

Tighten
Tighten the nut to 6 N·m (53 lb in).
Tighten
Tighten the nuts to 10 N·m (89 lb in).
