For 1990-2009 cars only
Tools Required
| • | J 25070 Heat Gun |
| • | Varnish Makers and Painters (VMP) Naptha |
| • | Plastic Flat-Bladed Tool - Deburr any sharp or rough edges on the plastic tool to prevent scratching of the paint finish. |
Important:
• Maintain body surfaces and adhesive tapes between 21-38°C (70-100°F)
during installation. • Never apply adhesive tapes when the body surface and tape is below 21°C
(70°F).
Removal Procedure
- Open the rear compartment lid.
- Lower the end gate.
- Remove the end gate liner. Refer to Rear Compartment Endgate Liner Replacement in Body Rear End.
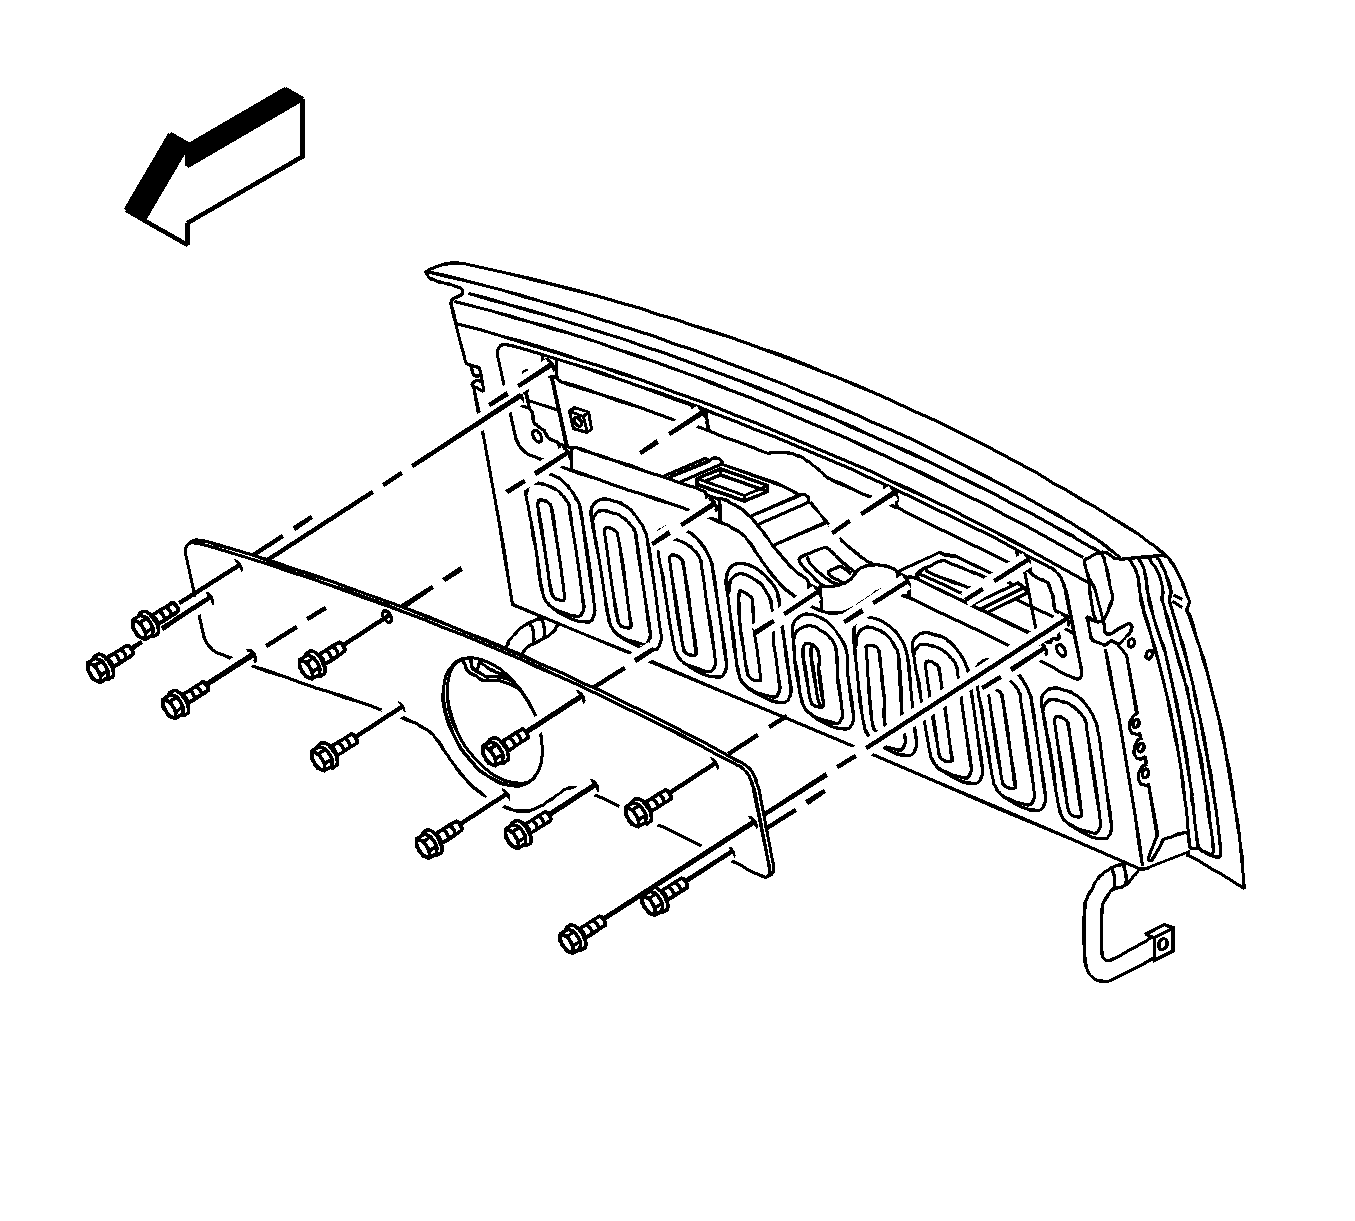
- Remove the end gate access panel. Refer to Rear Compartment Endgate Access Panel Replacement in Body Rear End.
- Set the end gate cover access aside.
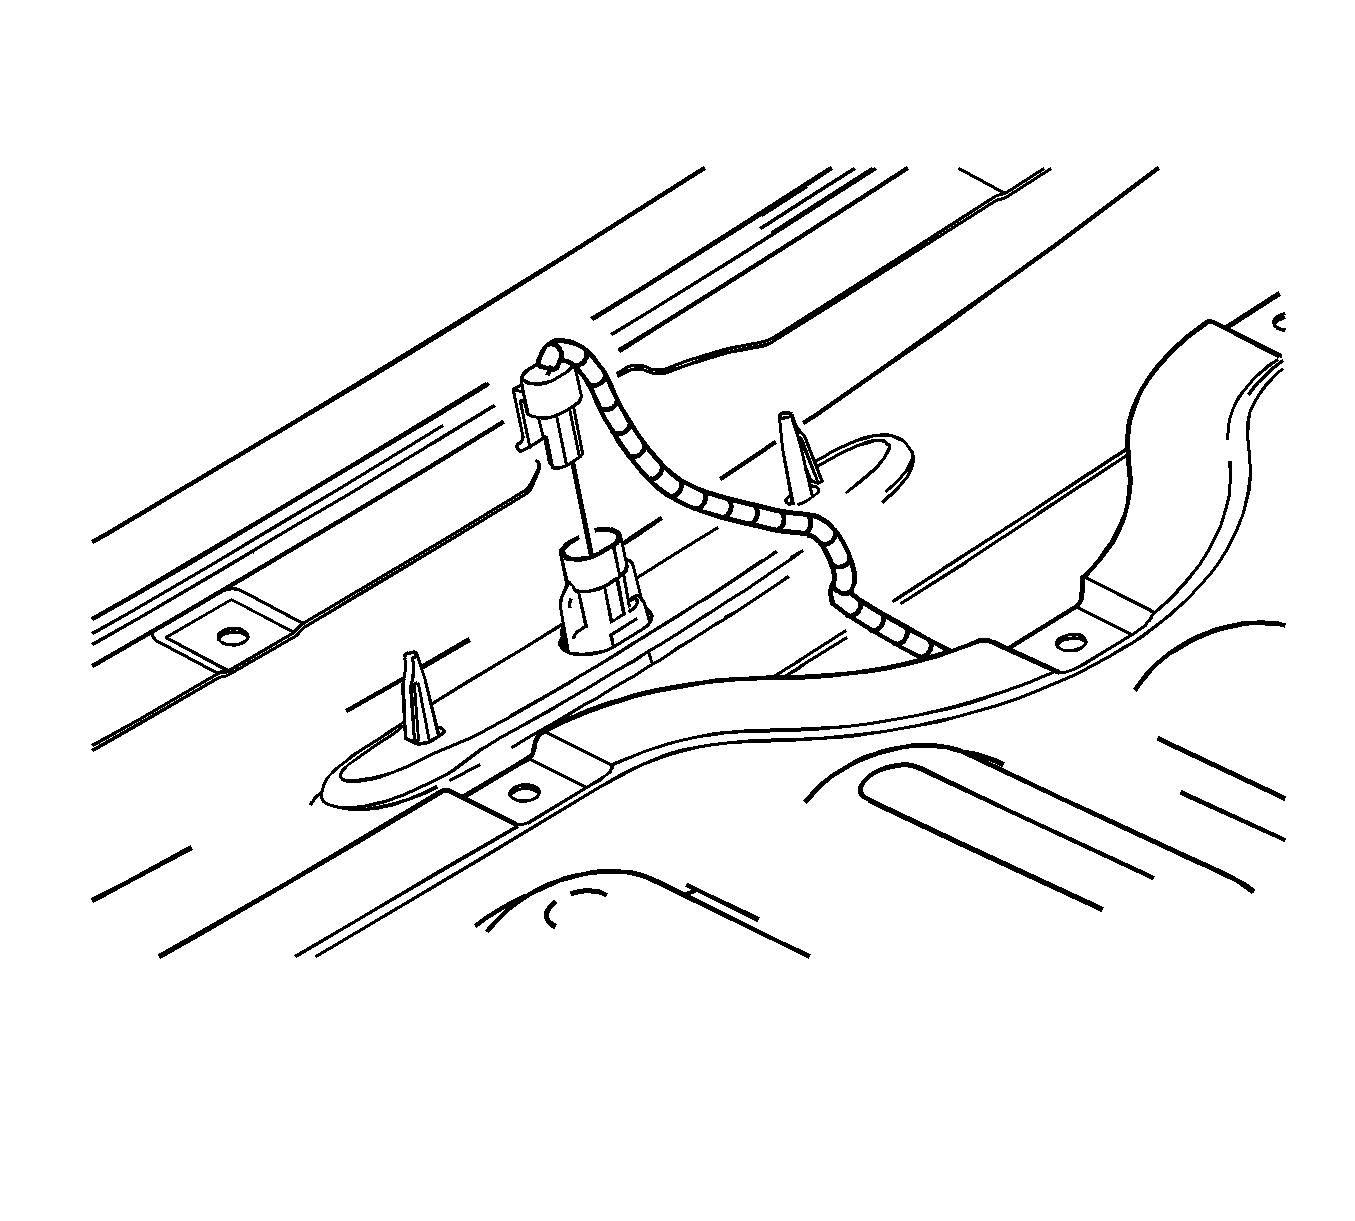
- Disconnect the wiring connector from the stop lamp.
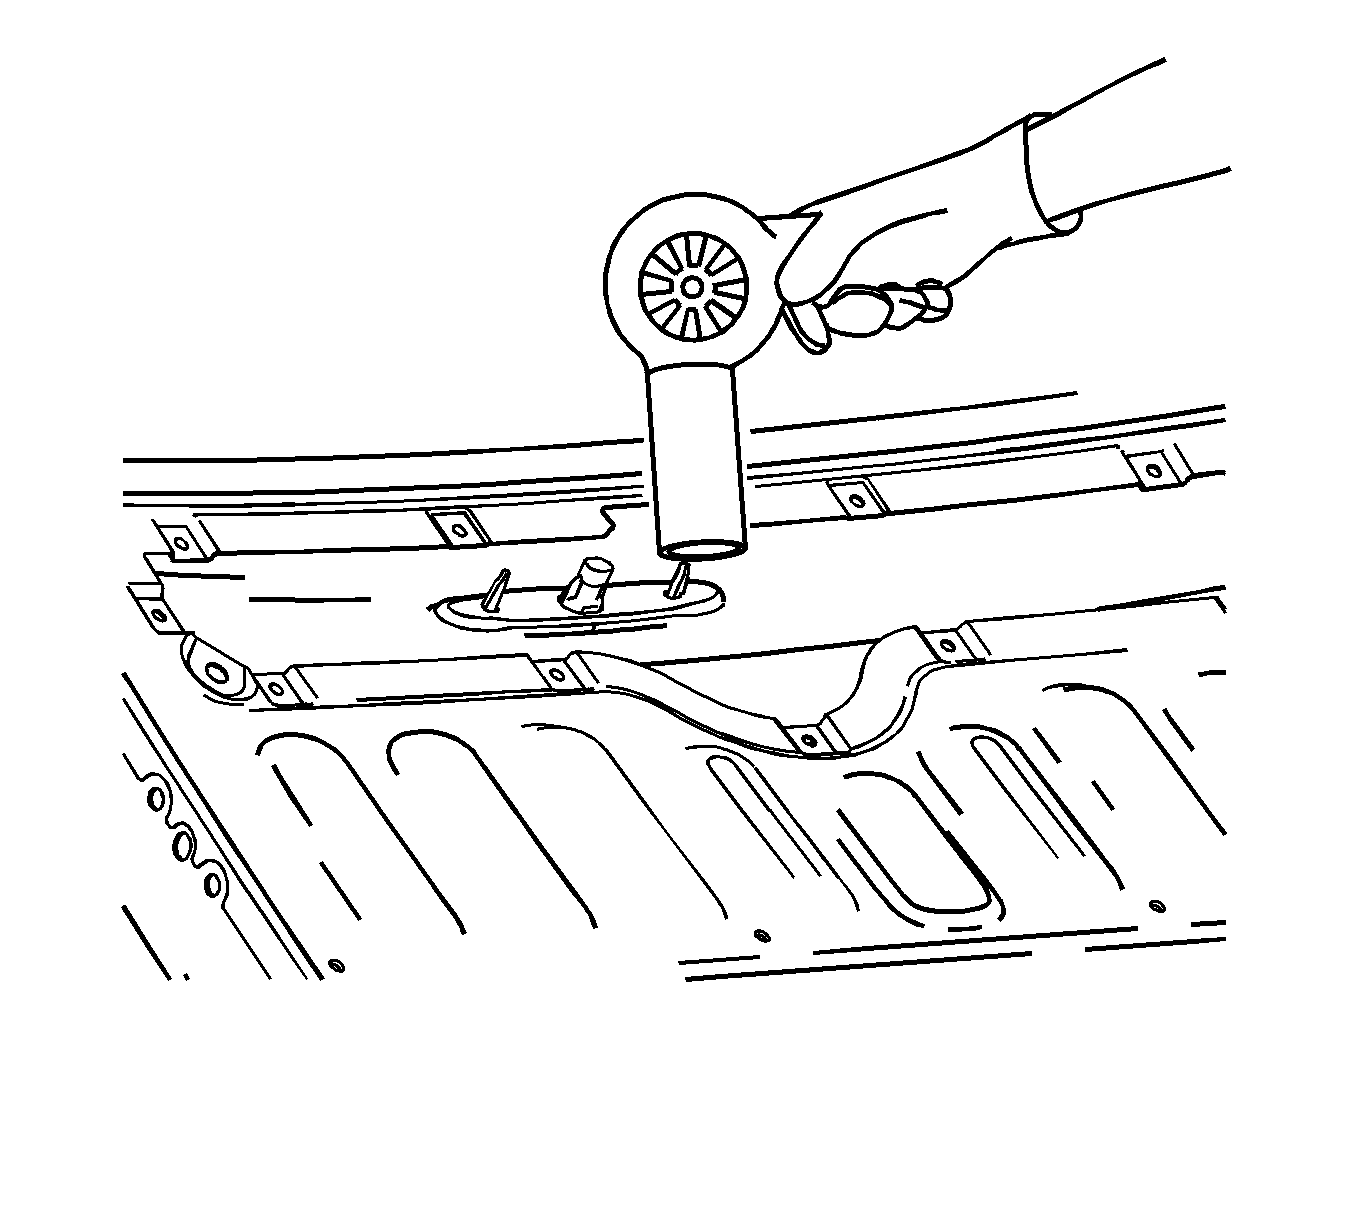
- Heat the stop lamp mounting area using theJ 25070 . Hold the J 25070 approximately 152 mm (6 in) from the surface. Apply heat using a circular motion for about 30 seconds.
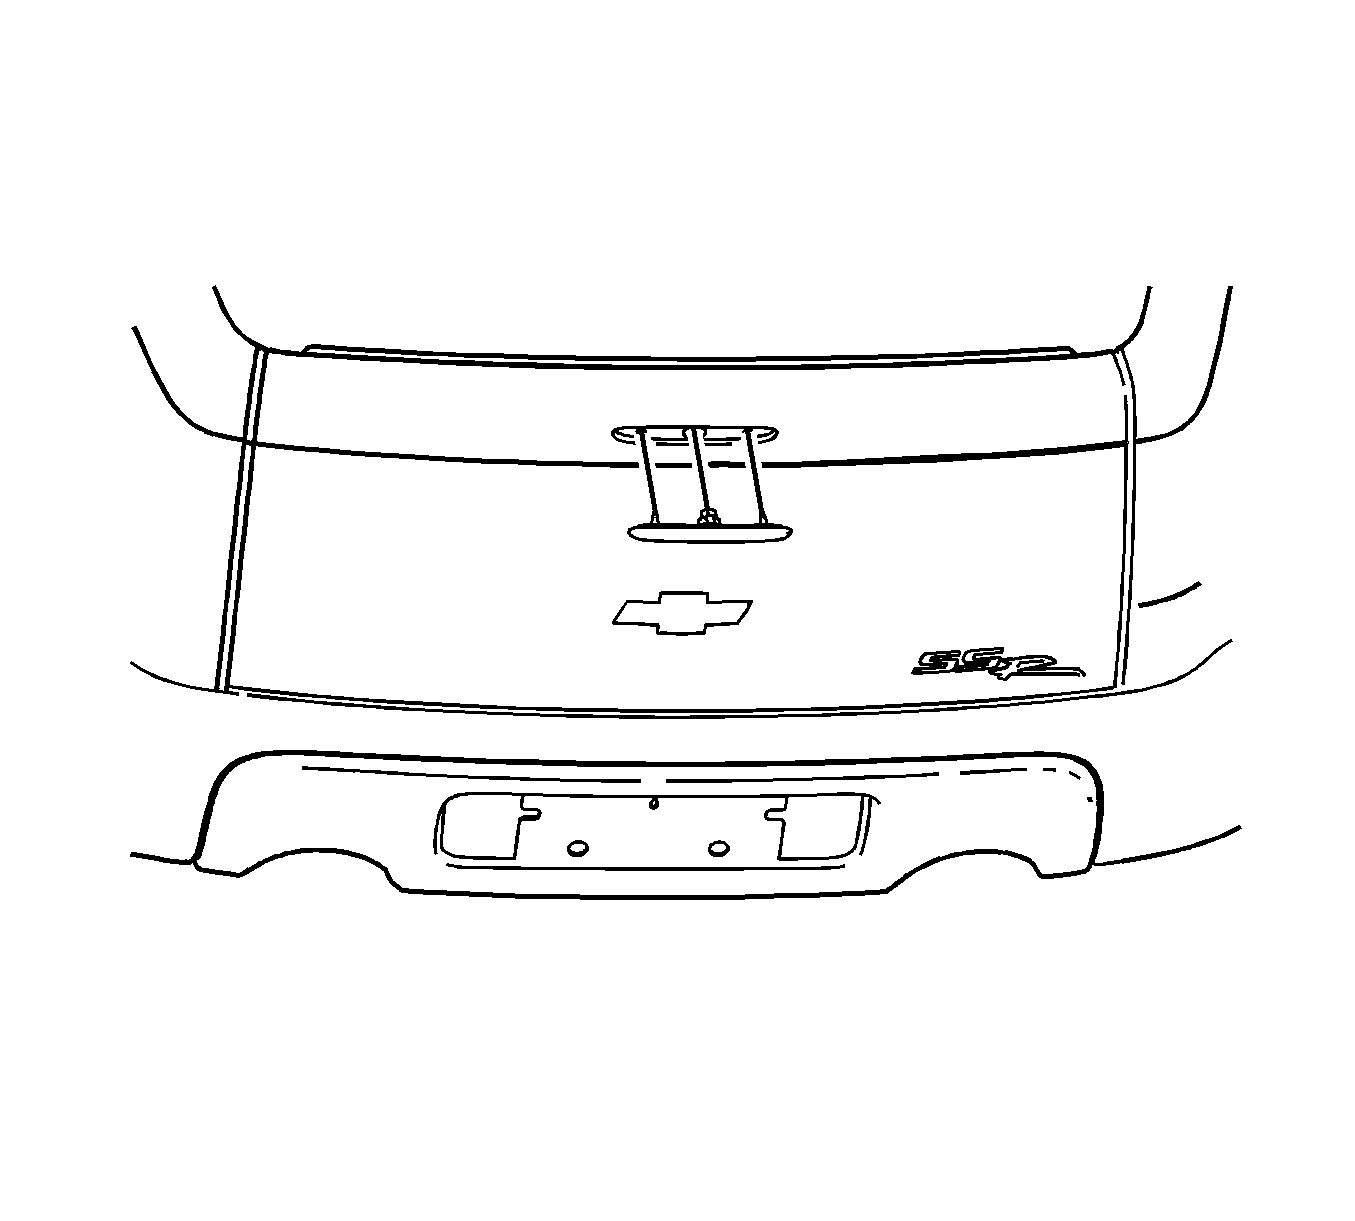
- Depress the clips on the center high mounted stop lamp.
- While depressing the clips, use a plastic flat-bladed tool to pry the lamp from the end gate pocket.
- Carefully pull the lamp out of the end gate and remove from the vehicle.
- Remove all adhesive from the end gate pocket and stop lamp using a 3M ScotchBrite molding adhesive remover disc, 3M P/N 07501, or equivalent.
- Remove all traces of adhesive residue from the end gate and stop lamp using Varnish Makers and Painters (VMP) naptha and allow to air dry.


Notice: To avoid damaging the paint finish, do not use pointed or sharp instruments to remove the stop lamp from the endgate.
Notice: Use of harsh chemicals when cleaning can damage exterior lamps. Suggested cleaners are a mild soap and water or Varnish Makers and Painters (VMP) naptha. VMP naptha is a specific type of naptha and should not be substituted by any other napatha.
Installation Procedure
- Install the adhesive tape to the back of the high mounted stop lamp.
- Pull the backing off the adhesive of the center high mounted stop lamp.
- Position the center high mounted stop lamp to the pocket in the end gate.
- Install the center high mounted stop lamp into the pocket and press firmly to seat the retaining clips.
- Press firmly on the center high mounted stop lamp to ensure maximum bond to the end gate.
- Connect the wiring connector to the stop lamp.
- Install the end gate access panel. Refer to Rear Compartment Endgate Access Panel Replacement in Body Rear End.
- Install the end gate liner. Refer to Rear Compartment Endgate Liner Replacement in Body Rear End.
- Close the end gate.
- Close the rear compartment lid.
Important: Do not touch the adhesive backing on the center high mounted stop lamp.


