For 1990-2009 cars only
Removal Procedure
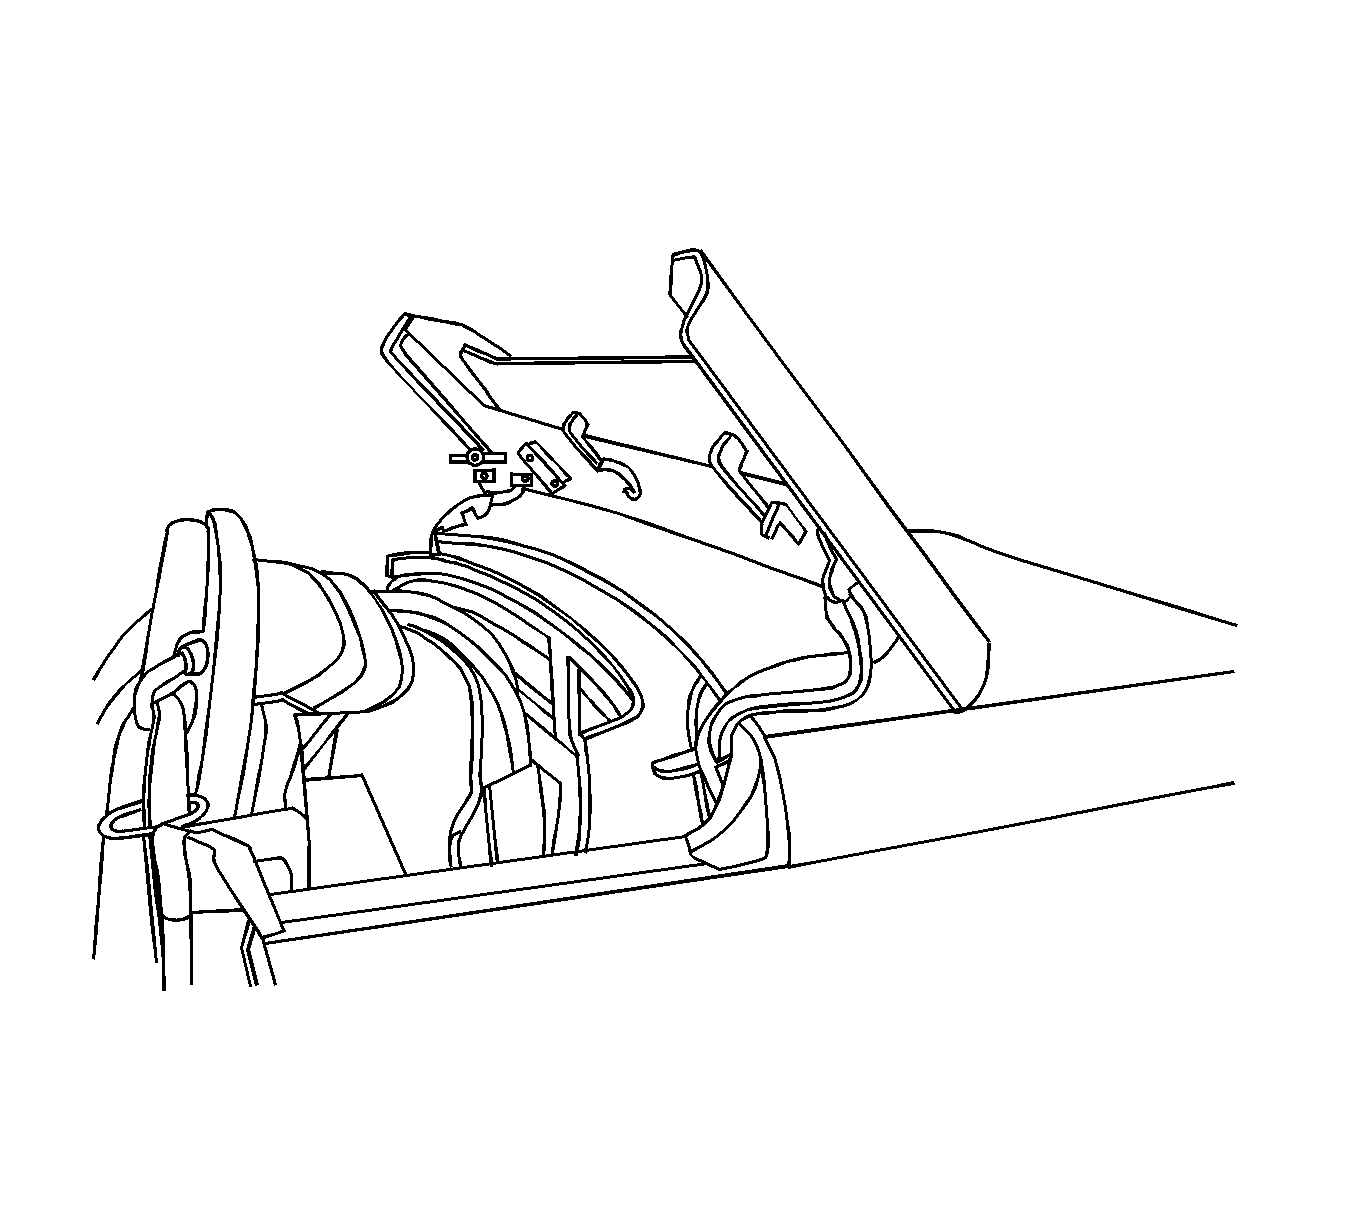
- Cycle the folding top stowage compartment lid open.
- Stop the cycle once the folding top panels are fully retracted.
- Remove the upper rear garnish molding. Refer to Rear Upper Garnish Molding Replacement in Interior Trim.
- Remove the passenger side lock pillar molding. Refer to Body Lock Pillar Trim Panel Replacement in Interior Trim.
- Remove the passenger seat. Refer to Seat Replacement in Seats.
- Remove the center console. Refer to Console Replacement in Instrument Panel, Gages, and Console.
- Remove the center console bracket fasteners.
- Disconnect all wiring connectors to the folding top.
- Lift the center console bracket upward and lay the center console bracket on its side in the passenger compartment.
- Manually cycle the folding top panels up until they are fully latched into the windshield header.
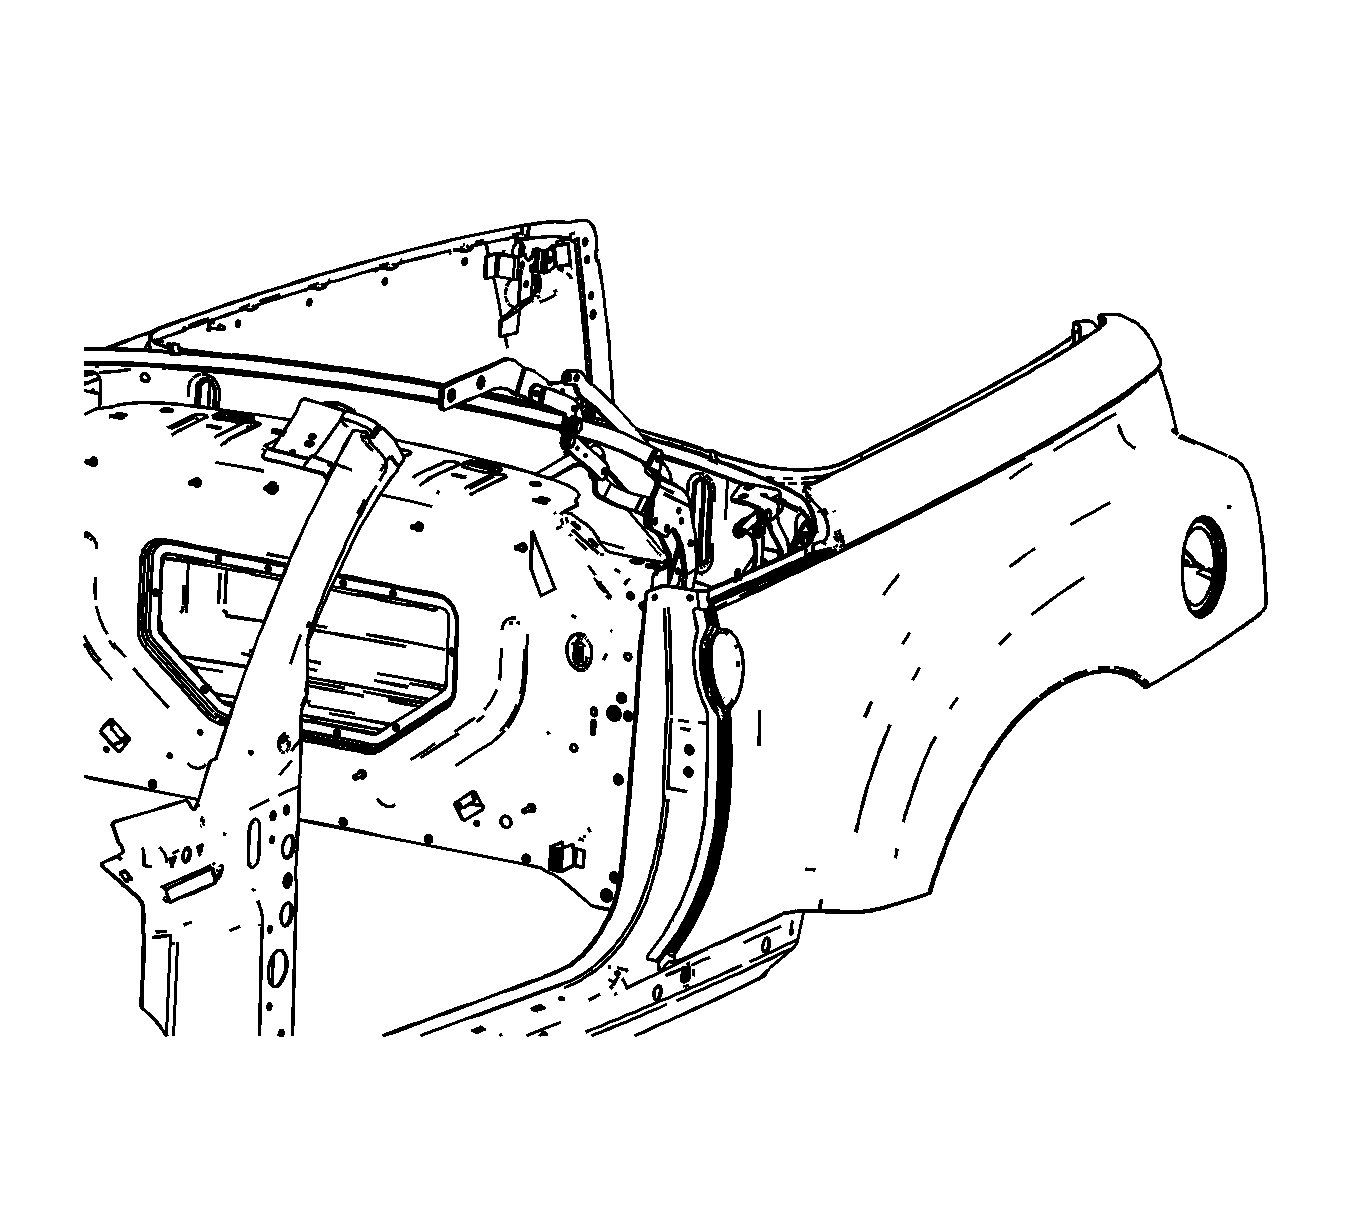
- Remove the body rear compartment. Refer to Body Rear Accessory Compartment Replacement .
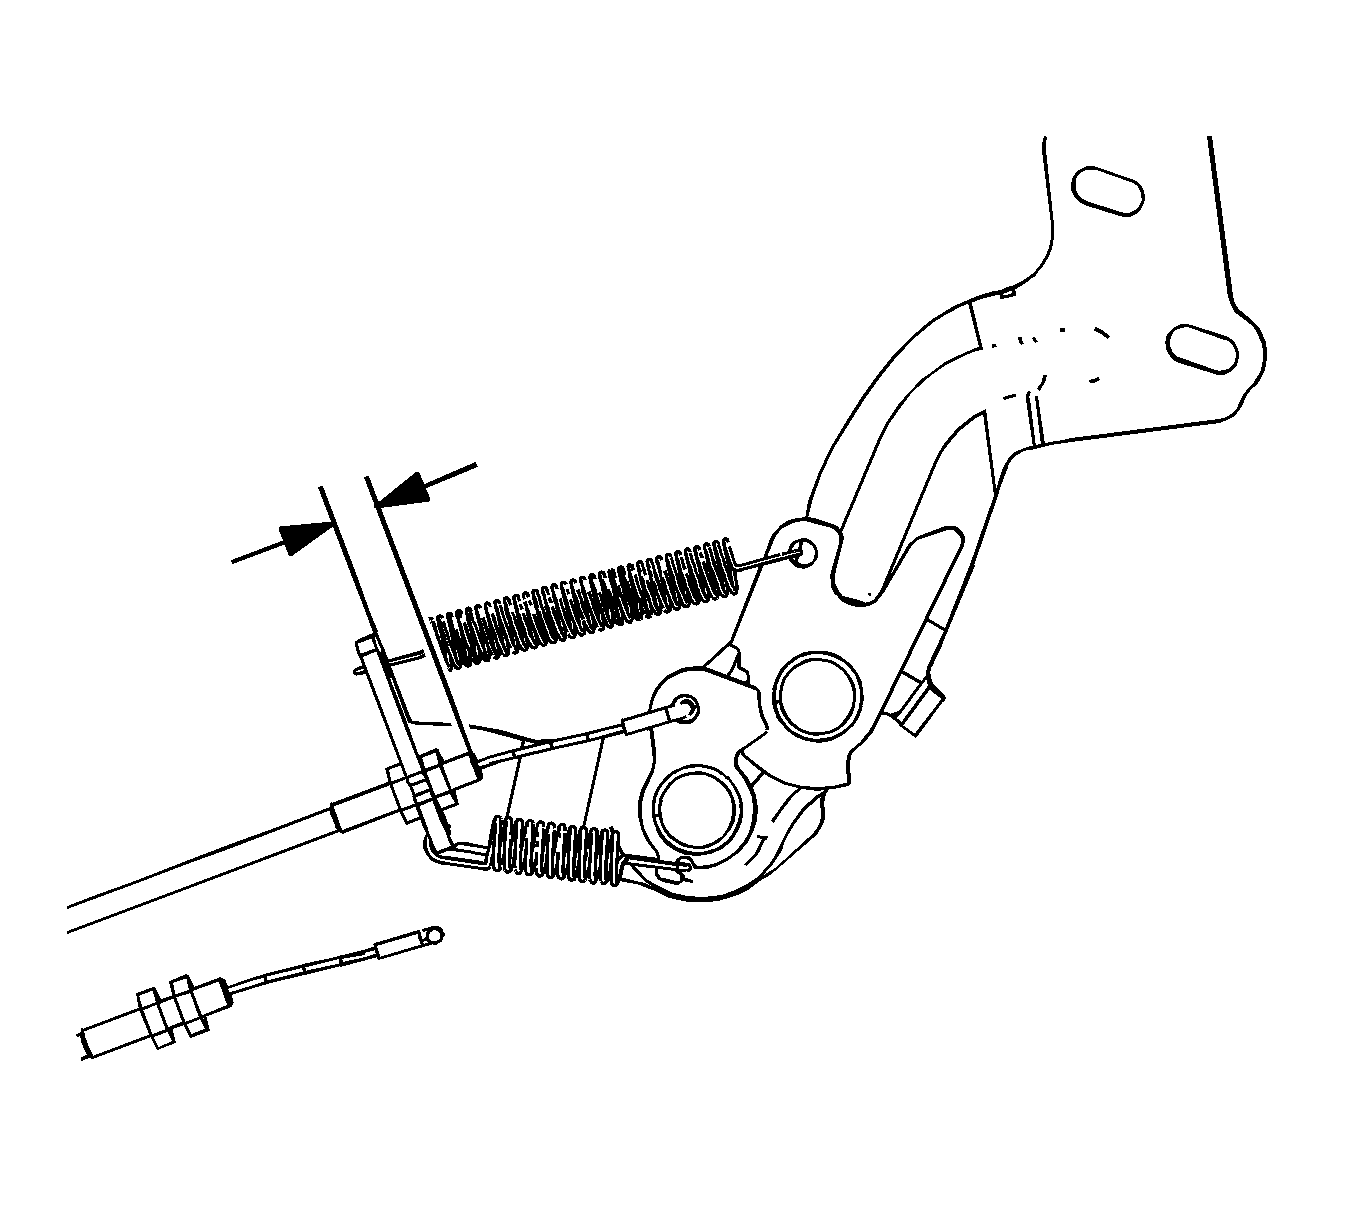
- Measure and record the cable housing prior to removal.
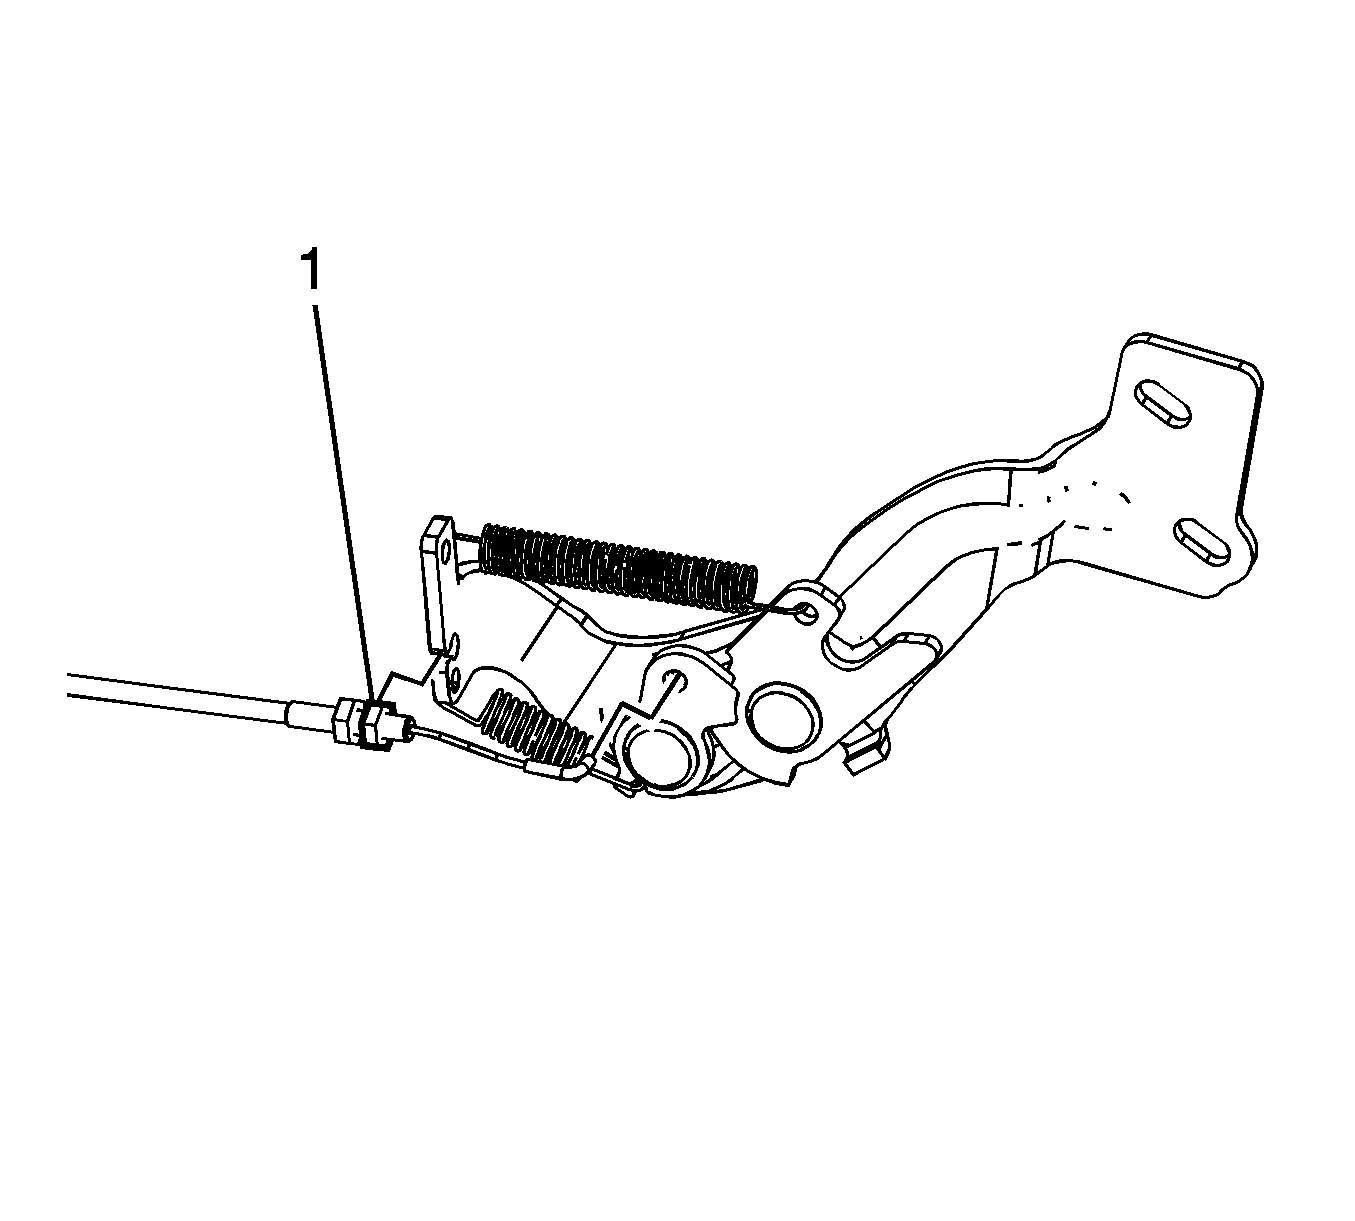
- Loosen the down capture latch cable jam nut (1).
- Remove the down capture latch cable from the down capture latch.
- Disconnect the down capture latch cable from the roof stowage compartment lid hinge.
- Remove the down capture latch cable from the vehicle.


Installation Procedure
- Install the down capture latch cable to the vehicle.
- Connect the down capture latch cable to the roof stowage compartment lid hinge.
- Install the down capture latch cable to the down capture latch.
- Set the cable length to the recorded length.
- Install the jam nut (1).
- Install the body rear compartment into the folding top. Refer to Body Rear Accessory Compartment Replacement .
- Install the folding top wiring connectors.
- Install the center console bracket.
- Install the center console bracket fasteners.
- Install the center console. Refer to Console Replacement in Instrument Panel, Gages and Console.
- Manually lower the folding top into the stowage compartment area.
- Install the passenger seat. Refer to Seat Replacement in Seats.
- Install the passenger side lock pillar trim. Refer to Body Lock Pillar Trim Panel Replacement in Interior Trim.
- Install the upper rear garnish molding. Refer to Rear Upper Garnish Molding Replacement in Interior Trim.
- Cycle the folding top stowage compartment lid fully closed.
- Inspect the folding top for proper operation. Refer to Power Folding Top Description and Operation .
Notice: Refer to Fastener Notice in the Preface section.

Tighten
Tighten the jam nut (1) to 5 N·m (44 lb in).
