For 1990-2009 cars only
Tools Required
J 42451-1 Engine Support Adapter
Removal Procedure
- Lower the folding top. Refer to Power Folding Top Description and Operation .
- Remove the front seats. Refer to Seat Replacement in Seats.
- Open the folding top stowage lid. Refer to Folding Top Manual Operation .
- Remove the rear upper garnish molding. Refer to Rear Upper Garnish Molding Replacement in Interior Trim.
- Remove the door sill plate. Refer to Door Sill Plate Replacement in Interior Trim.
- Remove the lock pillar trim. Refer to Body Lock Pillar Trim Panel Replacement in Interior Trim.
- Remove the upper seat belt guide bracket. Refer to Shoulder Belt Guide Bracket Replacement in Seat Belts.
- Remove the center console. Refer to Console Replacement in Instrument Panel, Gages and Console.
- Remove the folding top stowage lid assembly. Refer to Folding Top Stowage Compartment Lid Replacement .
- Remove the folding top stowage lid latches. Refer to Folding Top Stowage Compartment Lid Latch Replacement .
- Remove the zip-ties and wiring clips from the body.
- Secure the folding top stowage compartment lid lift cylinders and the folding top stowage compartment lid latches to the folding top bulkhead.
- Remove the fasteners from the lower bulkhead floor bracket and remove the floor bracket from the vehicle.
- Disconnect the electrical connectors at the folding top.
- Install the eyelets using the J 42451-1 into the folding top seat back body panel.
- Remove the folding top lock pillar fasteners.
- Connect a suitable lifting device to the eyelets in order to lift the folding top module upward.
- Lift the folding top upward to clear the vehicle.
- Move the folding top away from the vehicle.
- Lower the folding top onto a suitable holding area.
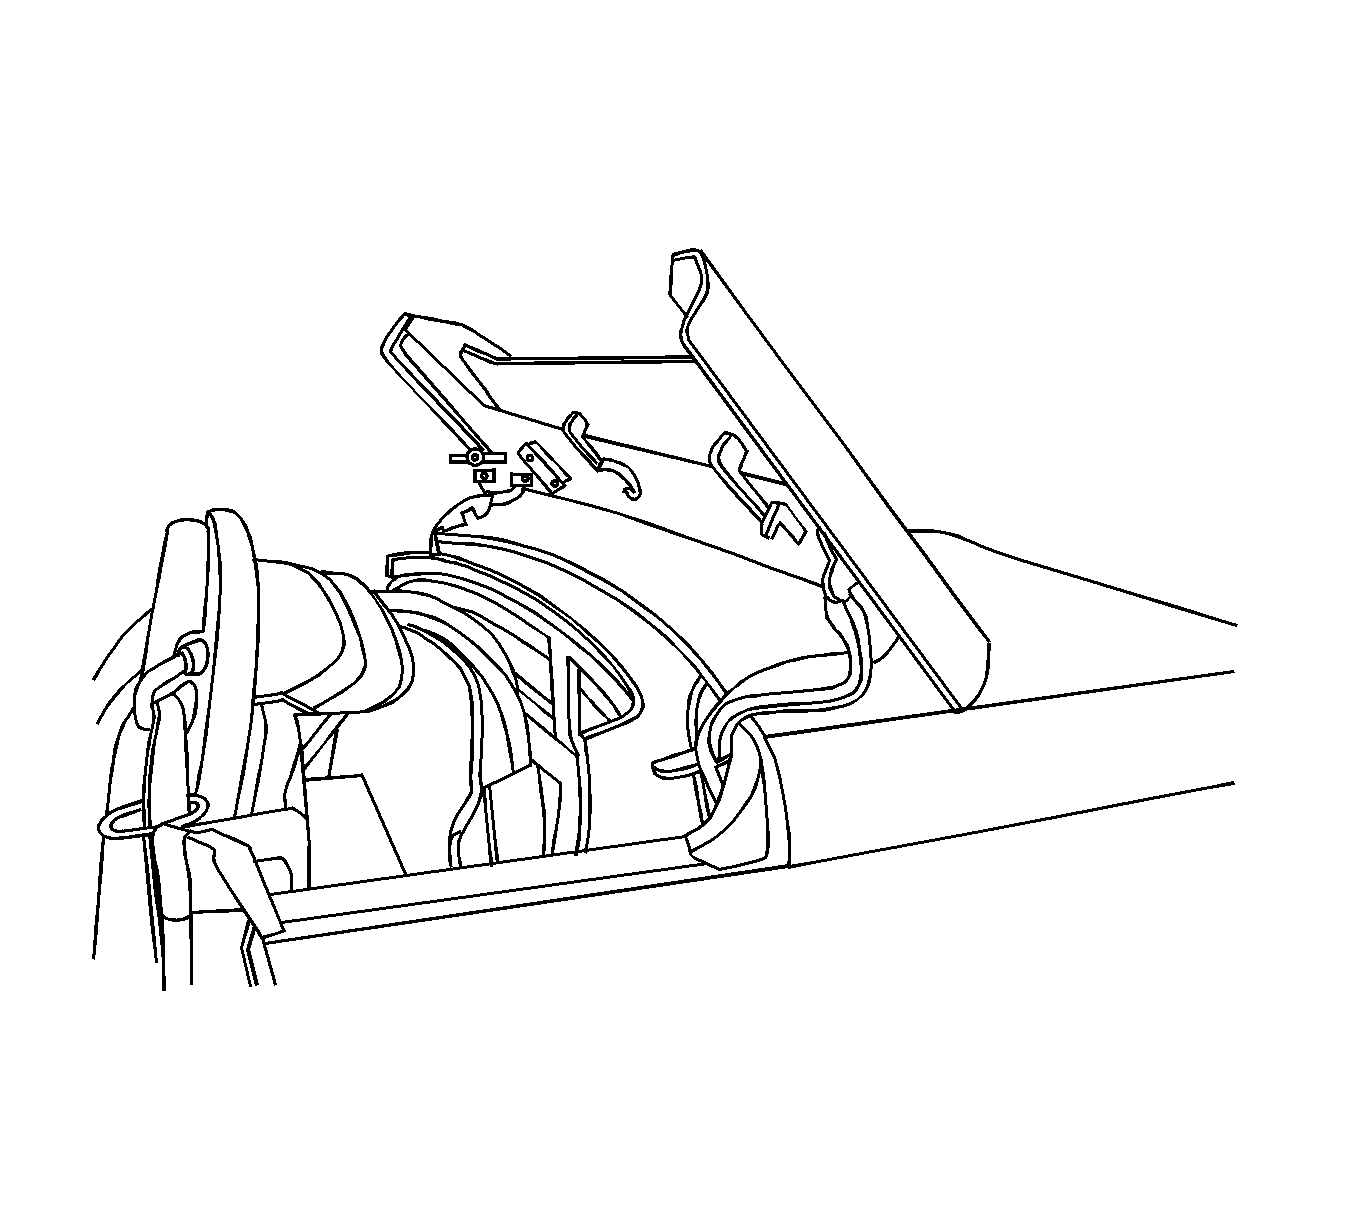
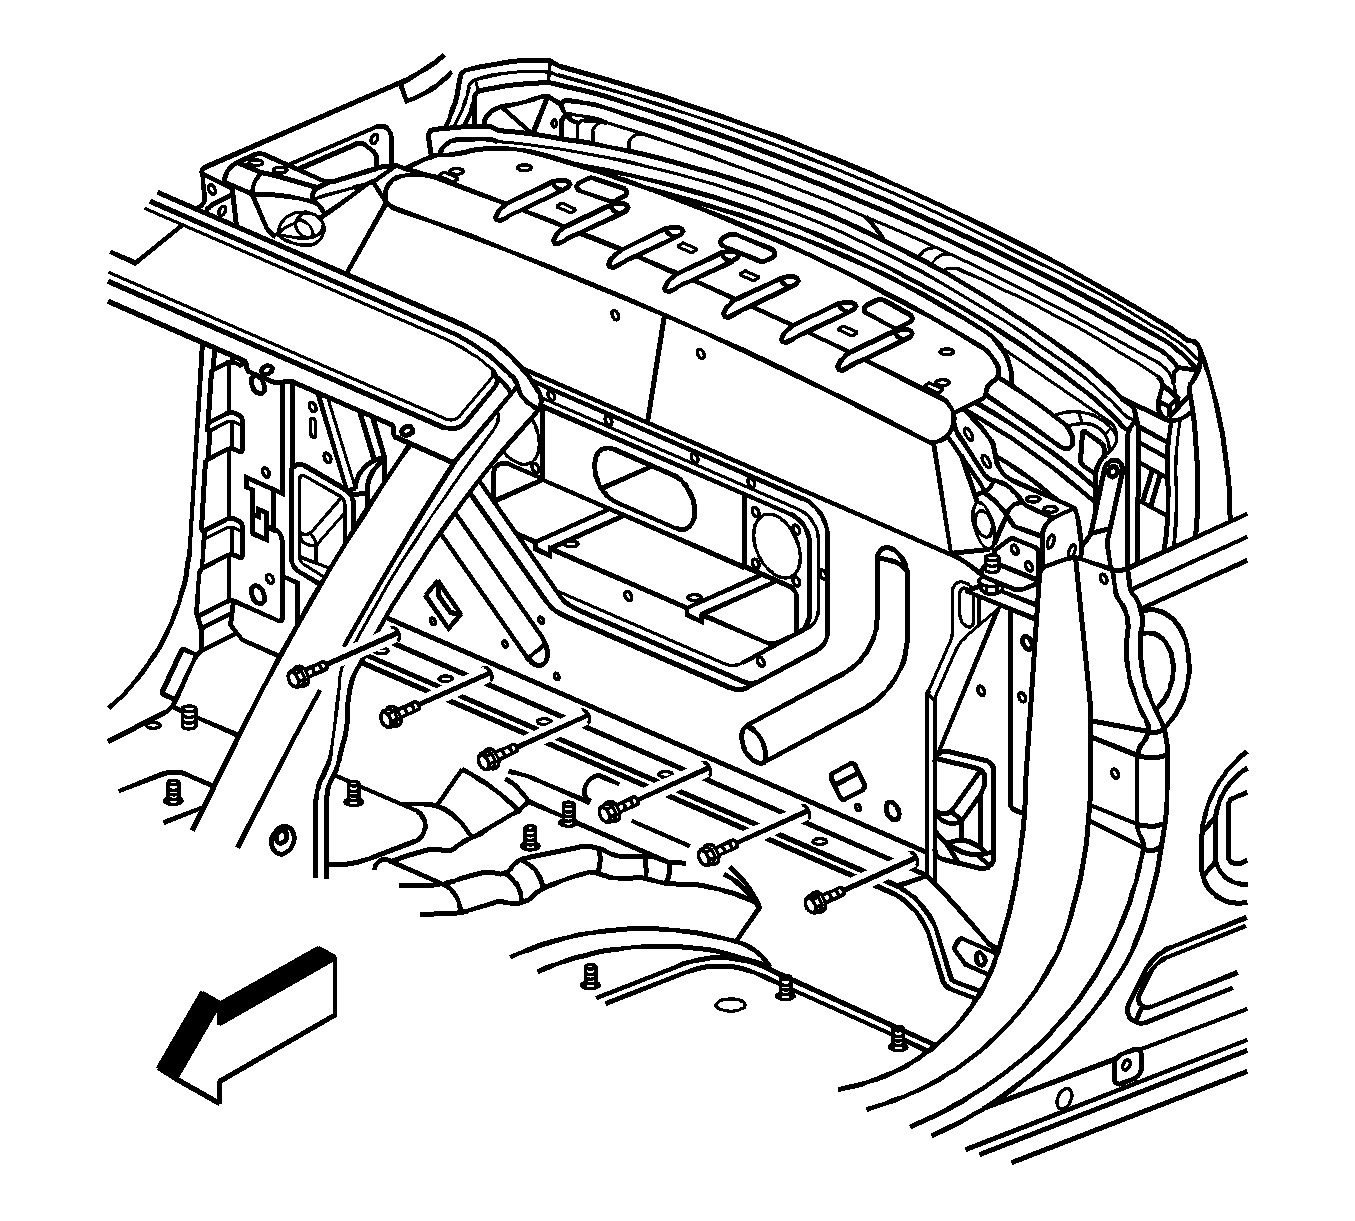
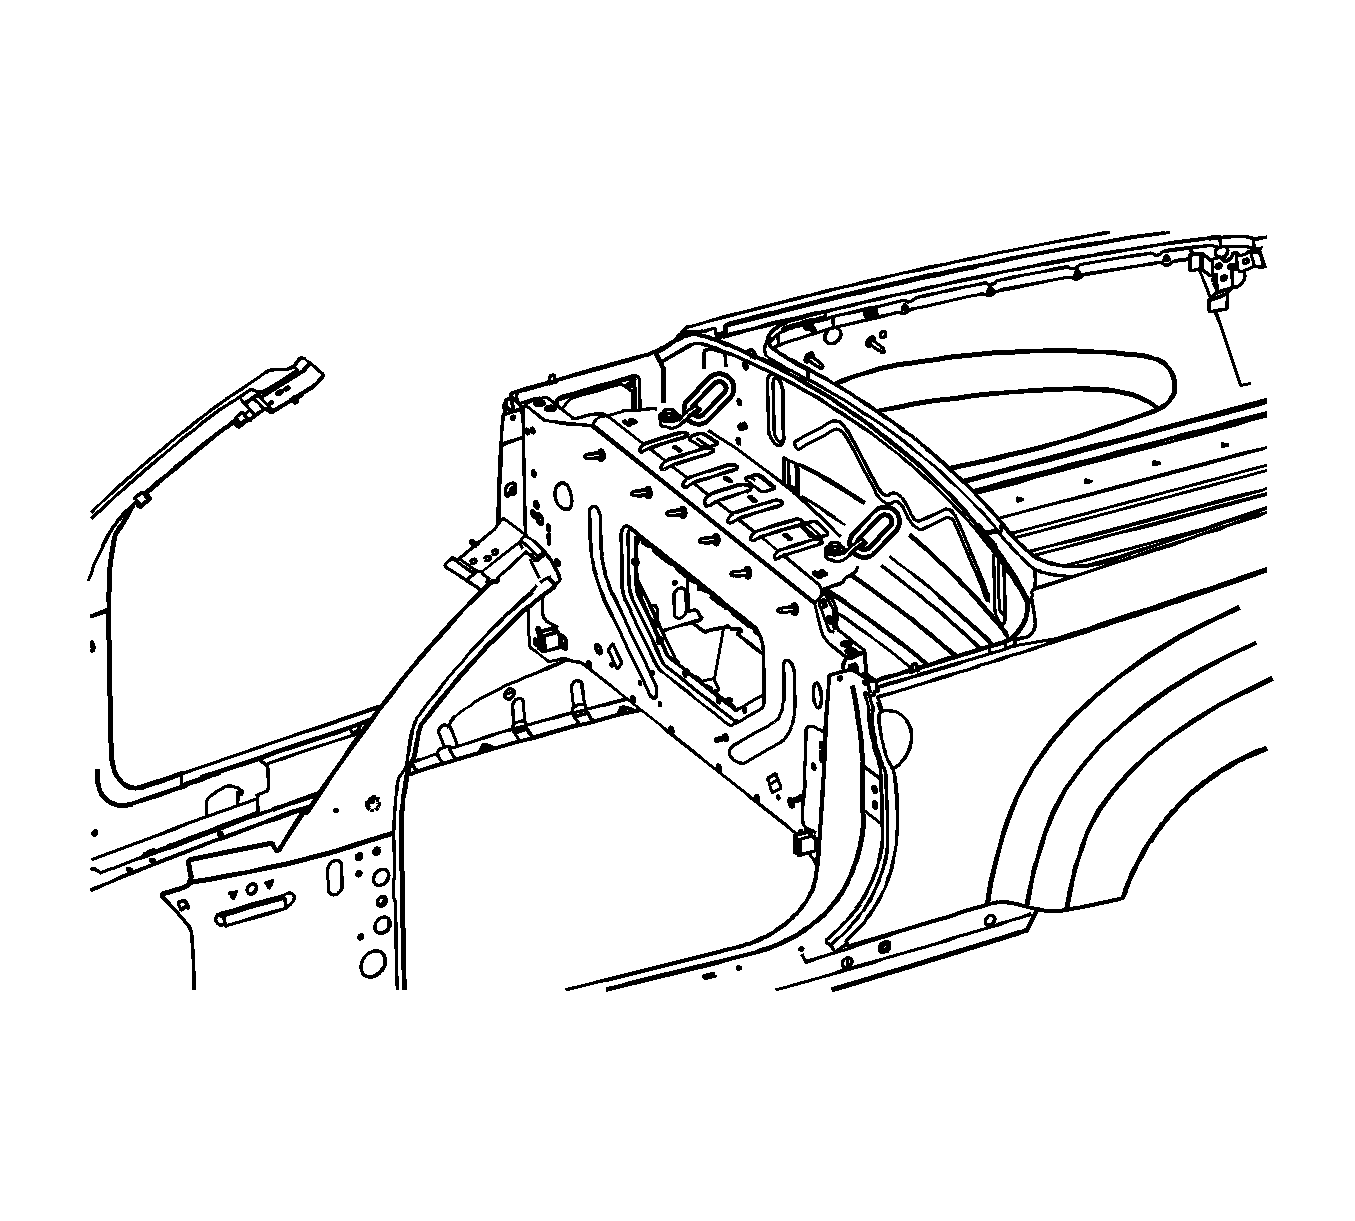
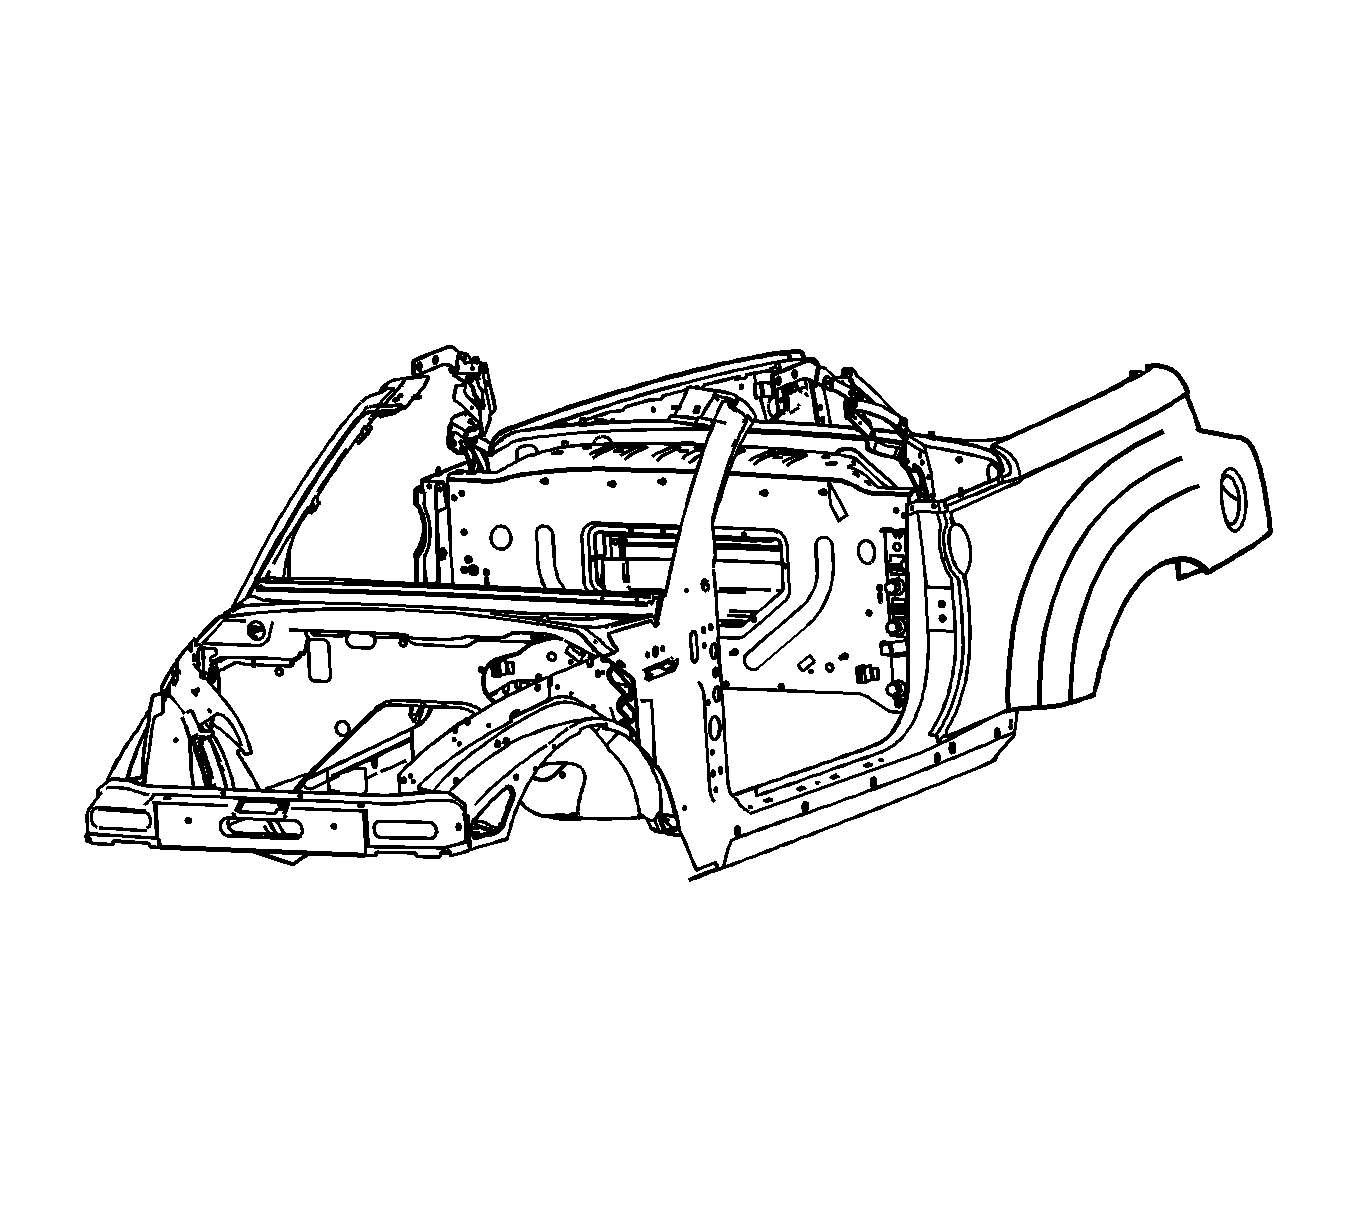
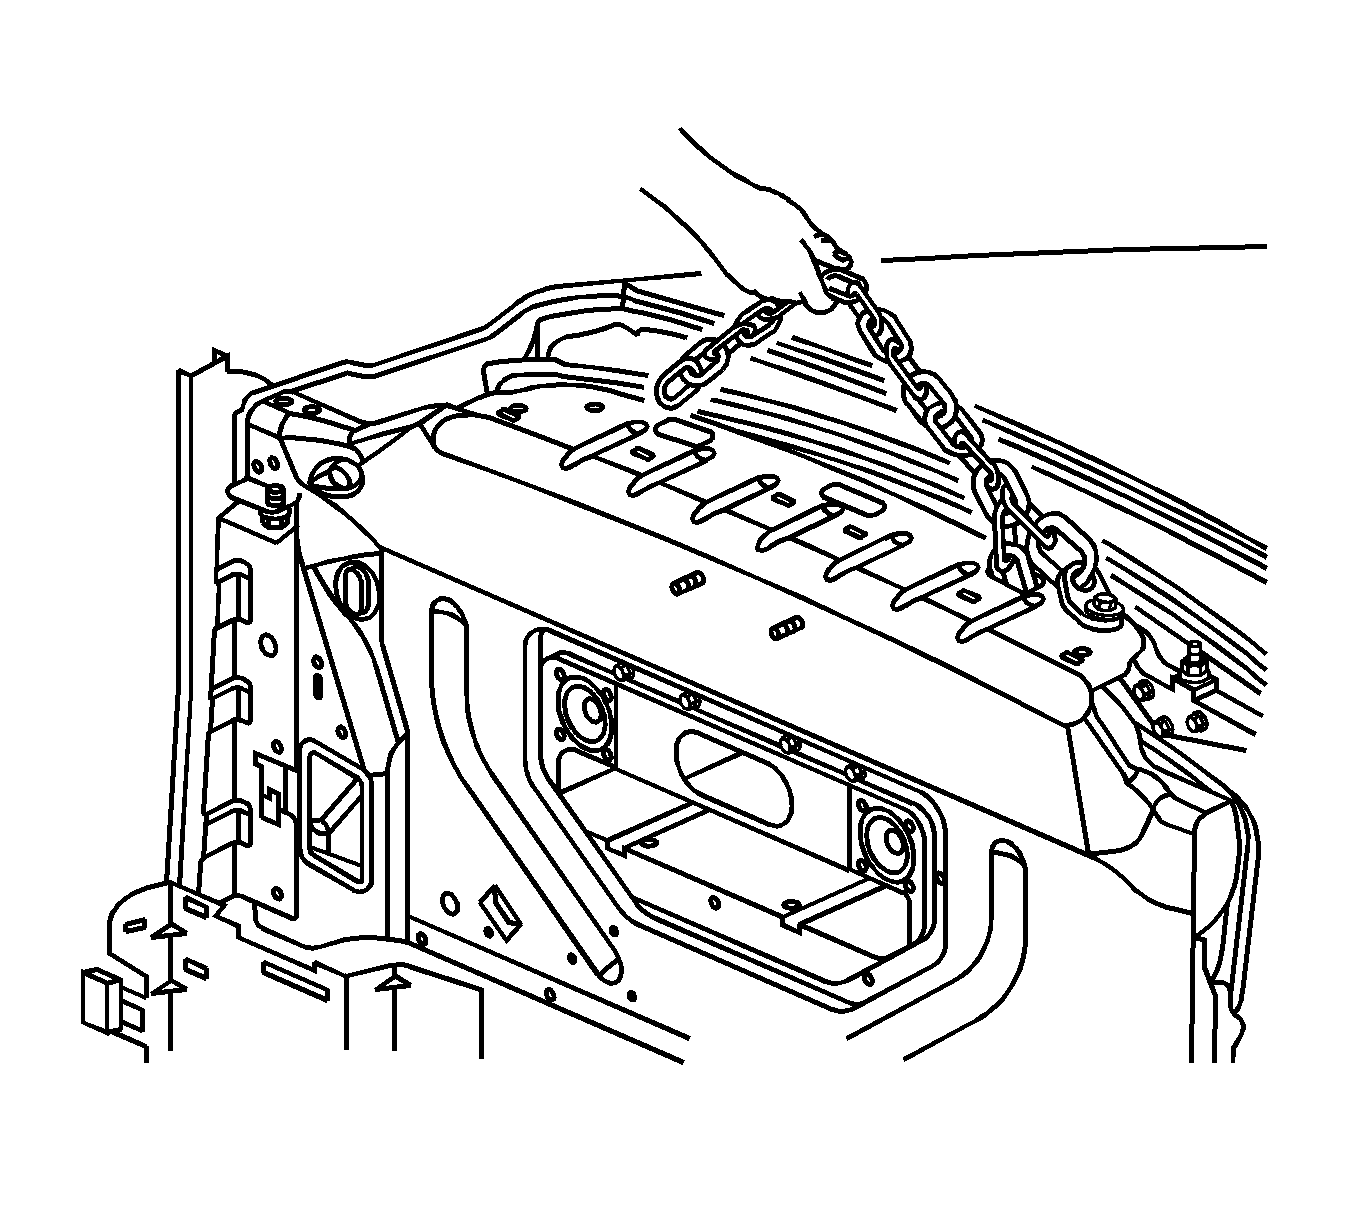
Important: This procedure will need a minimum of 2 people.
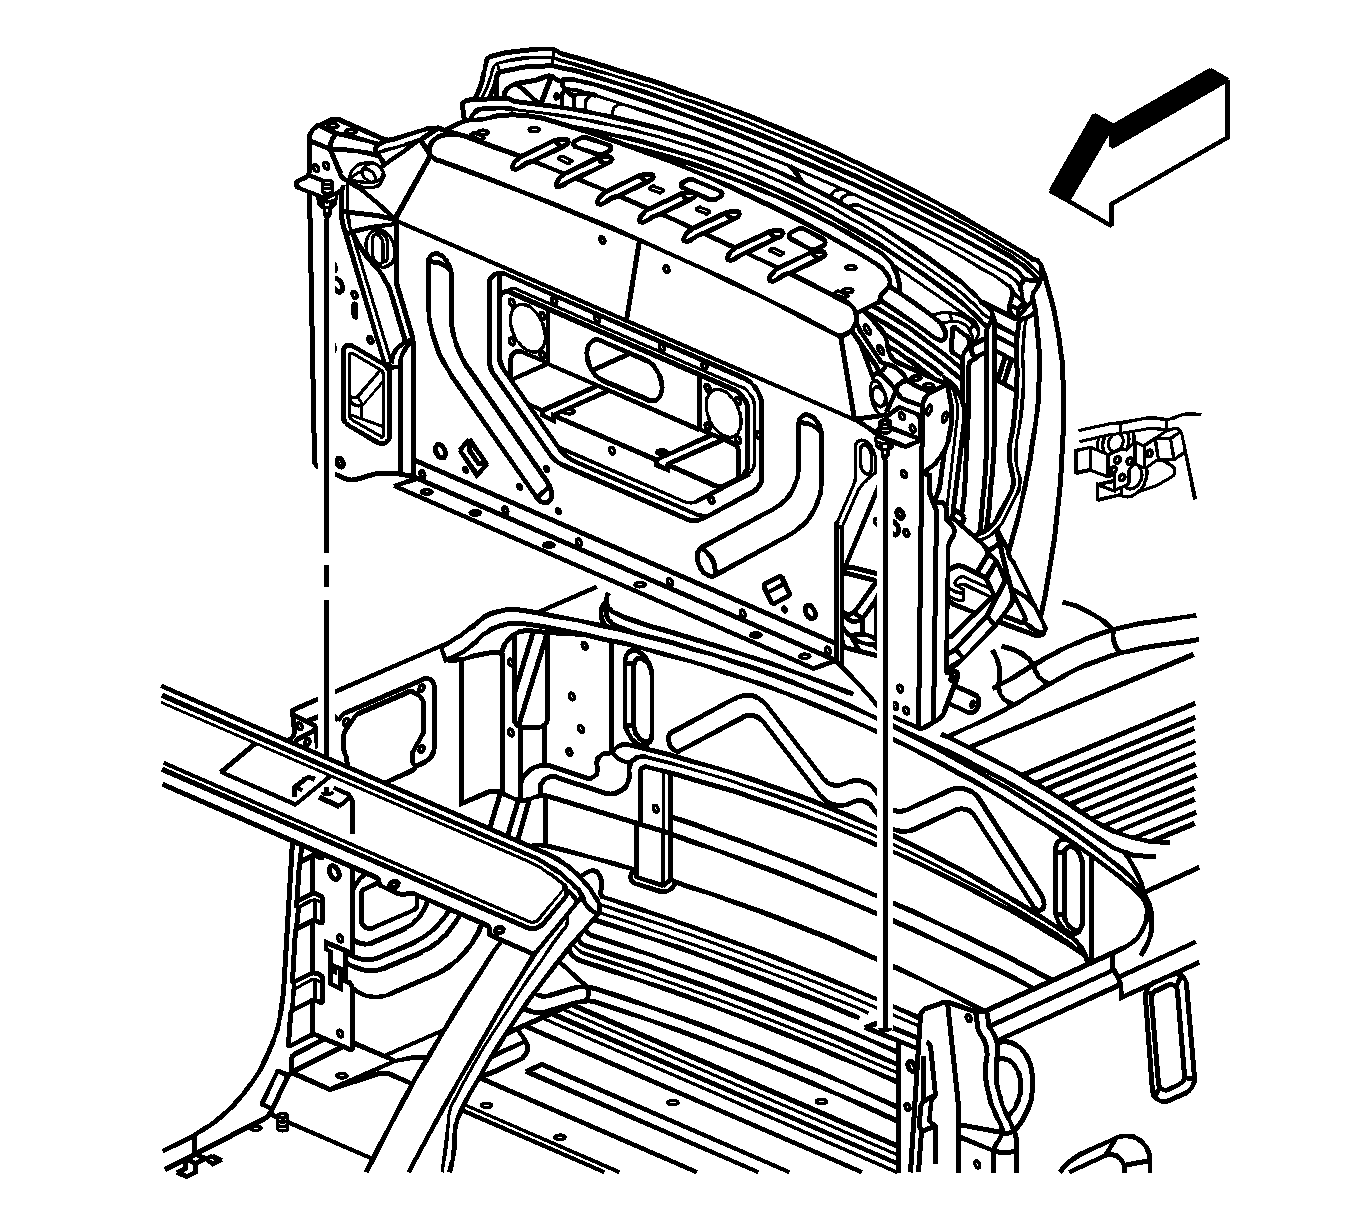
Installation Procedure
- With the aid of an assistant, carefully raise the folding top to clear the body.
- With the aid of an assistant, carefully lower the folding top onto the vehicle.
- Ensure that the folding top locators are aligned into the lock pillar brackets.
- Install the folding top lock pillar fasteners.
- Install the lower bulkhead floor bracket and install the floor bracket fasteners into the vehicle.
- Remove the eyelets from the folding top seat back body panel.
- Connect all electrical connectors at the bulkhead and secure to the bulkhead.
- Remove the folding top stowage compartment lid lift cylinders and the folding top stowage compartment lid latches from the folding top back seat bulkhead.
- Lay the hose and wiring onto the stowage compartment area.
- Raise the folding top up to the windshield header.
- Install the roof stowage lid assembly. Refer to Folding Top Stowage Compartment Lid Replacement .
- Connect the hose and wiring to the body using zip-ties.
- Install the folding top stowage lid latches. Refer to Folding Top Stowage Compartment Lid Latch Replacement .
- Install the folding top stowage lid. Refer to Folding Top Stowage Compartment Lid Replacement .
- Install the center console. Refer to Console Replacement in Instrument Panel, Gages, and Console.
- Install the upper seat belt guide bracket. Refer to Shoulder Belt Guide Bracket Replacement in Seat Belts.
- Install the lock pillar trim. Refer to Body Lock Pillar Trim Panel Replacement in Interior Trim.
- Install the door sill plate. Refer to Door Sill Plate Replacement in Interior Trim.
- Install the rear upper garnish molding. Refer to Rear Upper Garnish Molding Replacement in Interior Trim.
- Install the front seats. Refer to Seat Replacement in Seats.
- Inspect the folding top for proper operation. Refer to Power Folding Top Description and Operation .

Notice: Refer to Fastener Notice in the Preface section.

Tighten
Tighten the fasteners to 45 N·m (33 lb ft).

Tighten
Tighten the fasteners to 25 N·m (18 lb ft).

