For 1990-2009 cars only
Removal Procedure
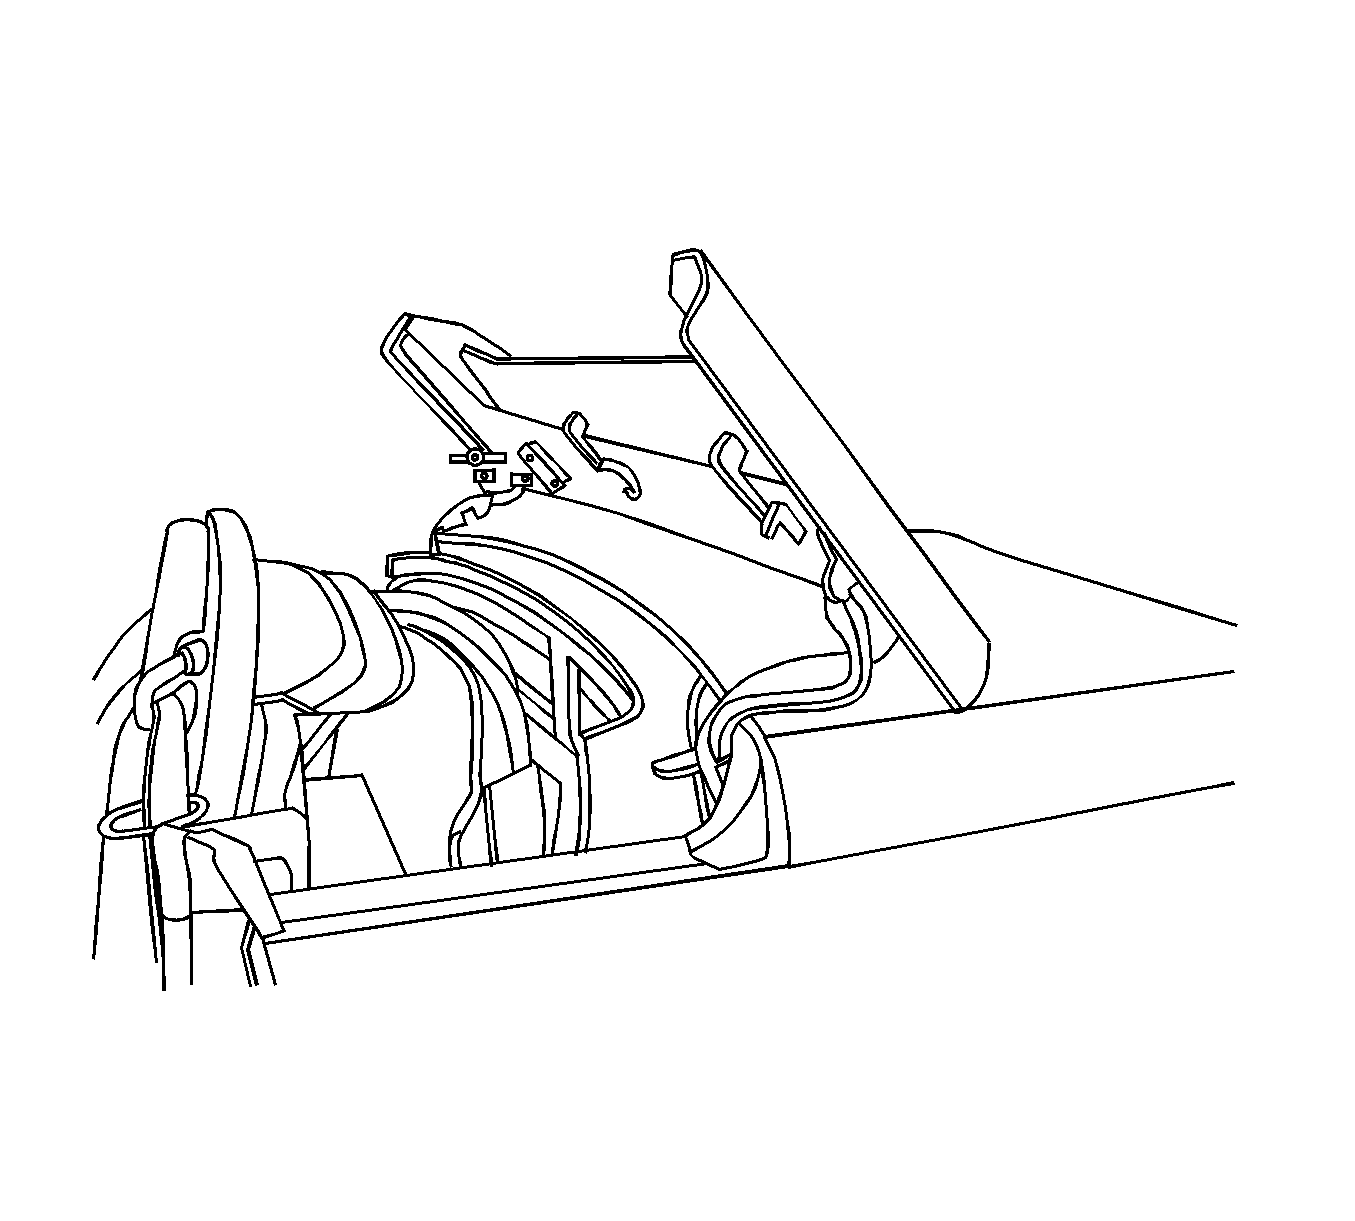
- Cycle the folding top to the open position.
- Remove the upper garnish trim. Refer to Rear Upper Garnish Molding Replacement in Interior Trim.
- Remove the passenger side lock pillar trim. Refer to Body Lock Pillar Trim Panel Replacement in Interior Trim.
- Remove the passenger seat. Refer to Driver and Passenger Seat Replacement in Seats.
- Remove the center console. Refer to Console Replacement in Instrument Panel, Gages, and Console.
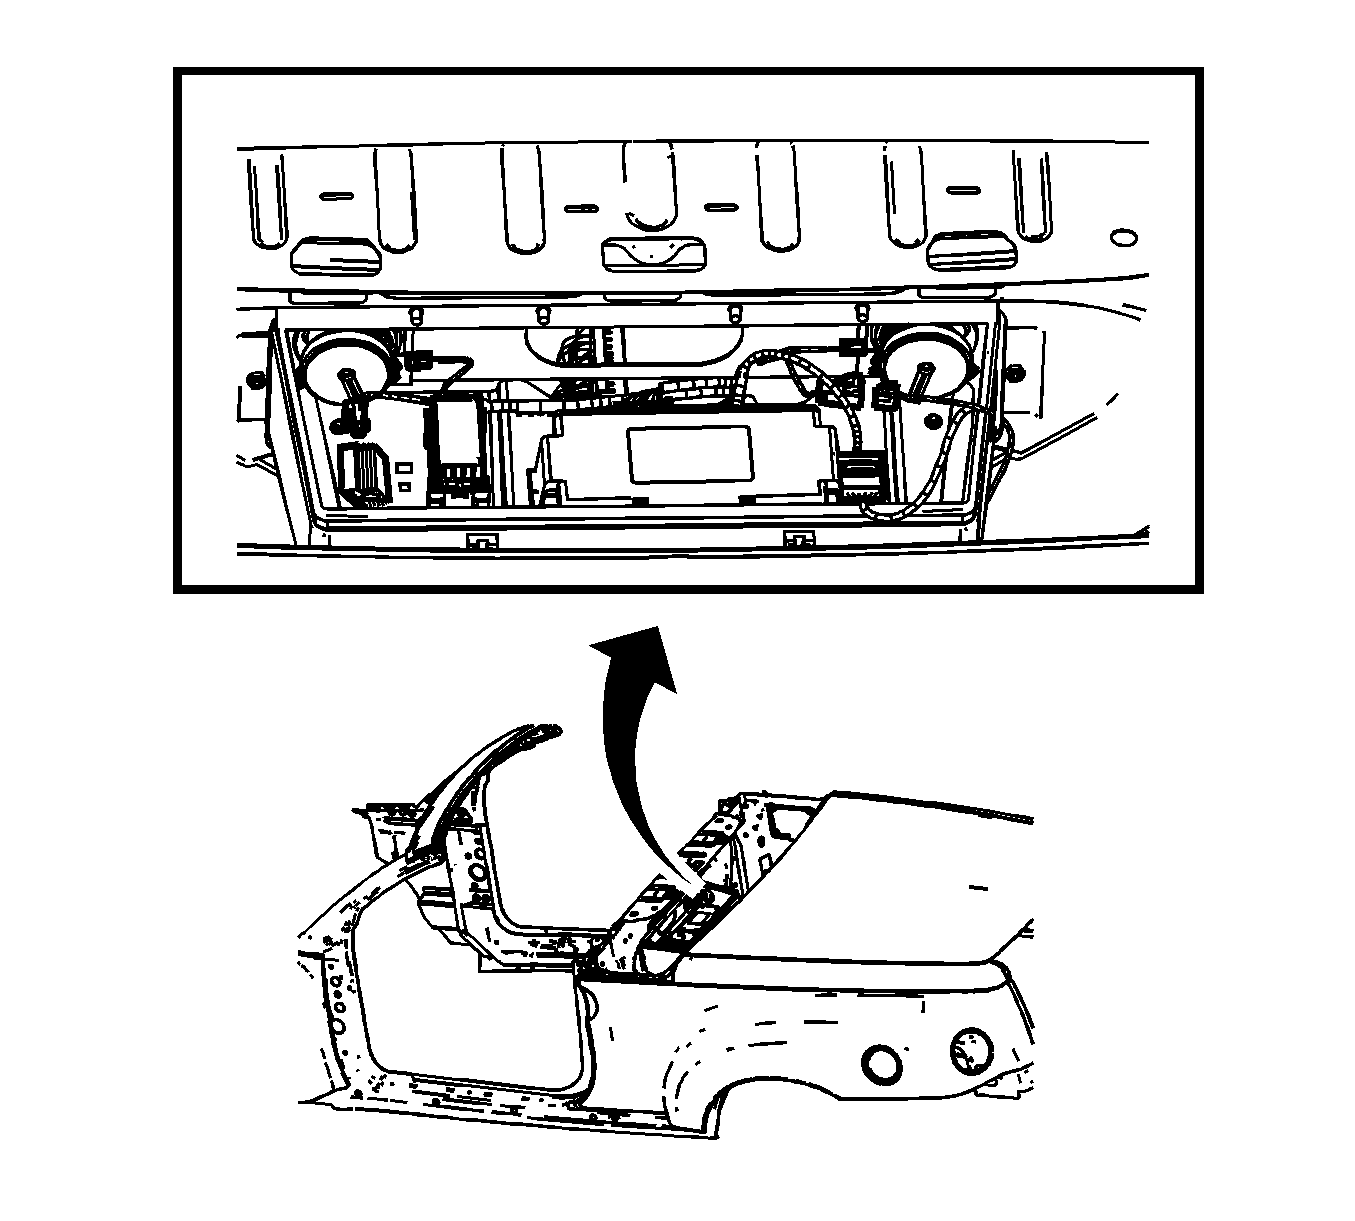
- Remove all electrical connectors from the body rear accessory compartment.
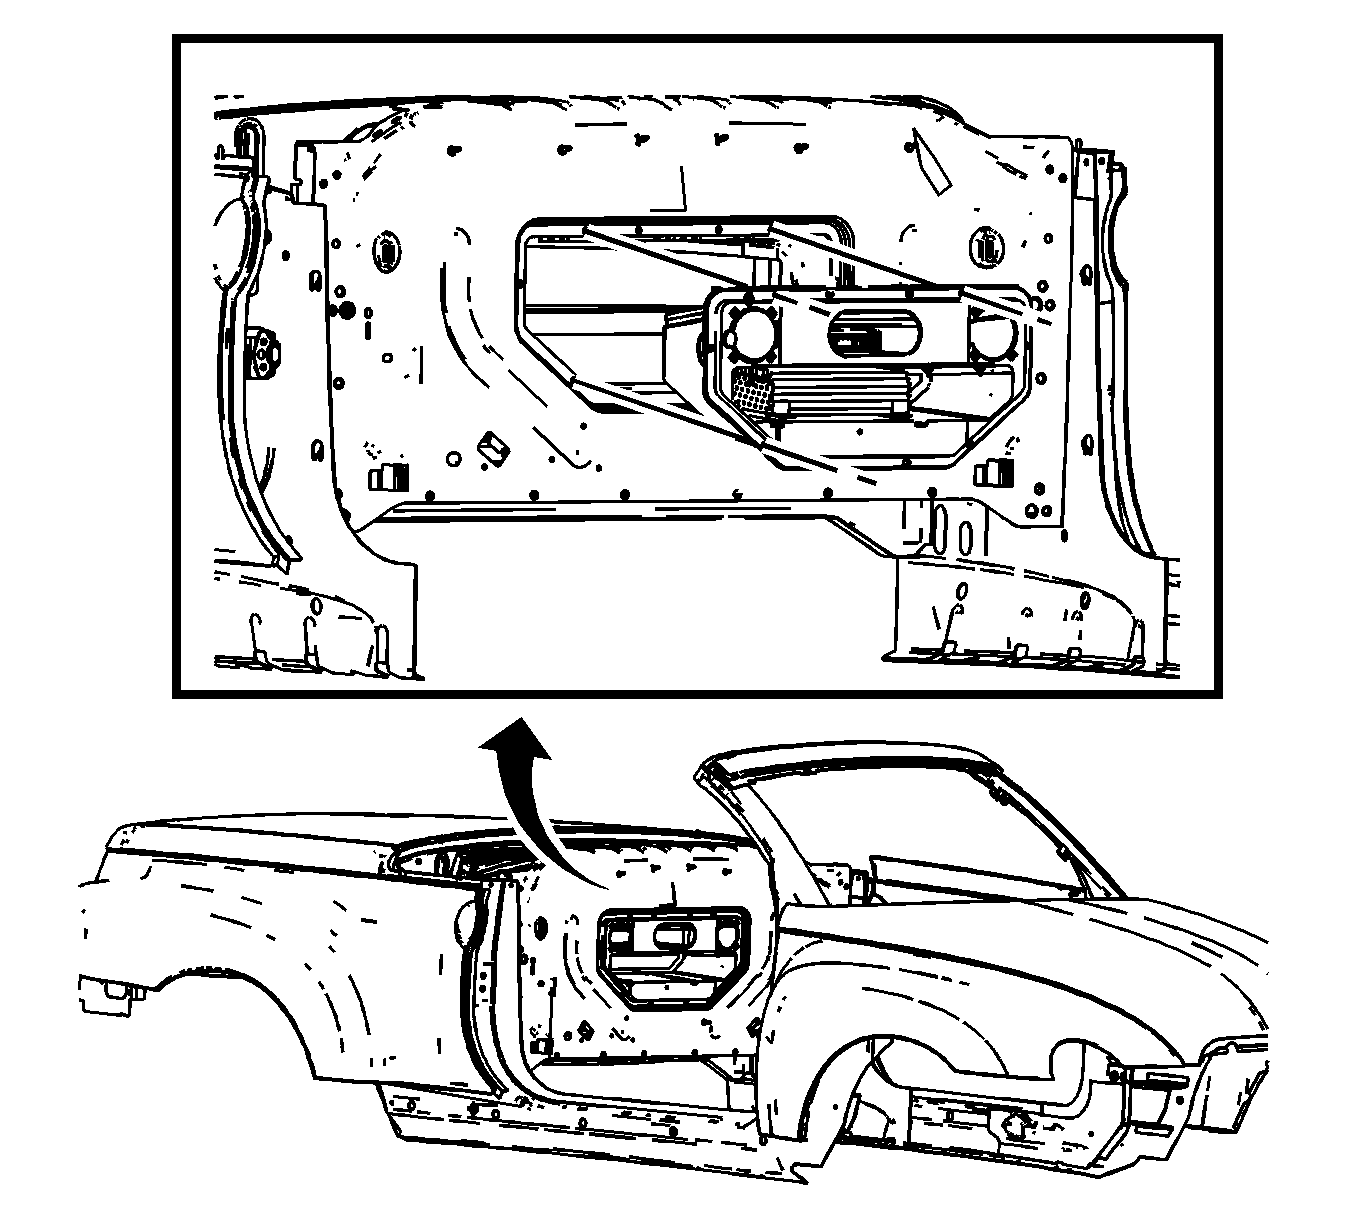
- Lift the center console bracket upward and lay the center console bracket on its side in the passenger compartment.
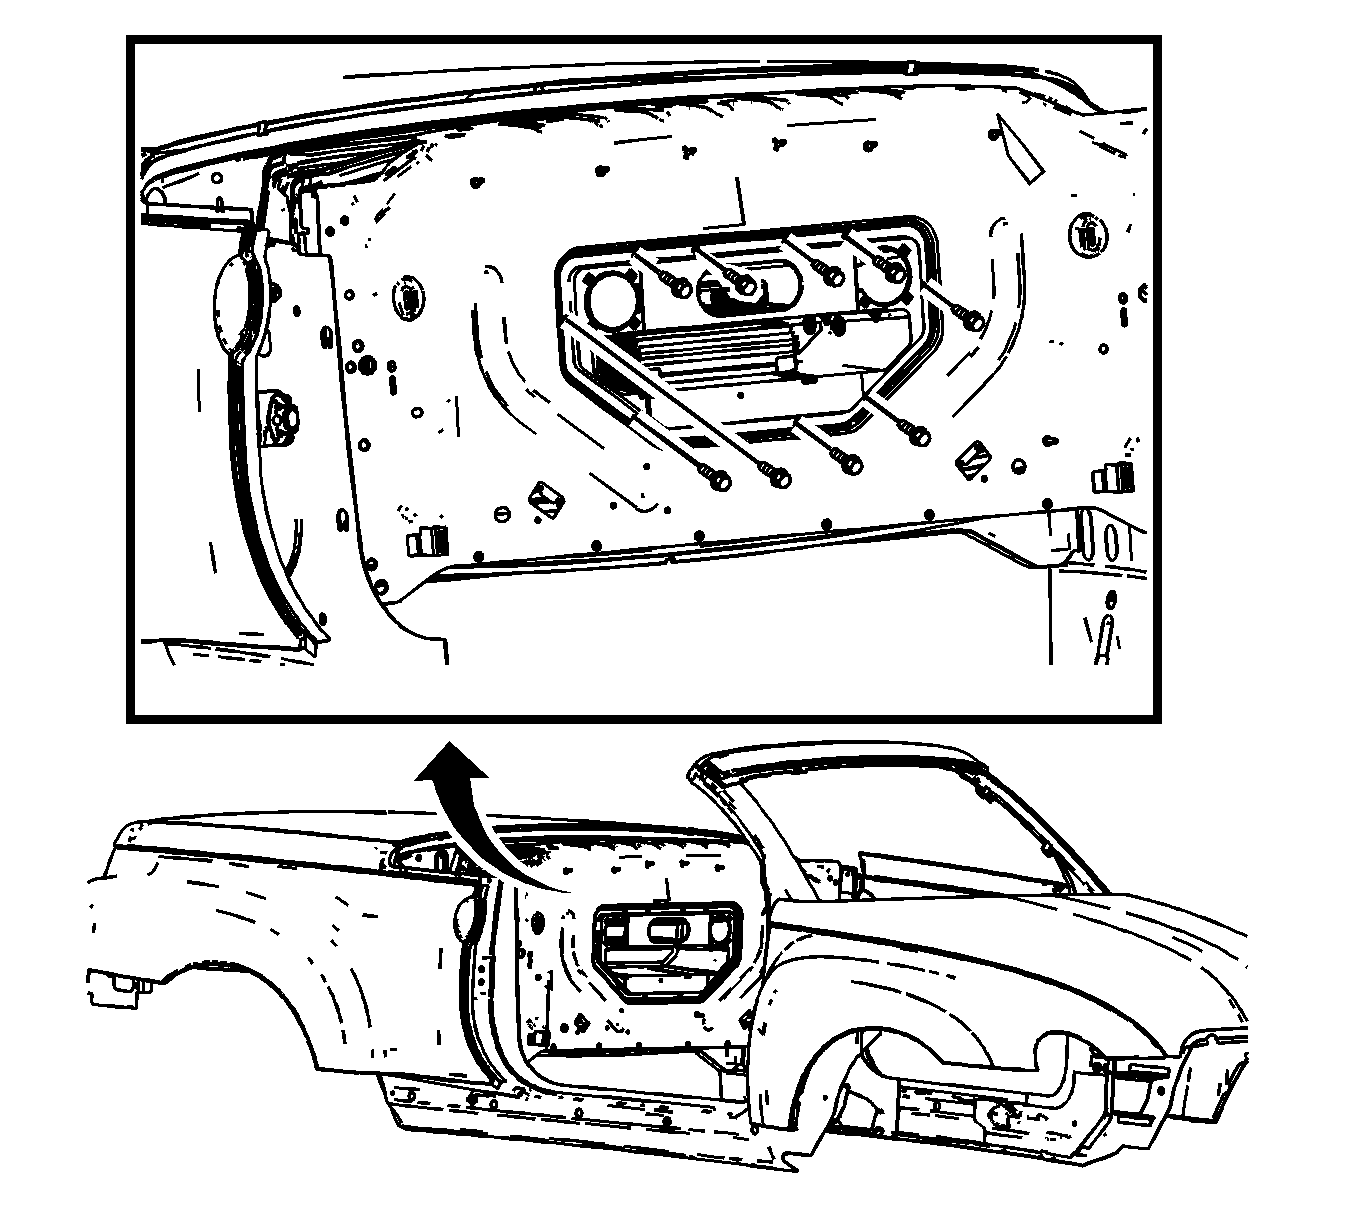
- Remove the body rear compartment fasteners.
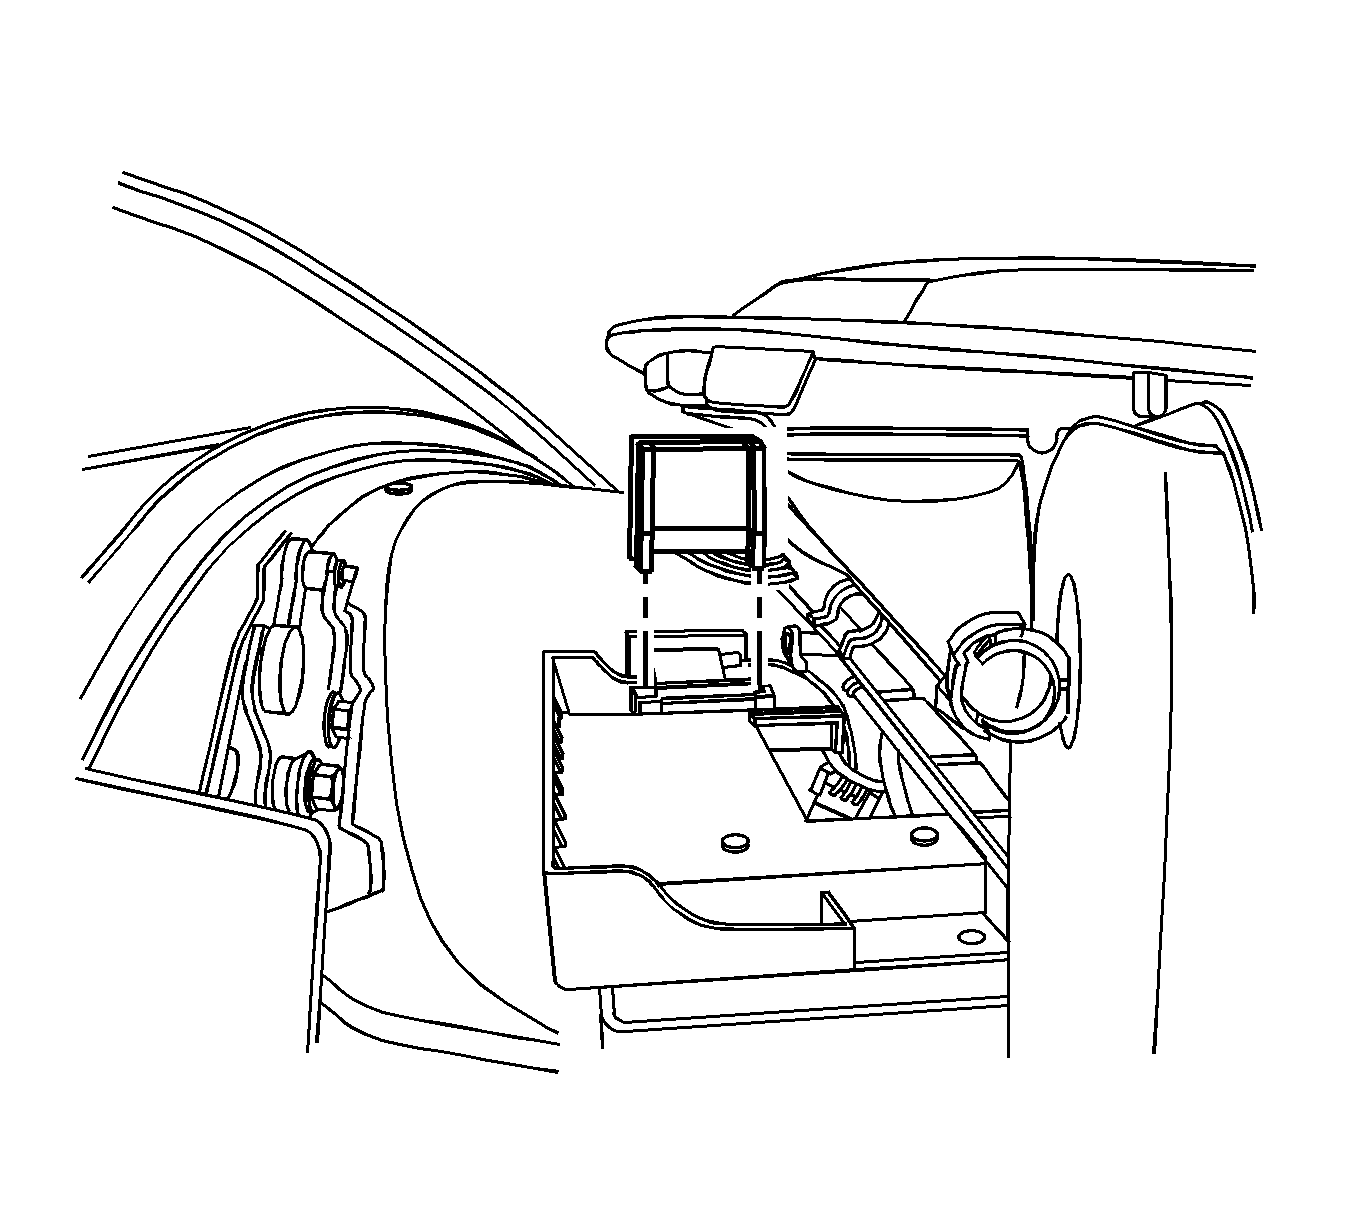
- Remove the body rear compartment from the vehicle.
- If replacing the body rear accessories compartment, perform steps 11-17.
- Remove the amplifier. Refer to Radio Speaker Amplifier Replacement in Entertainment.
- Remove the folding top control panel module. Refer to Folding Top Control Module Replacement .
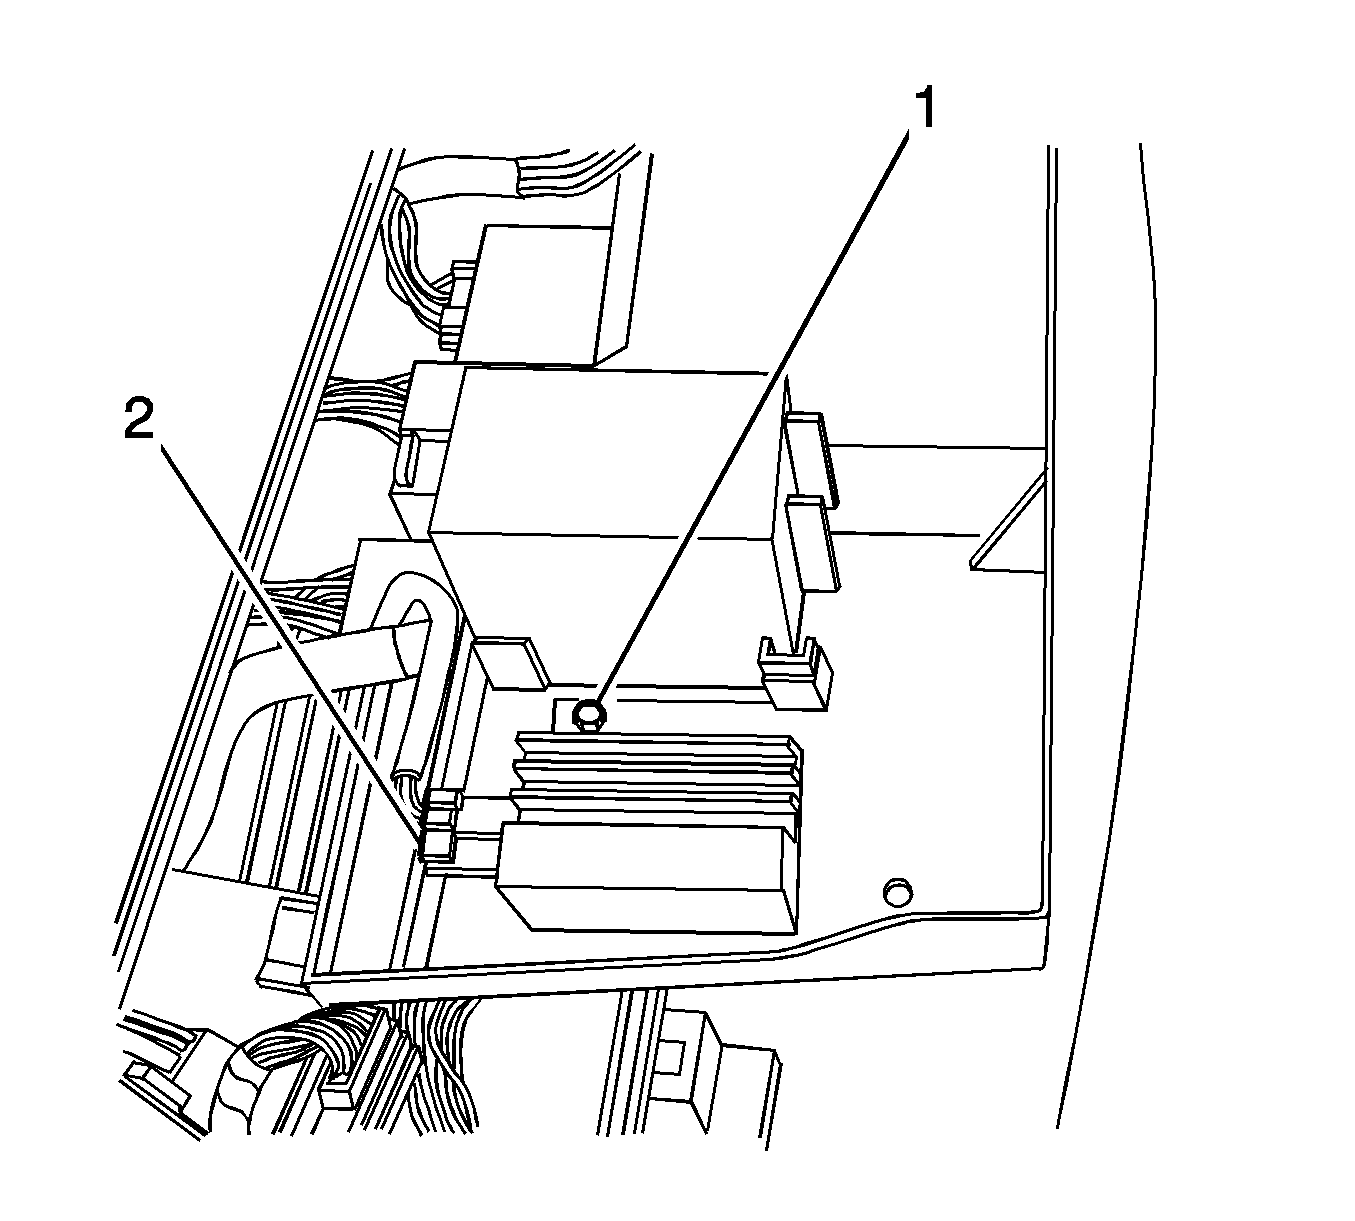
- Remove the electrical connector from the daytime running lamps (DRL) resistor (2).
- Remove the fastener (1).
- Remove the DRL resistor from the body accessories compartment.
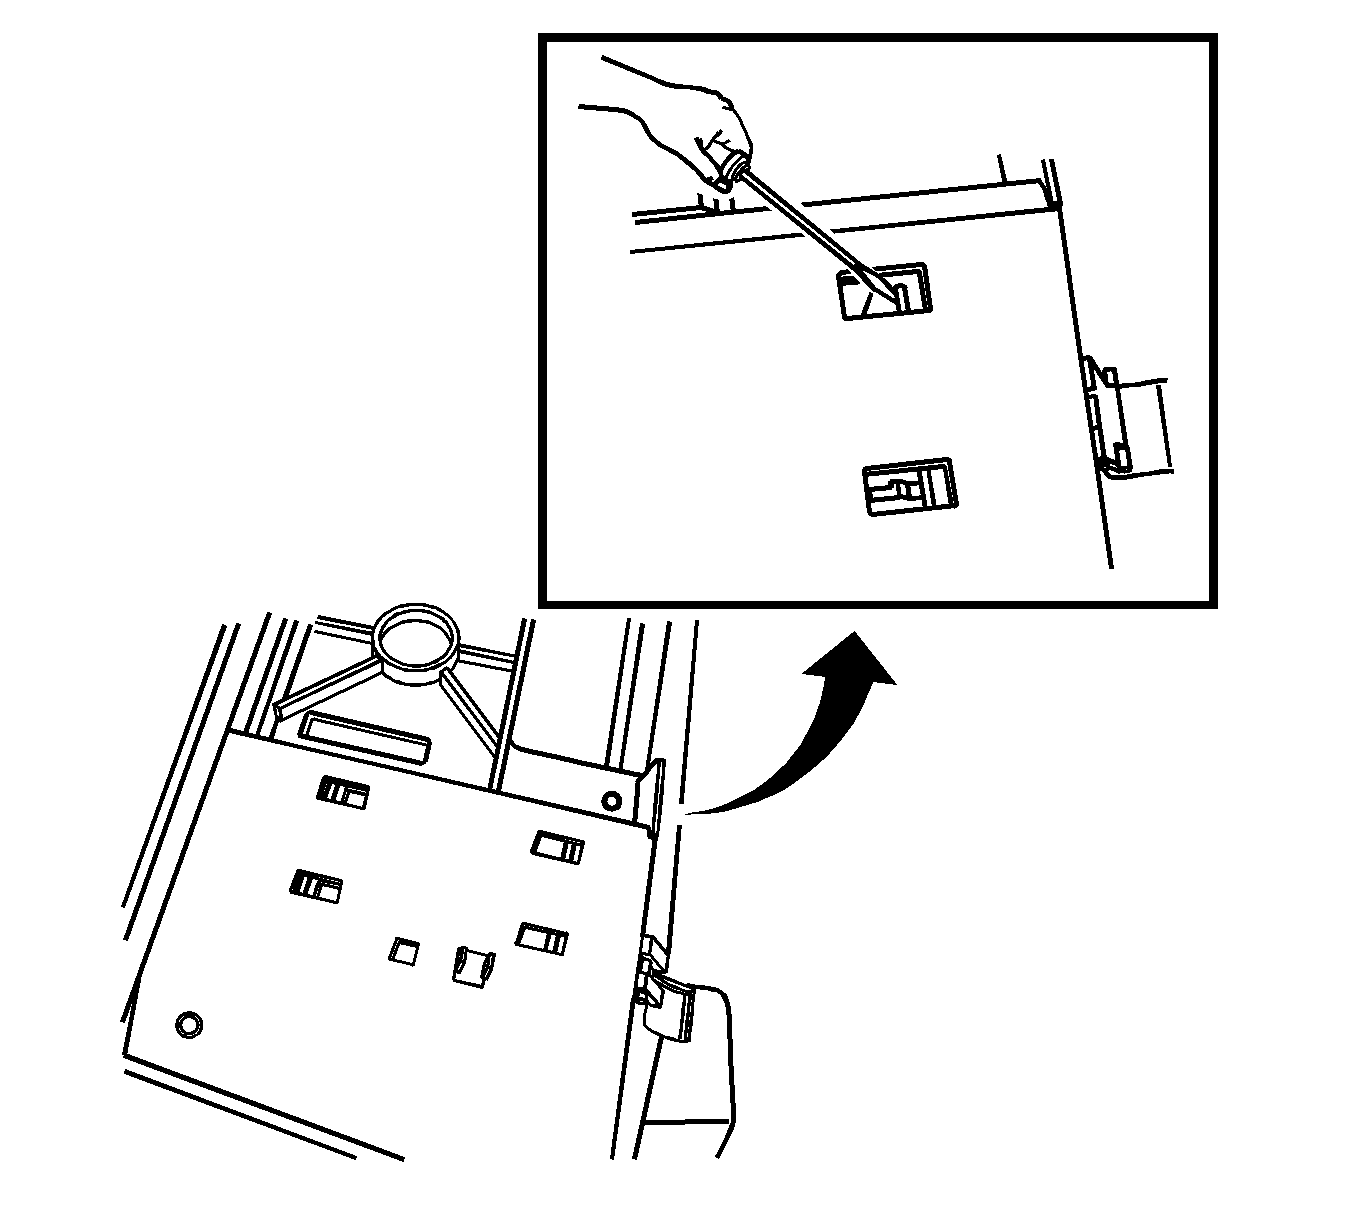
- Release the locking tabs from the rear relay block (1).
- Remove the rear relay block from the body accessories compartment.
Installation Procedure
- If replacing the body rear accessories compartment perform steps 2-7.
- Install the rear relay block to the body accessories compartment.
- Install the DRL resistor to the body accessories compartment.
- Install the fastener (1) to the DRL.
- Install the electrical connector to the DRL resistor (2).
- Install the folding top control panel module. Refer to Folding Top Control Module Replacement .
- Install the amplifier. Refer to Radio Speaker Amplifier Replacement in Entertainment.
- Install the body rear compartment to the vehicle.
- Install the body rear compartment fasteners.
- Install all the electrical connectors into the body rear accessory compartment.
- Install the center console. Refer to Console Replacement in Instrument Panel, Gages, and Console.
- Install the passenger seat. Refer to Driver and Passenger Seat Replacement in Seats.
- Install the passenger side lock pillar trim. Refer to Body Lock Pillar Trim Panel Replacement in Interior Trim.
- Install the upper garnish trim. Refer to Rear Upper Garnish Molding Replacement in Interior Trim.
- Close the folding top.
- Inspect the folding top for proper operation. Refer to Power Folding Top Description and Operation .

Notice: Refer to Fastener Notice in the Preface section.

Tighten
Tighten the fastener to 5 N·m (44 lb in).


Tighten
Tighten the body rear compartment fasteners to 10 N·m (88 lb in).

