For 1990-2009 cars only
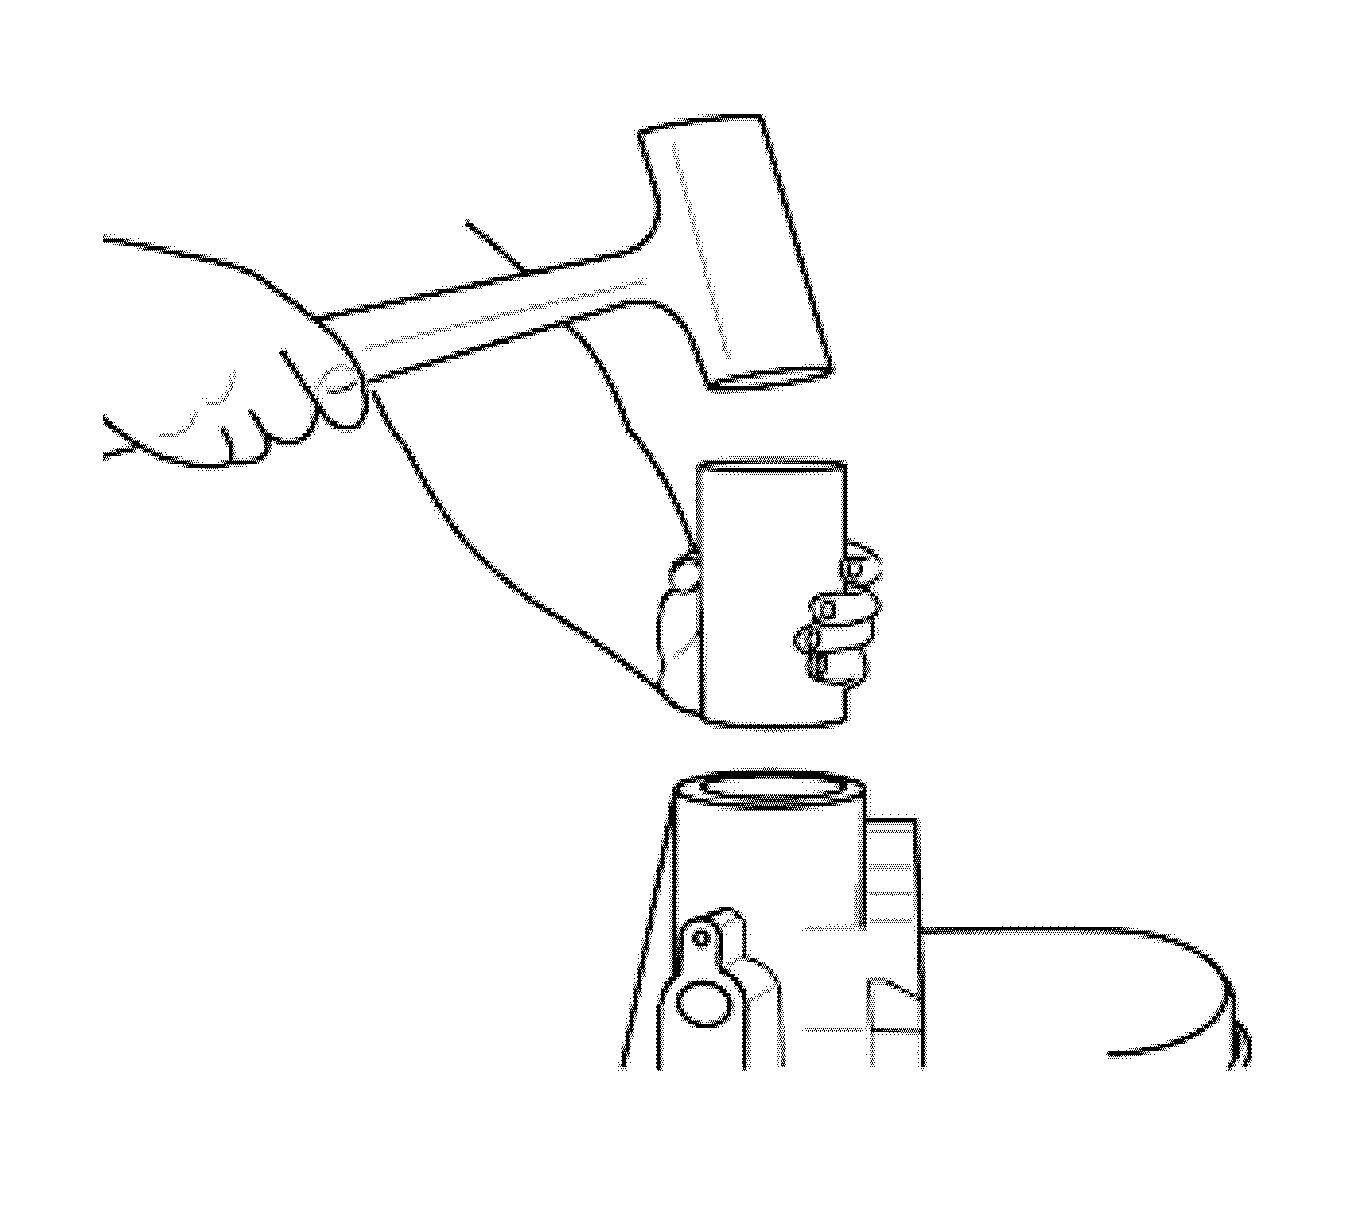
- Using a drive tool, install a new bearing, if equipped.
- Using locking pliers, install the bearing snap ring, if equipped.
- Using a drive tool, if required, install a new extension oil seal.
- Using a driving tool, install a new retaining oil seal, if required.
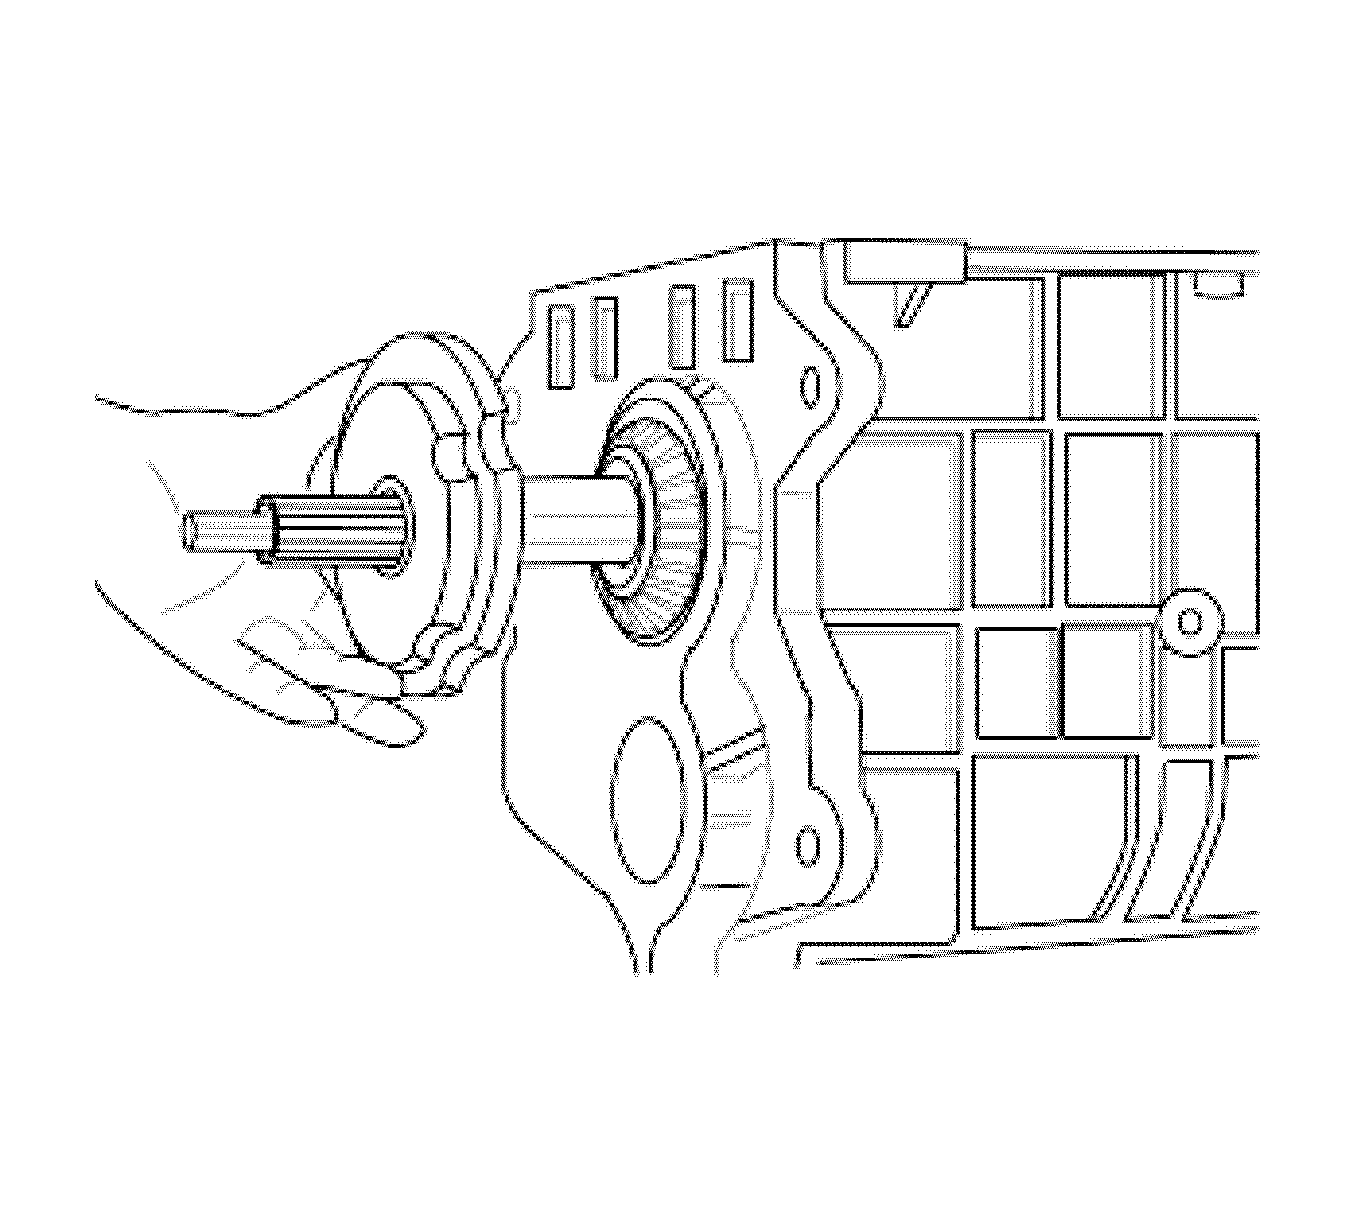
- Using a drive tool or hydraulic press, install the drive shaft tapered bearing taper.
- Install the drive shaft interior bearing roller cage.
- Install the main shaft assembly. Fasten it to the synchronizer, lifting with the help of a cord in one hand and pushing with the other hand.
- Install the tapered bearing race.
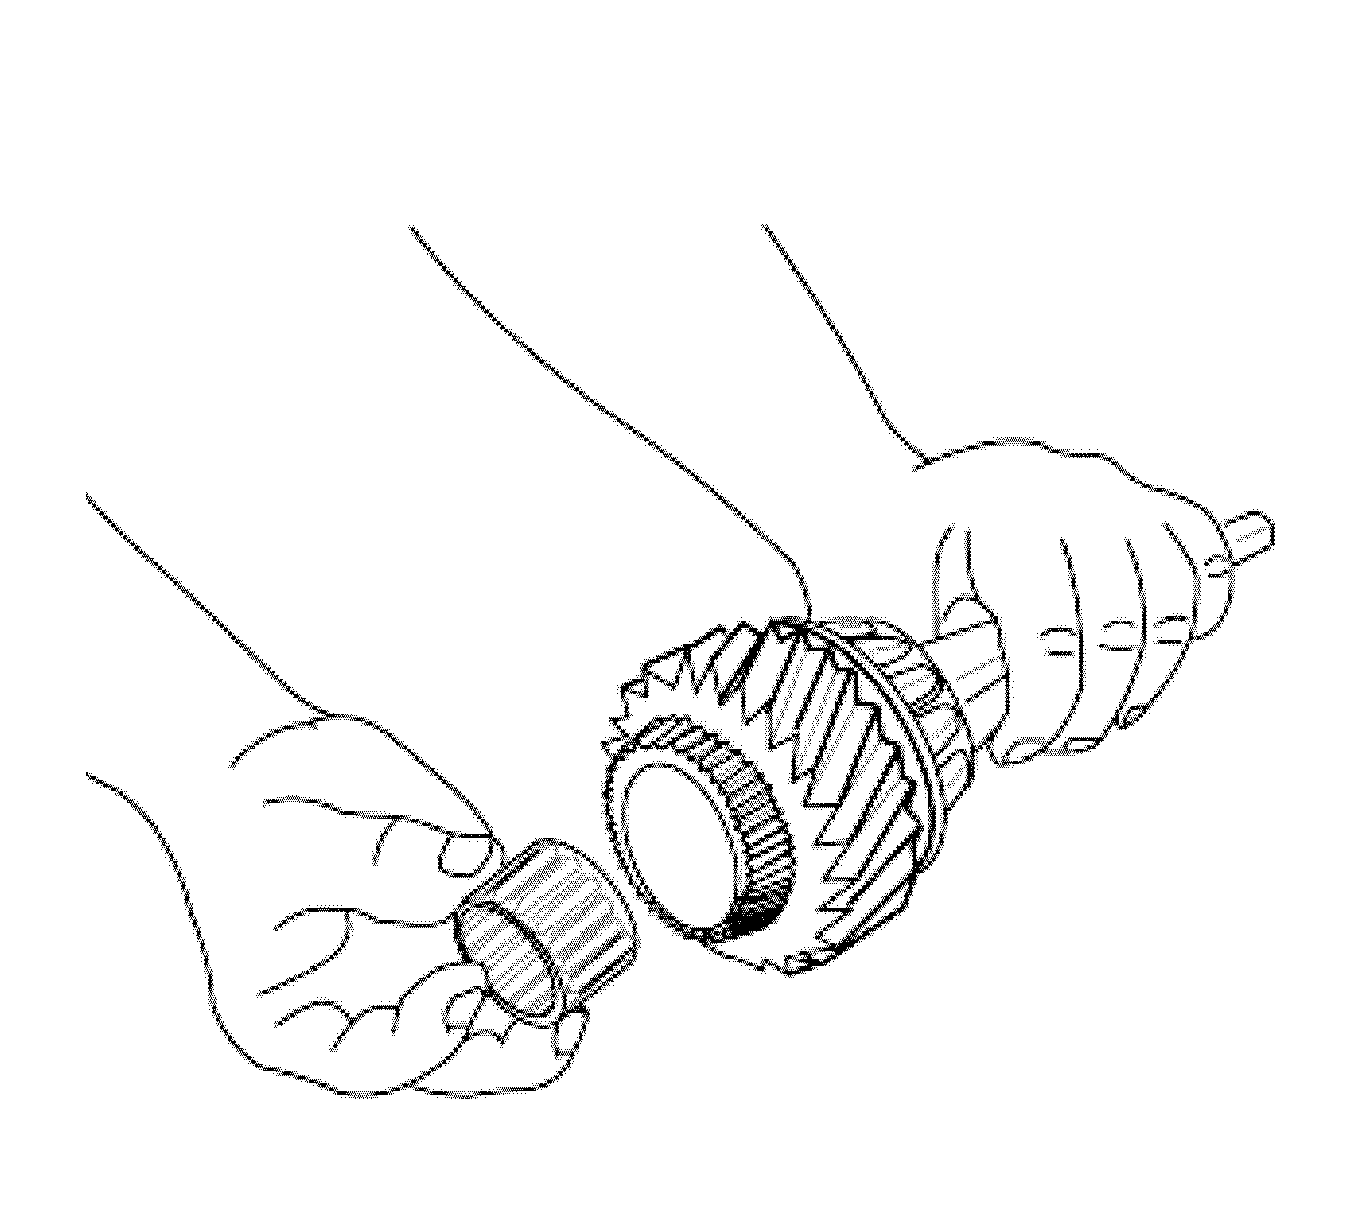
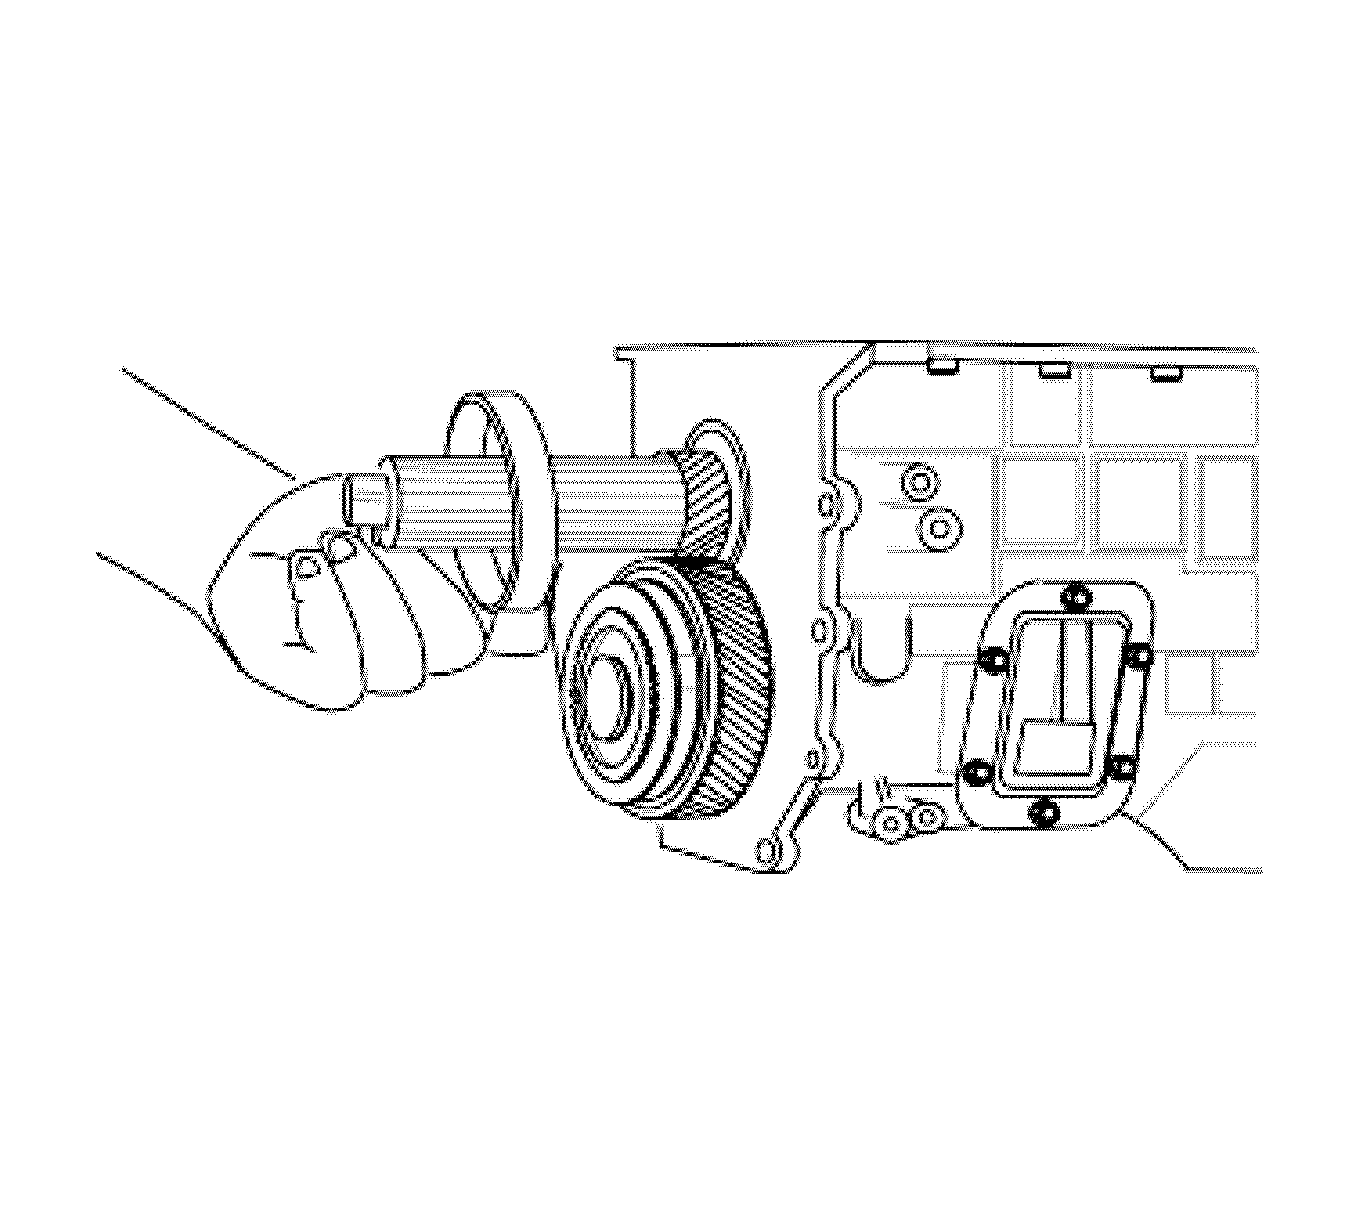
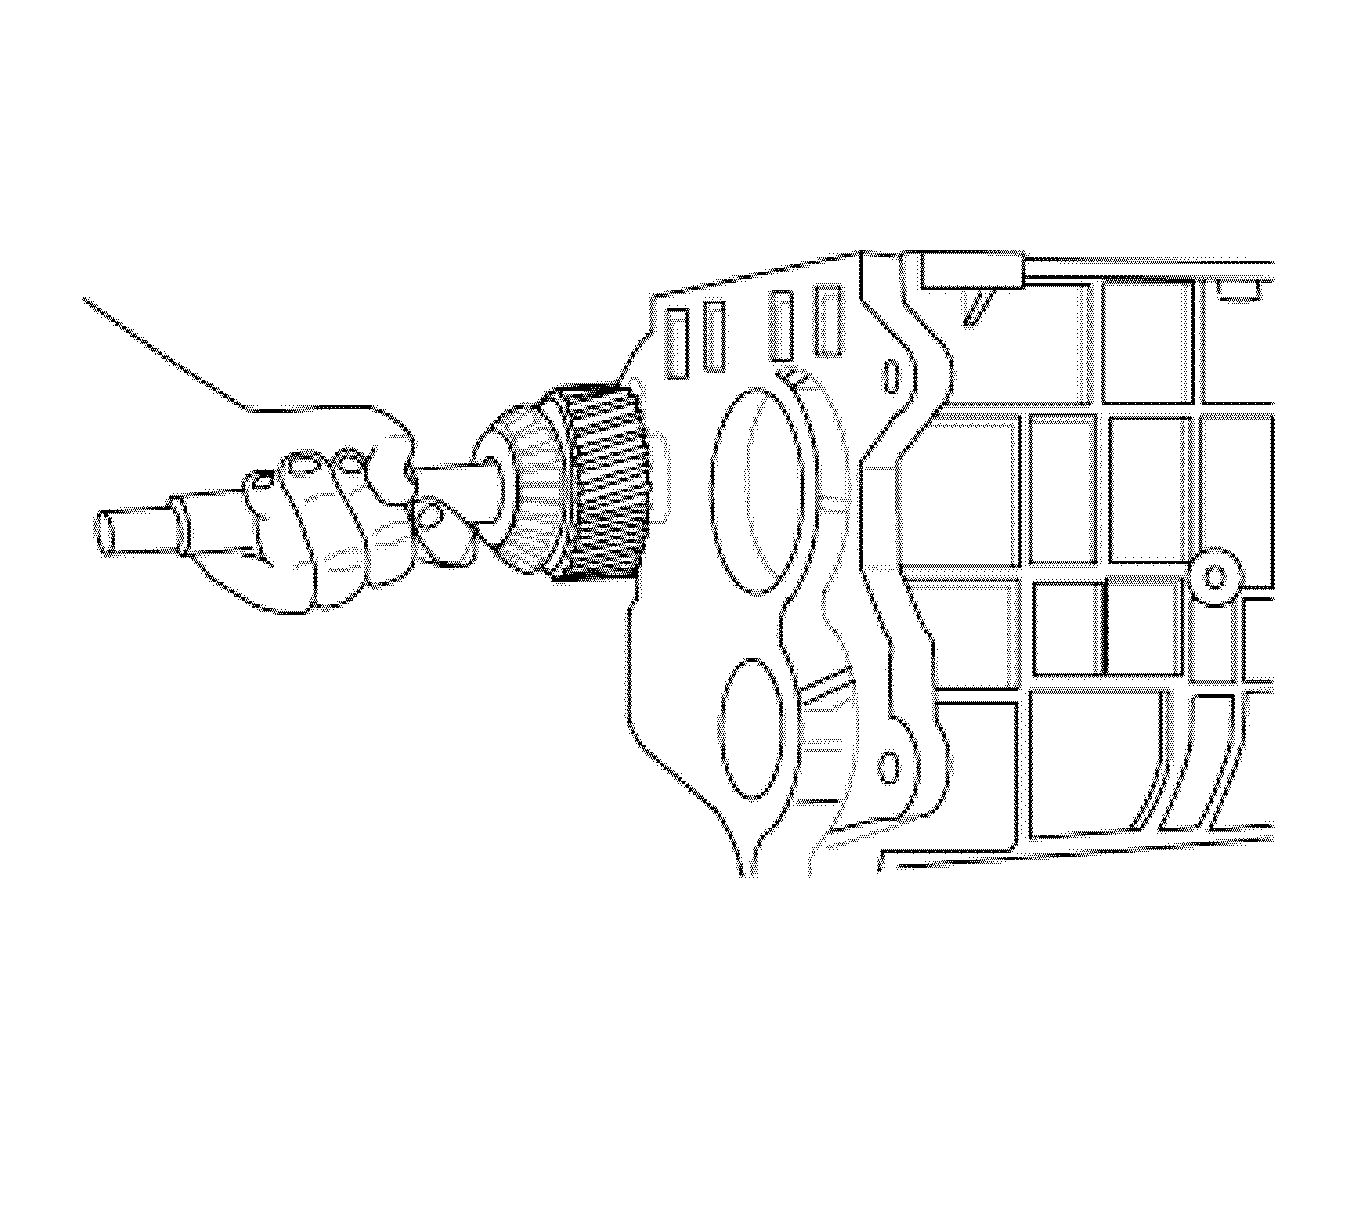
- Install the drive shaft, positioning the shaft lubrication grooves with the clutch ring.
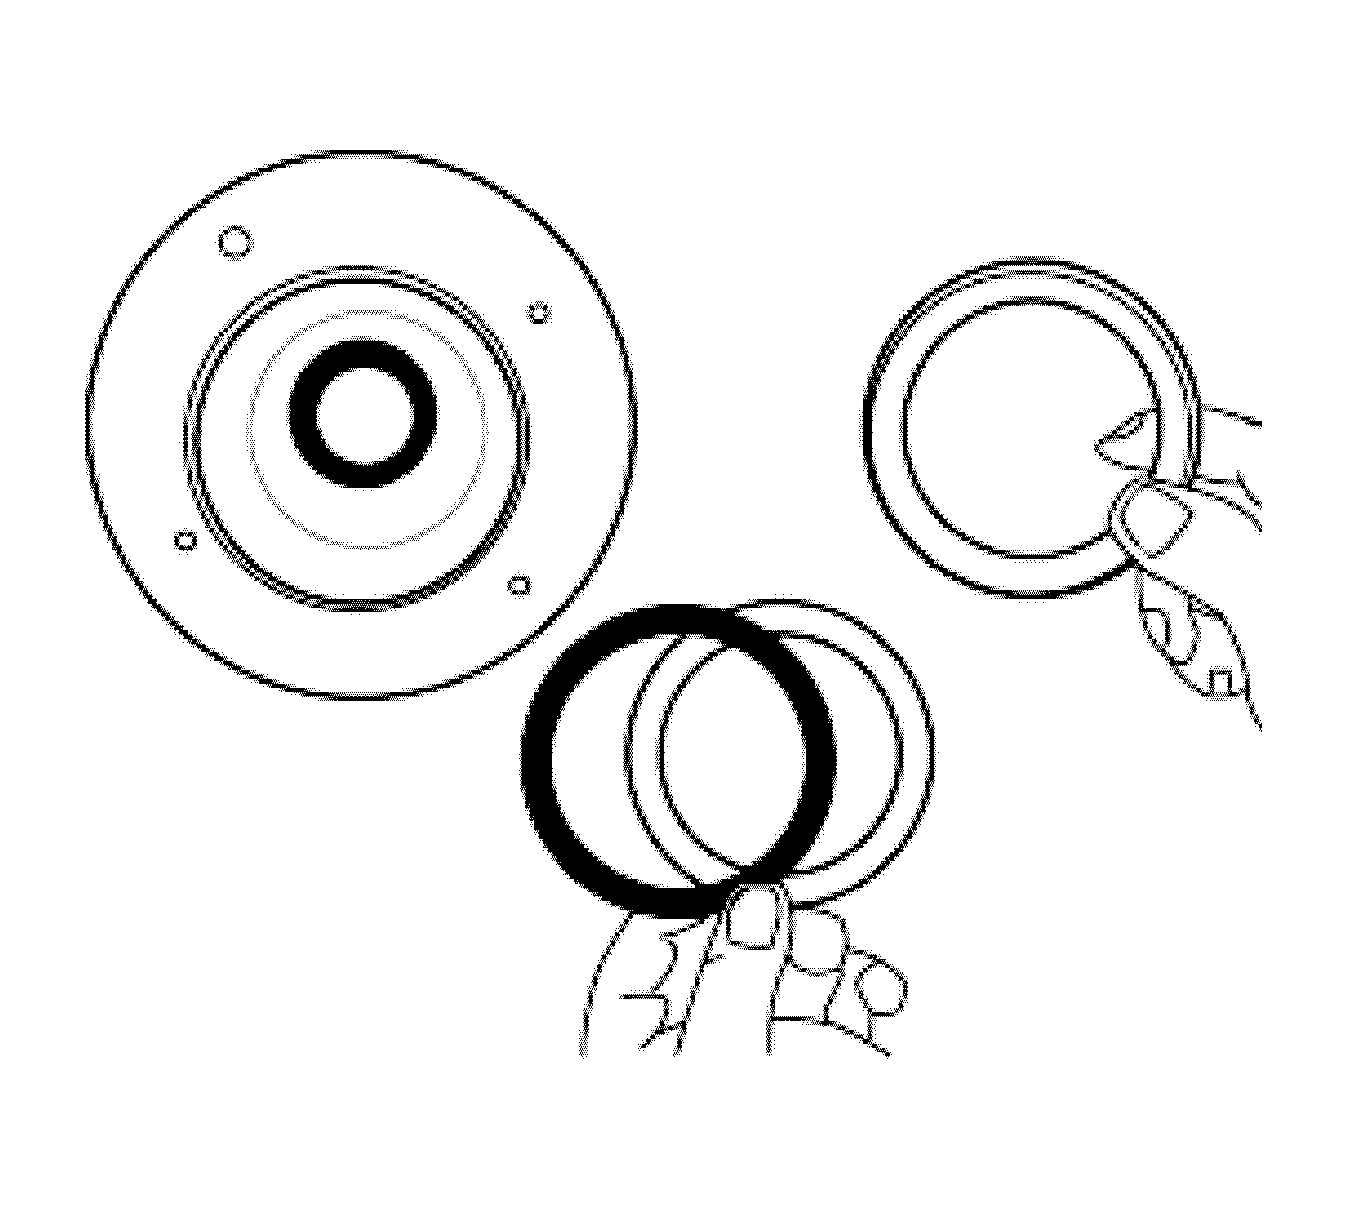
- Install the new spacers and bearing race. Add spacers for more play and remove spacers for less play.
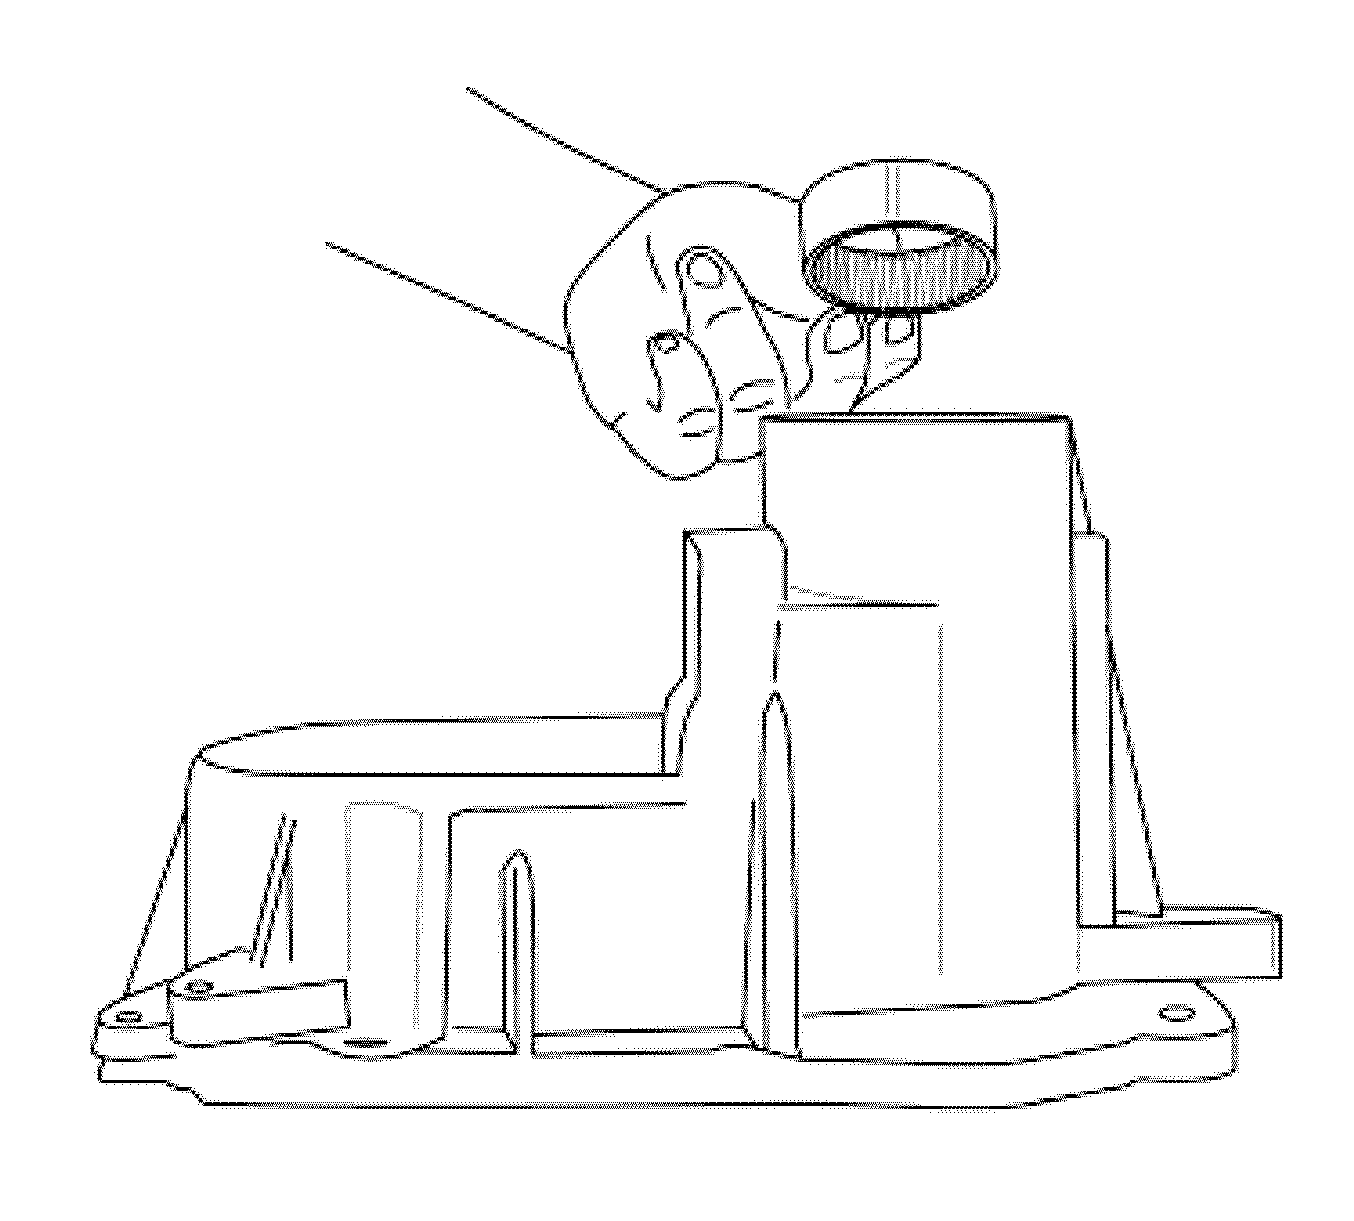
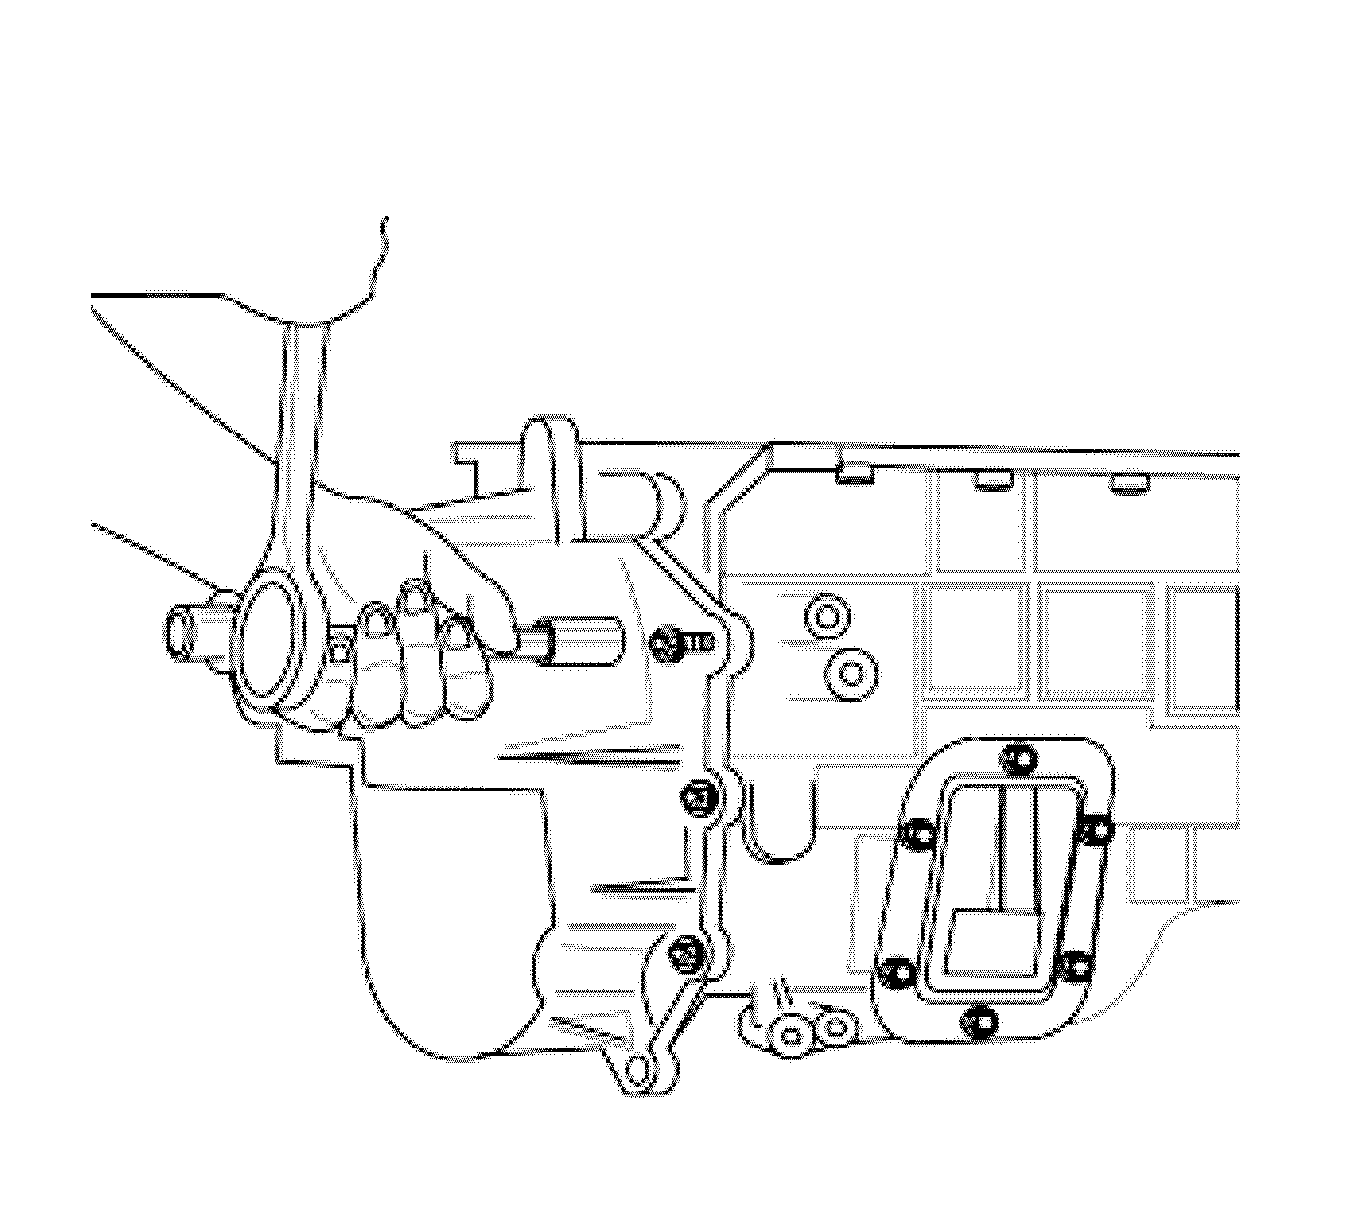
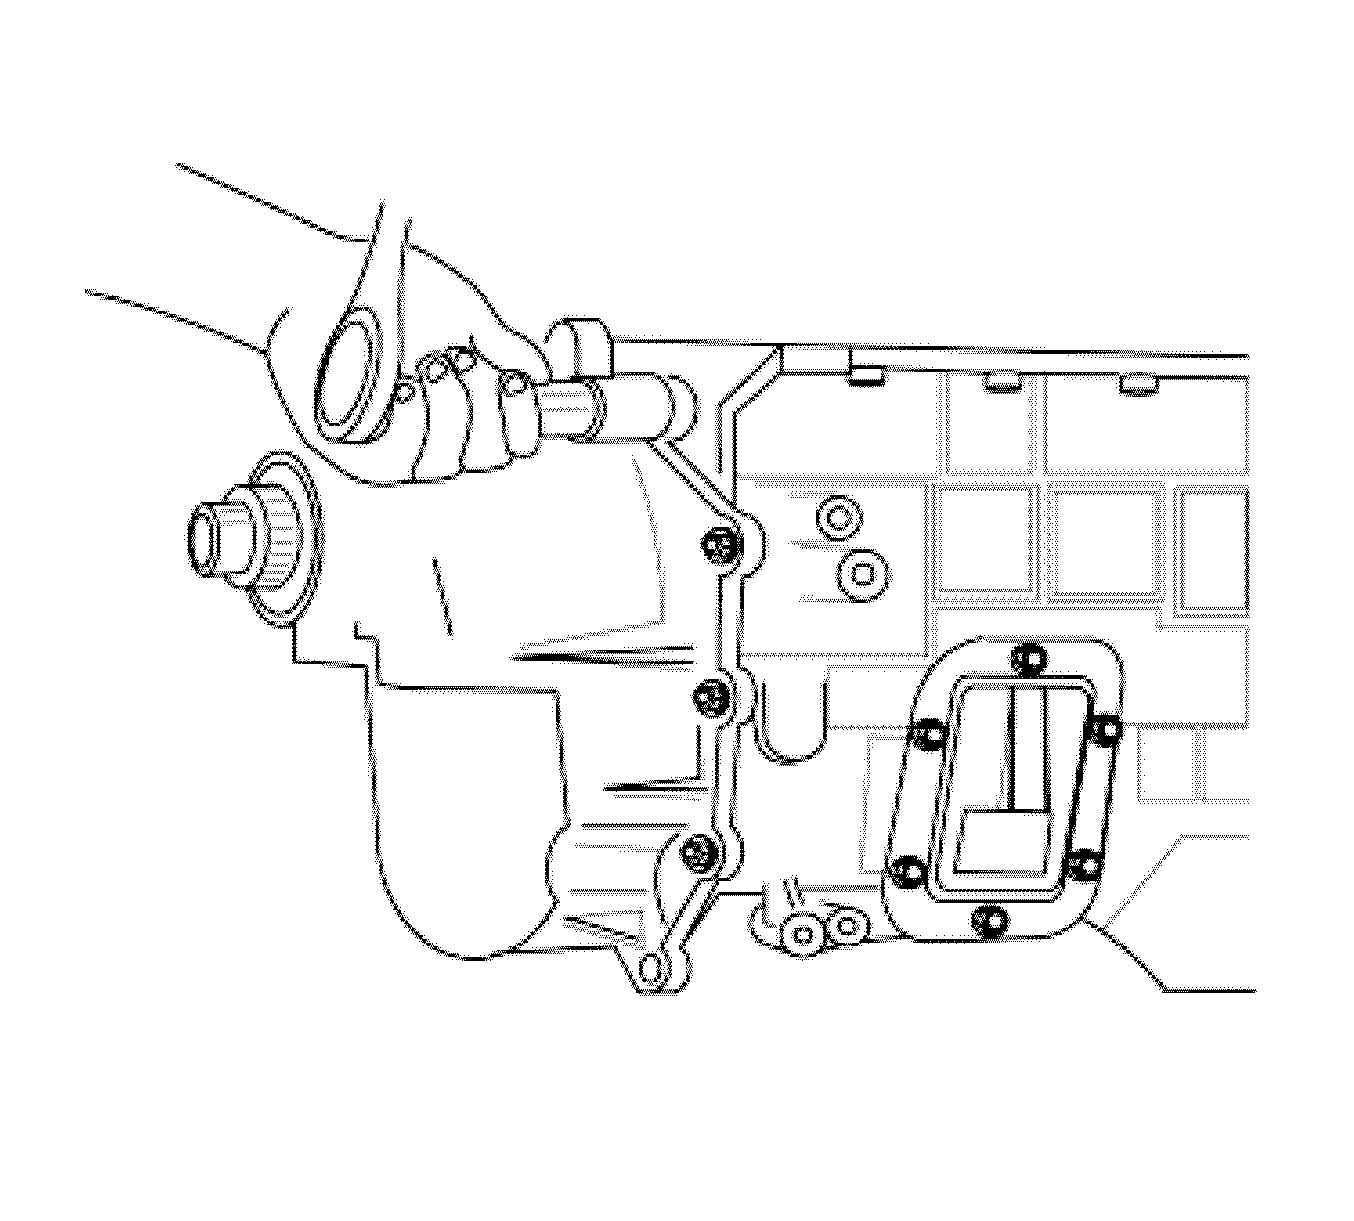
- Install the bearing retainer, locating the bearing retainer position to the bore holes, which are the position of the lubrication bores.
- Tighten the 4 screws.
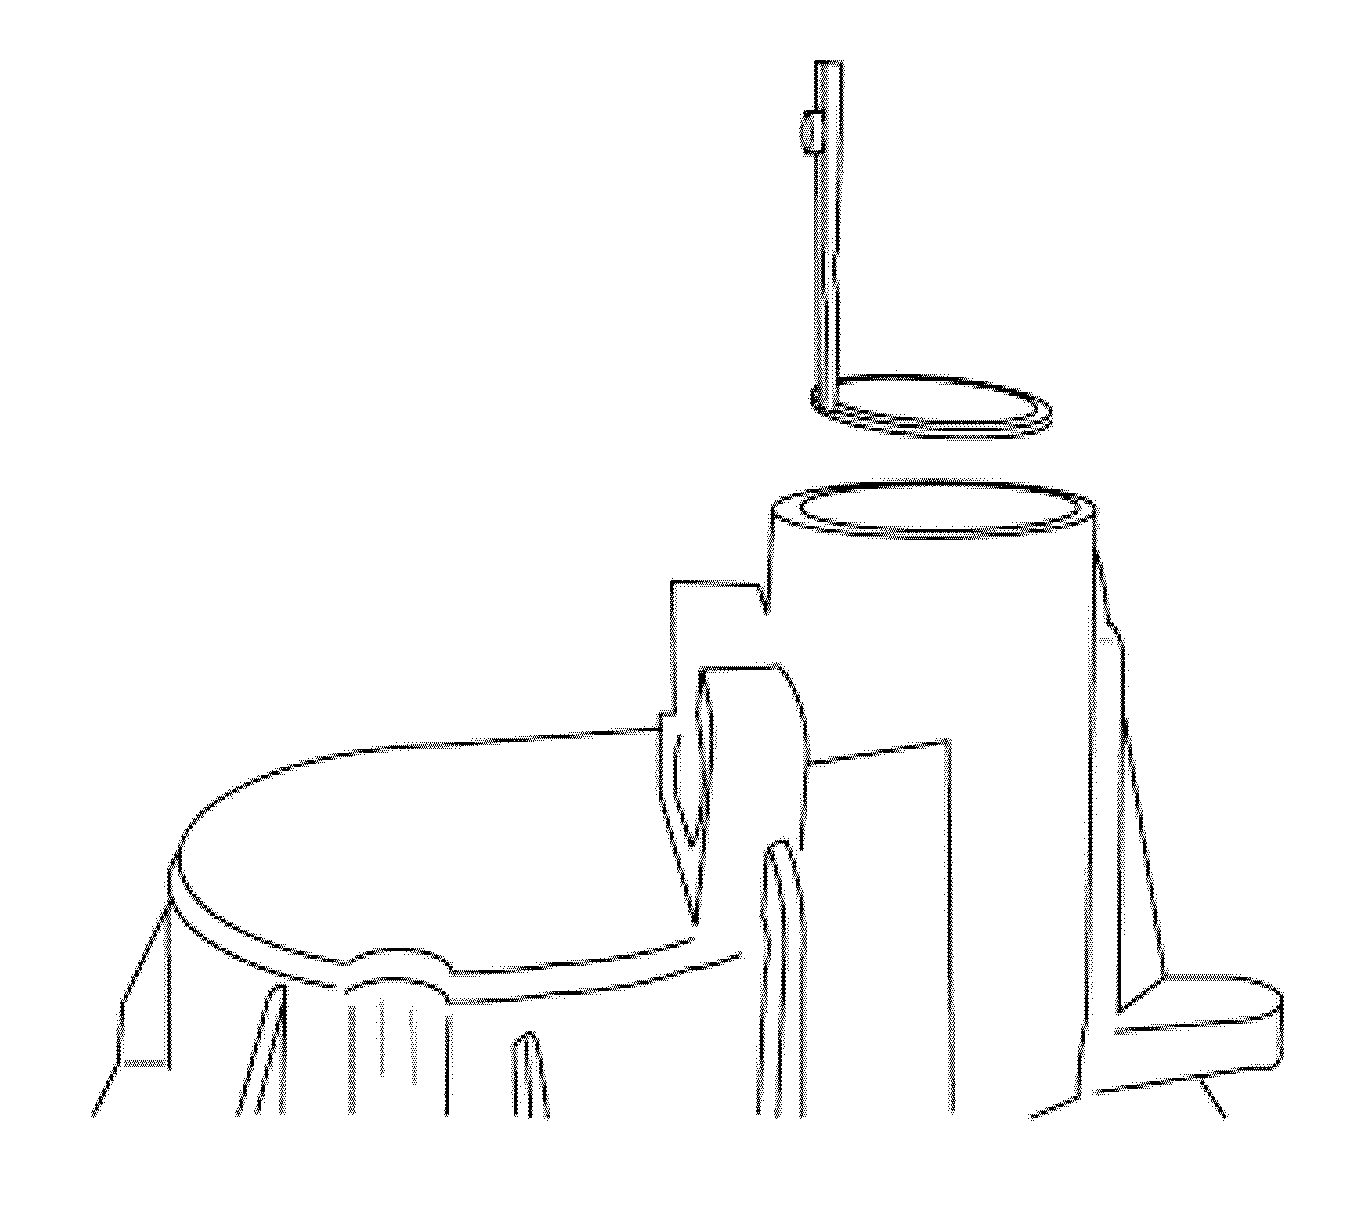
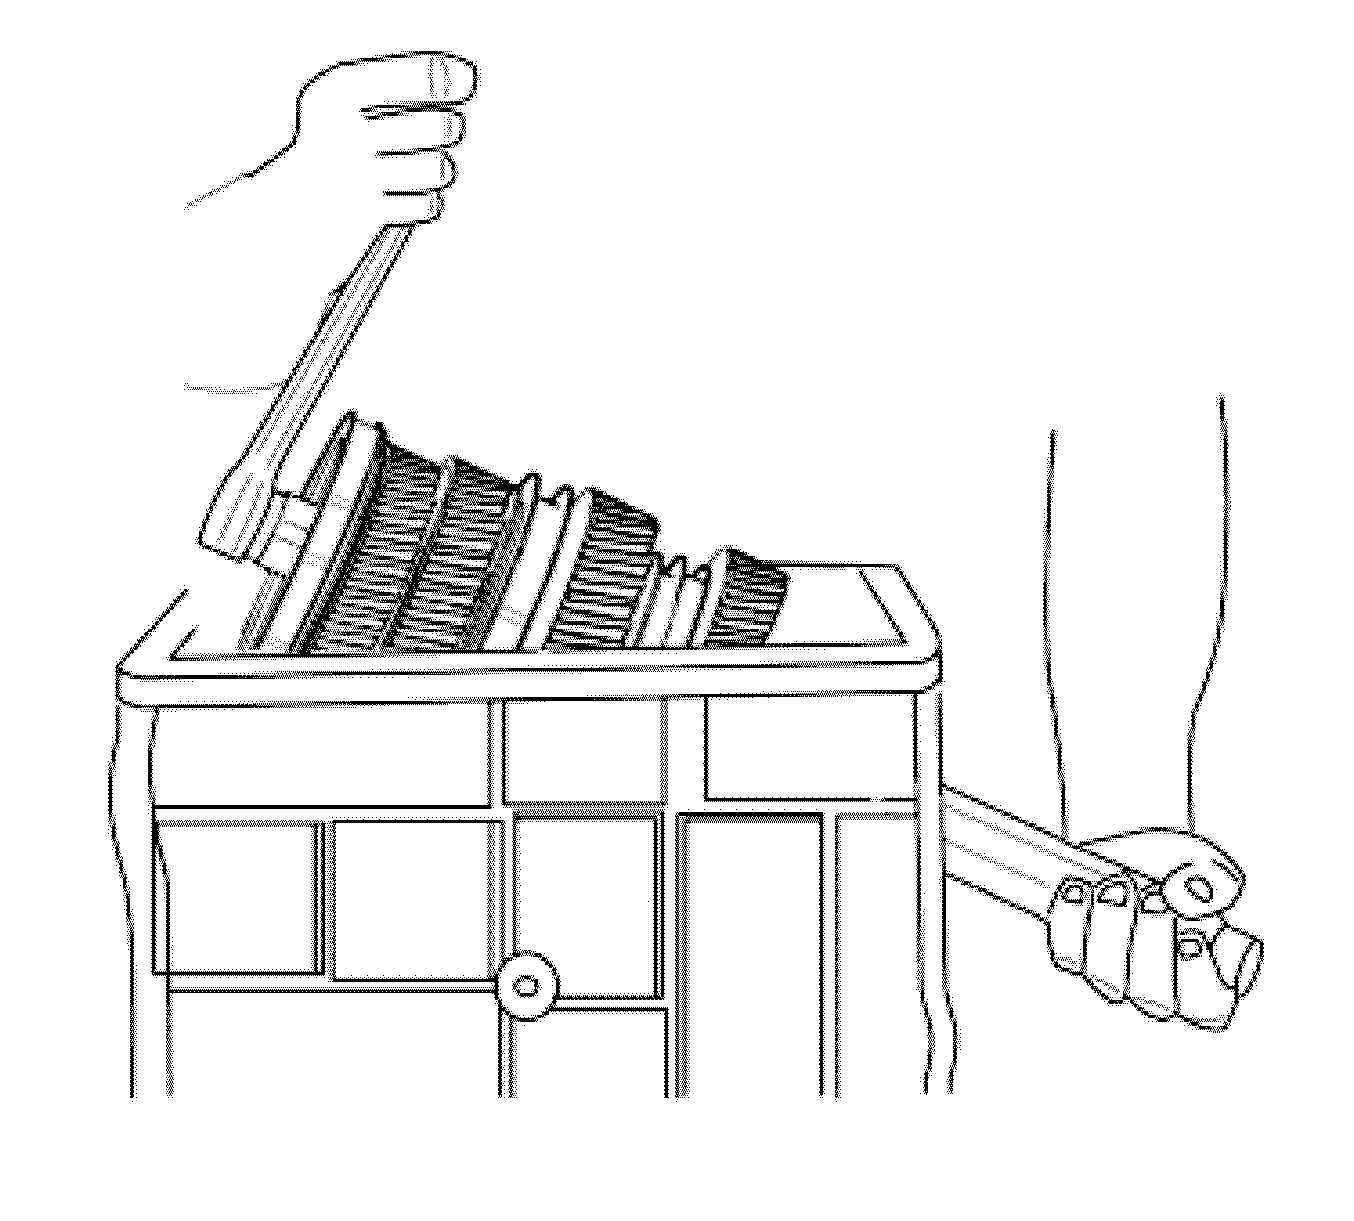
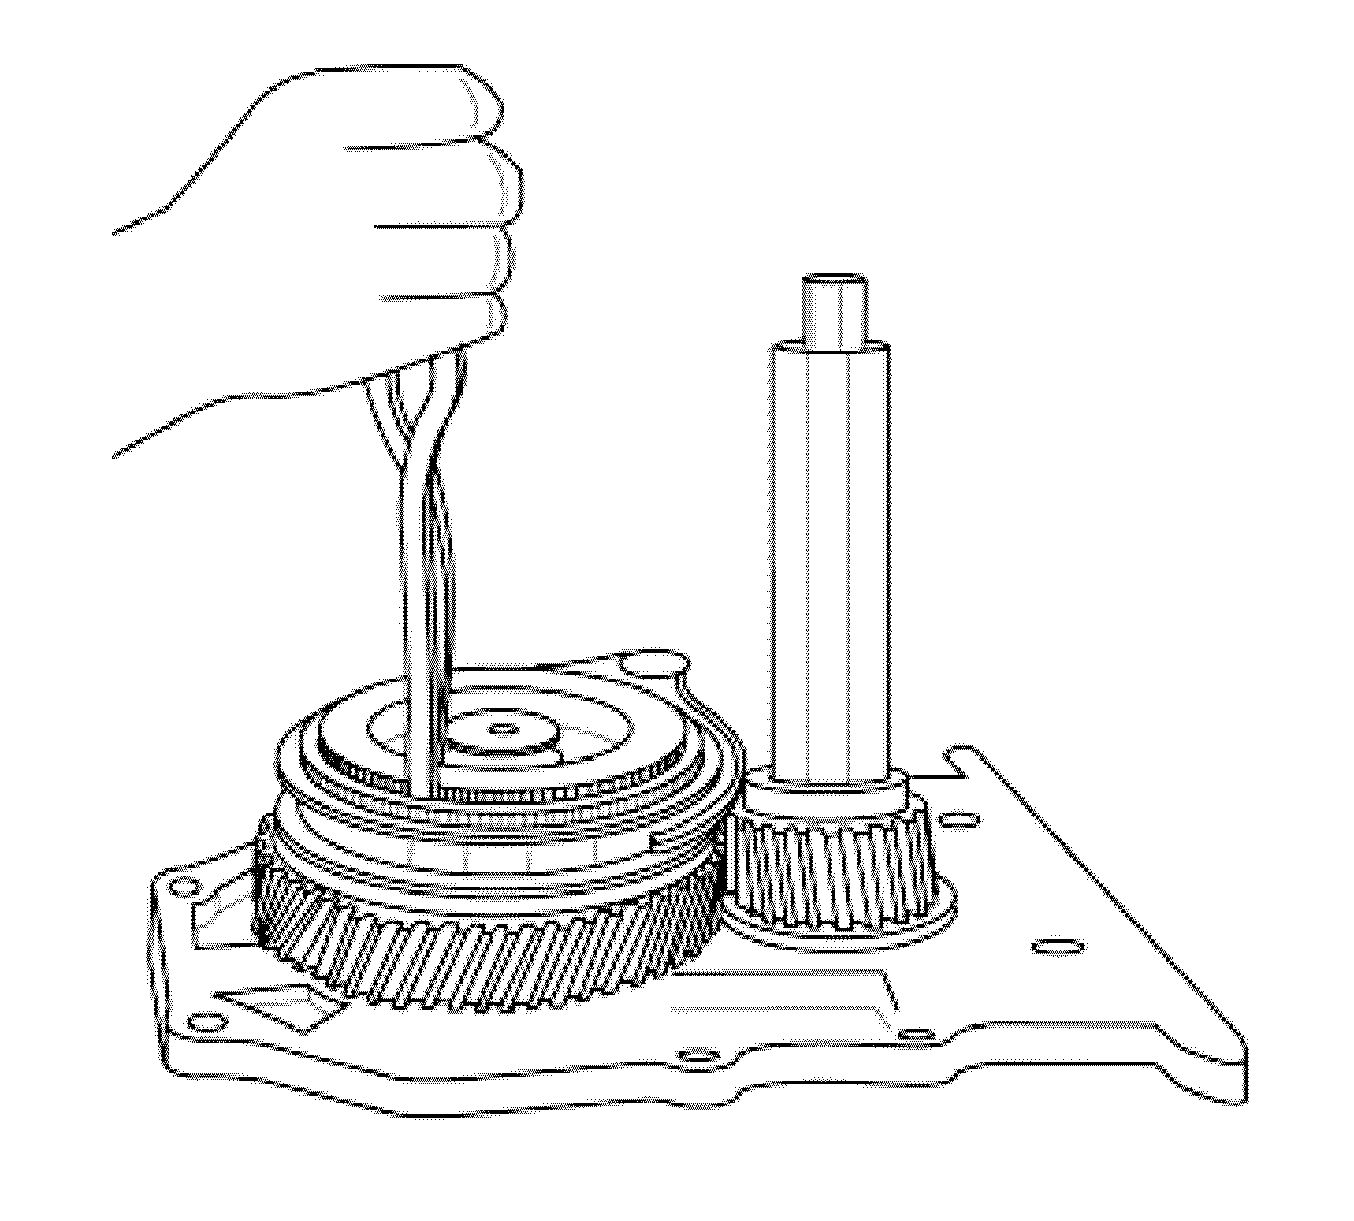
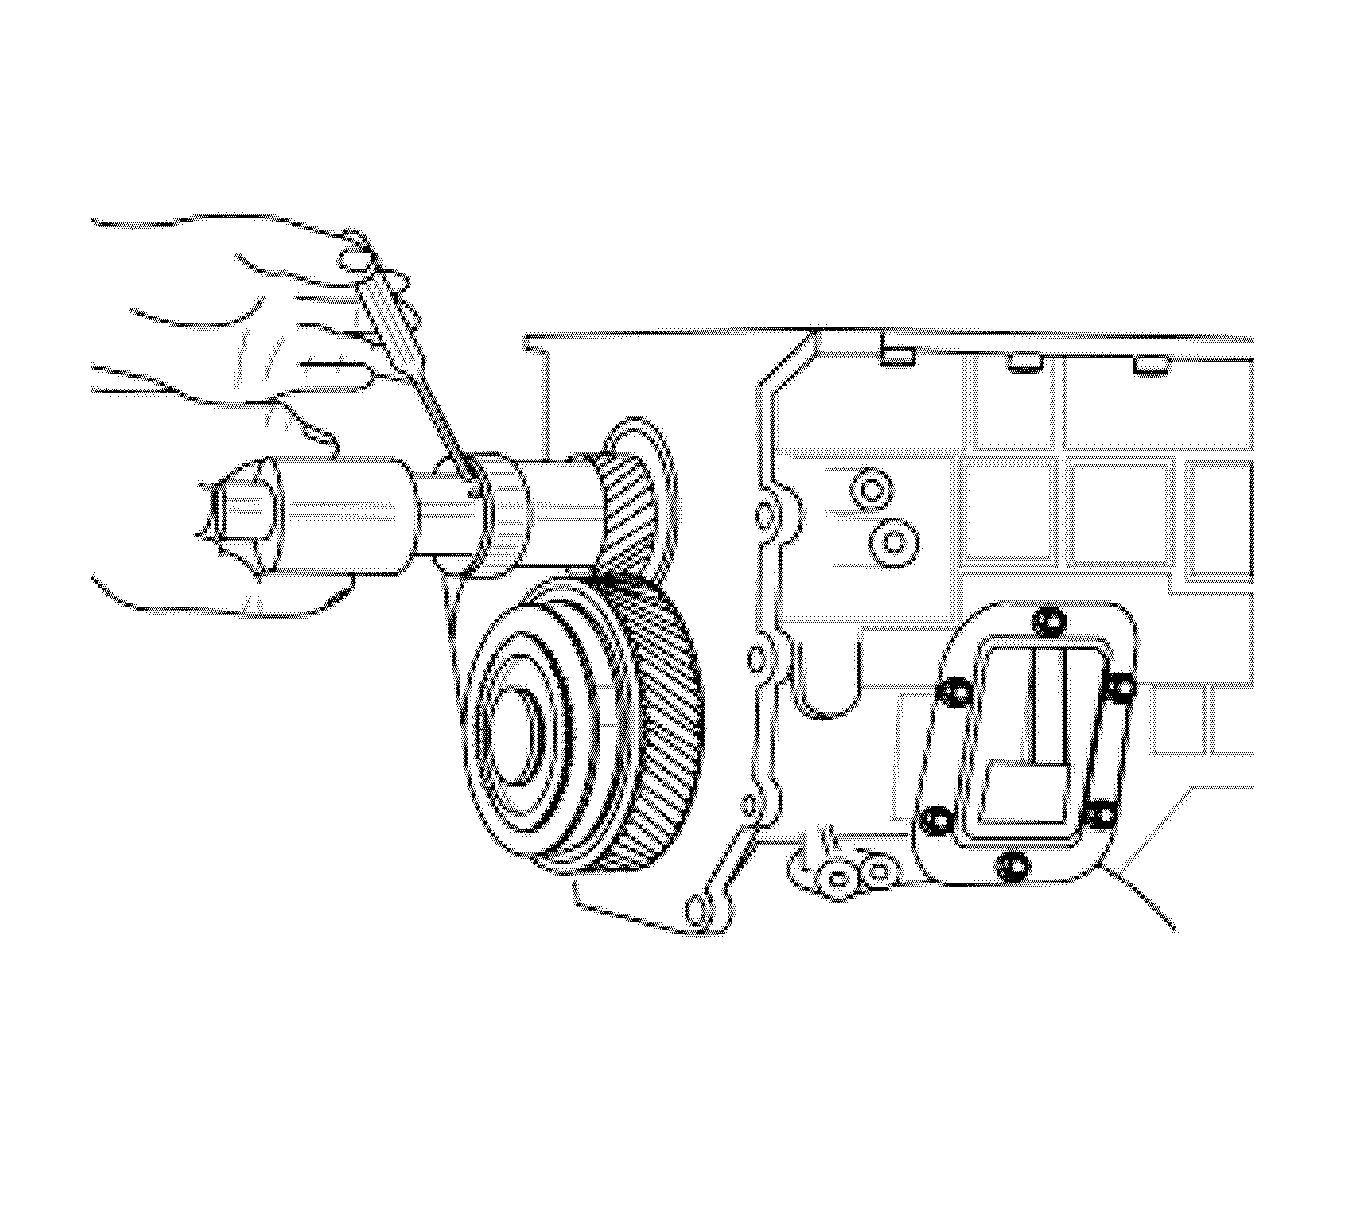
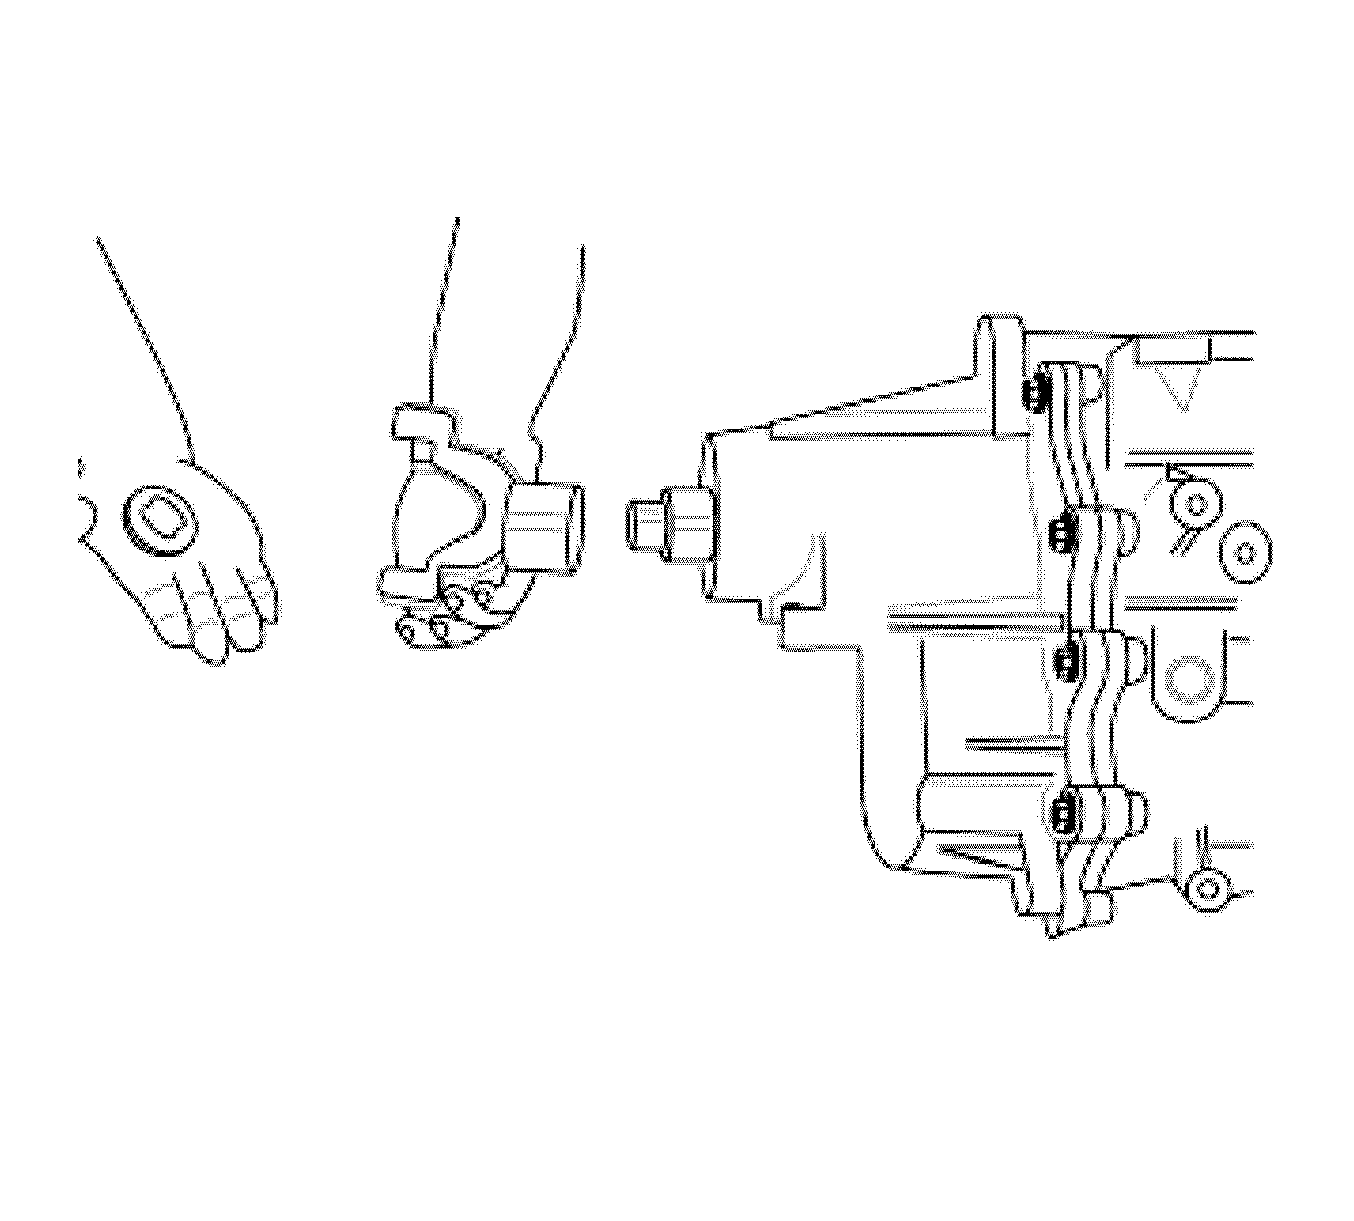
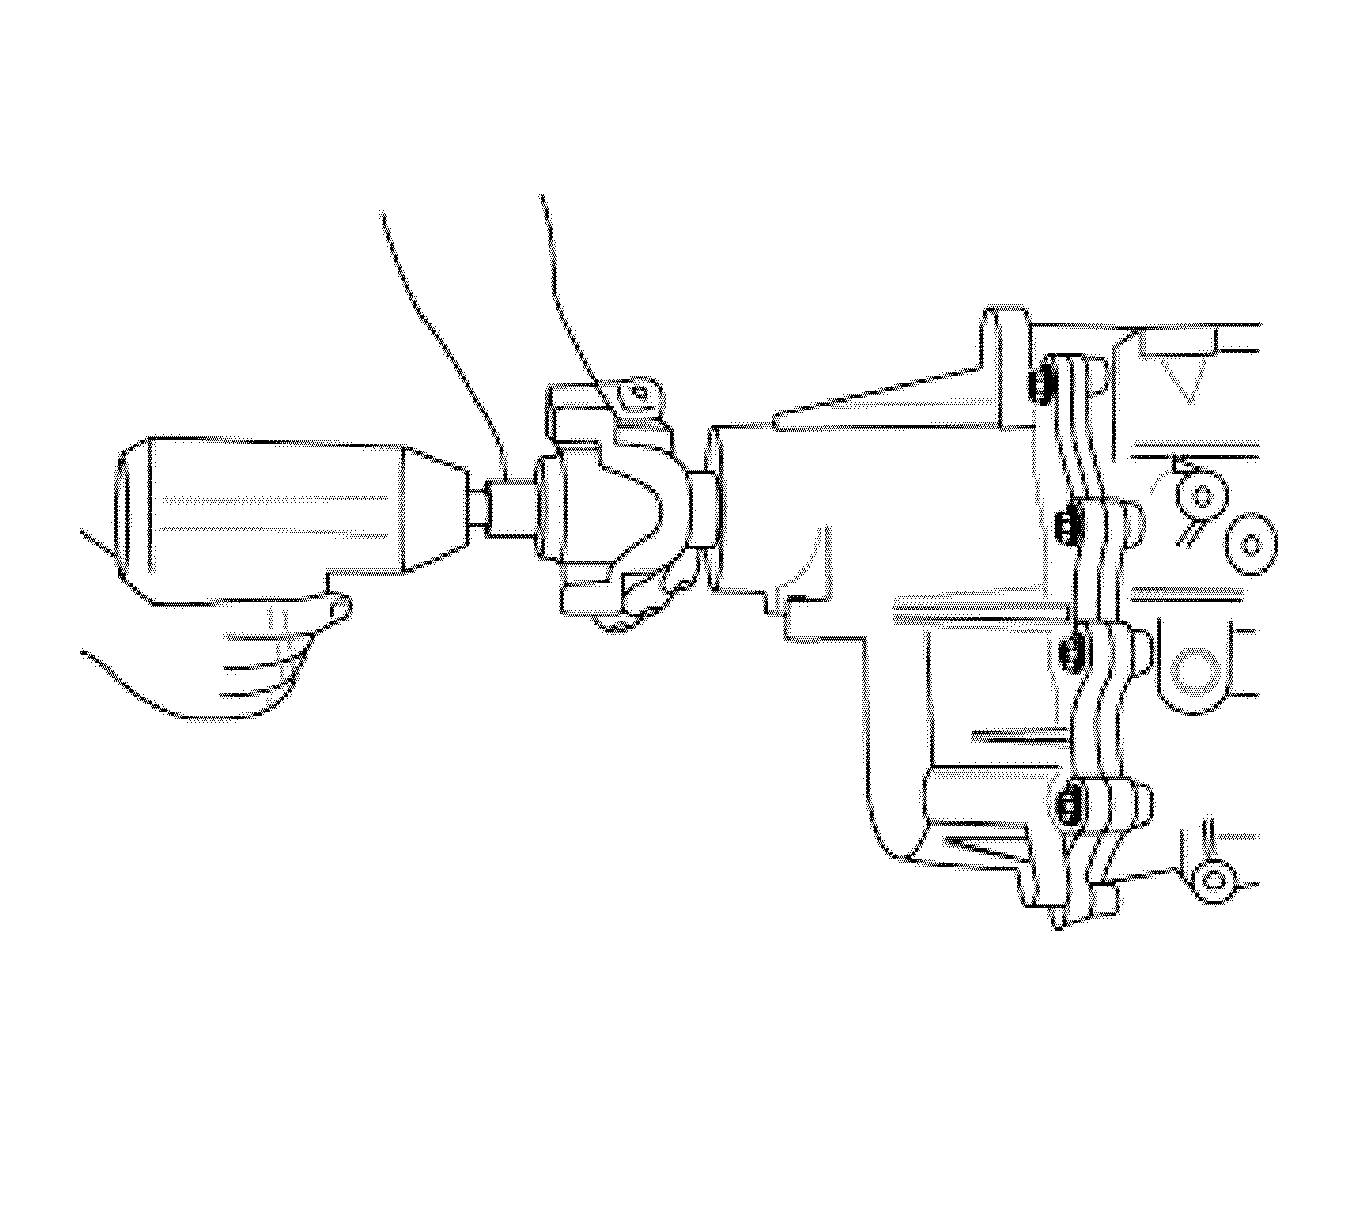
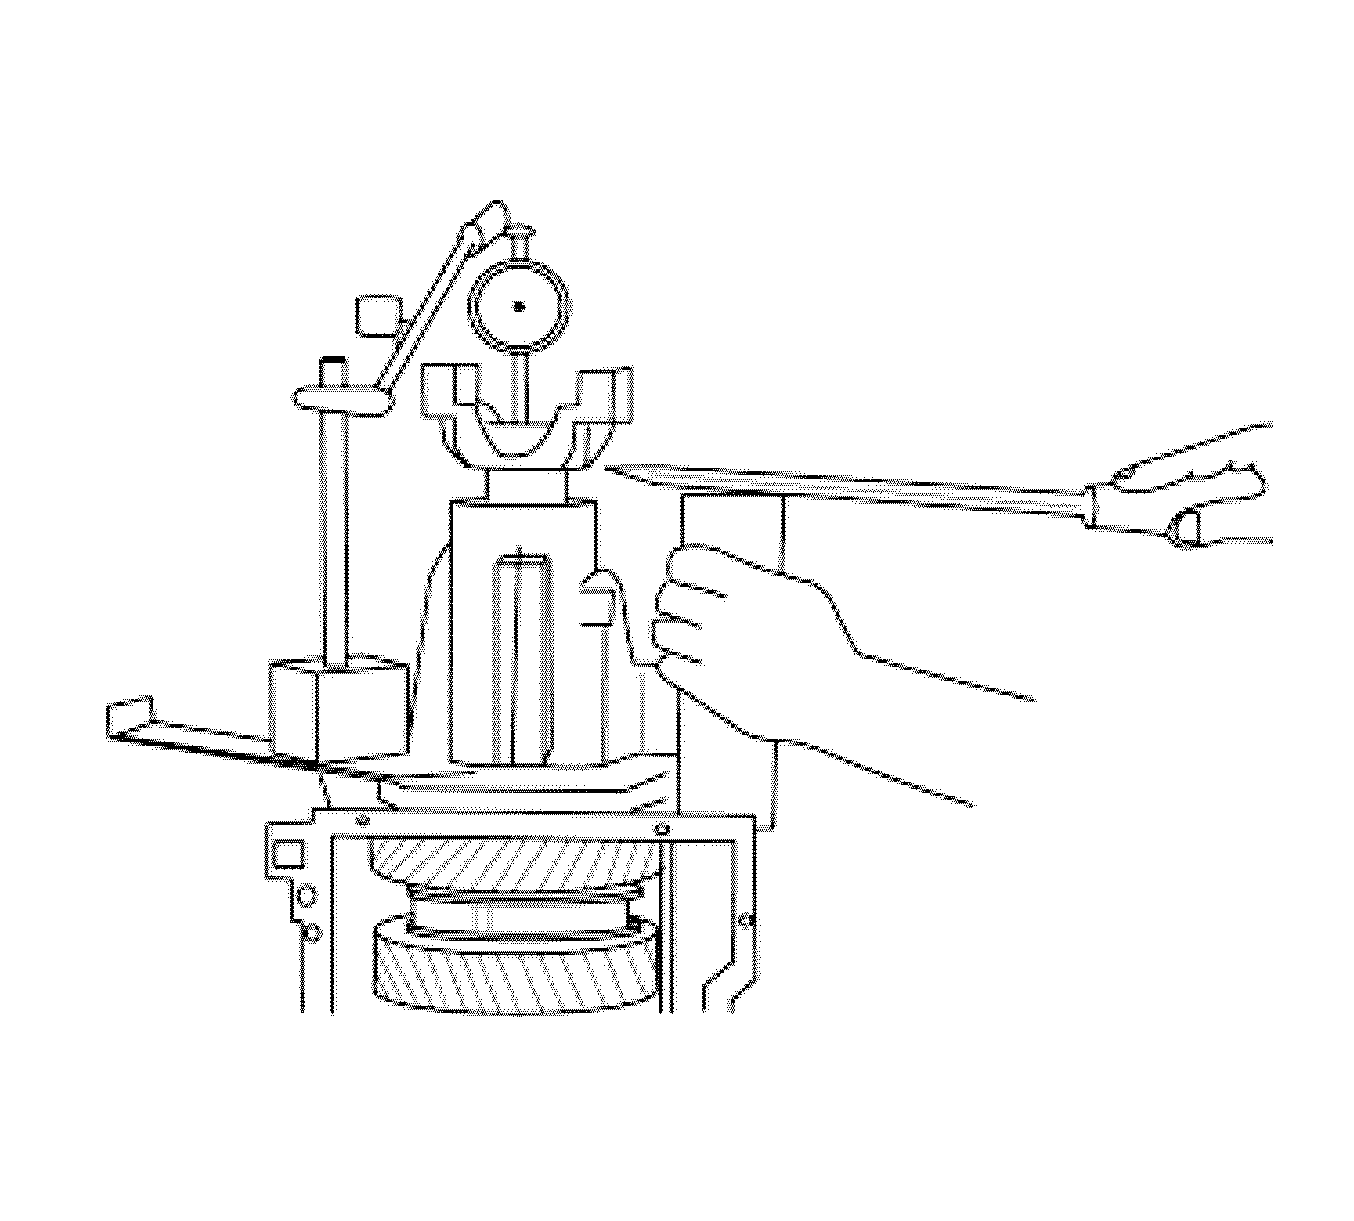
- Install the transmission over 2 supports and attach the tracking sphere.
- Install the washer.
- Install the 2 roller bearings and the spacer.
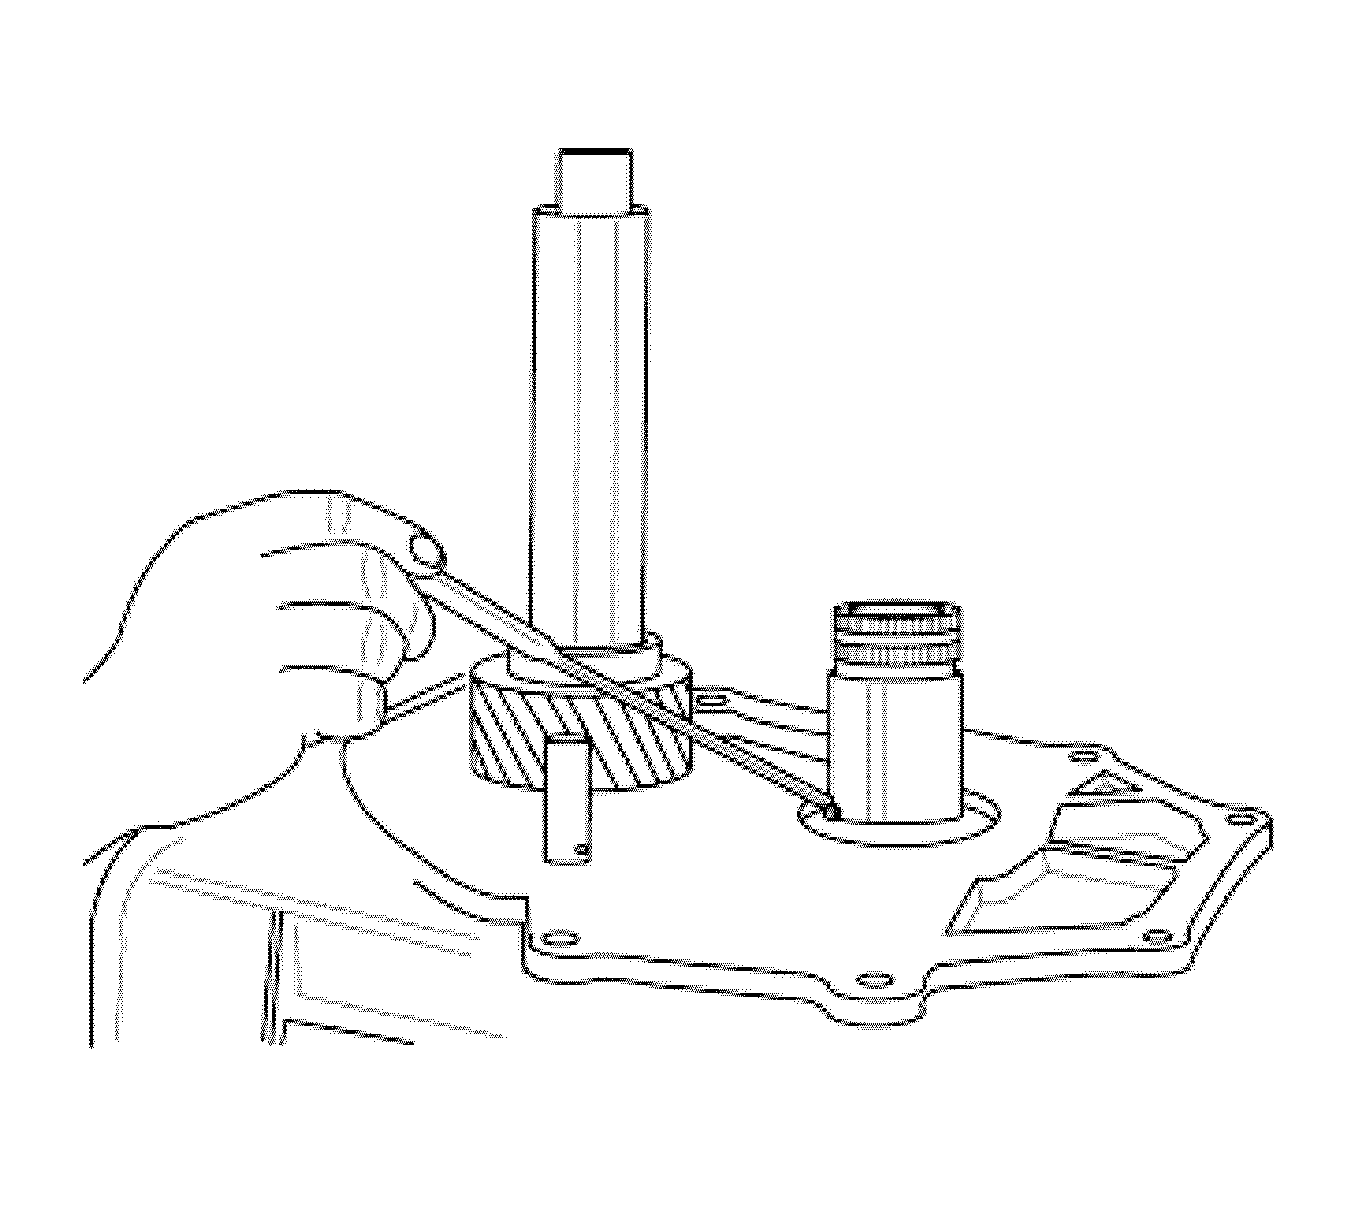
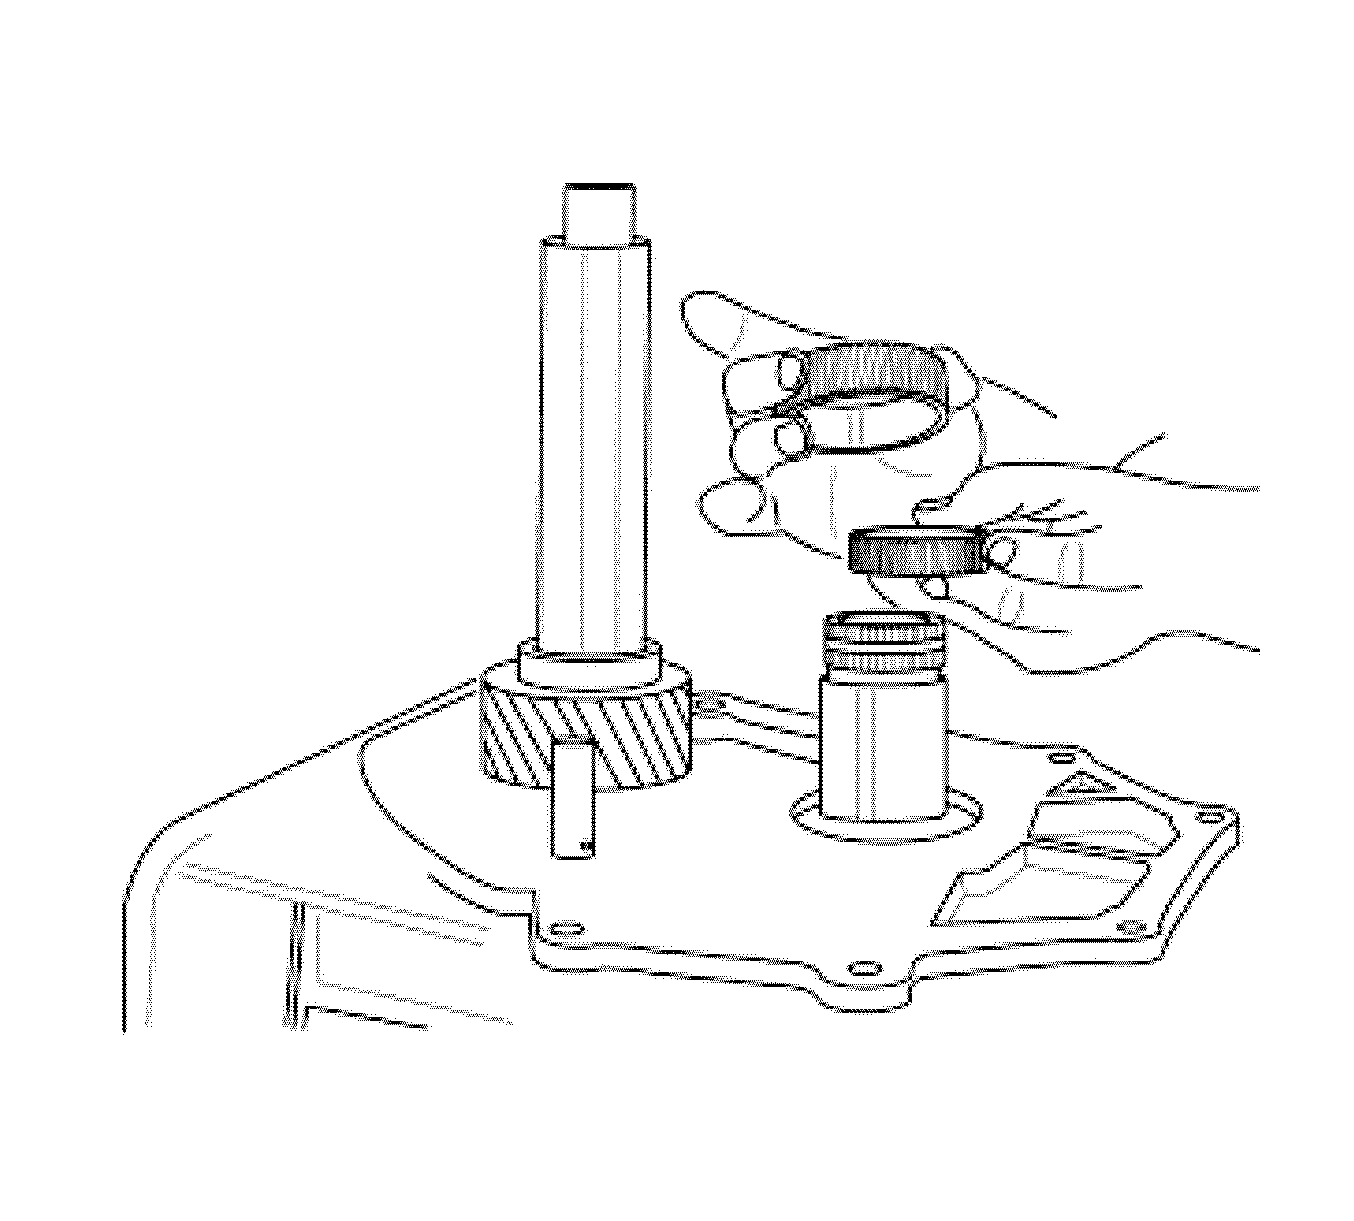
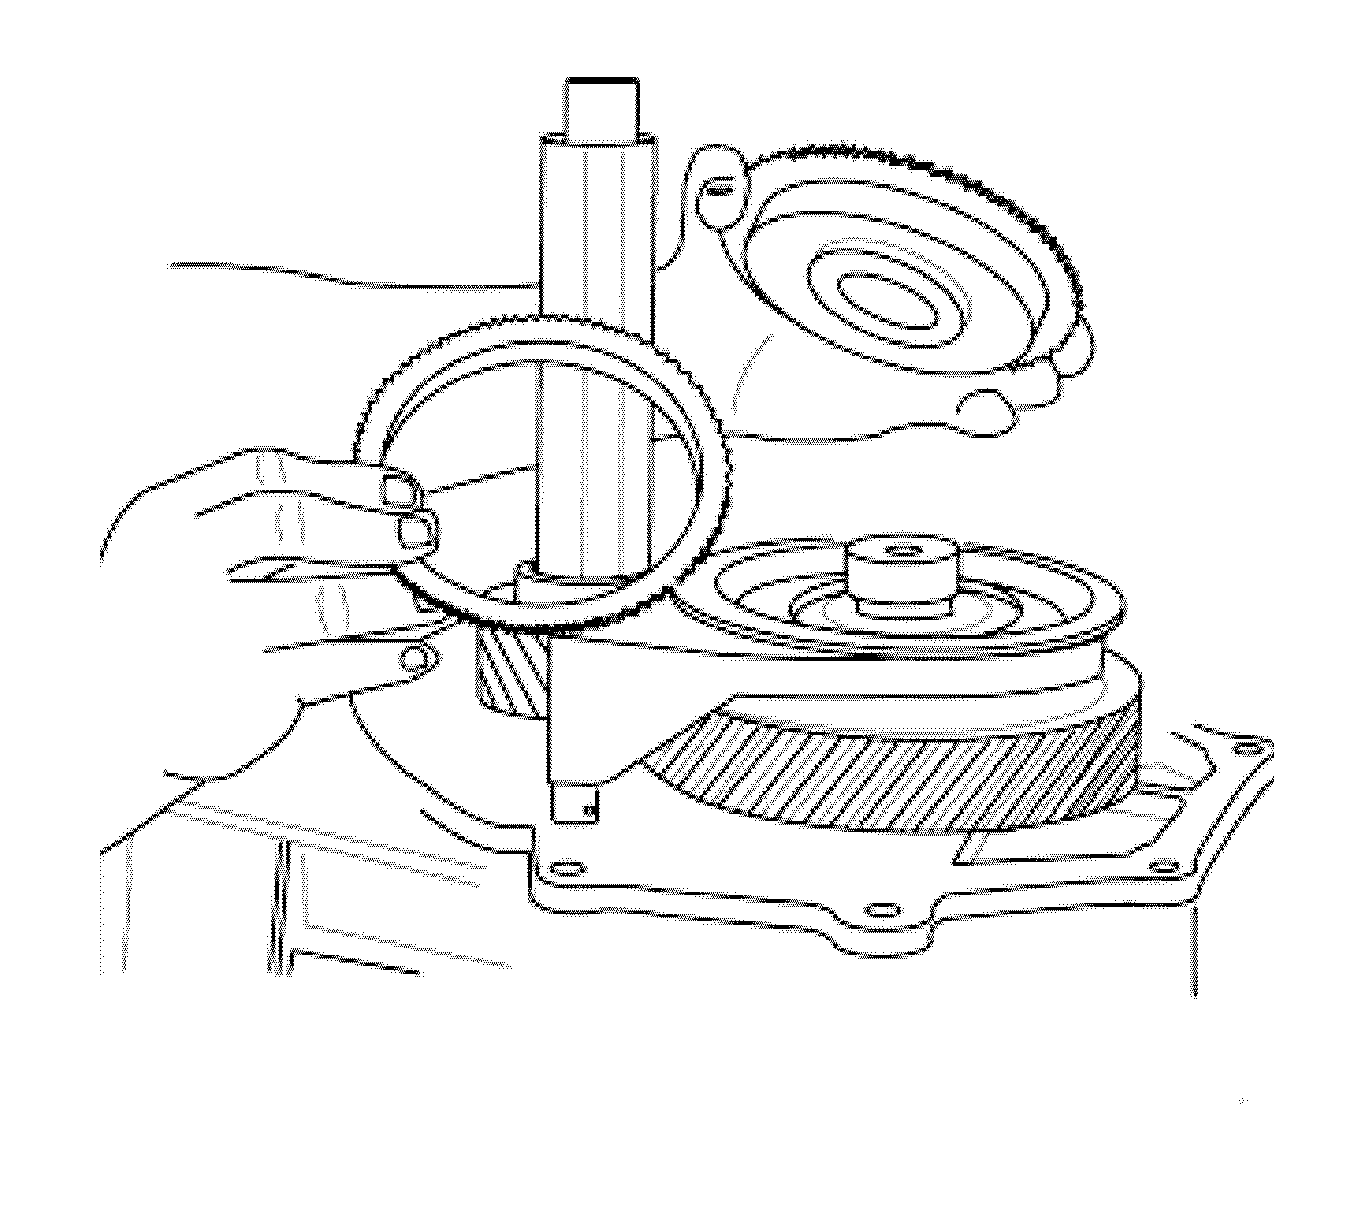
- Install the 5th gear synchronizer with the fork.
- Install the lubricated synchronization ring and the 5th gear taper.
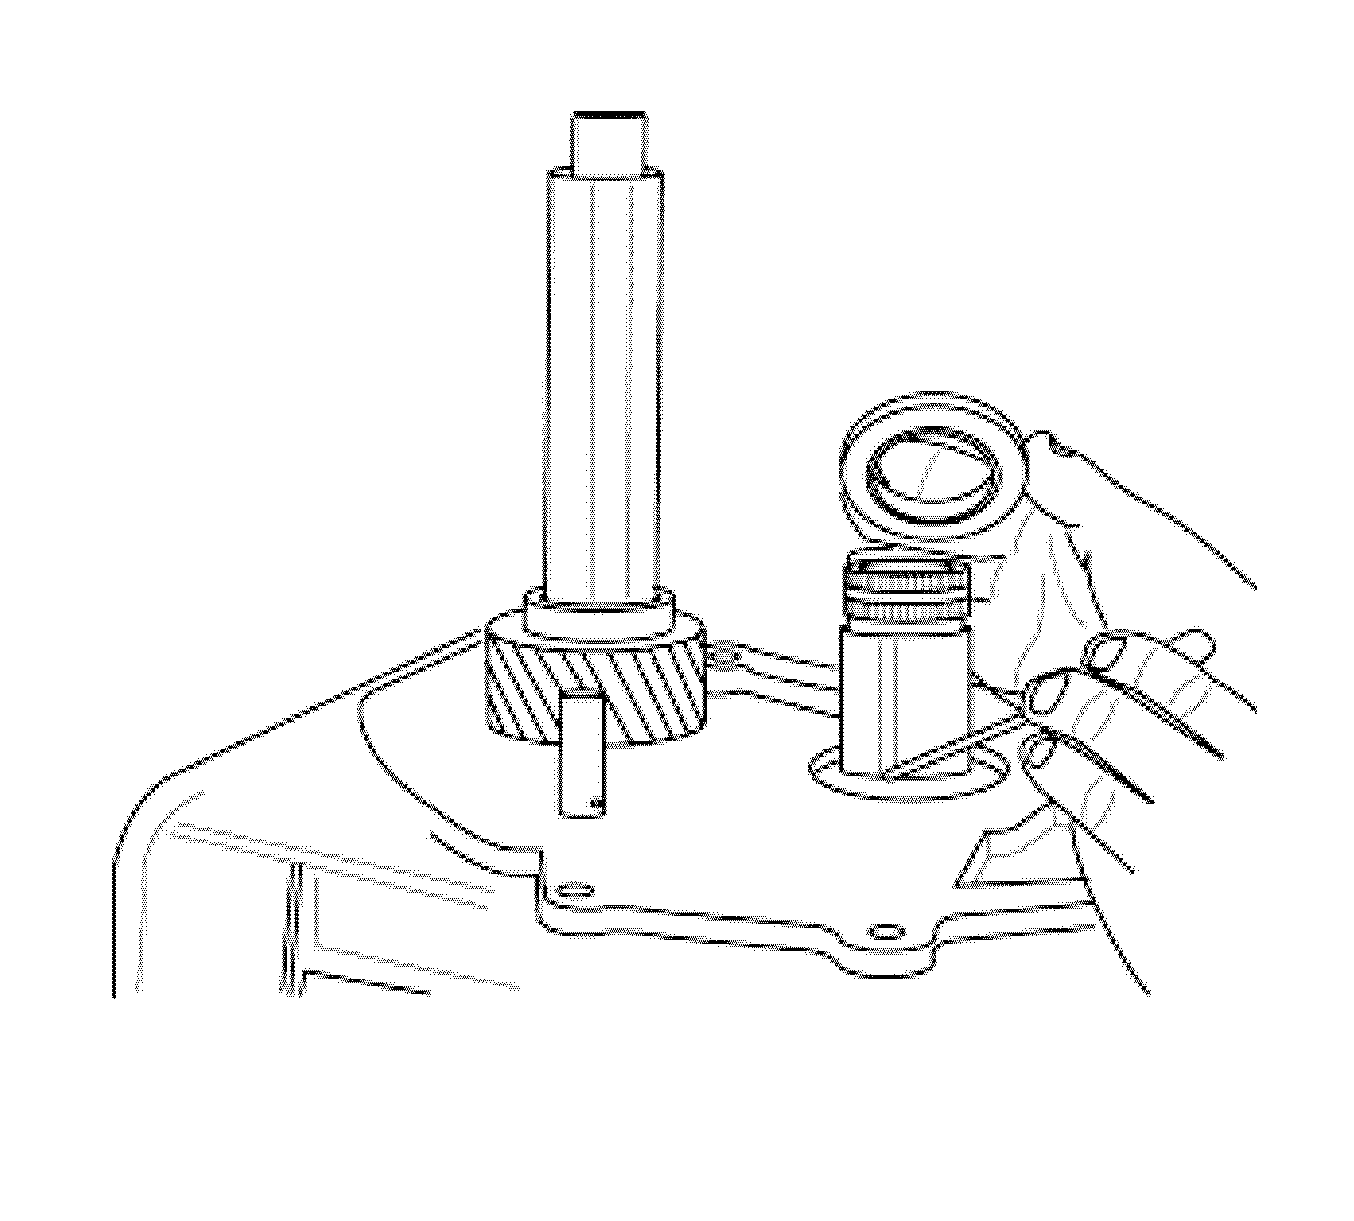
- Using locking pliers, install the 5th gear clutch ring.
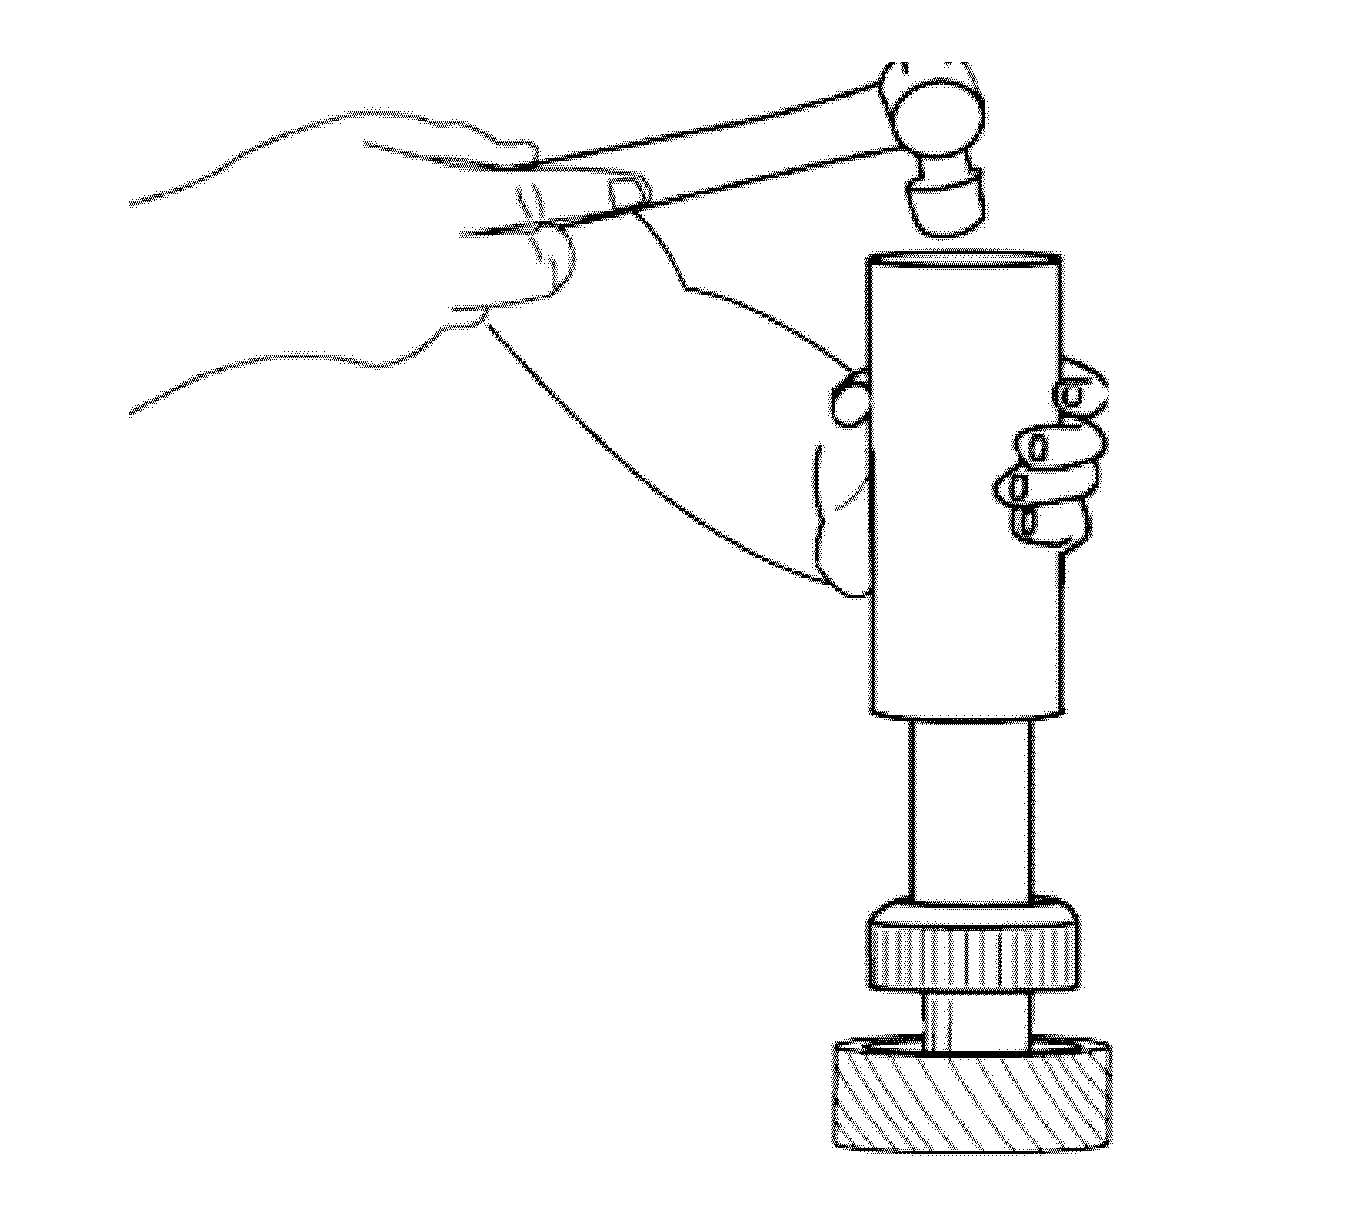
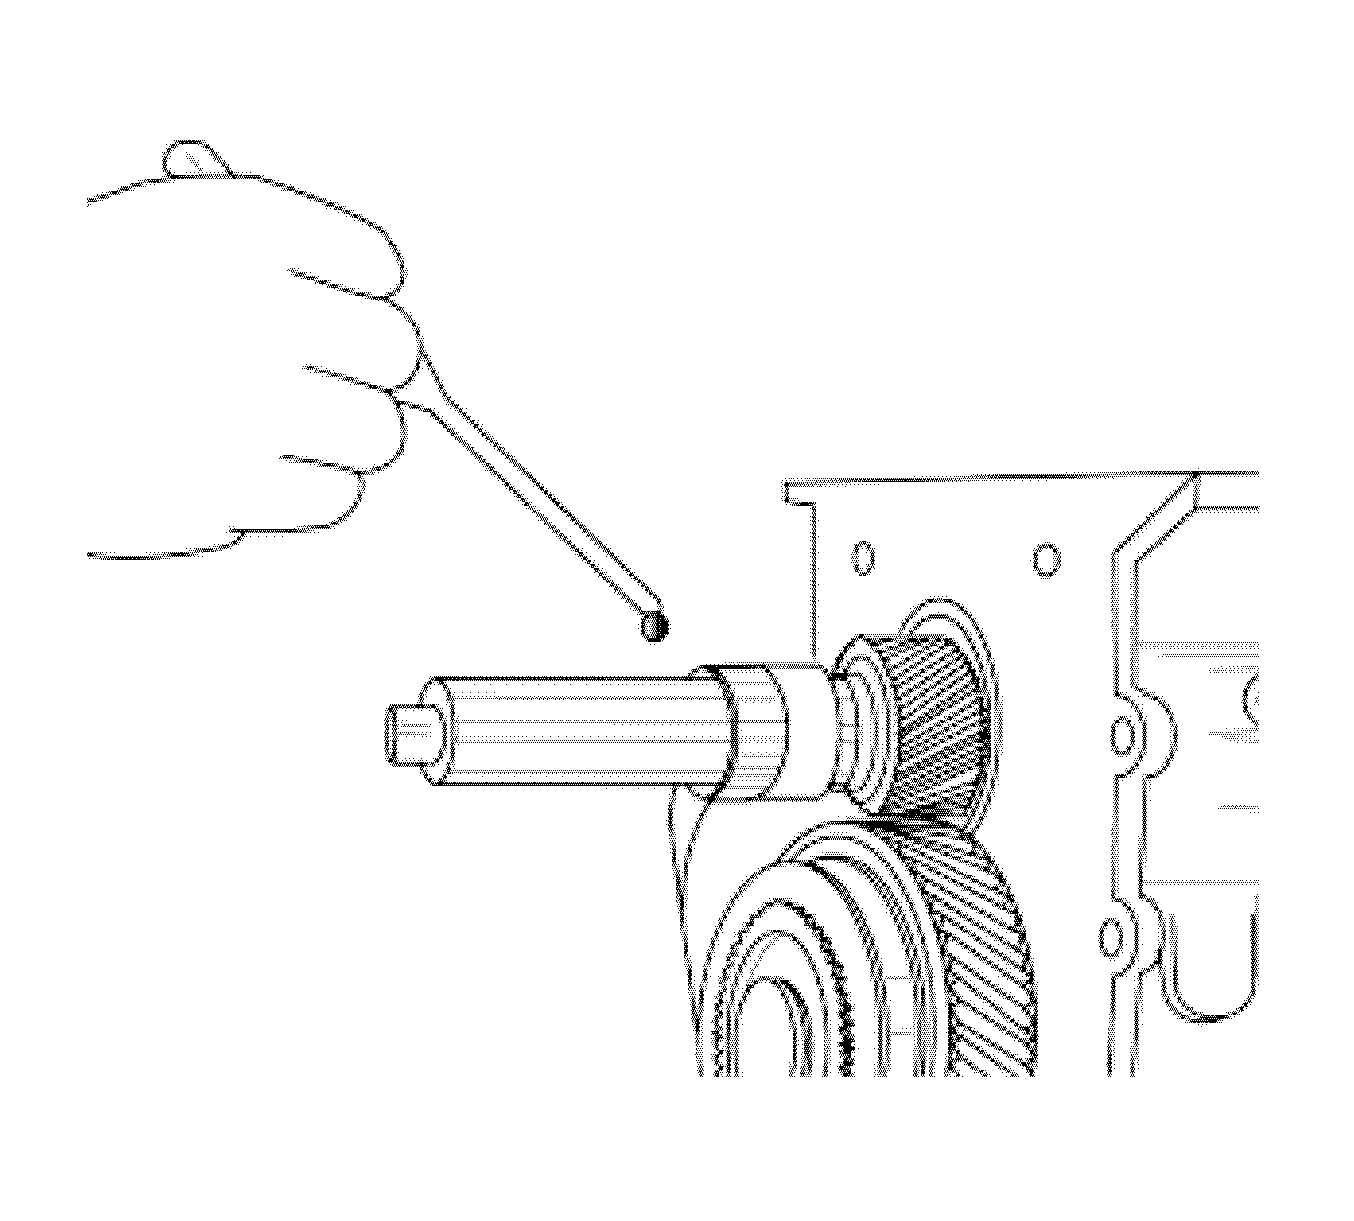
- Using a dial indicator, observe the axial play.
- Install the roll pin.
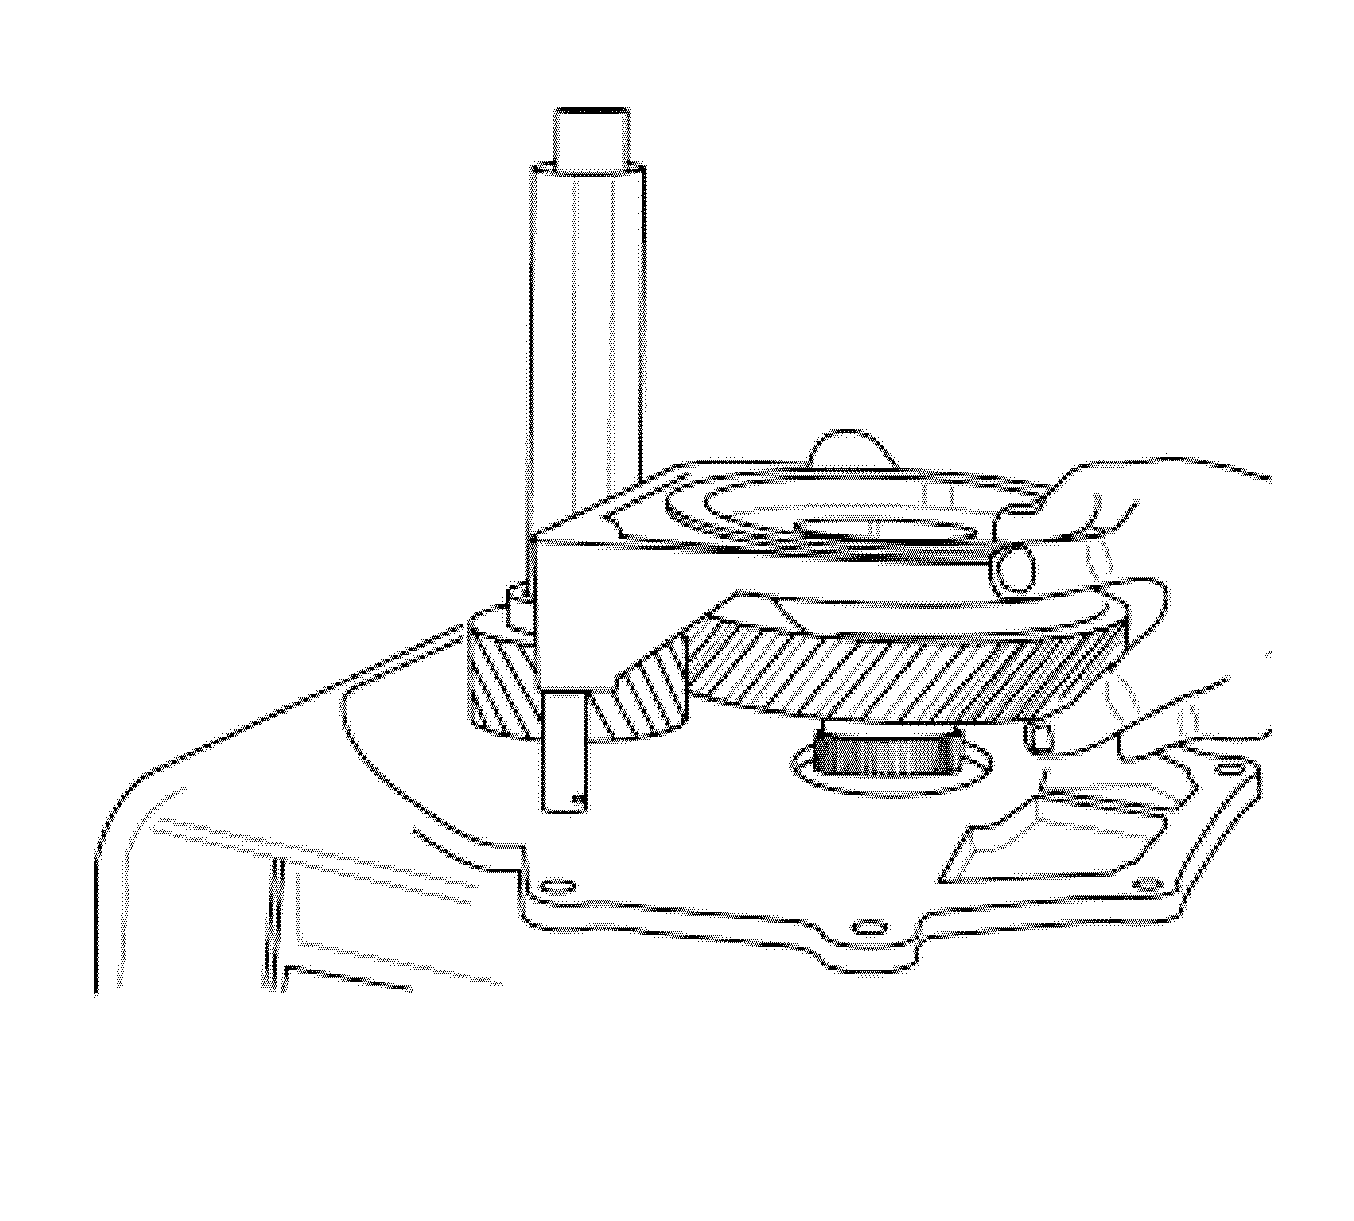
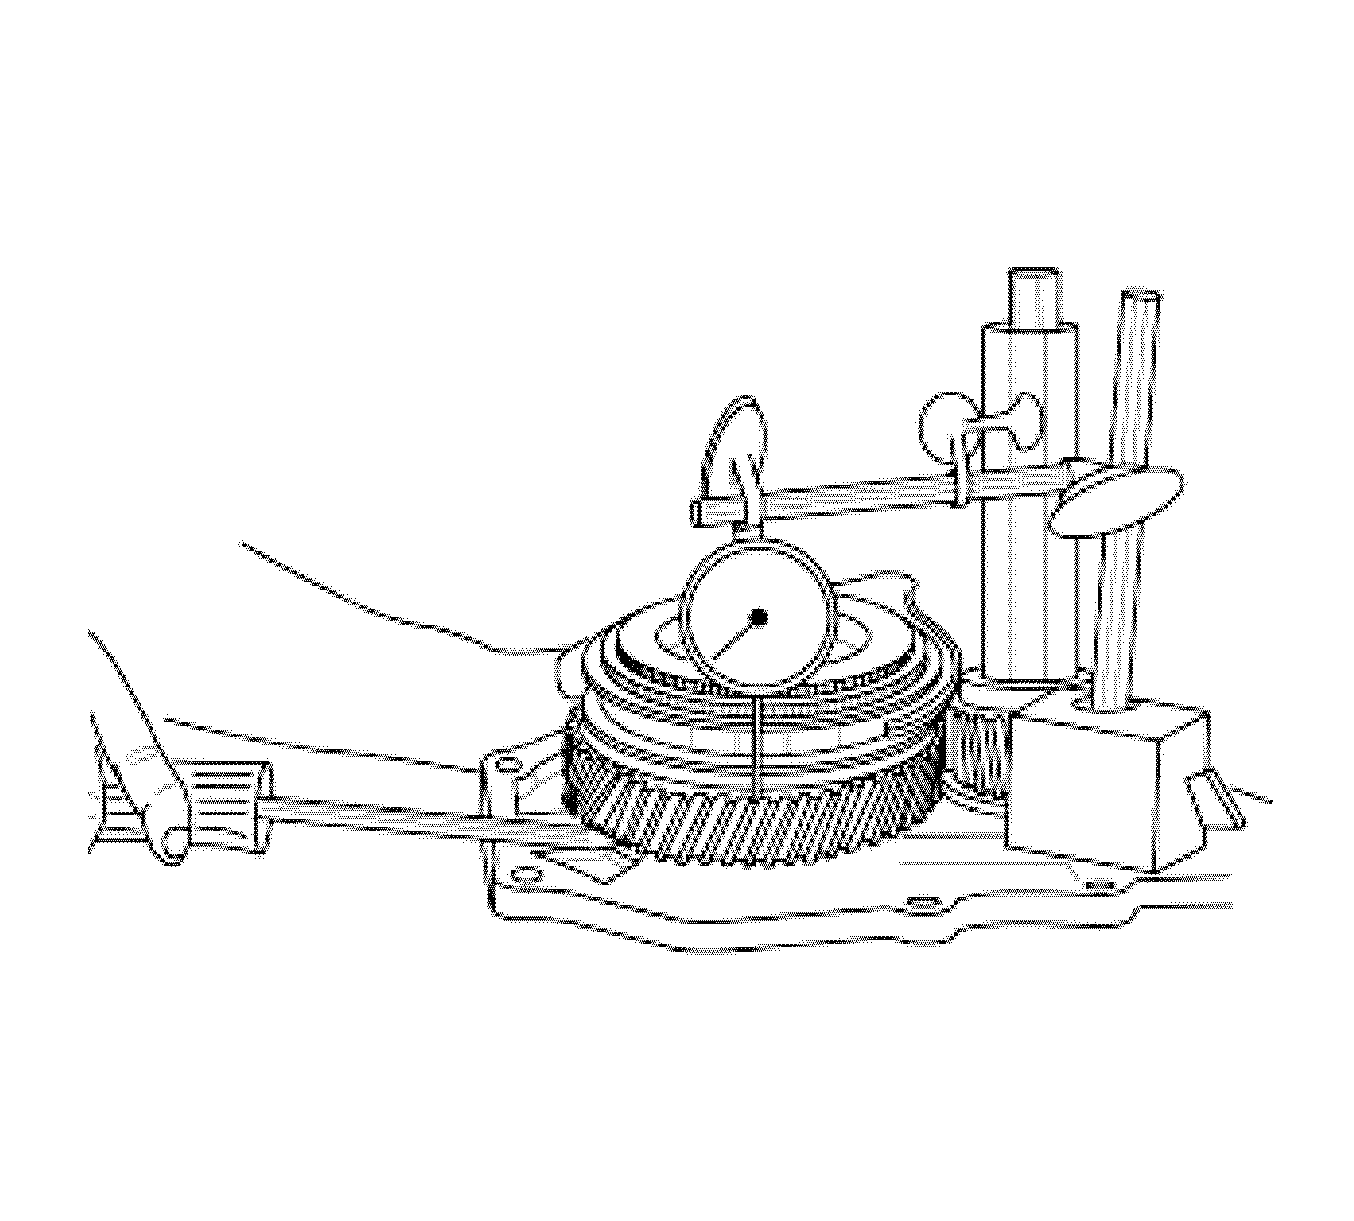
- Position the speedometer gear.
- Install the speedometer gear tracking sphere.
- Install the yoke spacer.
- Install the cover.
- Install the 2 guide screws in order to align the cover.
- Tighten the rest of the 8 screws.
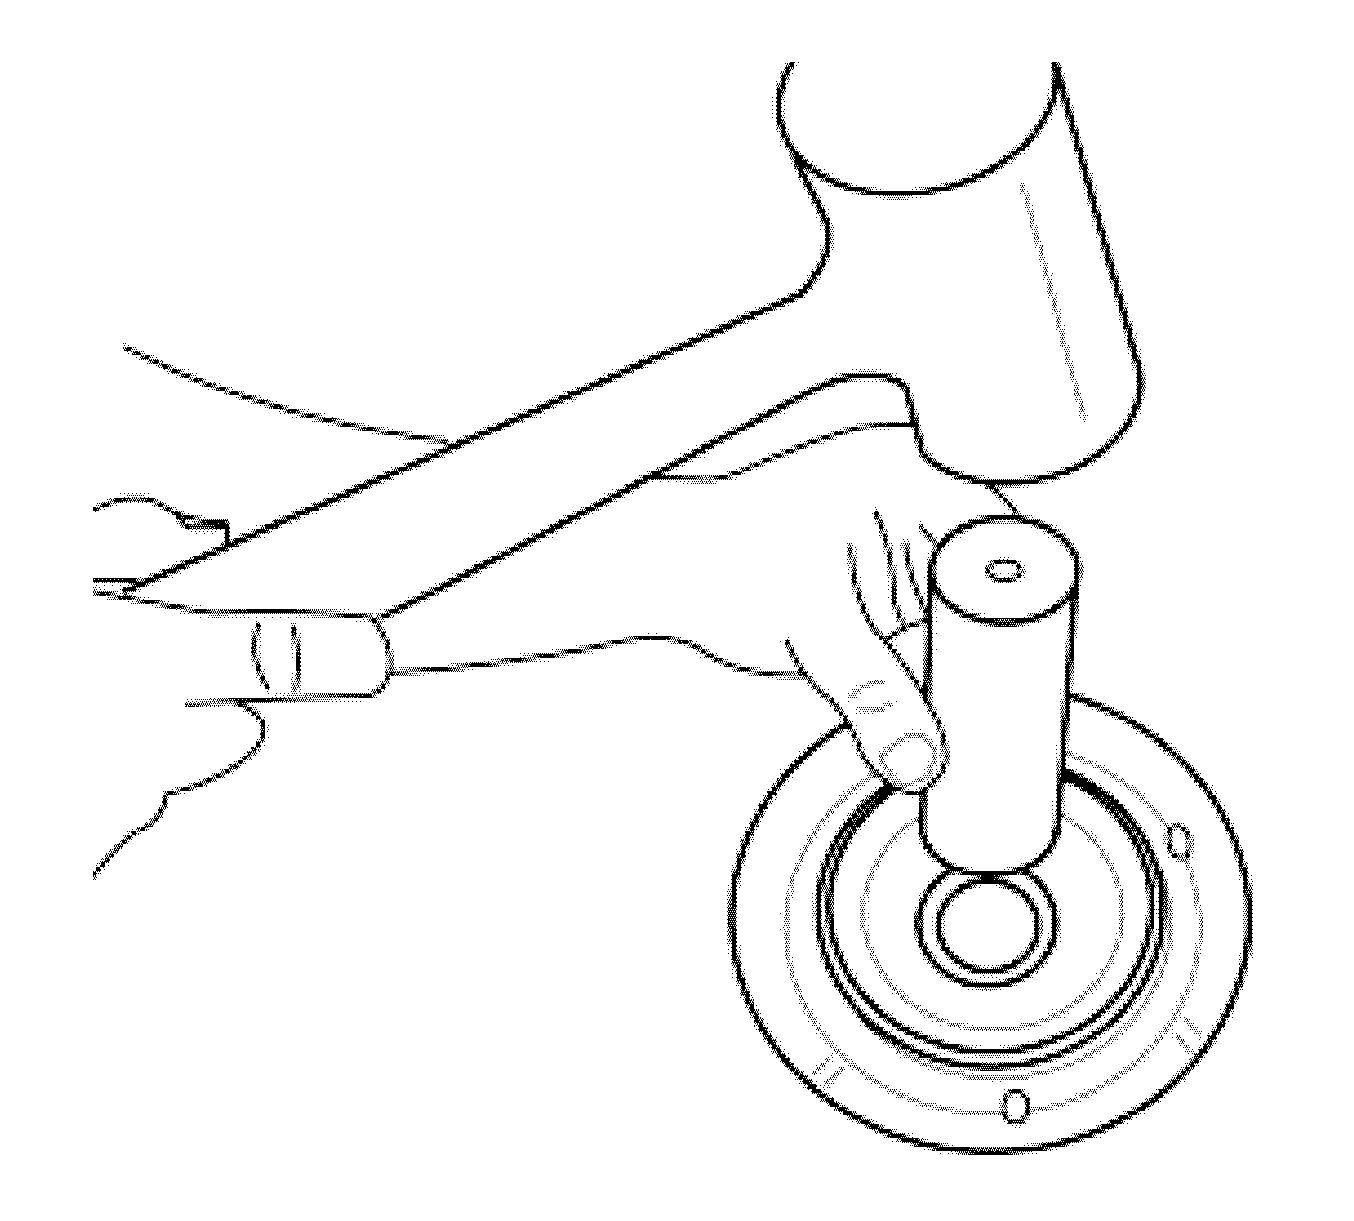
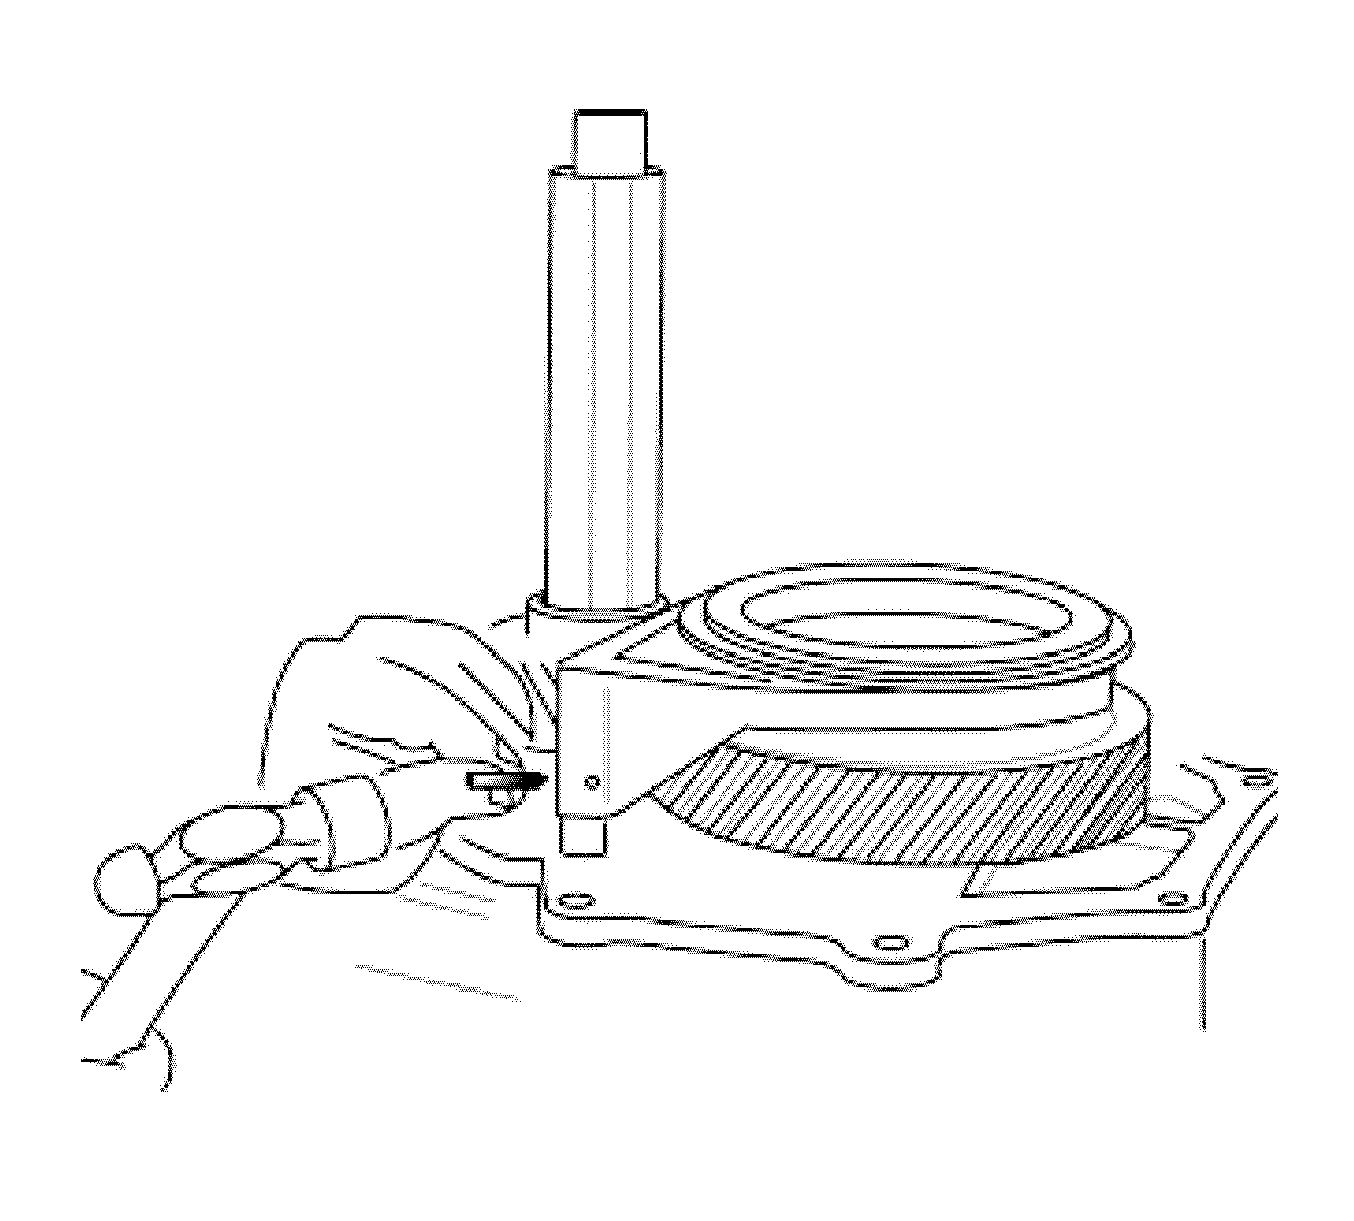
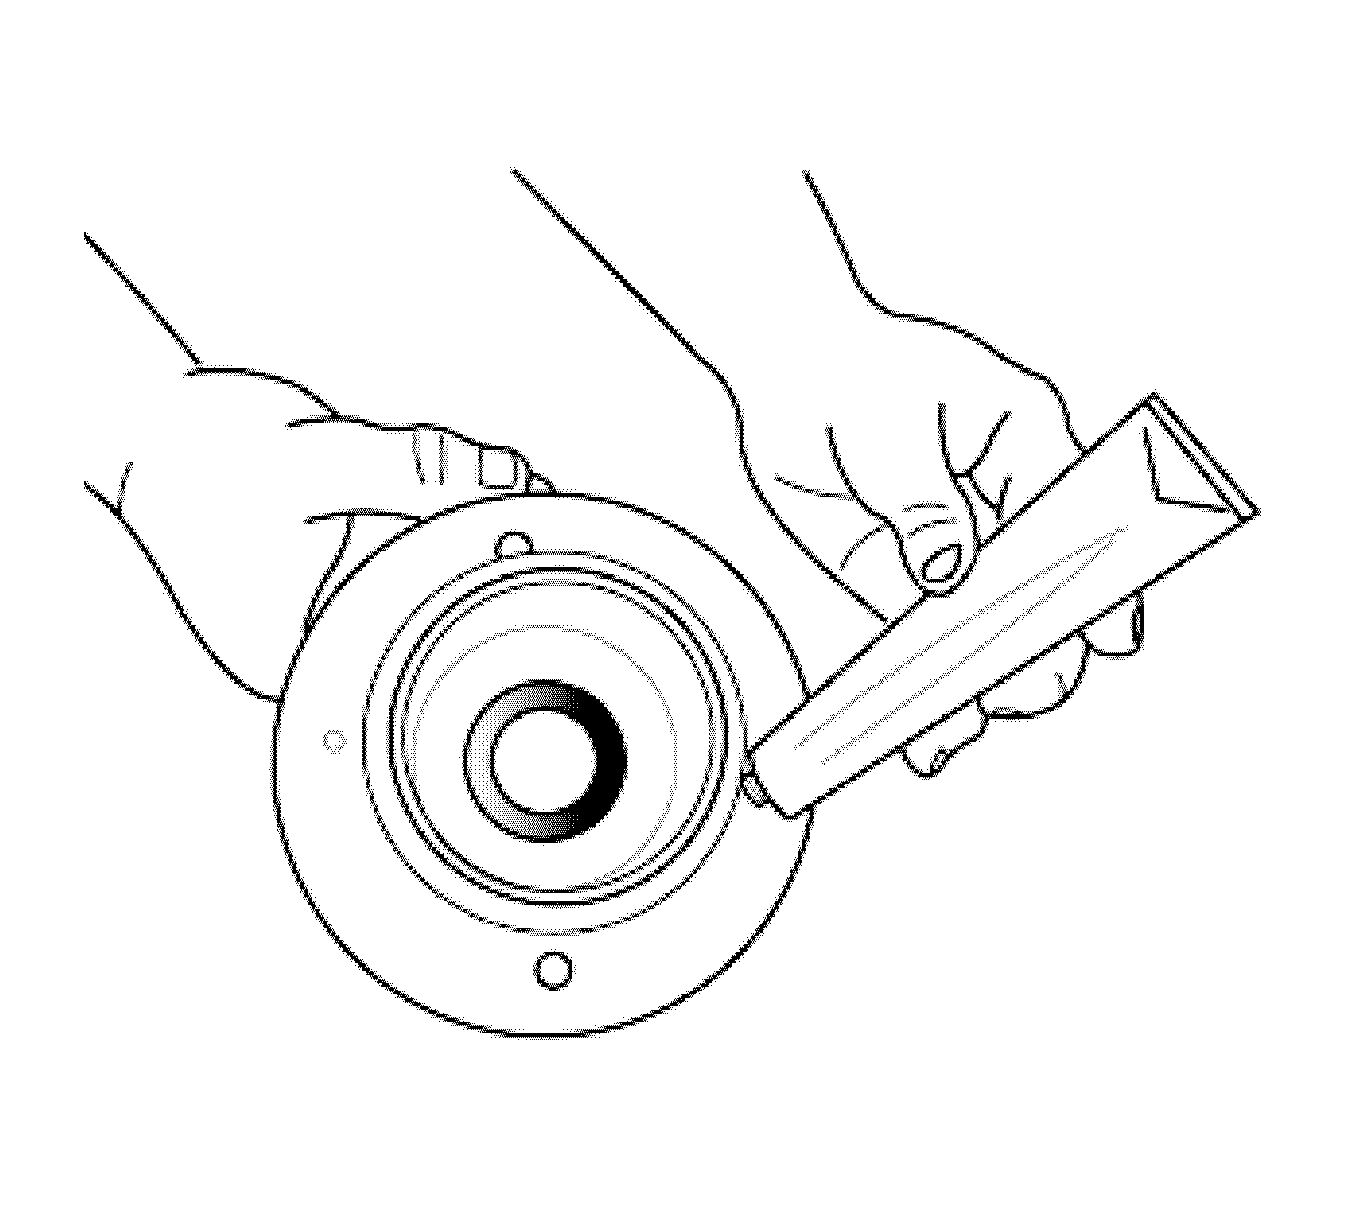
- Install the main shaft yoke washer and nut.
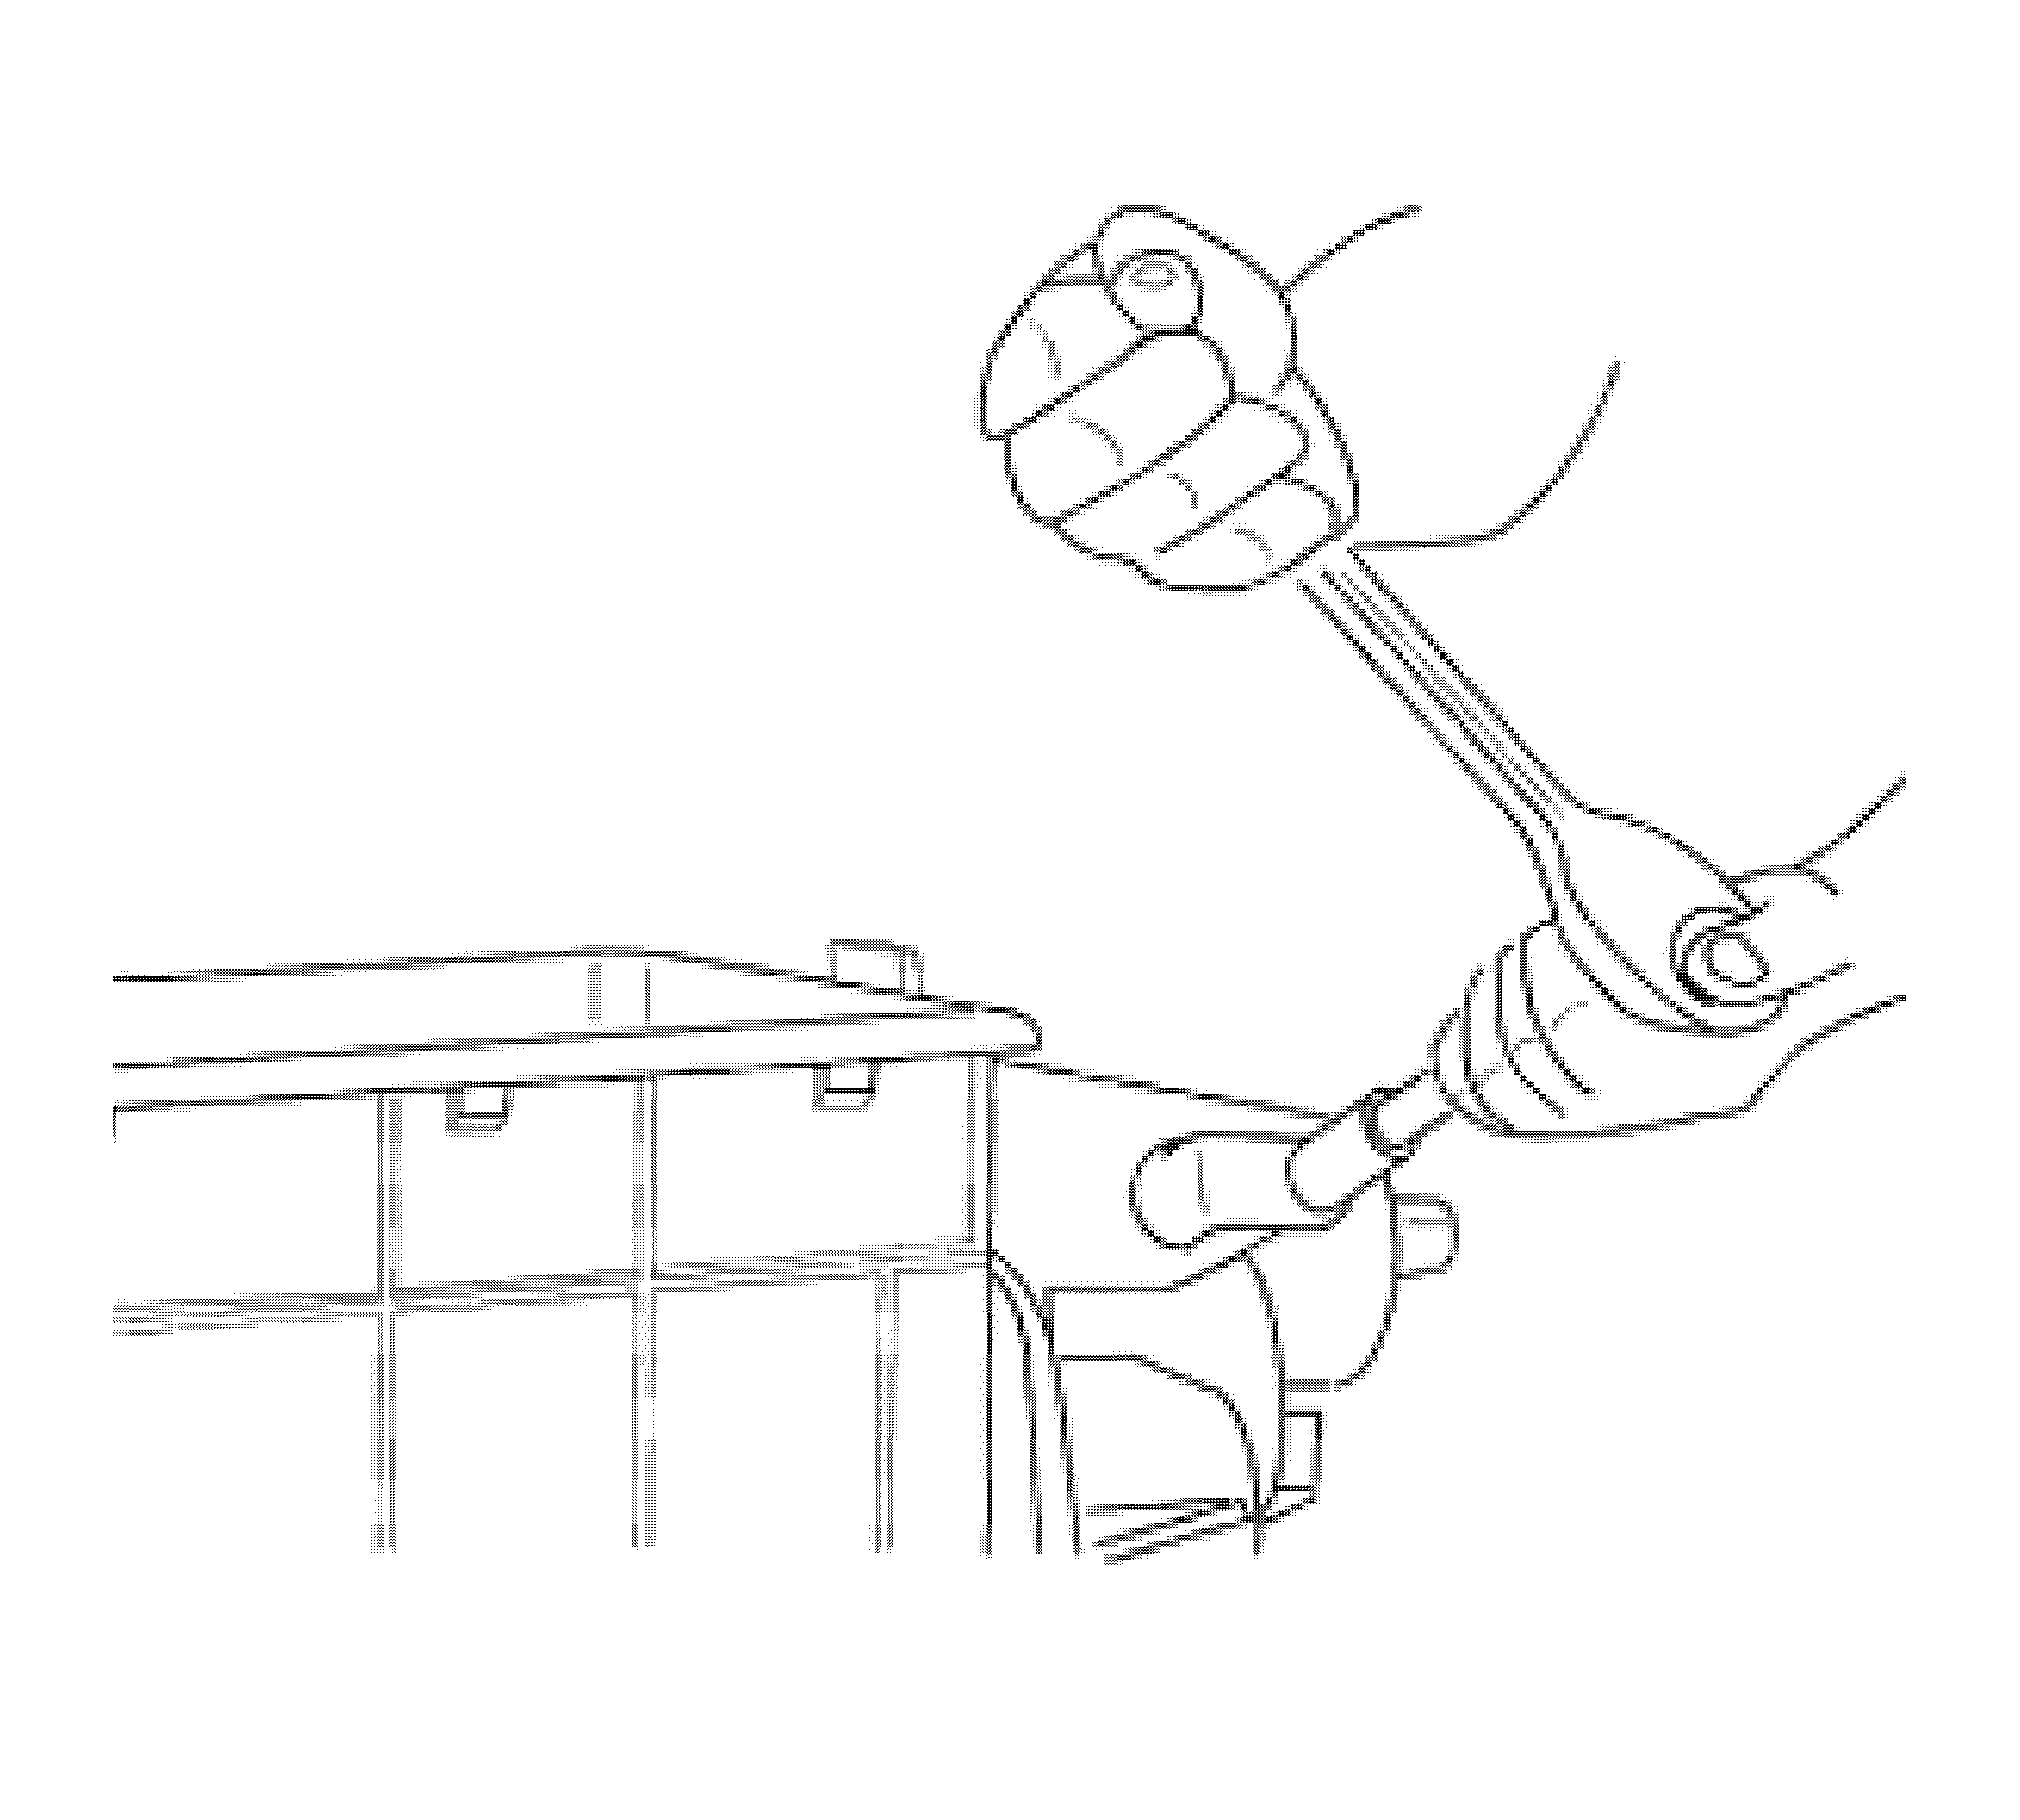
- Tighten the main shaft nut.
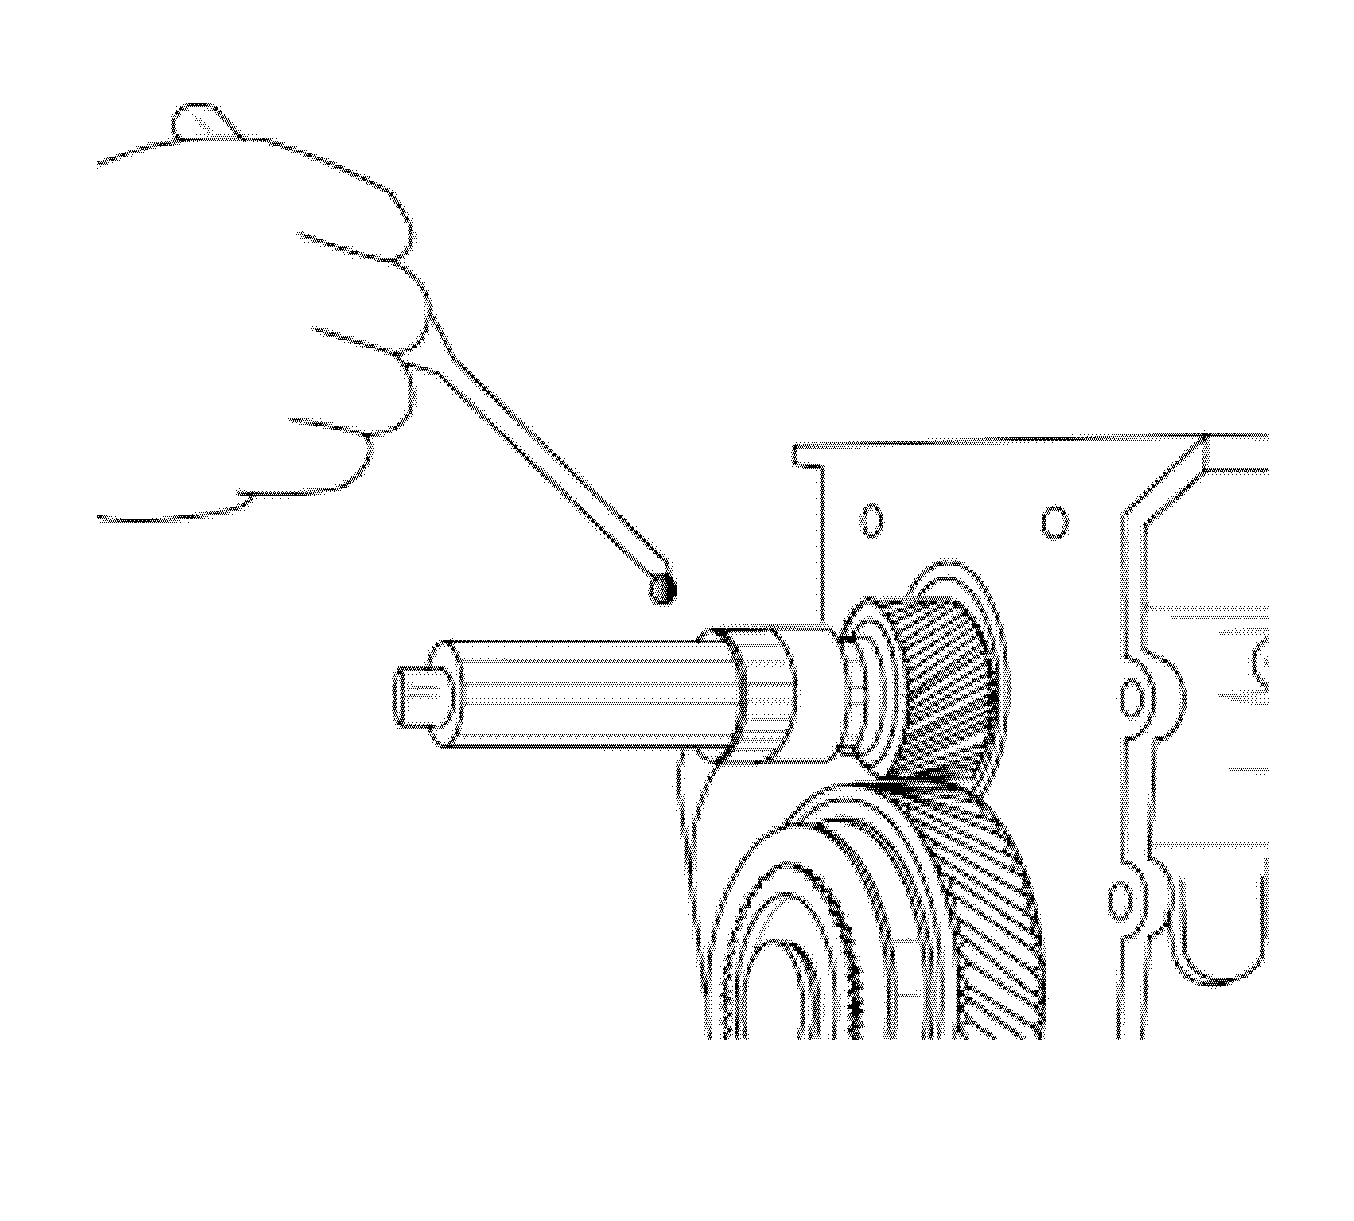
- Position the transmission, and install a dial indicator in order to measure the axial play. Add spacers for more play and remove spacers for less play.
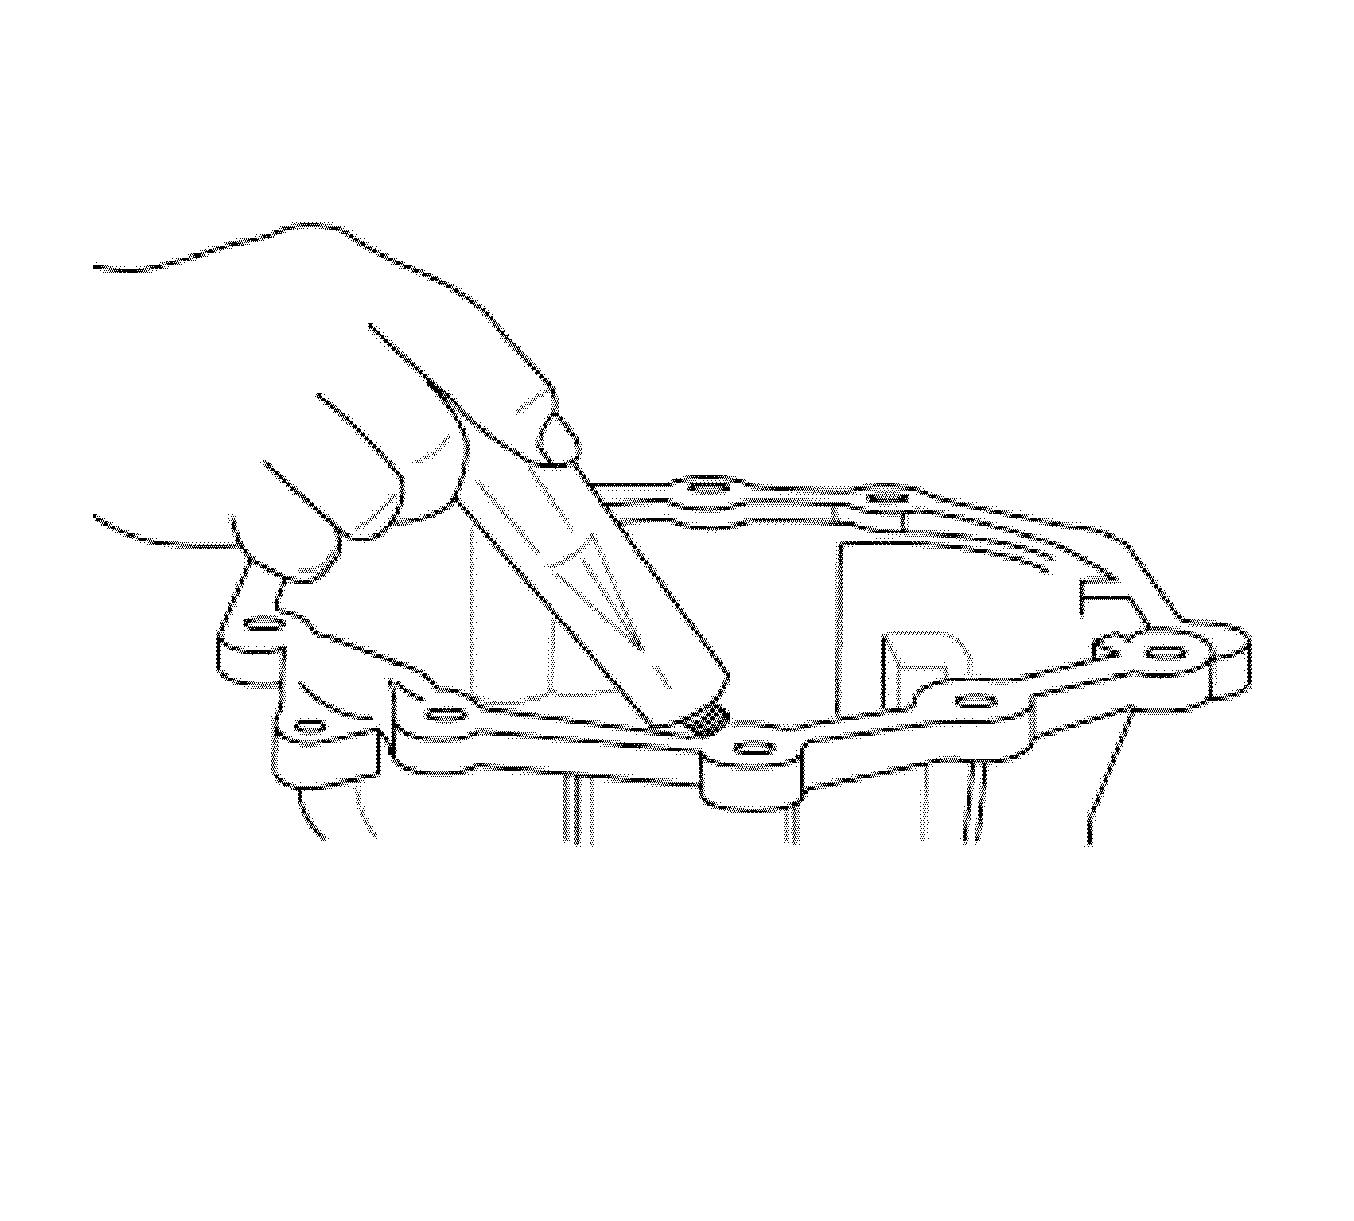
- Once you have achieved the axial play, proceed to the final assembly. Clean the bearing retainer surface and apply gasket maker.
- Install the bearing retainer, for the final assembly.
- Apply a Teflon® sealer to the screw threads.
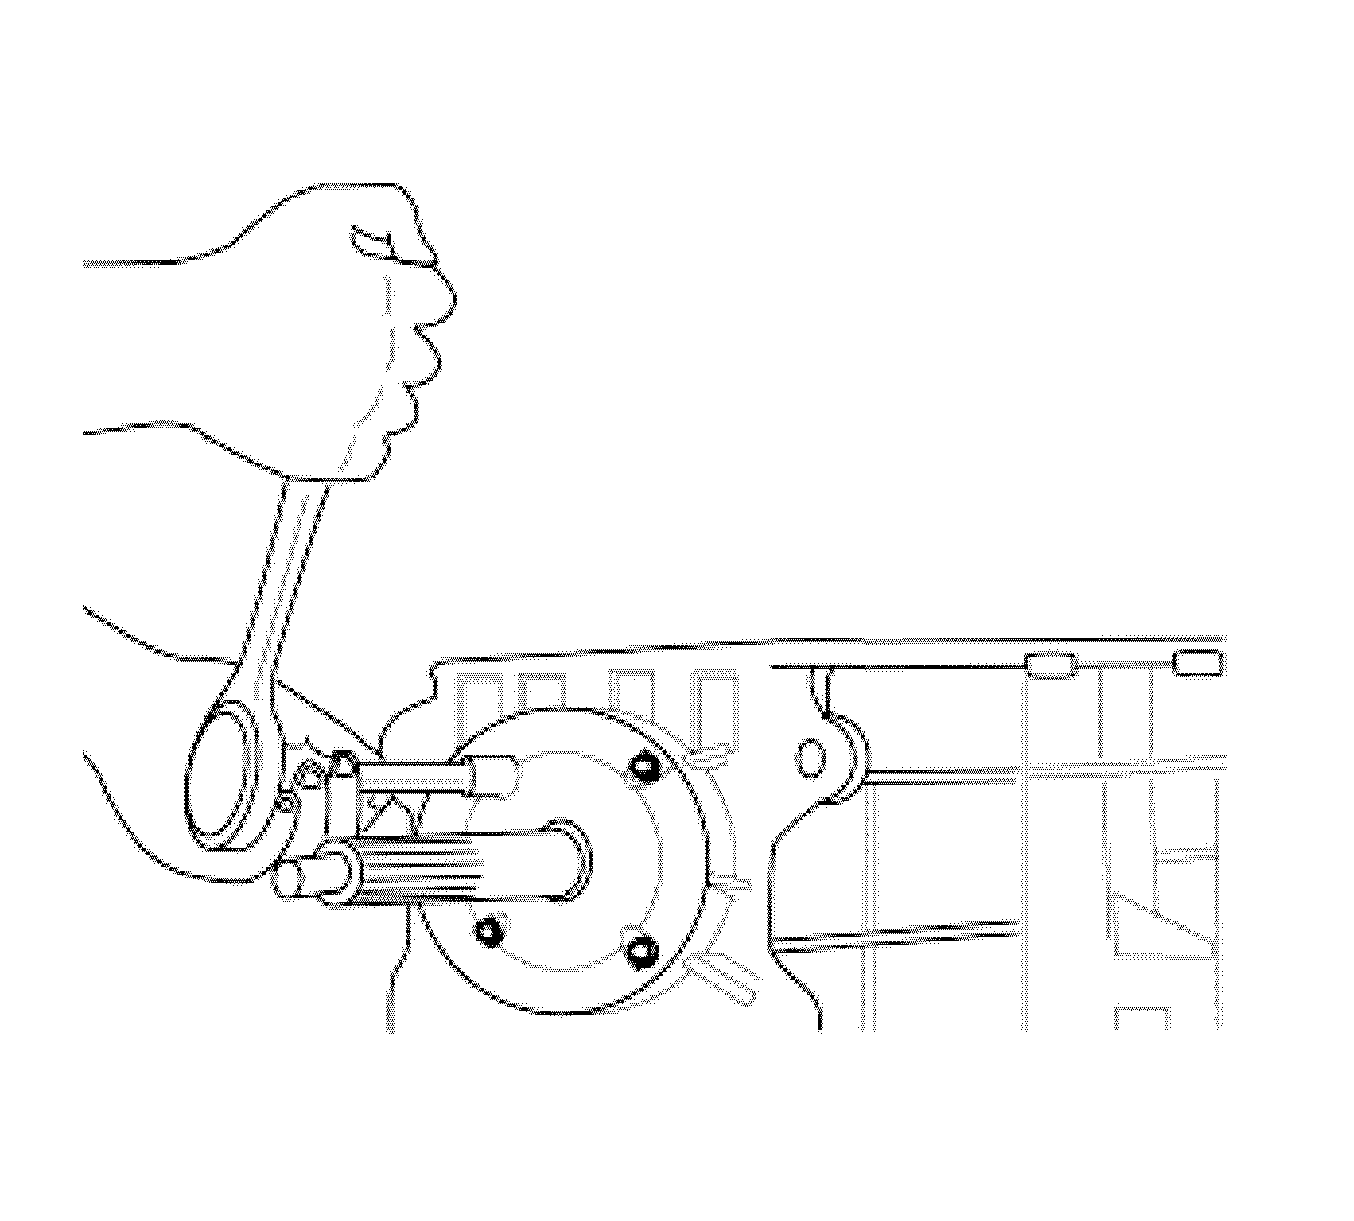
- Install the screws and tighten.
- Once the axial play is achieved, proceed to the final assembly. Clean the cover surface and apply gasket maker.
- Apply a Teflon® sealer to the screw threads.
- Install the screws and tighten.
- Install the main shaft yoke onto the main shaft.
- Tighten the NEW main shaft nut.
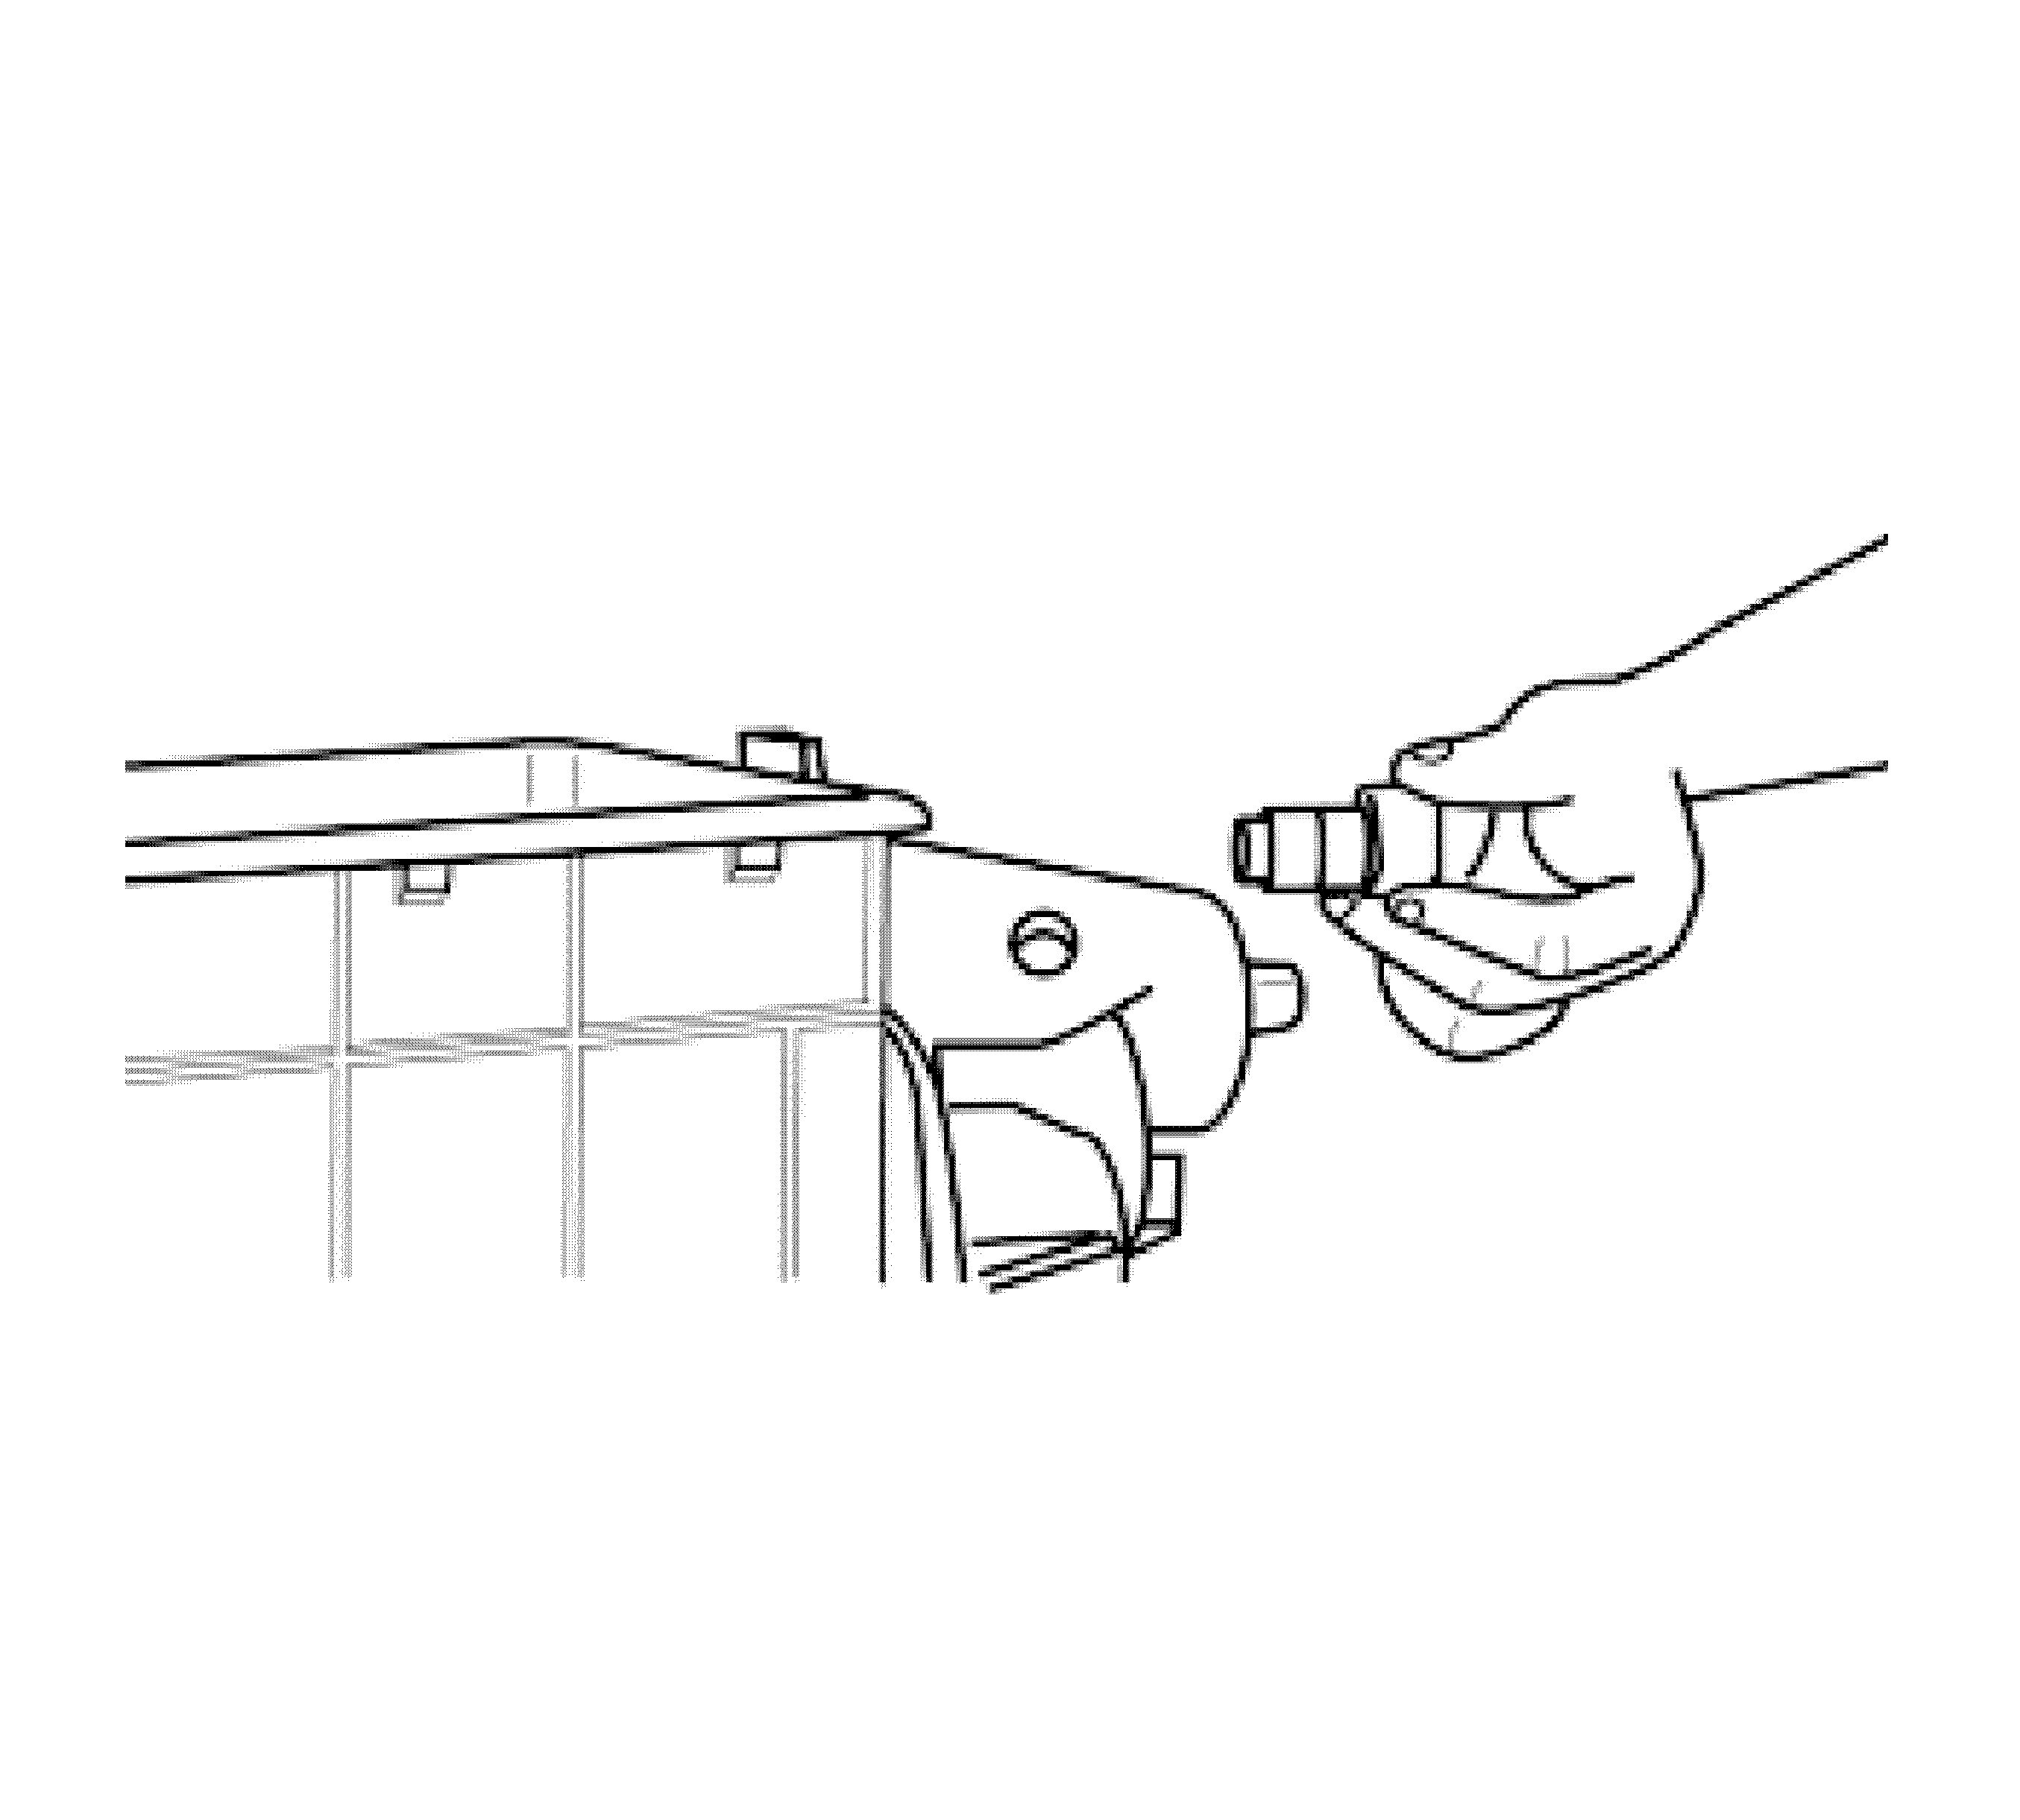
- Install the vehicle speed sensor, if necessary.
- Tighten the vehicle speed sensor.
- Add 3.5 liters (3.7 quart) of oil 1 ATF synthetic oil.
Specification
Axial play should be 0.025-0.127 mm (0.001-0.005 in).
Notice: Refer to Fastener Notice in the Preface section.
Tighten
Tighten the screws to 16-21 N·m (12-16 lb ft).
Tighten
Tighten the screws to 57-68 N·m (42-50 lb ft).
Tighten
Tighten the nut to 150-170 N·m (110-125 lb ft).
Specification
The axial play should be 0.025-0.127 mm (0.001-0.005 in).
Tighten
Tighten to 34-40 N·m (25-30 lb ft).
Tighten
Tighten to 57-68 N·m (42-50 lb ft).
Tighten
Tighten the nut to 150-170 N·m (110-125 lb ft).
Notice: Use only clean and approved transmission fluid.
