For 1990-2009 cars only
- If the fork leg inserts must be replaced, you should press them in. Ensure they are centered in the housing.
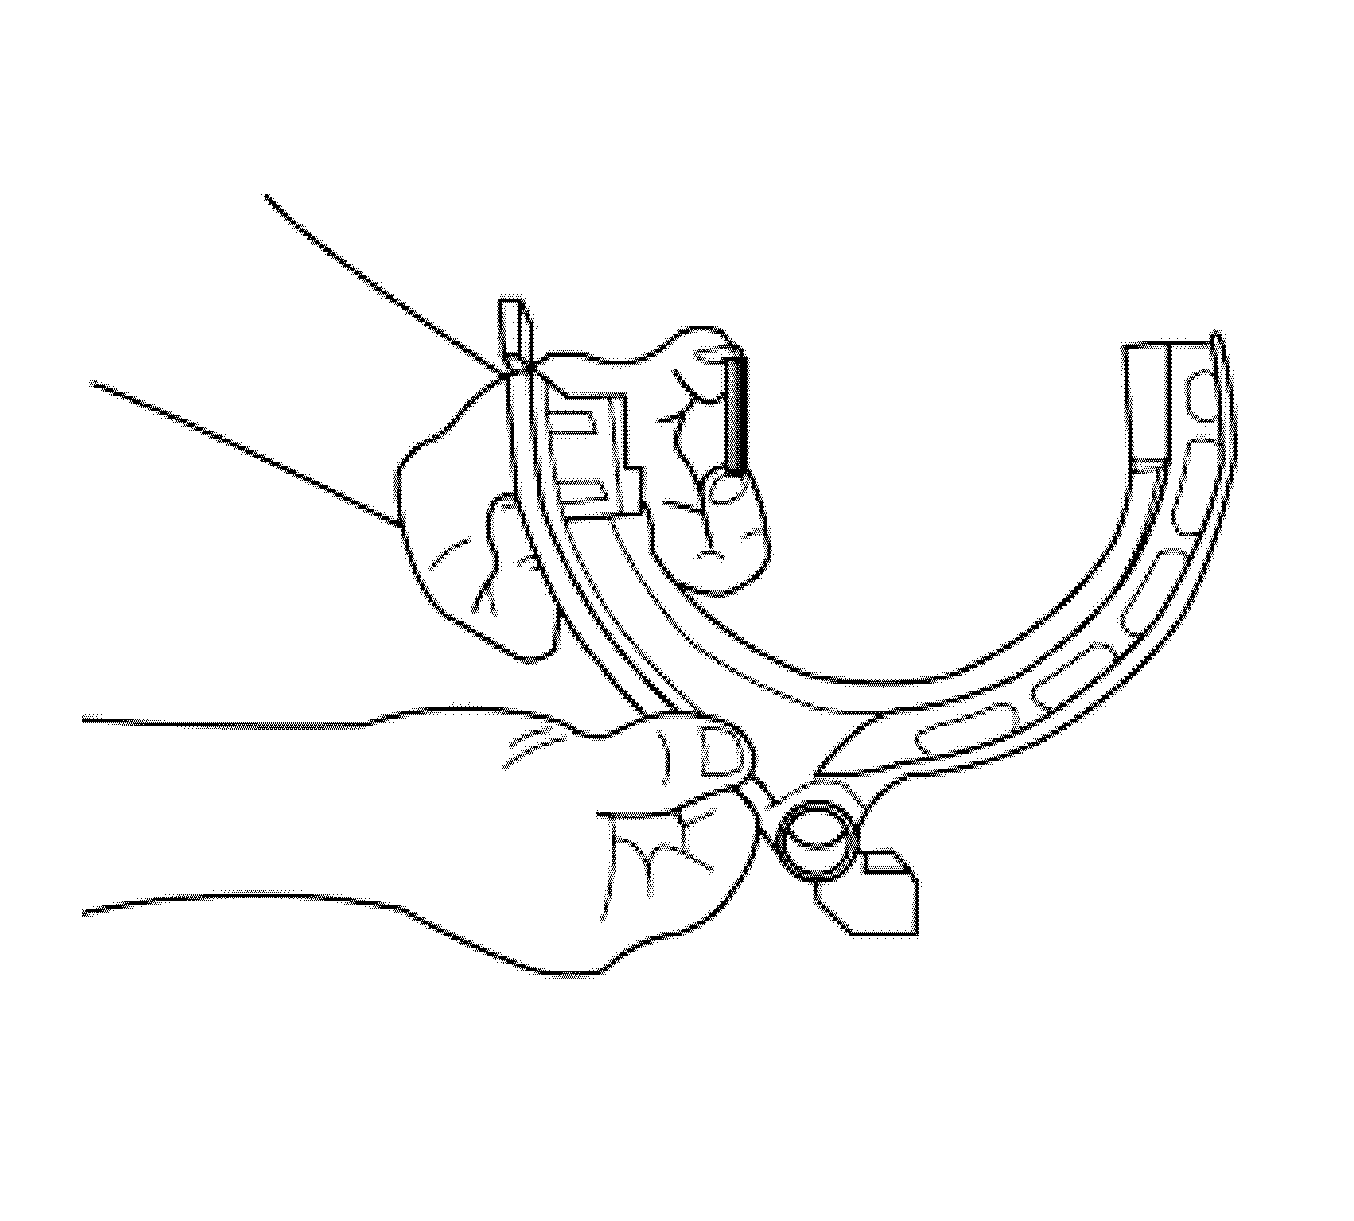
- Assemble the 1st and 2nd gear fork, if removed, using a NEW roll pin.
- If the fork leg inserts must be replaced, you must press them into position.
- If the 3rd and 4th gear fork was removed, you must assemble and affix the fork with the 3rd and 4th gear fork roll pin.
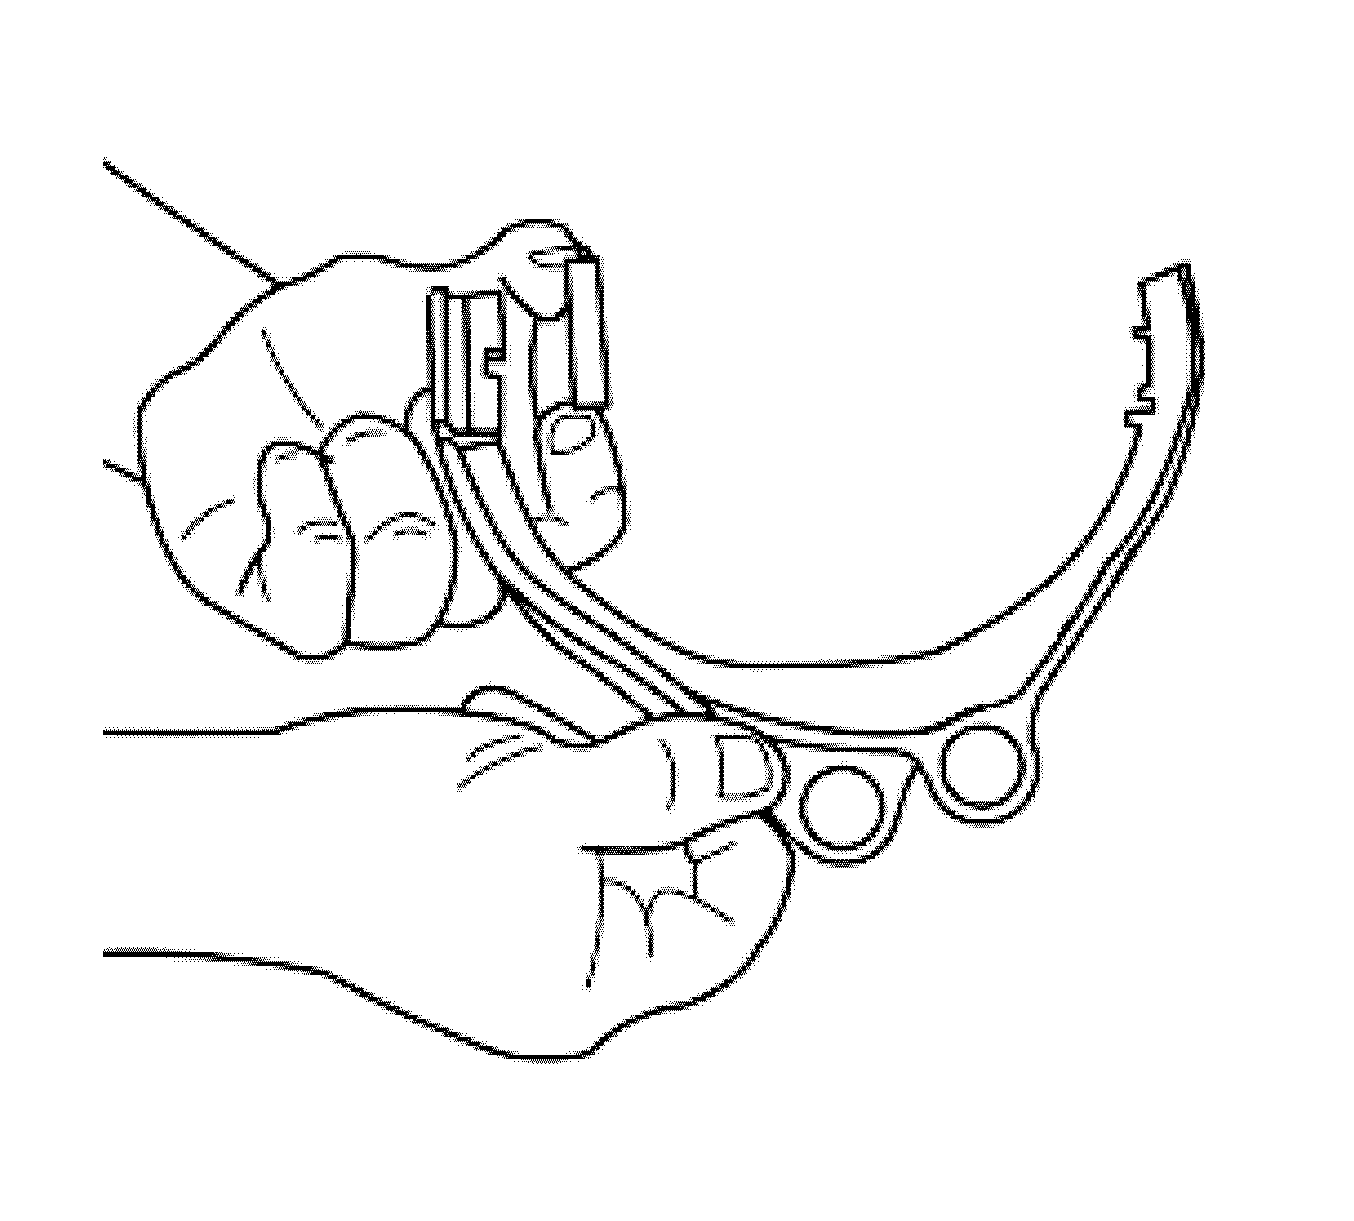
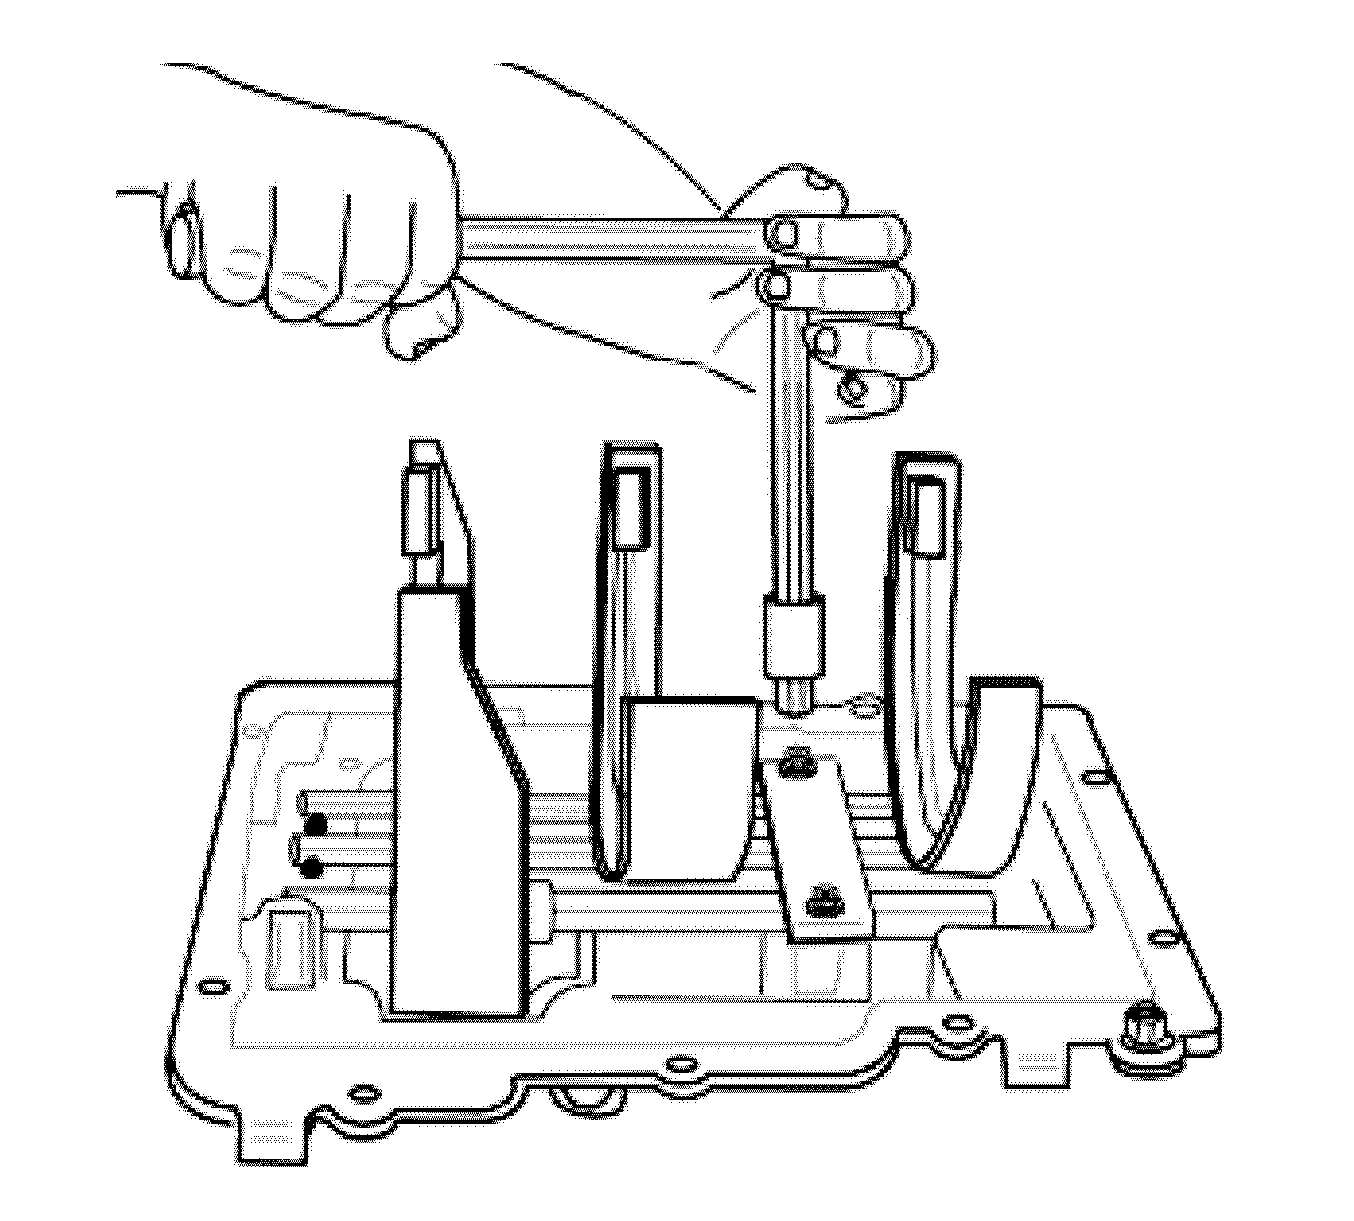
- Install the new roll pin over the 1st and 2nd gear stop. Screw the shaft and fork assembly in using the insert marks.
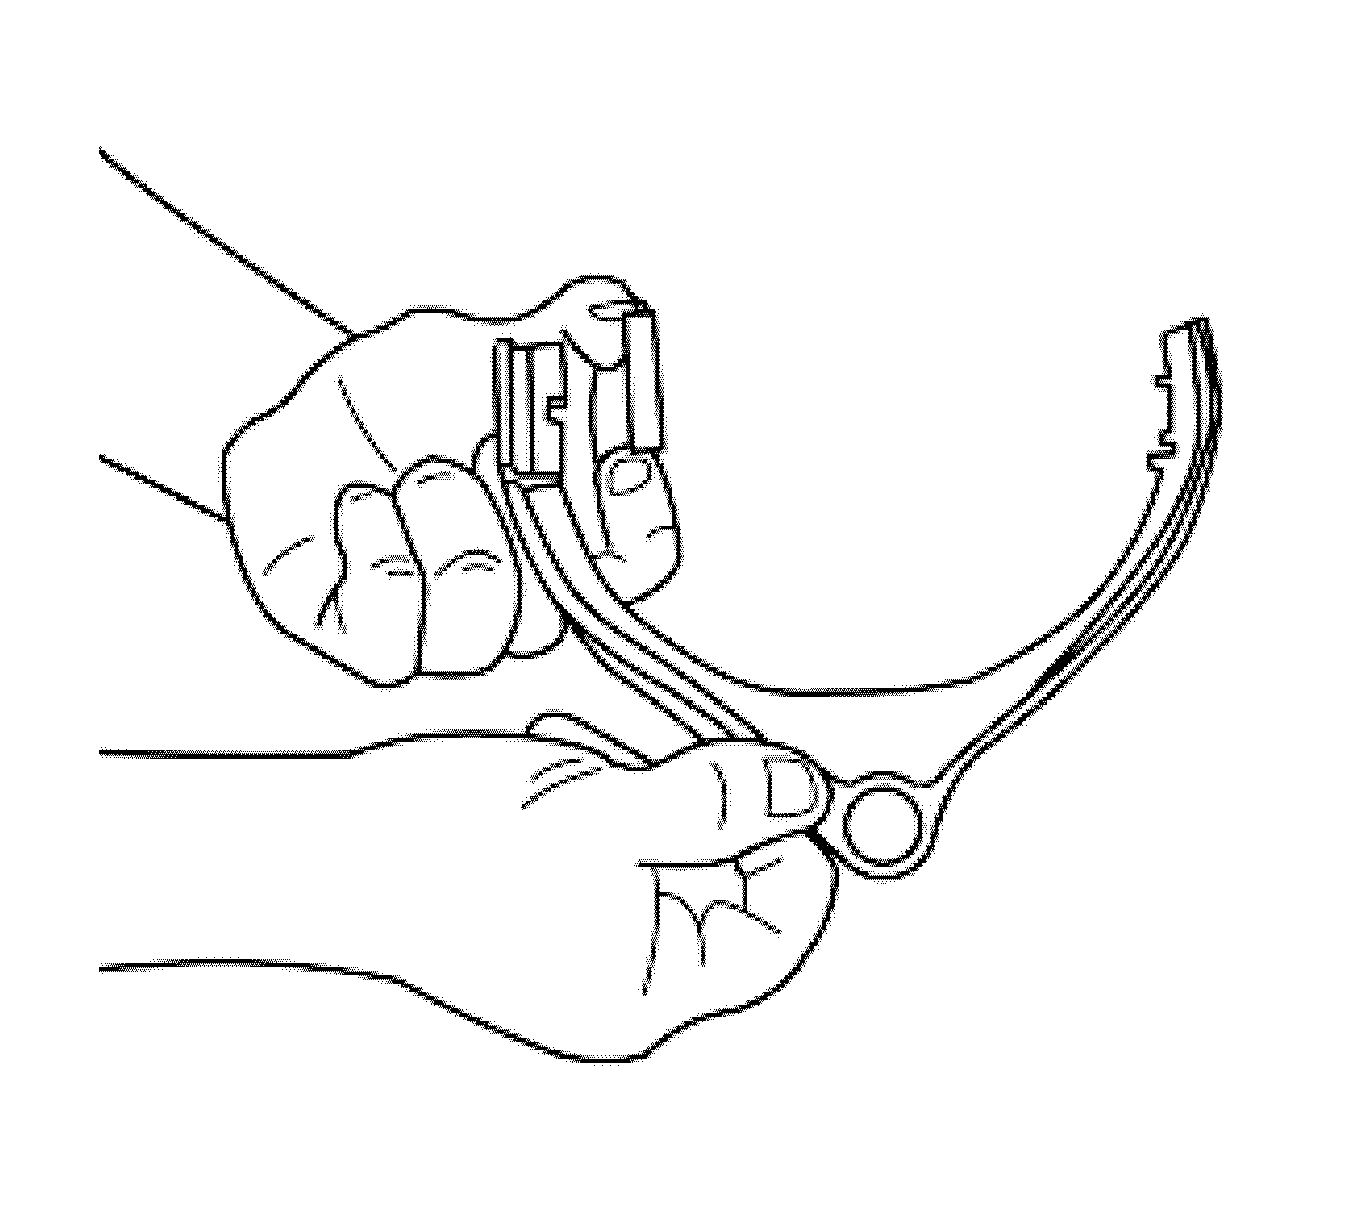
- Install the new roll pin on the 3rd and 4th gear stop.
- If the fork leg inserts must be replaced, press them in and ensure they enter into the housing.
- Install the new roll pin into the 5th and reverse gear fork, using the insert marks as a reference.
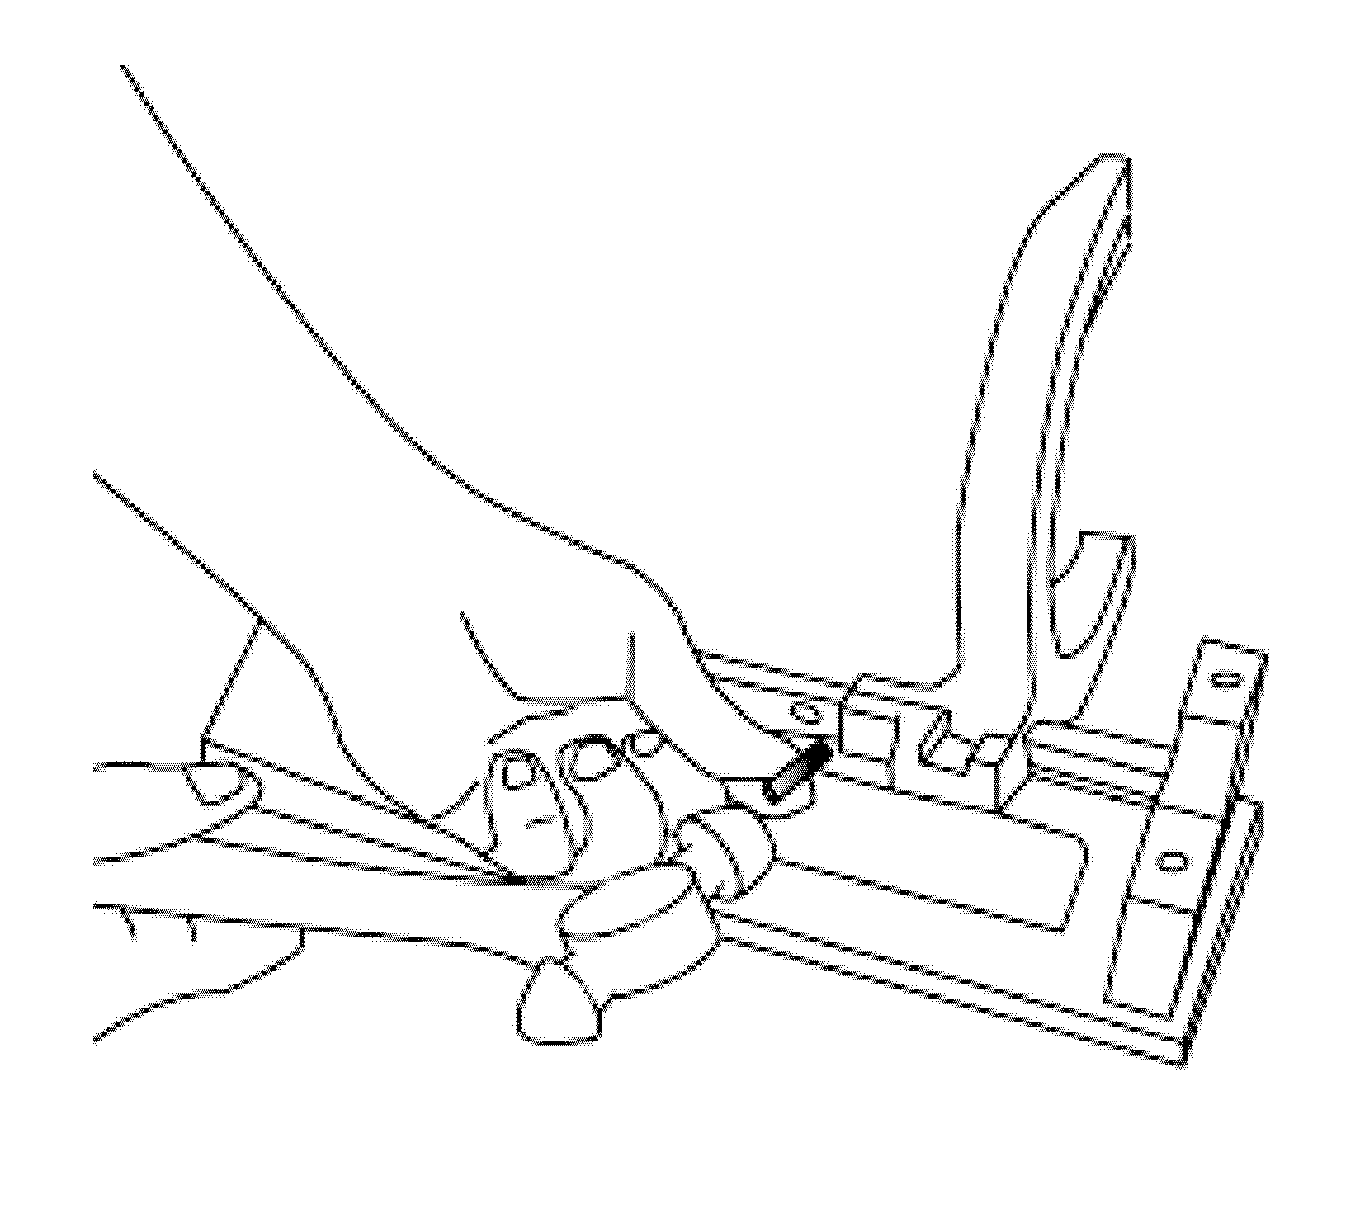
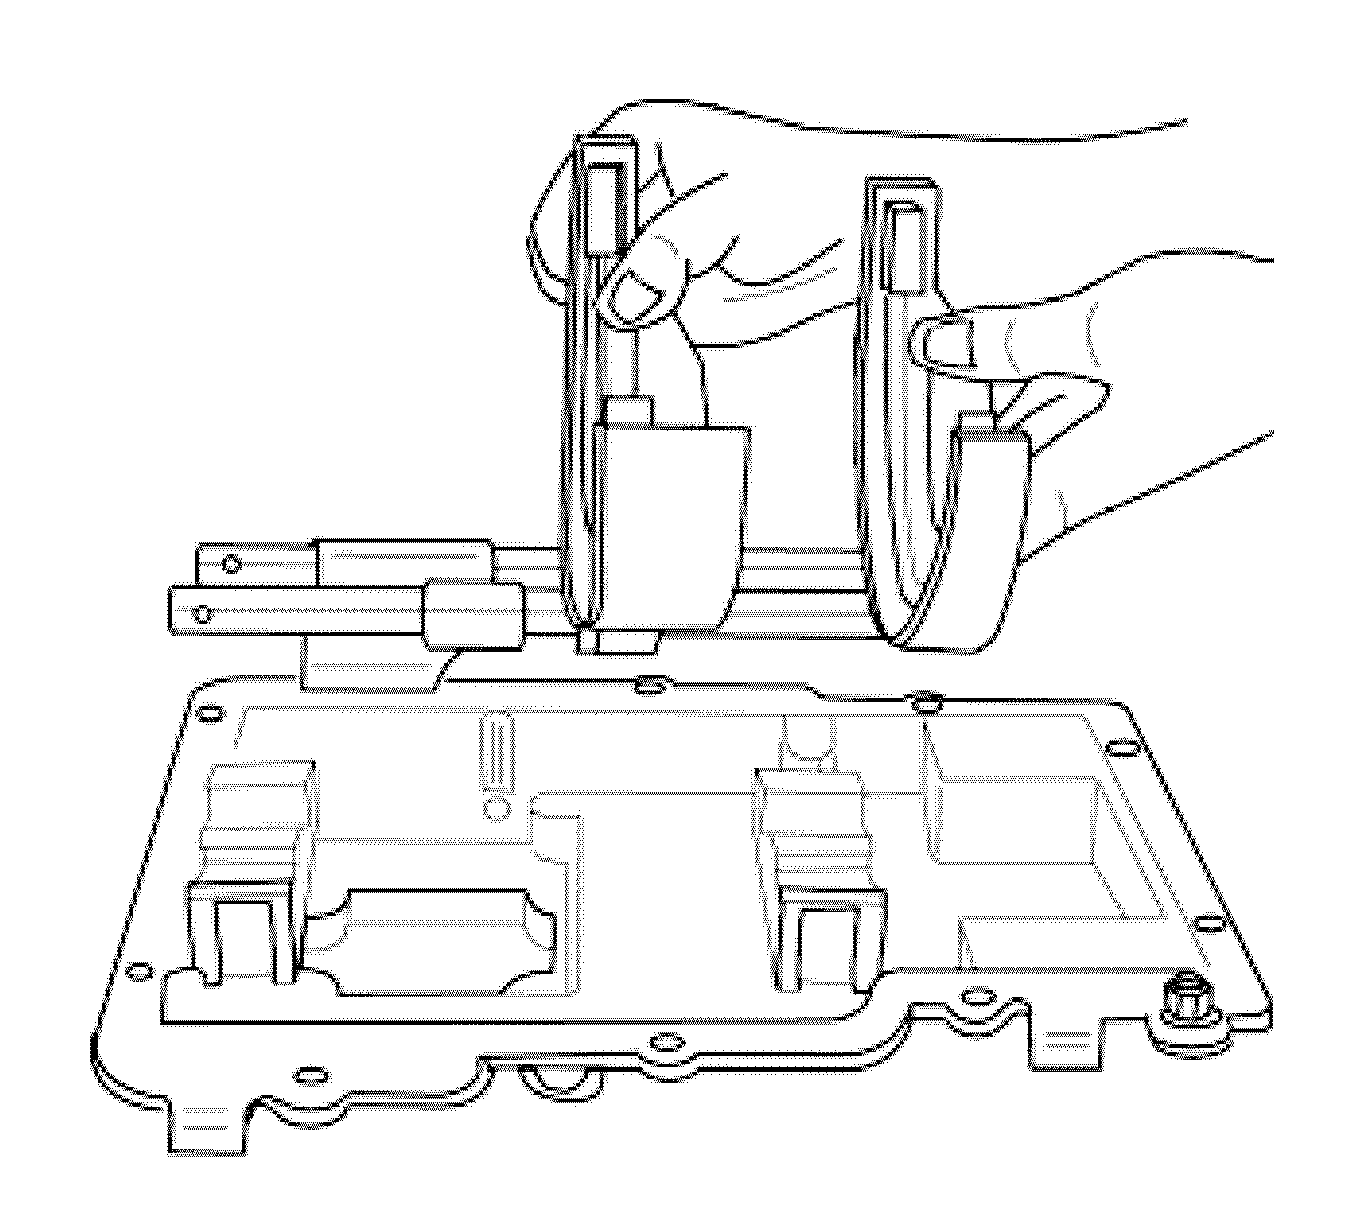
- Install the 3 insert springs.
- Install the 3 insert spheres.
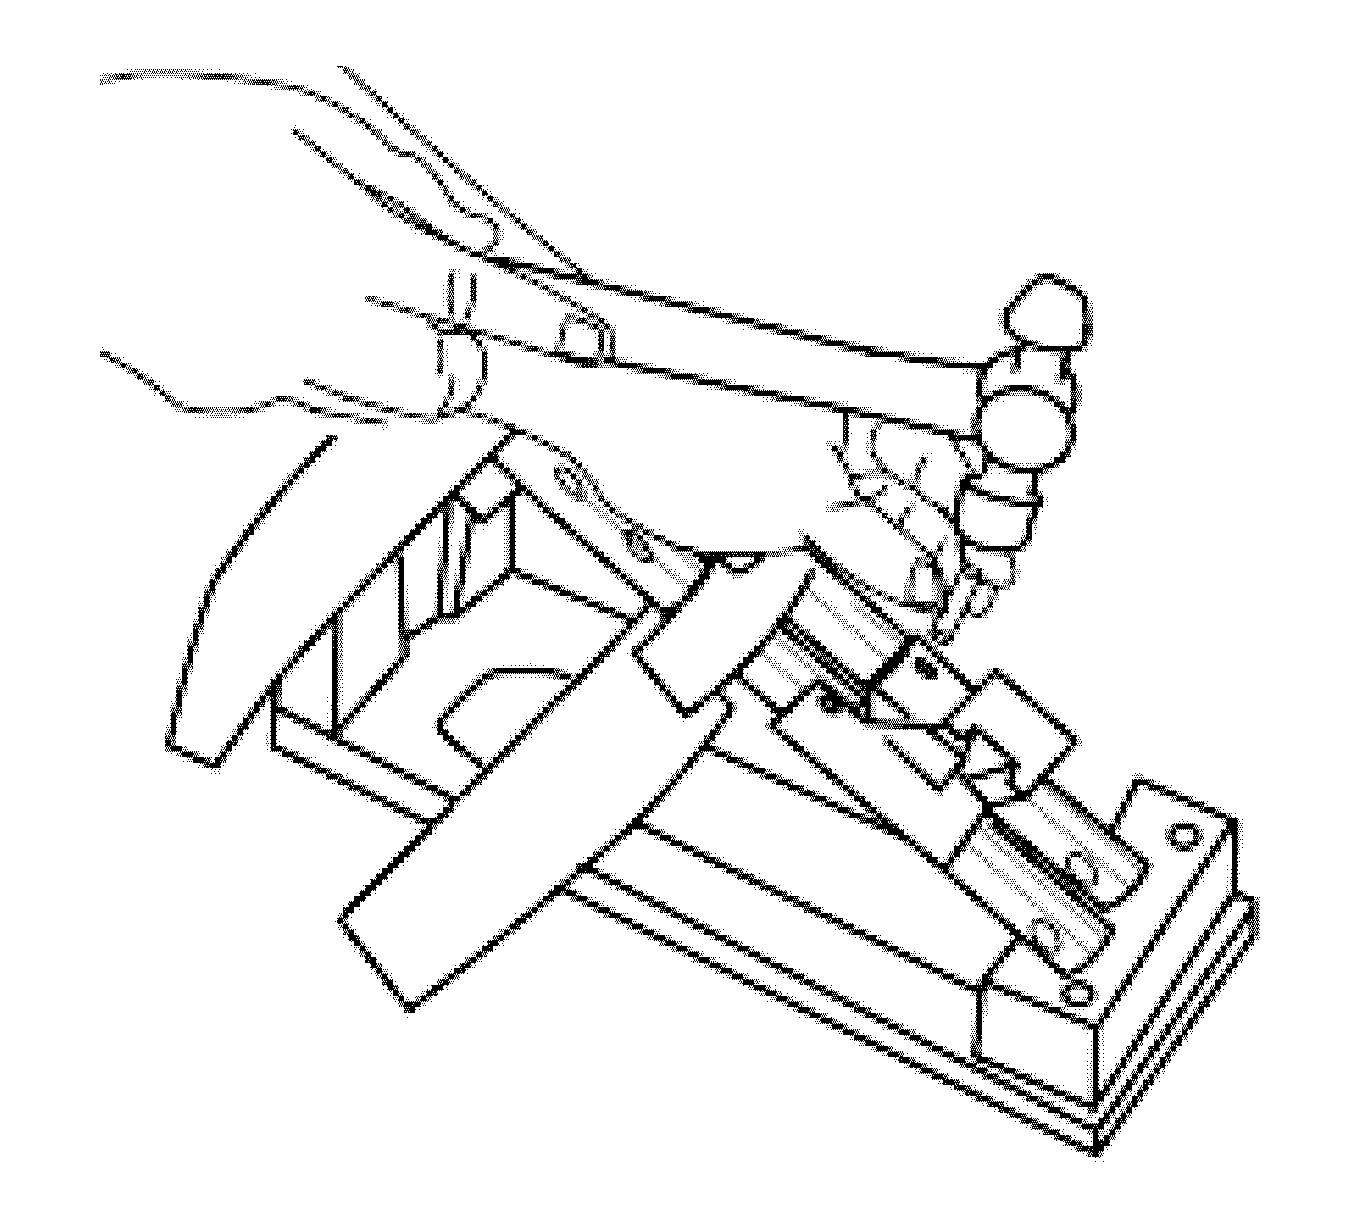
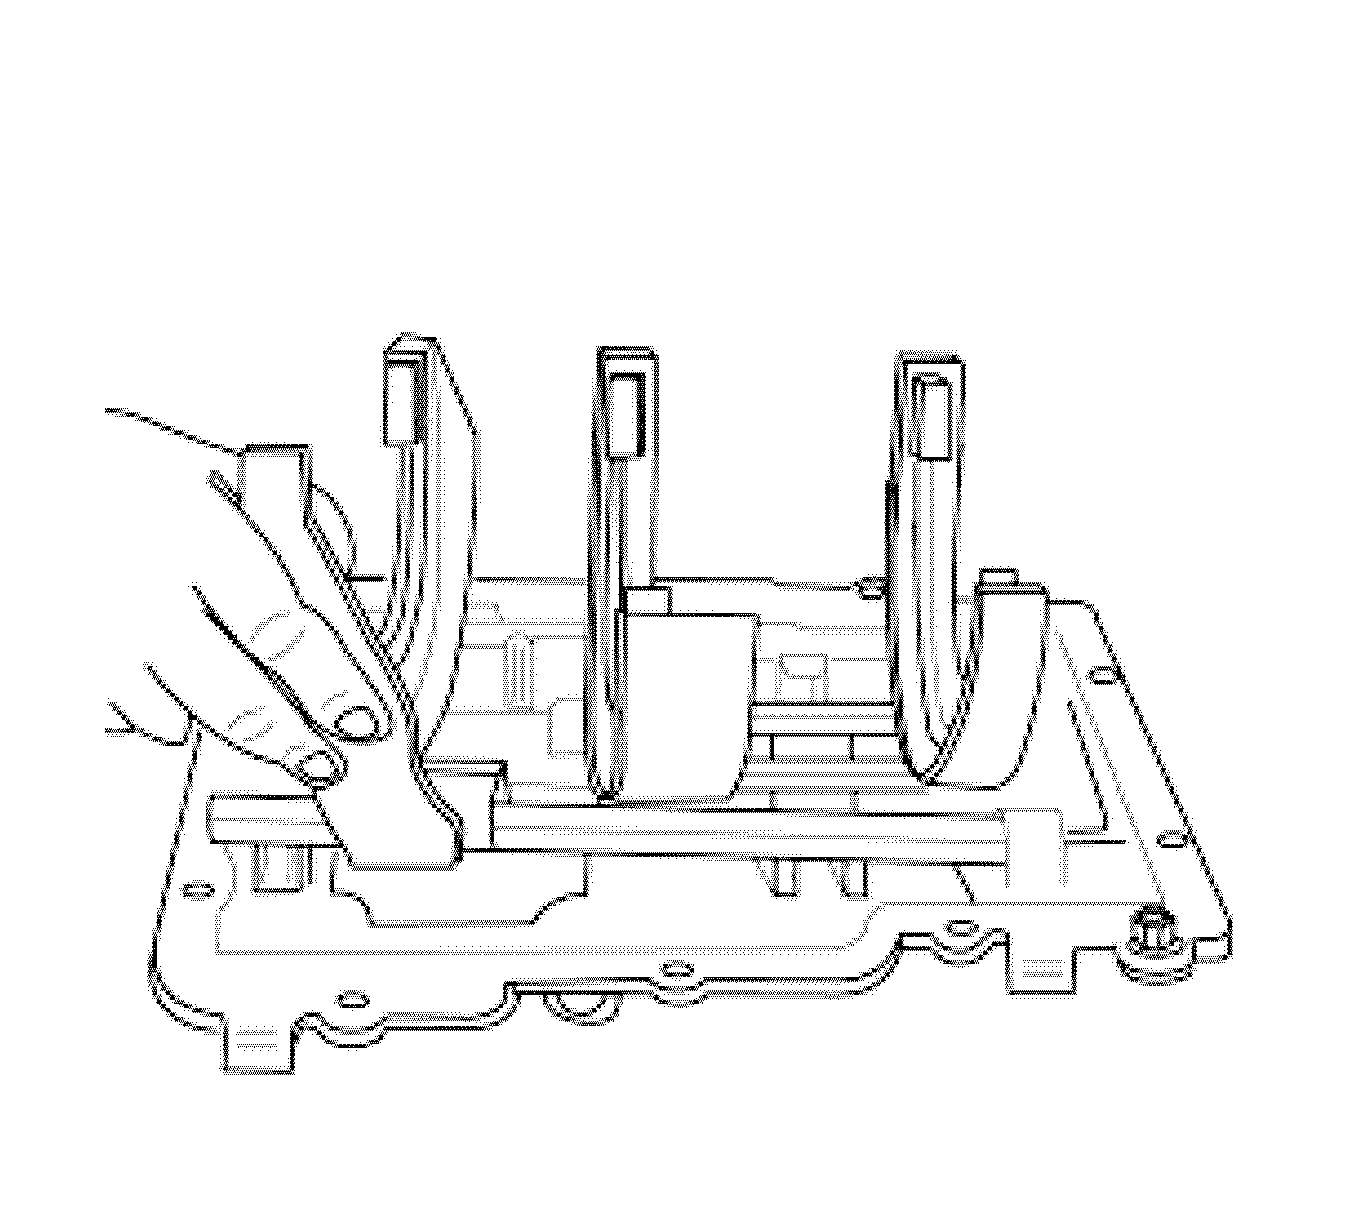
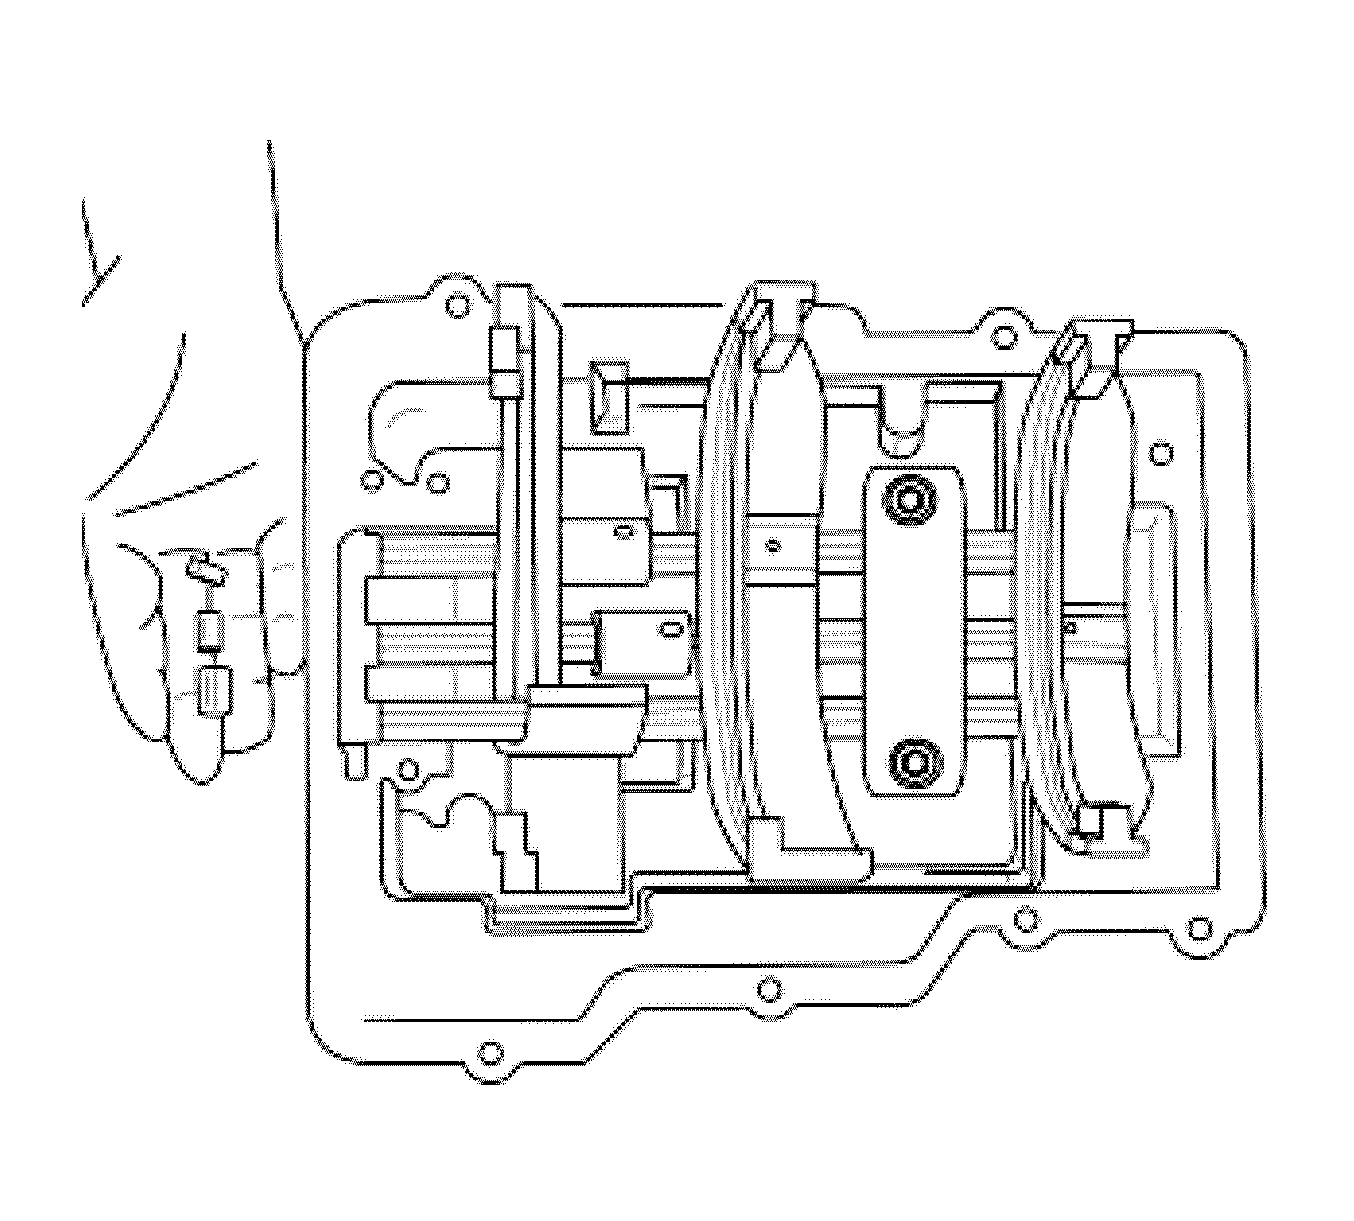
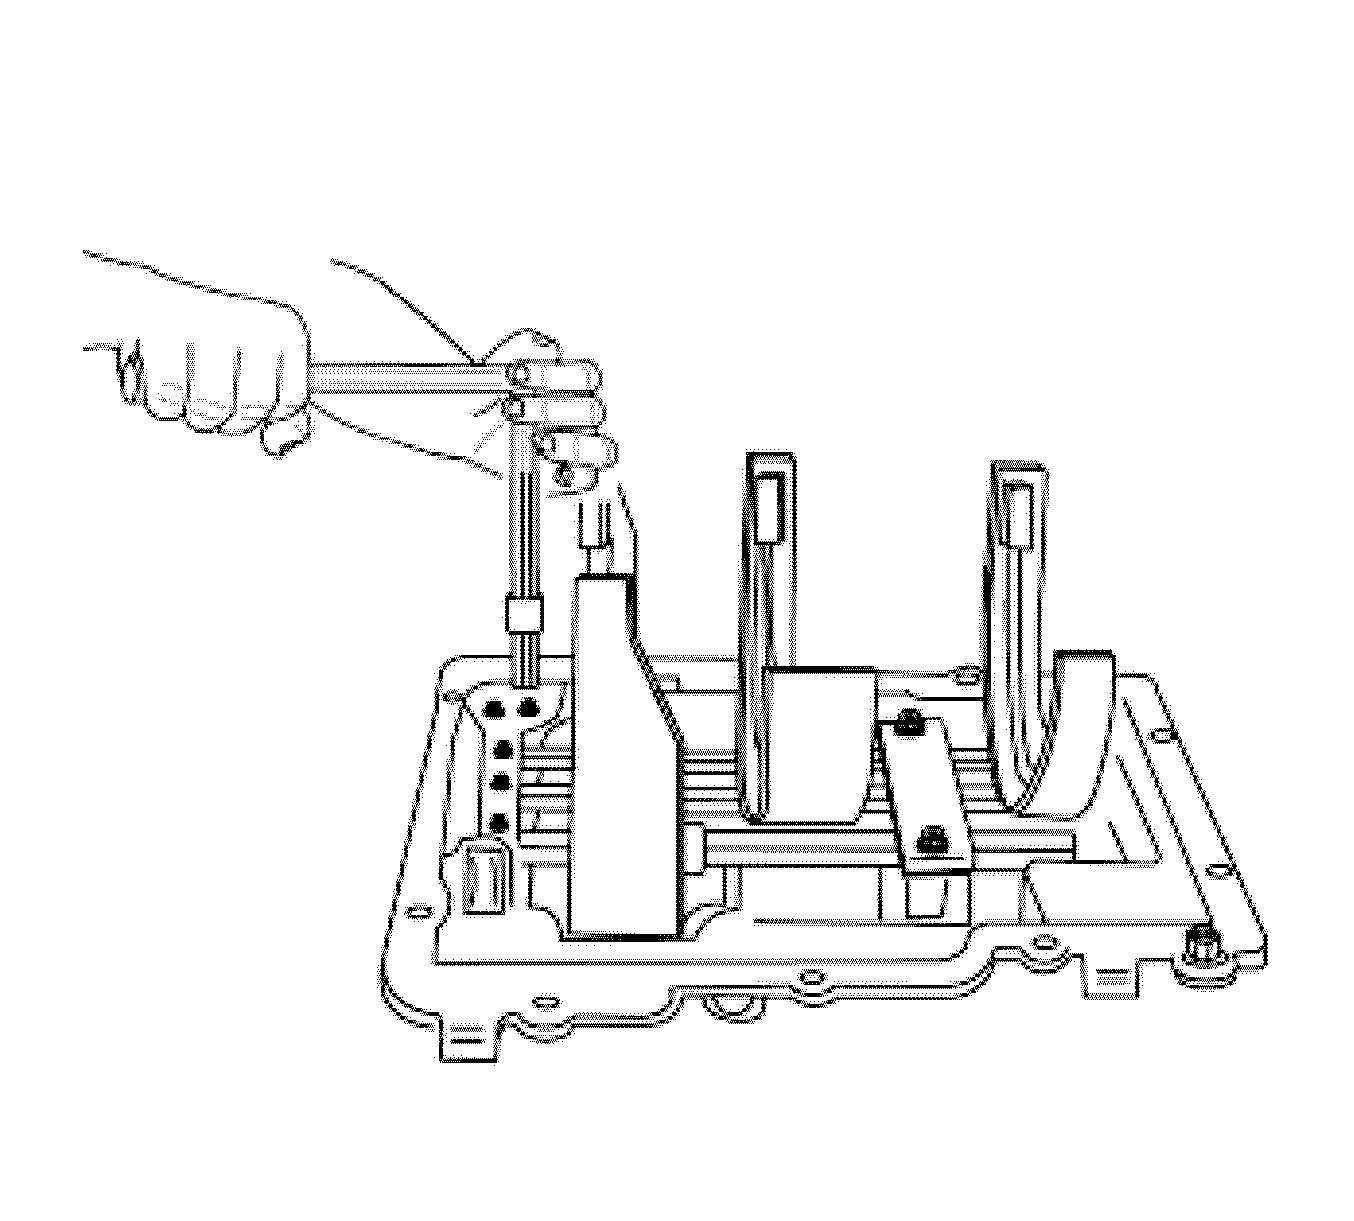
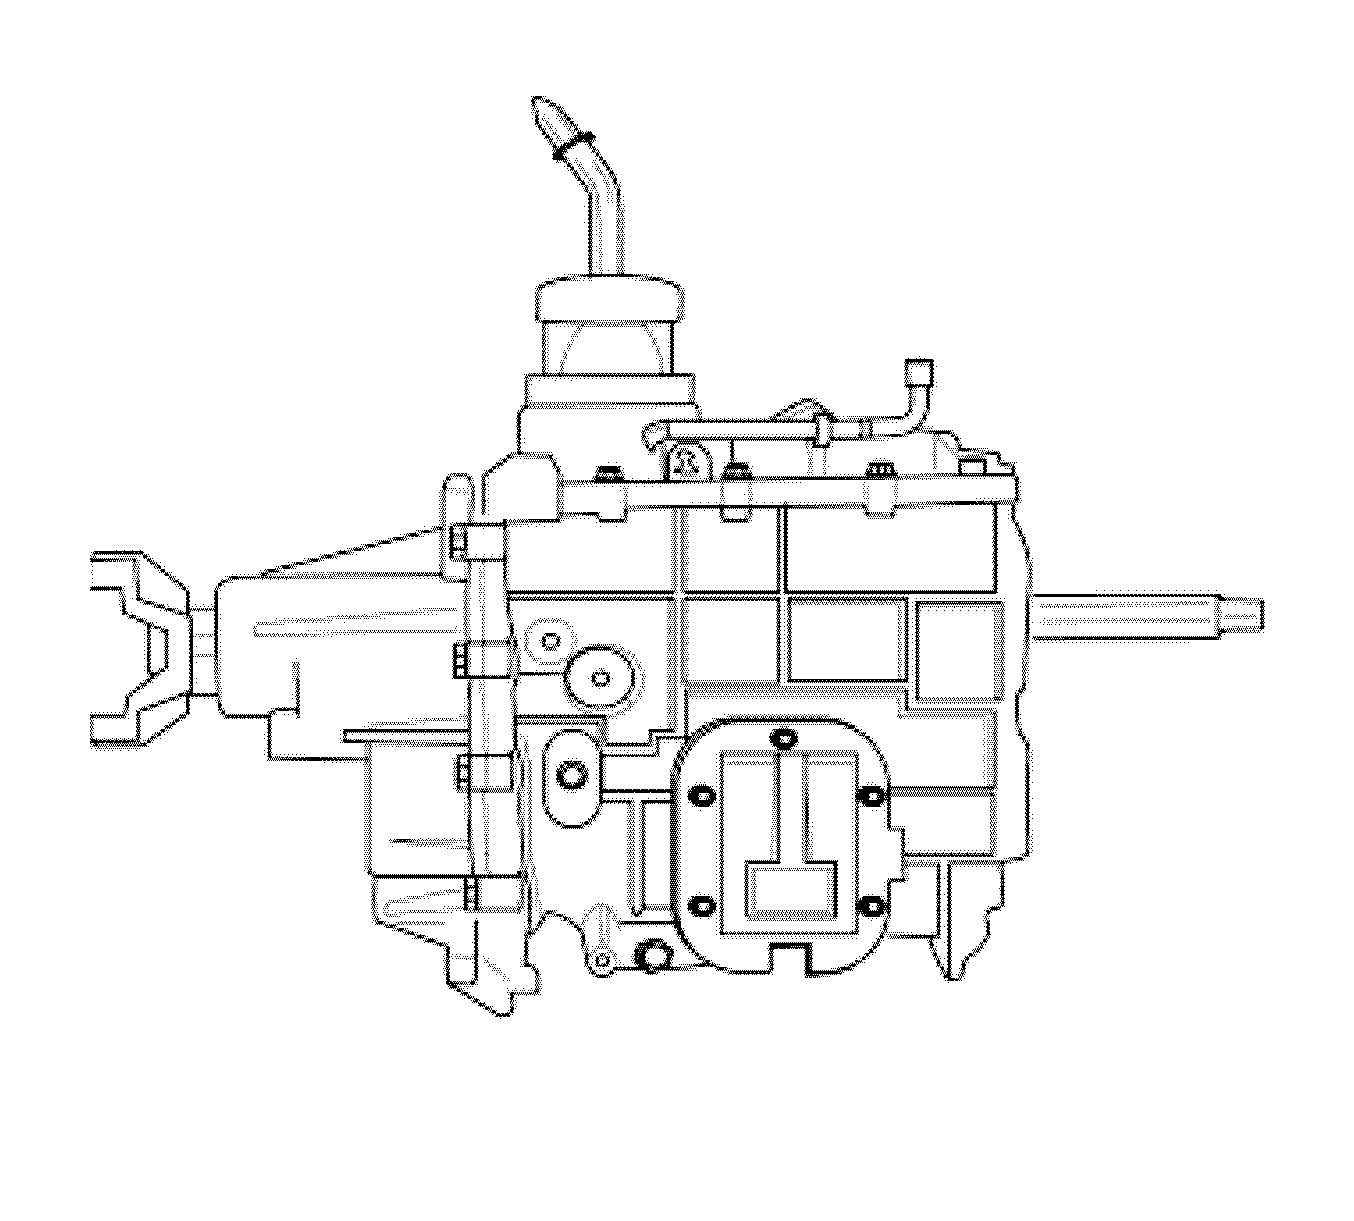
- Install the previously assembled unit, shafts, and forks.
- Install the 5th and reverse gear fork and shaft, placing the spheres on the insert marks.
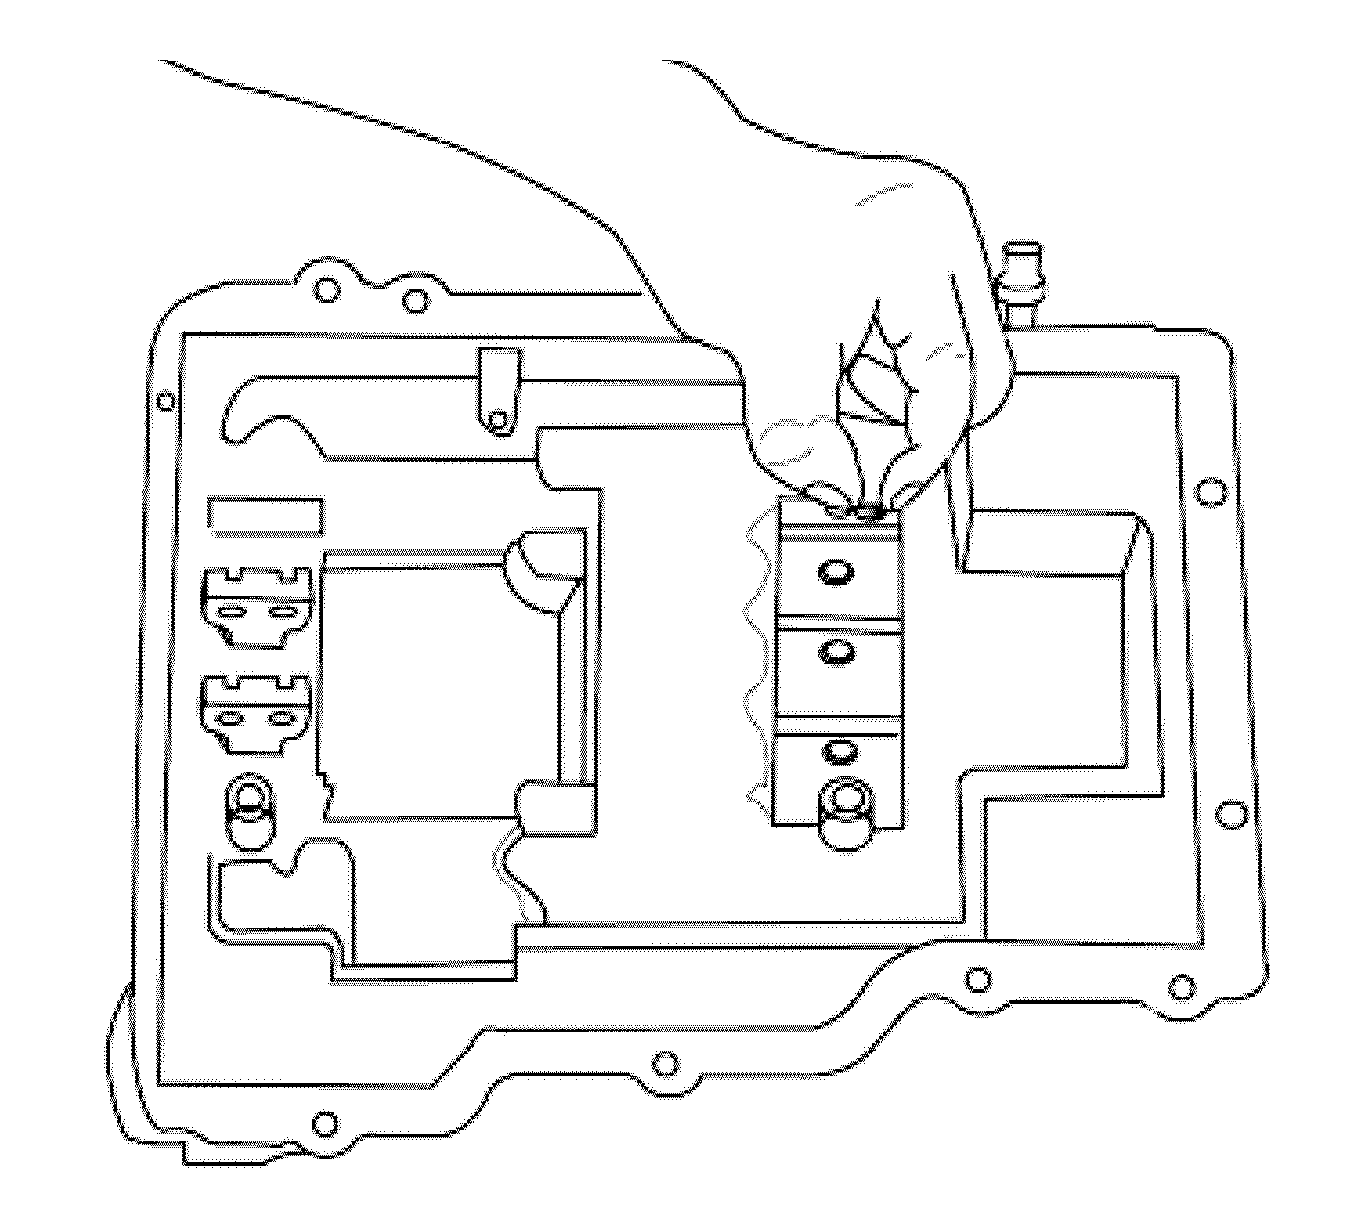
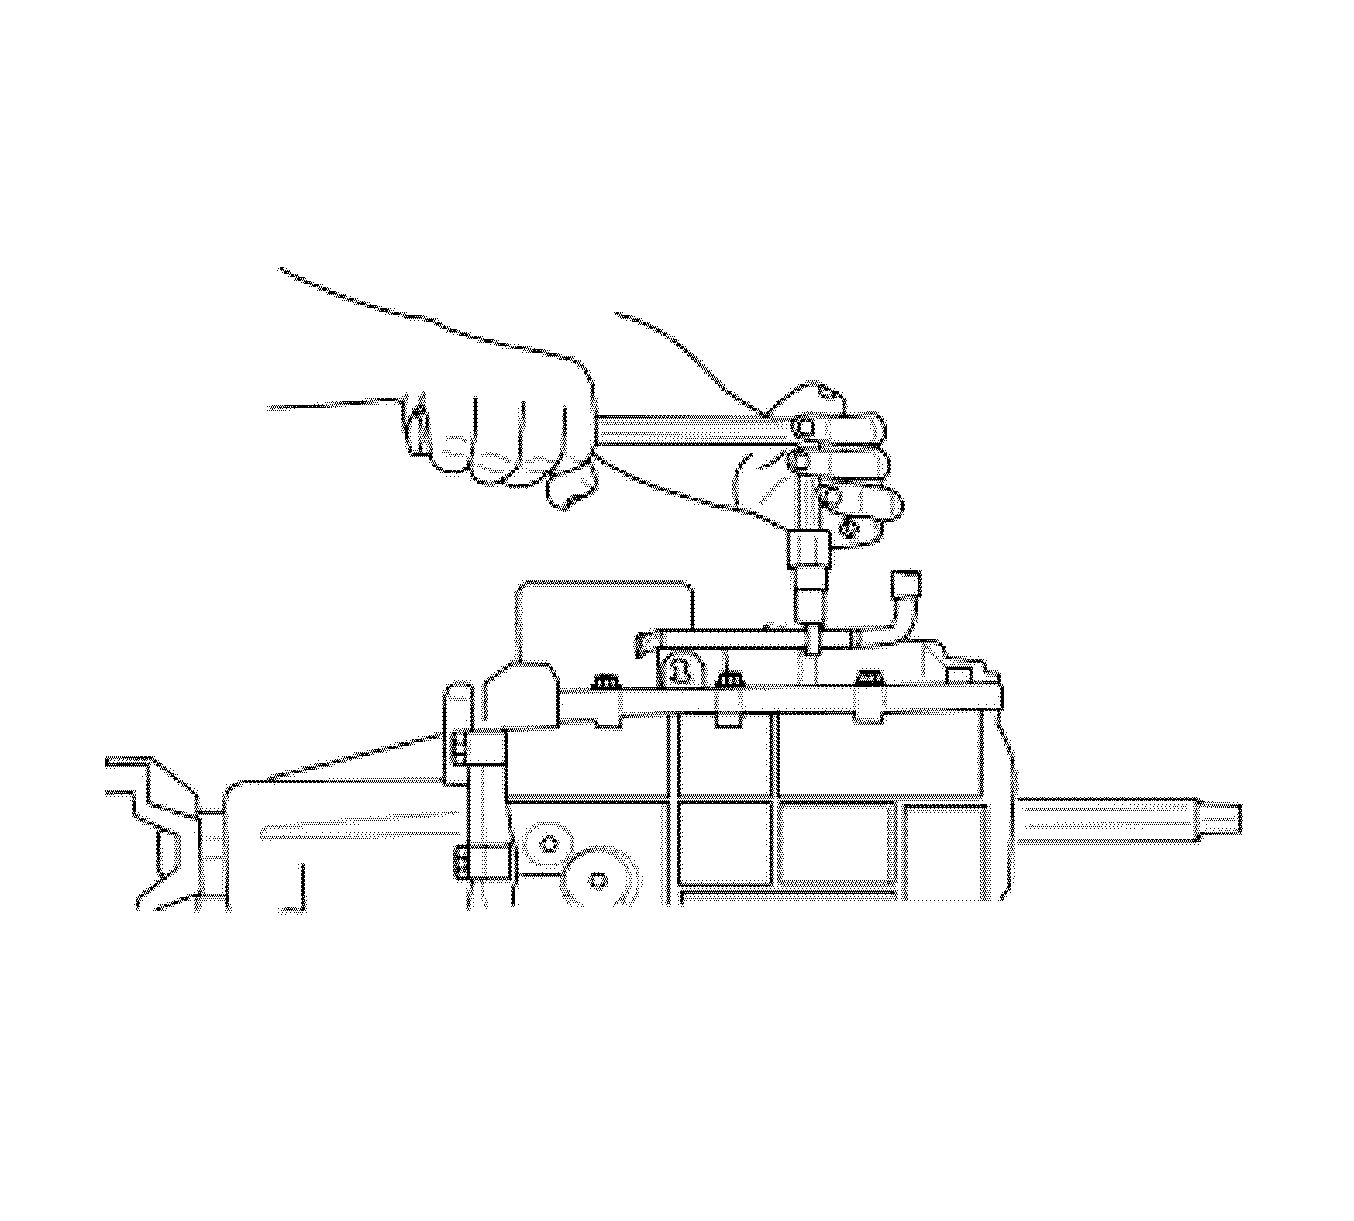
- Using a 1/2 socket, tighten the 2 screws on the insert system support plate.
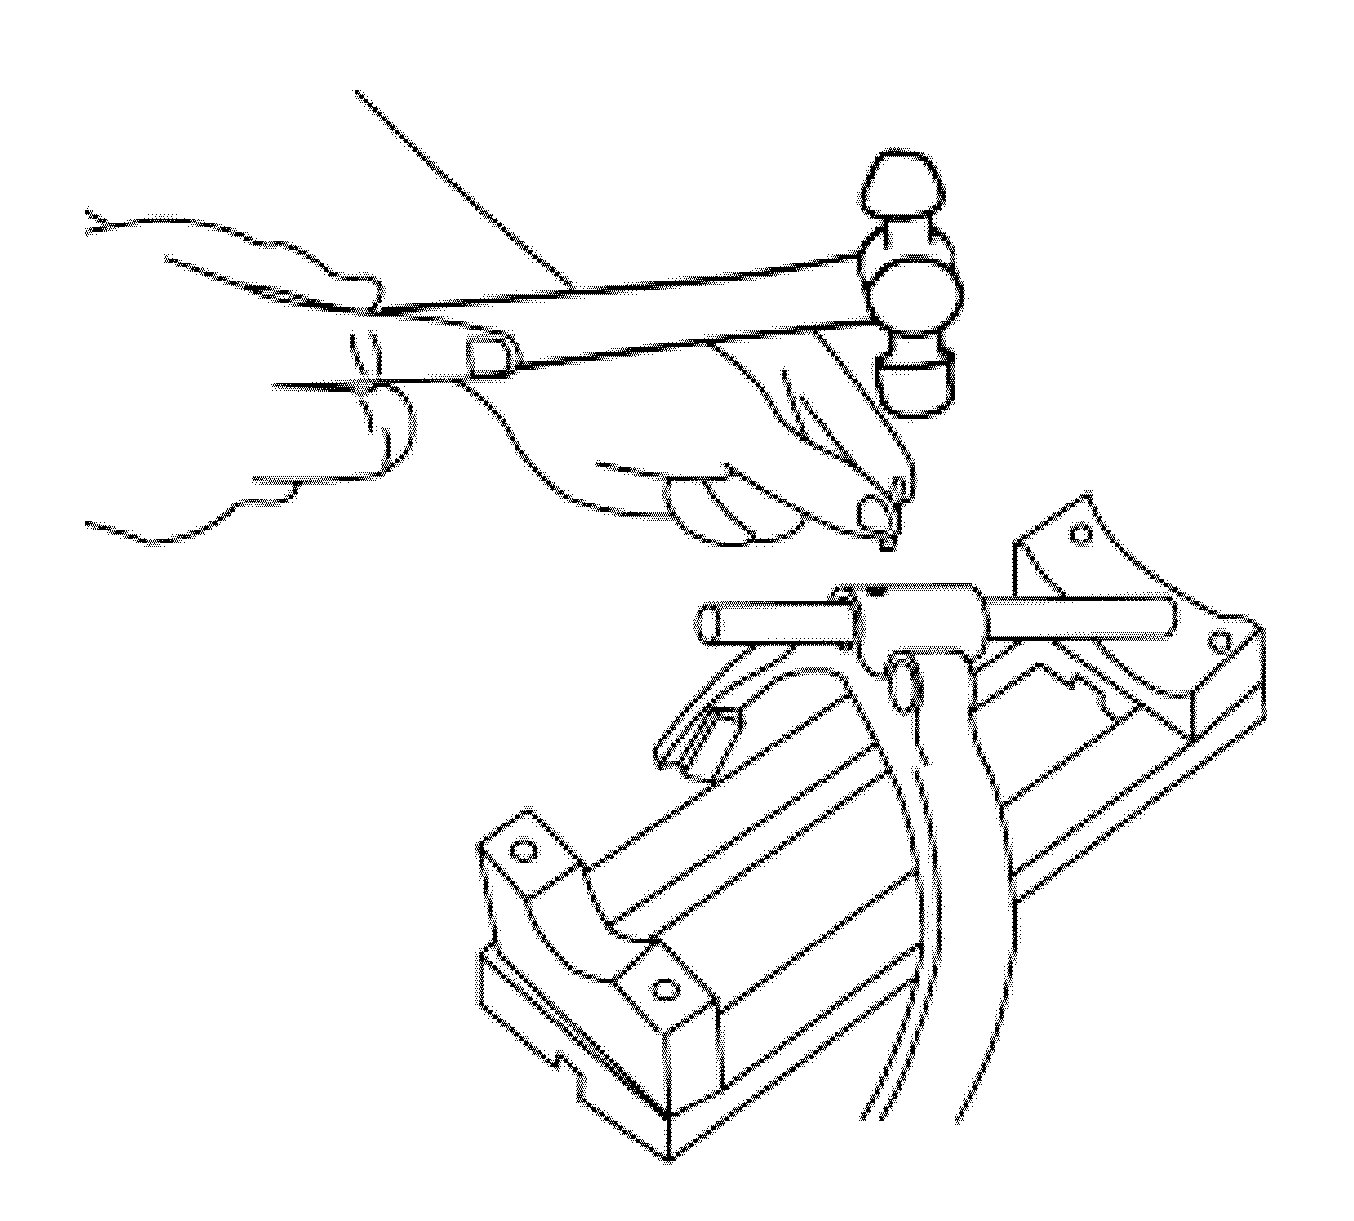
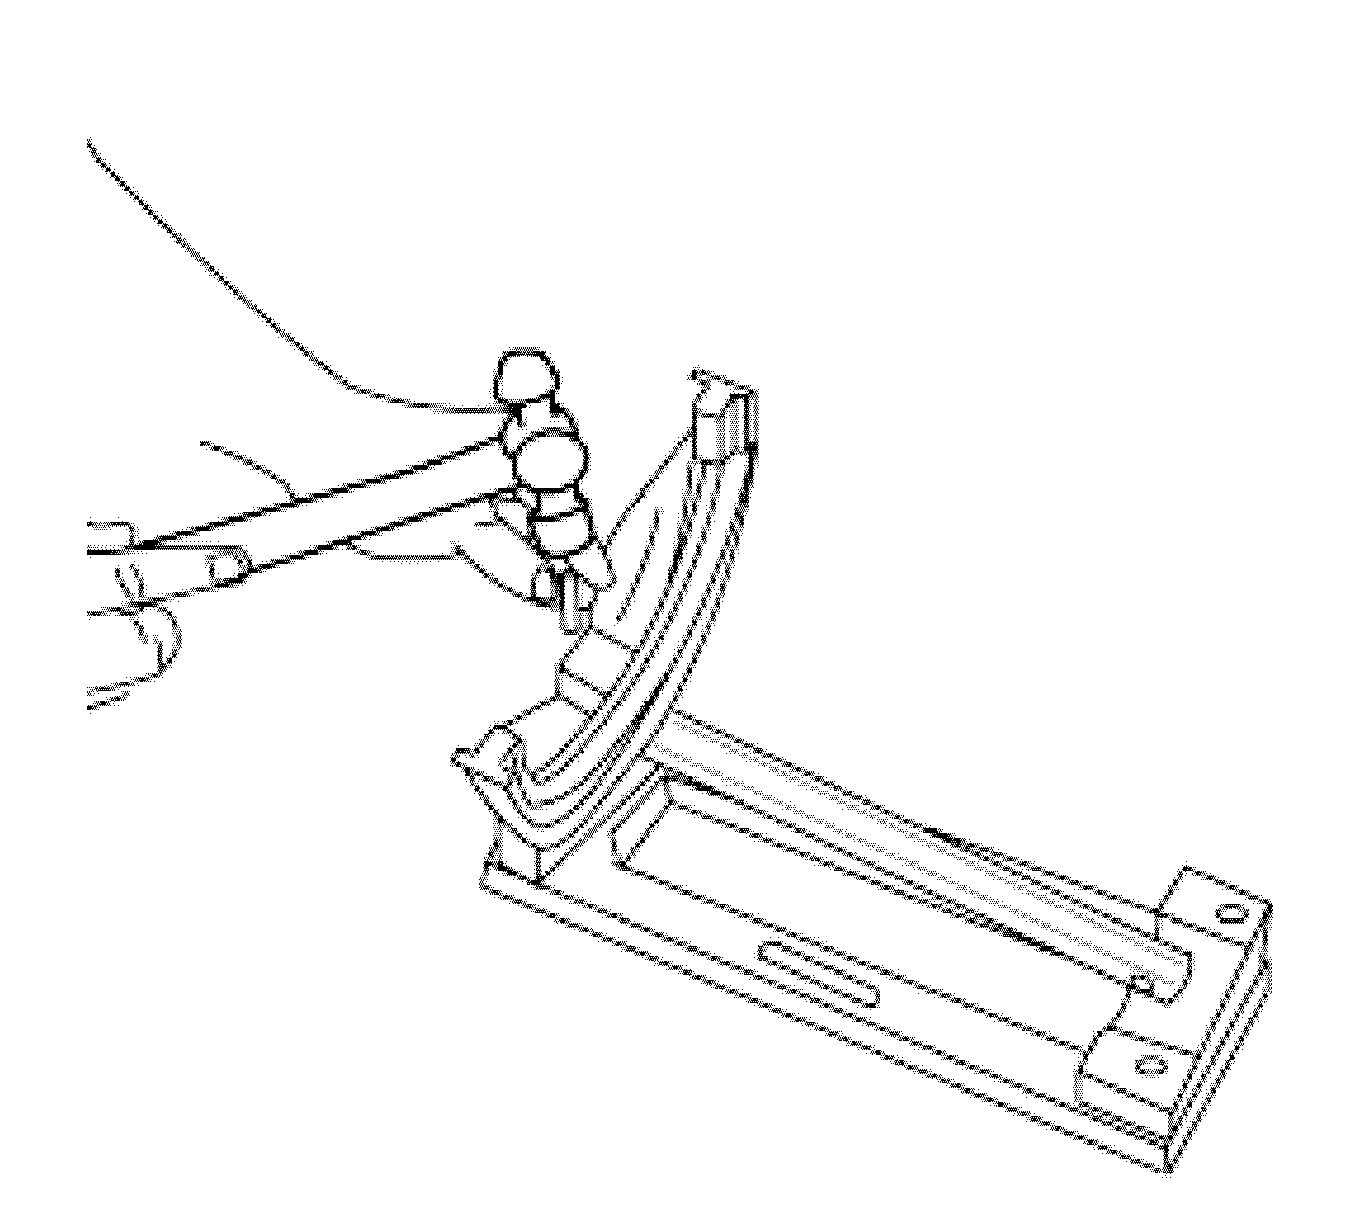
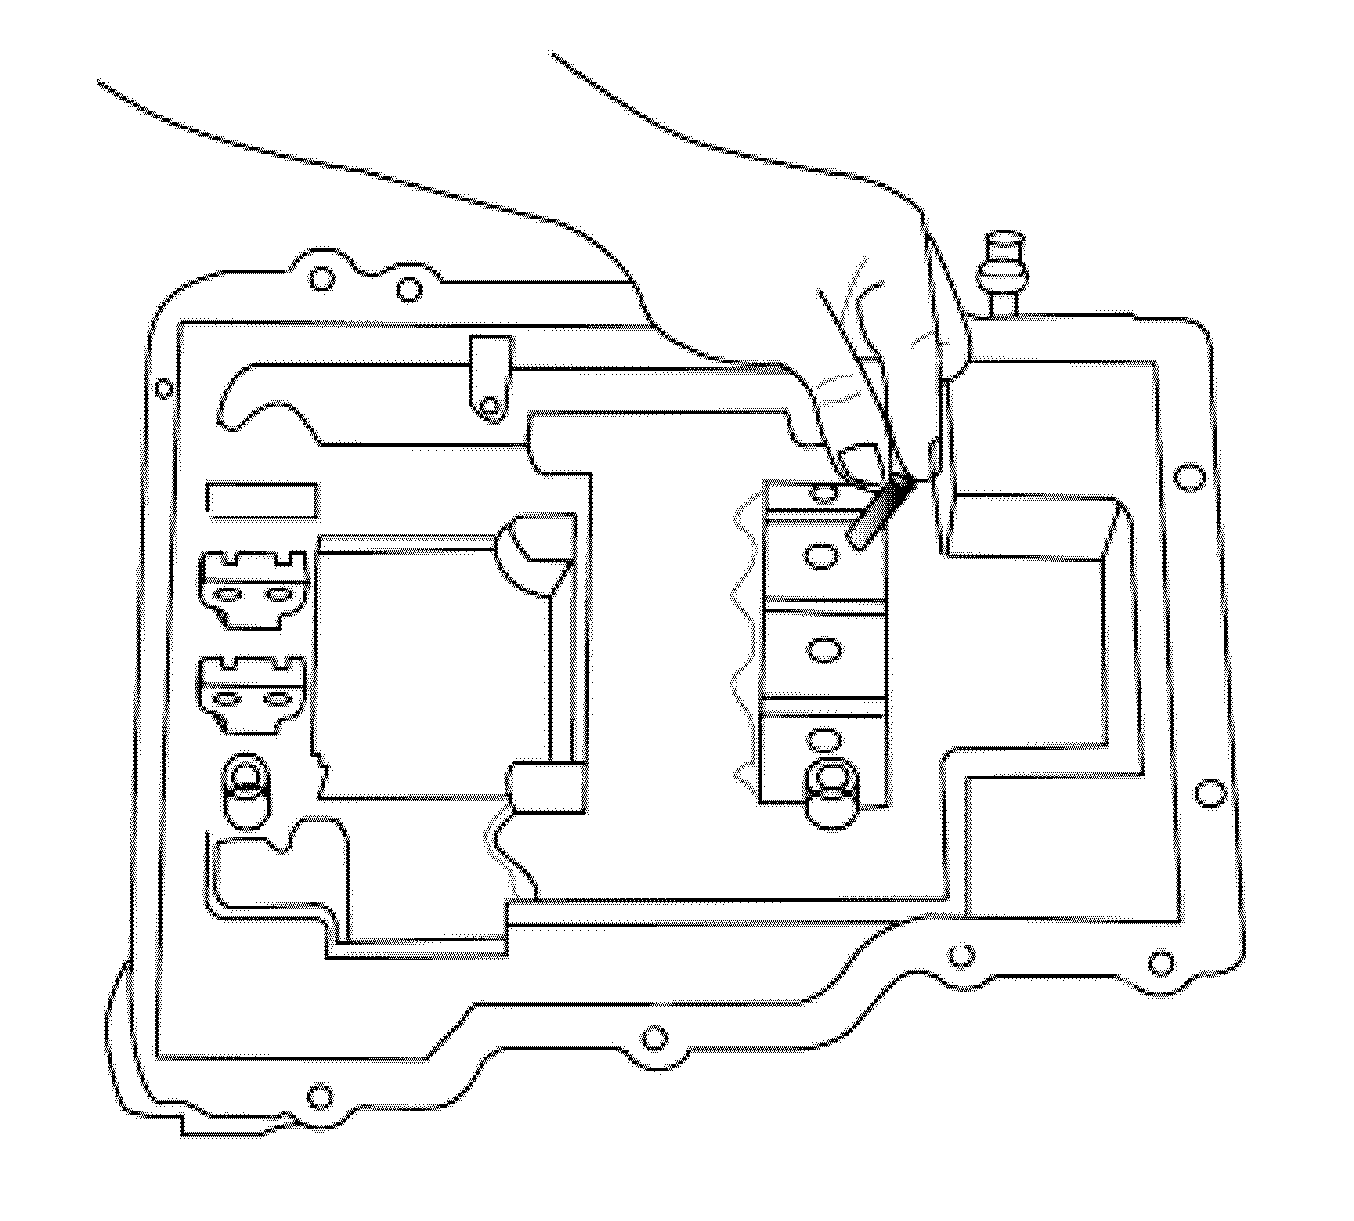
- Install the roll pins in the order indicated.
- Using a 1/2 socket, tighten the 3 screws on the locking system support plate.
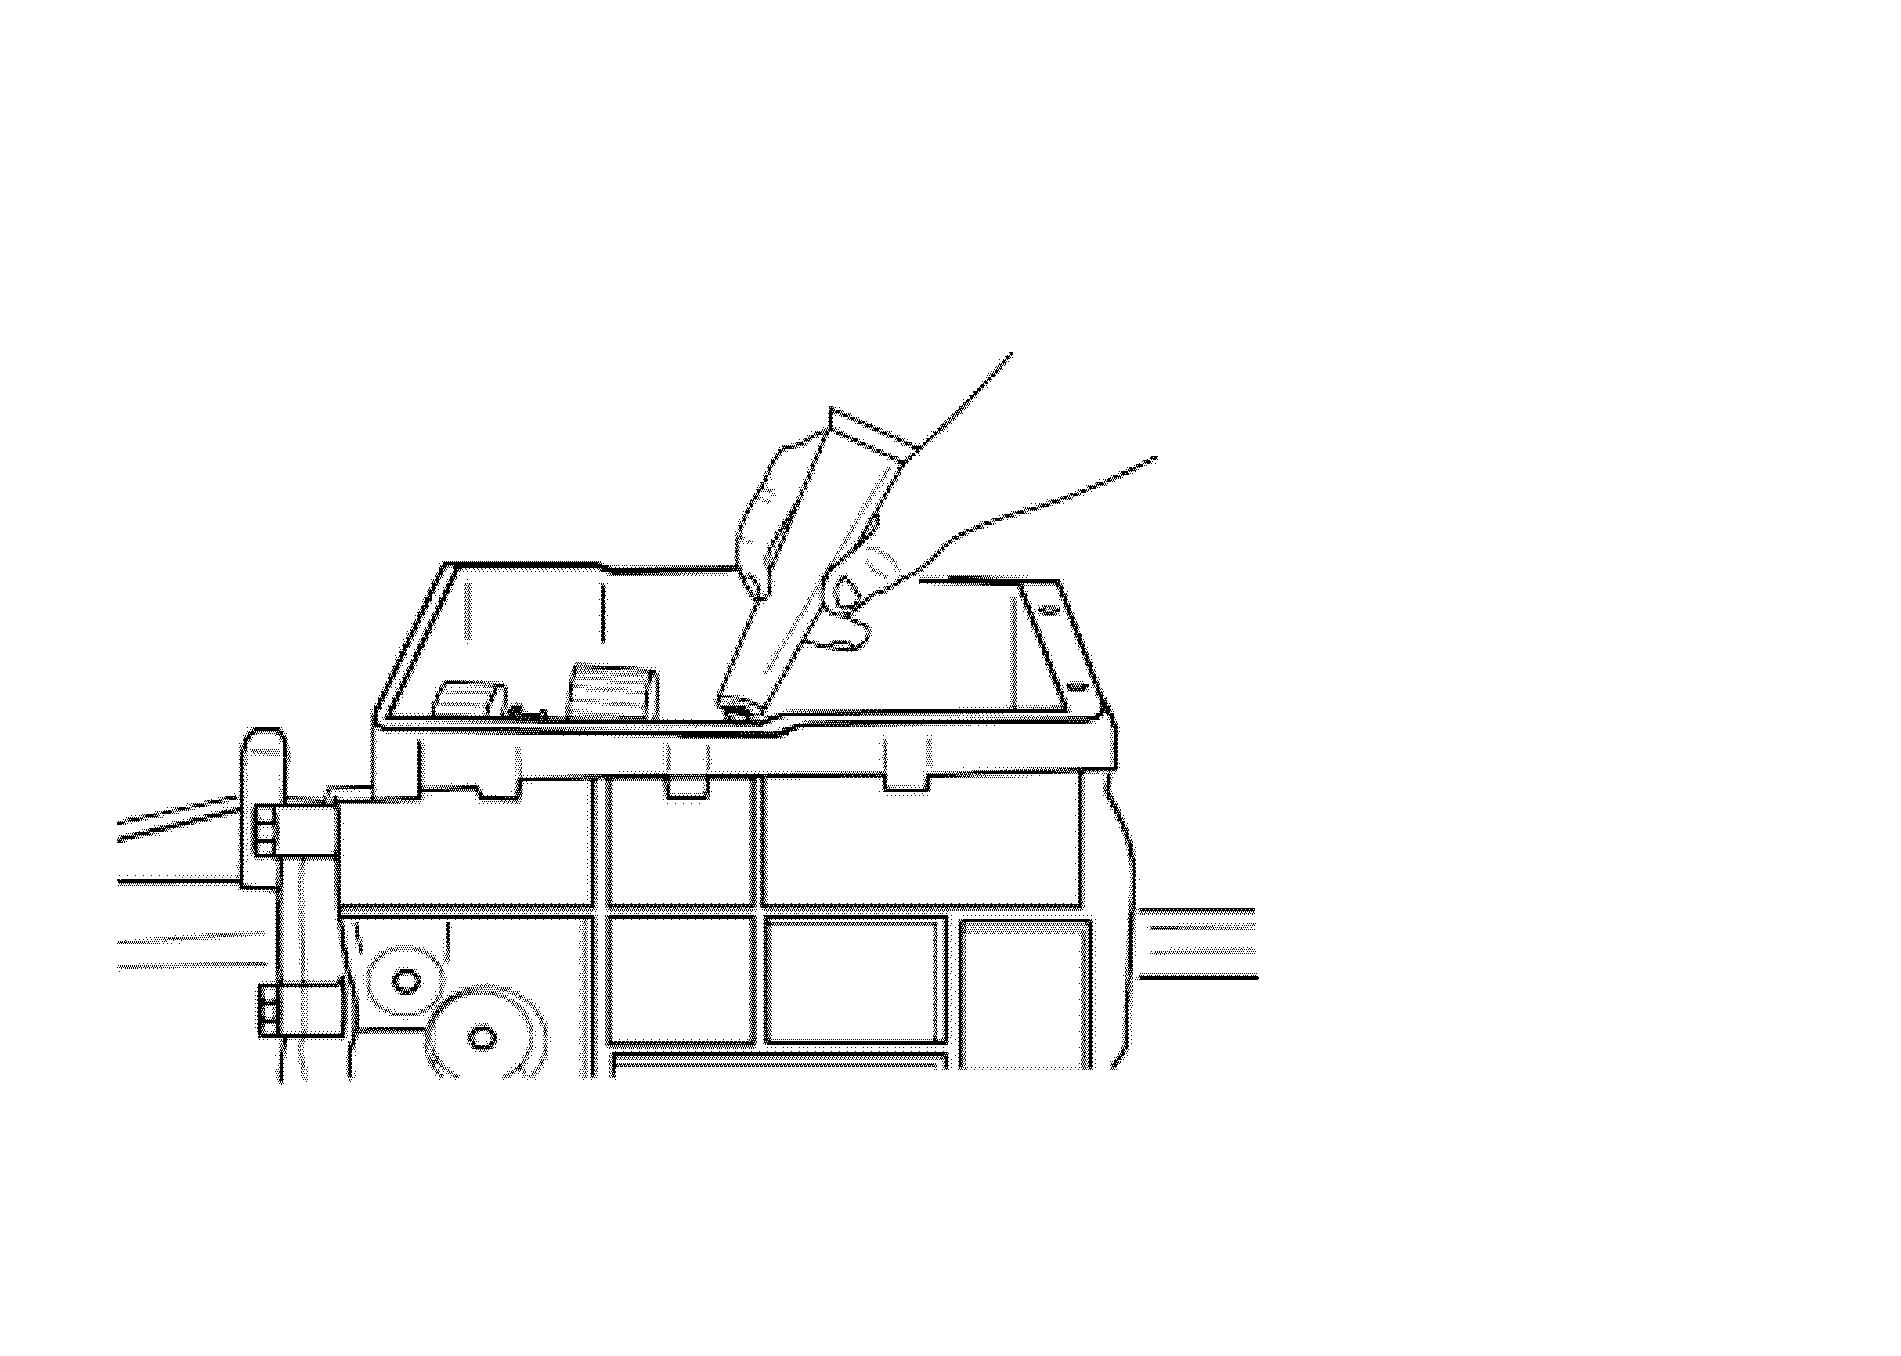
- Ensure the surface is free from dust and grease and apply gasket maker GMM P/N 1052943.
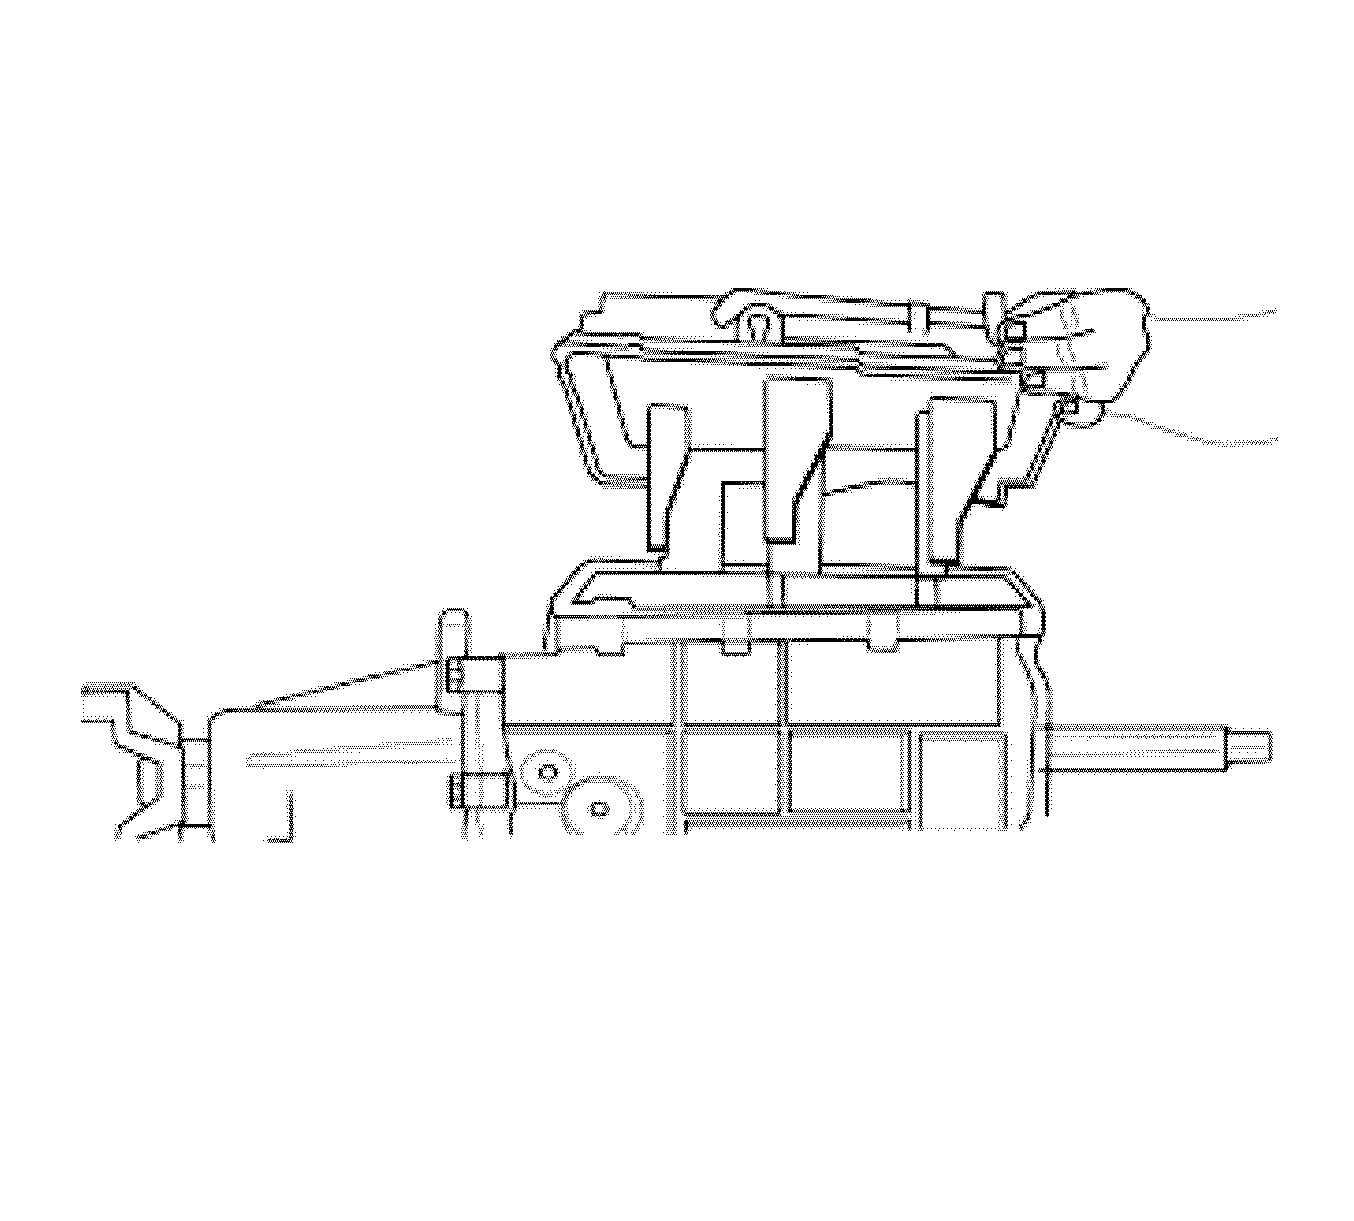
- Install the control cover onto the case, assuring the shift forks are aligned with the corresponding synchronizers.
- Using a 1/2 socket, tighten the 10 screws on the control cover.
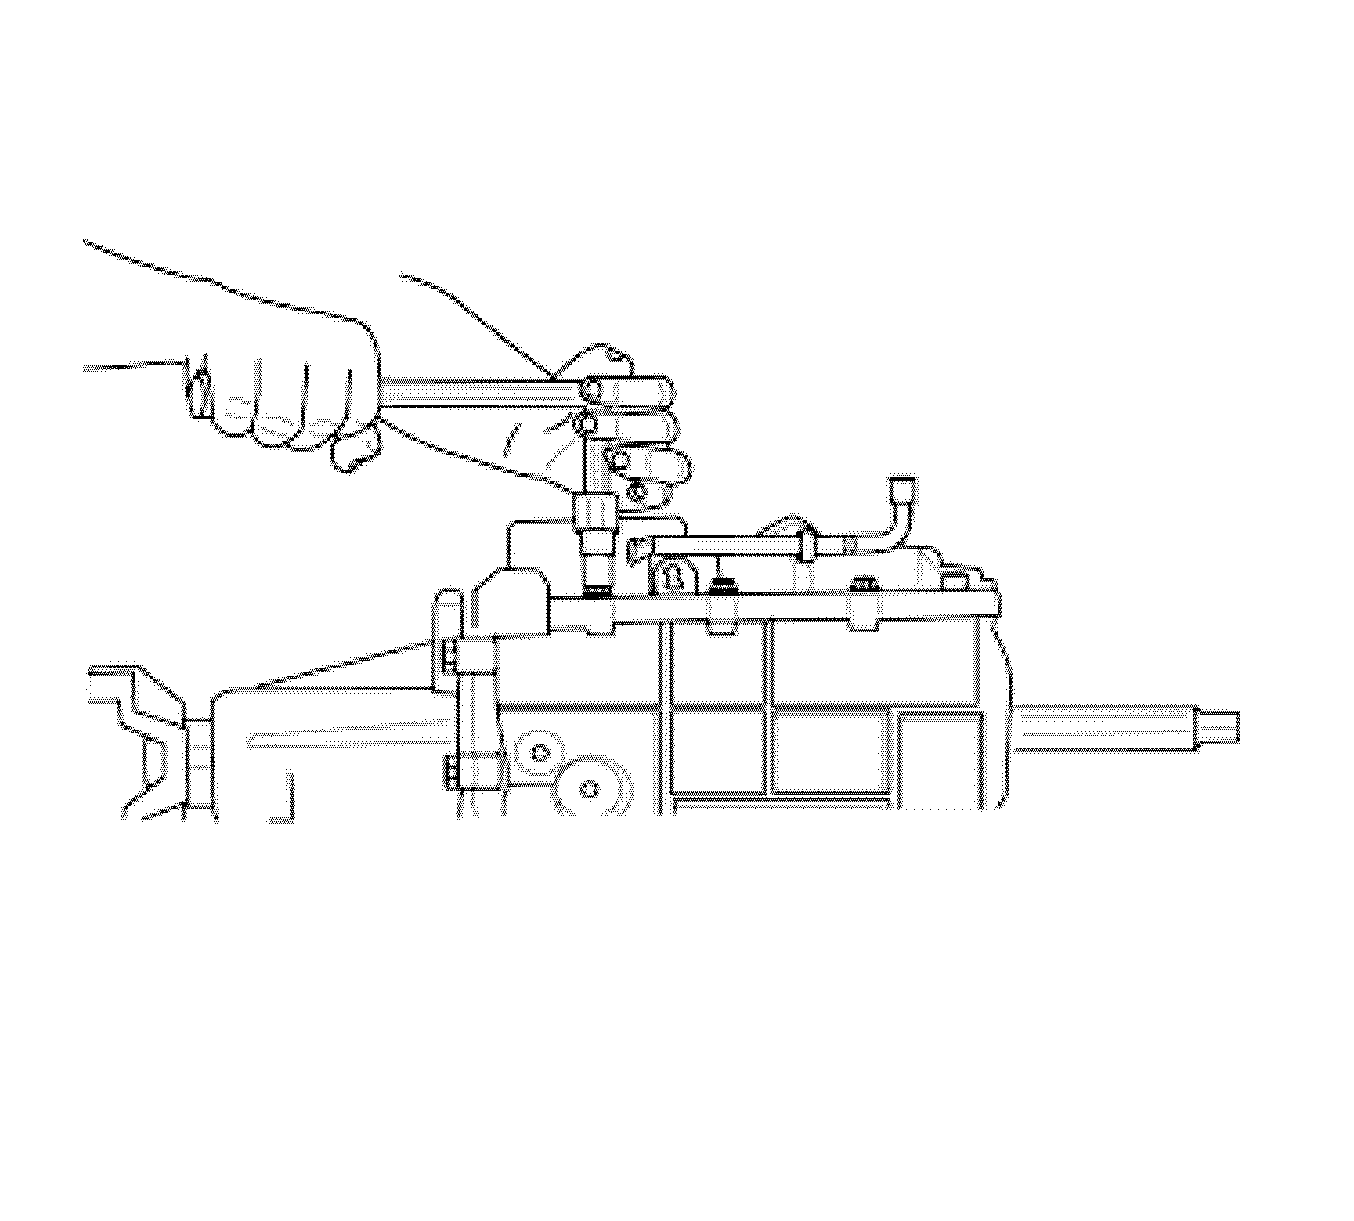
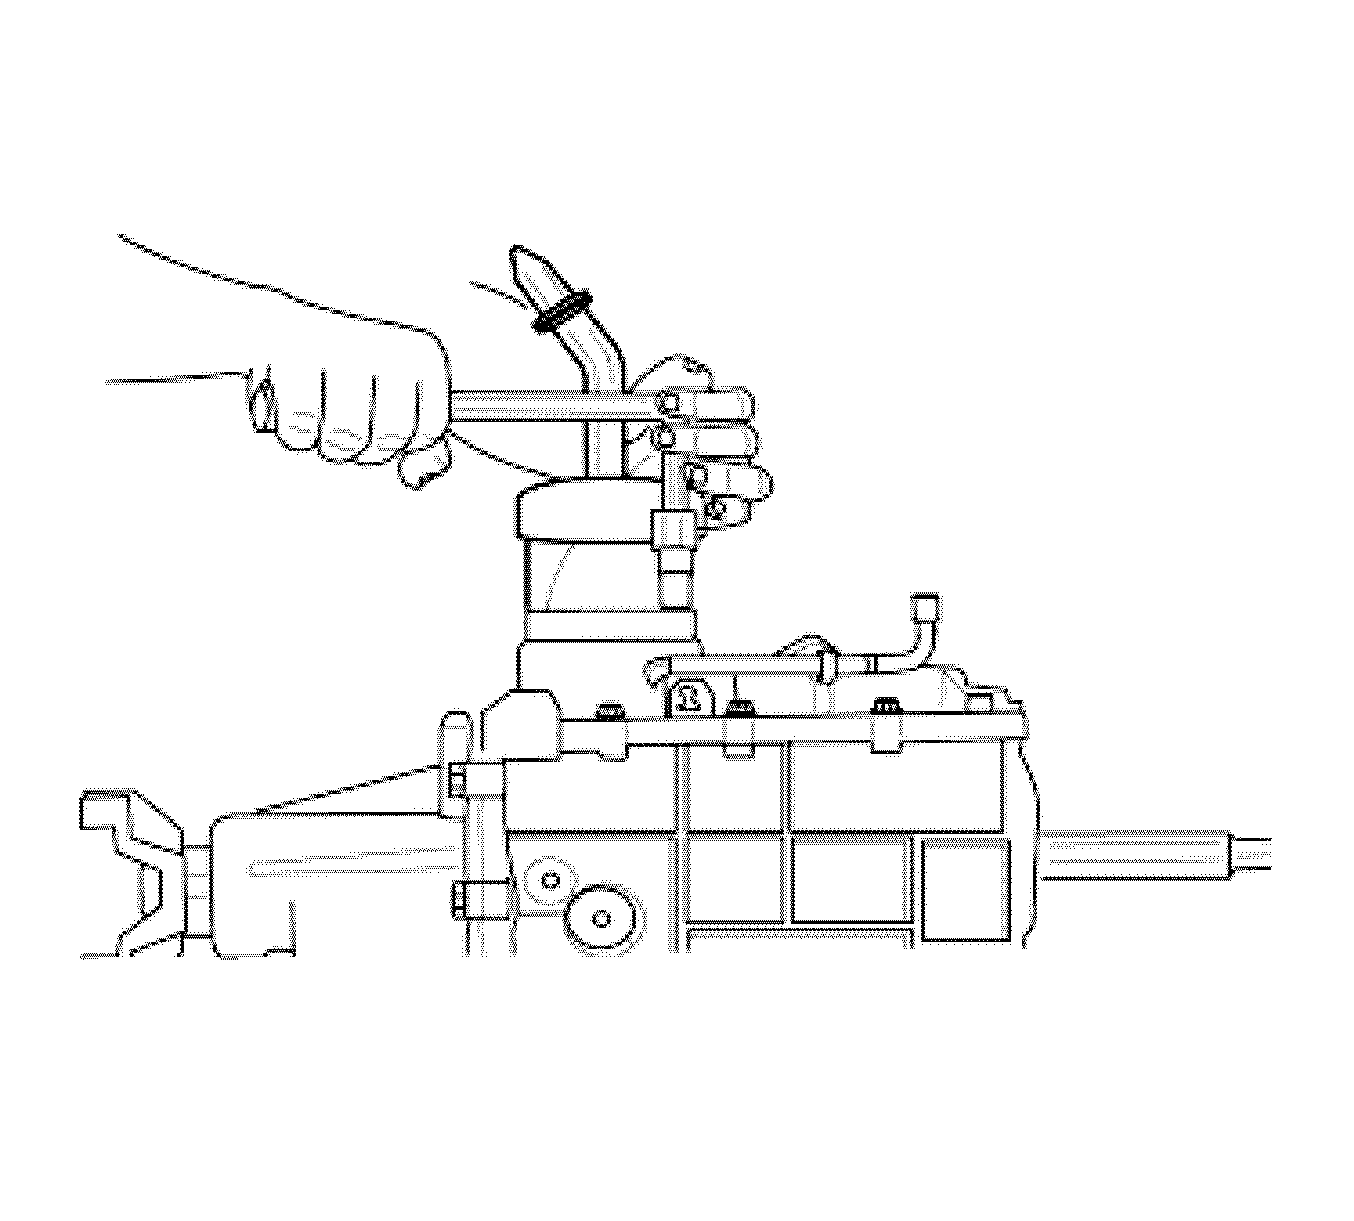
- Using a 13 mm socket, tighten the breather support screw.
- Install the shift tower.
- Using a 10 mm socket, tighten the 4 screws on the shift tower.

Notice: Refer to Fastener Notice in the Preface section.
Tighten
Tighten the screws to 20-24 N·m (18-22 lb ft).
Tighten
Tighten the screws to 8-14 N·m (6-11 lb ft).
