Special Tools
| • | J-9522-3 U-Joint Bearing Separator |
| • | J-9522-5 U-Joint Bearing Spacer Remover |
Removal Procedure
Caution: Never clamp propeller shaft tubing in a vise. Clamping propeller shaft tubing in a vise could dent or deform the tube causing an imbalance or unsafe condition. Always clamp on one of the yokes and support the shaft horizontally. Avoid damaging the slip yoke sealing surface. Nicks may damage the bushing or cut the lip seal.
Note: The following service procedure can be used for either the external retaining ring or the nylon injected ring.
Note: If replacing the propeller shaft slip yoke, proceed to step 10.
- Using a hammer (2), tap the yoke (1) lightly in order to relieve the pressure from the universal joint retaining ring.
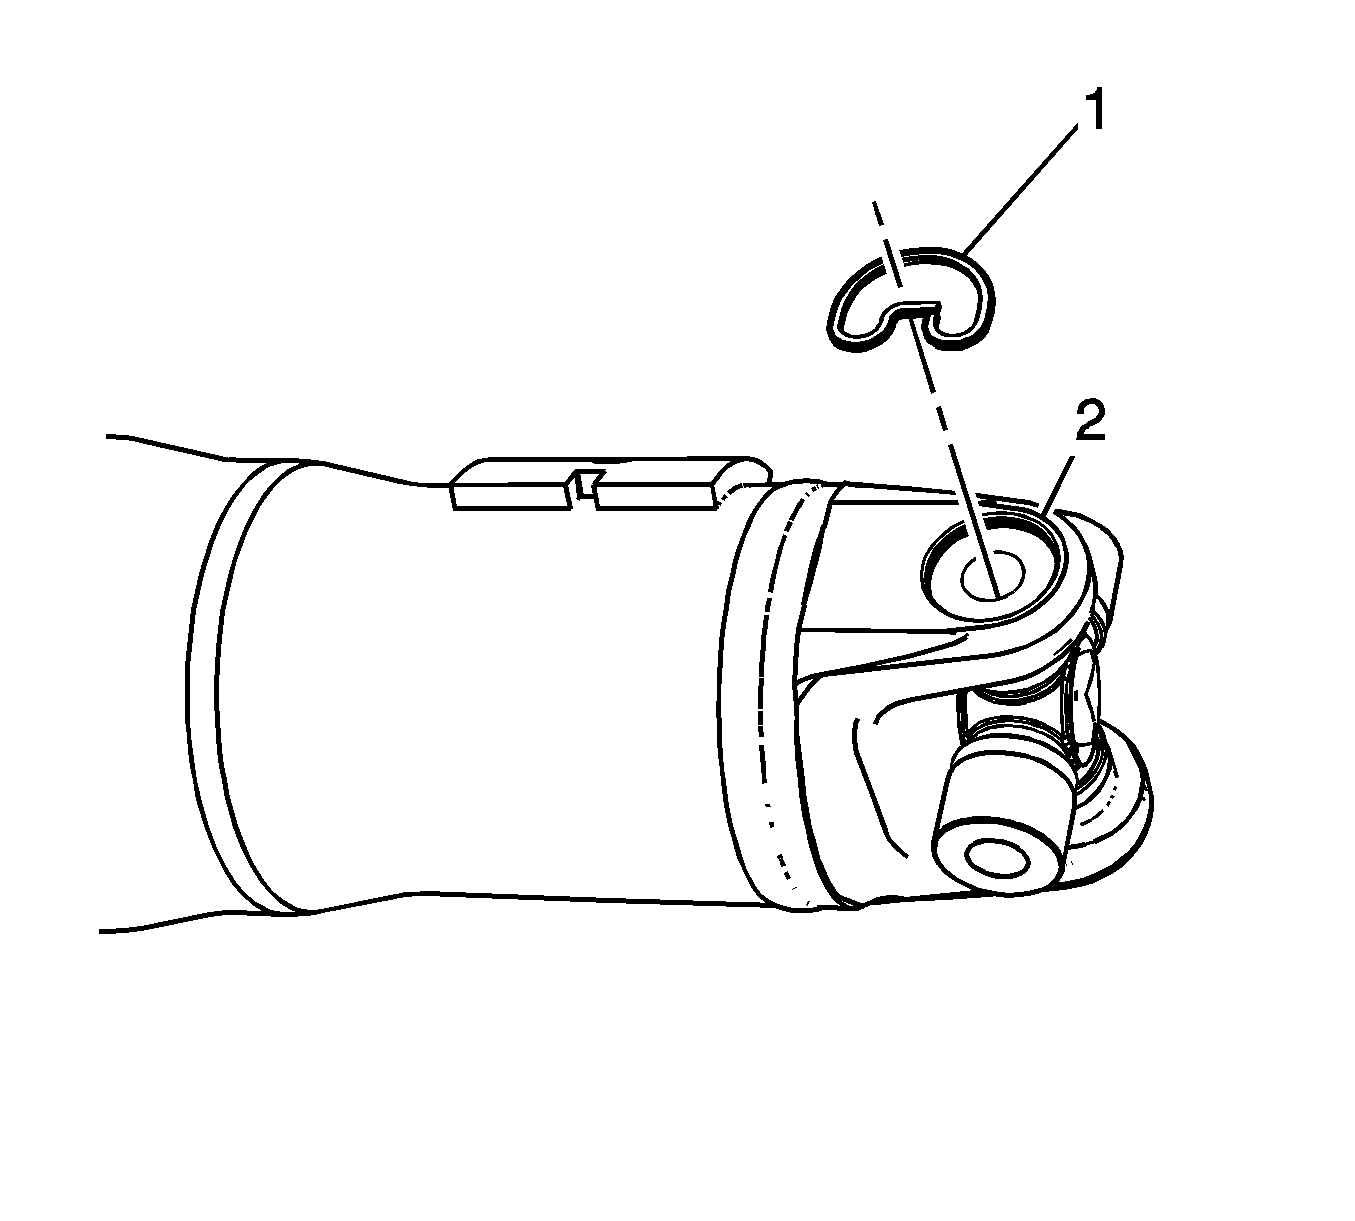
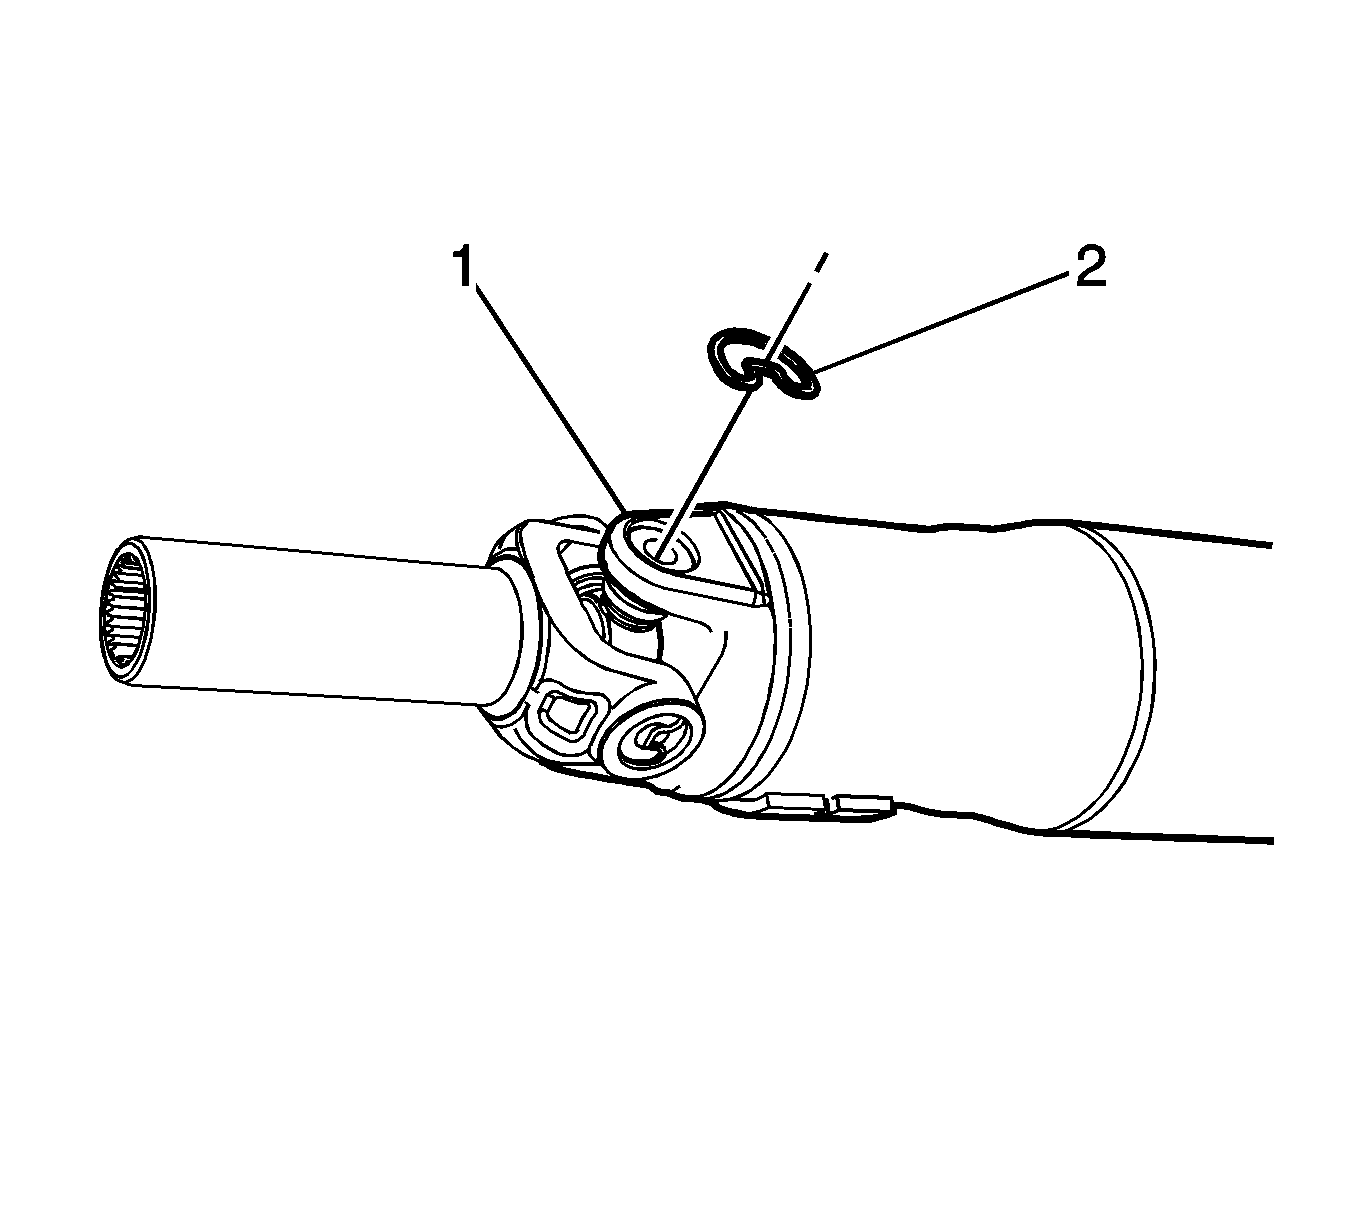
- Using a pair of pliers, remove the retaining ring (2) from the yoke (1).
- With the aide of an assistant, support the propeller shaft so that it level with the press.
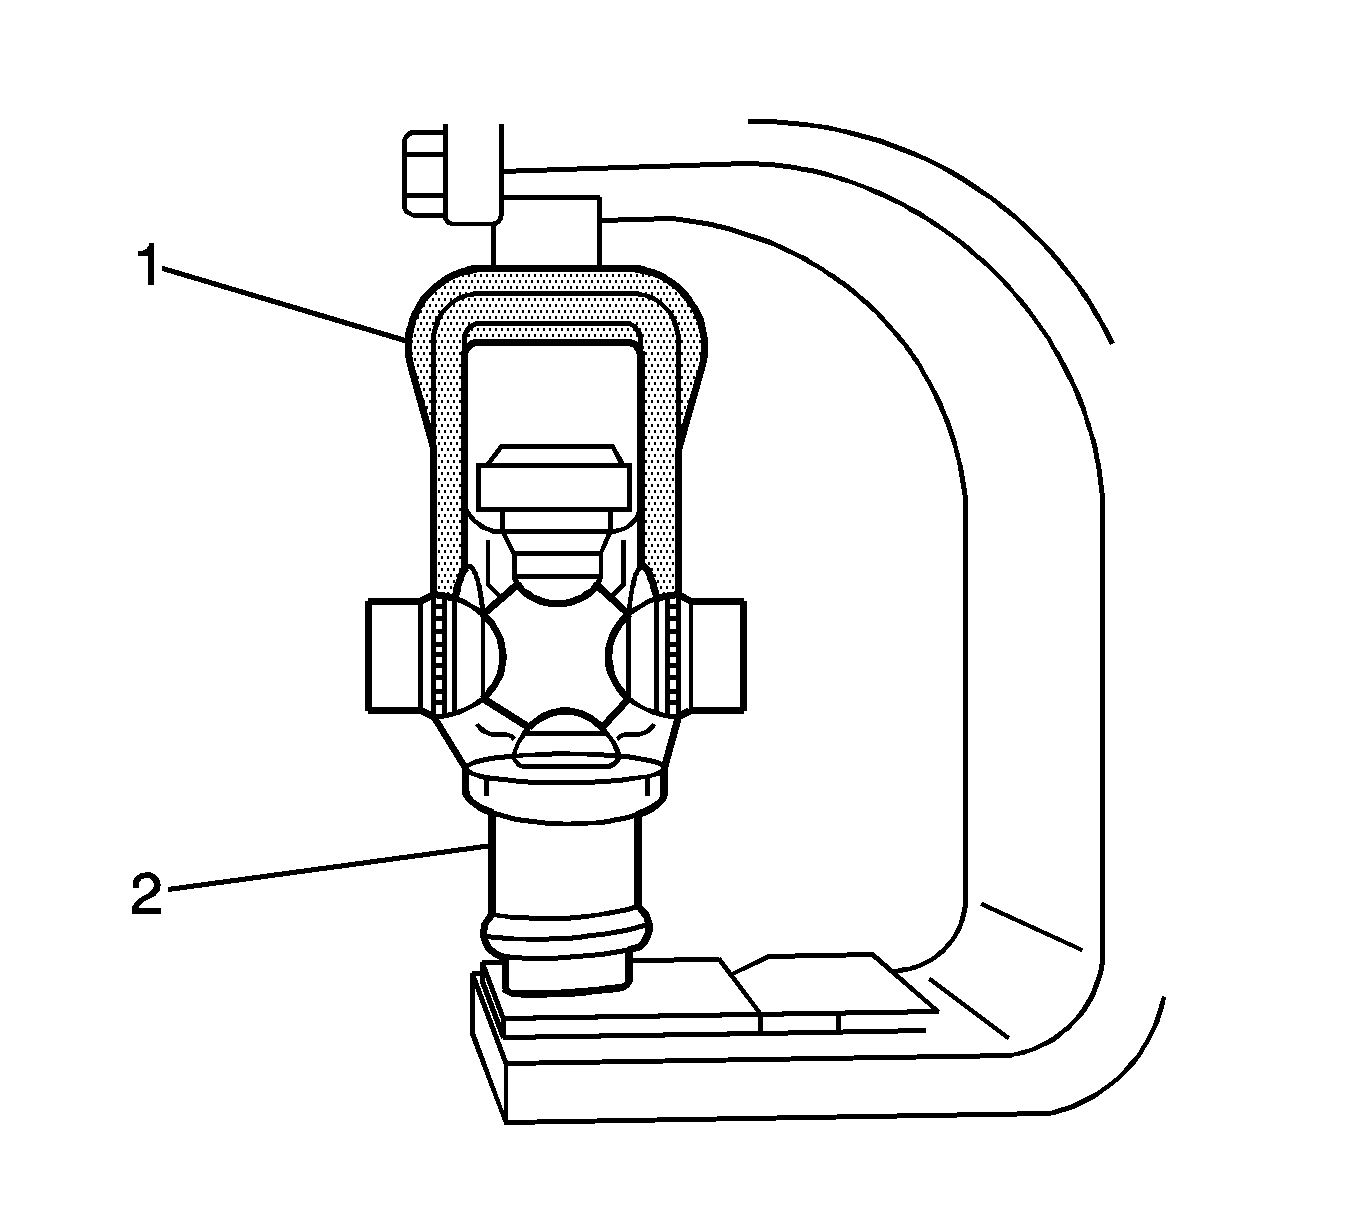
- Using the appropriate size socket (2), support the universal joint opposite of the J-9522-3 U-Joint Bearing Separator .
- Using the J-9522-3 Separator (1) and the press, remove the universal bearing from the yoke.
- If you are unable to completely remove the universal bearing with the J-9522-3 Separator , proceed to step 7.
- Position the J-9522-5 U-Joint Bearing Spacer Remover (1) on the universal joint.
- Using the J-9522-3 Separator , J-9522-5 Remover and a press, remove the universal bearing from the yoke.
- Rotate the propeller shaft and repeat steps 1-8 to remove the opposite universal joint.
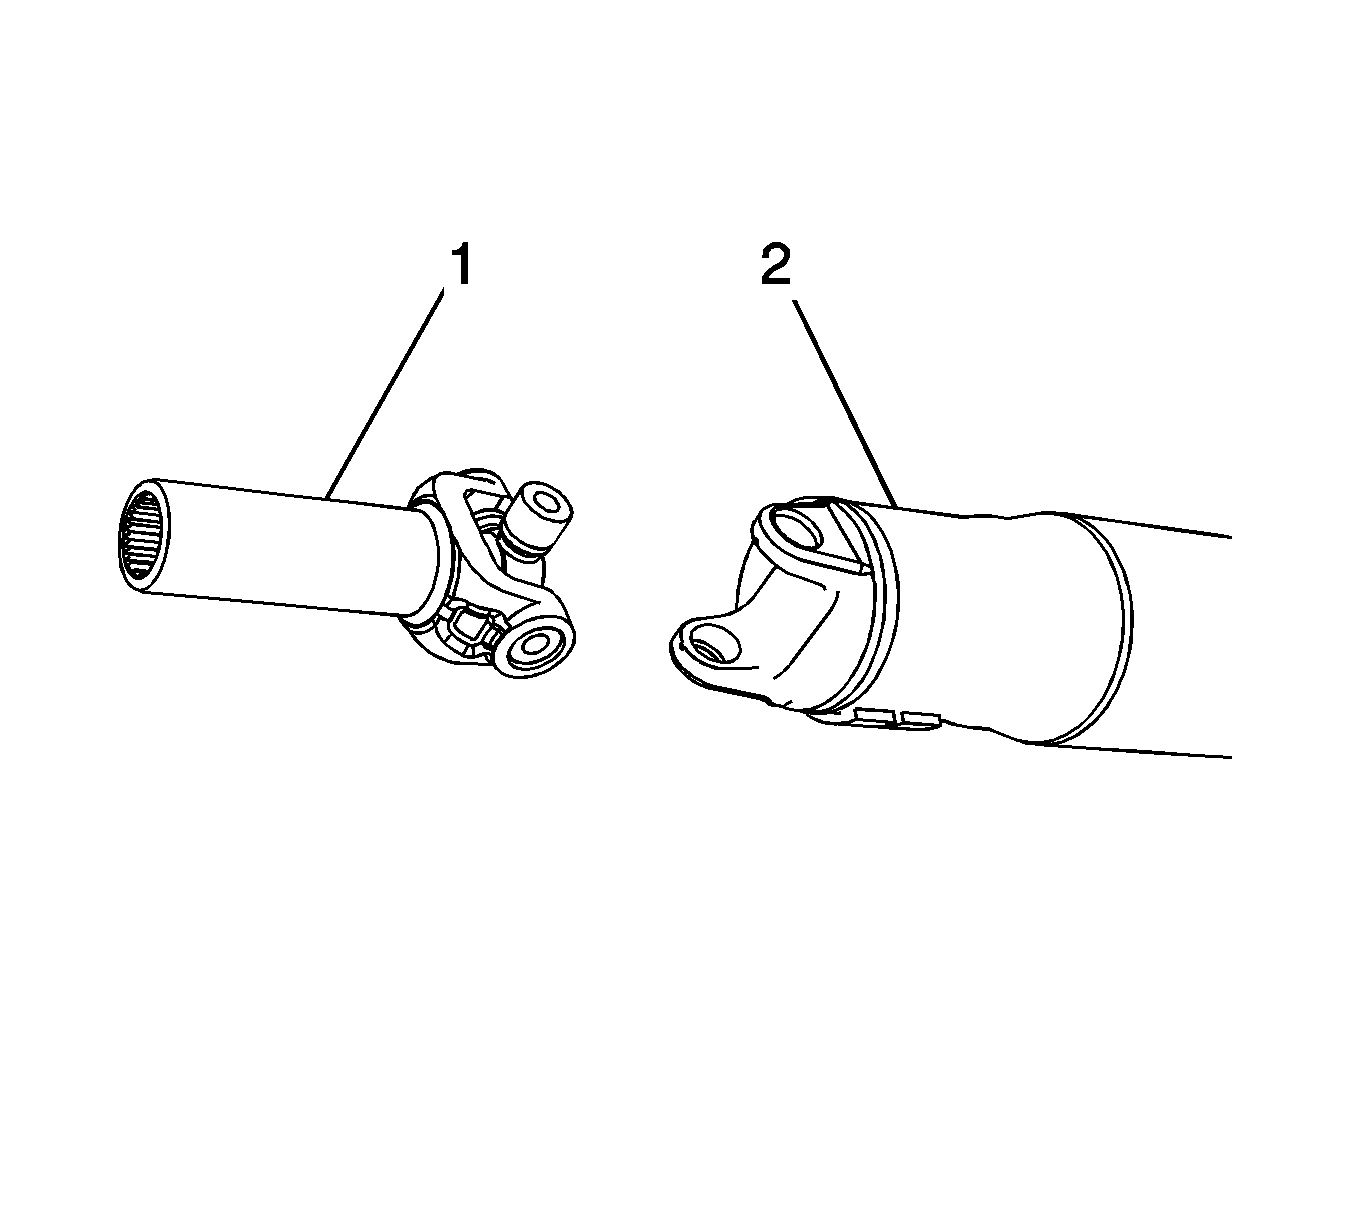
- Remove the slip yoke (1) from the propeller shaft (2).
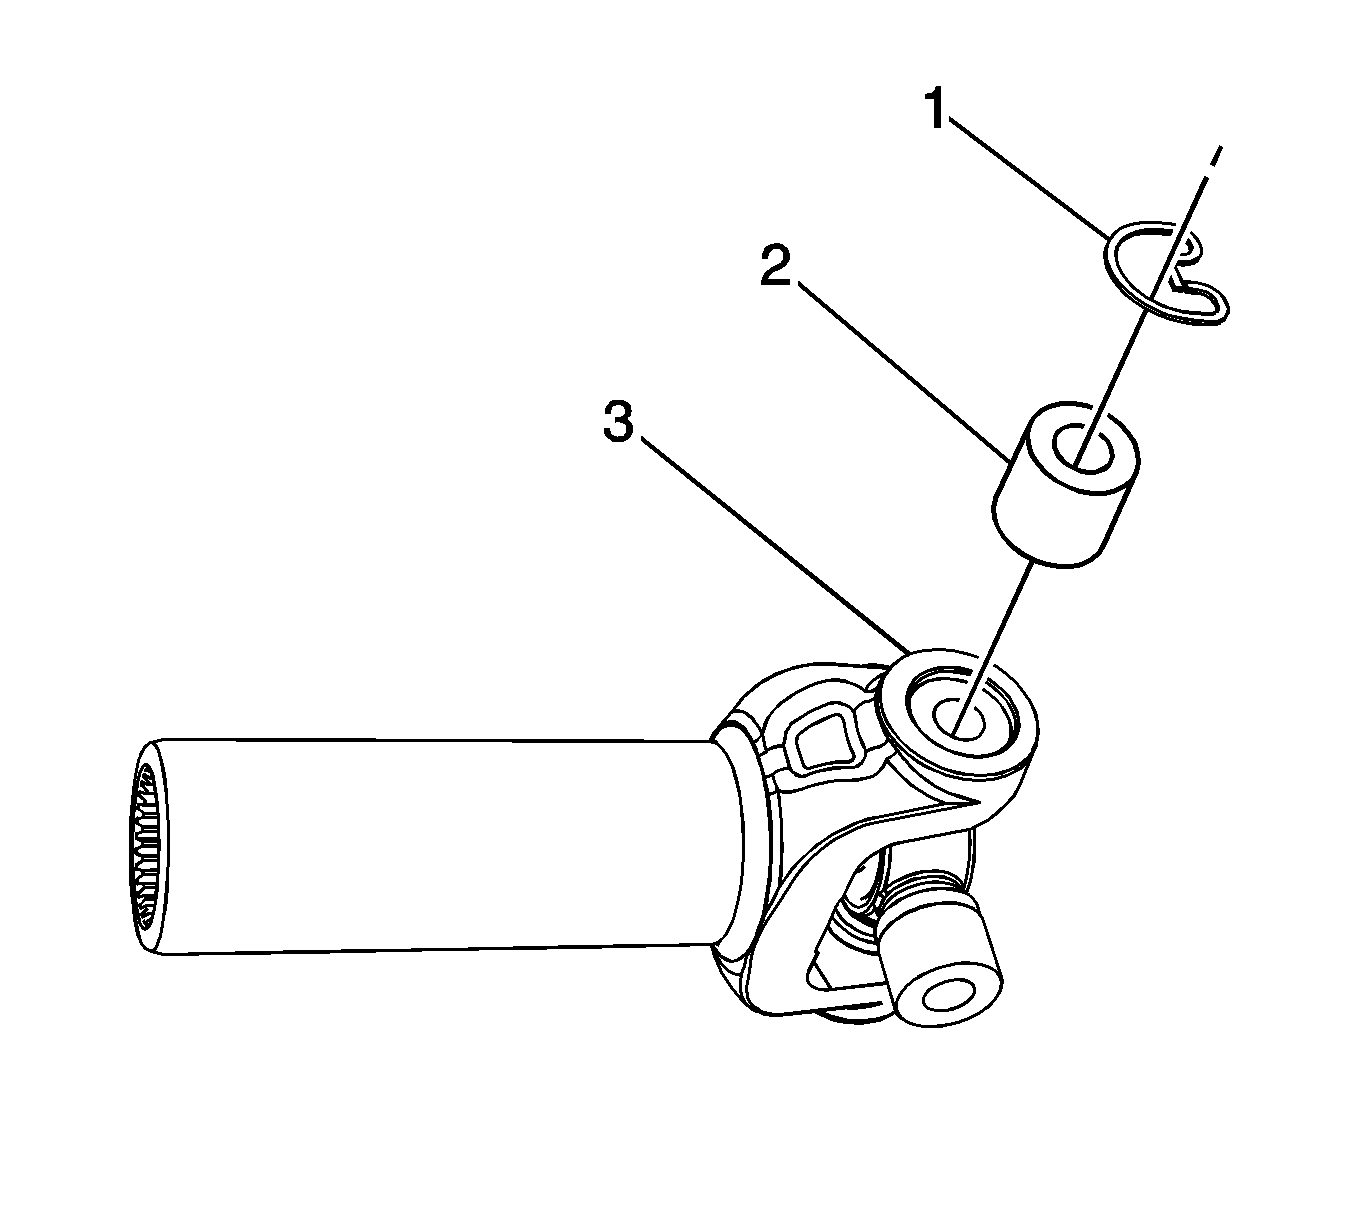
- Remove the retaining ring (1) from the slip yoke (3).
- Using the J-9522-3 Separator , J-9522-5 Remover and a press, remove the universal bearing (2) from the yoke (3).
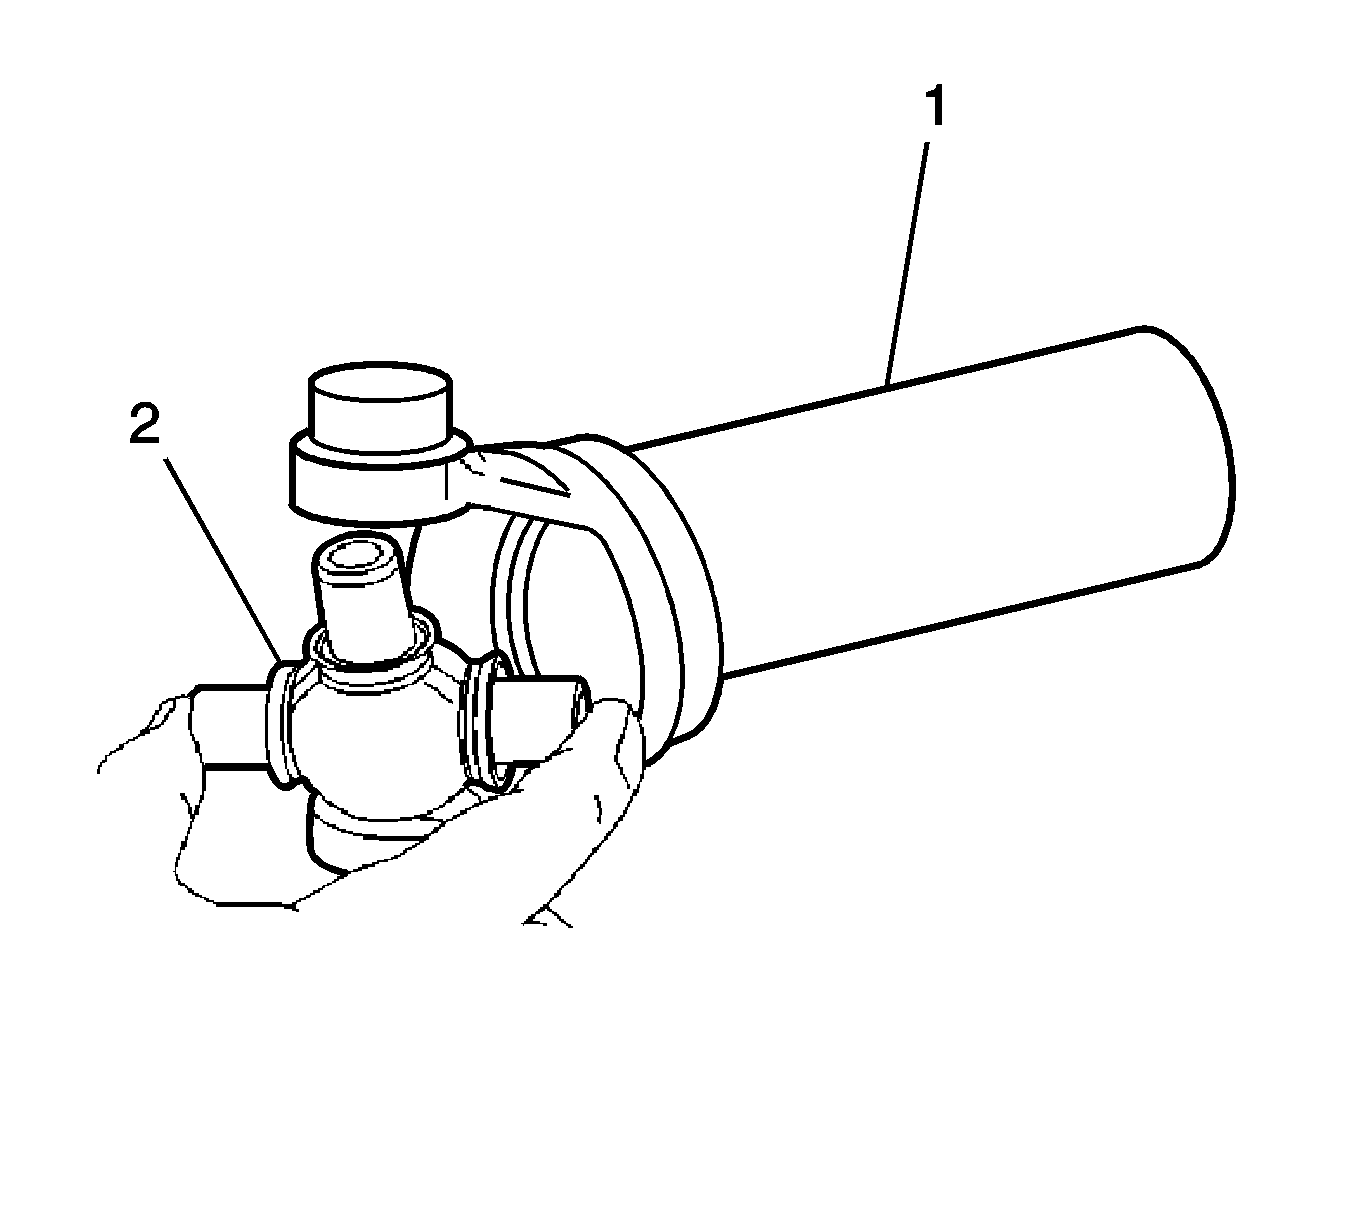
- Remove the spider (2) from the slip yoke (1).
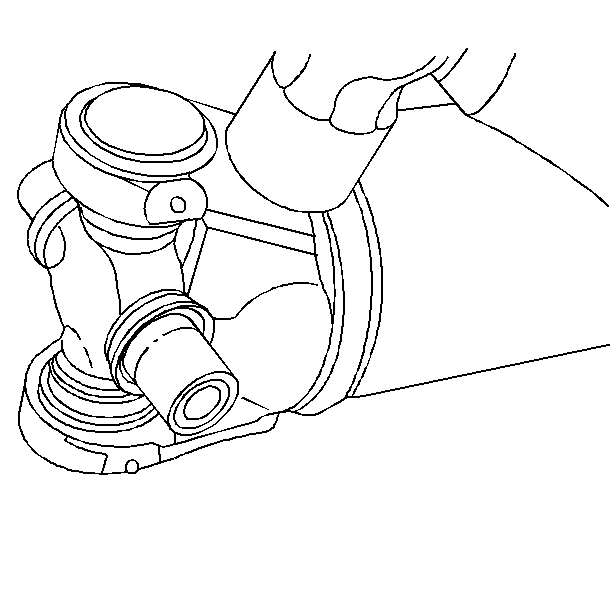
- Thoroughly clean the slip yoke and the propeller shaft yoke of any contaminates that could prevent the retaining rings or the bearing cups from being properly installed.
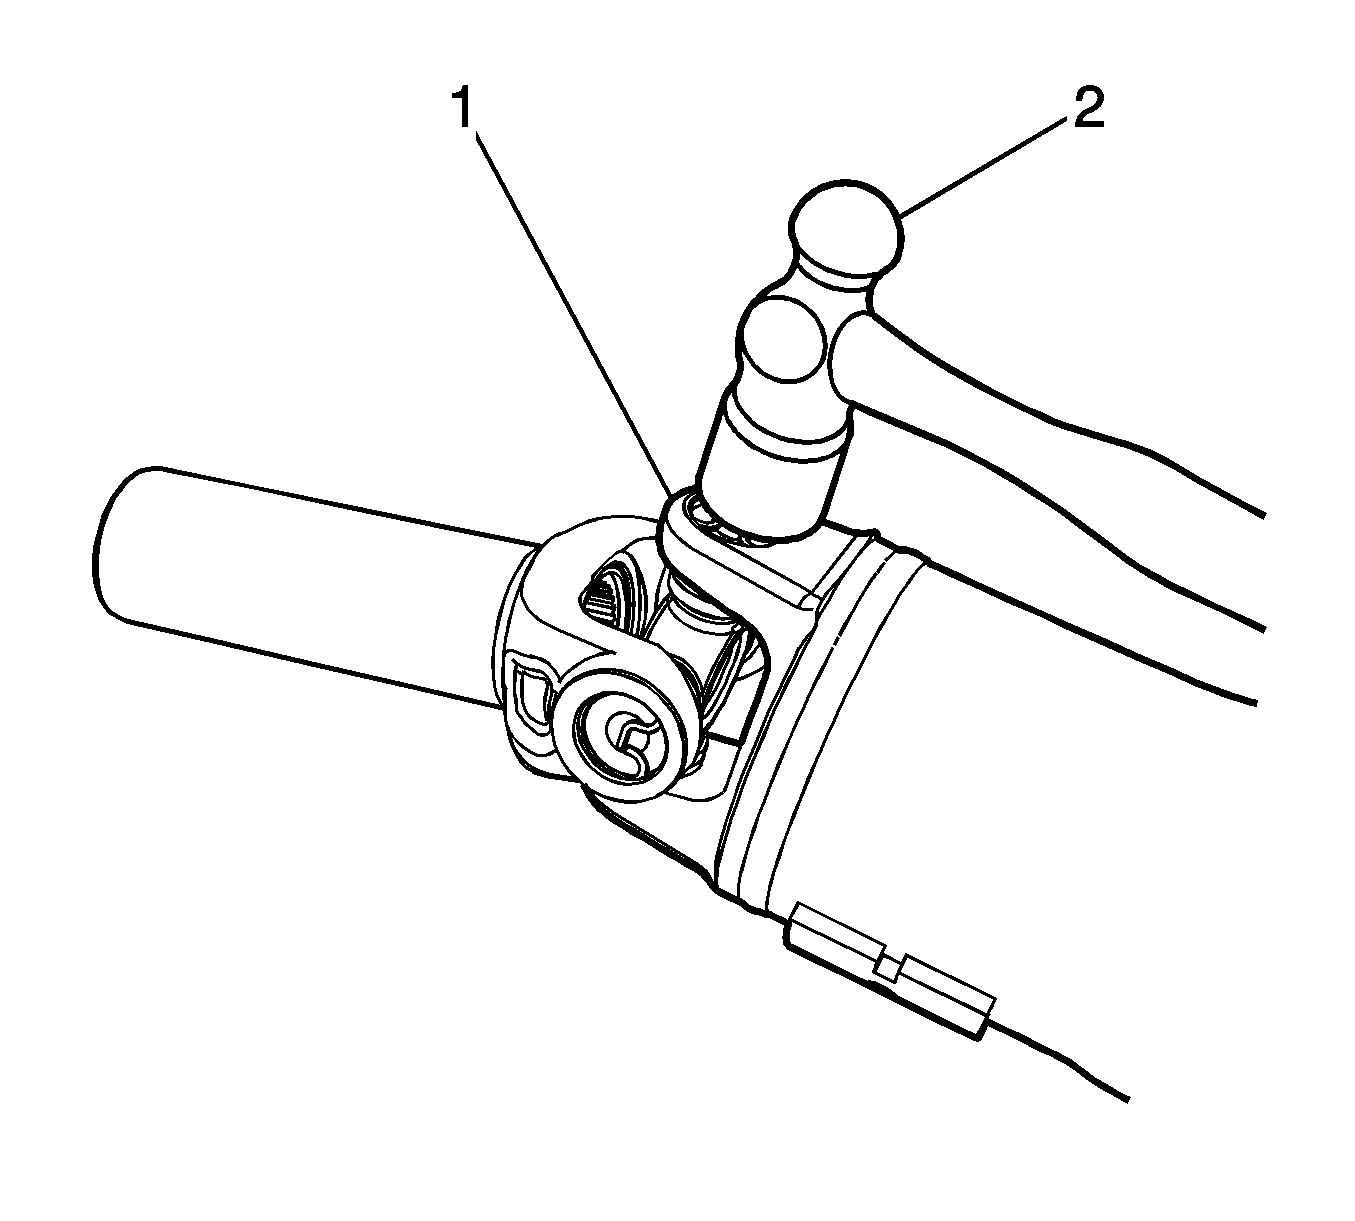
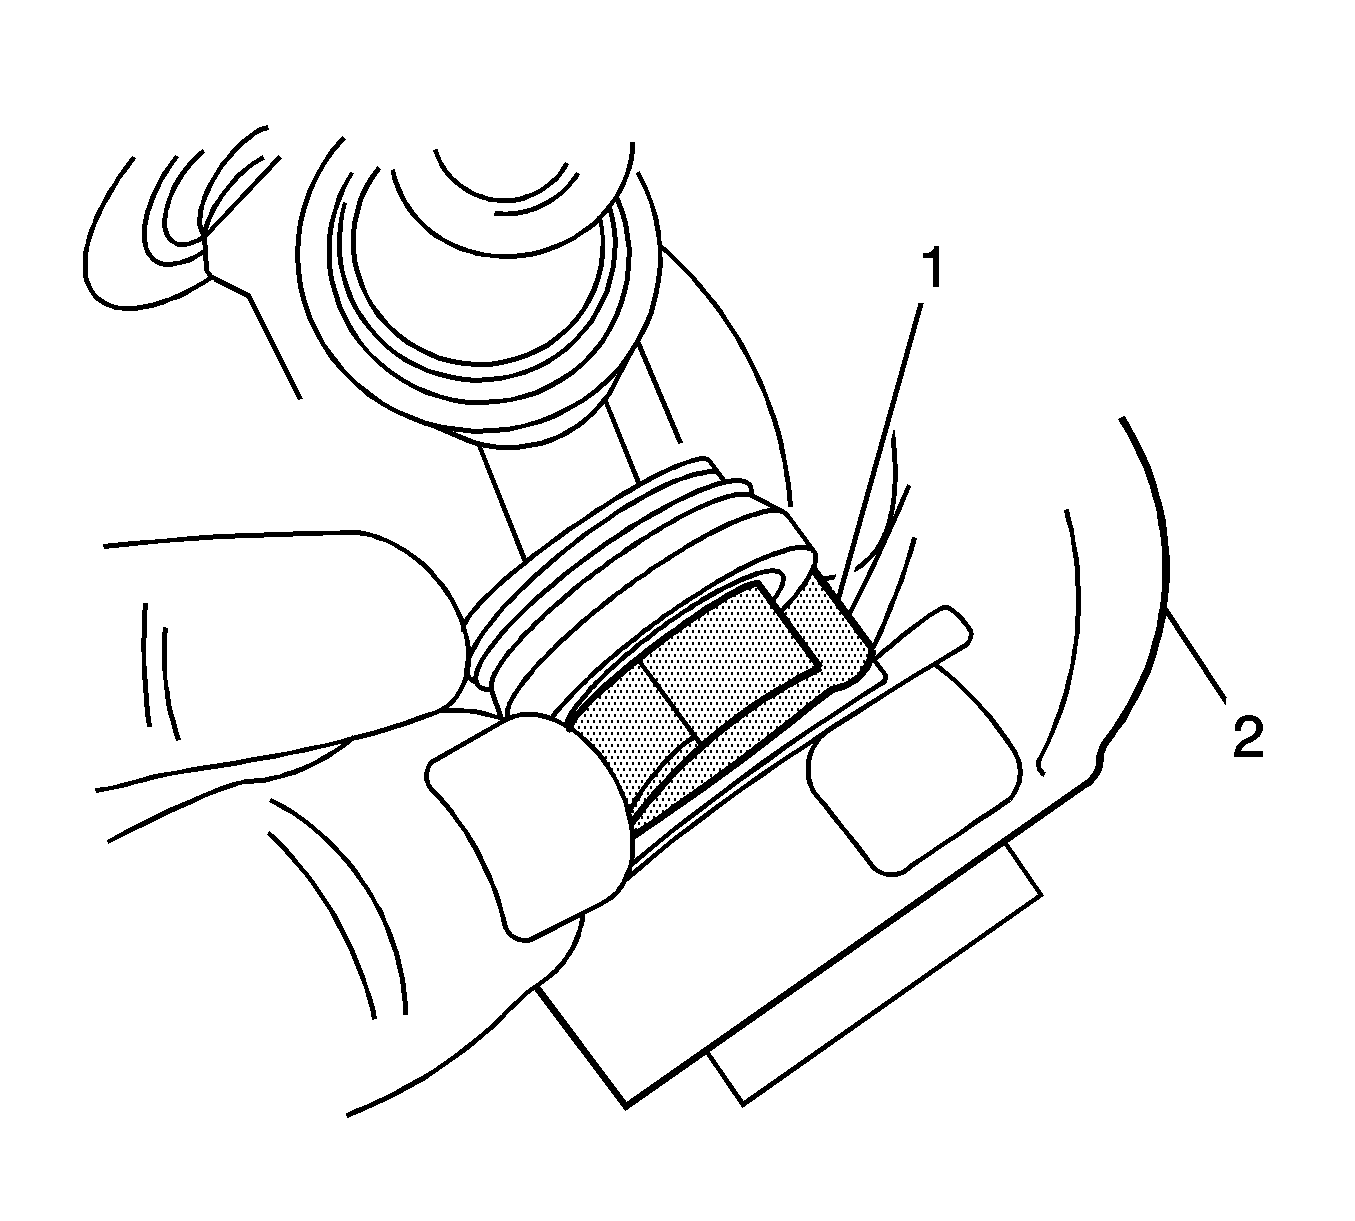
Note: The following procedure is also used for the breaking of the nylon injected ring for those universal joints that are equipped.
Note: If the slip yoke is found to be damaged, replace the slip yoke and use a NEW universal joint. DO NOT re-use the old universal joint.
Installation Procedure
Note: If replacing the propeller shaft slip yoke, proceed to step 8.
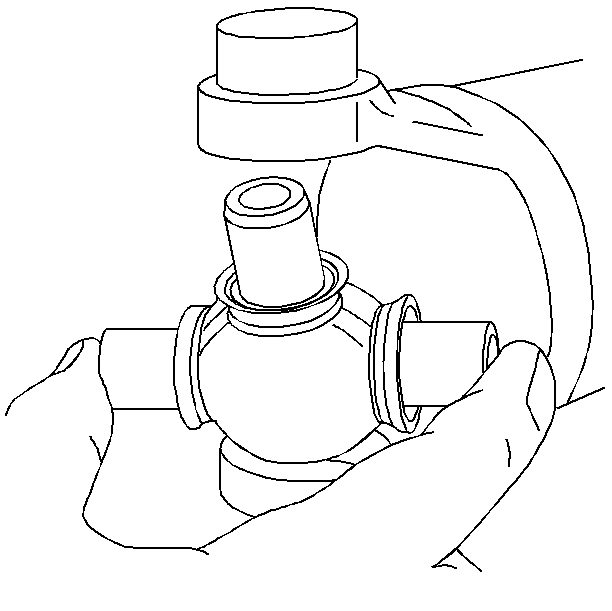
- Position the universal bearings in either side of the yoke on the propeller shaft.
- Install the universal joint spider until it is seated in the universal bearing.
- Press the universal joint spider until the bearing is even with the yoke.
- Install the retaining ring (1) in the yoke (2).
- Rotate the propeller shaft and repeat steps 1-4 for the opposite universal bearing.
- Rotate the universal joint to ensure that the universal joint moves freely. If not, use a hammer and lightly tap the yoke to seat the universal bearing against the retaining ring.
- Install the other two universal bearings and wrap them with electrical tape or equivalent to hold the bearing in place until the propeller shaft is installed in the vehicle.
- Position the universal spider (2) in the slip yoke (1).
- Install the universal bearings (2) in either side of the slip yoke (2).
- Fully seat one of the universal spiders in the universal bearing.
- Press the universal bearings (2) into the slip yoke (2) until it is even with the yoke.
- Install the retaining ring (1) in the slip yoke (3).
- Rotate the slip yoke and repeat steps 3-5 for the opposite universal bearing.
- Position the slip yoke (1) in the propeller shaft (2).
- Position the universal bearing (1) in the yoke of the propeller shaft (2).
- Center the universal spider in the universal bearing.
- Press the universal bearing into the yoke.
- Install the retaining ring (2) in the propeller shaft yoke (1).
- Rotate the propeller shaft and repeat steps 8-11 or the opposite universal bearing.
- Rotate the universal joint to ensure that the universal joint moves freely. If not, use a hammer (2) and lightly tap each of the yokes (1) to seat the universal bearing against the retaining ring.
