Decal or Stripe Replacement Instruction
Application Procedure
Important: The striping material highlights vehicle surface imperfections. Eliminate
all of the following before applying the stripe or the decal:
• Dings • Rough metal • Paint defects • Uneven 2-tone paint breaklines
Important: Apply stripes and decals in a clean environment where dust and fibers do not interfere with proper adhesion.
- Clean the area where you will mount the decal.
- Warm the body surface to 27-38°C (80-100°F).
- Mount the stripes or the decals that wrap into the body openings or mount on flexible surfaces wet.
| 1.1. | Use the suitable solvents flash naptha, or a mixture of 50 percent isopropyl alcohol and 50 percent water. |
| 1.2. | Dry the area thoroughly. |
| 1.3. | Repaint the area. Feather the paint in, if the paint is chipped. |
Use the following procedure for wet application of stripes and decals:
- Use Dupont Duponal WA or the equivalent for a wetting agent. Do not use a soap solution. Spray a mist of solution onto the body area.
- Peel the backing away from the decal. Spray the adhesive backing of the decal in hot, humid weather with a mist of the wetting solution.
- Use a squeegee, starting at the center of the decal. Squeegee the decal onto the body, removing air bubbles and the wetting solution.
- Pull the decal back onto itself in order to remove the premask from the decal.
- Squeegee the decal again.
- Prick any air bubbles with a pin, if present.
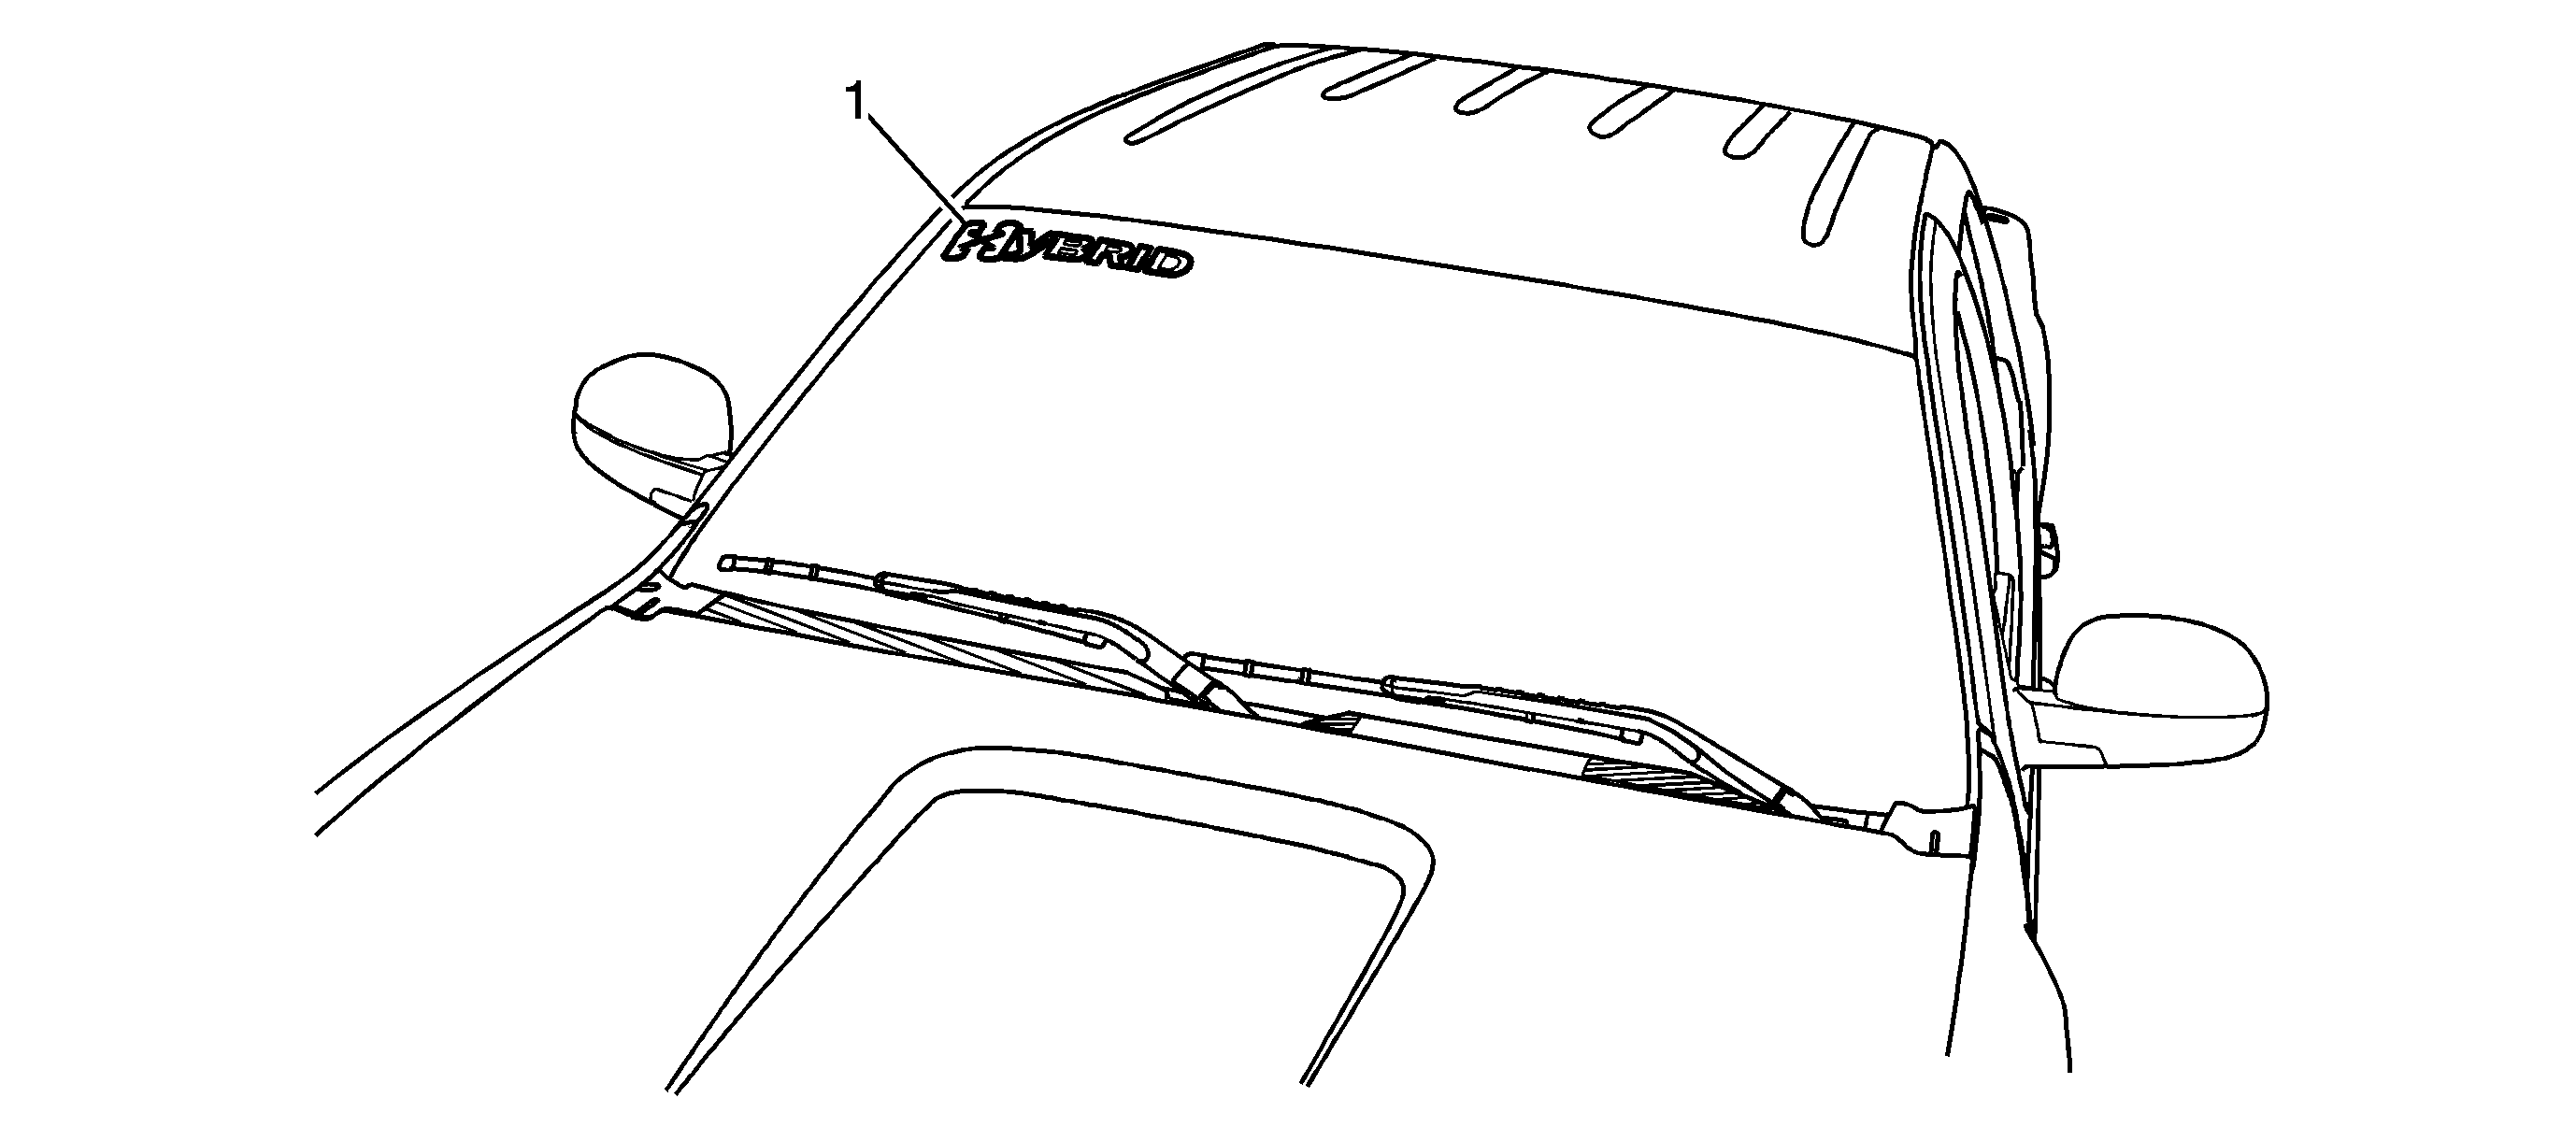
Decal or Stripe Replacement HYBRID 2 Mode Windshield Decal
Callout | Component Name |
|---|---|
Preliminary Procedures
Caution: Refer to Exterior Trim Emblem Removal Caution in the Preface section. Special ToolsJ-25070 Heat Gun 500-750°F | |
1 | HYBRID Windshield Glass Decal Tip |
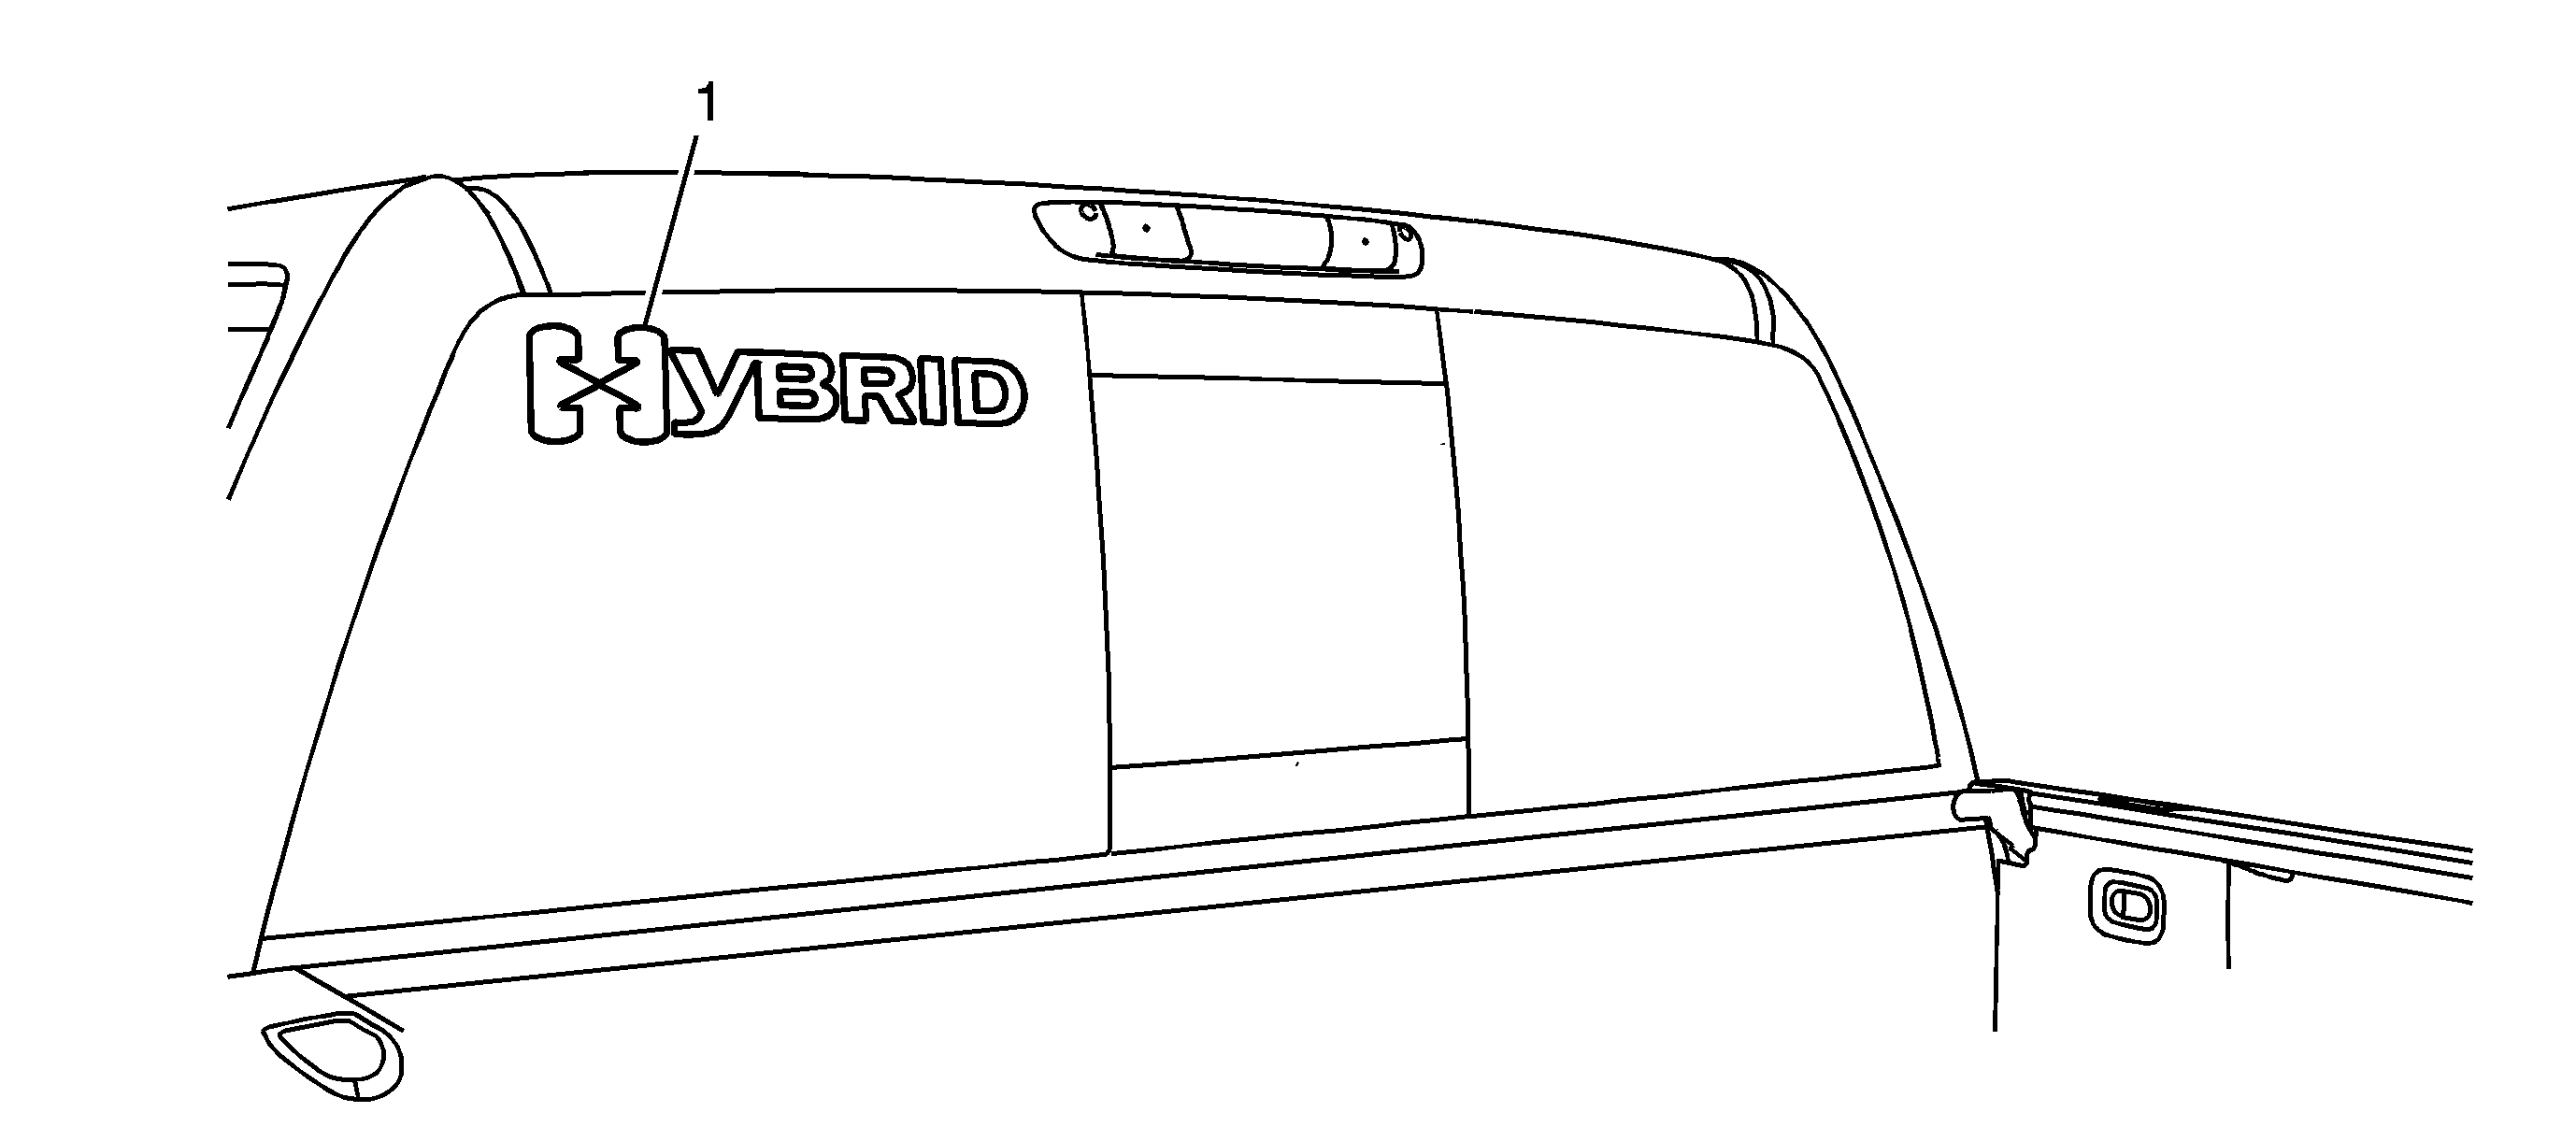
Decal or Stripe Replacement HYBRID 2 Mode Rear Glass Decal
Callout | Component Name |
|---|---|
Preliminary Procedures
Caution: Refer to Exterior Trim Emblem Removal Caution in the Preface section. Special ToolsJ-25070 Heat Gun 500-750°F | |
1 | HYBRID Rear Glass Decal Tip |
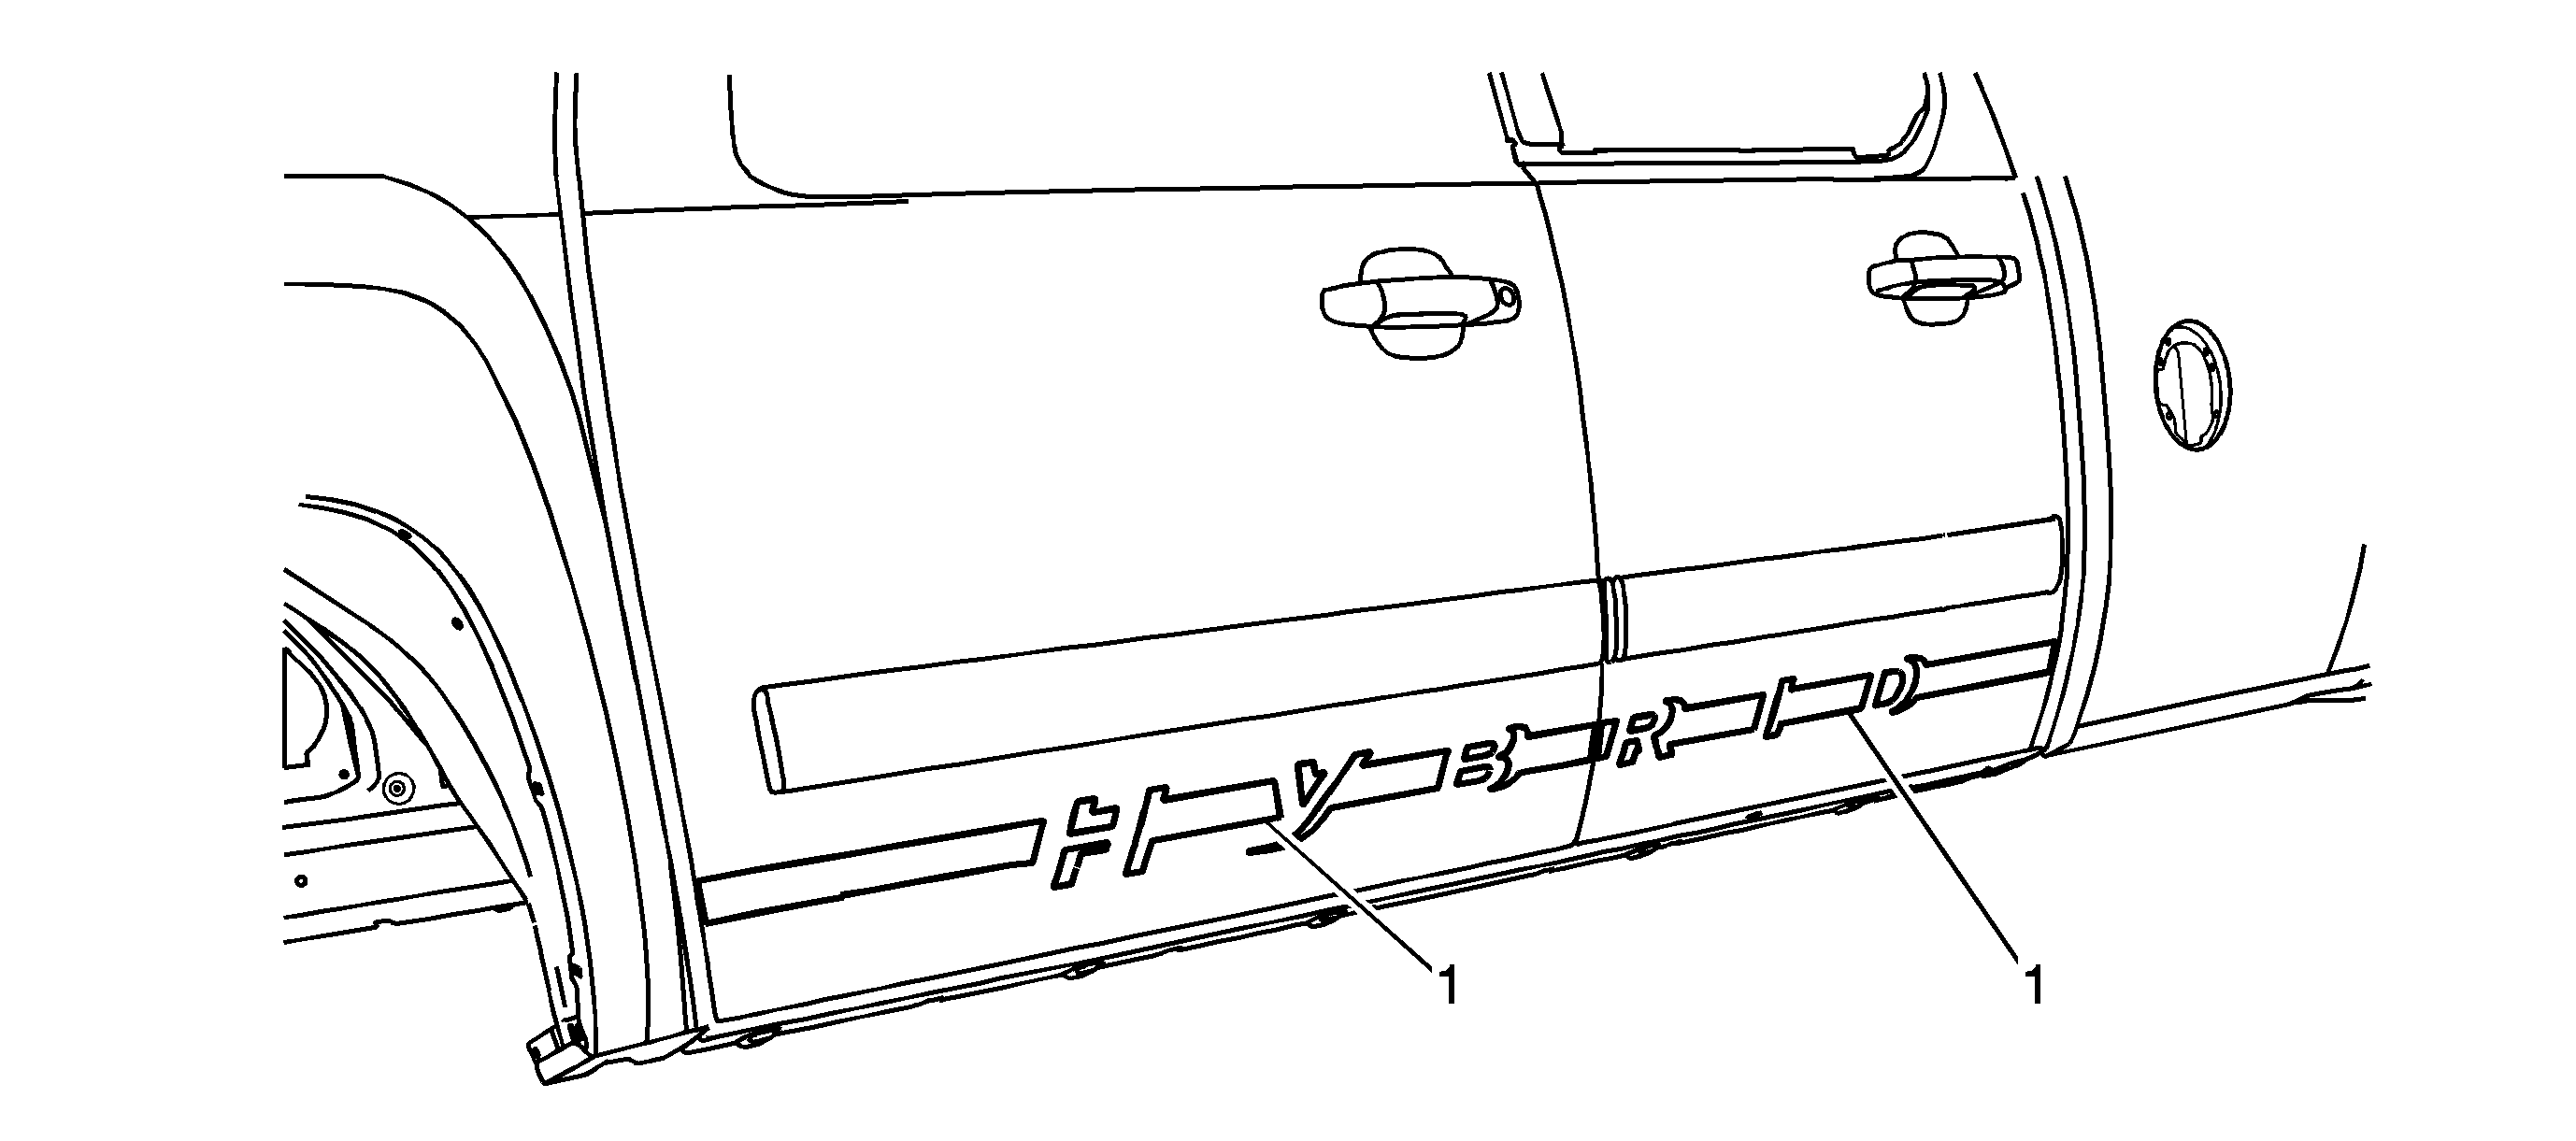
Decal or Stripe Replacement HYBRID 2 Mode Lower Bodyside Door
Callout | Component Name | ||||
|---|---|---|---|---|---|
Preliminary Procedures
Special ToolsJ 25070 Heat Gun 500-750°F | |||||
1 | HYBRID Lower Door Decal Tip | ||||
