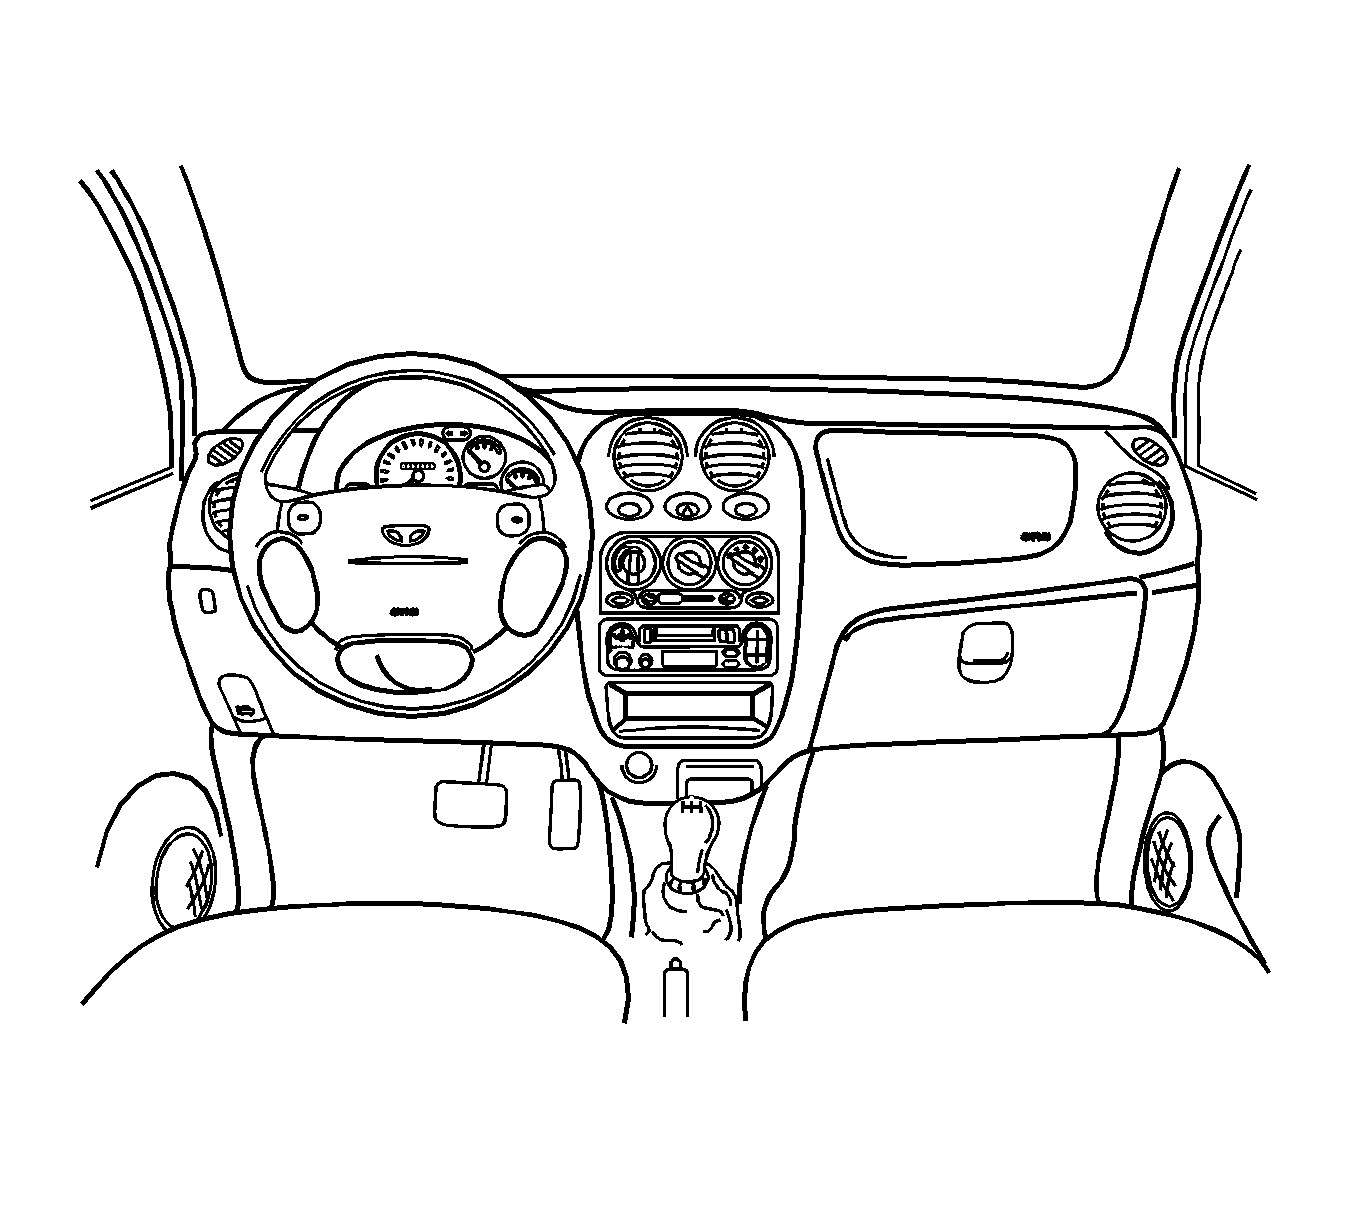
For 1990-2009 cars only
Removal Procedure
- Disconnect the negative battery cable.
- If the vehicle is equipped with a SuPUemental Inflatable Restraints (SIR) system, disable the SIR system. Refer to Disabling the SIR System .
- Remove the inflatable restraint steering wheel module from the steering wheel. Refer to Inflatable Restraint Steering Wheel Module Replacement in SIR.
- Remove the steering wheel from the steering column. Refer to Steering Wheel Replacement in Steering Wheel and Column.
- Remove the steering column trim cover. Refer to Steering Column Trim Covers Replacement in Steering Wheel and Column.
- Remove the multifunction turn signal switch and the wiper switch. Refer to Turn Signal Multifunction Switch Replacement in Steering Wheel and Column.
- Pry off the windshield pillar garnish molding. Refer to Windshield Pillar Garnish Molding Replacement in Interior Trim.
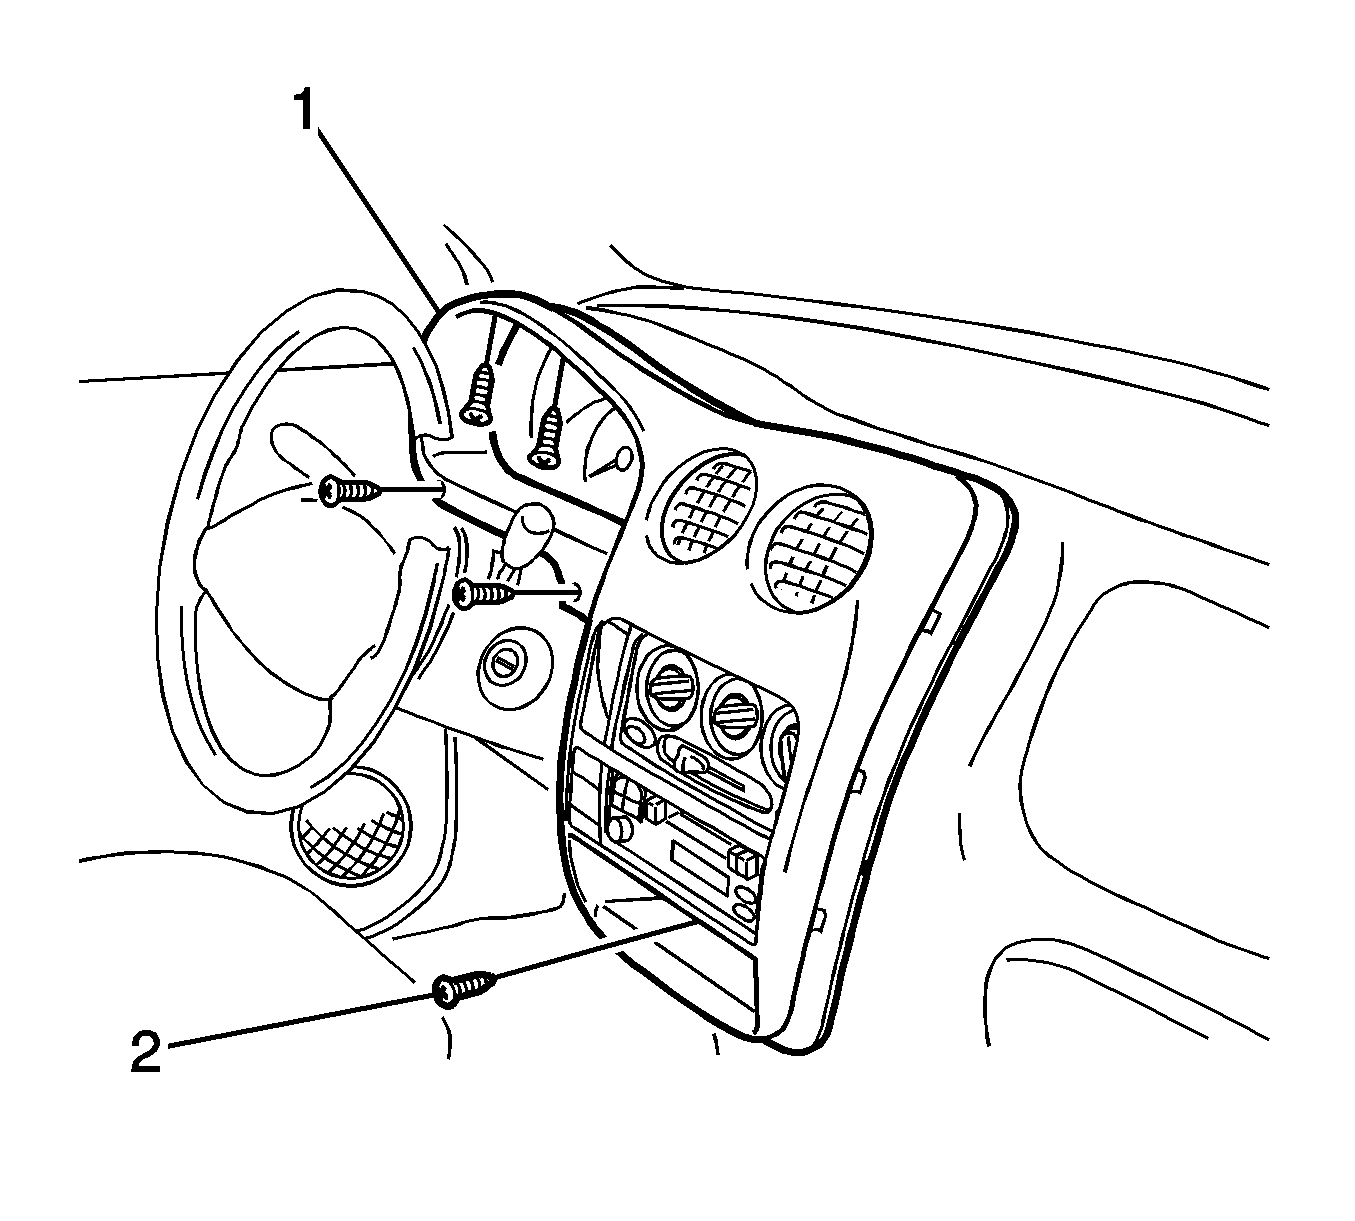
- Remove the screws (2) from the instrument cluster trim panel.
- Using a flathead screwdriver, remove the instrument cluster trim panel (1) from the instrument panel.
- Remove the hood latch release handle from the instrument panel. Refer to Hood Primary Latch Release Cable Handle Replacement in Body Front End.
- Remove the glove box assembly from the instrument panel. Refer to Instrument Panel Storage Compartment Replacement .
- If the vehicle is equipped with a inflatable restraint instrument panel module, remove it from the instrument panel. Refer to Inflatable Restraint Instrument Panel Module Replacement in SIR.
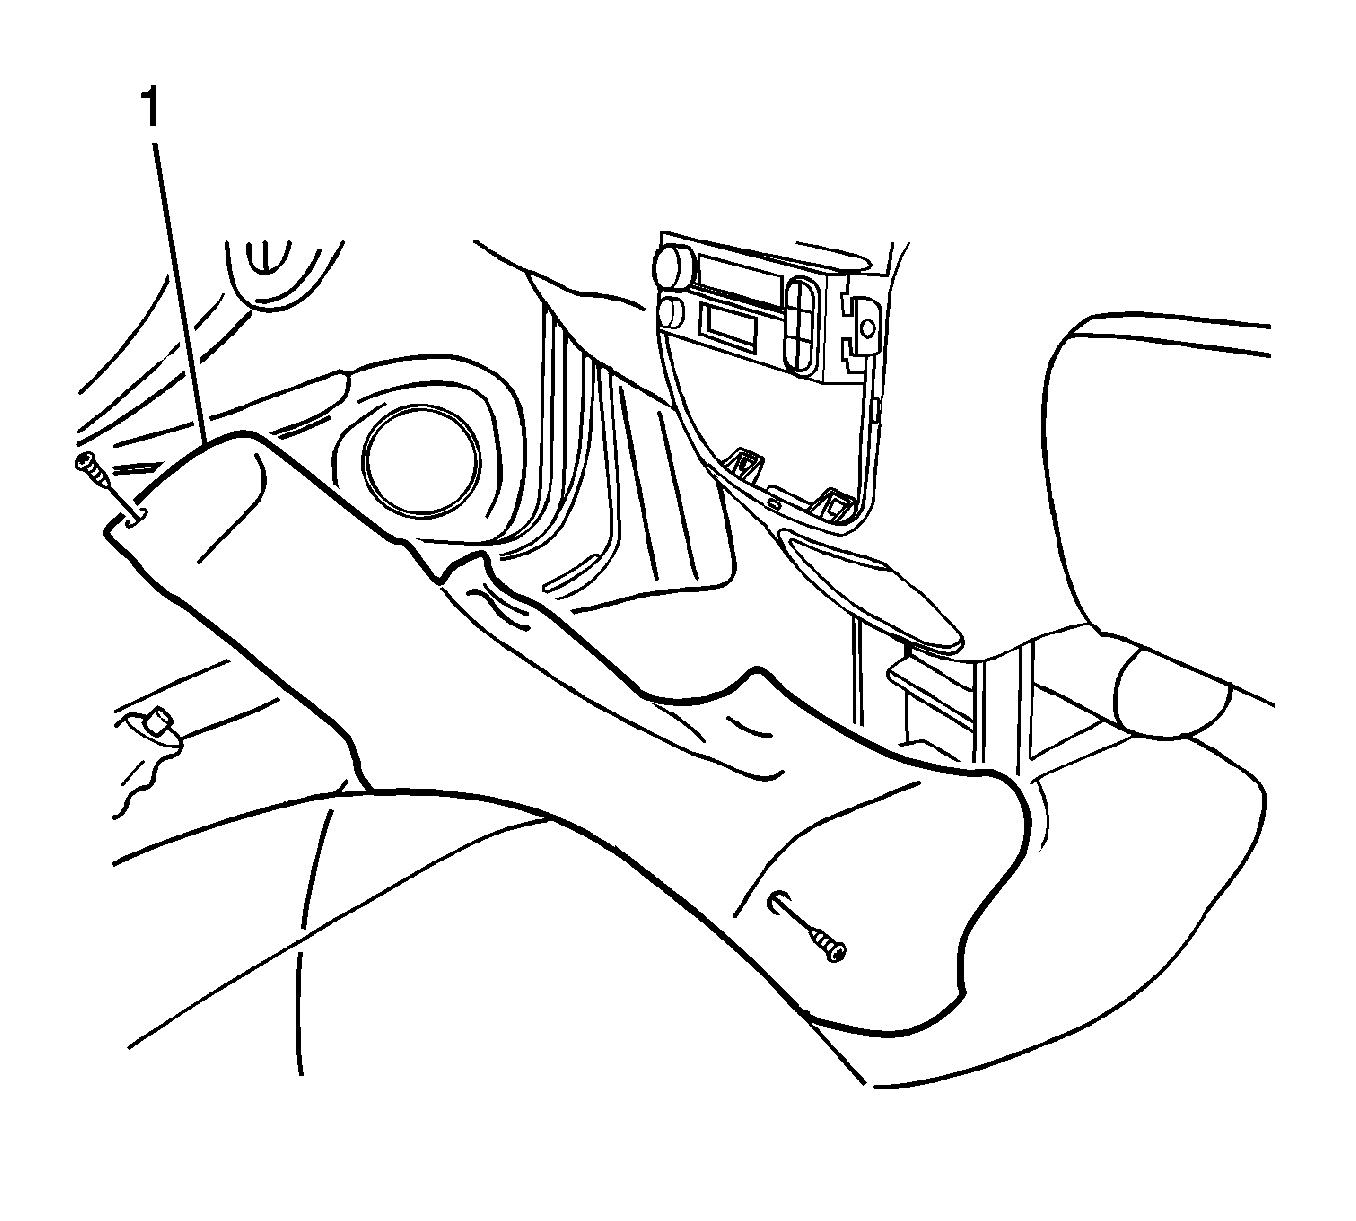
- Put aside the floor console after removing the screws (1).
- Remove the instrument cluster assembly. Refer to Instrument Cluster Replacement .
- Remove the A/C controller from the instrument panel. Refer to Heater and Air Conditioning Control Replacement in HVAC System-Manual .
- Remove the radio from the instrument panel. Refer to Radio Replacement in Entertainment .
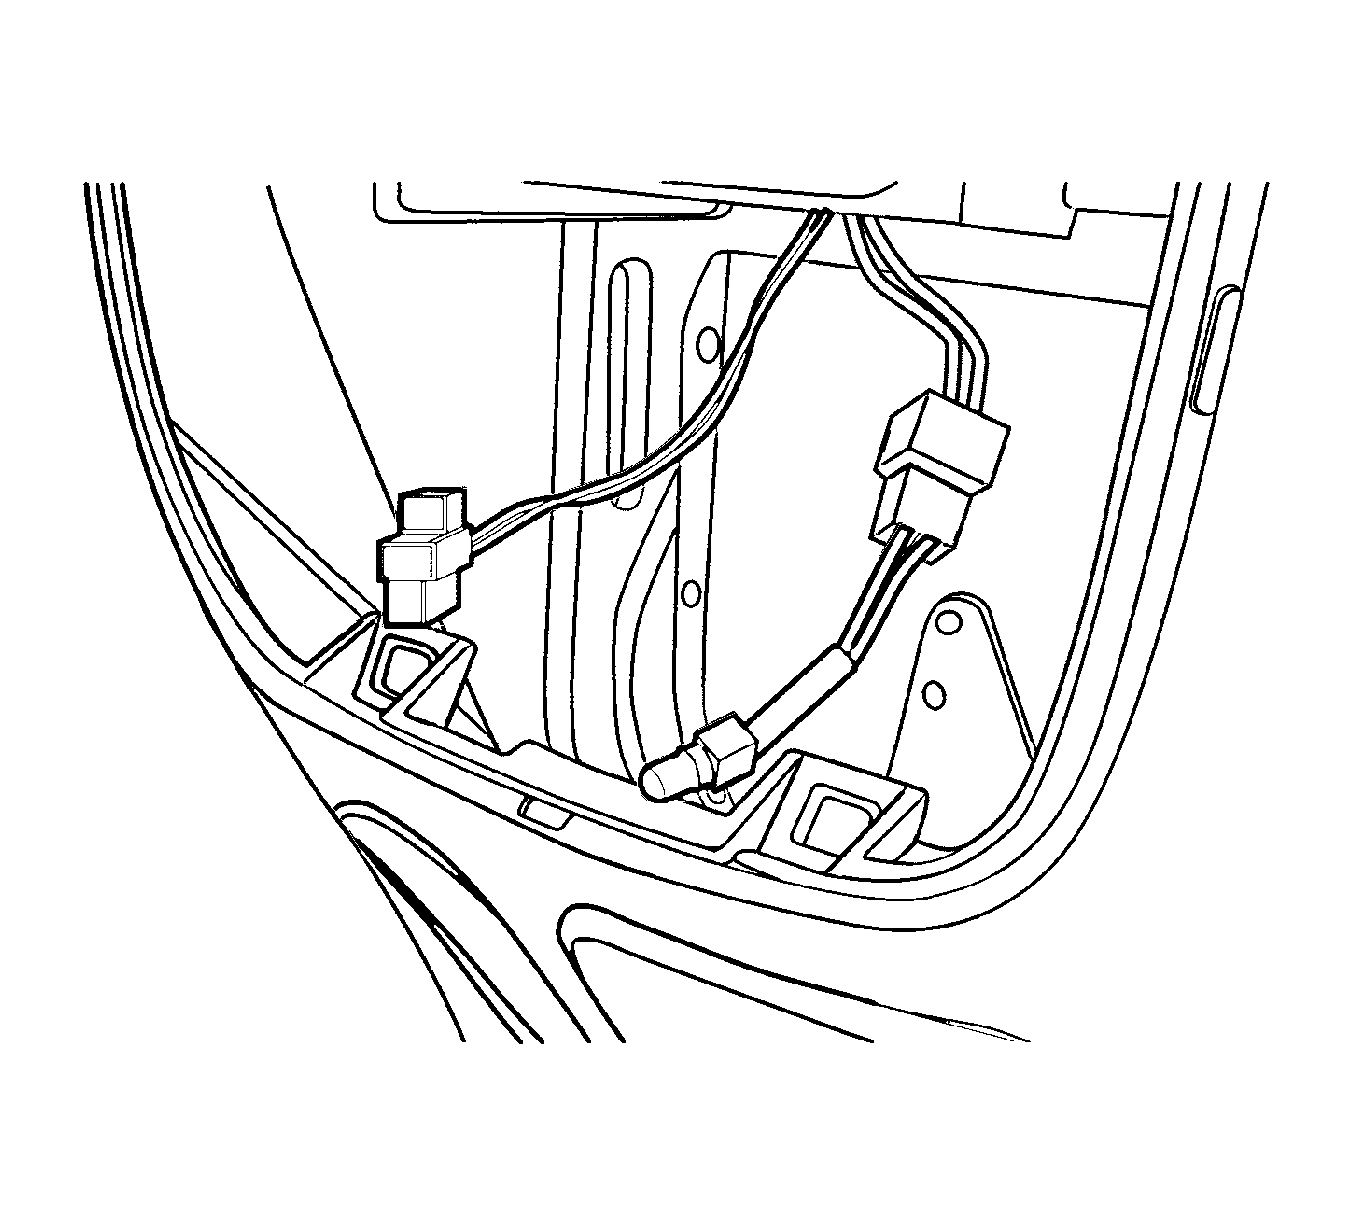
- Disconnect the cigar lighter connector.
- Disconnect the ashtray lamp, if equipped.
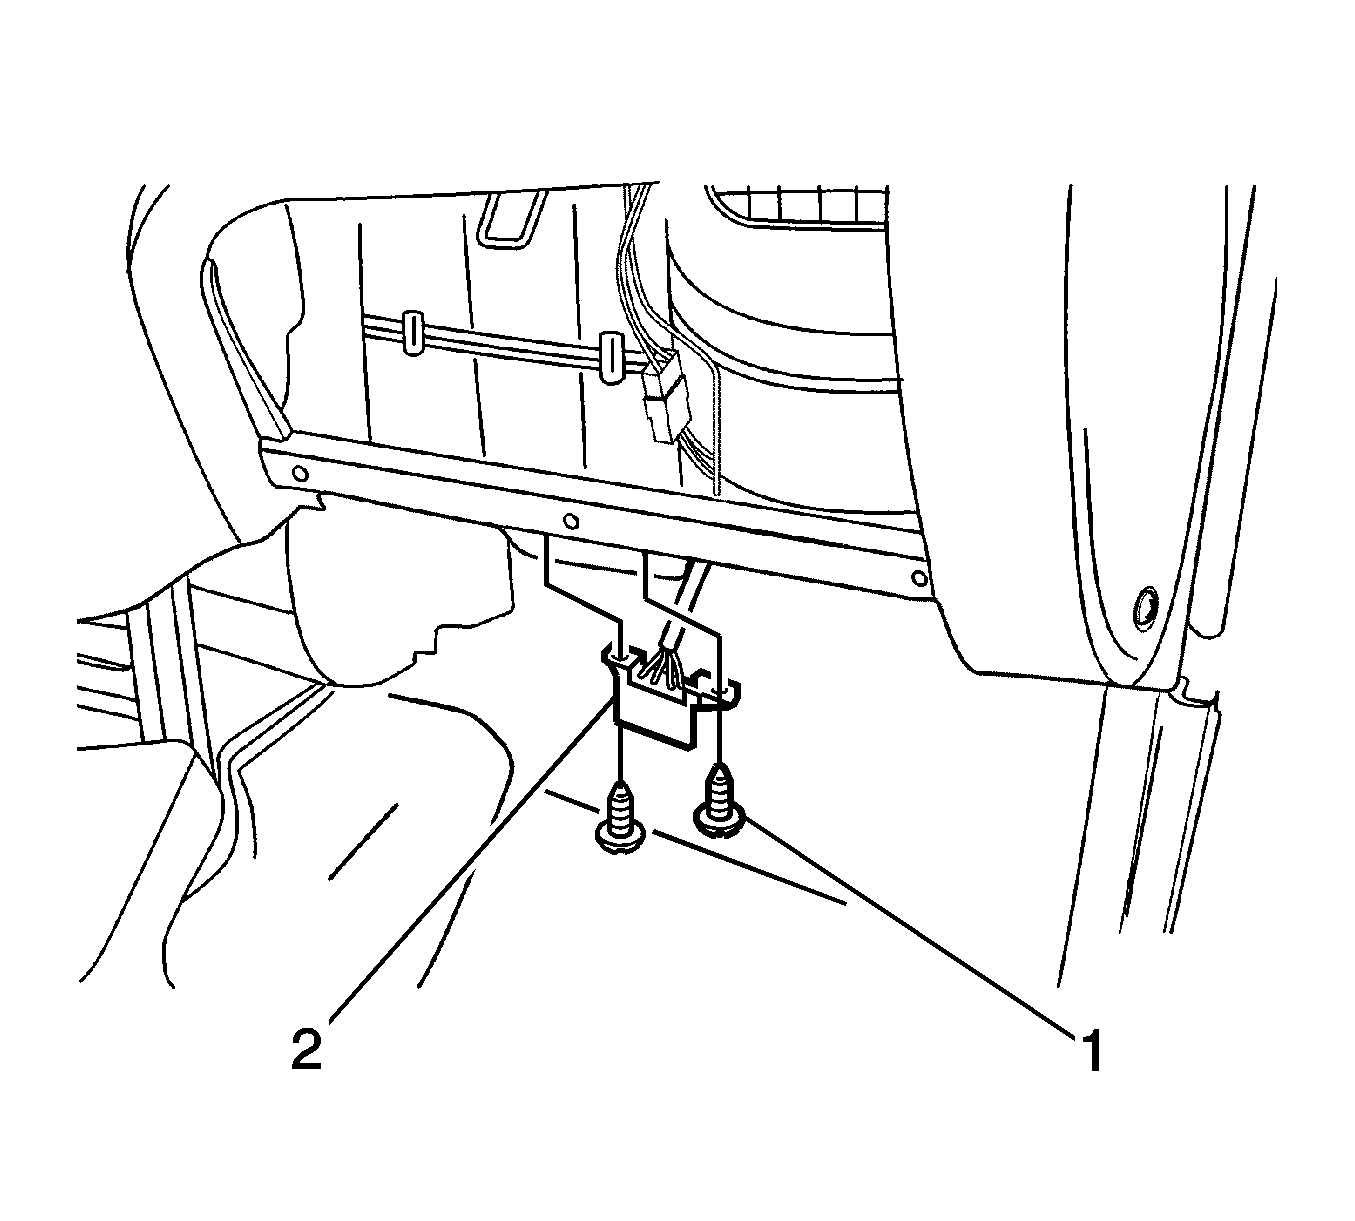
- Remove the screws (1) from the ALDL connector.
- Disconnect the ALDL connector (2).
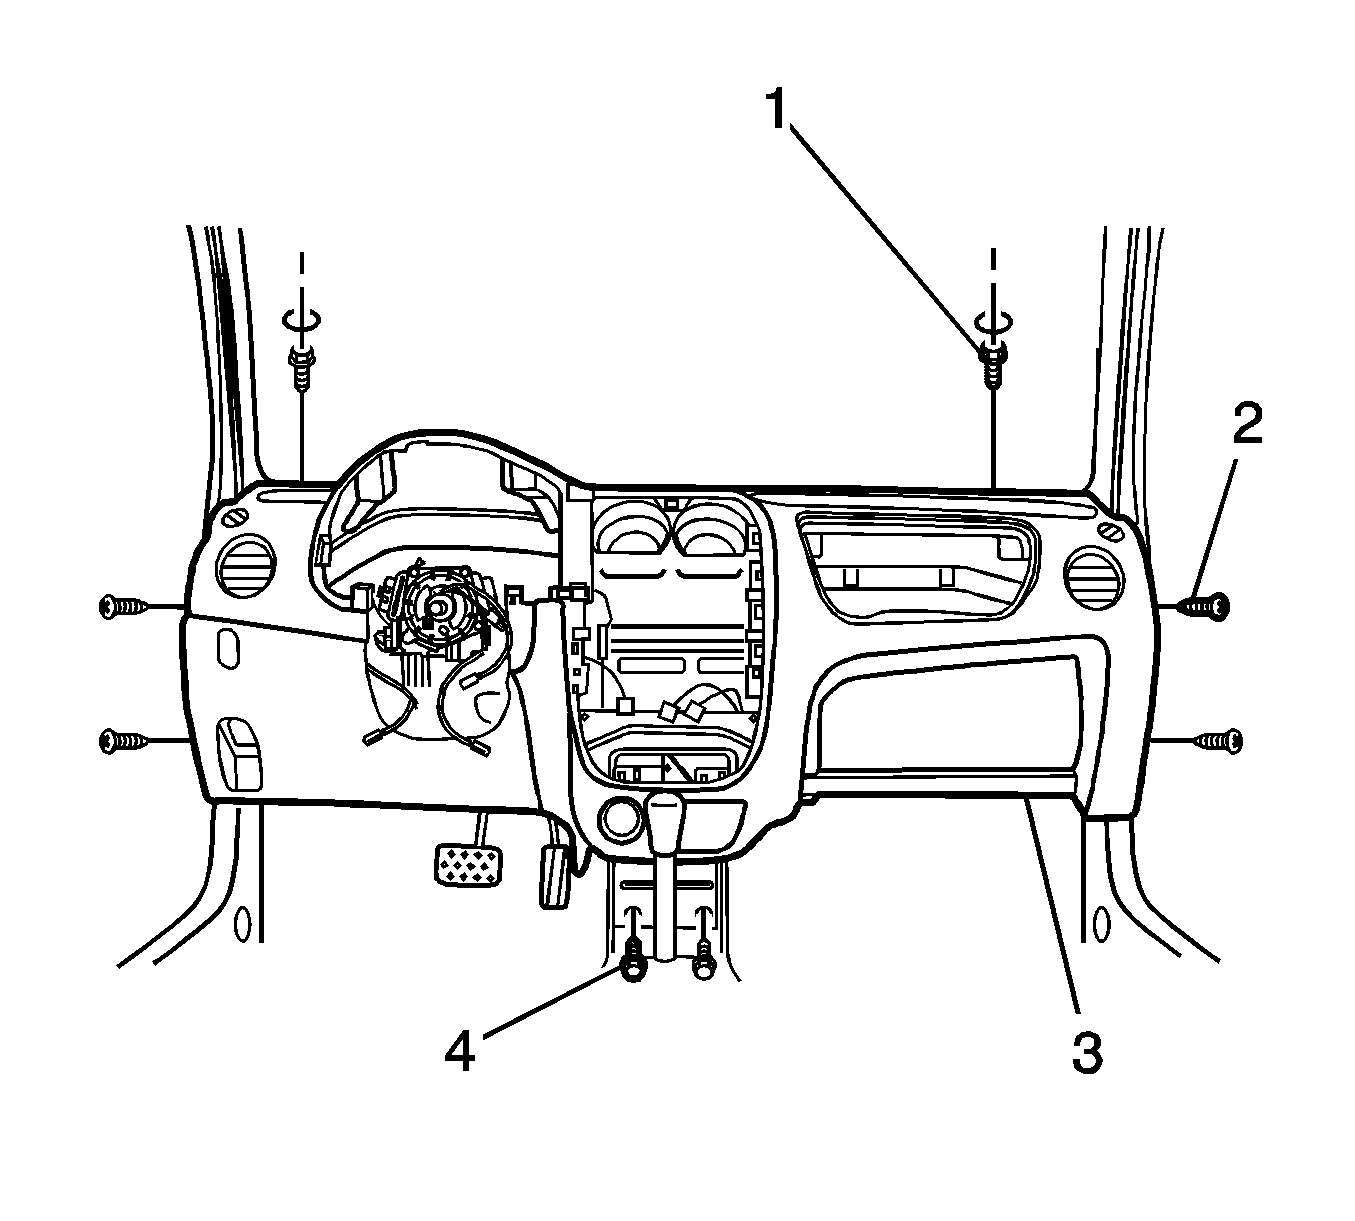
- Remove the bolts after removing the caps (1).
- Remove the screws on the side plate (2).
- Remove the tie-bar retaining bolts on the lower panel (4).
- Remove the instrument trim panel assembly (3).
Caution: Refer to Battery Disconnect Caution in the Preface section.
Notice: The instrument panel (I/P) should be at room temperature before performing service. This will allow the I/P to be more pliable. To prevent the instrument panel damage, cover the flat bladed tool with a soft cloth.
Installation Procedure
- Install the instrument trim panel assembly with the bolts and screws.
- Connect the ALDL connector with the screws.
- Connect the ashtray lamp, if equipped.
- Connect the cigar lighter connector.
- Install the radio to the instrument panel. Refer to Radio Replacement in Entertainment .
- Install the A/C controller to the instrument panel. Refer to Heater and Air Conditioning Control Replacement in HVAC System - Manual section.
- Install the instrument cluster assembly. Refer to Instrument Cluster Replacement .
- Install the floor console with the screws.
- Install the inflatable restraint instrument panel module to the instrument panel. Refer to Inflatable Restraint Instrument Panel Module Replacement in SIR .
- Install the glove box assembly to the instrument panel. Refer to Instrument Panel Storage Compartment Replacement .
- Install the hood latch release handle to the instrument panel. Refer to Hood Primary Latch Release Cable Handle Replacement in Body Front End.
- Install the instrument cluster trim panel to the instrument cluster trim panel with the screws.
- Install the windshield pillar garnish molding. Refer to Windshield Pillar Garnish Molding Replacement in Interior Trim.
- Install the multifunction turn signal switch and the wiper switch. Refer to Turn Signal Multifunction Switch Replacement in Steering Wheel and Column .
- Install the steering column trim cover. Refer to Steering Column Trim Covers Replacement in Steering Wheel and Column .
- Install the steering wheel to the steering column.
- Install the inflatable restraint steering wheel module to the steering wheel. Refer to Inflatable Restraint Steering Wheel Module Replacement in SIR.
- Enable the SIR system. Refer to Enabling the SIR System in SIR.
- Connect the negative battery cable.
