For 1990-2009 cars only
Removal Procedure
- Remove the air cleaner assembly. Refer to Air Cleaner Assembly Replacement .
- For vehicles with the non-ABS braking system, remove the proportioning valve. Refer to Brake Proportion Valve Replacement .
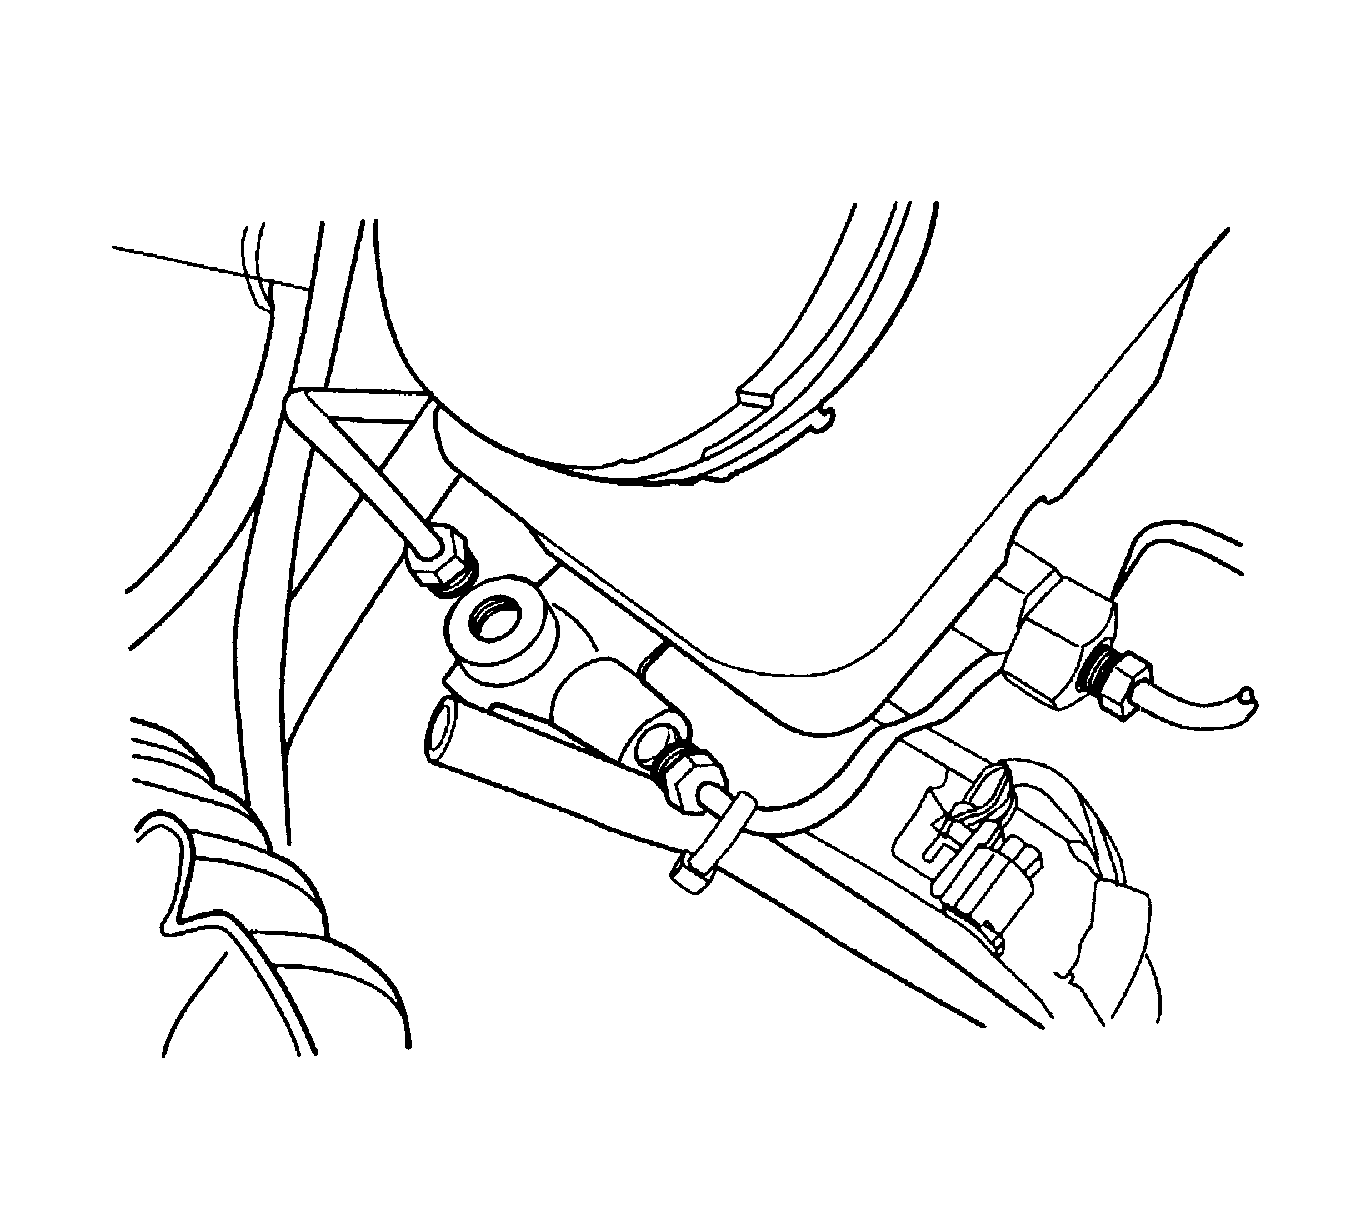
- Disconnect the electrical connector.
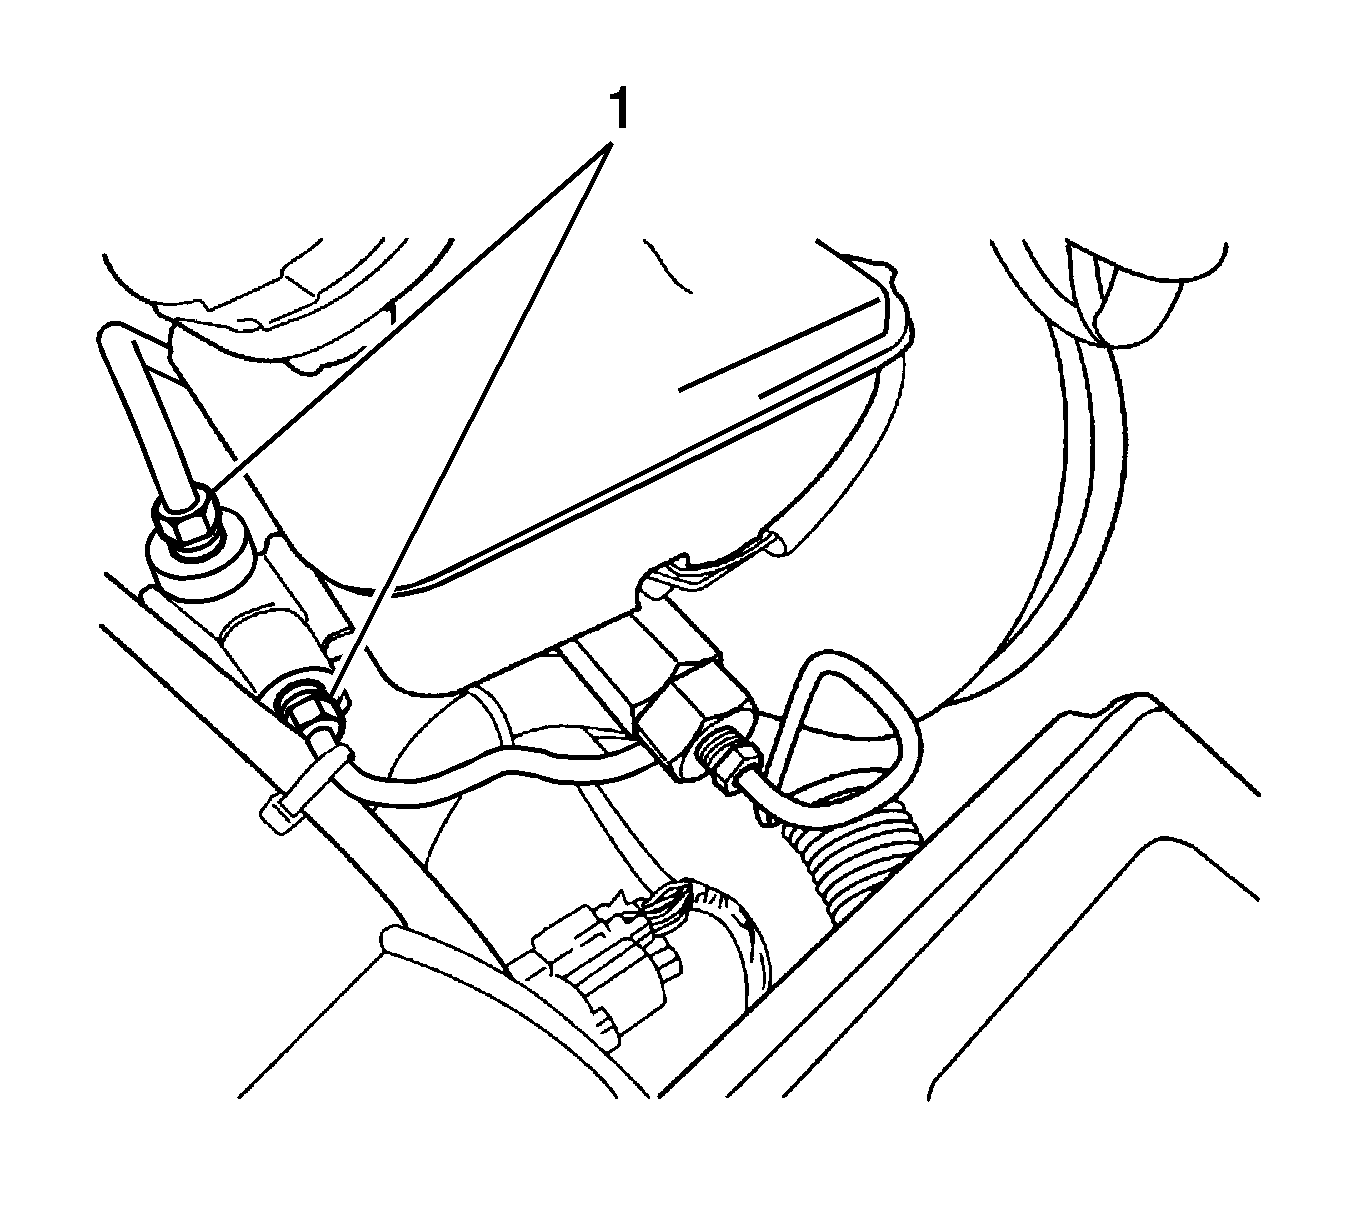
- Loosen the brake pipe fittings.
- Plug the opening in the master cylinder to prevent fluid loss or contamination.
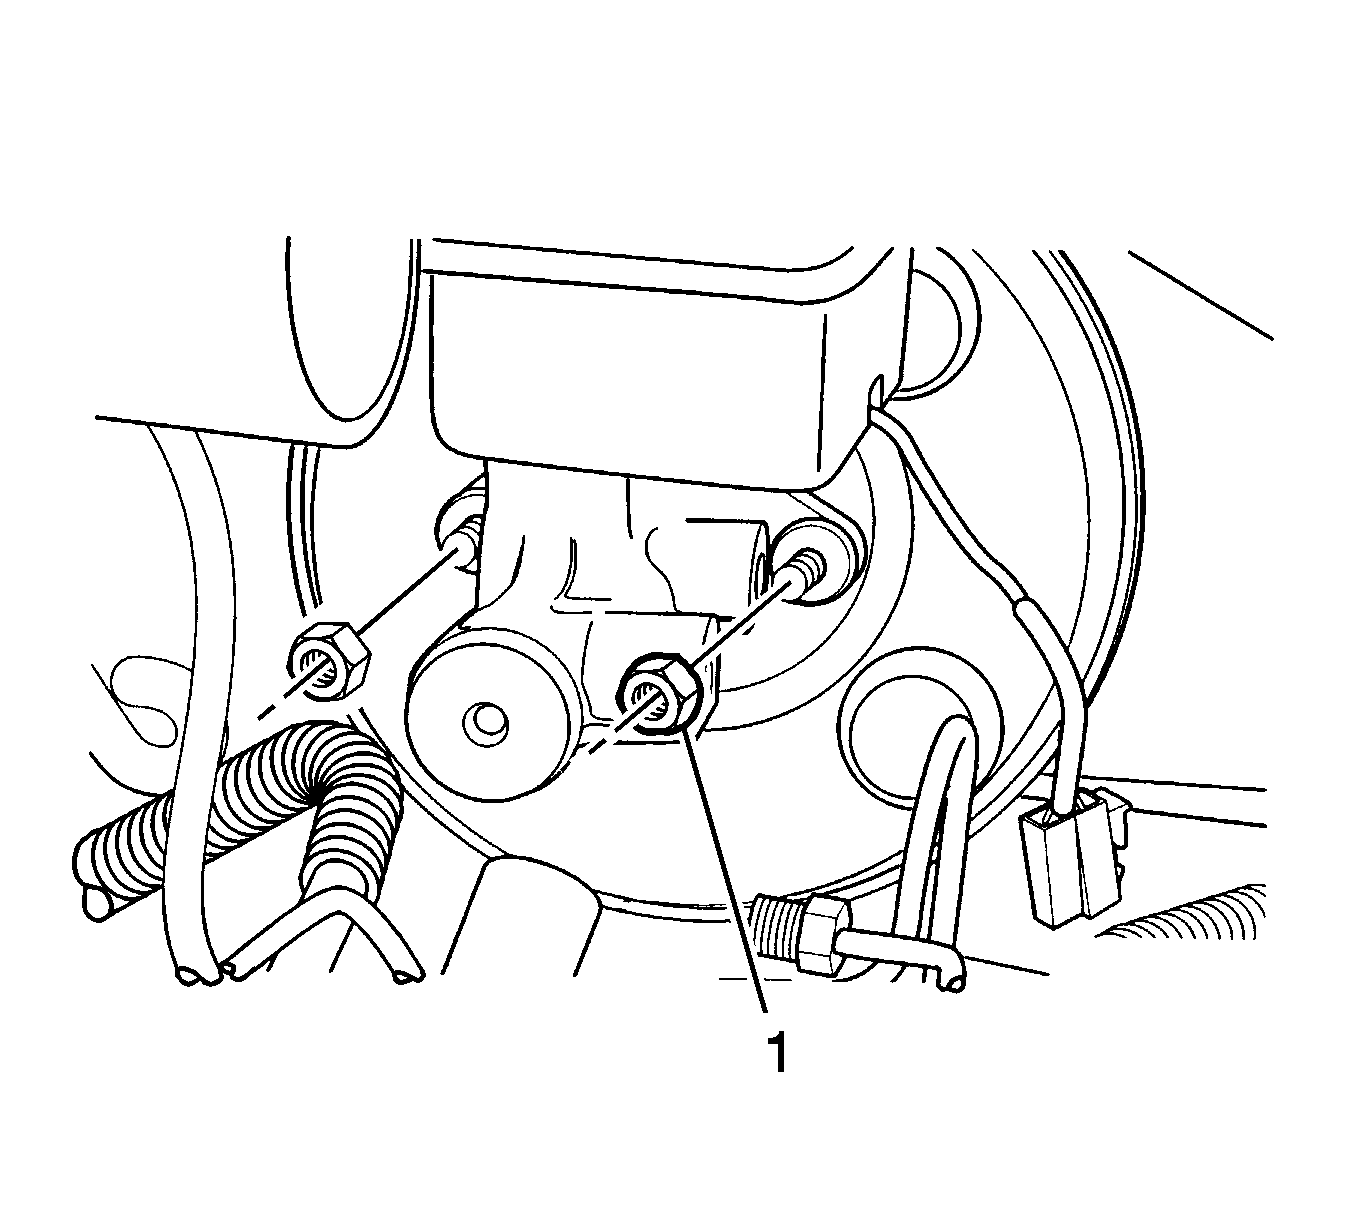
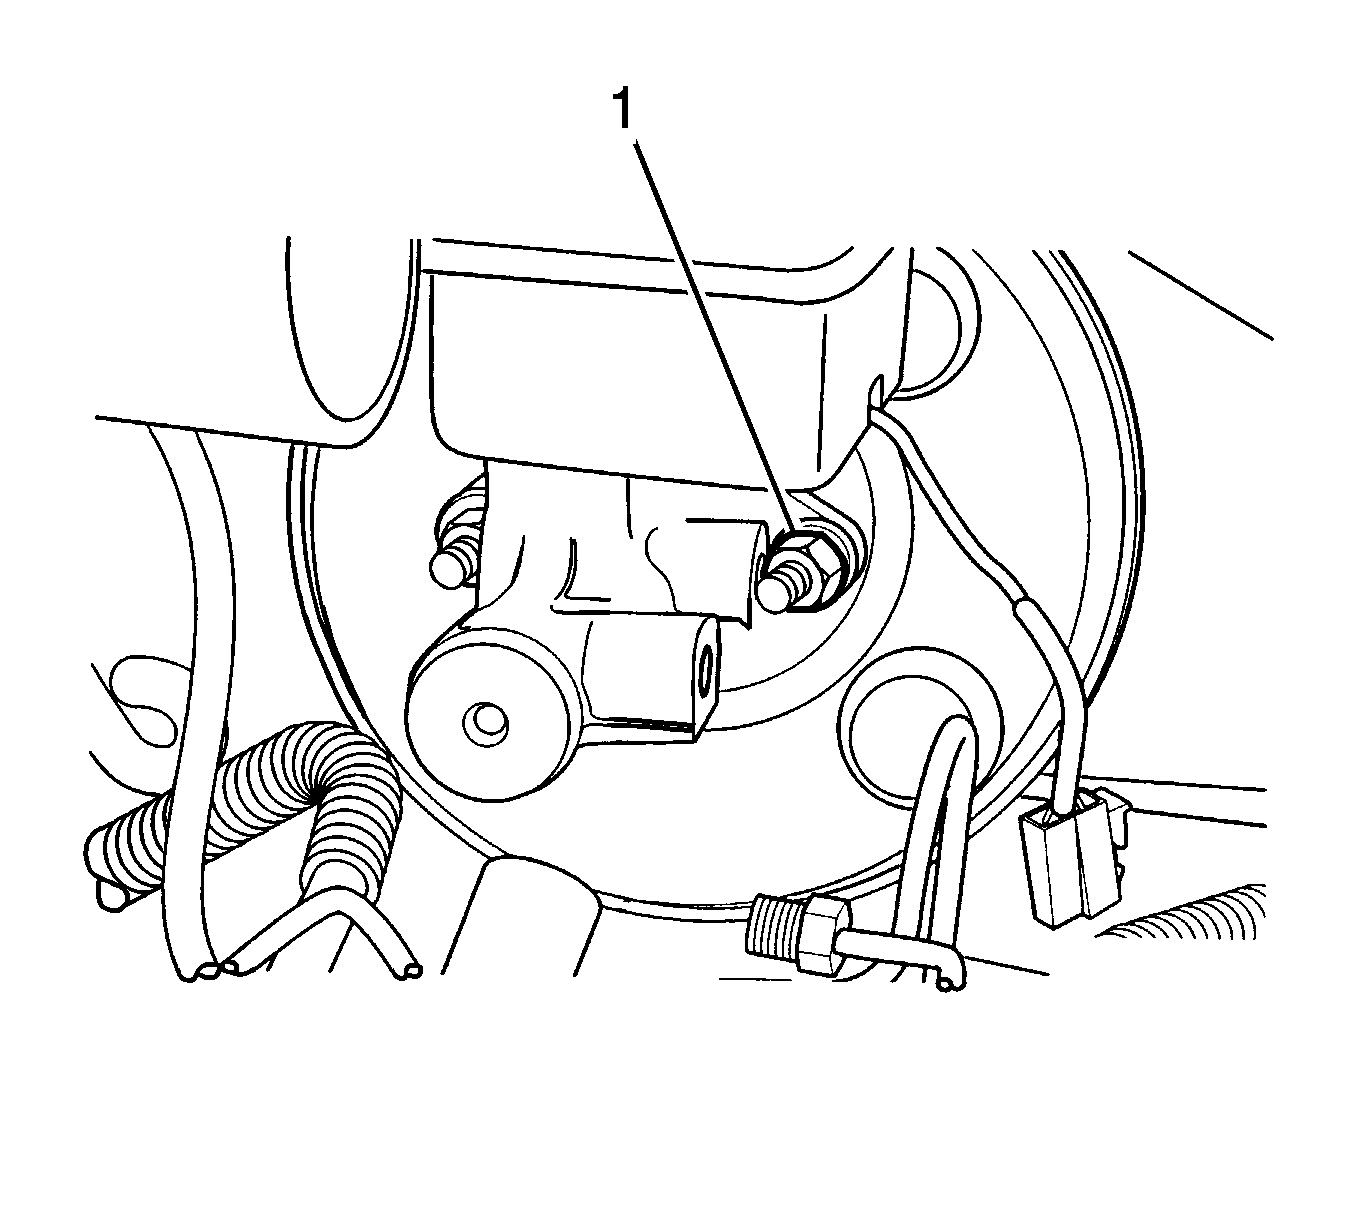
- Remove the nuts mounting the master cylinder (1).
- Remove the master cylinder.

Caution: Refer to Brake Fluid Irritant Caution in the Preface section.

Notice: Avoid spilling brake fluid onto painted surfaces, electrical connections, wiring, or cables. Brake fluid will damage painted surfaces and cause corrosion to electrical components. If any brake fluid comes in contact with painted surfaces, immediately flush the area with water. If any brake fluid comes in contact with electrical connections, wiring, or cables, use a clean shop cloth to wipe away the fluid.
Installation Procedure
- Install the master cylinder assembly with the nuts (1).
- Install the brake pipe fittings (1) to the master cylinder.
- Connect the electrical connector.
- For vehicles with the non-ABS braking system, install the proportioning valve. Refer to Brake Proportion Valve Replacement .
- Install the air cleaner assembly. Refer to Air Cleaner Assembly Replacement .
- Bleed the brake system. Refer to Hydraulic Brake System Bleeding .
Notice: Refer to Fastener Notice in the Preface section.

Important: Use only General Motors recommended brake fluid.
Tighten
Tighten the attaching nuts to 16 N·m (12 lb ft).

Tighten
Tighten the fittings to 16 N·m (12 lb ft).
